

MCP Tool Trigger
The MCP Tool Trigger is used to start a workflow when an AI tool, defined in the MCP server, sends a request to Engini using MCP. First Choose the Trigger:

- Name – A unique identifier for your trigger. Use only ASCII characters, without spaces, and up to 64 characters in total.
- Description – A short explanation of what this workflow does. This helps understand the purpose of the trigger.
-
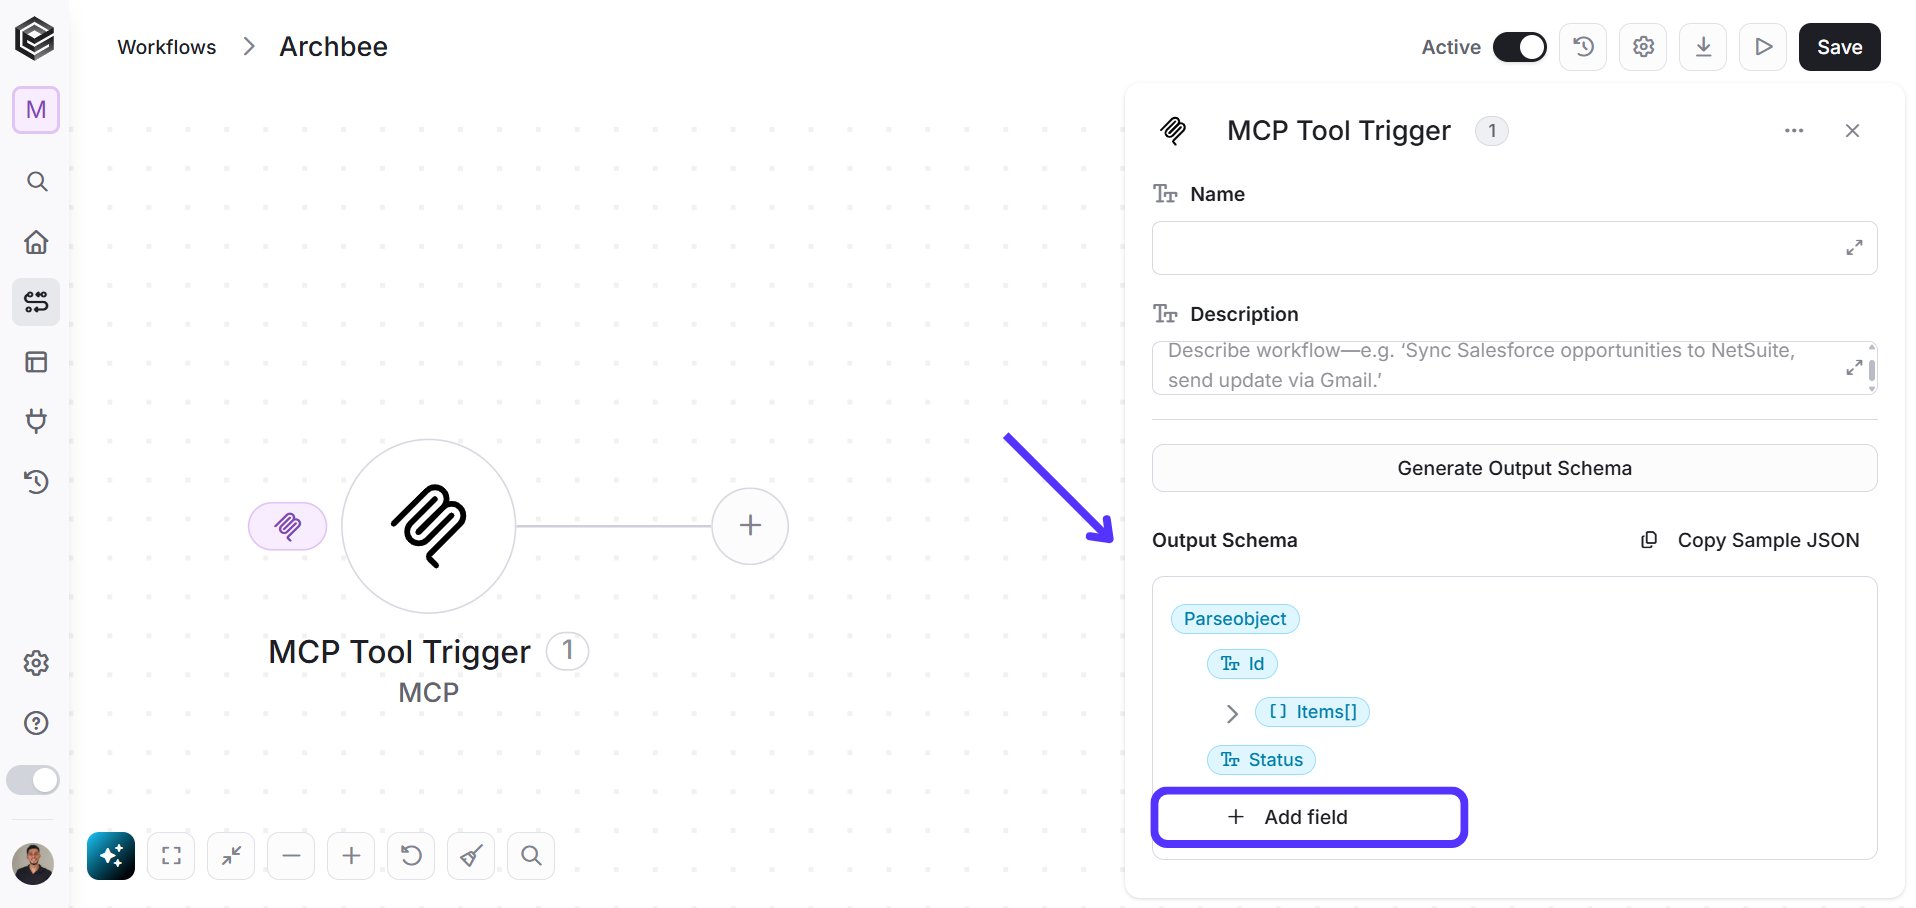
Generate Output Schema – Click to upload a sample JSON or XML response from the MCP tool.
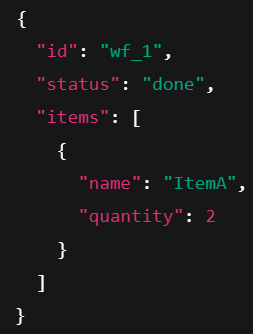
Exapmle, This sample JSON includes simple fields (id, status) and one array field (items). The items array contains objects with name and quantity, demonstrating a nested structure for schema generation.

-
JSON/XML Payload - Paste a representative JSON or XML response here. The system uses this payload to detect field names, data types, and nested structures in order to build the response body schema.
- Format Field Description - If enabled, the system will automatically generate descriptions for each detected field. If disabled, only the structure (field names and data types) will be generated.
- Map Dictionary - Enable this option to map the detected fields to an existing dictionary or predefined internal schema. If not required, this option can remain unchecked.
- Save - Click Save to generate and apply the response body structure based on the provided sample payload.
-
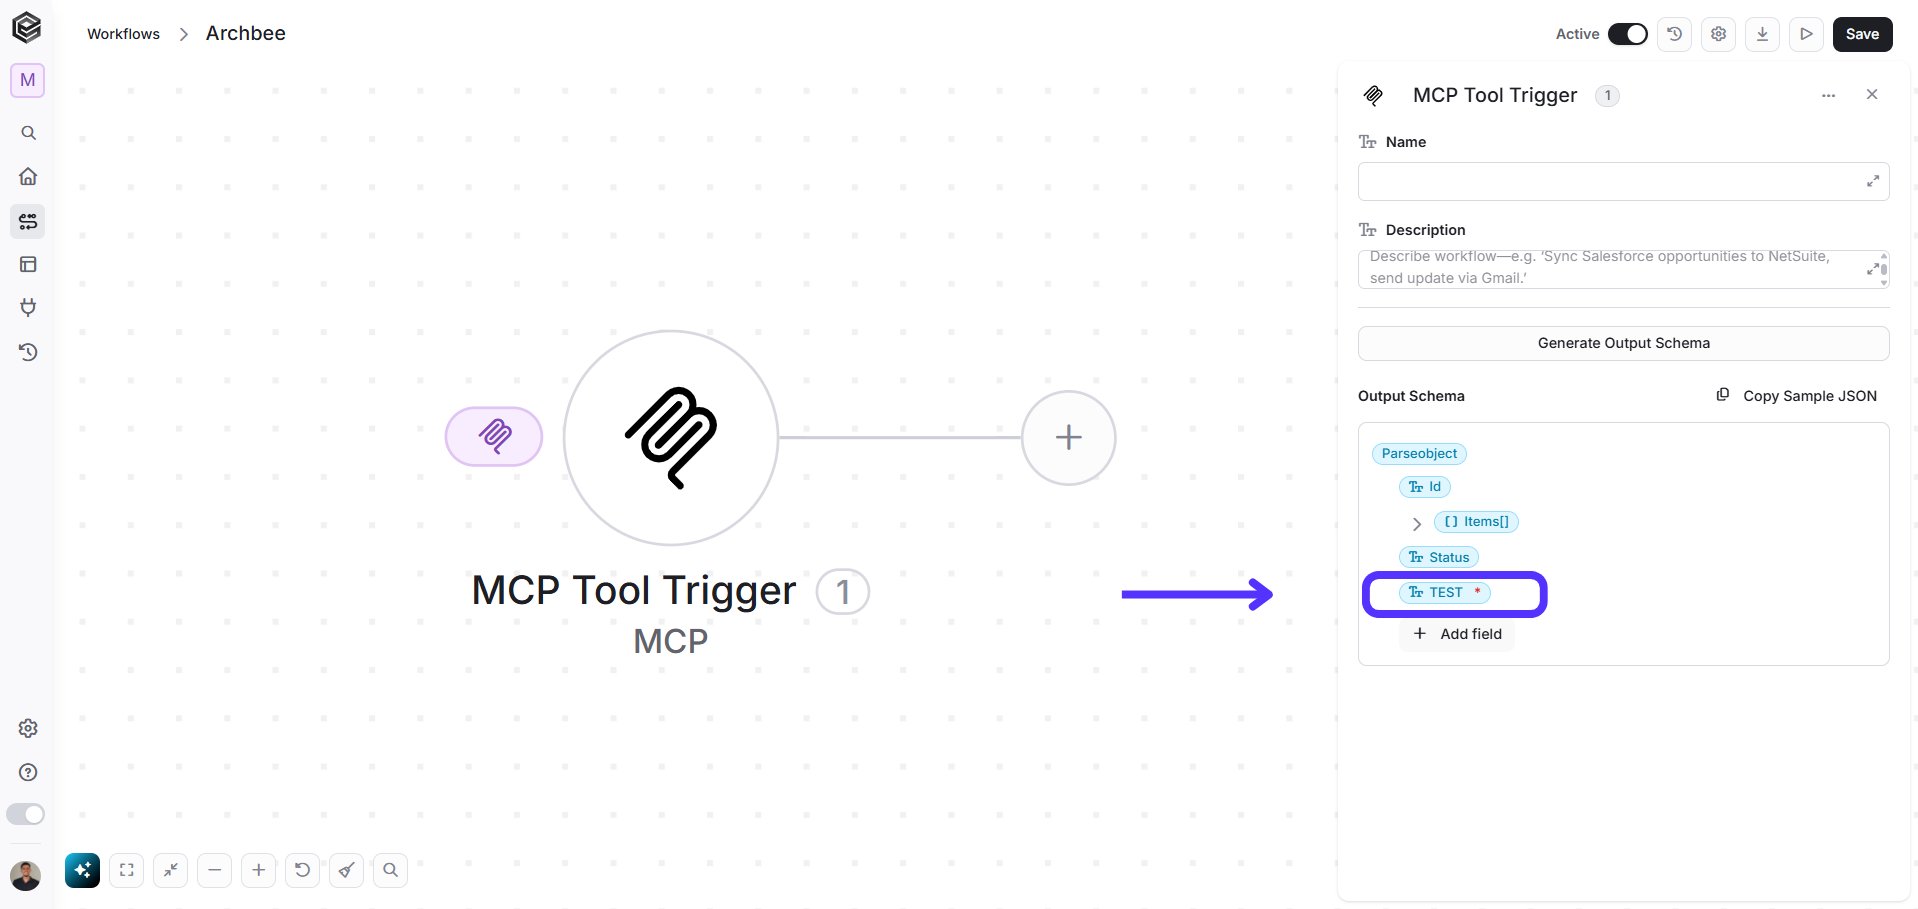
Output Schema – Displays the generated response body structure based on the JSON/XML sample provided in section 3. The detected fields and data types will appear here only after a valid payload is added in section 3. This structure defines the data returned by the trigger and is available for mapping within the workflow.
-
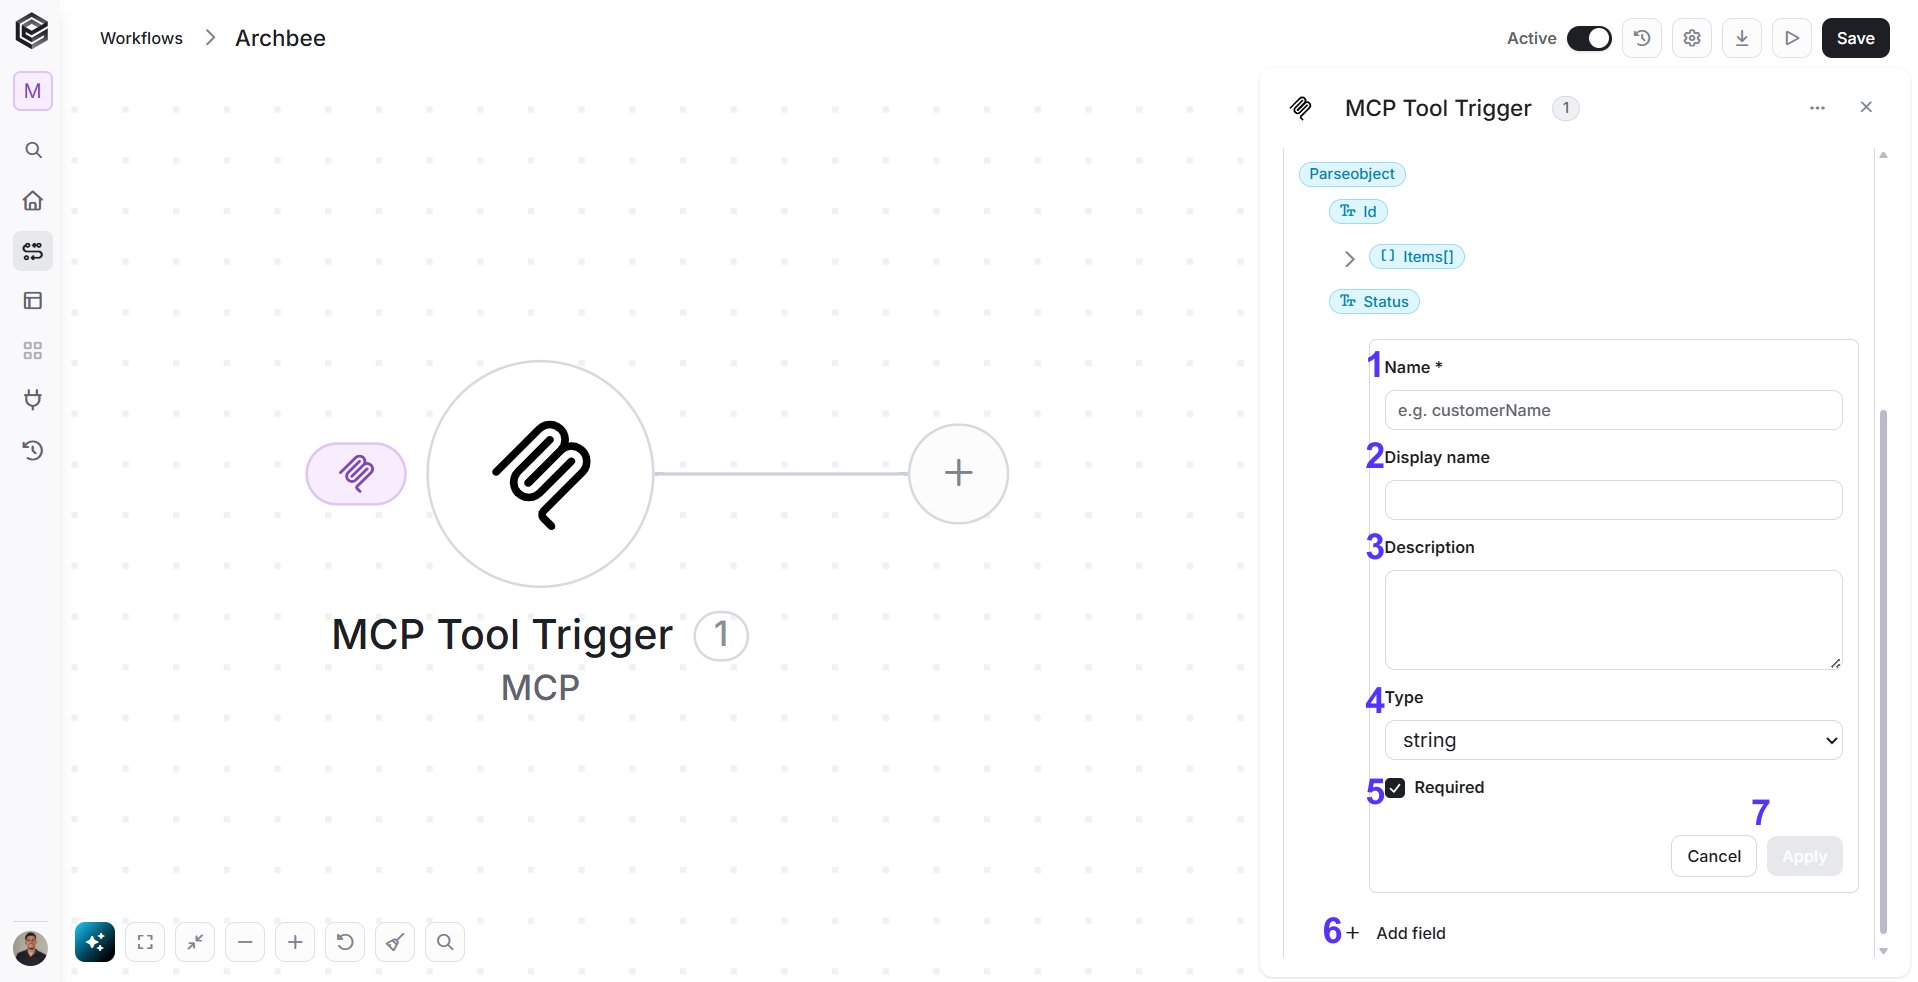
Name- Choose a unique name.
- Display name- The name that will be shown to users inside the workflow and dynamic mapping fields.
- Description- Additional context for the AI tool about the purpose of the field and the expected value. Helps the AI understand how and when to use this field dynamically during workflow execution.
- Type- Defines the data type of the field.
- Required - Determines whether the field is mandatory. If enabled, users must provide a value for this field before the workflow can run. For example, we created the field “TEST”
- Repeat 1-5 to populate more fields.
-
Apply- Saves and applies the current field.
Actions
MCP Tool Response
The MCP Tool Response action is used to send a structured reply back to the AI tool that triggered the workflow.
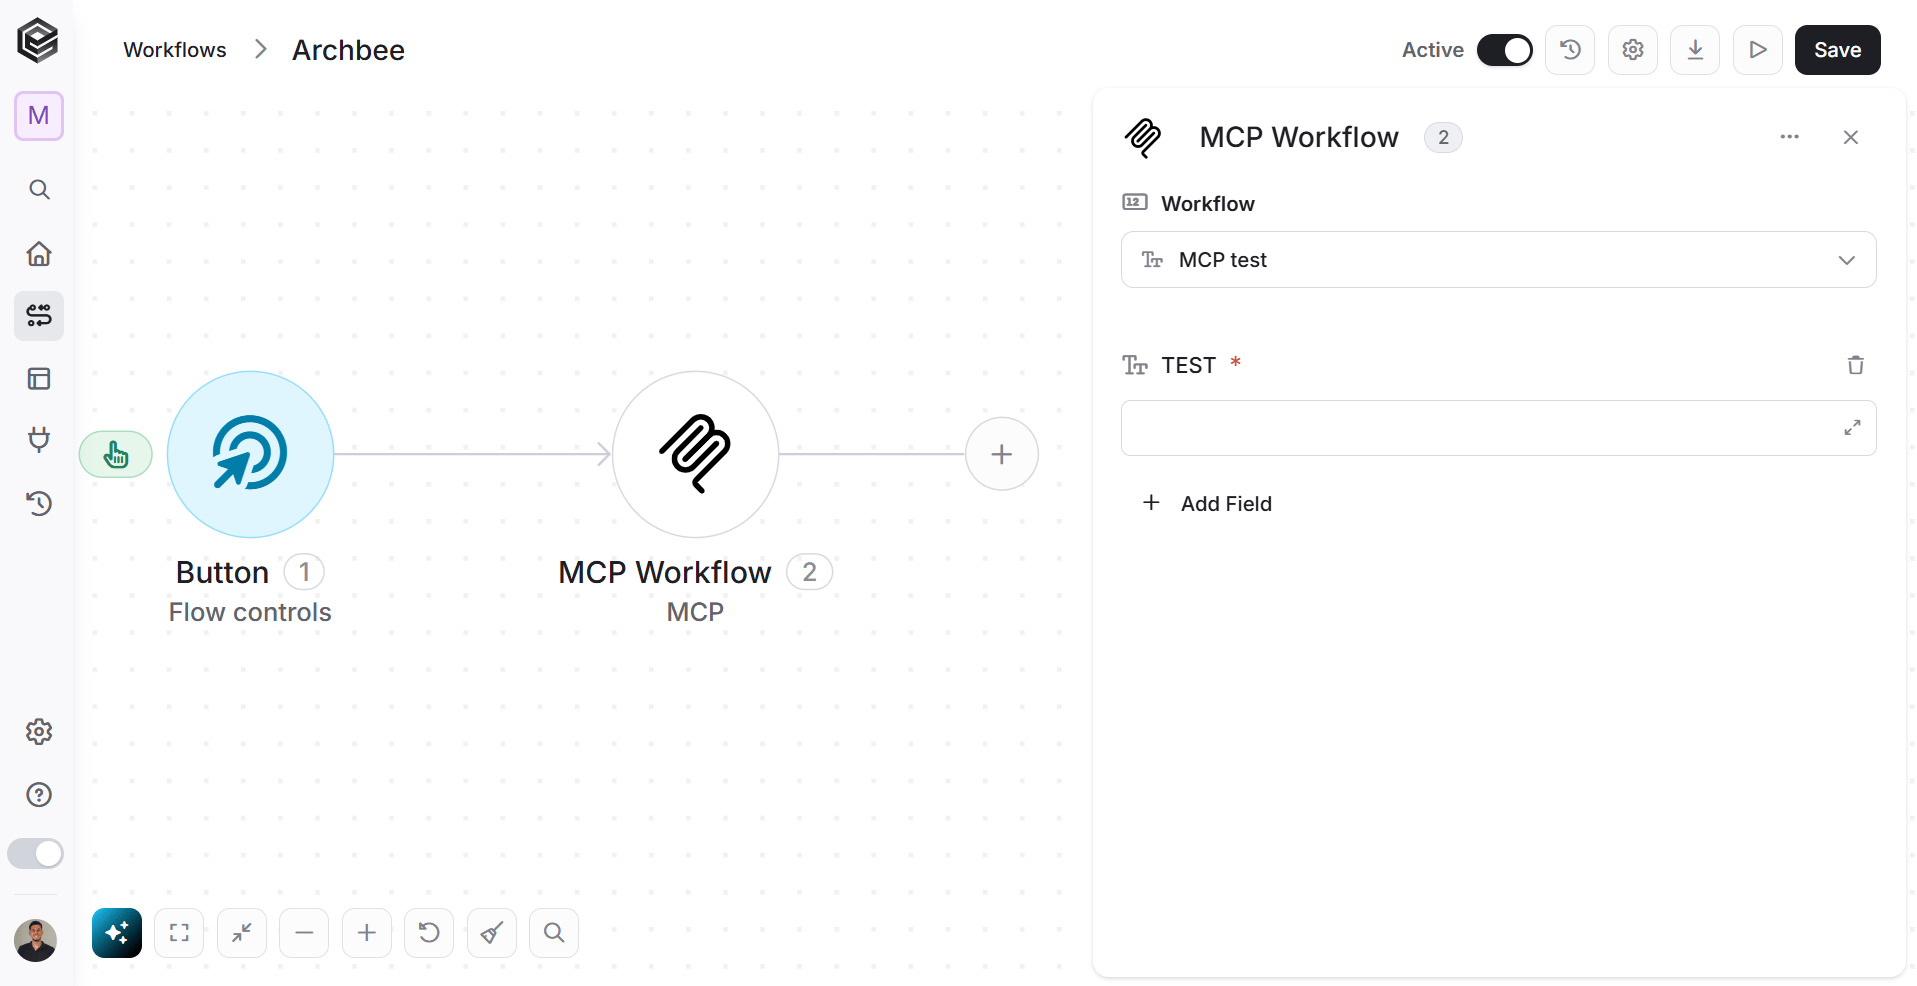
MCP Workflow
This step allows you to configure the MCP Workflow action. Here you define which workflow should be executed and what input data will be sent to it.
- Workflow - Select the specific MCP workflow you want to trigger. The selected workflow determines which logic will run and which input fields will be available for configuration.
- Add Field - By clicking the “Add field” button, you can add and define the specific fields for the user. You can add one field or multiple fields, up to the number of available fields in the user object. In this case, there is a single input field that accepts a JSON payload. The JSON should contain all required parameters for the workflow execution. Note: The available fields are taken from the MCP Trigger of the workflow you are triggering.
