

Getting started with Wolt
Prerequisites
- A Wolt account.
- Active access token
Connecting Engini to Wolt
- Enter your Engini account at https://app.engini.io.
-
Navigate to Connections page by clicking on the Connections on the left side bar or by clicking here.

-
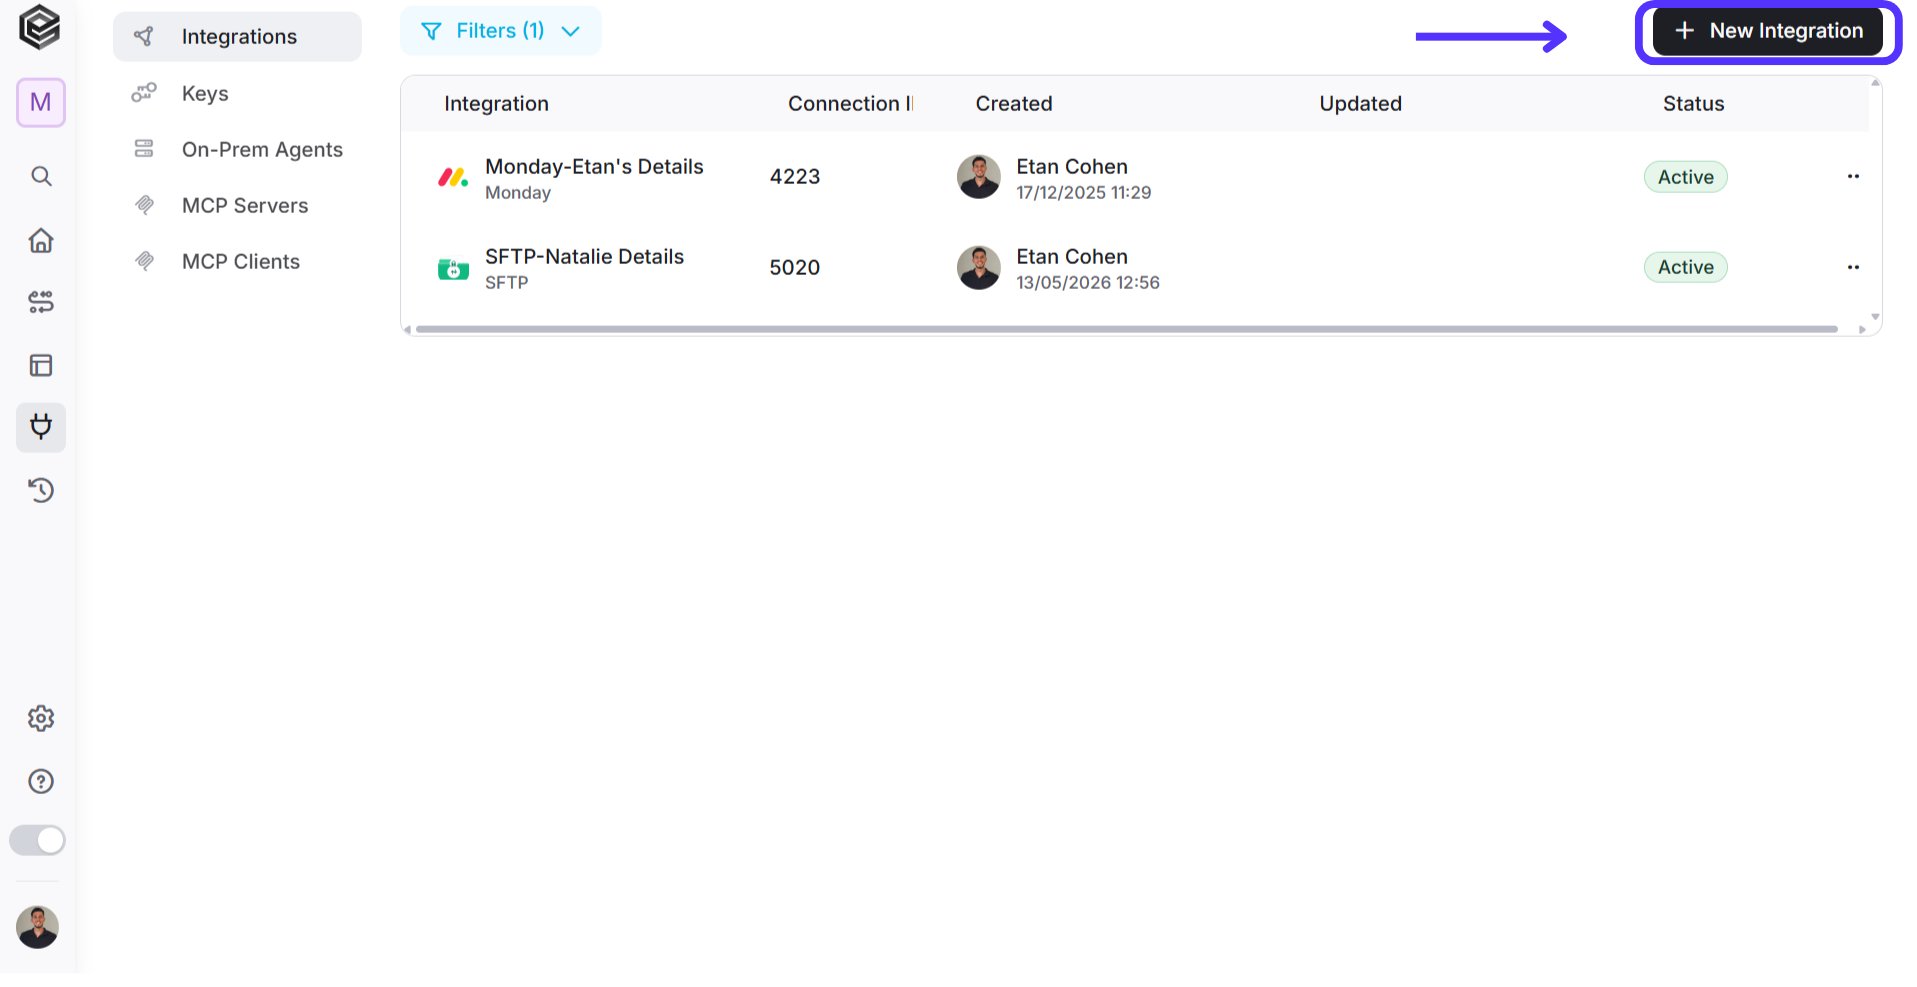
Click on the “New Integration” option located at the top bar.
-
Choose “Wolt” option from available applications.

-
Enter the following details in the “New Integration” form:

- Connection name – A unique identifier for the connection within Engini
-
Environment - Choose one of the environment:
- Production- The Production environment is the “live” version of the API where real business happens.
- Sandbox- The Sandbox is your “practice field.” It is an isolated testing environment where you can build and test your application without any real-world consequences.
- Api Url - The base URL provided by Wolt depending on the environment you selected above.
- Venue ID - Your ID will be paste automatically after Sign in.
- Signin - Click Signin and log in with the Wolt account used to create the project. This ensures access to the correct OAuth credentials and permissions.
- Click on the Save button to the save the connection.
Trigger
Order Notification Trigger
A webhook message sent from Wolt to Engini whenever an order’s status changes.
- Add Conditions - Click Add Conditions to define conditions that narrow down the data list and return only the relevant items. To learn more about using filters, click here.
Actions
Accept Order
Sent from your system to Wolt to confirm you have received and started preparing the order.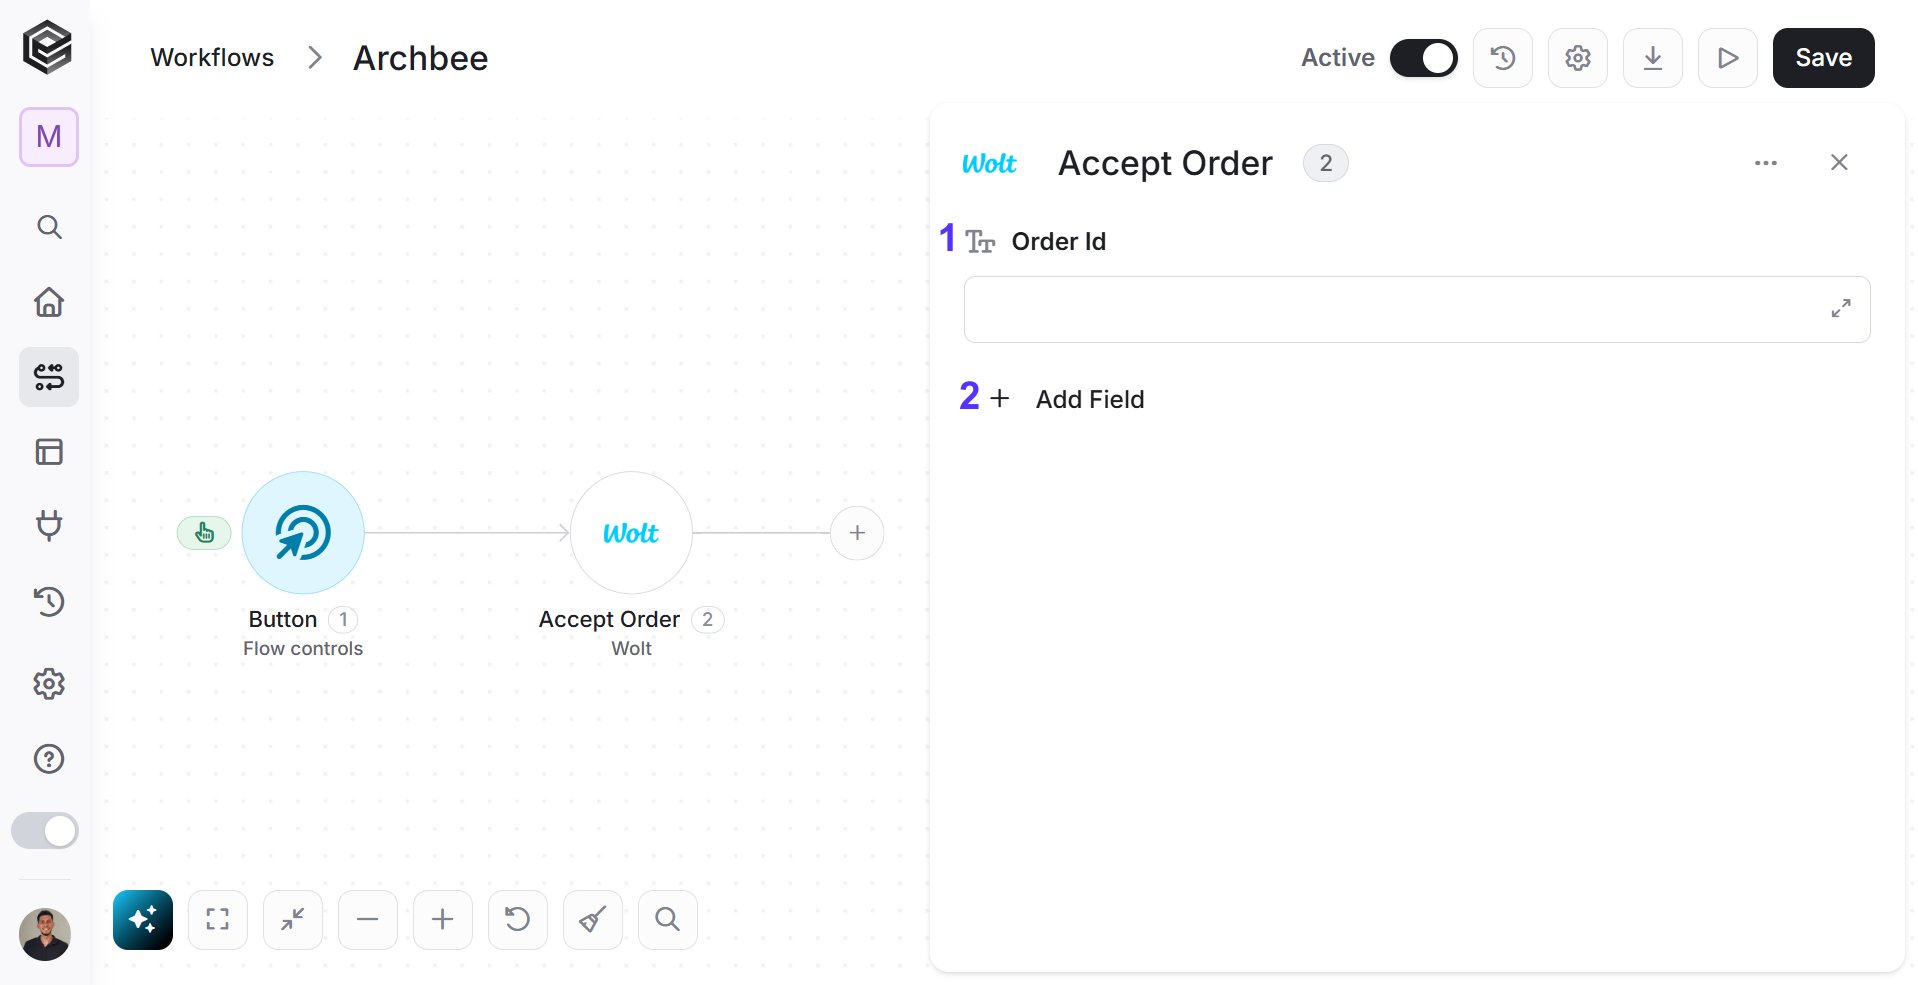
- Order Id - Provide the unique identification string for the order you are accepting.
- Add Field - Click Add Field to add and populate additional fields for the selected activity. To learn more about managing activity data, click here.
Create a Menu
This activity sends your entire list of products, prices, and categories from your system to Wolt.- Venue ID - Provide a unique identification code assigned by Wolt to a specific venue.
- Add Field - Click Add Field to add and populate additional fields for the selected activity. To learn more about managing activity data, click here.
- Categories[] (Required) The menu must include at least one category. Each category is added as a separate object inside the categories array.
- Name[] / Description[] (Translations) Category and item names are provided as translation arrays. Each entry includes a language (lang) and its text value (value).
- Nested objects A category can include additional nested data such as items, availability windows, and item configuration. These are also defined as arrays inside the parent object.
- Currency
- Primary Language
- Categories
Get Current Delivery Provider
This activity checks and retrieve who is currently responsible for delivering your orders.
Get Menu
This activity retrieve the current menu that is live on the Wolt.
Get Order
This activity retrieve the complete details of a specific order from Wolt.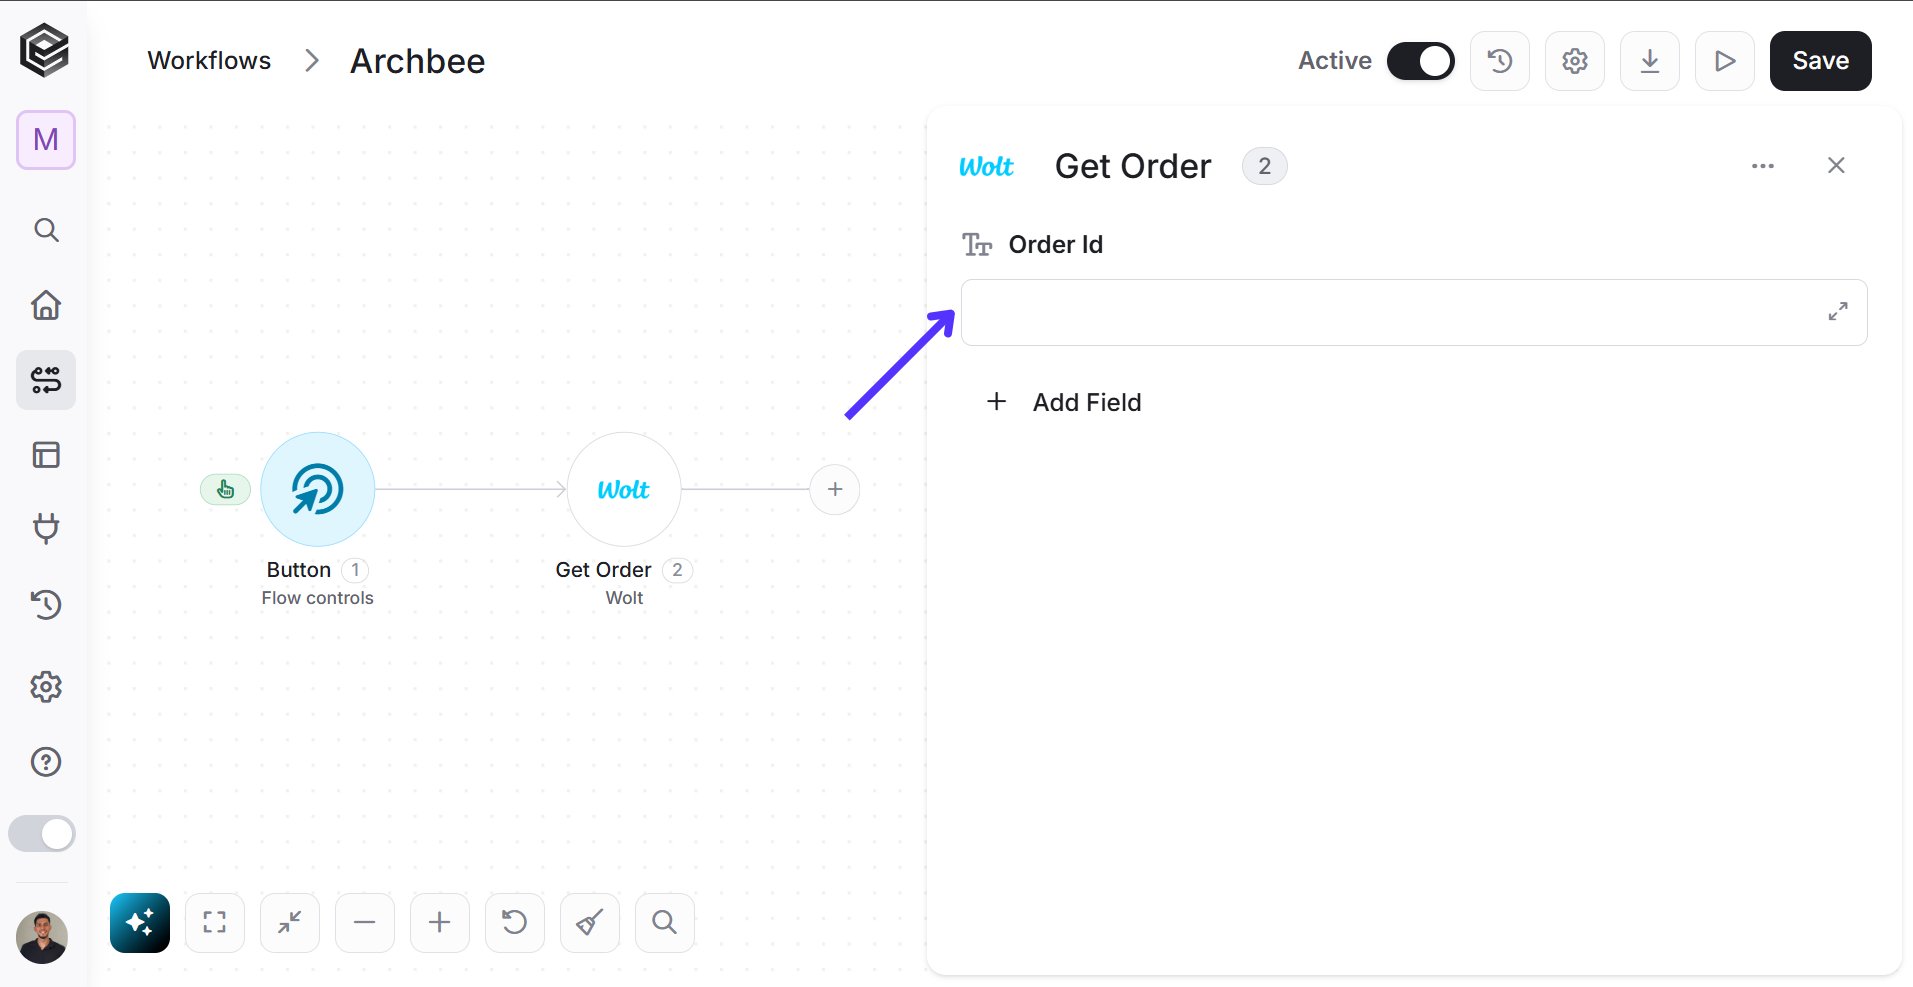
Get Timeslots for Next 7 Days for a Venue
This activity retrieves the schedule of available delivery or pickup windows for a specific store over the coming week.
Get Venue Status
This activity retrieves whether a specific store is currently open and able to receive new orders on the Wolt app.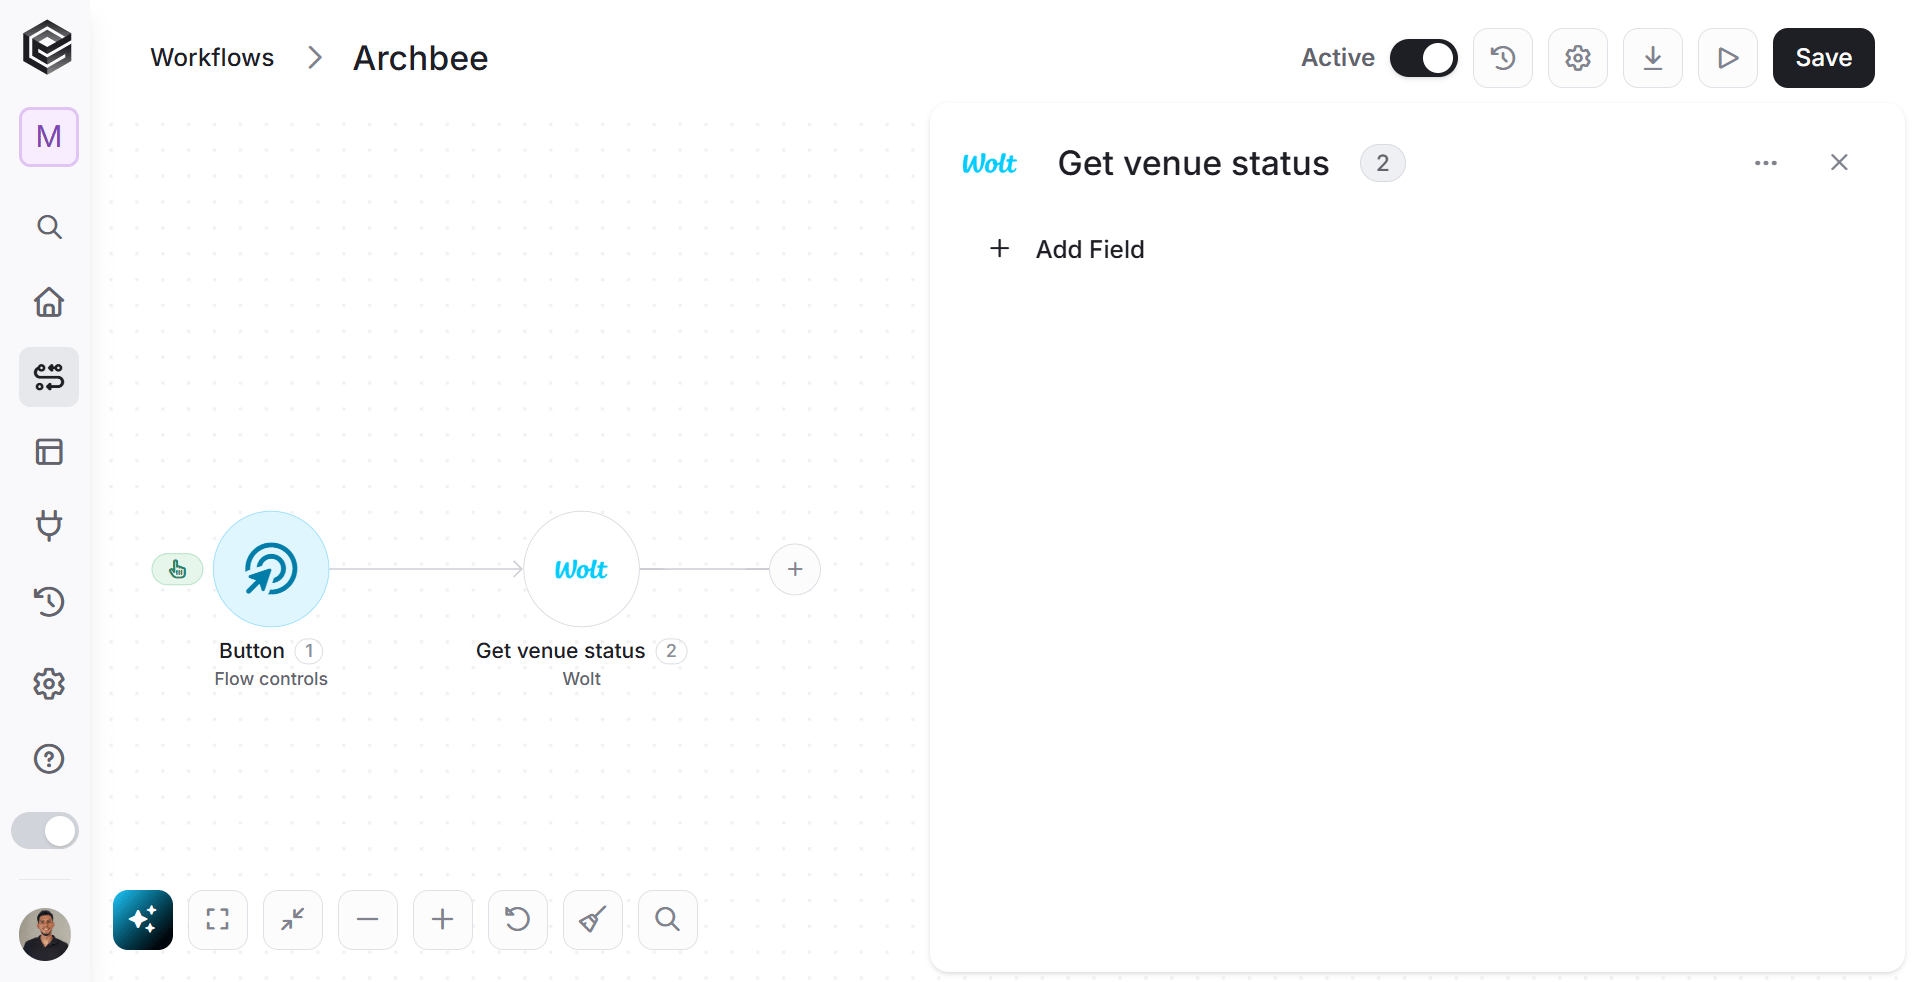
Mark Deposits Returned
This activity tells Wolt that you have successfully returned the deposit to a customer for a specific order.
- Order Id - Provide a unique identification code assigned by Wolt to a specific order.
- Add Field - Click Add Field to add and populate additional fields for the selected activity. To learn more about managing activity data, click here.
- Items [] - Required, List of returned deposit items.
Mark Order Delivered
This activity tells Wolt that the order has been successfully handed over to the customer.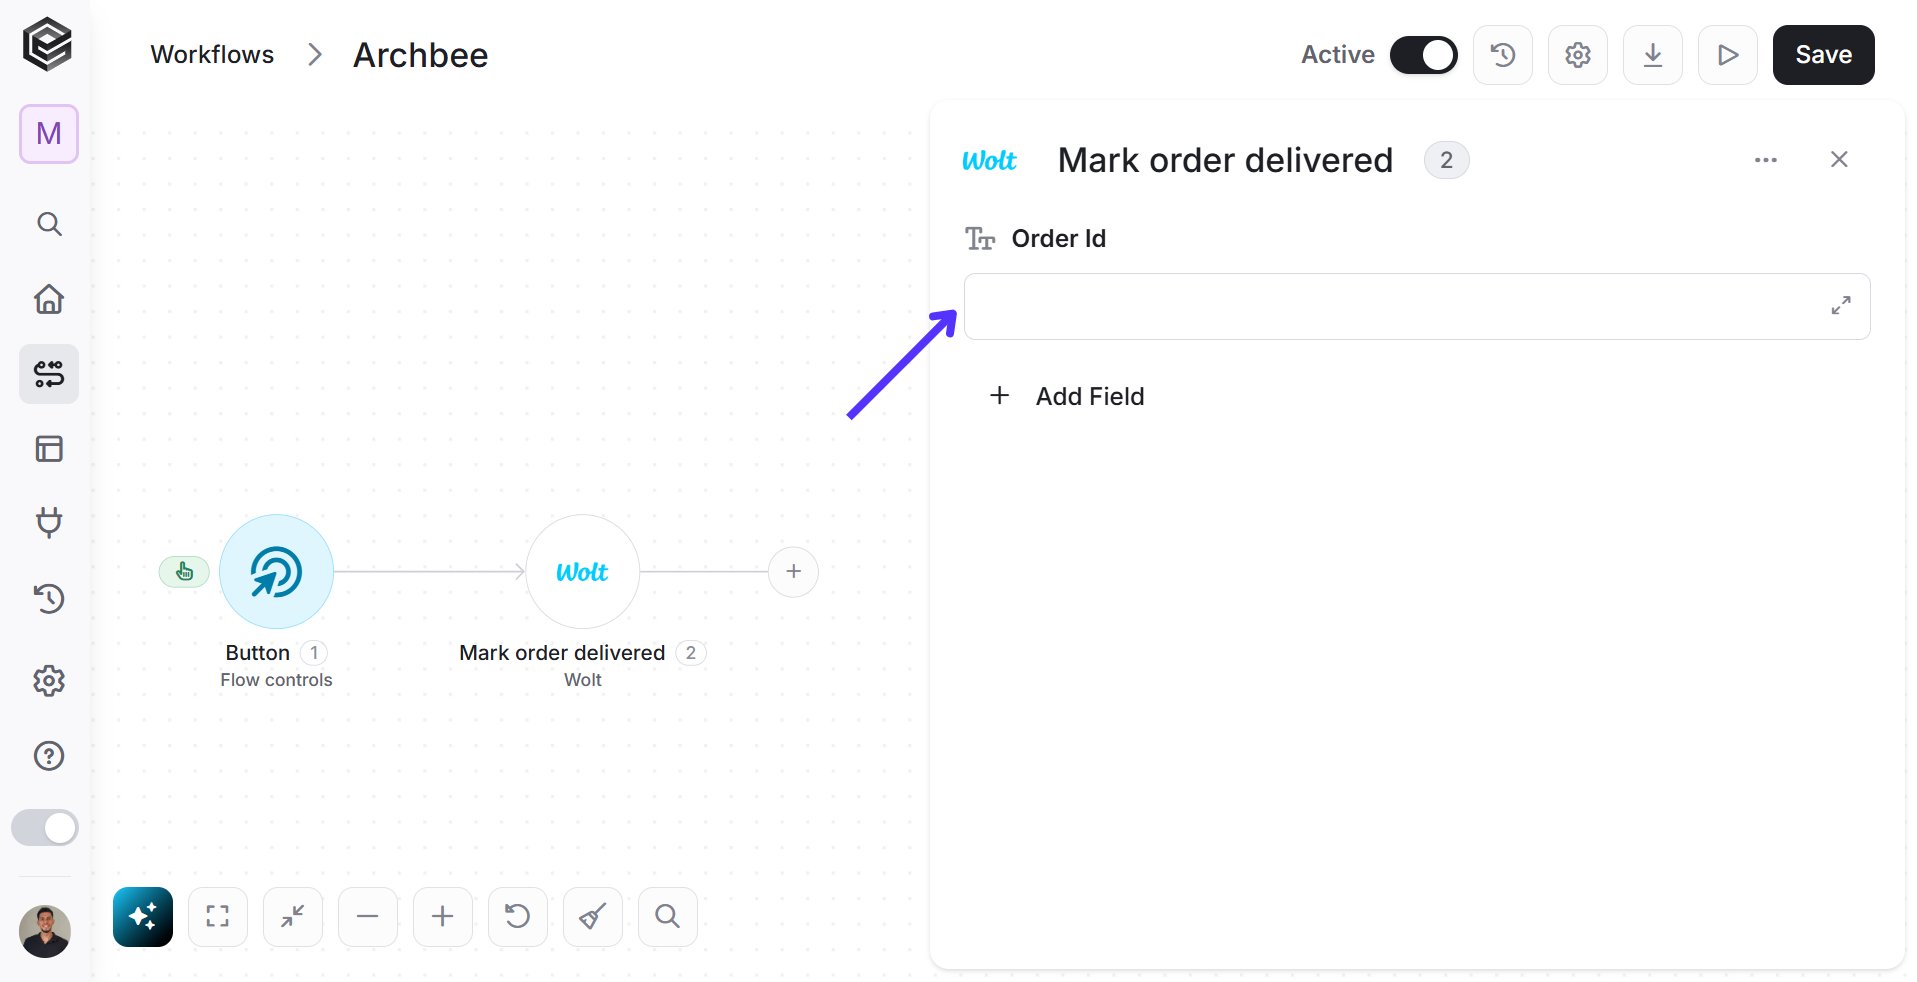
Mark Order Ready
This activity notifies Wolt that the order has been prepared and is now waiting to be picked up.
Mark Pickup Completed
This activity tells Wolt that the courier or customer has physically picked up the order from your store.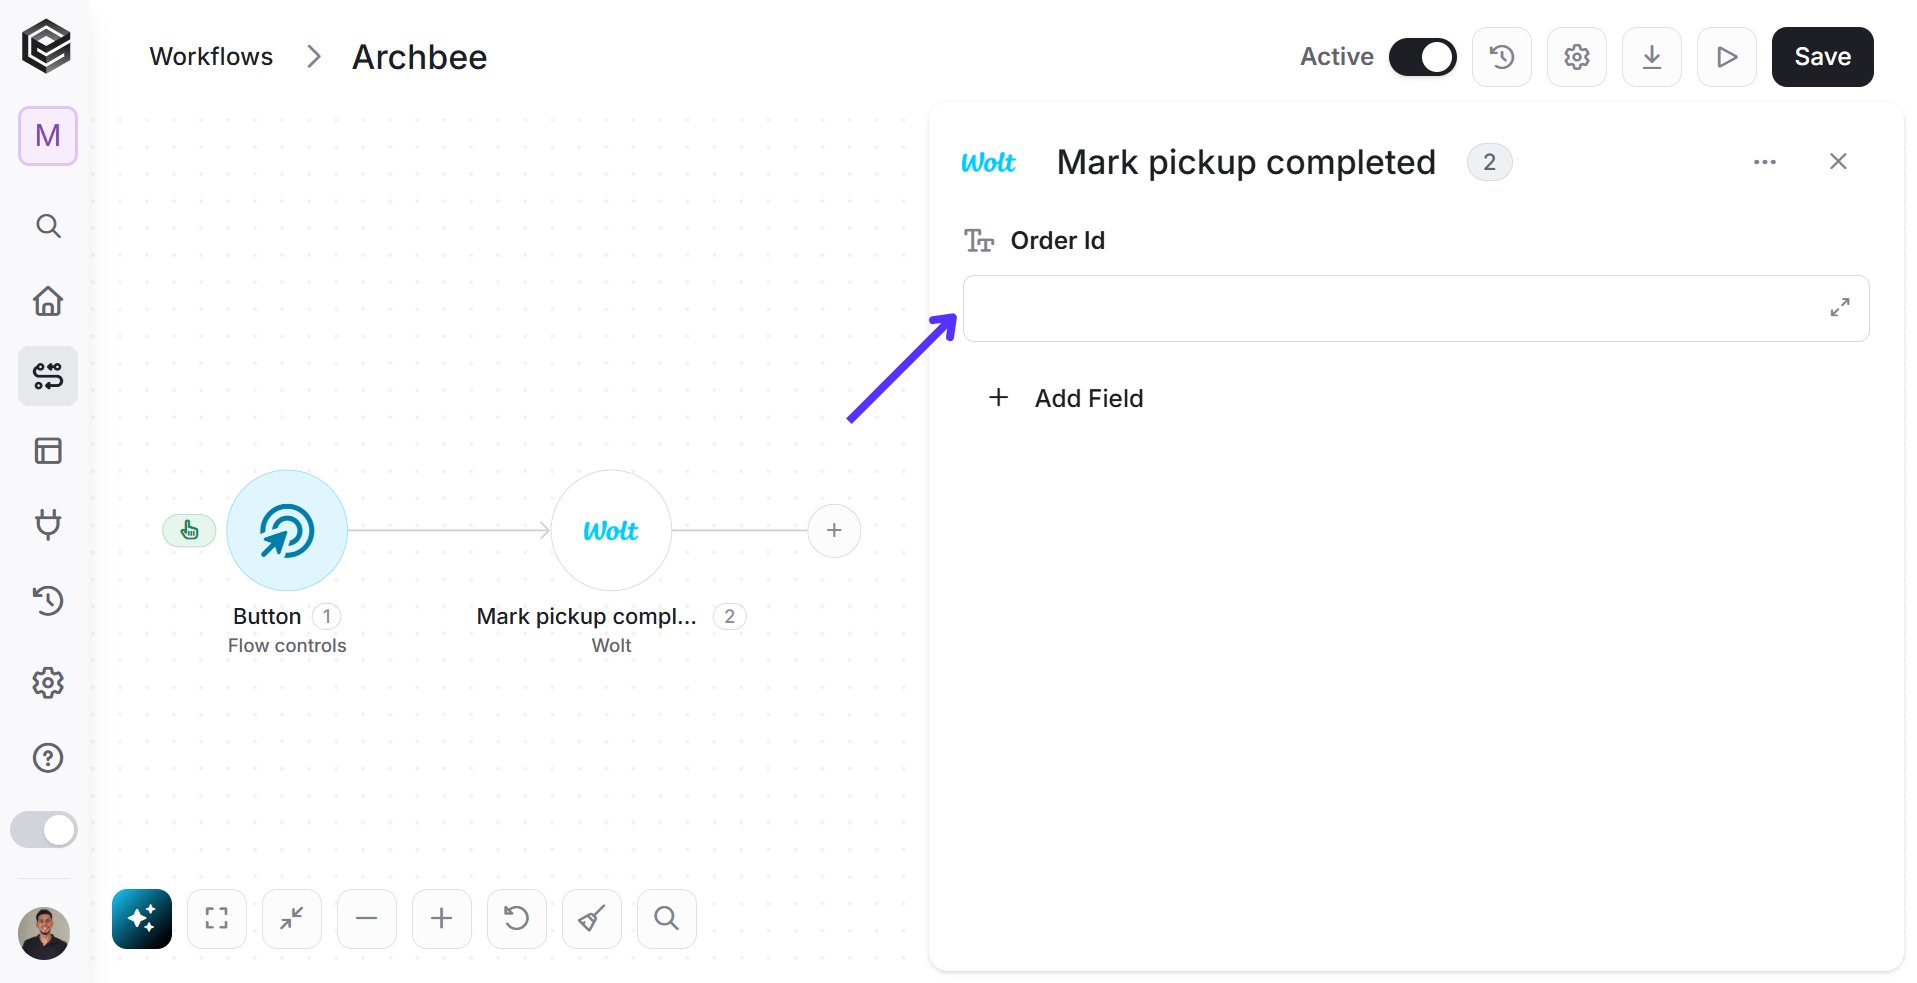
Reject Order
This activity allows you to decline an order.
- Order Id - Provide a unique identification code assigned by Wolt to a specific order.
- Add Field - Click Add Field to add and populate additional fields for the selected activity. To learn more about managing activity data, click here.
Update Delivery Provider
This activity update the delivery Provider.
- Add Field - Click Add Field to add and populate additional fields for the selected activity. To learn more about managing activity data, click here.
Update Menu’s Item Inventory
This activity lets you quickly update how much of a specific item you have left in stock.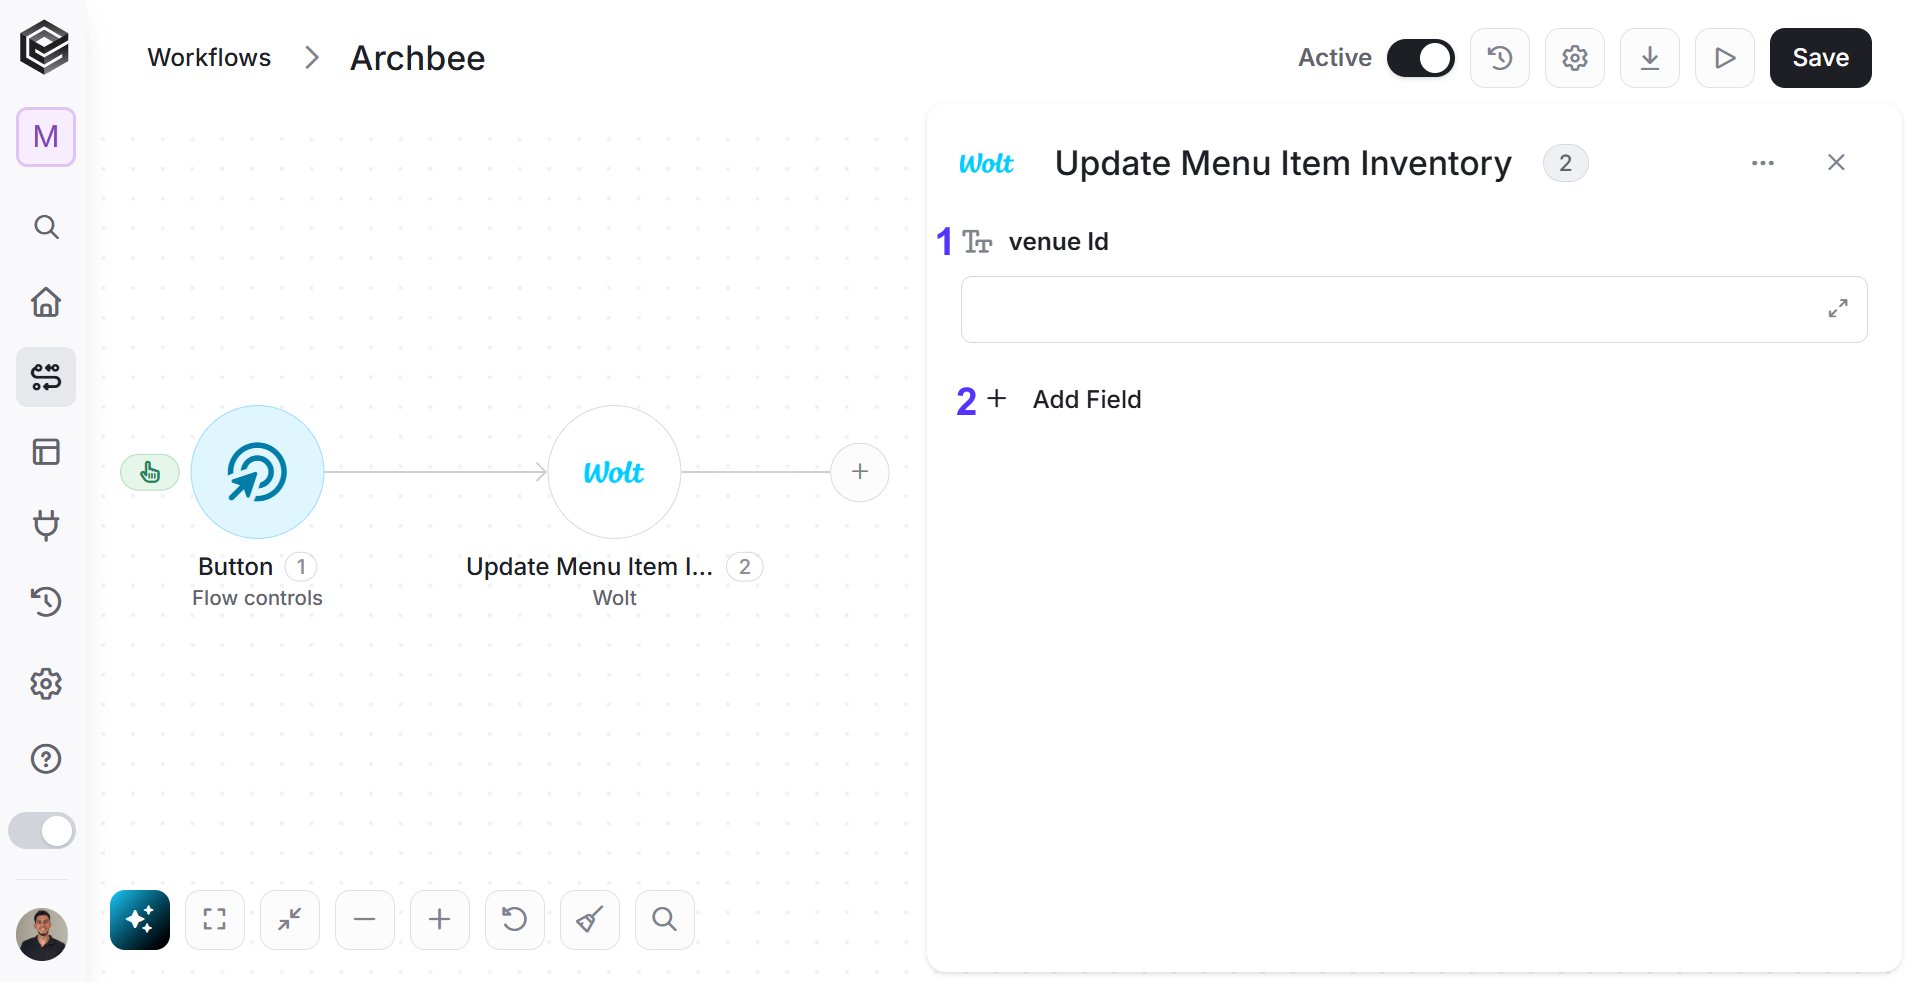
- Venue Id- Provide a unique identification code assigned by Wolt to a specific menu.
- Add Field - Click Add Field to add and populate additional fields for the selected activity. To learn more about managing activity data, click here.
- Data [] - Item inventories to update. You must define either external id, gtin or sku fields for each item to update
Update Menu Items
Update specific fields of menu items.
- Venue Id- Provide a unique identification code assigned by Wolt to a specific menu.
- Add Field - Click Add Field to add and populate additional fields for the selected activity. To learn more about managing activity data, click here.
- Data [] - Item inventories to update. You must define either external id, gtin or sku fields for each item to update
Update Menu Options
Update specific fields of menu options.
- Data [] - Item inventories to update. You must define either external id, gtin or sku fields for each item to update
Update Time Slot Order Capacities for a Venue
Update order capacities for given timeslots for a venue.
- Add Field - Click Add Field to add and populate additional fields for the selected activity. To learn more about managing activity data, click here.
Update Venue Online
Update the online status of the venue. This can be used to manually toggle a venue online or offline.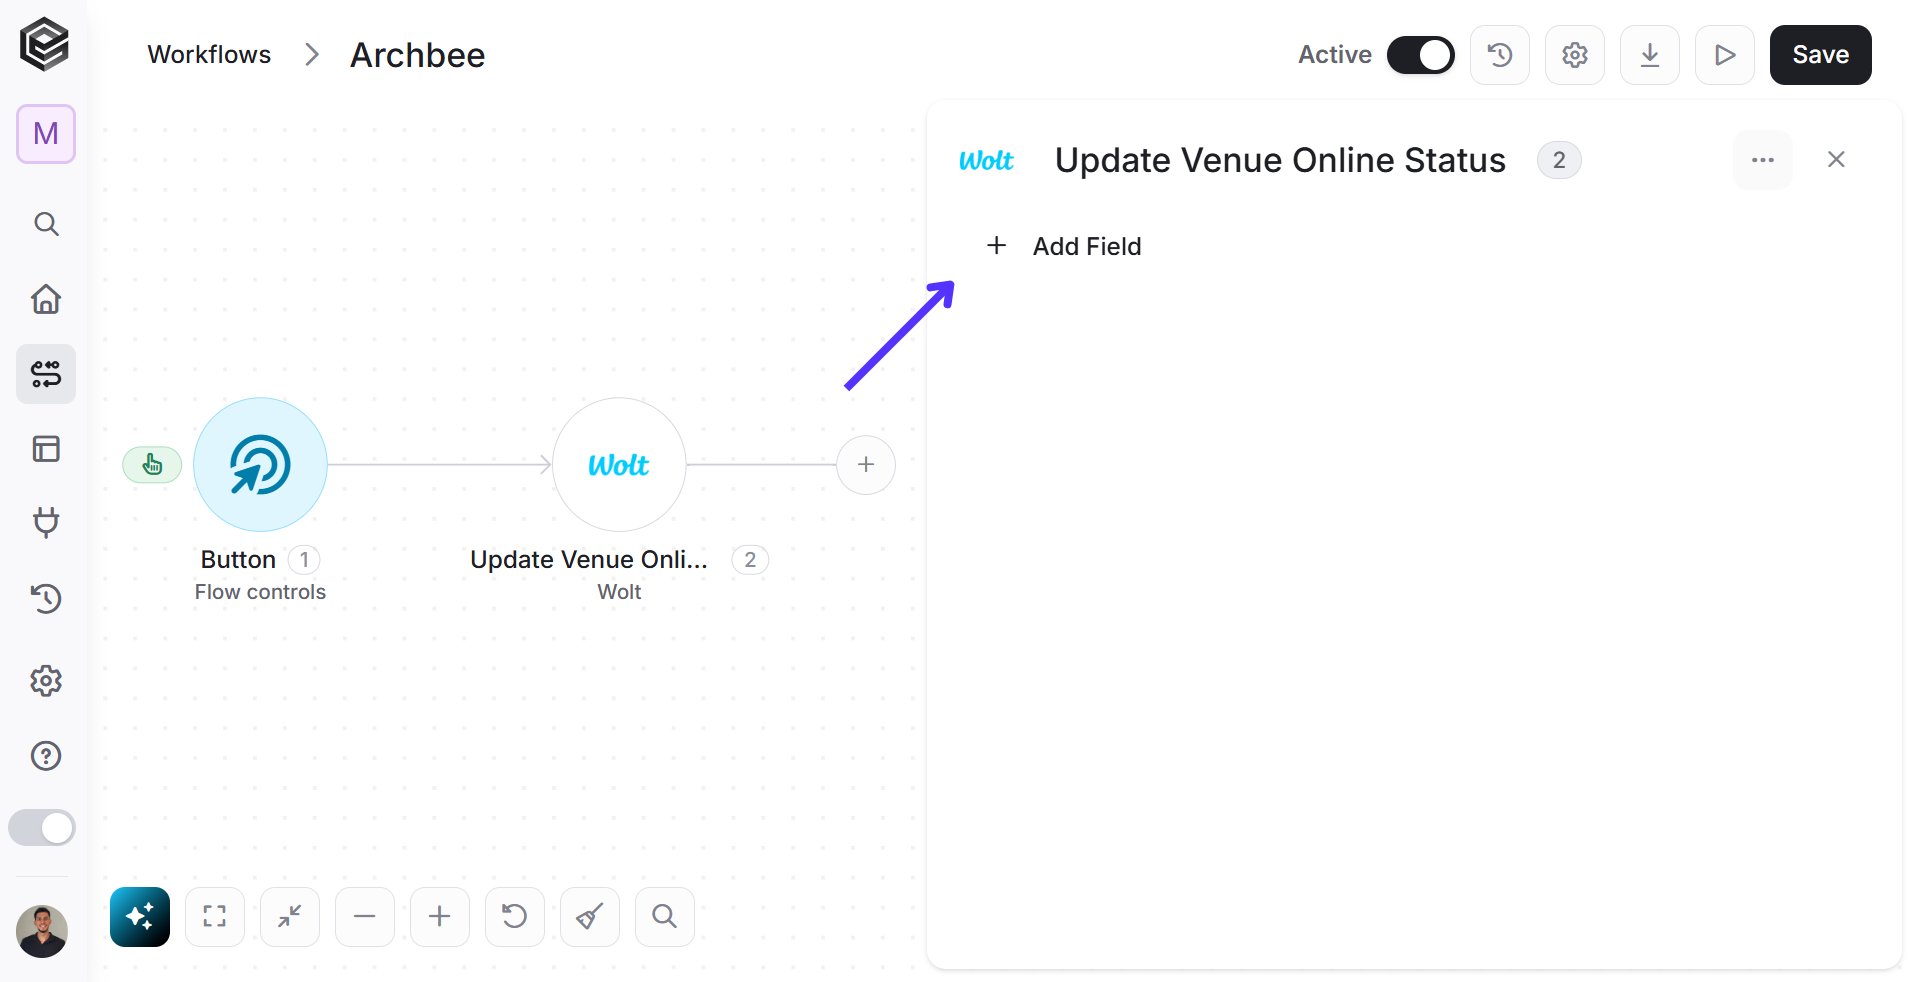
- Add Field - Click Add Field to add and populate additional fields for the selected activity. To learn more about managing activity data, click here.
Update Venue Opening Times
Update the opening times of the venue.
- Add Field - Click Add Field to add and populate additional fields for the selected activity. To learn more about managing activity data, click here.
- Availability [] - Venue’s operating hours.
Initialize Object Array
This activity initializes an object array in Wolt and stores a single structured entry based on the selected object type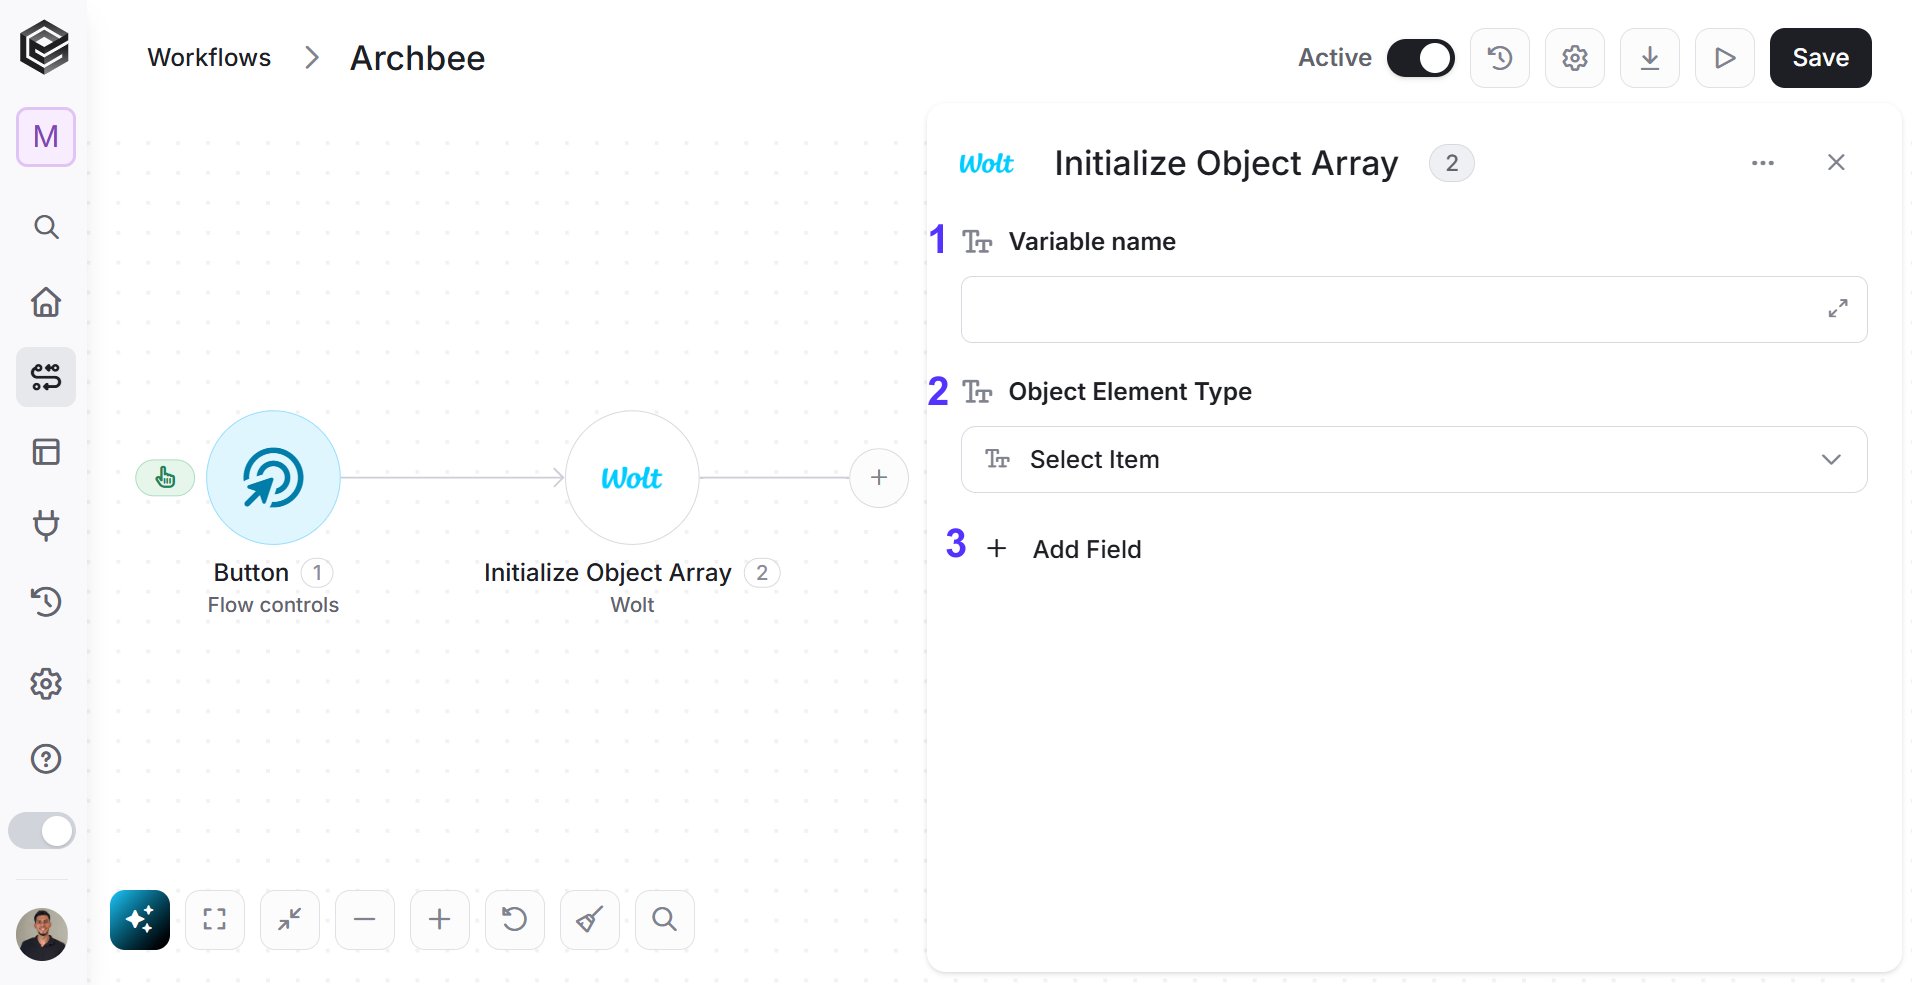
- Variable name - Choose a significant name.
- Object Element Type - This field defines the type of data the array will store, such as addresses and emails .The selected type determines the structure of the array and its use in subsequent actions.
- Add Field - Click Add Field to add and populate additional fields for the selected activity. To learn more about managing activity data, click here.
Append to Object Array
This action allows you to add a new item to an existing object array within your workflow.
- Variable - Select the variable that contains the object array you want to append to. The chosen variable should already be defined in your workflow.
- Add Field - Click Add Field to add and populate additional fields for the selected activity. To learn more about managing activity data, click here.
Map Object Array
We use this activity when there is an array of data that requires transformation into a different structure.
- Data List - Choose a data list that you’ve obtained from previous activities in your workflow. This data list contains an array of objects that you want to process and transform.
- Object Name - Define the type of objects from the drop down that will be stored within the array. According to the object element type you chose, the fields in step 3 will be defined. To learn more about object element types, go to ‘Object element types’.
- Add Field - Click Add Field to add and populate additional fields for the selected activity. To learn more about managing activity data, click here.
Send API Request
The Send API Request action allows you to call any Wolt API endpoint directly, giving you full control over the URL, HTTP method, headers, query parameters, and request body.
- Base URL – The Salesforce instance domain that serves as the root for the API call.
- Relative URL – The specific API path appended to the base URL (for example, a REST resource).
- Method – The HTTP method used for the request (GET, POST, PUT, PATCH, DELETE).
- Body Type – Defines the content type of the request payload (commonly application/json).
- Body – The request payload sent to Salesforce, structured according to the selected API endpoint.
- Add Headers – Used to include additional HTTP headers such as authorization or custom headers.
- Add Queries – Adds query string parameters to the request URL.