

Getting Started with Snowflake
Prerequisites
- An active Snowflake account/environment.
- The required authentication credentials and permissions to access the relevant warehouses, databases, schemas, and tables.
Connecting Engini to Snowflake
Add a connection to Snowflake in Engini
- Enter your Engini account at https://app.engini.io.
-
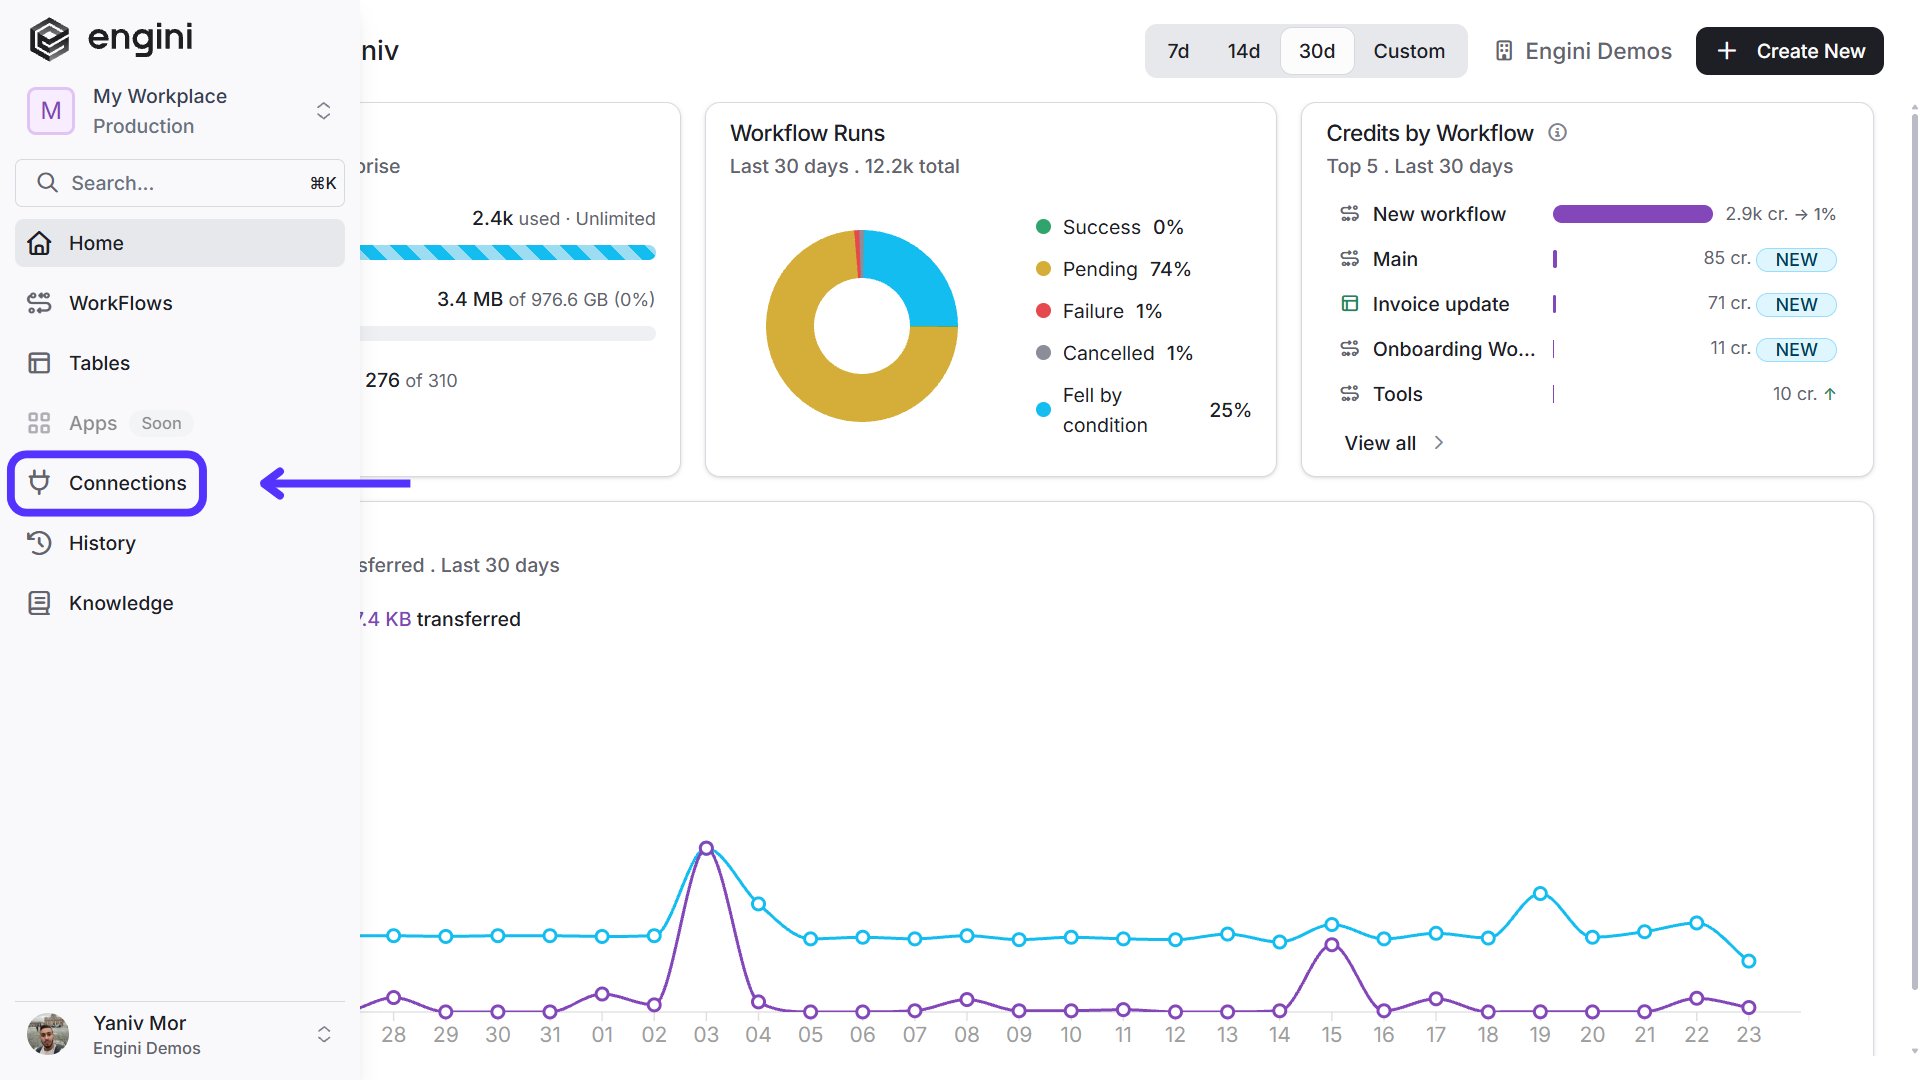
Navigate to Connections page by clicking on the Connections on the left sidebar or by clicking here.
-
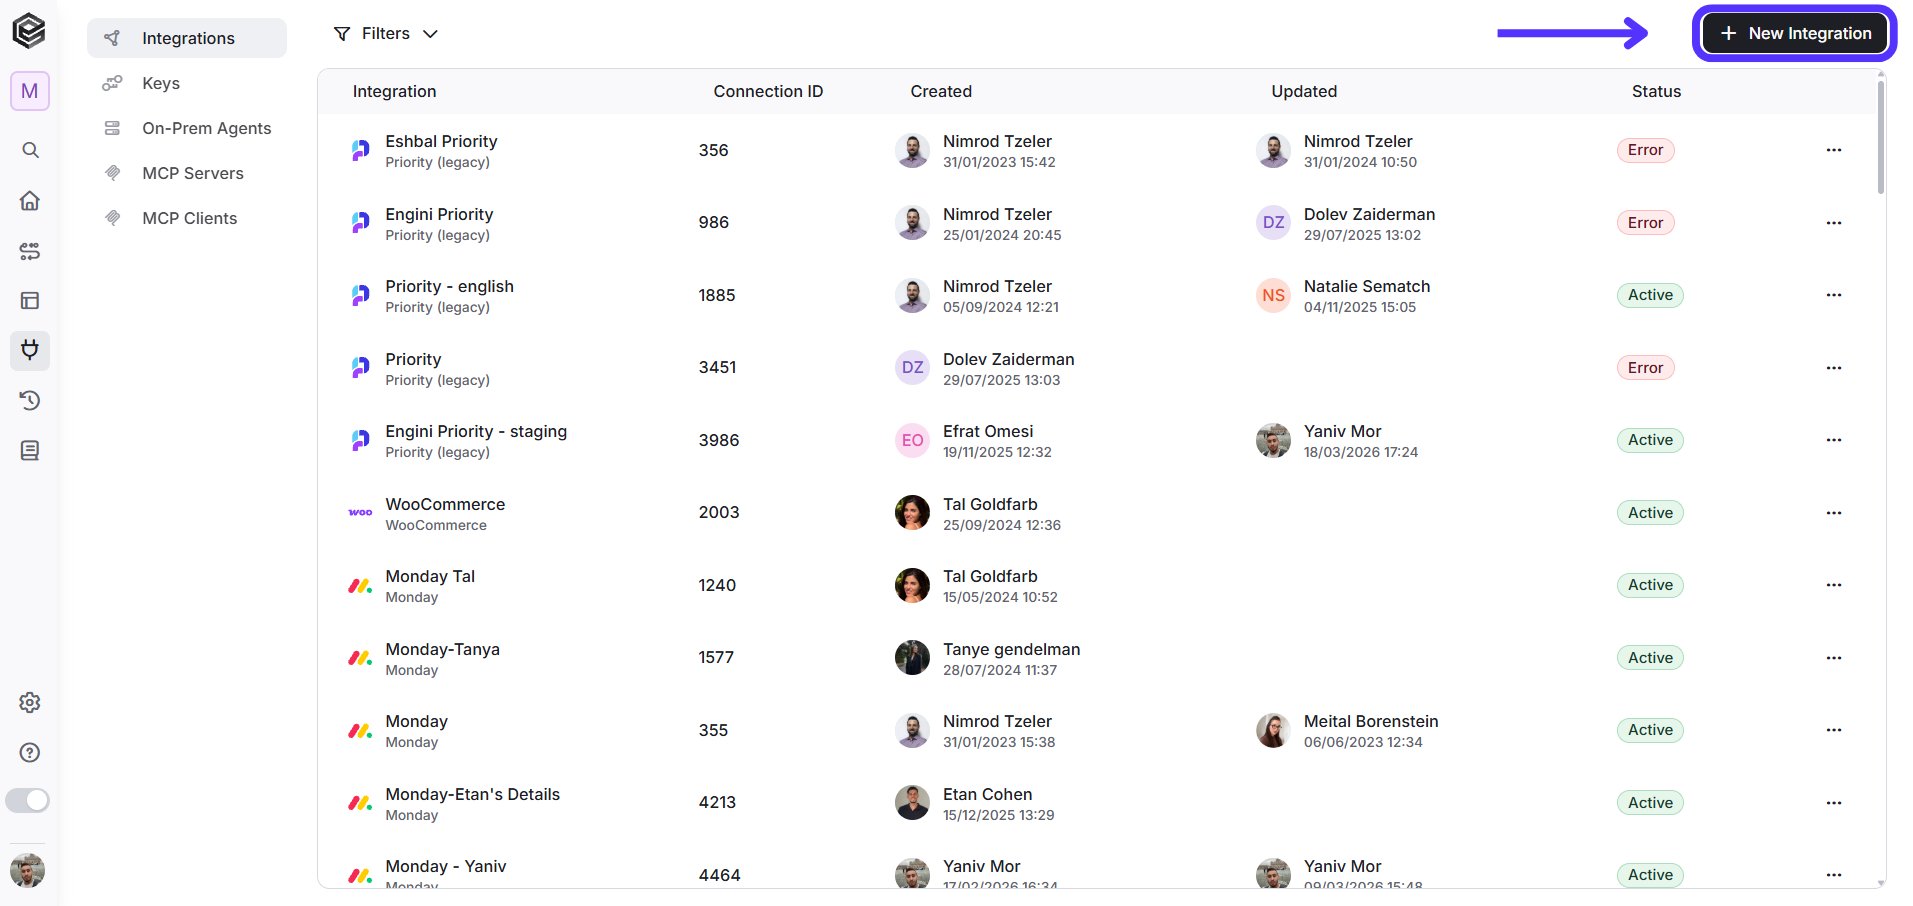
Click on the “New Integration” option located at the top bar.
-
Choose Snowflake option from the available applications.

-
Enter the following details in the “New Integration” form and press Save:
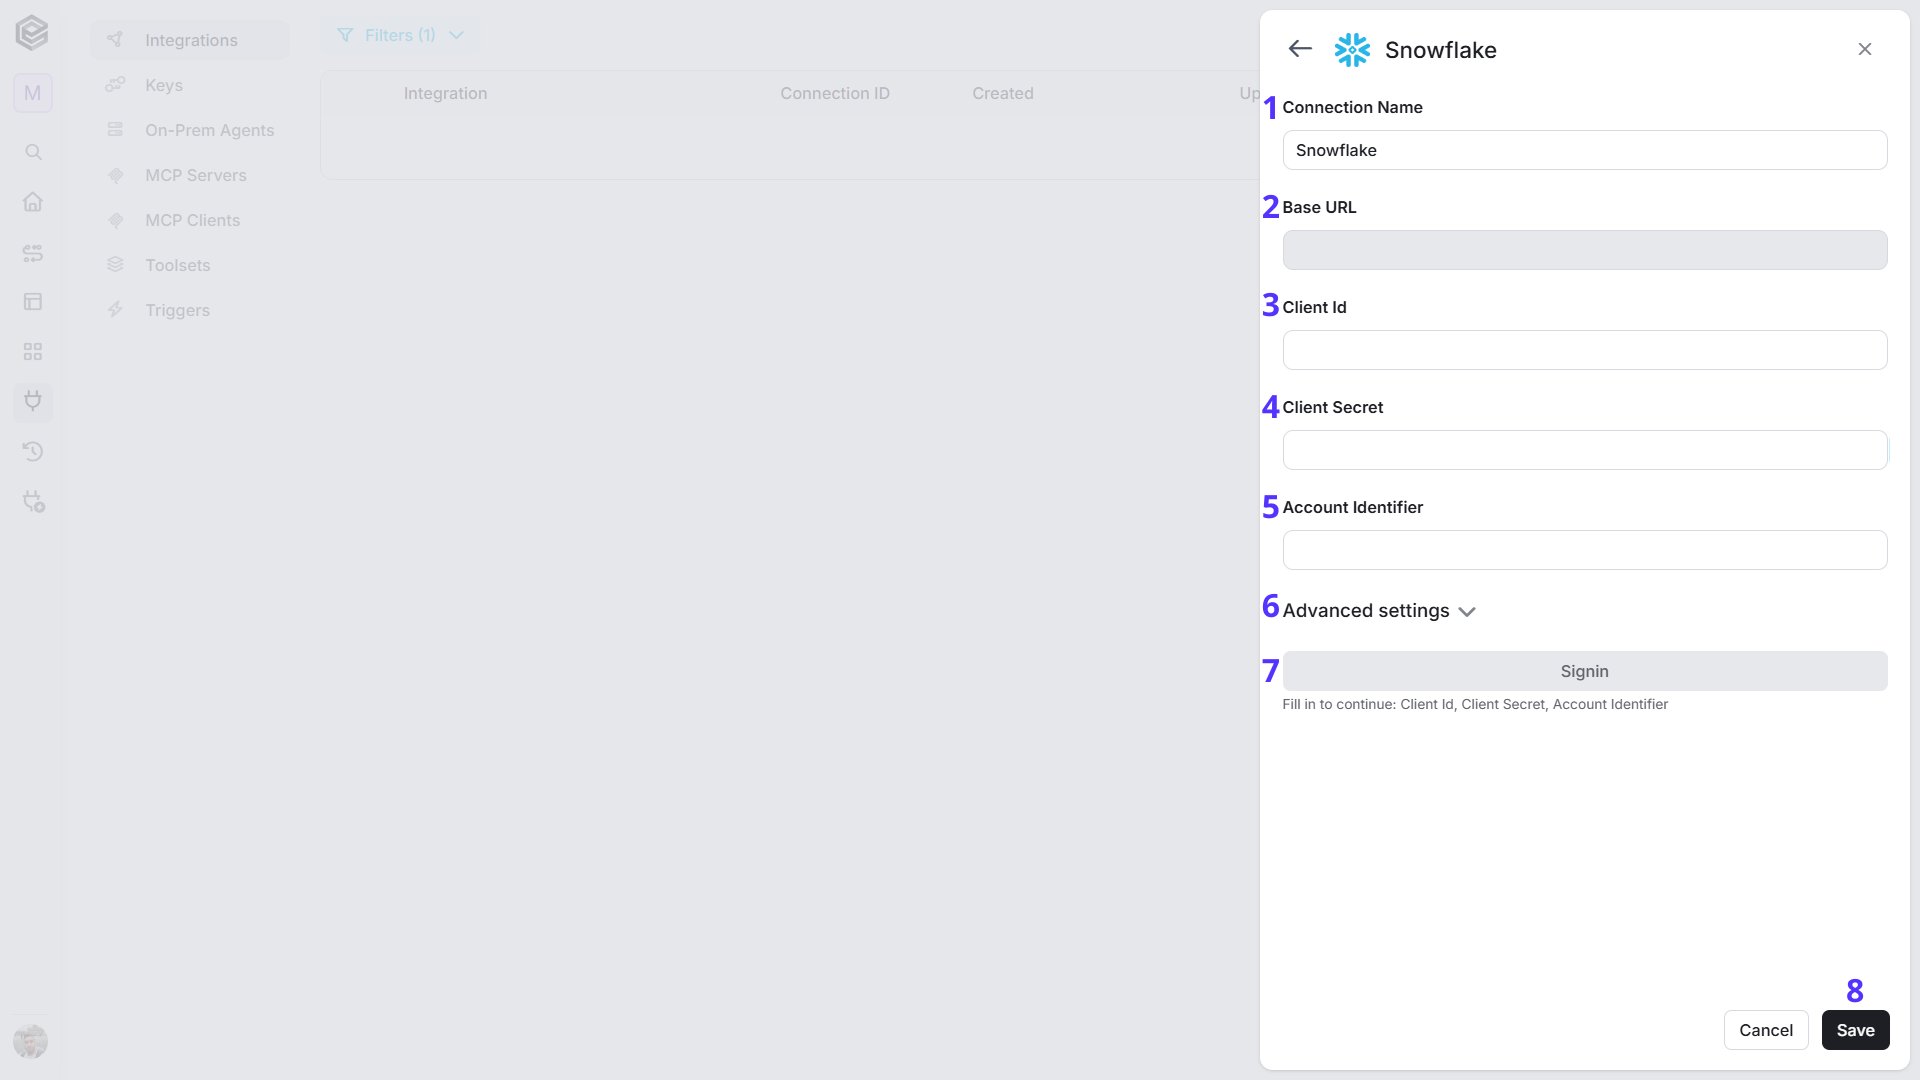
- Connection Name - Enter a clear name to identify this Snowflake connection in Engini. This name will help distinguish it from other connections configured for the same integration.
- Base URL - Displays the base URL used for the Snowflake connection. This value defines the endpoint Engini will use when communicating with Snowflake.
- Client Id - Enter the Client ID provided for your Snowflake OAuth application. It is used together with the Client Secret to authenticate the connection.
- Client Secret - Enter the Client Secret associated with the OAuth application. This value is used securely during the authentication process.
- Account Identifier - Enter the unique identifier of your Snowflake account. This value is required so Engini can connect to the correct Snowflake environment.
- Advanced settings - Expand this section to view and configure additional connection options when needed.
- Signin - Click Signin after entering the required connection details. Engini will use the provided credentials to authenticate with Snowflake.
- Save - Click Save to store the connection configuration after the authentication process is completed.
Triggers
New Row
Triggers when a new row is added to a selected Snowflake table, allowing the workflow to continue with the newly created row data.Scheduled Query
Runs a predefined Snowflake query automatically according to a configured schedule and returns the query results.Updated Row
Triggers when an existing row is updated in a selected Snowflake table and provides the updated row data to the workflow.Actions
Create Database
Creates a new database in Snowflake using the specified database name and configuration.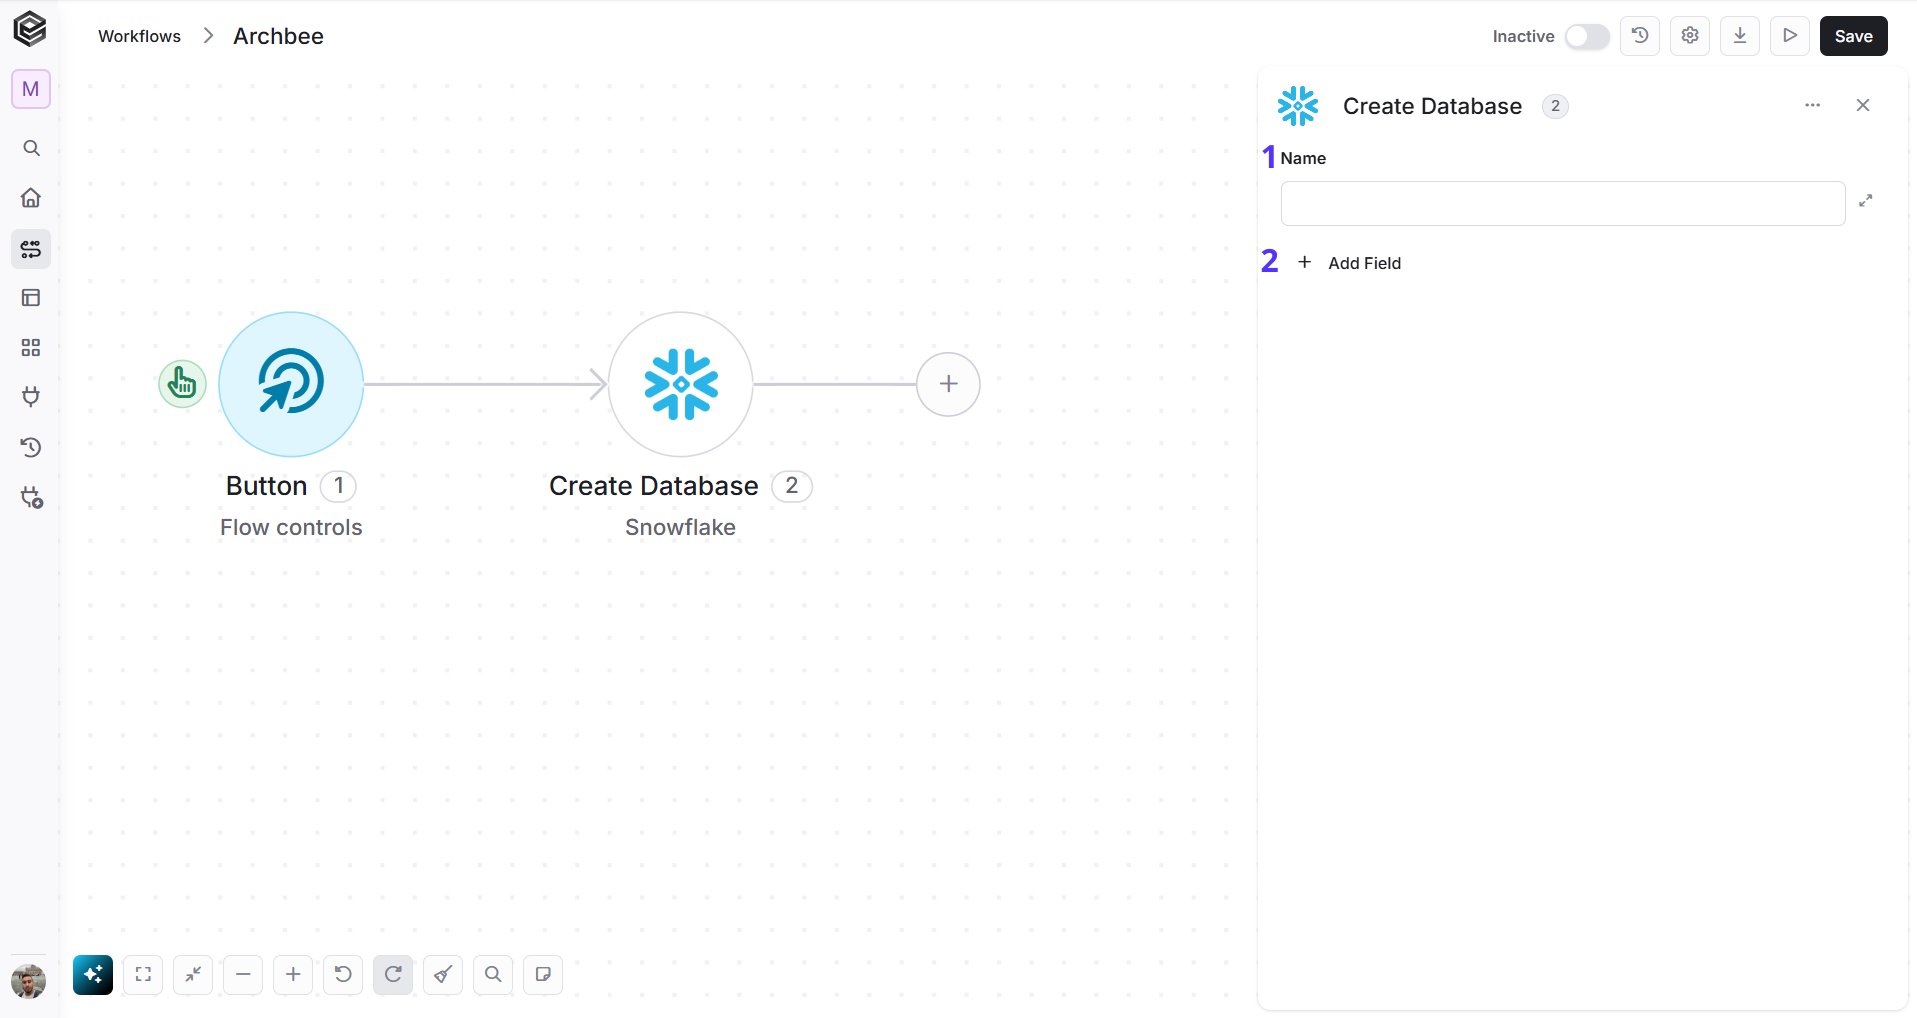
- Name - Enter the name of the new Snowflake database you want to create.
- Add Field - Click Add Field to add and populate additional fields for the selected activity. To learn more about managing activity data, click here.
Create Row
Adds a new row to a selected Snowflake table using the field values provided in the action.
- Database - Select the Snowflake database you want to work with. The selected database determines the available options in the following Warehouse and Role fields.
- Warehouse - Select the Snowflake warehouse that will be used to execute the operation. The warehouse provides the compute resources required to process the request.
- Role - Select the Snowflake role to use for the operation. The selected role determines the permissions and access available when interacting with the database.
Create Schema
Creates a new schema inside a selected Snowflake database for organizing tables and other database objects.
- Database - Select the Snowflake database in which you want to create the new schema. After selecting a database, the relevant schema configuration fields will become available for defining the new schema.
Create Table
Creates a new table inside a selected Snowflake schema using the defined table structure and fields.
- Database - Select the Snowflake database in which you want to create the new table. After selecting a database, the relevant schemas and additional table configuration fields will become available for defining where and how the table should be created.
Delete Database
Deletes an existing Snowflake database and removes the database according to the provided configuration.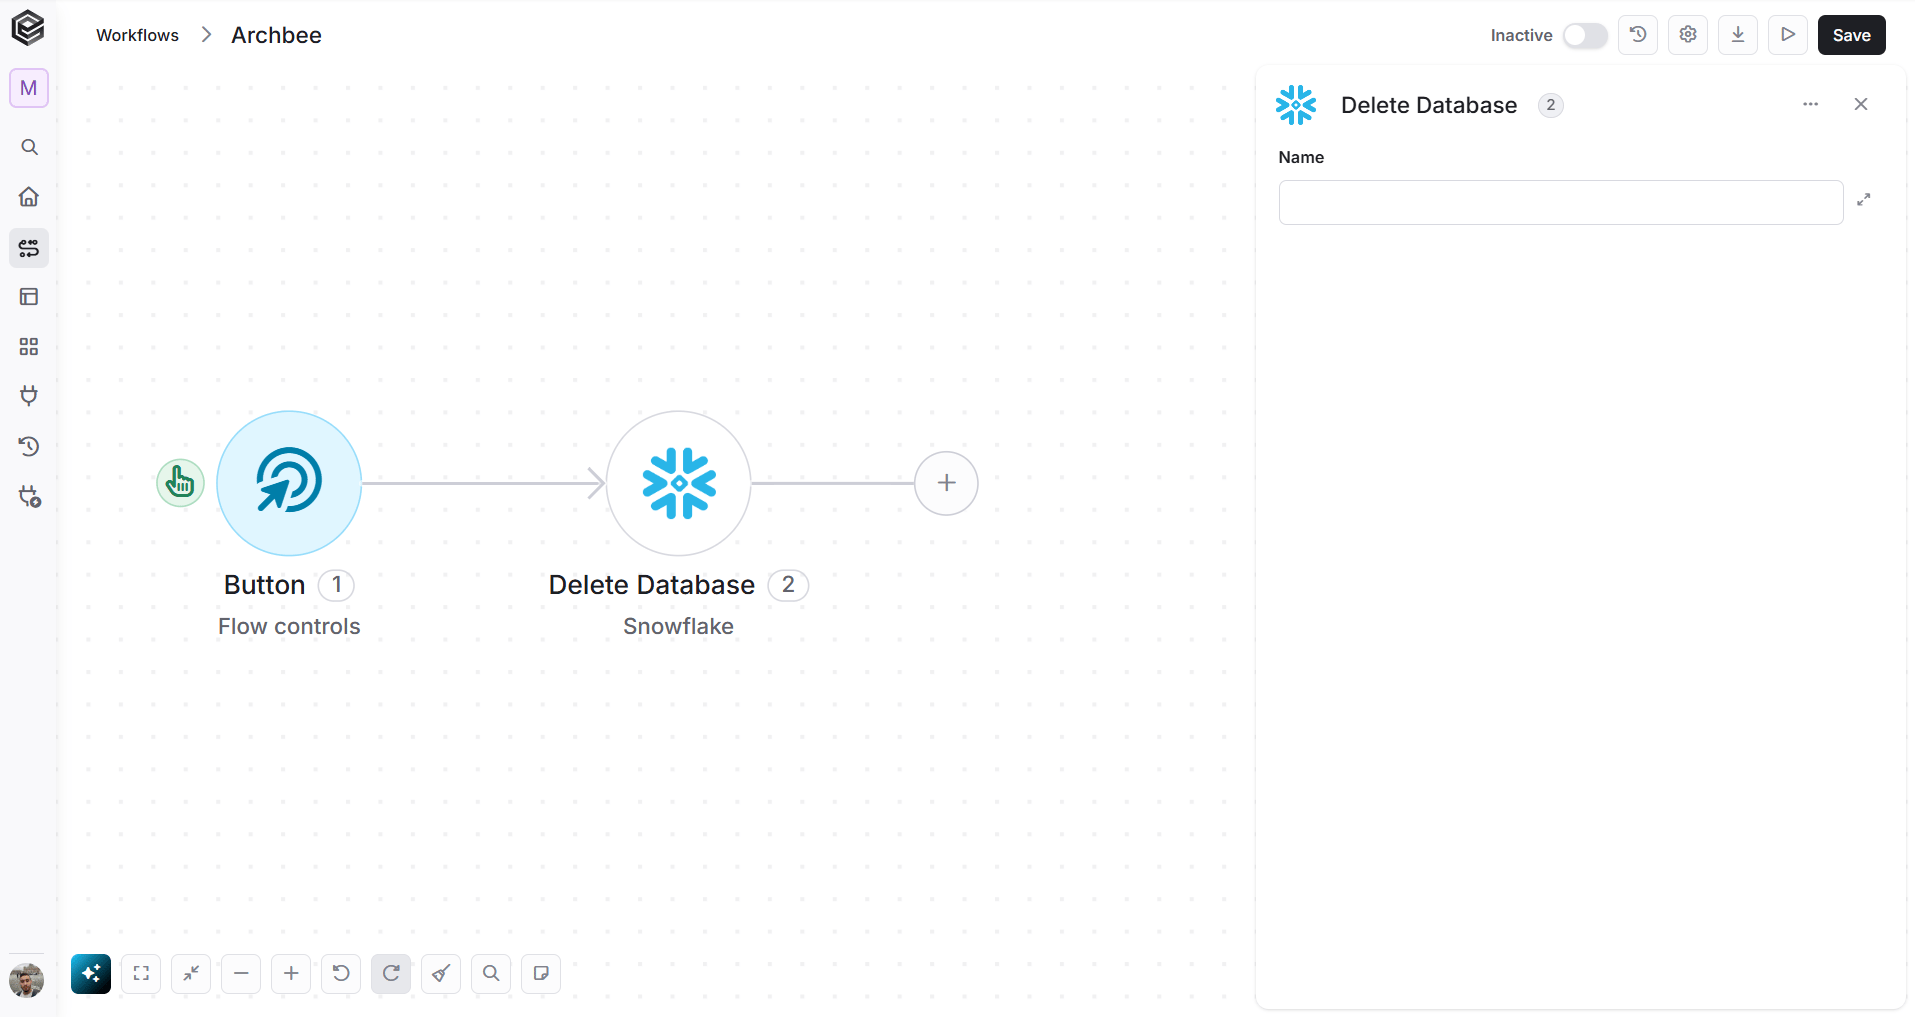
- Name - Select the Snowflake database you want to delete. The field automatically retrieves the databases associated with the connected Snowflake account, allowing you to choose the relevant database from the available options.
Delete Row
Deletes a specific row from a selected Snowflake table based on the provided row identifier or conditions.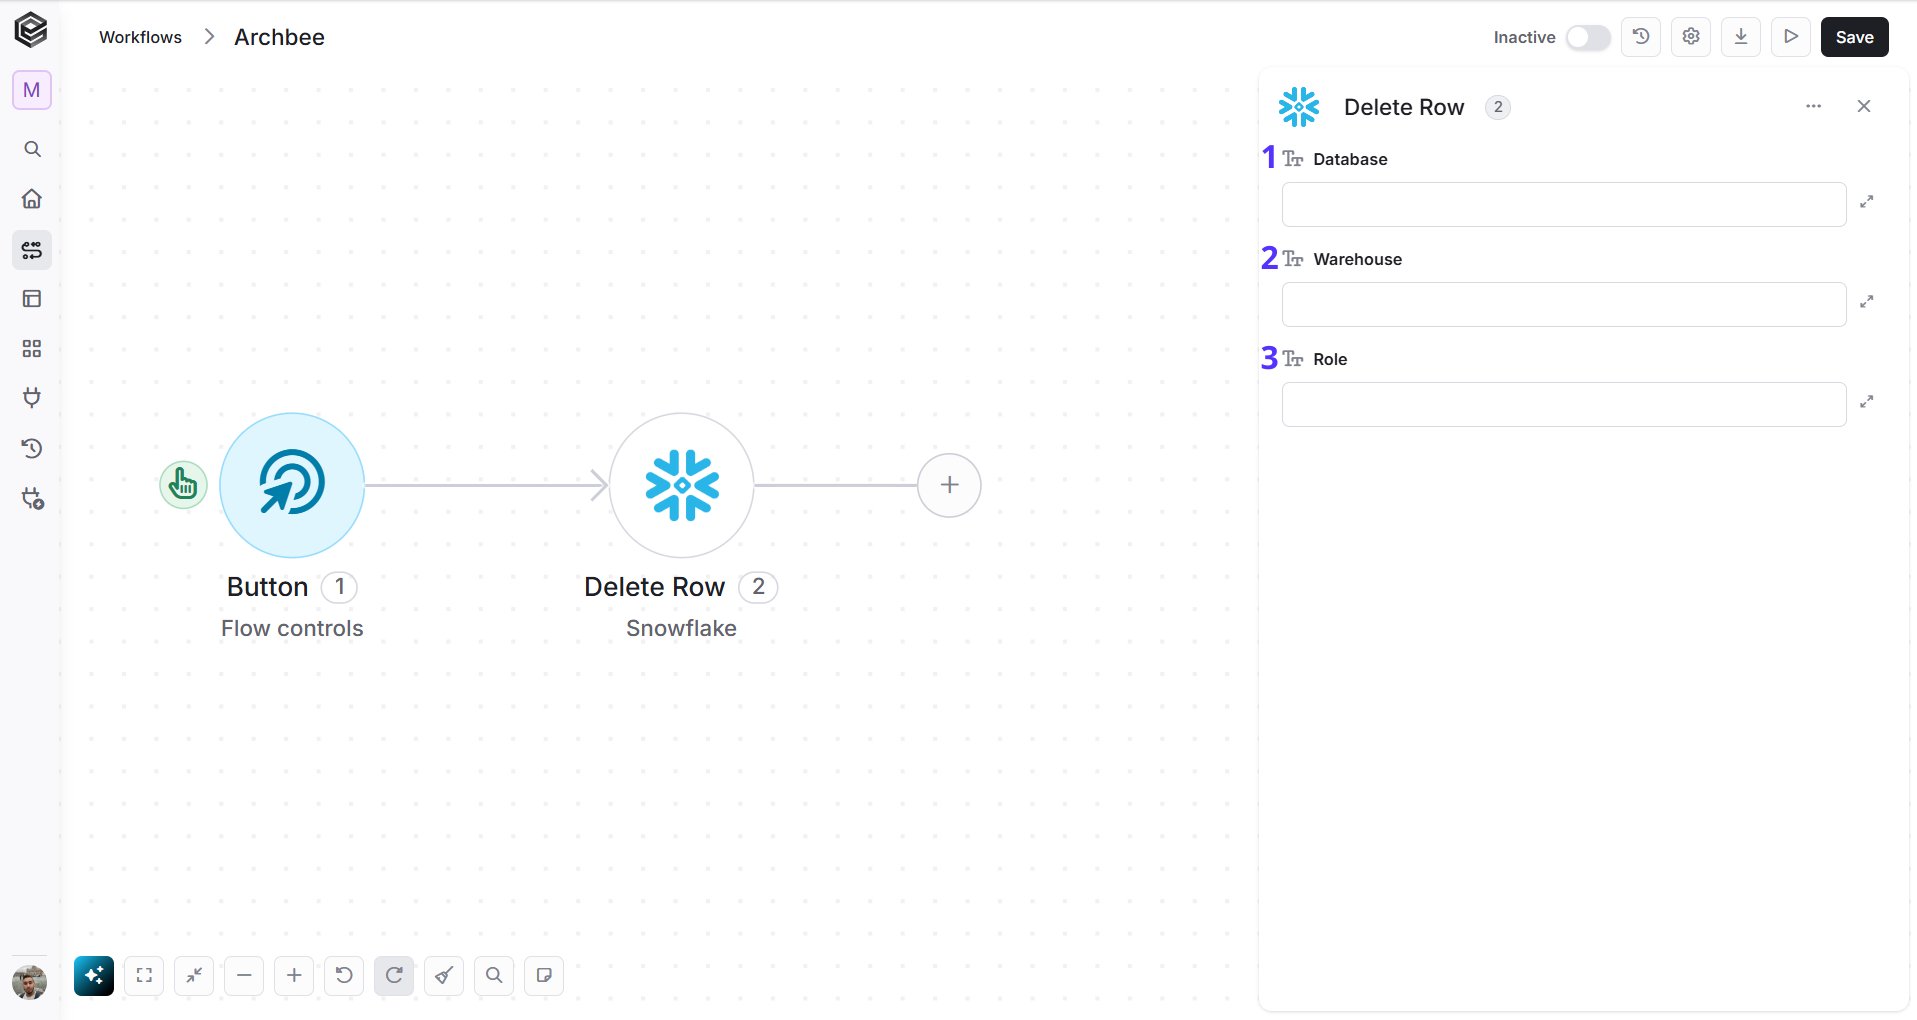
- Database - Select the Snowflake database that contains the row you want to delete. After selecting a database, the relevant objects and fields required to identify the target row become available.
- Warehouse - Select the Snowflake warehouse that will execute the delete operation. The warehouse provides the compute resources required to run the command.
- Role - Select the Snowflake role that will be used for the operation. The selected role determines the permissions available for accessing the database and deleting the relevant row.
Delete Schema
Deletes an existing schema from a Snowflake database according to the specified configuration.
- Database - Select the Snowflake database that contains the schema you want to delete. After selecting a database, the relevant schemas associated with that database will become available for selection.
Delete Table

- Database - Select the Snowflake database that contains the table you want to delete. After selecting a database, the relevant schemas and tables associated with that database will become available for selection.
Get Database
Retrieves detailed information about a specific Snowflake database, including its available metadata and properties.
- Name - Select the Snowflake database you want to retrieve. The field automatically loads the databases associated with the connected Snowflake account, allowing you to choose the relevant database and retrieve its details.
Get Databases

- Top N - Enter the maximum number of databases to return. If no value is provided, the action retrieves all available databases.
- Add Filter - Click Add Filter to define conditions that narrow down the data list and return only the relevant items. To learn more about using filters, click here.
Get Roles
Retrieves the Snowflake roles available to the connected account for use in queries and operations.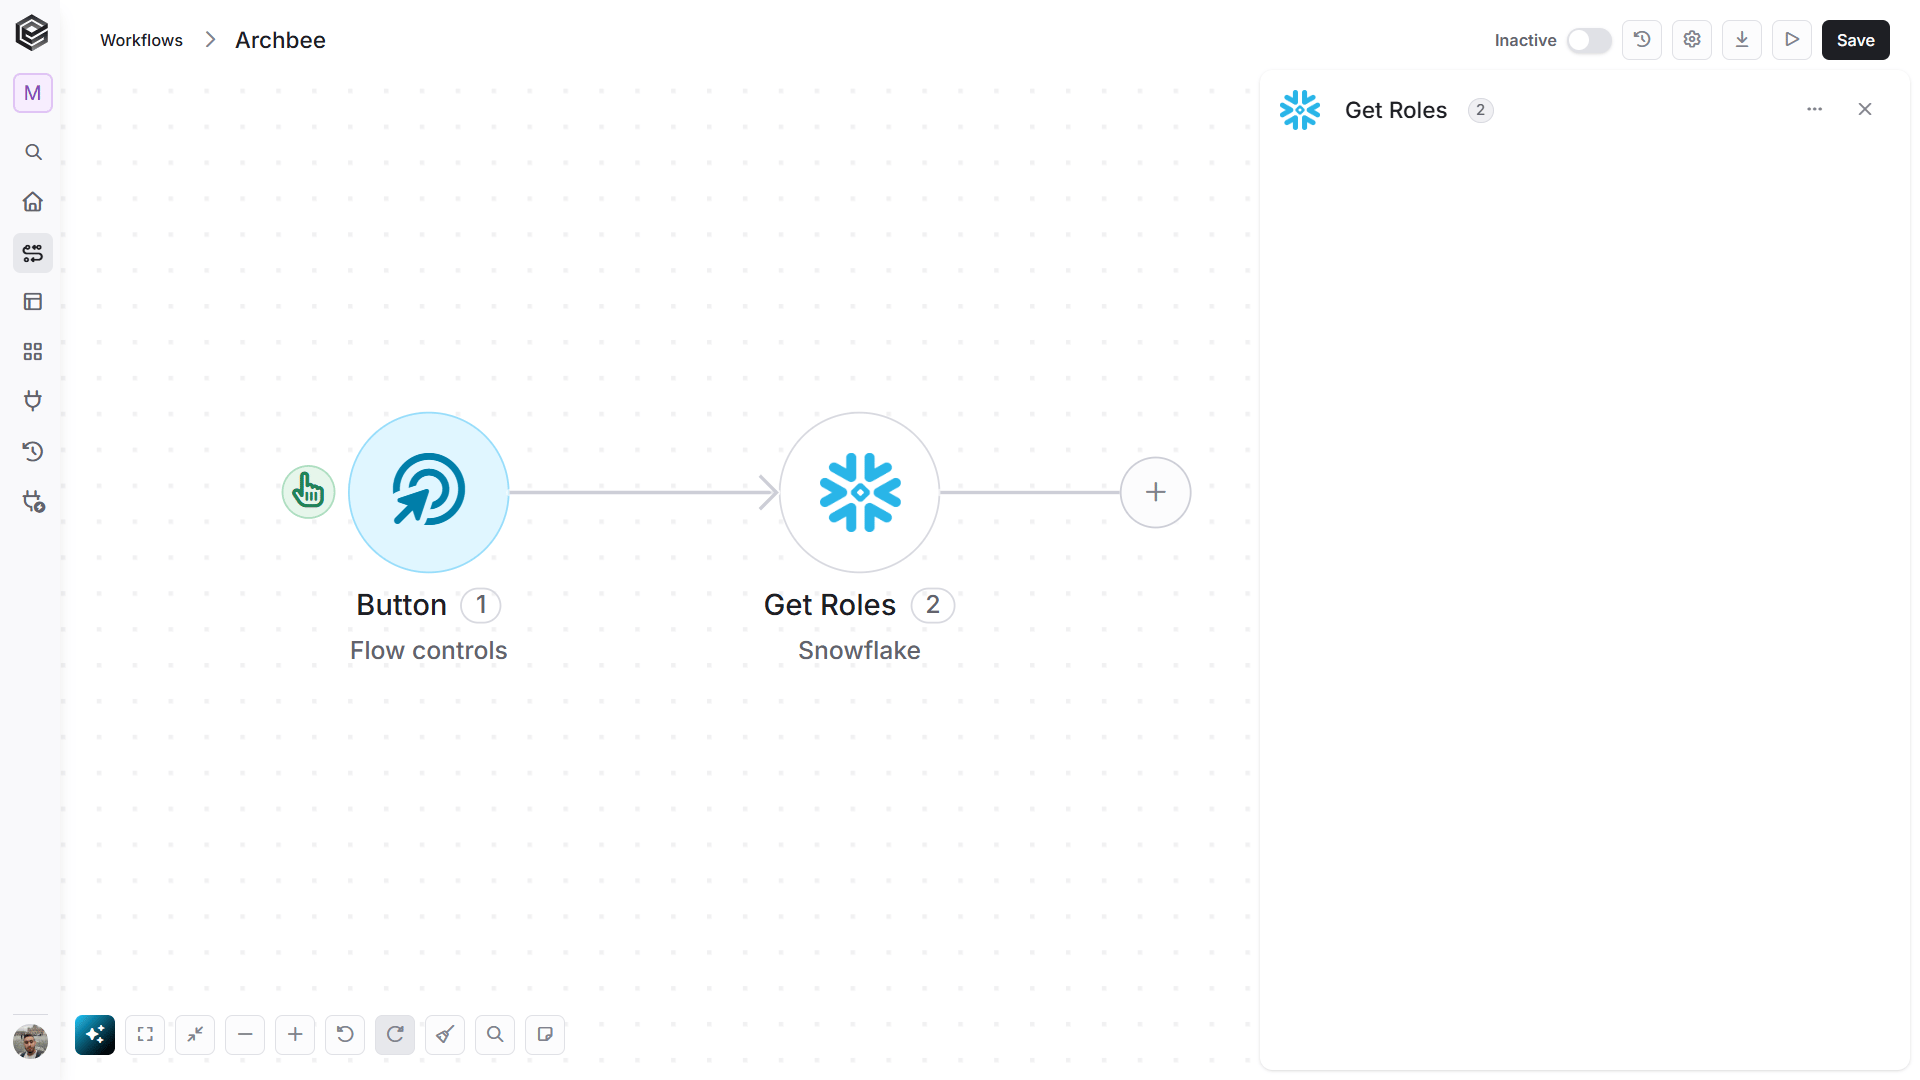
Get Row
Retrieves a specific row from a selected Snowflake table based on the provided identifier or conditions.
- Database - Select the Snowflake database you want to work with. After a database is selected, additional fields become available so you can continue defining the specific data source and query context.
- Warehouse - Enter or select the Snowflake warehouse that should be used to execute the query. The warehouse provides the compute resources required for the operation.
- Role - Enter or select the Snowflake role that should be used for the request. The selected role determines which databases, schemas, tables, and other resources the connection is allowed to access.
Get Rows
Retrieves multiple rows from a selected Snowflake table based on the configured query, filters, or limits.
- Database - Select the Snowflake database from which you want to retrieve rows. After selecting a database, additional fields become available so you can continue defining the schema, table, and query settings.
- Warehouse - Select or enter the Snowflake warehouse that should execute the query. The warehouse provides the compute resources required to retrieve the requested rows.
- Role - Select or enter the Snowflake role to use for the request. The selected role determines which databases, schemas, tables, and rows the connection is authorized to access.
Get Schema
Retrieves detailed information about a specific schema within a selected Snowflake database.
- Database - Select the Snowflake database whose schemas you want to retrieve. The action will return the schemas available in the selected database according to the permissions of the configured connection.
Get Schemas
Retrieves a list of schemas available within a selected Snowflake database.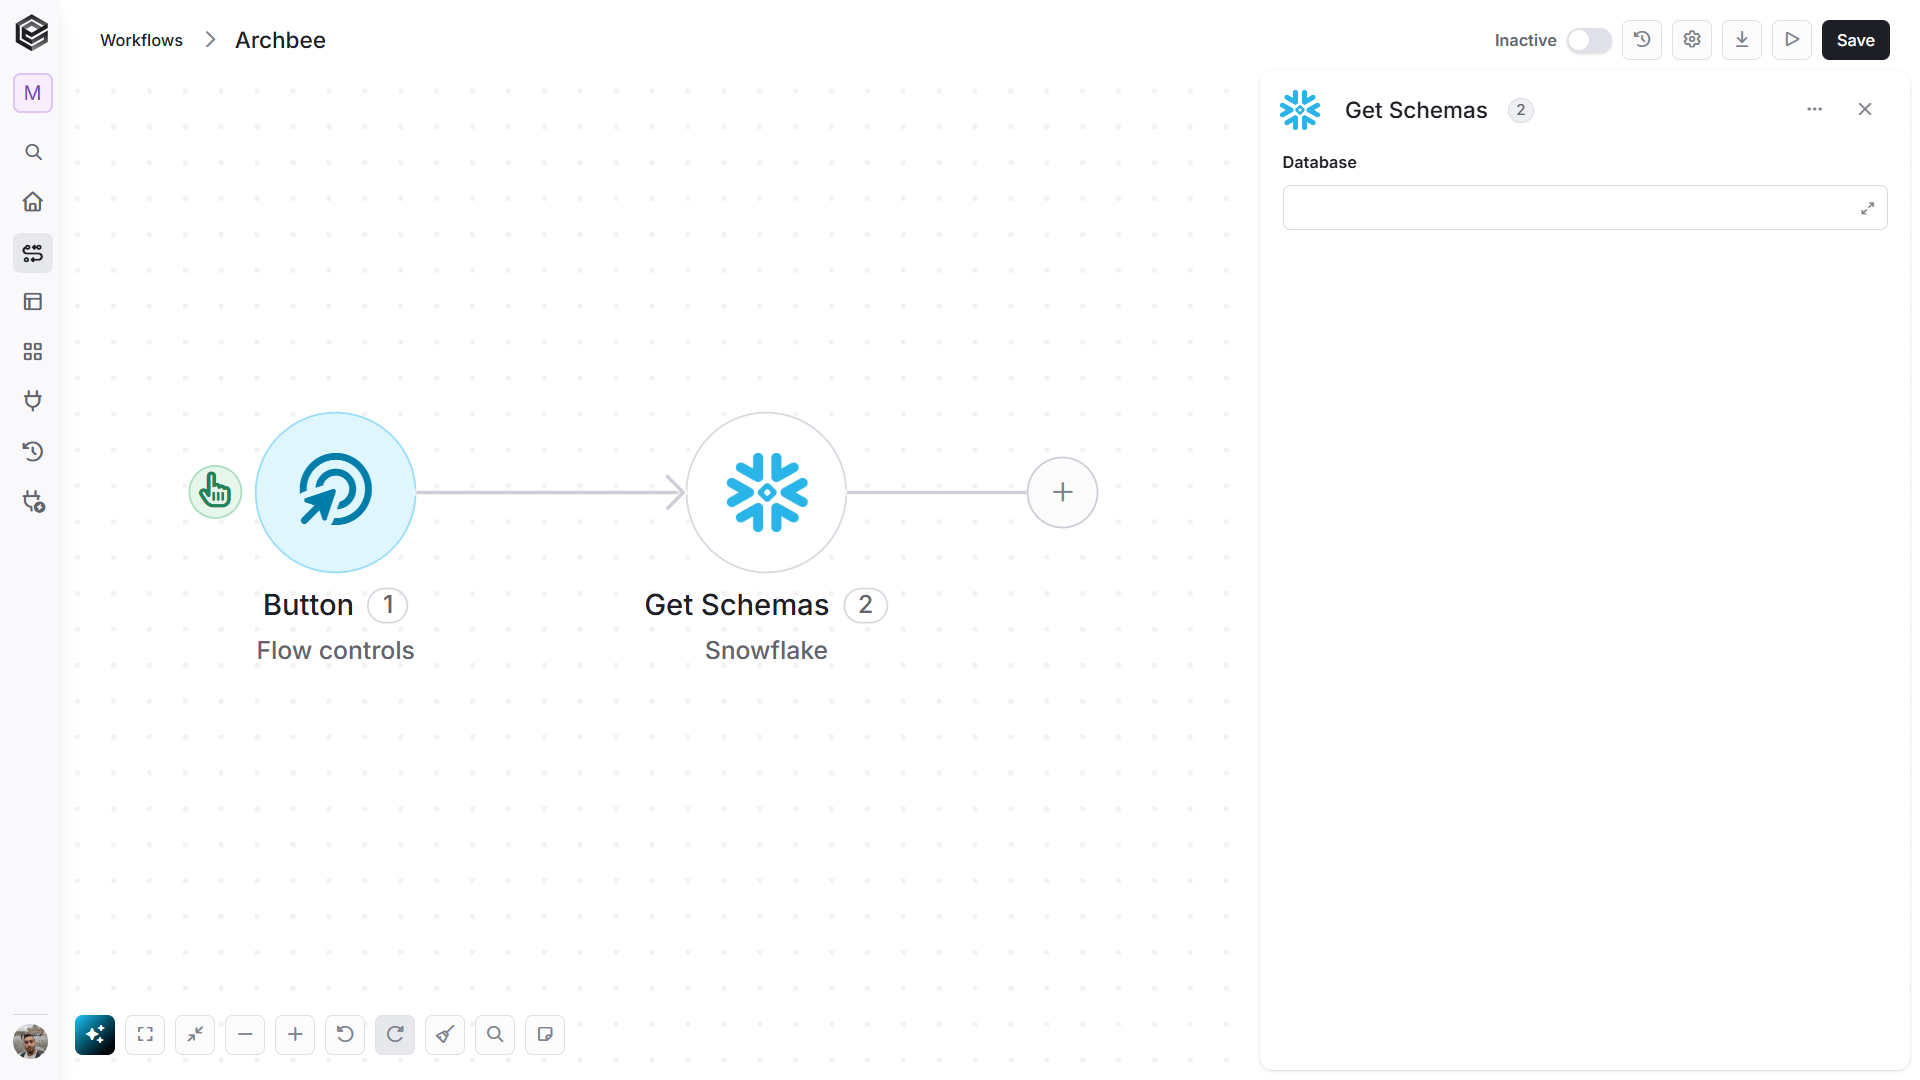
- Database - Select the Snowflake database whose schemas you want to retrieve. The action returns the schemas available in the selected database according to the permissions of the configured connection.
Get Table
Retrieves detailed information and metadata about a specific table in a Snowflake schema.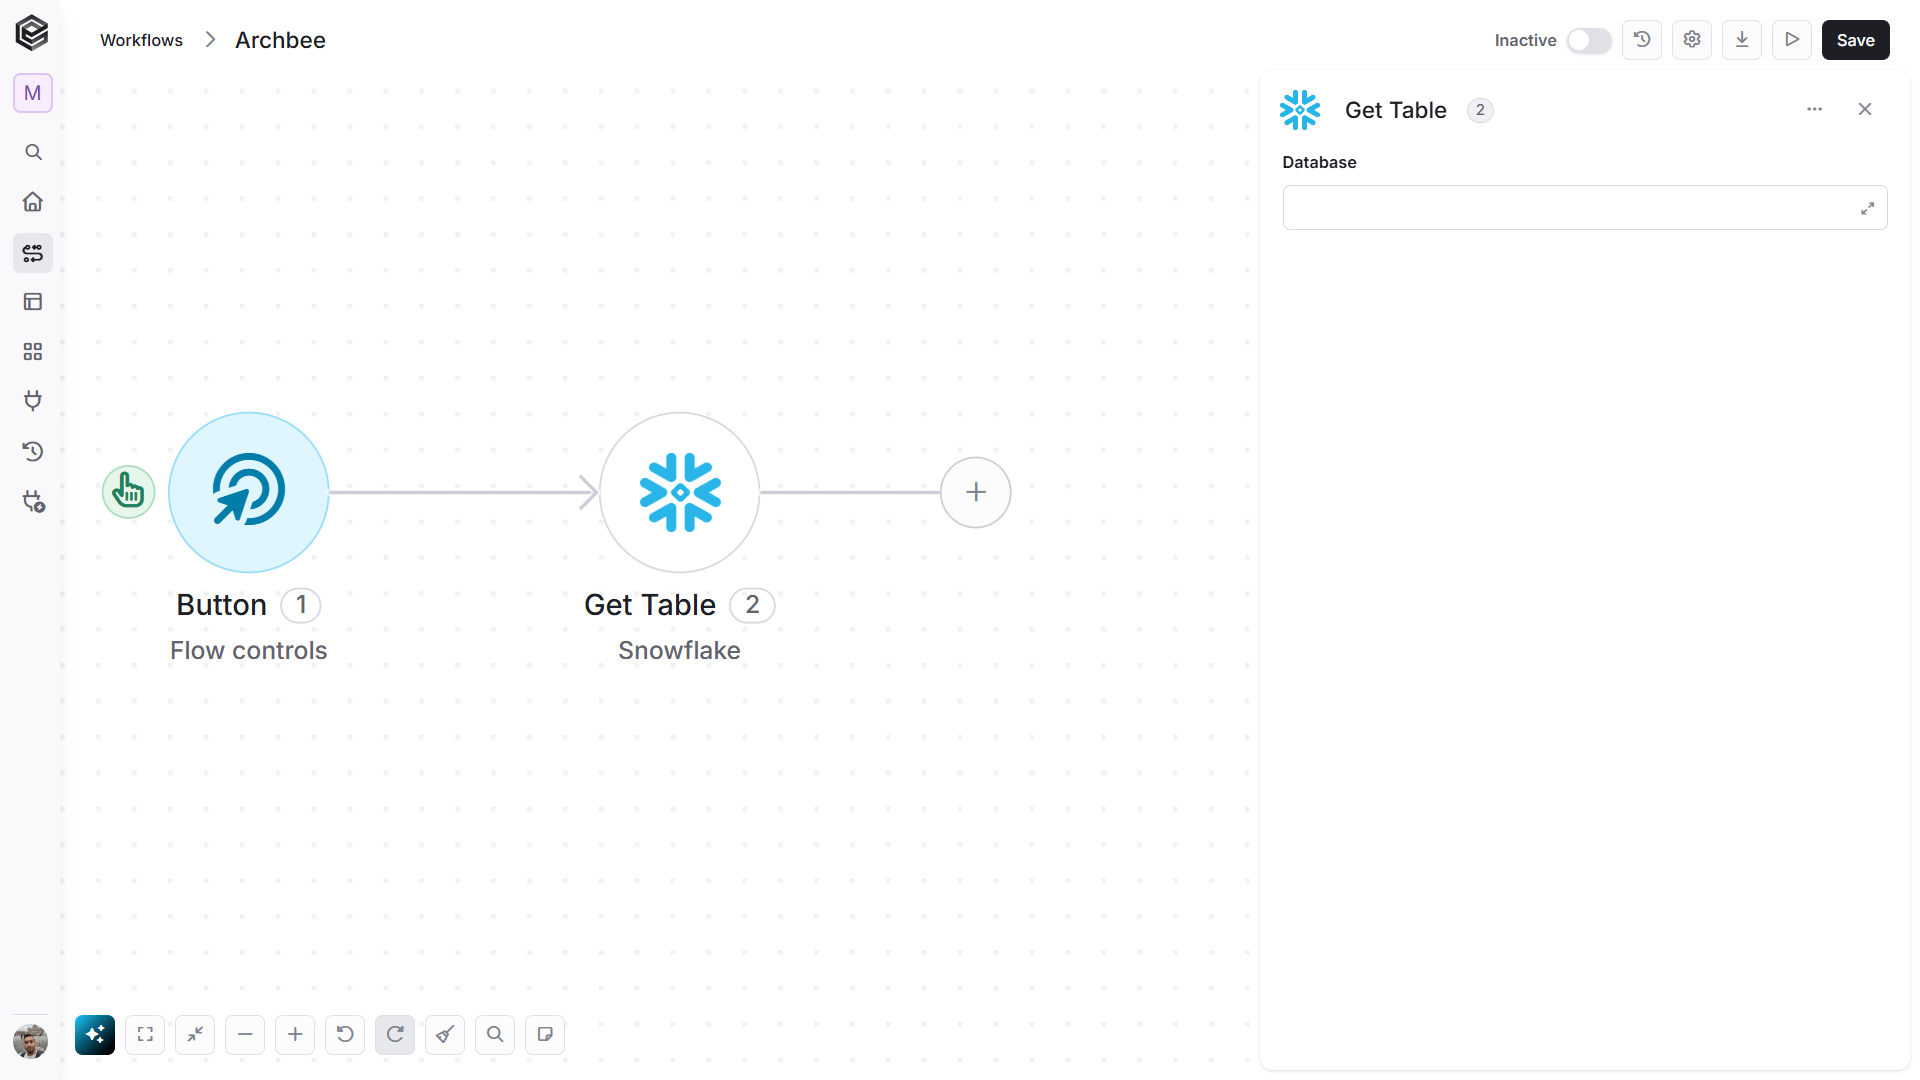
- Database - Select the Snowflake database that contains the table you want to retrieve. After selecting the database, additional fields become available so you can continue selecting the relevant schema and table.
Get Tables
Retrieves a list of tables available within a selected Snowflake database or schema.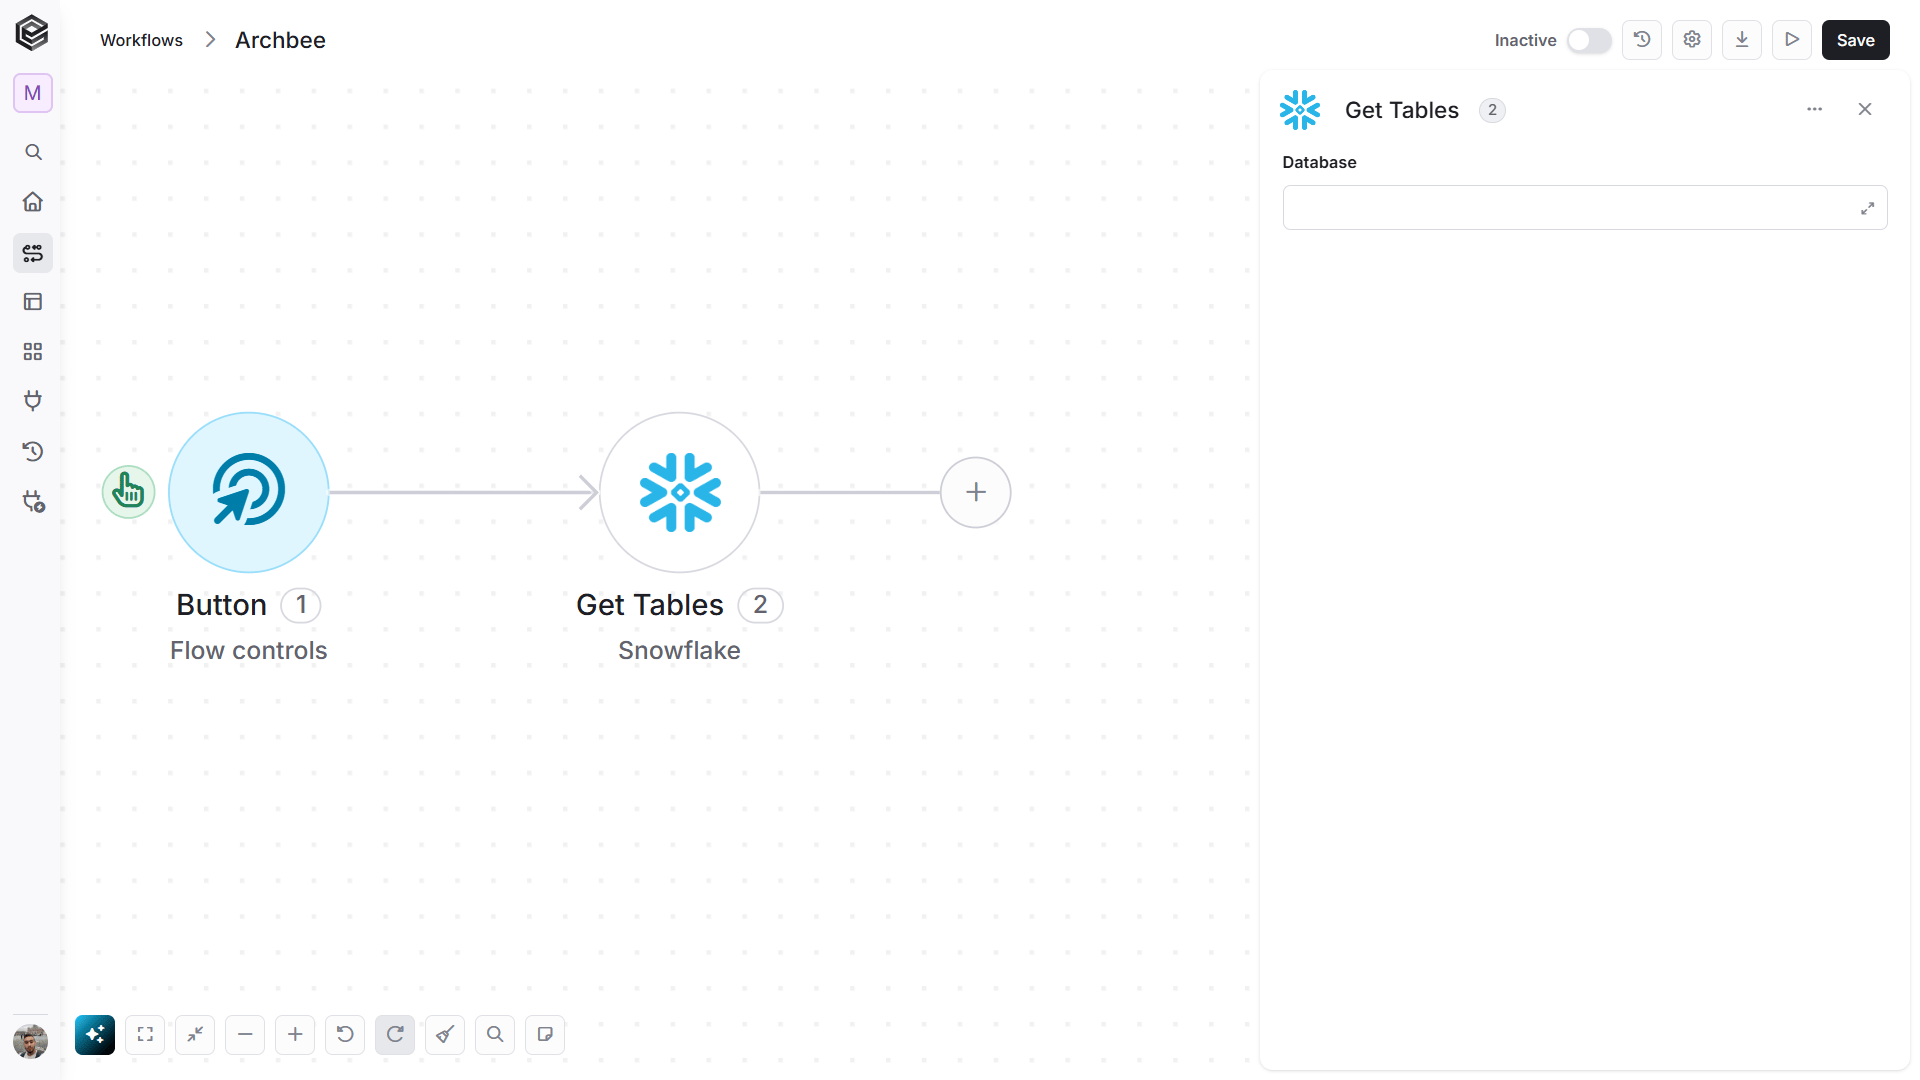
- Database - Select the Snowflake database whose tables you want to retrieve. After selecting the database, additional fields may become available so you can further narrow the request, such as by schema or other table-related settings.
Get Warehouses
Retrieves a list of Snowflake warehouses available to the connected account and role.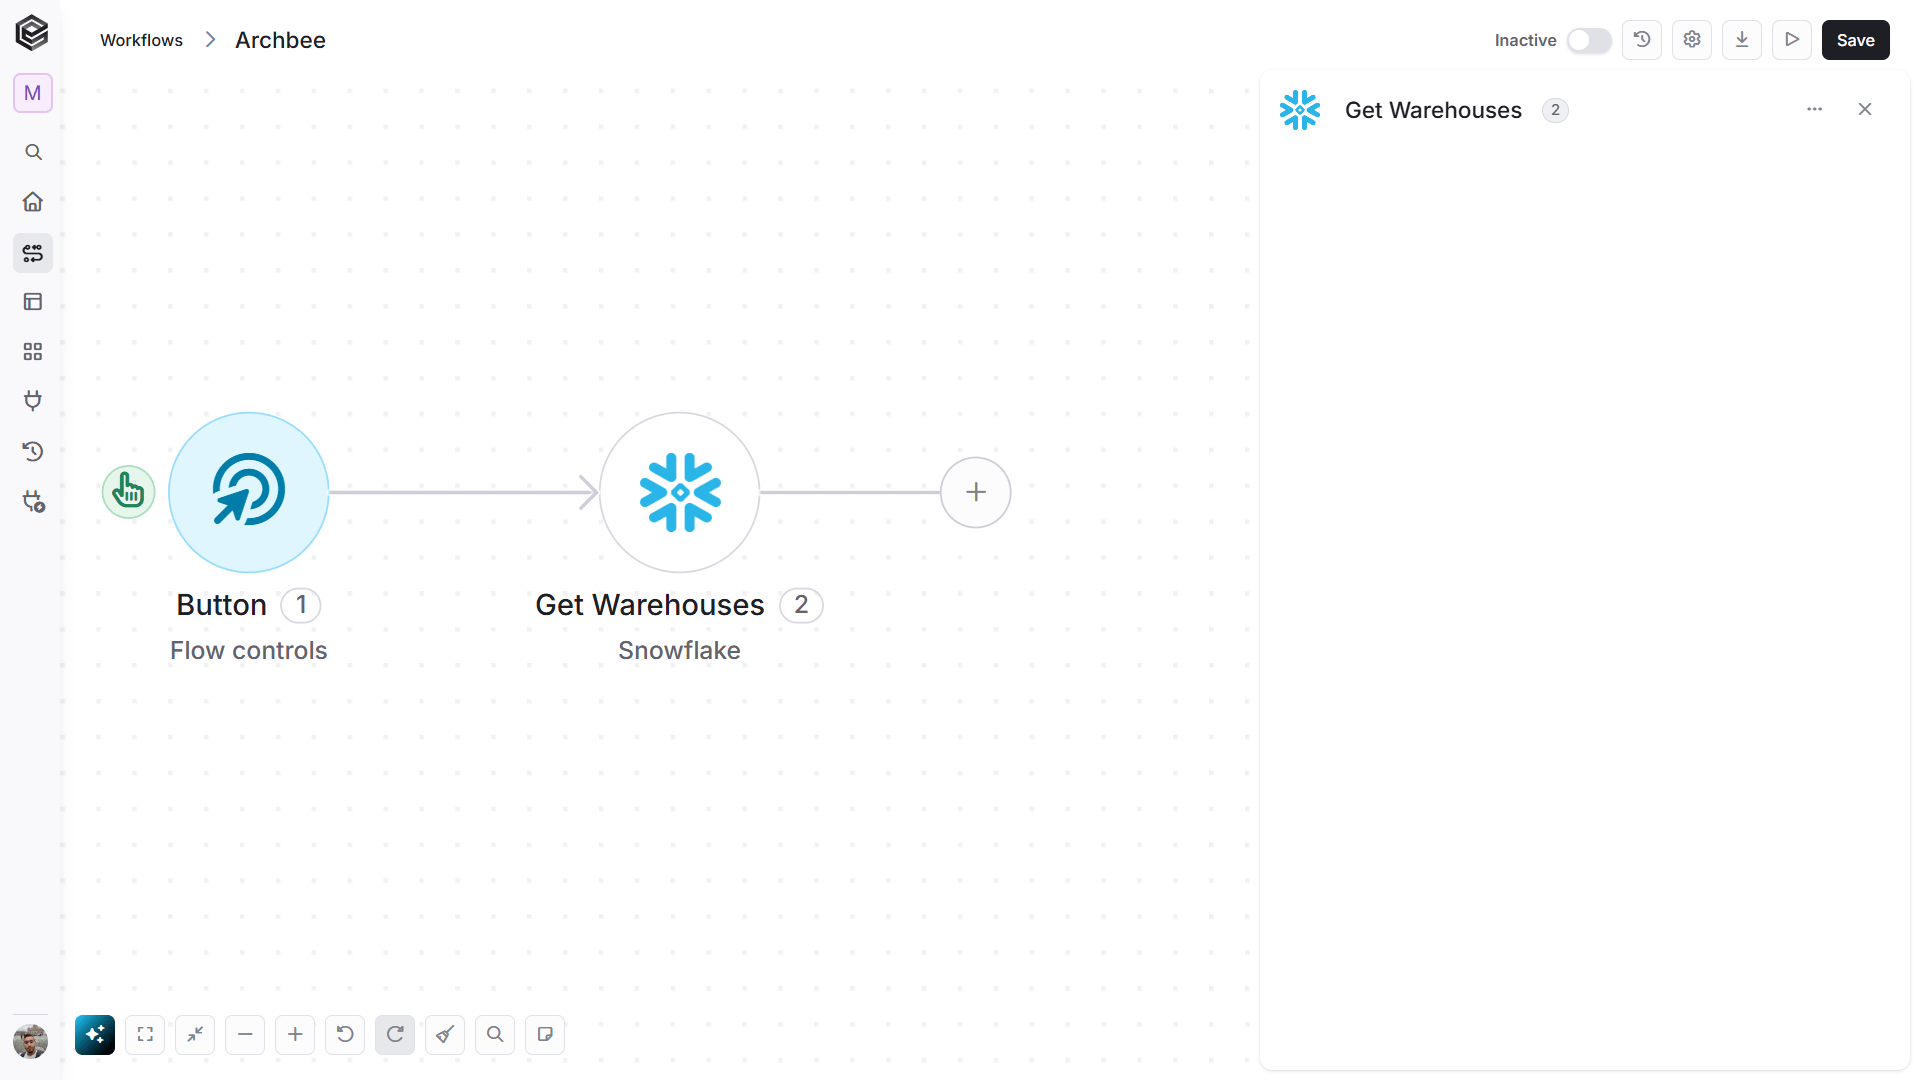
Update Database
Updates supported properties or configuration of an existing Snowflake database.
- Name - Enter the name of the Snowflake database you want to update. This value identifies the existing database that the action should modify.
- Add Field - Click Add Field to add and populate additional fields for the selected activity. To learn more about managing activity data, click here.
Update Row
Updates the values of an existing row in a selected Snowflake table using the provided fields and conditions.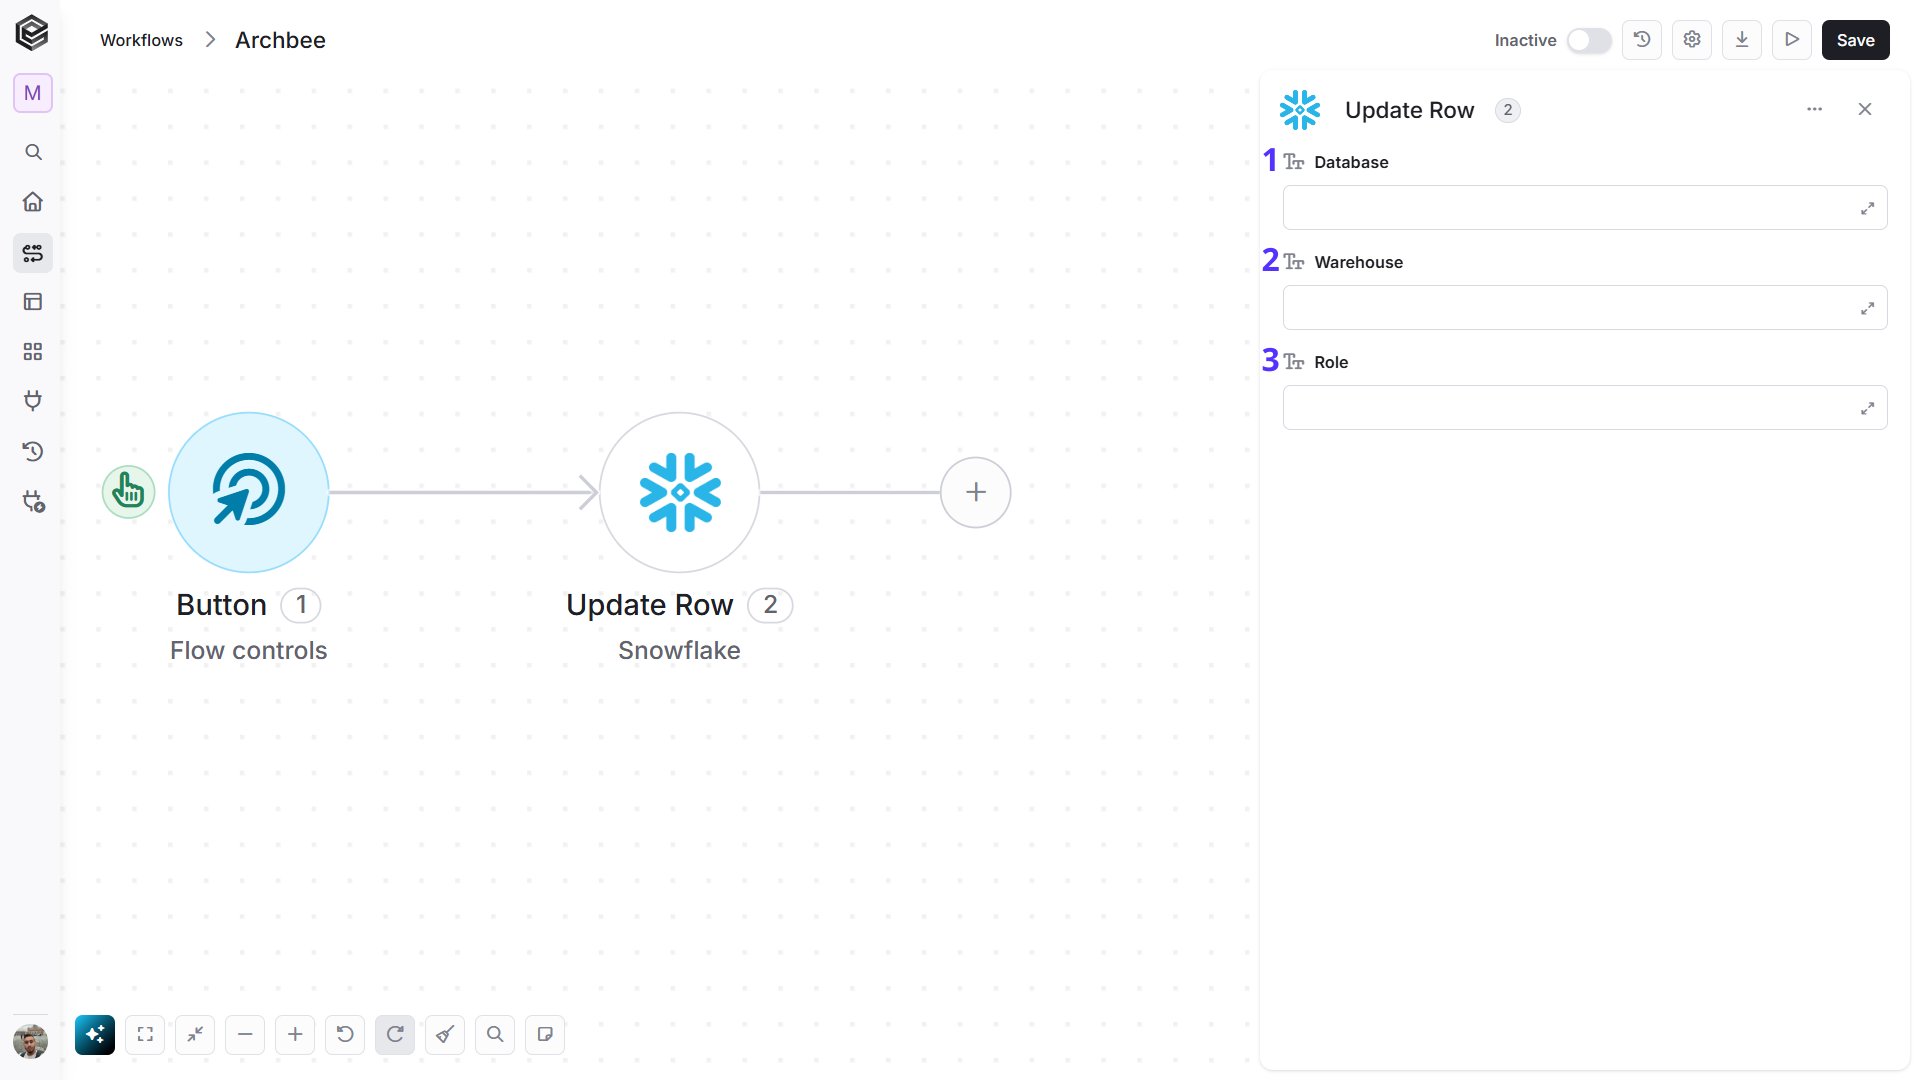
- Database - Select the Snowflake database that contains the row you want to update. After selecting the database, additional fields become available so you can continue defining the schema, table, and row to update.
- Warehouse - Select or enter the Snowflake warehouse that should execute the update operation. The warehouse provides the compute resources required to process the request.
- Role - Select or enter the Snowflake role to use for the update. The selected role determines whether the connection has permission to access and modify the relevant database objects.
Update Schema
Updates supported properties or configuration of an existing schema in Snowflake.
- Database - Select the Snowflake database that contains the schema you want to update. After selecting the database, additional fields become available so you can choose the relevant schema and define the properties that should be updated.
Update Table
Updates supported properties or configuration of an existing Snowflake table.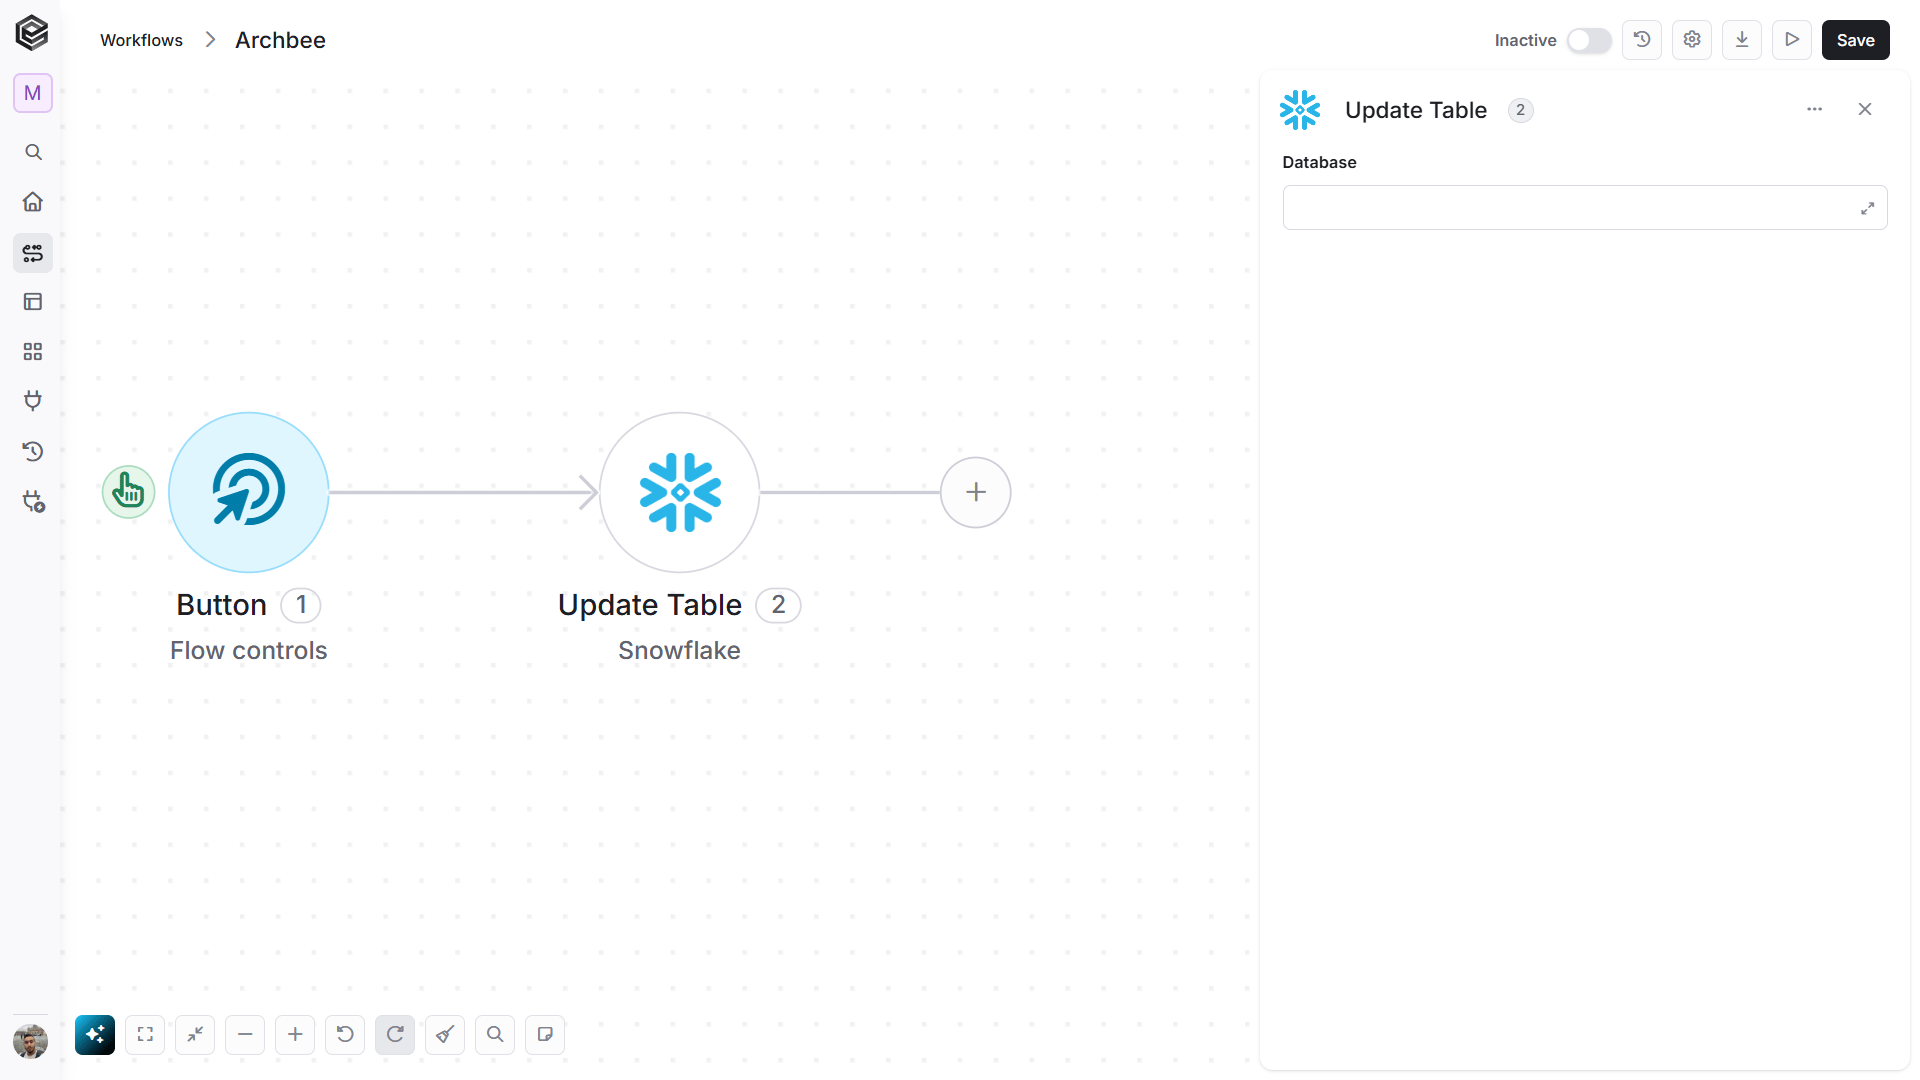
- Database - Select the Snowflake database that contains the table you want to update. After selecting the database, additional fields become available so you can choose the relevant schema and table and define the properties that should be updated.
Run Custom SQL
Executes a custom SQL statement in Snowflake, allowing you to run queries or other supported SQL commands and receive the result.
- Add Field - Click Add Field to add and populate additional fields for the selected activity. To learn more about managing activity data, click here.
Send API Request
Sends a custom request to the Snowflake API using the existing connection, allowing access to operations not covered by the predefined actions.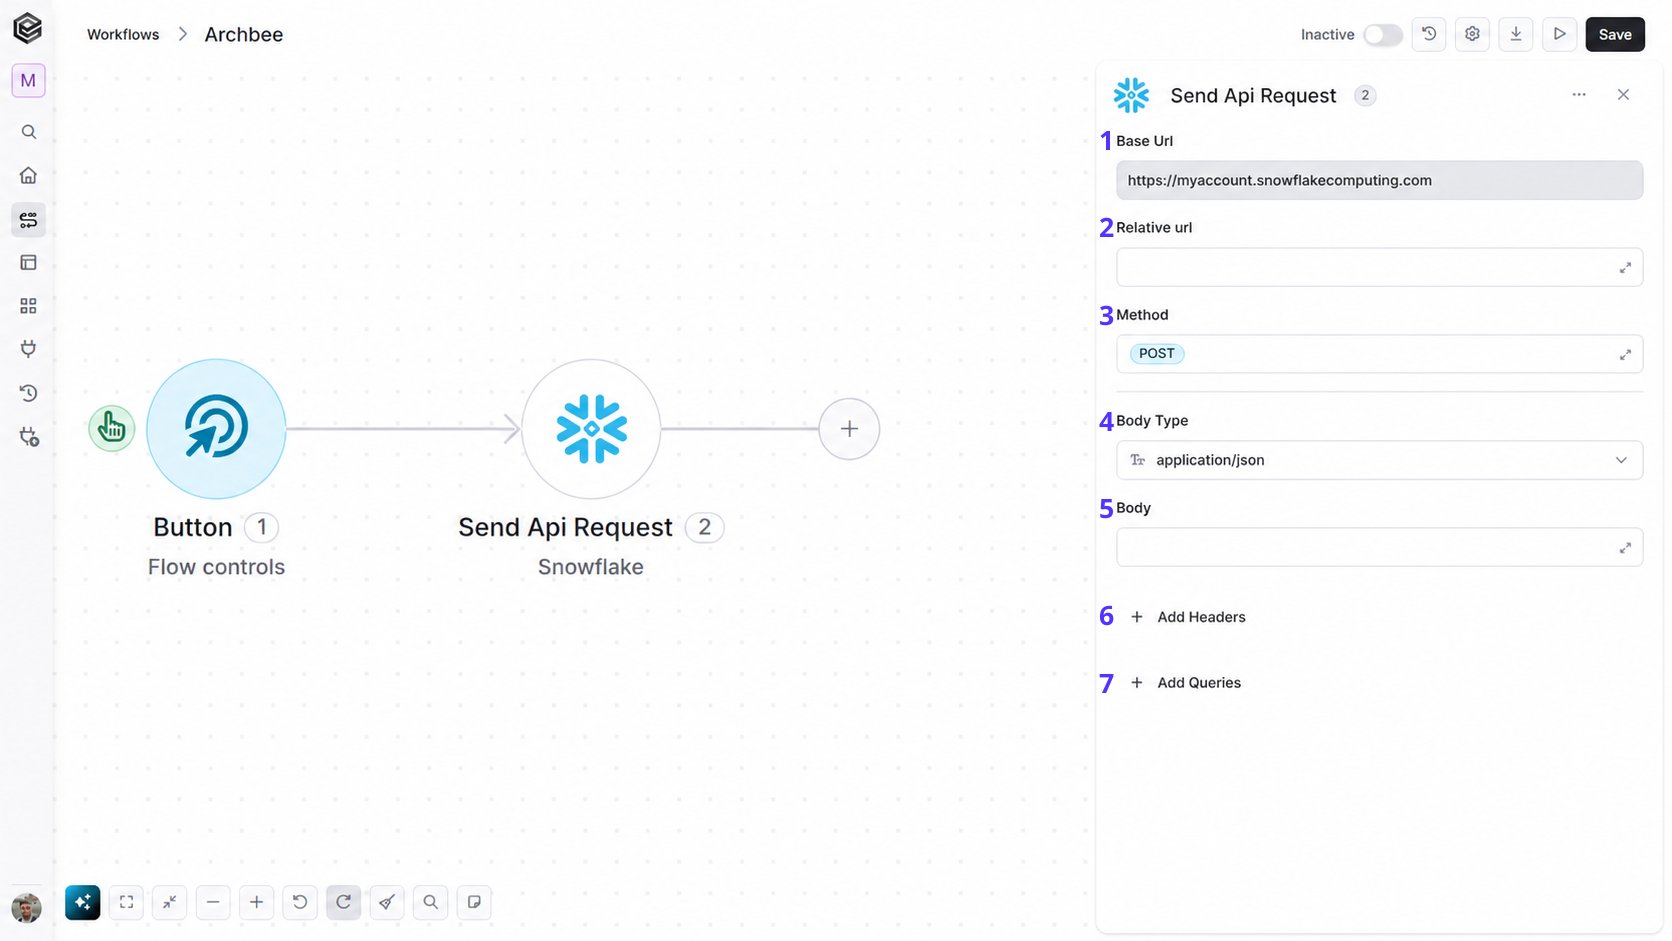
- Base URL - The main endpoint of the API you want to call (e.g., the server or service URL).
- Relative URL The specific path or resource you want to access, appended to the Base URL.
- Method - Defines the HTTP method used for the request (e.g., GET, POST, PUT, DELETE).
- Body Type - Specifies the format of the request body (e.g., JSON, form-data).
- application/json – Sends the request body in JSON format. Commonly used by REST APIs.
- application/json – Sends the request body in JSON format. Commonly used by REST APIs.
- Custom (use Content-Type header) – Allows you to define a custom body format by manually setting the Content-Type header.
- application/x-www-form-urlencoded – Sends the body as URL-encoded key-value pairs, commonly used in form submissions.
- file – Sends a file as the request body.
- multipart/form-data – Sends form data that may include both text fields and files.
- text/html – Sends the request body as HTML content.
- text/plain – Sends the request body as plain text.
- text/xml – Sends the request body in XML format.
- Body - The payload sent with the request, usually required for methods like POST or PUT.
- Add Headers - Allows you to include additional headers (e.g., Authorization, Content-Type) required by the API.
- Add Queries - Allows you to add query parameters to the request URL (e.g., filters, pagination).