

Agent.ai
Discover how to connect Engini with Agent.ai and use its activities to search, inspect, and run AI agents directly from Engini workflows. Agent.ai is a platform for discovering, building, and running AI agents. With the Agent.ai connector in Engini, you can search for available agents, retrieve agent metadata, run selected agents with dynamic input properties, and send custom authorized API requests when needed.Getting Started with Agent.ai
Prerequisites
Before connecting Agent.ai to Engini, make sure you have:- An Agent.ai account.
- An Agent.ai API key.
- Access to your Engini account.
Retrieve your Agent.ai API Key
-
Log in to your Agent.ai account.
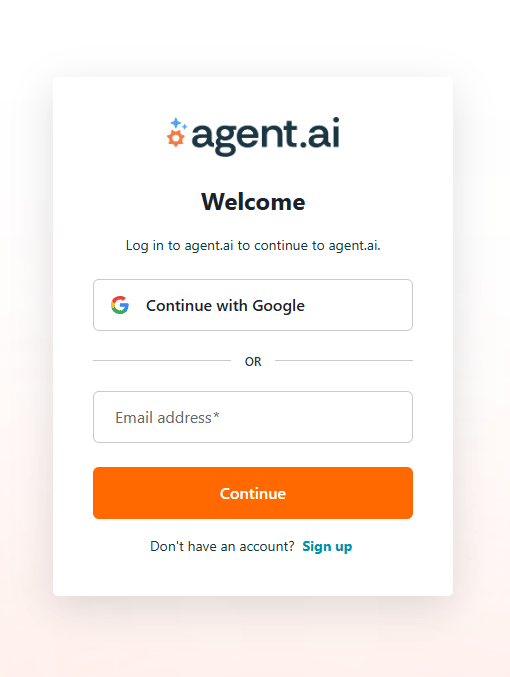
- Open the Connections in your Agent.ai account.
- Inside connections navigate to API page.
- Copy your API key.
Connecting Engini to Agent.ai
Enter your Engini account at https://app.engini.io.-
Navigate to Connections page by clicking on the Connections on the left sidebar or by clicking here.

-
Click on the “New Integration” option located at the topbar.
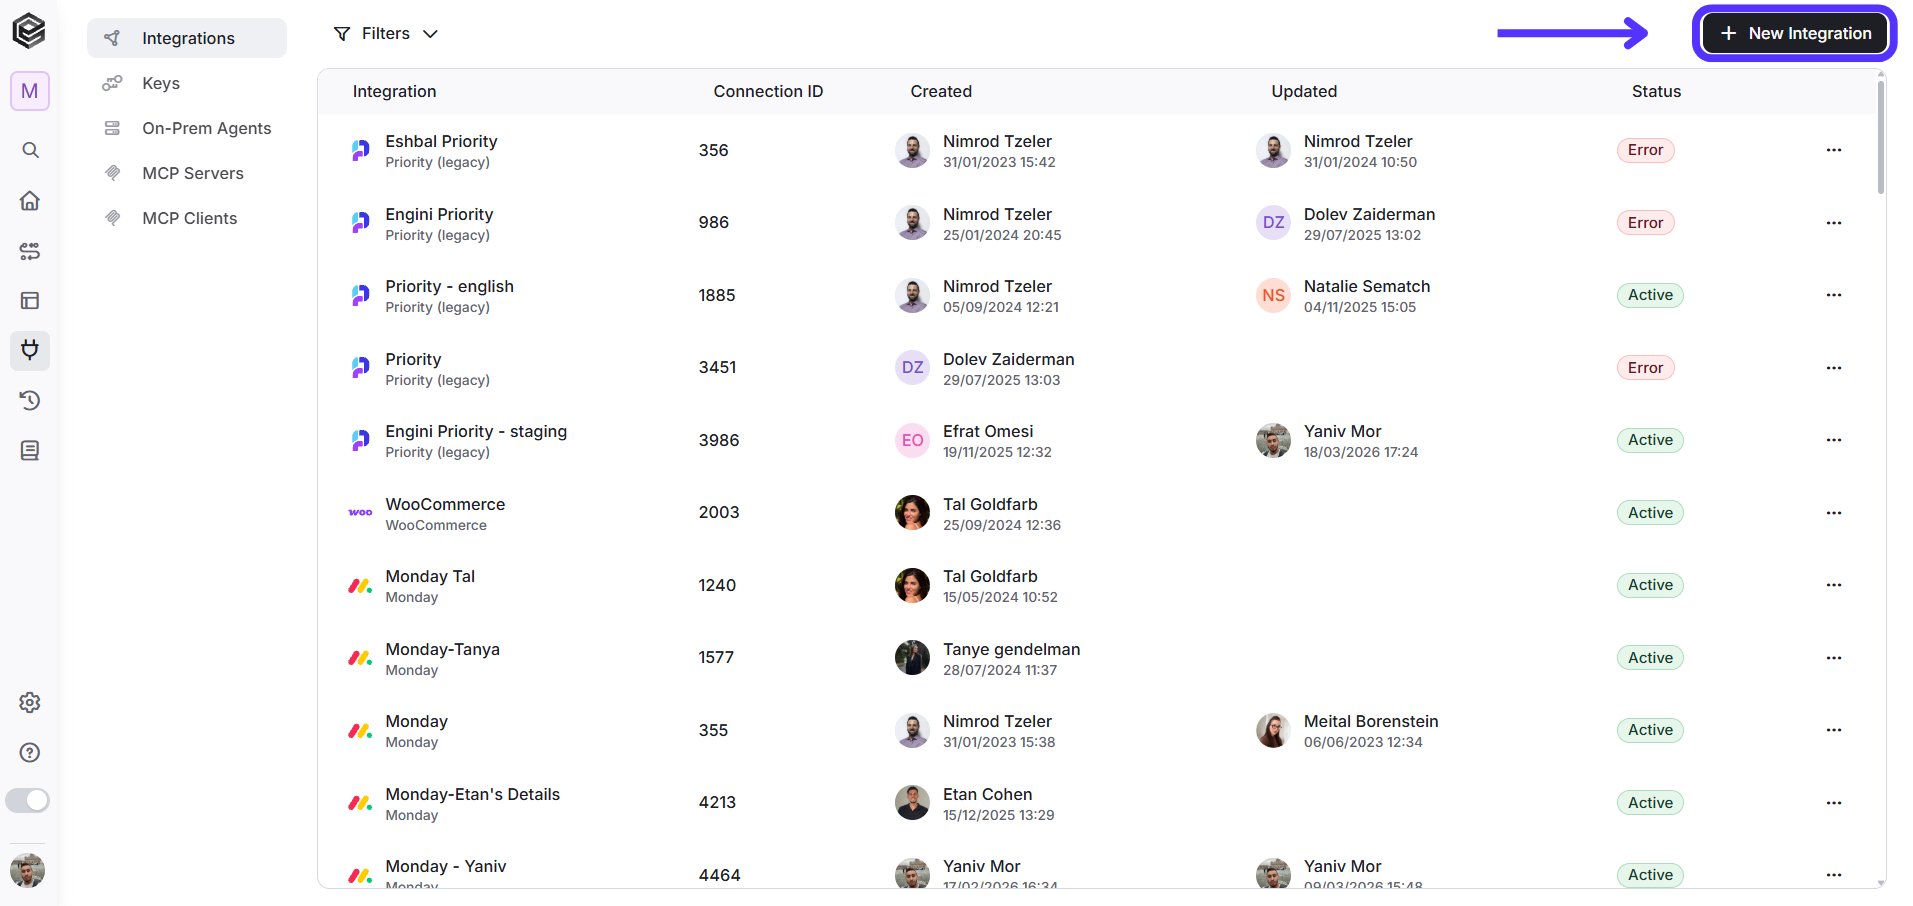
-
Choose Agent.ai option from the available applications.

-
Enter the following details in the New Integration form and press Save:
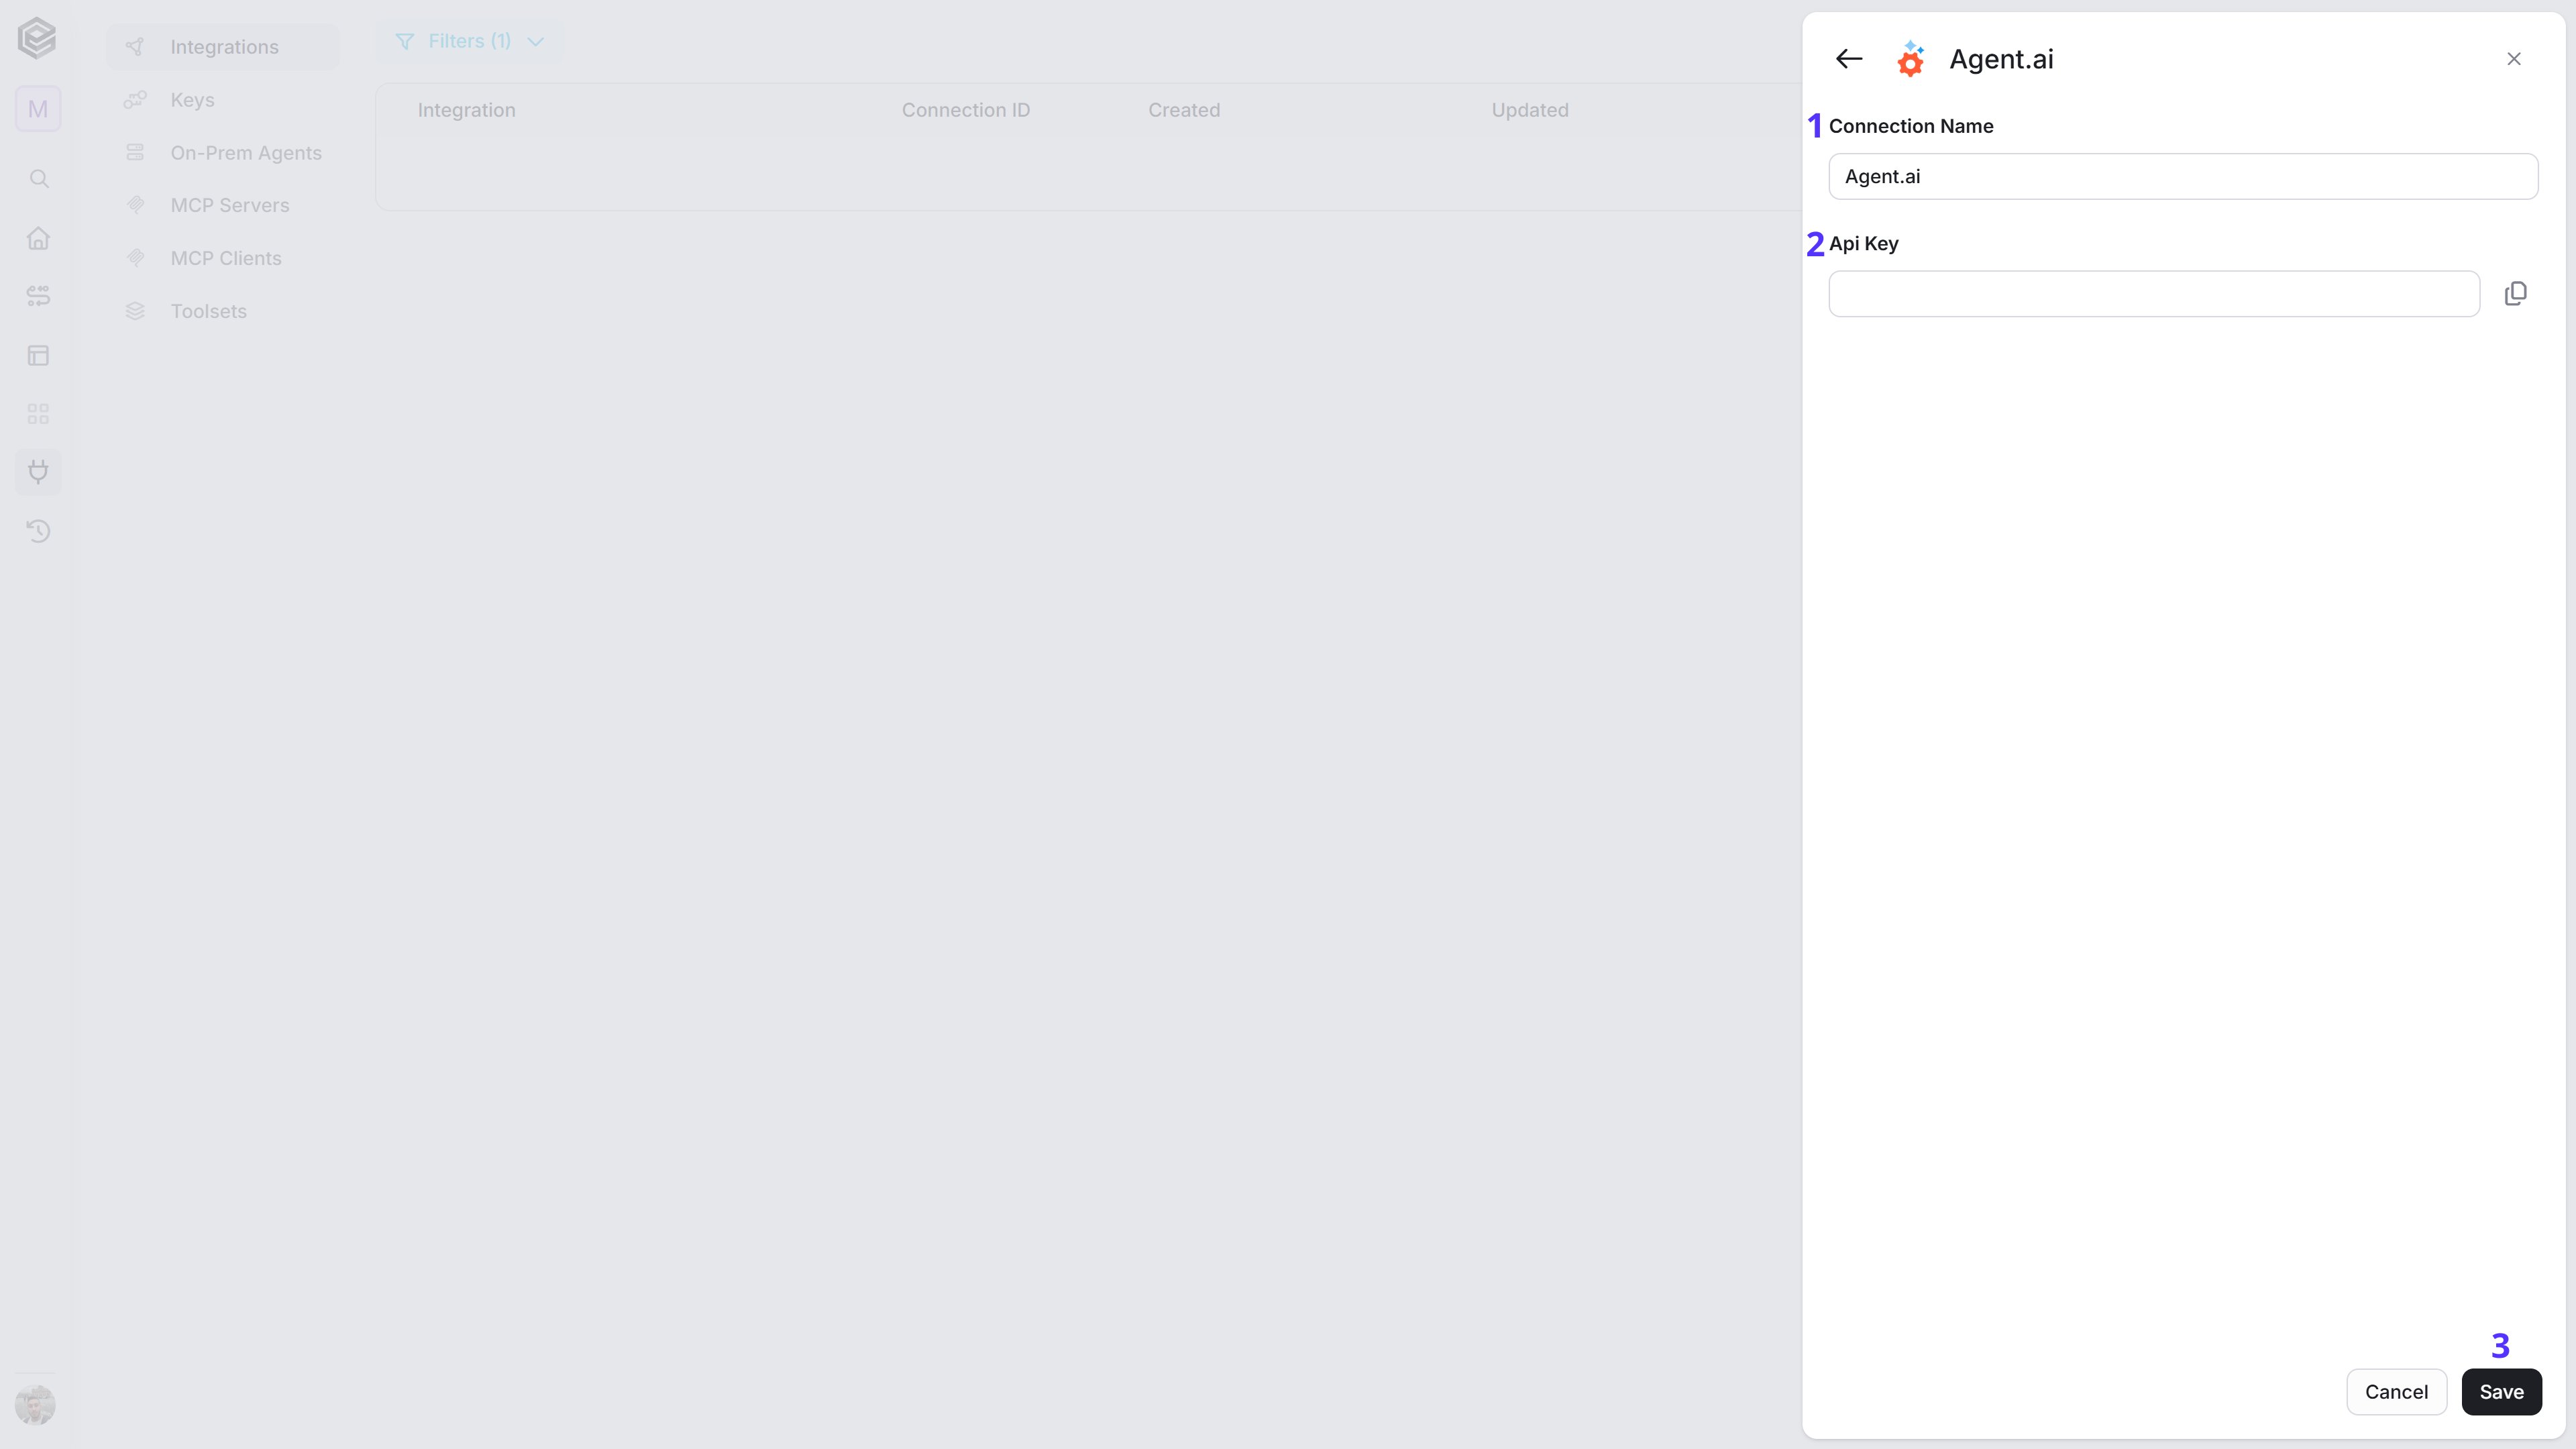
- Connection name - Enter a meaningful name that will help you identify the connection later.
- Api Key - Paste your Agent.ai API key. This key is used to authenticate requests made through the Agent.ai connector.
- Save - Click the Save button to save the connection.
Actions
Get Agents
Searches for Agent.ai agents according to the selected search criteria.
- Status – Select the agent status you want to search by. For example, public, private, team, or all.
- Top N – You can set the maximum number of agents Engini will return.
- Add Filter - Click Add Filter to define conditions that narrow down the data list and return only the relevant items. To learn more about using filters, click here.
Get Agent
Retrieves detailed information about a specific Agent.ai agent.
- Status – Select the agent status you want to filter by to find the agent id.
- Agent Id – Select or enter the ID of the agent you want to retrieve. This field becomes available after selecting a Status. Once a status is selected, Engini retrieves and displays the relevant list of Agent.ai agent IDs based on that status. You can then click the field to search for and select an agent.
Run Agent
Runs a selected Agent.ai agent from inside an Engini workflow.
- Status – Select the agent status you want to filter by.
- Agent Name – Select the agent name you want to run. This field becomes available only after selecting a Status. Once a status is selected, Engini retrieves and displays the relevant list of Agent.ai agents based on that status. Click the field to search for and select an agent.
- Properties – Enter the full JSON object required by the selected agent. This field should be filled only after selecting an Agent Name. The required JSON structure depends on the selected Agent.ai agent. Each agent may require different fields according to its own input schema.
Save To File
Save text content as a file in the selected format. Specify the file type, provide the content you want to save, and enter a file name. The action generates the file, which can then be used in later workflow steps, such as sending it by email, uploading it to cloud storage, or sharing it with other applications.
- File Type – Select or enter the file format you want to create. For example: pdf, docx, html, md, odt, tex, azw3, epub, or png.
- Body – Enter the content that will be saved inside the file. This can be plain text, Markdown, HTML, or any supported content structure according to the selected file type.
- File Name – Enter the output variable name that will store the generated file URL. For example: saved_file.
Send API Request
Sends a custom API request to Agent.ai by specifying the endpoint, HTTP method, headers, and query parameters.
- Base URL - The main endpoint of the API you want to call (e.g., the server or service URL).
- Relative URL The specific path or resource you want to access, appended to the Base URL.
- Method - Defines the HTTP method used for the request (e.g., GET, POST, PUT, DELETE).
- Body Type - Specifies the format of the request body (e.g., JSON, form-data).
- application/json – Sends the request body in JSON format. Commonly used by REST APIs.
- application/json – Sends the request body in JSON format. Commonly used by REST APIs.
- Custom (use Content-Type header) – Allows you to define a custom body format by manually setting the Content-Type header.
- application/x-www-form-urlencoded – Sends the body as URL-encoded key-value pairs, commonly used in form submissions.
- file – Sends a file as the request body.
- multipart/form-data – Sends form data that may include both text fields and files.
- text/html – Sends the request body as HTML content.
- text/plain – Sends the request body as plain text.
- text/xml – Sends the request body in XML format.
- Body - The payload sent with the request, usually required for methods like POST or PUT.
- Add Headers - Allows you to include additional headers (e.g., Authorization, Content-Type) required by the API.
- Add Queries - Allows you to add query parameters to the request URL (e.g., filters, pagination).