

Connecting Engini to Microsoft Dataverse
- Enter your Engini account at https://app.engini.io.
-
Navigate to Connections page by clicking on the Connections on the left side bar or by clicking here.

-
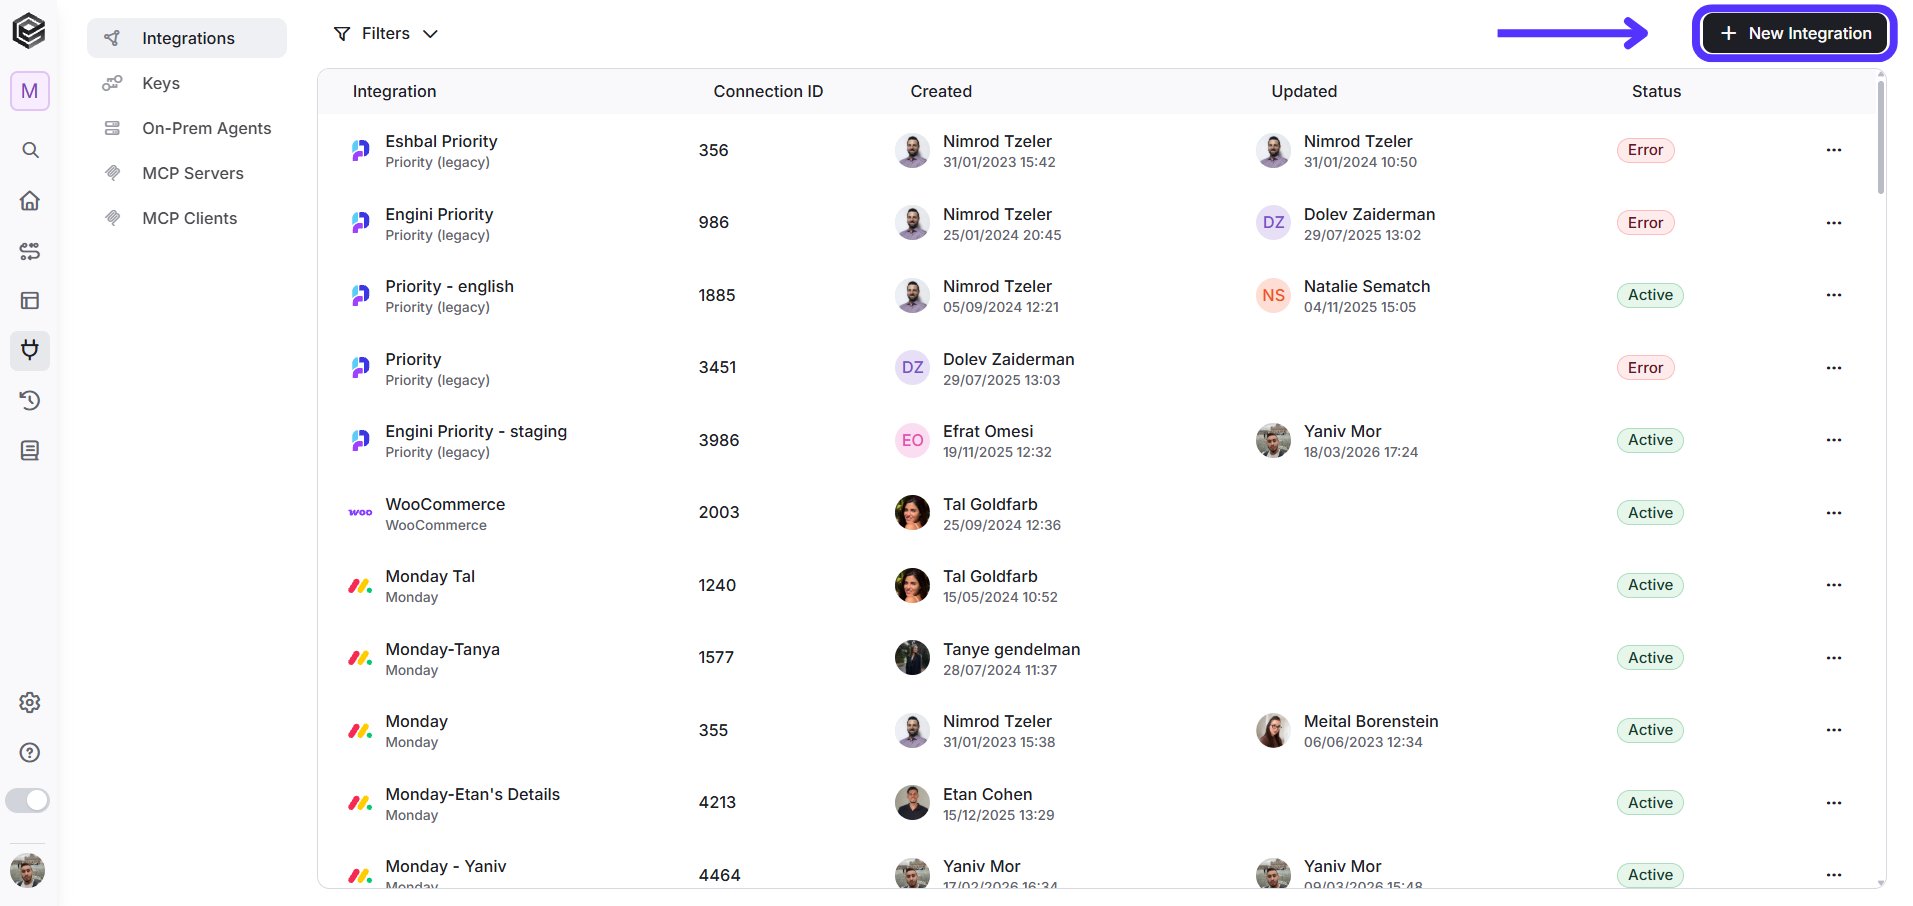
Click on the “New Integration” option located at the top bar.
-
Choose “MIcrosoft Dataverse” option from available applications.

-
Enter the following details in the “New Integration” form and press Save:

- Connection name – A unique identifier for the connection within Engini.
-
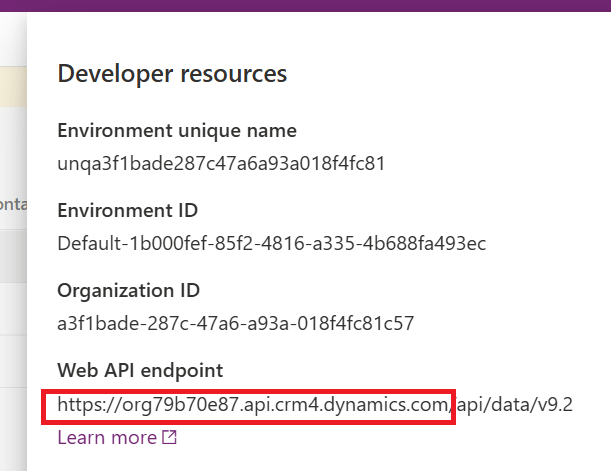
URL of Dataverse environment – The URL of a Dataverse environment is the web address you use to access your specific Dataverse workspace, where your data is stored and managed.
- To access this, sign in to your Microsoft Dataverse account and navigate to Settings
-
In the opened menu, select Developer Resources.

-
Navigate to the section labeled ‘Web API Endpoint’ and copy the Base URL highlighted in the picture to Engini.
-
Microsoft Signin – this is the authentication process where users log into their Microsoft account to gain access to Microsoft services.
- Click on the button to sign in to your Microsoft account.
-
Access Token & Refresh Token – Automatically populated post connecting to a your Microsoft account.
- Access Token – A temporary security token that allows your application to access protected resources or APIs on behalf of the user. It serves as proof that the user has granted permission.
- Refresh Token– A token with an extended lifespan used to request a new Access Token once the original one expires, without requiring the user to log in again
- Click on the save button to save the connection.

-
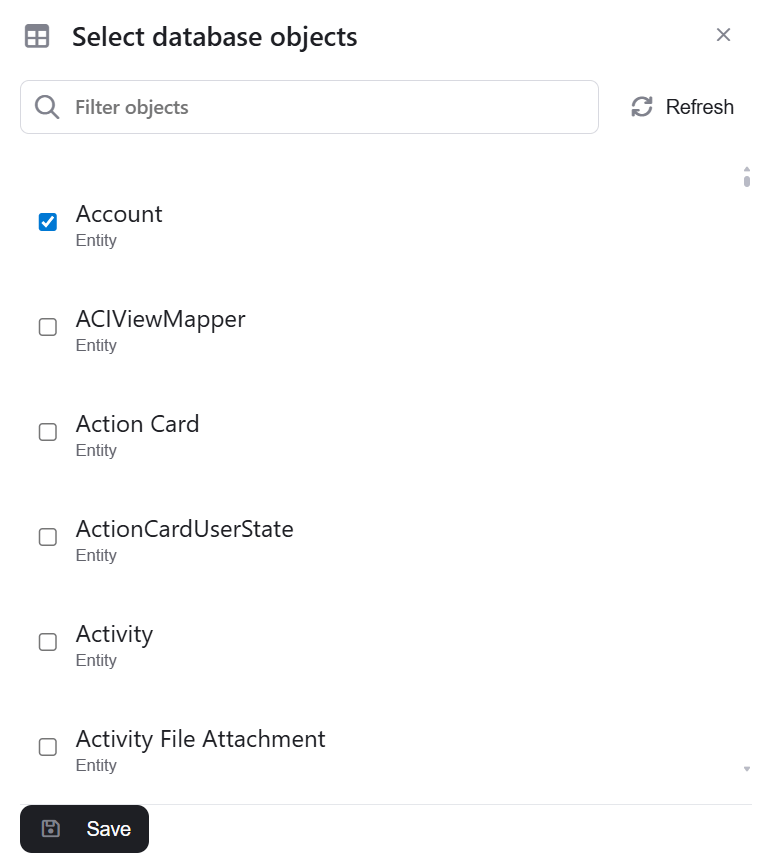
Click on the three dots and then click on “Select database objects”.

-
A window will open displaying all available entities and actions, just like when you saved your connection. From this window, select the new entities and actions you want to use.
Triggers
Entity Event Trigger
Triggers when an event type is activated.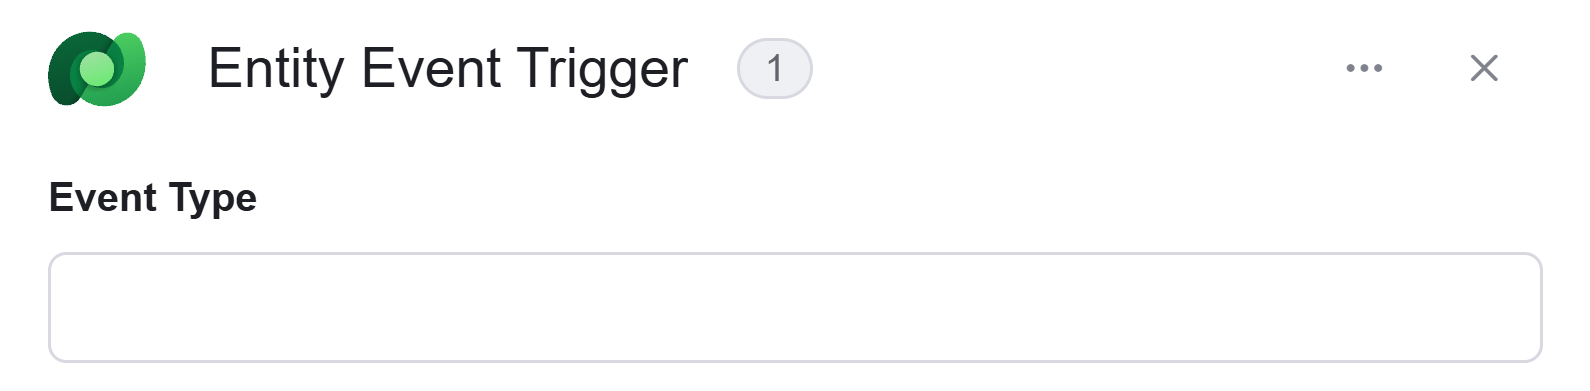
- Event Type – Select the type of event that will trigger the workflow to start. Common event types include creation, update, or deletion.
Activities
Create Record
This activity creates a new record in Microsoft Dataverse based on yours selected object.
-
Object Type – Select the object you want to create (e.g., Accounts, Contacts).
After selecting a specific object, you will have the option to populate it’s fields by using “Add Field”.
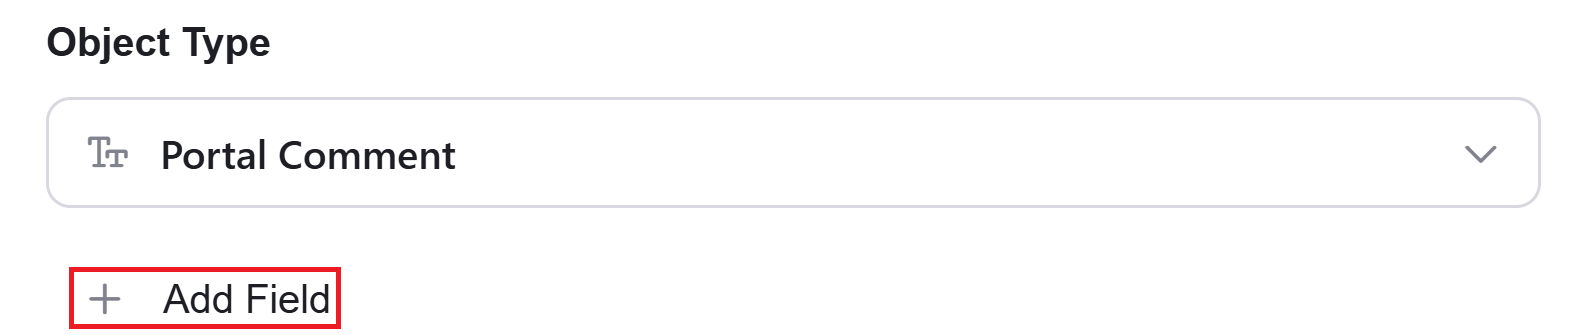
- Add Field - Click Add Field to add and populate additional fields for the selected activity. To learn more about managing activity data, click here.
Create Records Batch
This action creates multiple new records in Microsoft Dataverse in one batch operation.
- Object Type – Select the type of object (table) where the records will be created.
- Data List – Provide the list of records to be created. Each item in the list should match the structure of the selected object type.

- Add Field - Click Add Field to add and populate additional fields for the selected activity. To learn more about managing activity data, click here.
Delete Record
This action deletes a specific record from Microsoft Dataverse based on the selected object type.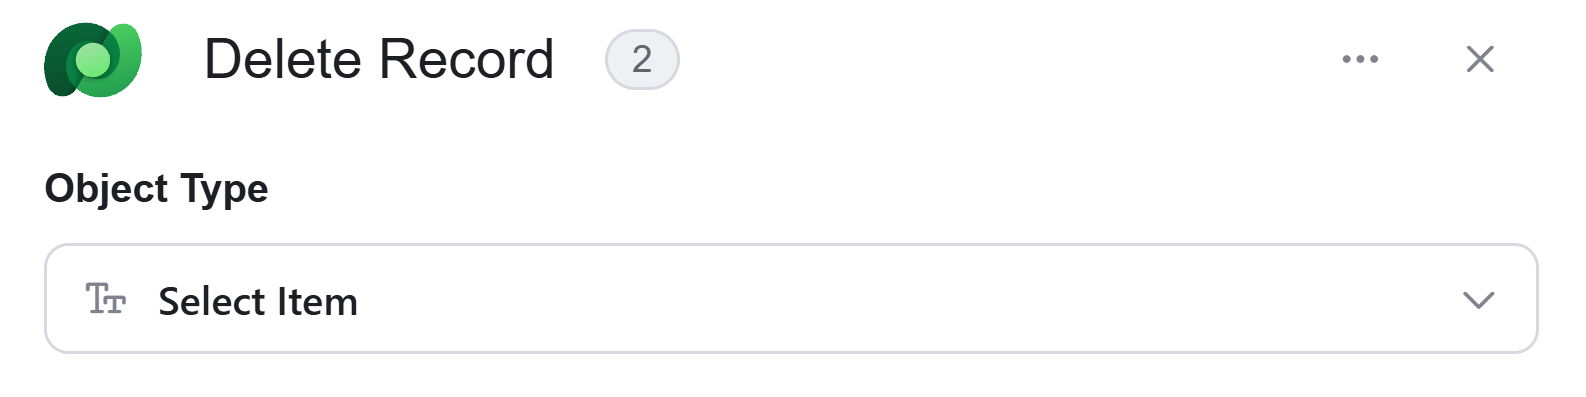
-
Object Type – Select the type of Microsoft Dataverse object you want to delete (e.g., Accounts, Contacts).

- After selecting the object type (e.g., Accounts), provide the unique ID of the specific record you want to delete. For this object, it’s the Account ID.
Delete Records Batch
This action removes multiple records from Microsoft Dataverse in a single batch operation.
- Object Type – Select the type of object from which the records should be deleted.
-
Data List – Provide the list of records to be deleted. Each item in the list should match the structure of the selected object type.

- After selecting the object type (e.g., Accounts), provide the unique ID of the specific records you want to delete.
Execute Action
This action executes an operation from the list you selected during the connection setup.
- Action type – Click the dropdown and select the specific action to be performed from the list.

- Add Field - Click Add Field to add and populate additional fields for the selected activity. To learn more about managing activity data, click here.
Get Record
This action retrieves a specific record from Microsoft Dataverse based on the selected object type.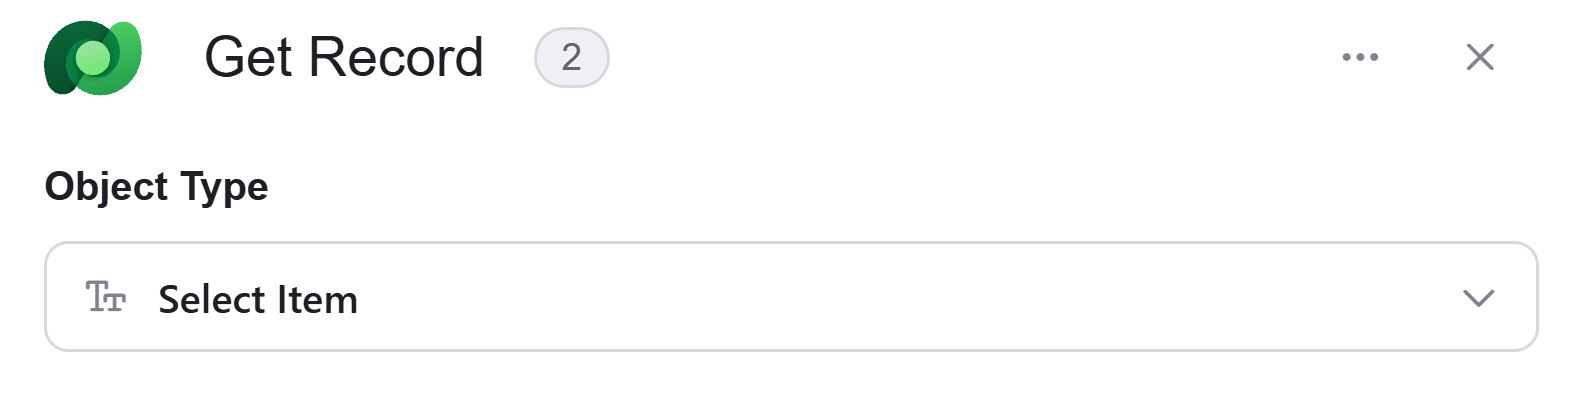
- Object Type – Select the type of Microsoft Dataverse object you want to retrieve (e.g., Accounts, Contacts).
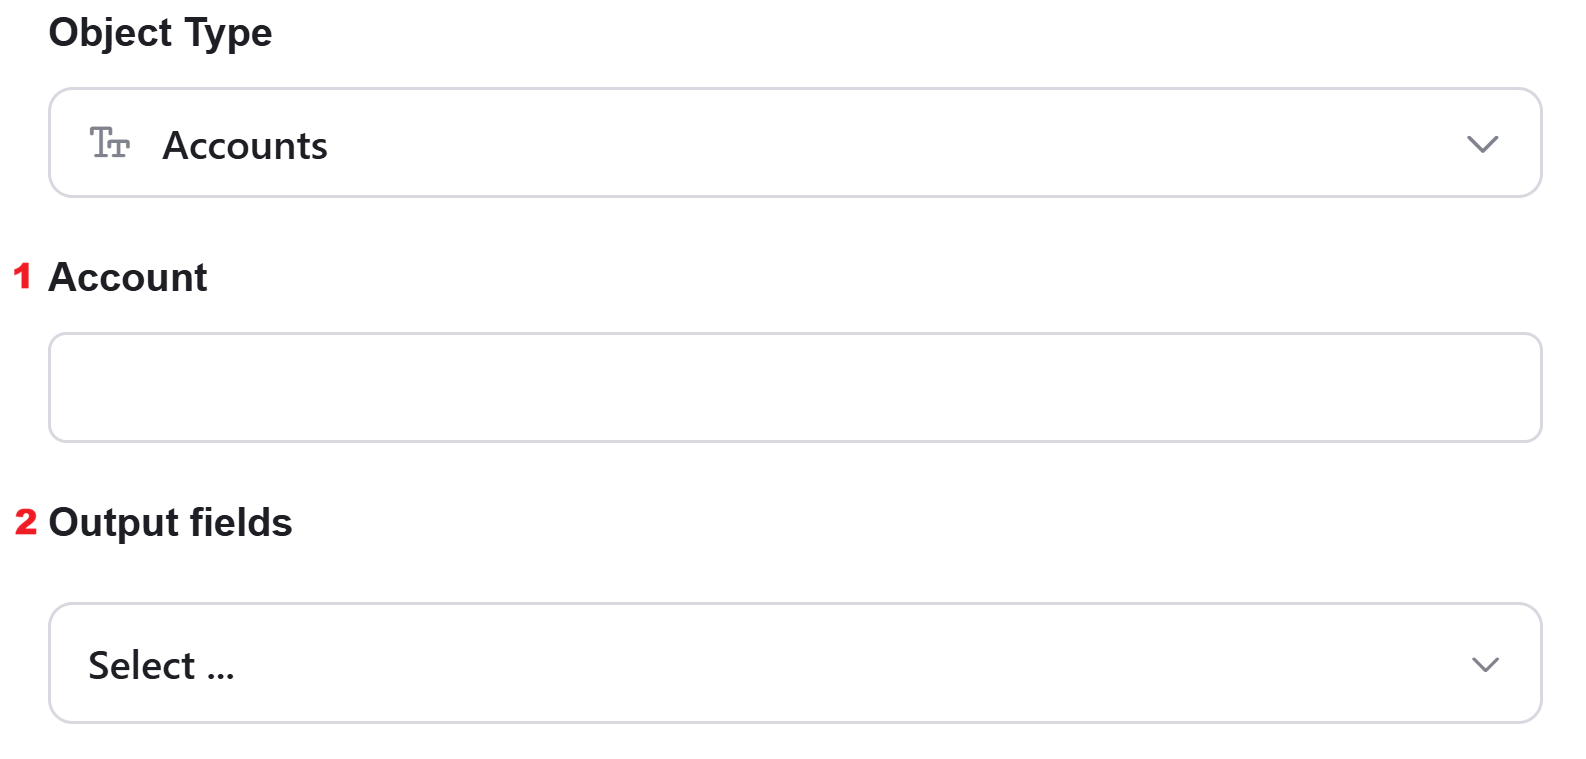
- Account – Provide the unique identifier of the record you want to retrieve.
- Output fields – Specify which fields you want to retrieve from the record.
Get Records
This action retrieves multiple records from Microsoft Dataverse based on the selected object type. You can optionally apply filters, sorting, and set a limit (Top N) on how many records to fetch.
- Object Type – Select the type of object you want to retrieve records from.
- Top N – You can specify how many records with the same value you want to get. Click on ‘Top N’ and enter the maximum number of values you want to retrieve.
If you set
Top N = 1, a single record will be returned instead of an array. If no record is found, the action will fail, allowing you to implement an IF condition within the workflow. This can be useful for processes where the existence of a record determines the next steps in the workflow. - Add Filter - Click Add Filter to define conditions that narrow down the data list and return only the relevant items. To learn more about using filters, click here.
- Add Sort - Click Add Sort to organize the data list by a selected field in ascending or descending order. To learn more about sorting data, click here.
Get Records Batch
The Get Records Batch action retrieves multiple records from Microsoft Dataverse in a single call based on a list of IDs.
- Object Type – Select the type of object to retrieve records from.
-
Data List – Provide the list of records to be retrived. Each item in the list should match the structure of the selected object type.

- After selecting the object type (e.g., Accounts), provide the unique ID of the specific record you want to retrieve.
Update Record
This action updates an existing record in Microsoft Dataverse. It allows you to change one or more fields within a specified object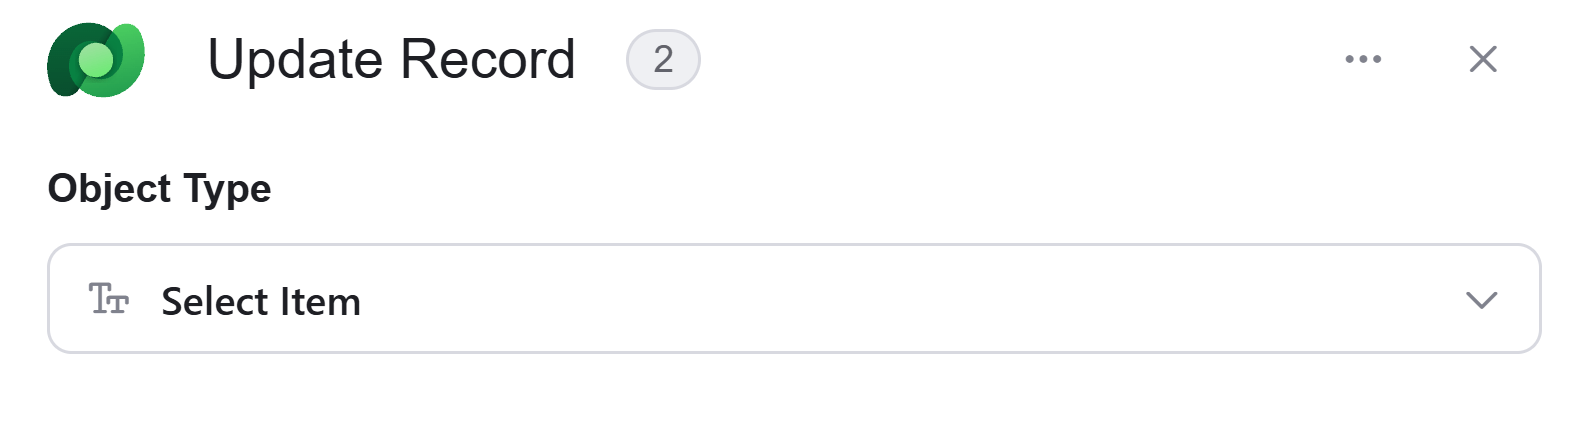
- Object Type – Select the type of object that contains the record you want to update.

- Account – This field requires the unique identifier (ID) of the record you want to update.
- Add Field - Click Add Field to add and populate additional fields for the selected activity. To learn more about managing activity data, click here.
Update Records Batch
This action updates multiple existing records in Microsoft Dataverse in one request.
- Object Type – Select the type of object that contains the records you want to update.
- Data List – Provide a list of records to update.
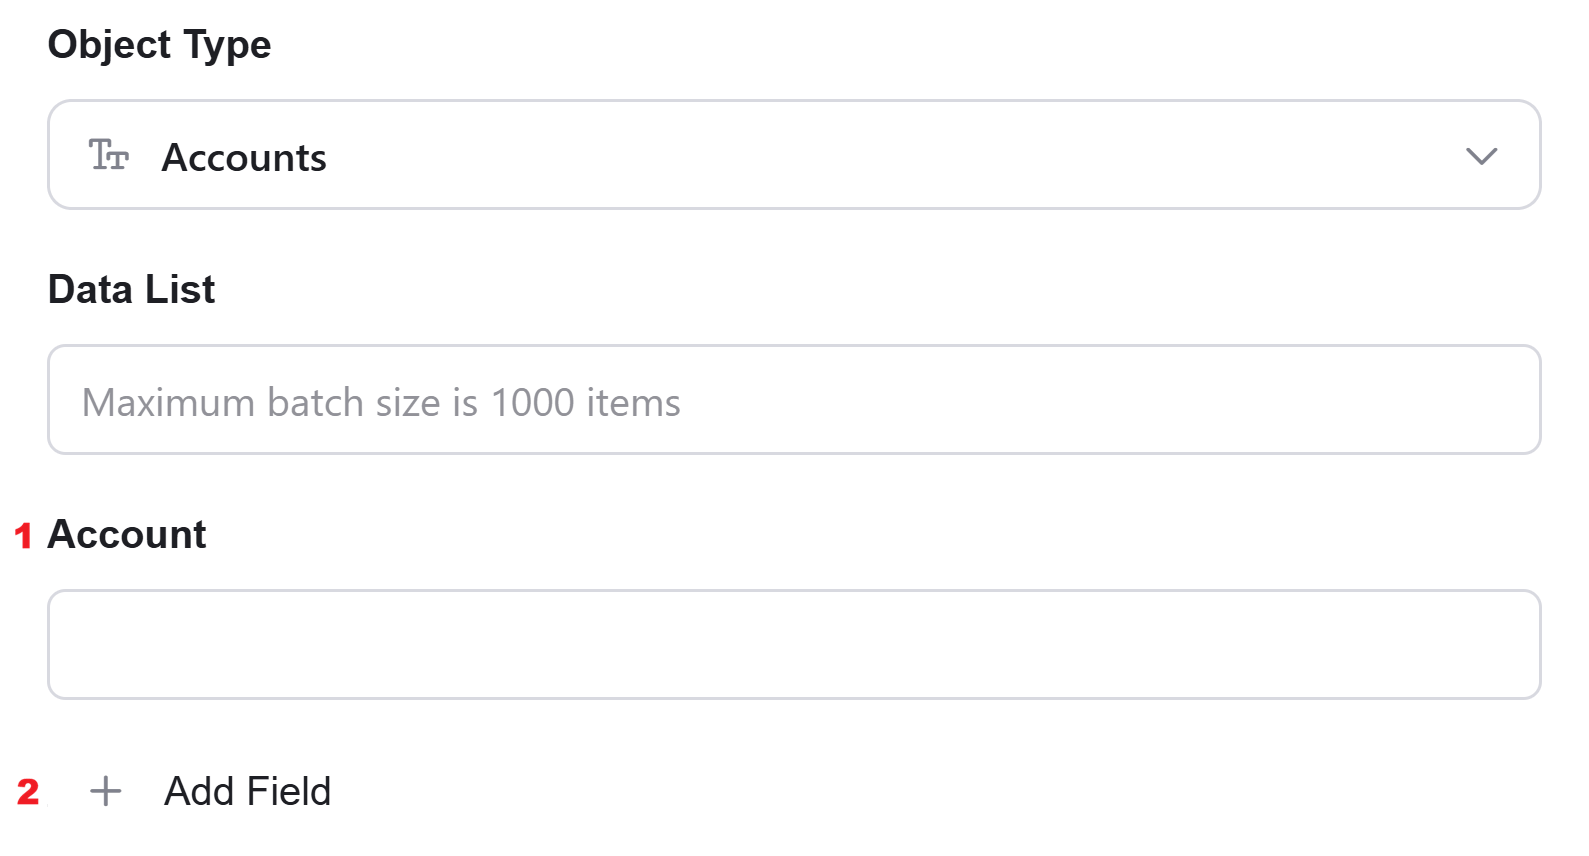
- Account – This field requires the unique identifier (ID) of the record you want to update.
- Add Field - Click Add Field to add and populate additional fields for the selected activity. To learn more about managing activity data, click here.
Initialize Object Array
This action initializes an array variable that holds objects of the selected type.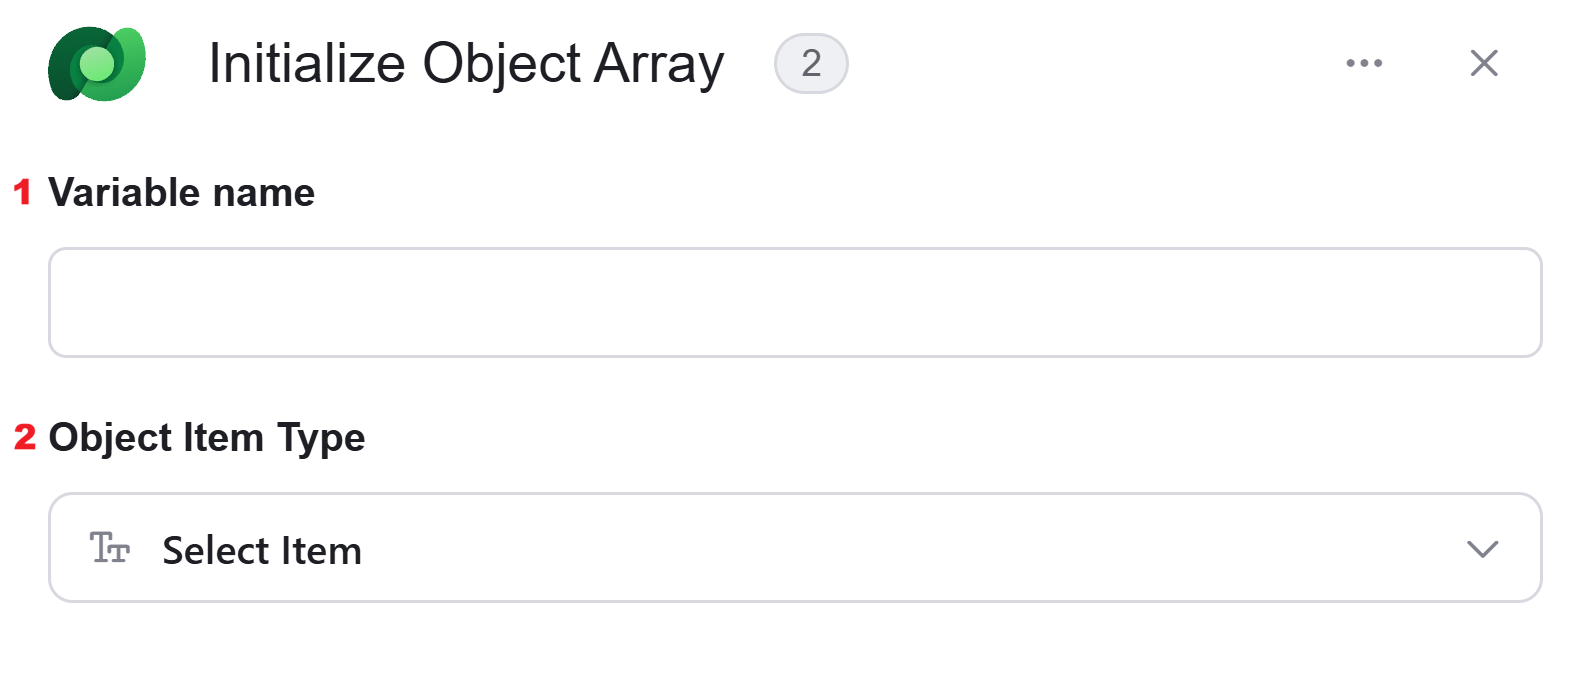
- Variable name – Enter a name for the array variable that will store the list of objects.
- Object Item Type – Select the type of object that each item in the array will represent.
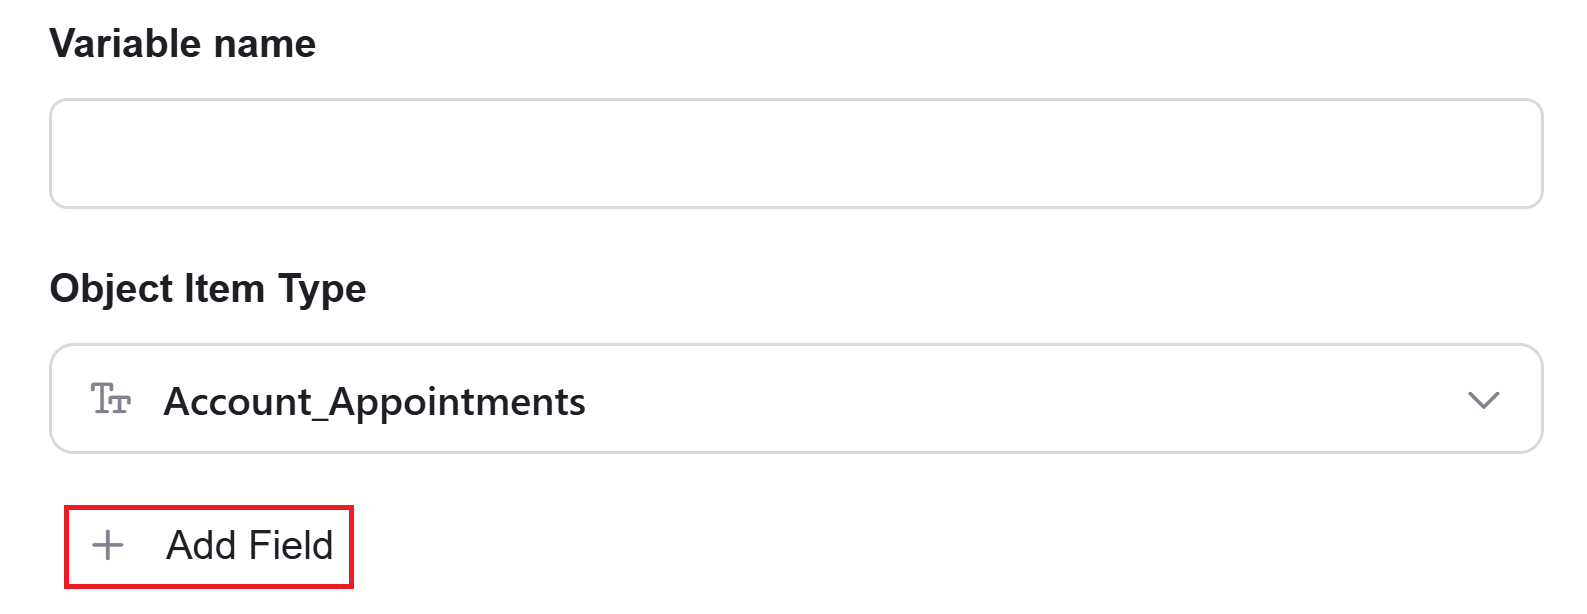
- Add Field - Click Add Field to add and populate additional fields for the selected activity. To learn more about managing activity data, click here.
Append to Object Array
This action adds a new object to an existing object array variable that was initialized earlier in the workflow.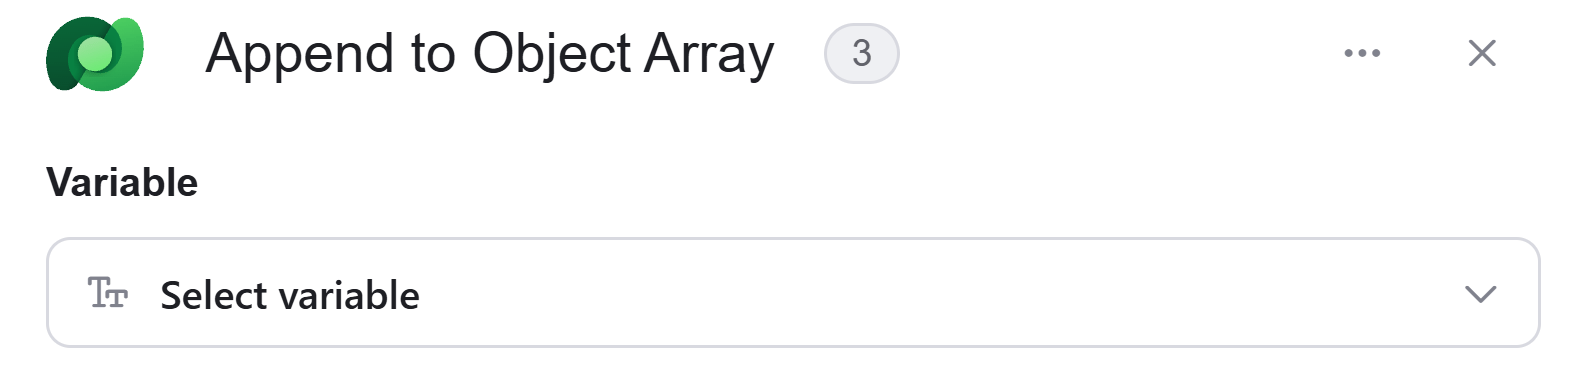
- Variable – Select the array you initialized in the previous steps.
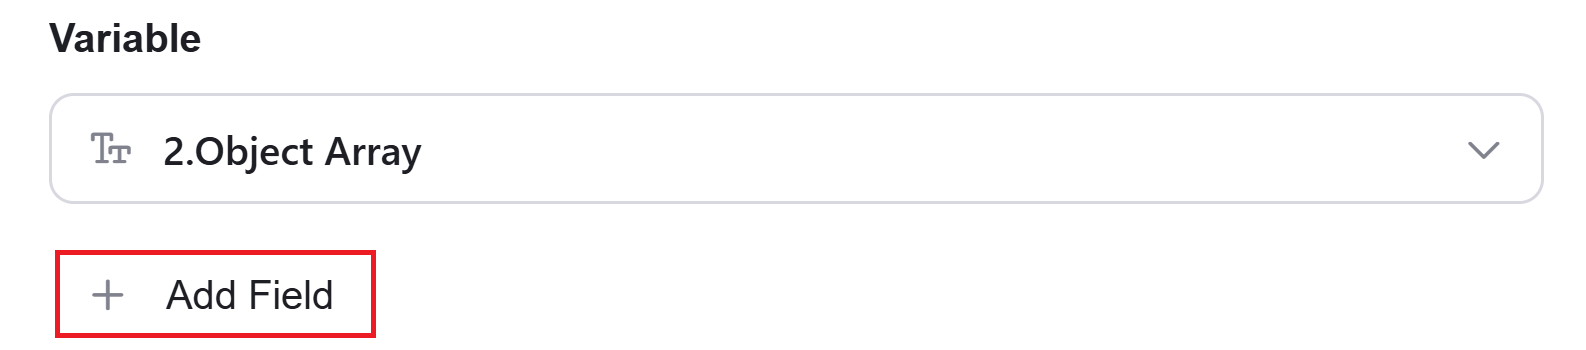
- Add Field - Click Add Field to add and populate additional fields for the selected activity. To learn more about managing activity data, click here.
Map Object Array
The map array activity allows you to transform a list of data items into a new data list based on the object’s properties and values you choose.
- Data List – Choose a data list that you’ve obtained from previous activities in your workflow. This data list typically contains an array of objects that you want to process and transform.
- Object name – Define the type of objects from the drop down that will be stored within the array.

- Add Field - Click Add Field to add and populate additional fields for the selected activity. To learn more about managing activity data, click here.
Send API Request
This action allows you to send a custom API request directly to the Microsoft Dataverse API.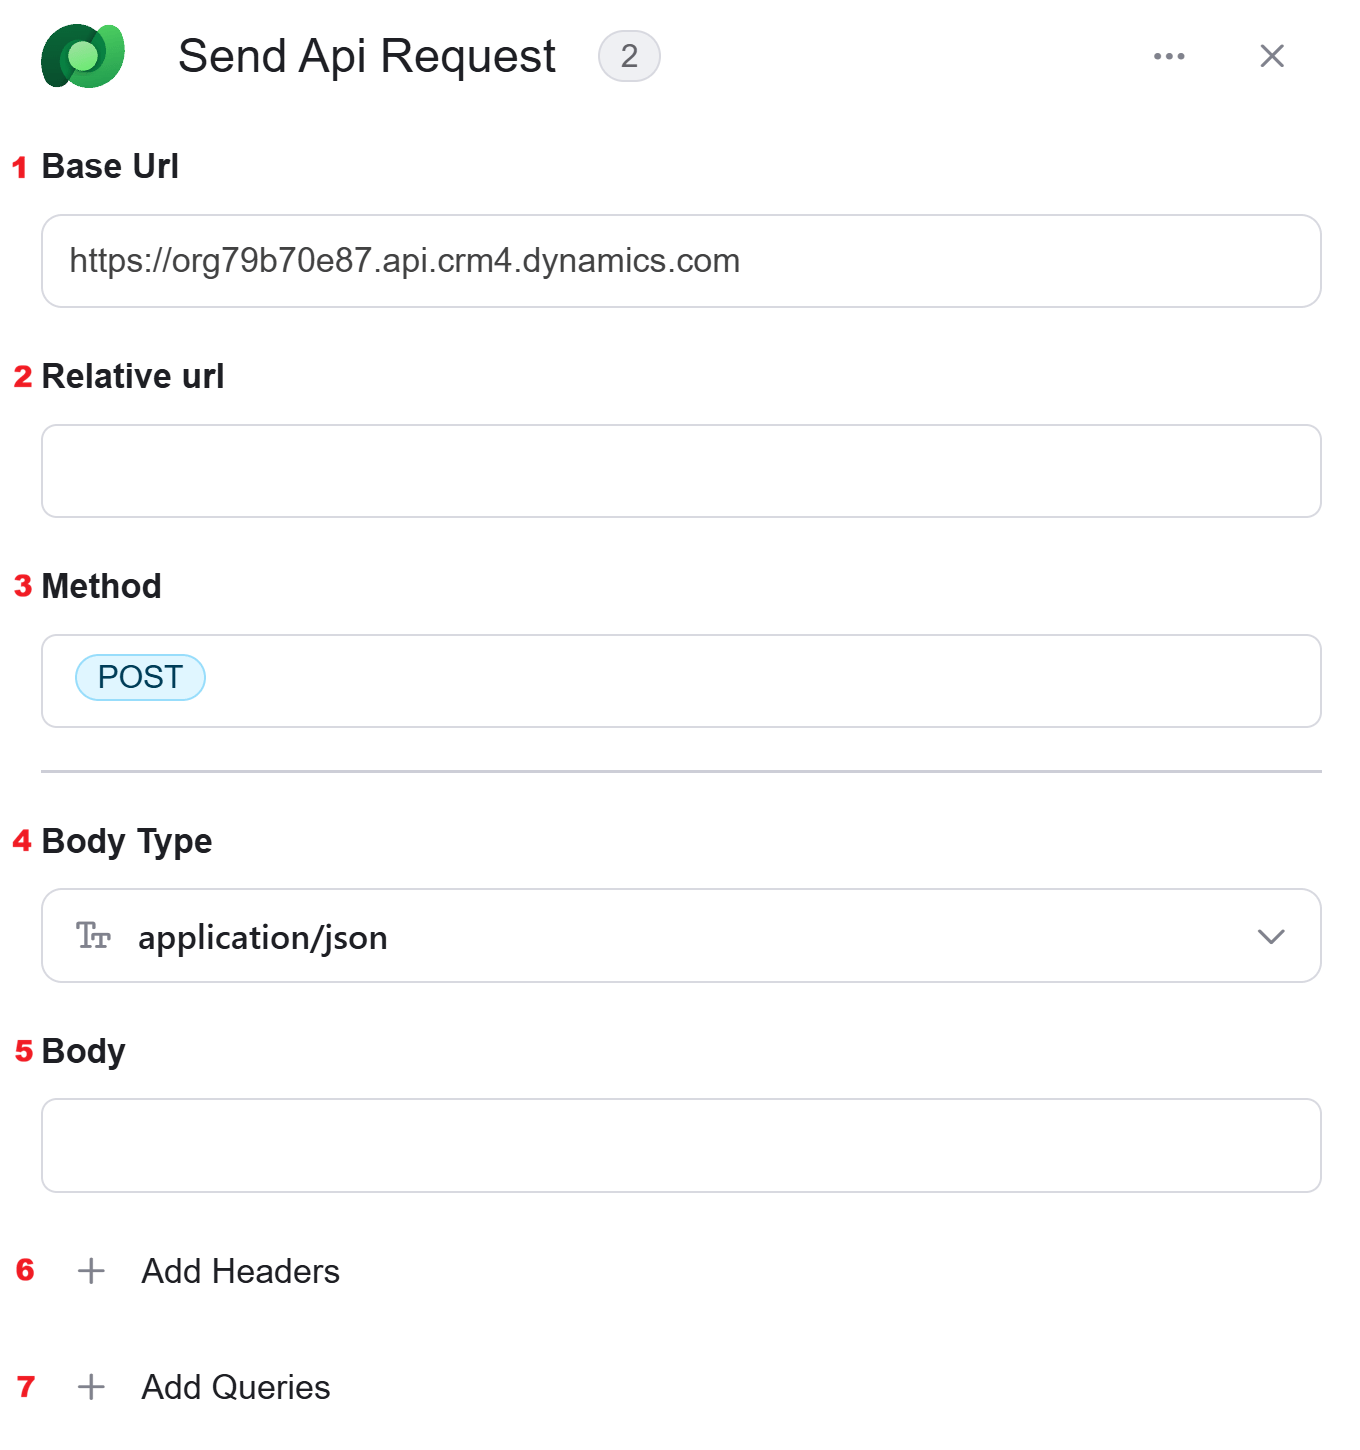
- Base Url – This is the root URL of the API you’re sending the request to.
- Relative Url – You can specify additional path segments or parameters that need to be added to the end of the automatically generated URL. This allows you to customize the specific request you want to perform.
- Method – Select the HTTP method (e.g., Get, Post, Put, Delete, Patch).
- Body Type – Defines the format of the data in the body of your request. A commonly used value is application/json , which means the body will contain a JSON-formatted payload.
- Body – Contains any data that is being sent to the server.
- Add Headers – Additional metadata about the request, such as the type of data that Engini can accept, the length of the request body, and authentication information.
- Click on the “Add Headers” button to add a header.
- Click on the headers field to enter the key, and on the value field to enter a value. Each header consists of a key-value pair, where the key is the name of the parameter, and the value is the data associated with that parameter.
- Click on the “Add” button to add more Headers.
- Add Queries – The query refers to the parameters or data that are included in the URL of an HTTP request to provide additional information or instructions to the server.
- Click on the “Add Queries” button to add a header.
- Click on the queries field to enter the key, and on the value field to enter a value. Each query consists of a key-value pair, where the key is the name of the parameter, and the value is the data associated with that parameter.
- Click on the “Add” button to add more queries.