

Add a Connection to Outlook in Engini
Prerequisites
- An Outlook account: a free Outlook.com account or a Microsoft 365 mailbox.
Connecting Engini to Outlook
- Enter your Engini account at https://app.engini.io.
-
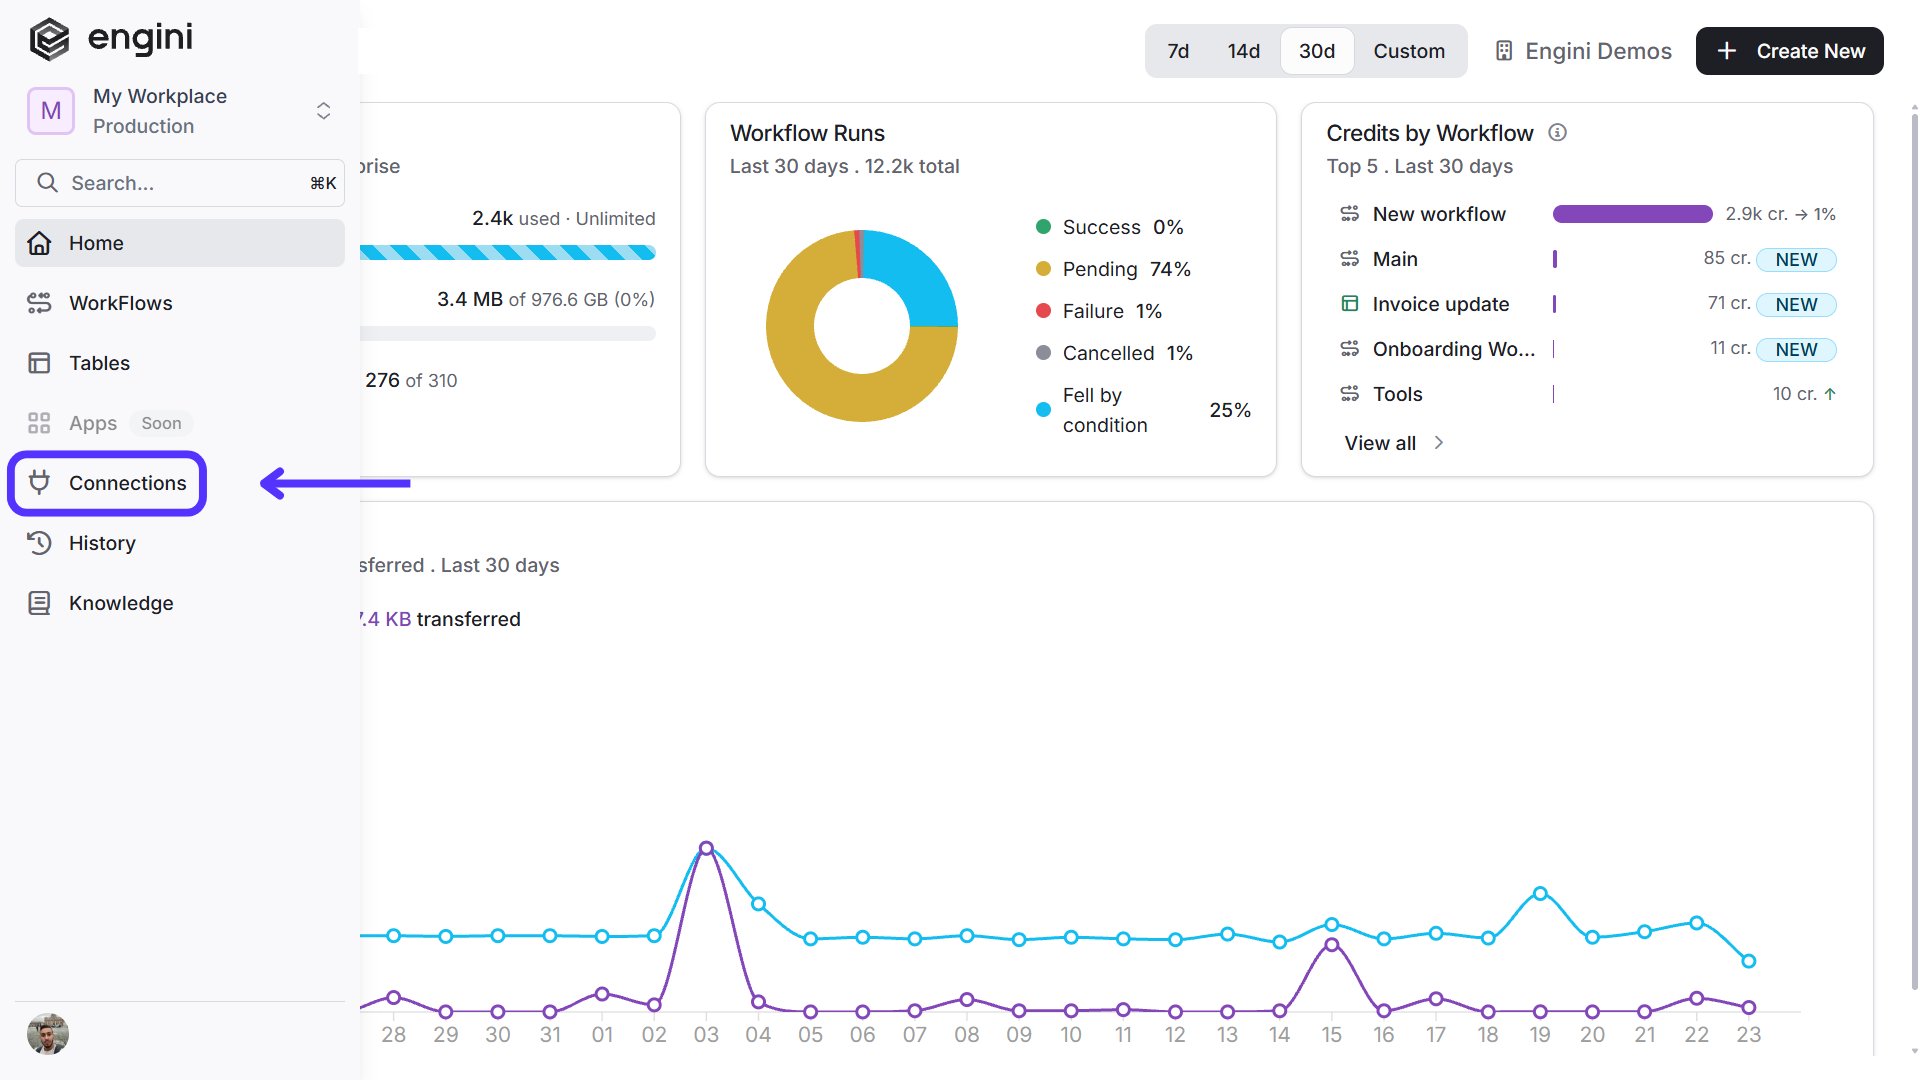
Navigate to the Connections page by clicking on Connections in the left sidebar or by clicking here.
-
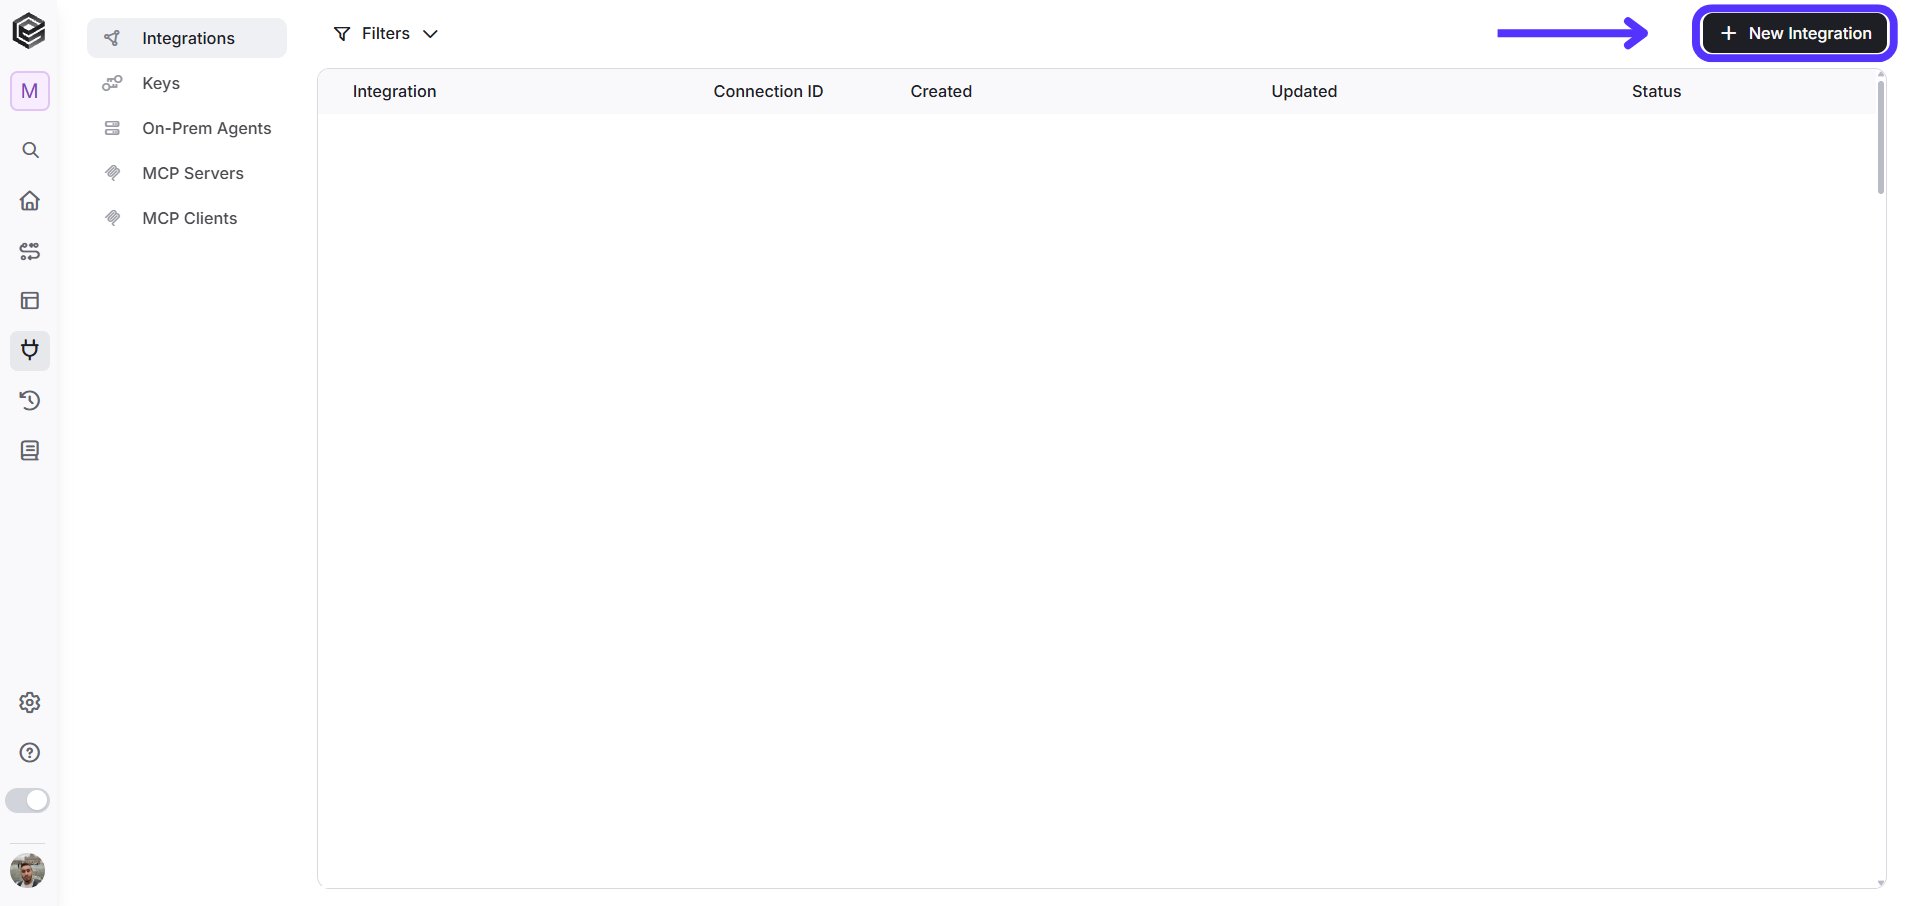
Click on the “New Integration” option located at the top bar.
-
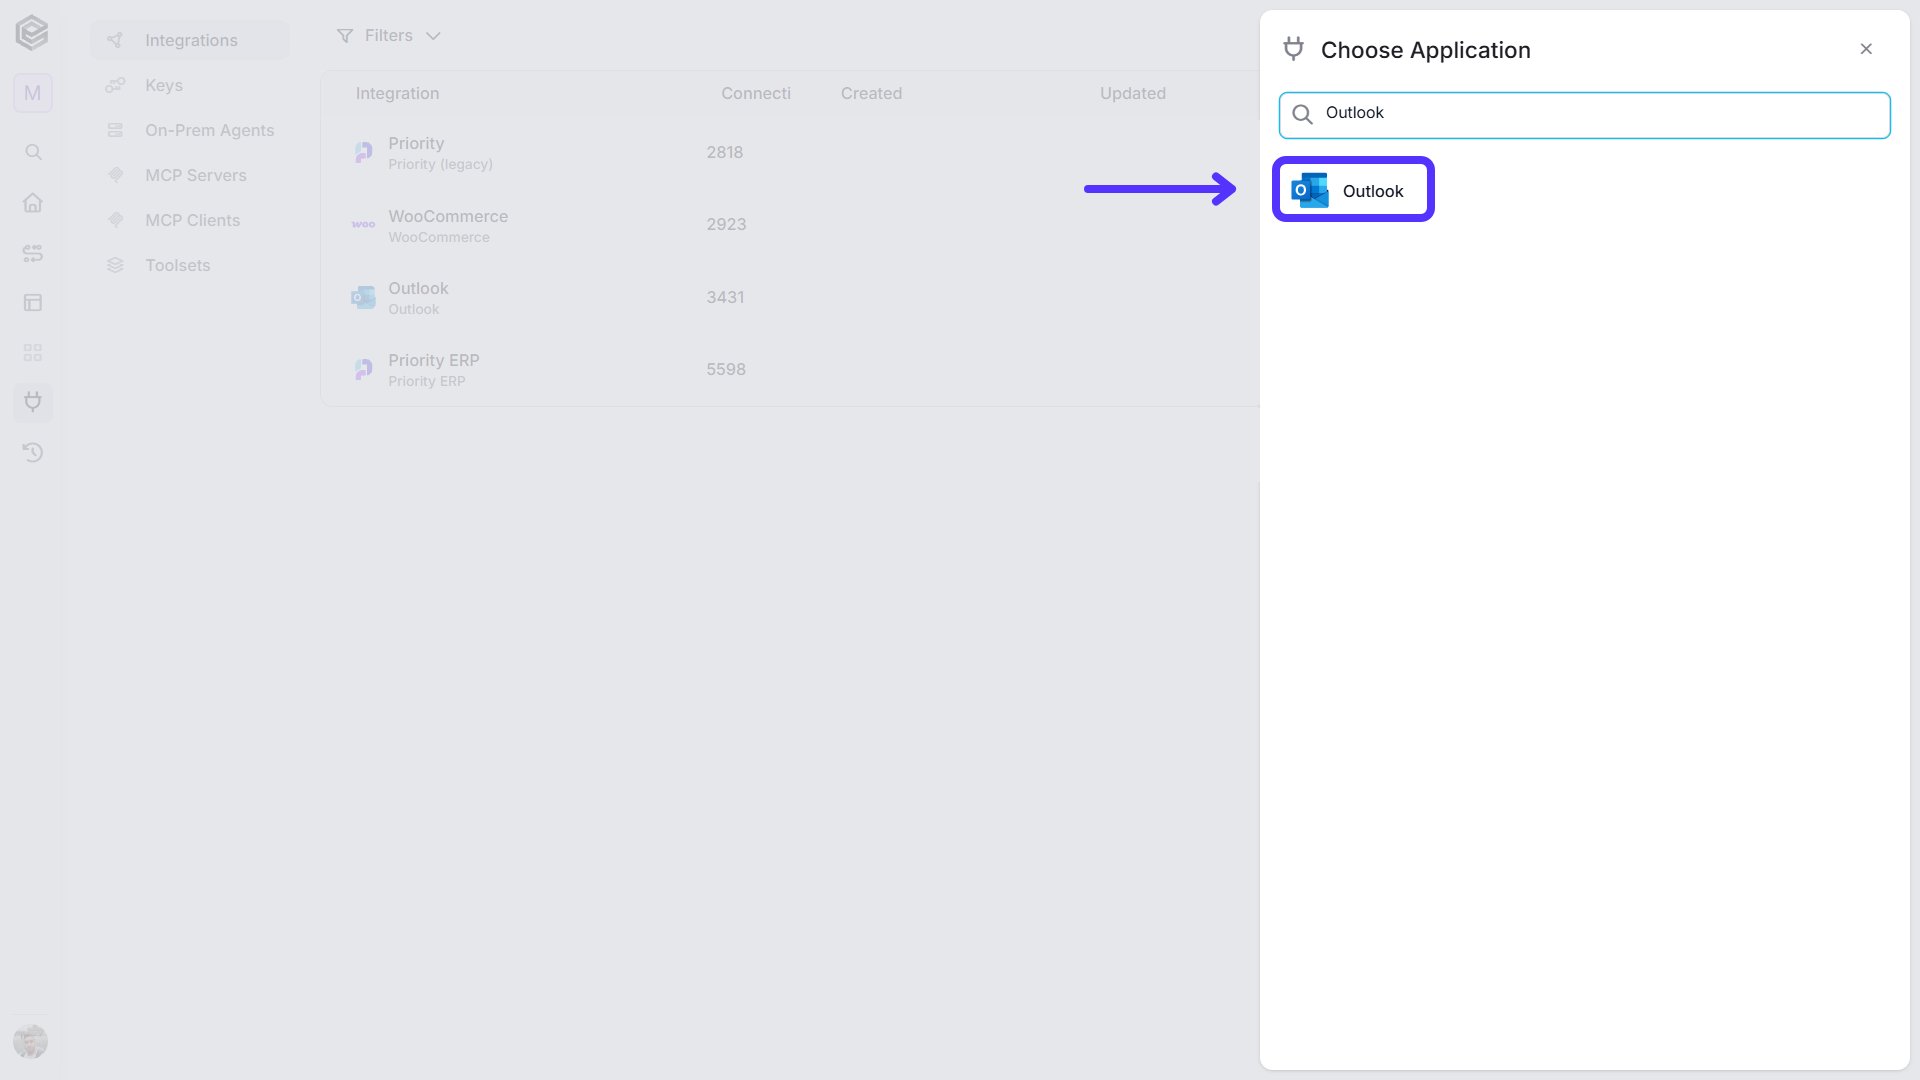
Choose the Outlook option from the available applications.
- Fill in the “New Integration” form and press Save: Note: There are two different authentication methods available, and the required fields differ depending on the option you choose. Please follow the relevant instructions based on your selected method.
OAuth2
This is the default method. You sign in with your Microsoft account, so you don’t need to provide a Client Id or Client Secret.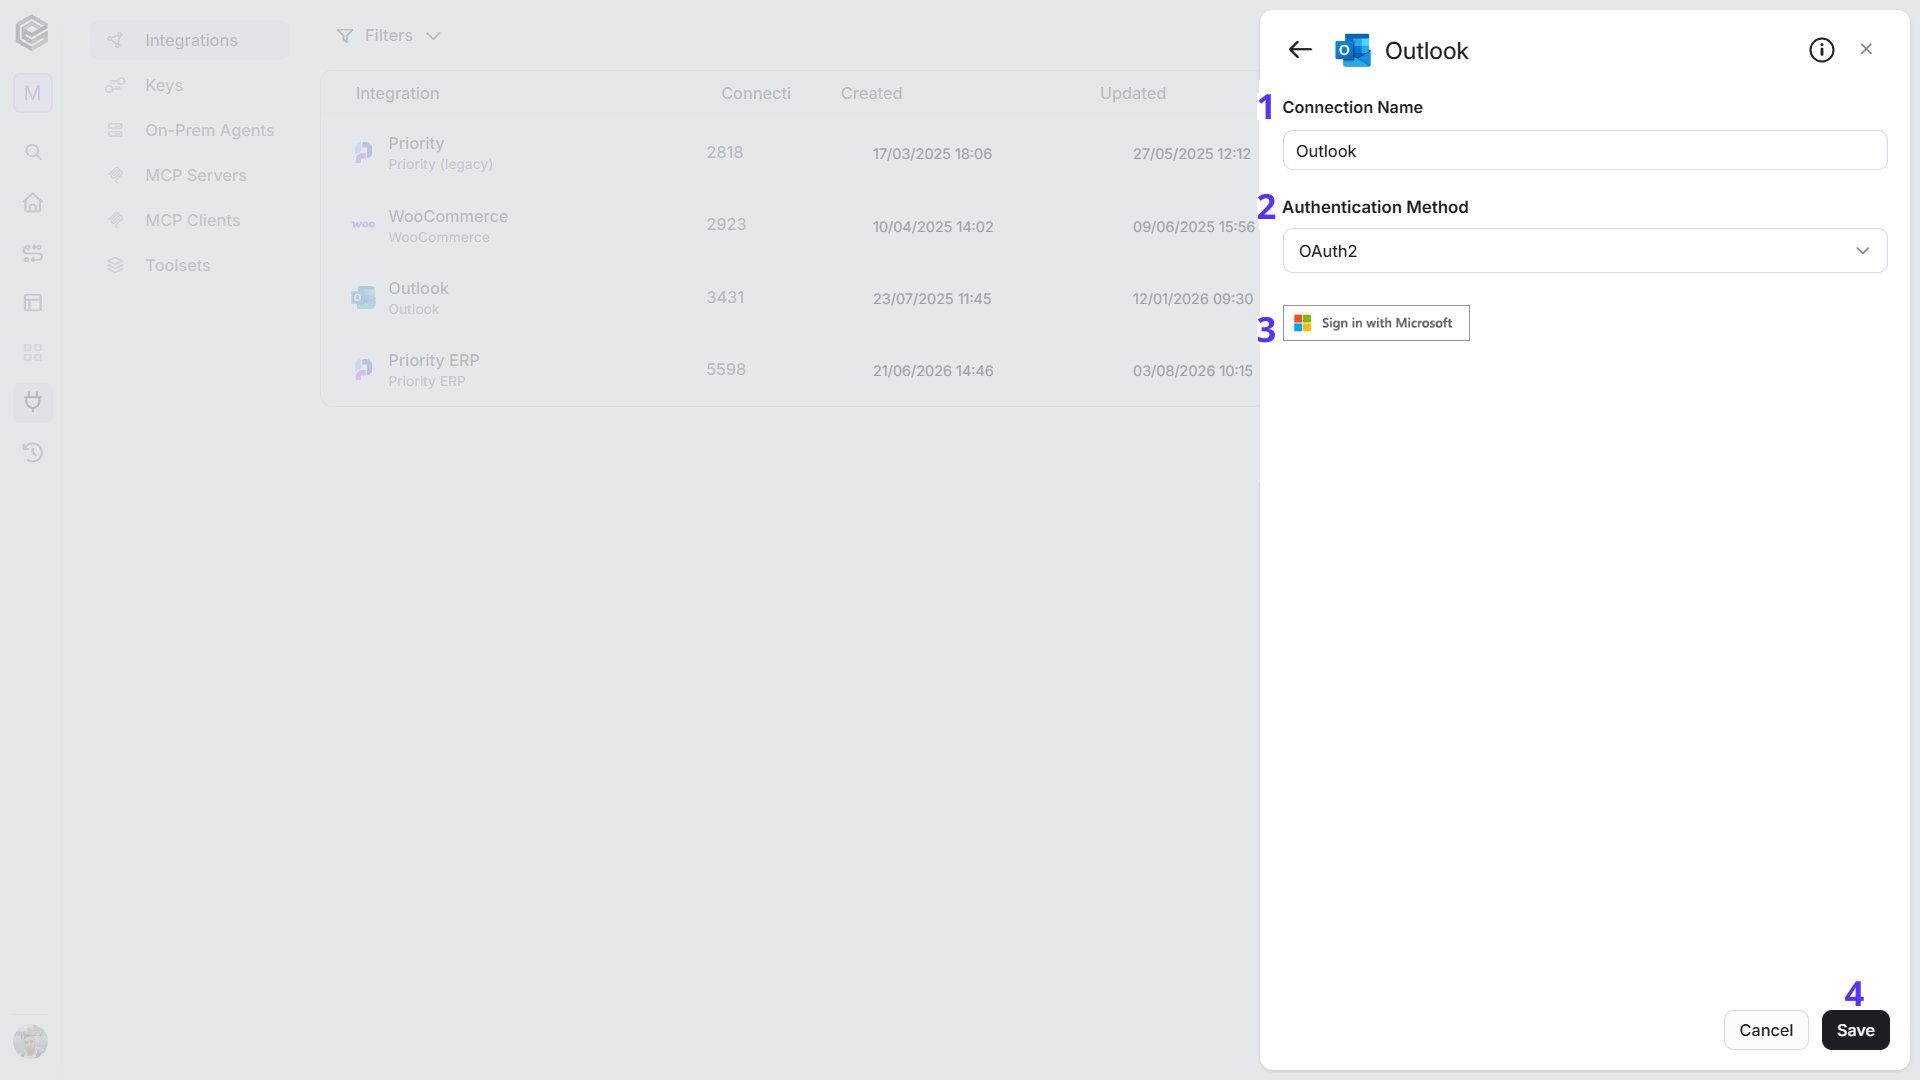
- Connection Name - Enter a name that helps identify the Outlook connection.
- Authentication Method - Select OAuth2.
- Sign in with Microsoft - Click Sign in with Microsoft and sign in to your Microsoft account.
- Save - Click Save to create the connection.
Custom OAuth 2.0
Choose this method if you want Engini to connect through an app that you registered yourself in Microsoft Azure, instead of the default Microsoft sign-in. Create the app registration first, in the Azure portal, with these settings:- Supported account types: multitenant and personal Microsoft accounts.
- Redirect URI: add a Web platform redirect URI, exactly
https://workflowapi.engini.io/api/auth/OAuthRedirectUrl(the same address the Callback URL field below shows). - API permissions: add these delegated Microsoft Graph permissions:
User.Read,User.Read.All,Mail.Send,Mail.Read,Mail.ReadWrite.Shared,Mail.Read.Shared,Mail.Send.Shared,Calendars.Read.Shared,Calendars.ReadWrite.Sharedandoffline_access. - Client secret: create a client secret and copy its Value (not the Secret ID).
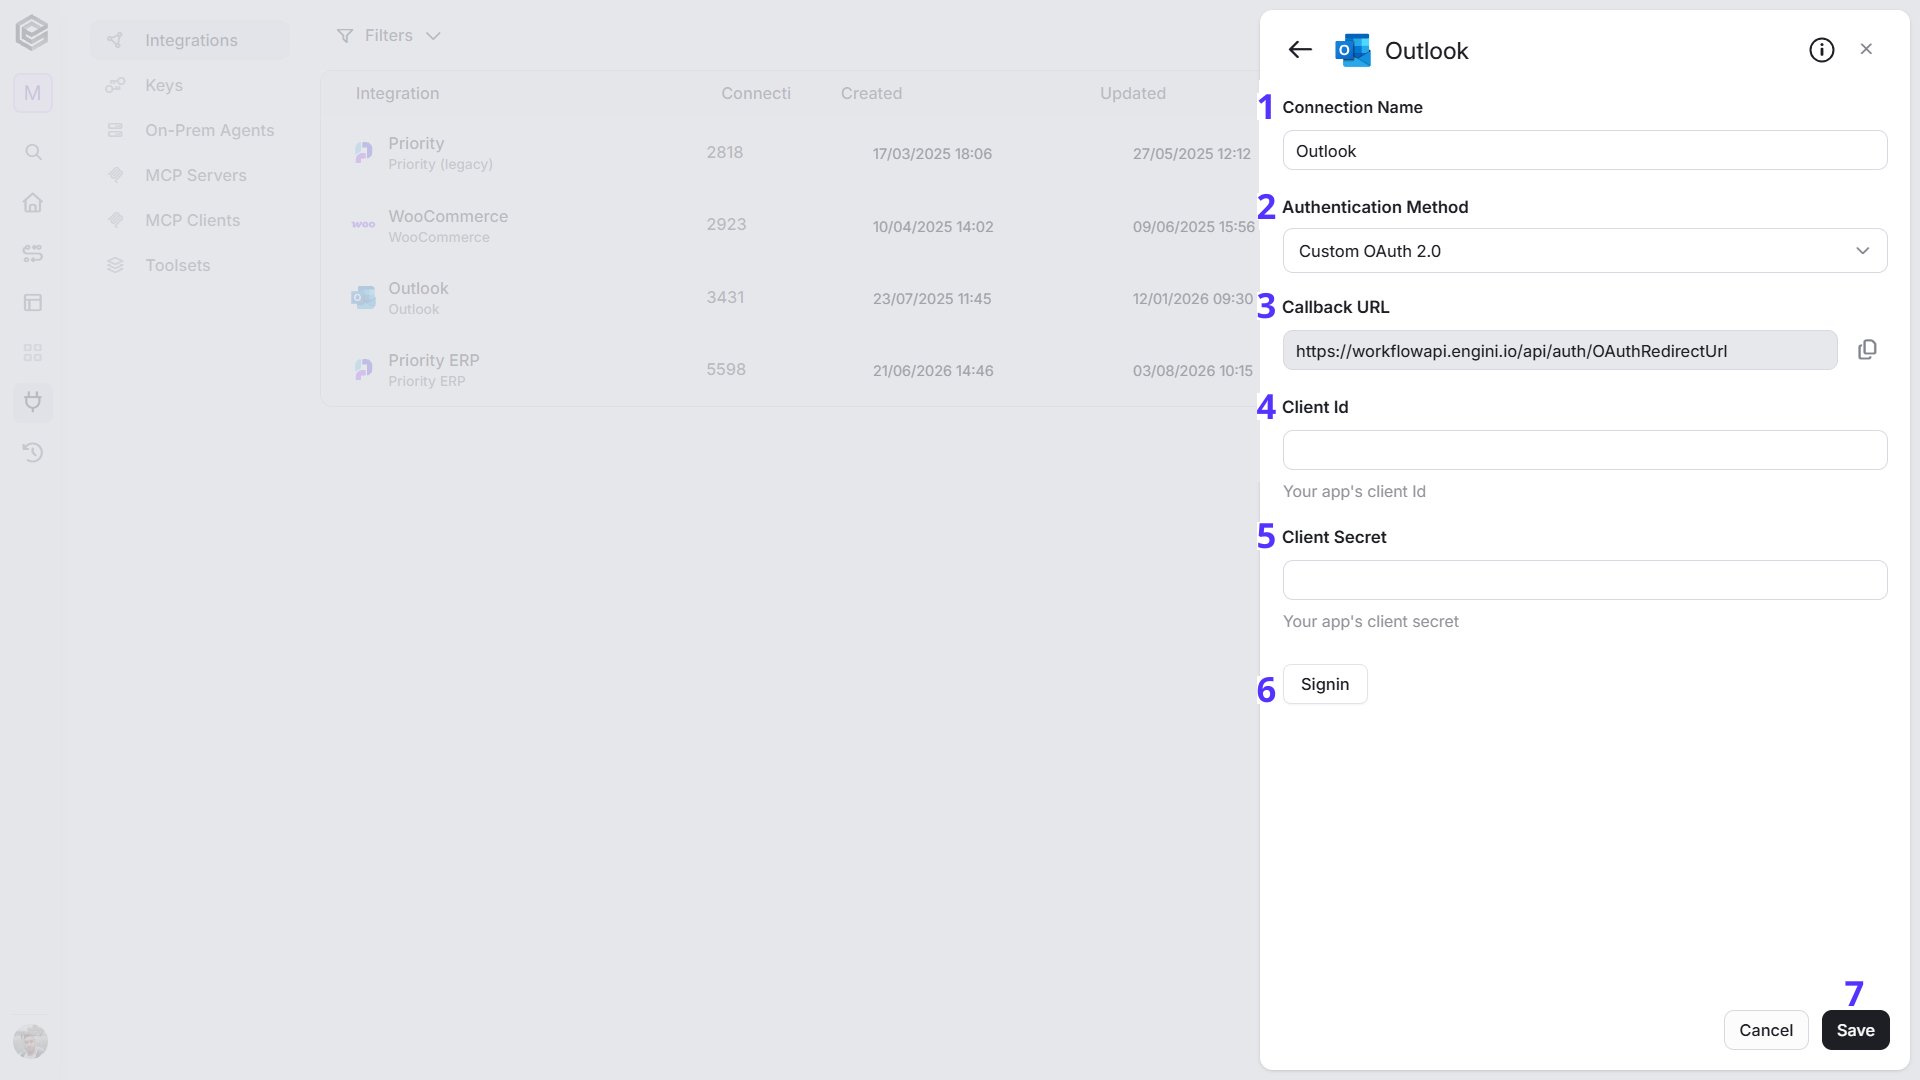
- Connection Name - Enter a name that helps identify the Outlook connection.
- Authentication Method - Select Custom OAuth 2.0.
-
Callback URL - A read-only field that shows the address Microsoft sends you back to after you sign in (
https://workflowapi.engini.io/api/auth/OAuthRedirectUrl). Click the copy button next to it, then add this address as a Web redirect URI in the Azure app registration. Do this before you enter the Client Id and Client Secret, so that the sign-in works. - Client Id - The Application (client) ID of your Azure app registration.
- Client Secret - The client secret Value created for your Azure app registration.
- Signin - Click Signin and sign in to your Microsoft account.
- Save - Click Save to create the connection.
Triggers
Check for new emails
Starts the workflow when a new email arrives in the mailbox you choose. Engini checks the mailbox on the schedule you set.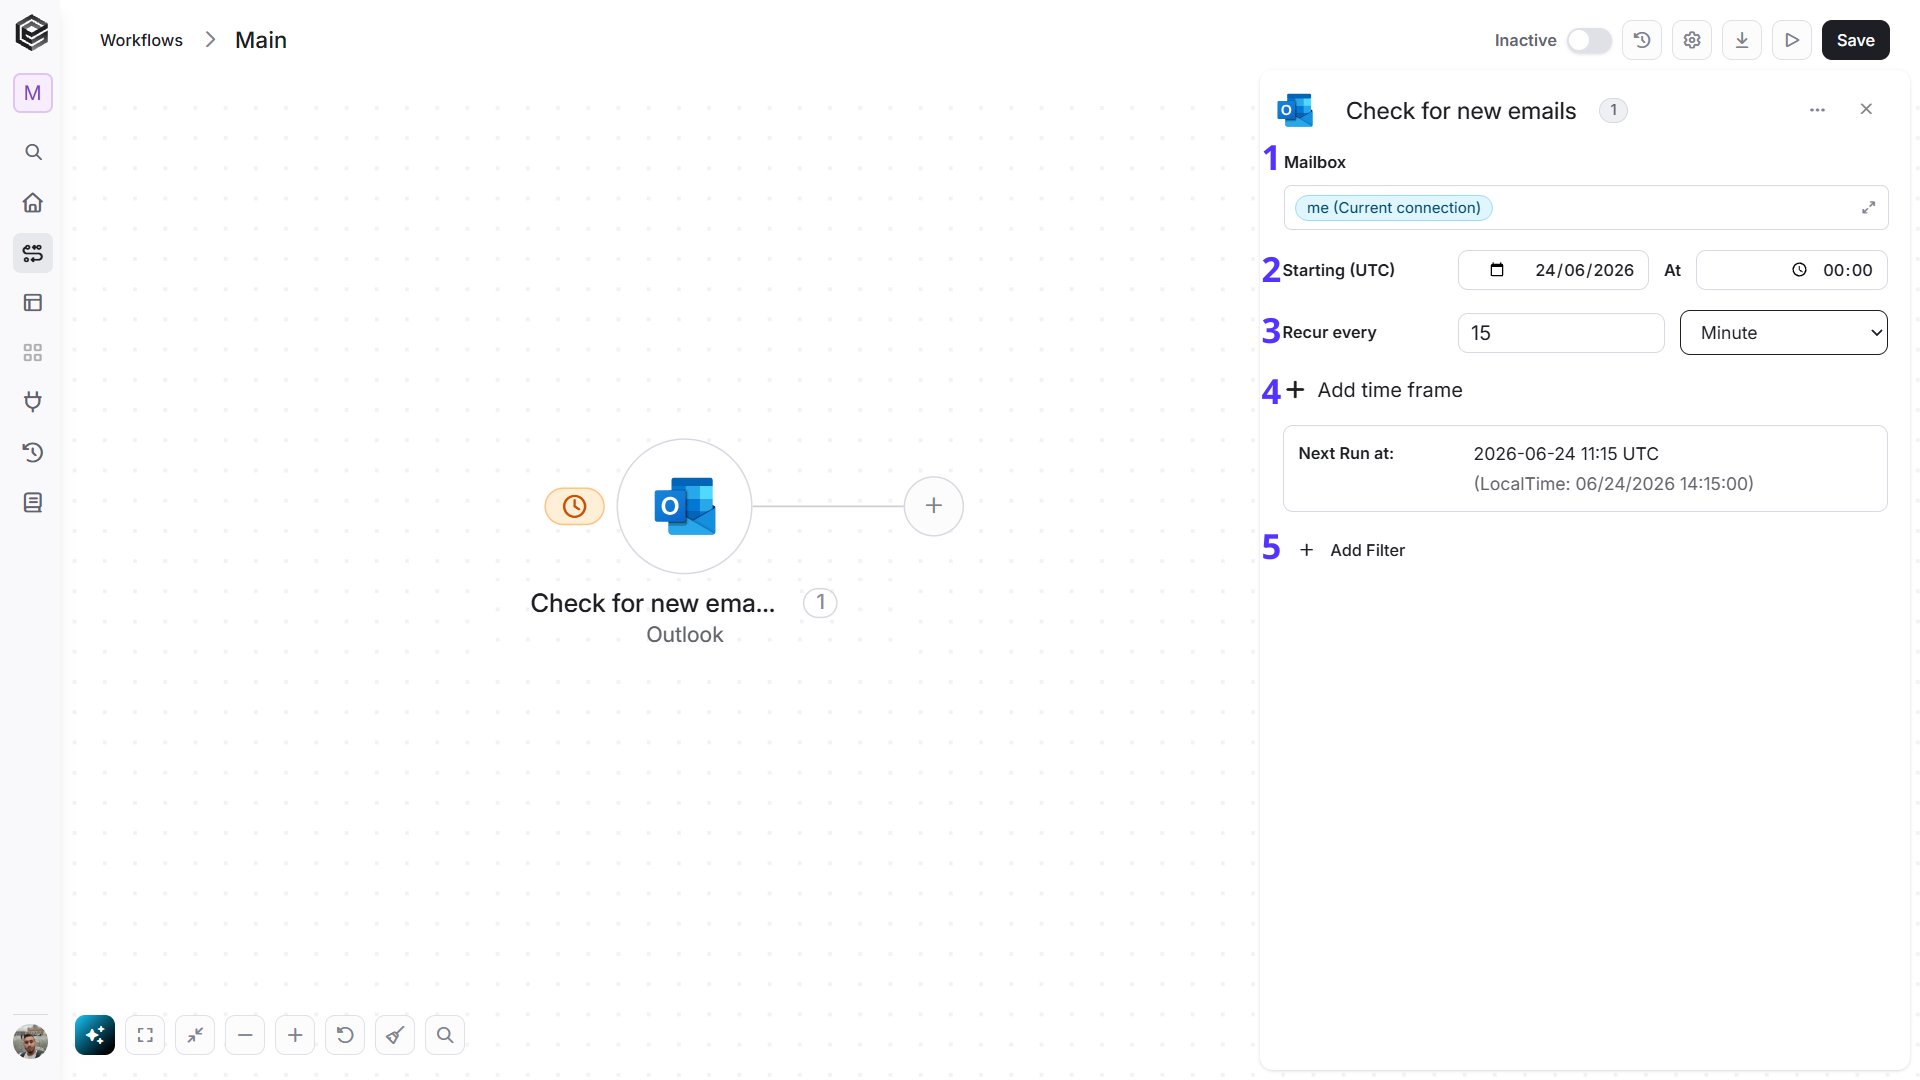
- Mailbox - The mailbox to check. The default is
me, the mailbox of the connected account. To watch a shared mailbox instead, see Watch a shared mailbox or shared folder below. - Starting (UTC) - Select the start date and time for the scheduled trigger.
- Recur every - Choose the time interval for triggering and checking emails. The minimum time interval is 15 minutes.
- Add time frame - You can specify a time frame during which the trigger will operate.
- Add Filter - Click Add Filter to define conditions that narrow down the data list and return only the relevant items. To learn more about using filters, click here.
Inbox. When Mailbox holds a shared mailbox, this is the folder of that shared mailbox that Engini watches for new emails.
Flag Status: another filter option. Choose Flagged, Complete or Not flagged to receive only emails with that follow-up flag status.
Watch a shared mailbox or shared folder: there is no separate trigger for this - use Check for new emails as follows.
- Set Mailbox to the email address of the shared mailbox, for example
shared@company.com. - Click Add Filter, add the Folder filter and enter the folder to watch, for example
Inbox. - The account of your Outlook connection must have access to that shared mailbox (the
Mail.Read.Sharedpermission); otherwise Outlook does not return its emails.
- Message Id - The unique identifier of the email. Use it in later steps, for example in Get Email or Reply Comment To a Message.
- From - The email address the email was sent from.
- To - The email addresses the email was sent to.
- CC - The email addresses in the CC field.
- Subject - The subject of the email.
- Body - The full content of the email.
- Body Preview - A short text preview of the email body.
- Recieved DateTime - The date and time the email was received.
- Importance - The importance set on the email.
- Web Link - A link that opens the email in Outlook on the web.
- Attachments - The files attached to the email. It is filled only when Include Attachments is Yes; otherwise the list is empty. Each attachment has:
- Id - The Id of the attachment in Outlook. Use it to refer to this exact file in a later step.
- File Name - The name of the file.
- Size - The size of the file.
- Content Type - The type of the file, for example
application/pdf. - Content - The content of the file.
Check for new or updated events
Watches a calendar for new or updated events, running on the schedule you set.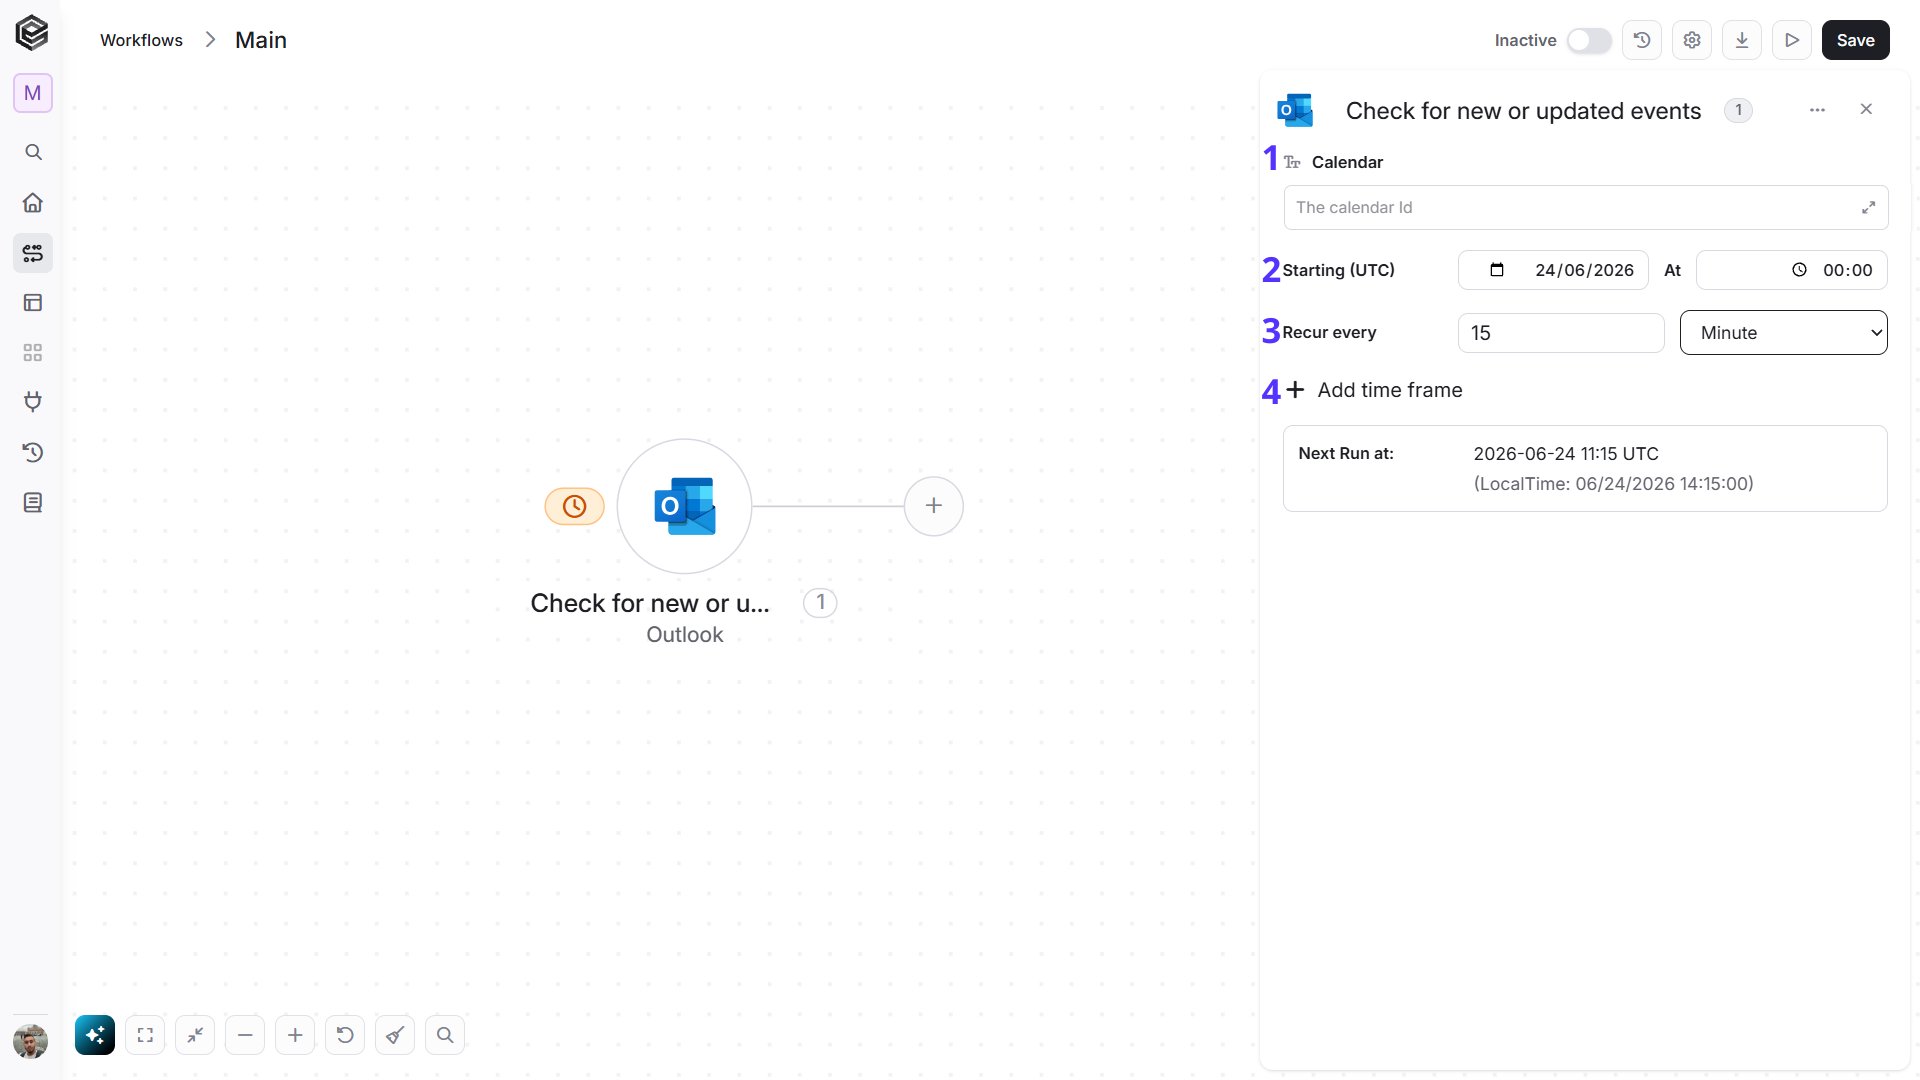
- Calendar - The Id of the calendar to watch.
- Starting (UTC) - Select the start date and time for the scheduled trigger.
- Recur every - Choose the time interval for triggering and checking the calendar. The minimum time interval is 15 minutes.
- Add time frame - You can specify a time frame during which the trigger will operate.
- Id - The unique identifier of the event. Use it in later steps, for example in Get Event or Update Event.
- Subject - The title of the event.
- Body Preview - A short text preview of the event description.
- Importance - The importance set on the event.
- Is All Day - Whether the event lasts all day.
- Is Cancelled - Whether the event was cancelled.
- Is Organizer - Whether you are the organizer of the event.
- Is Online Meeting - Whether the event is an online meeting.
- Online Meeting Url - The link to join the online meeting.
- Show As - How the event appears in your calendar, for example busy or free.
- Has Attachments - Whether the event has attached files.
- Type - The kind of event, for example a single event or an occurrence of a recurring series.
- Series Master Id - For an occurrence of a recurring event, the Id of the series it belongs to.
- Web Link - A link that opens the event in Outlook on the web.
- Created Date Time - The date and time the event was created.
- Last Modified Date Time - The date and time the event was last changed.
- Start - When the event starts:
- Date Time - The date and time the event starts.
- Time Zone - The time zone of the start date and time.
- End - When the event ends:
- Date Time - The date and time the event ends.
- Time Zone - The time zone of the end date and time.
- Location - Where the event takes place:
- Display Name - The name of the place, as shown in the event.
- Organizer - The person who organized the event:
- Name - The organizer’s name.
- Address - The organizer’s email address.
- Attendees - The people invited to the event. Each attendee has:
- Type - Whether the attendee is required, optional or a resource.
- Name - The attendee’s name.
- Address - The attendee’s email address.
- Response - The attendee’s answer to the invitation, for example accepted or declined.
- Time - The date and time the attendee responded.
Check for new or updated contacts
Starts the workflow when a contact in your Outlook mailbox is created or changed. Engini checks your contacts on the schedule you set.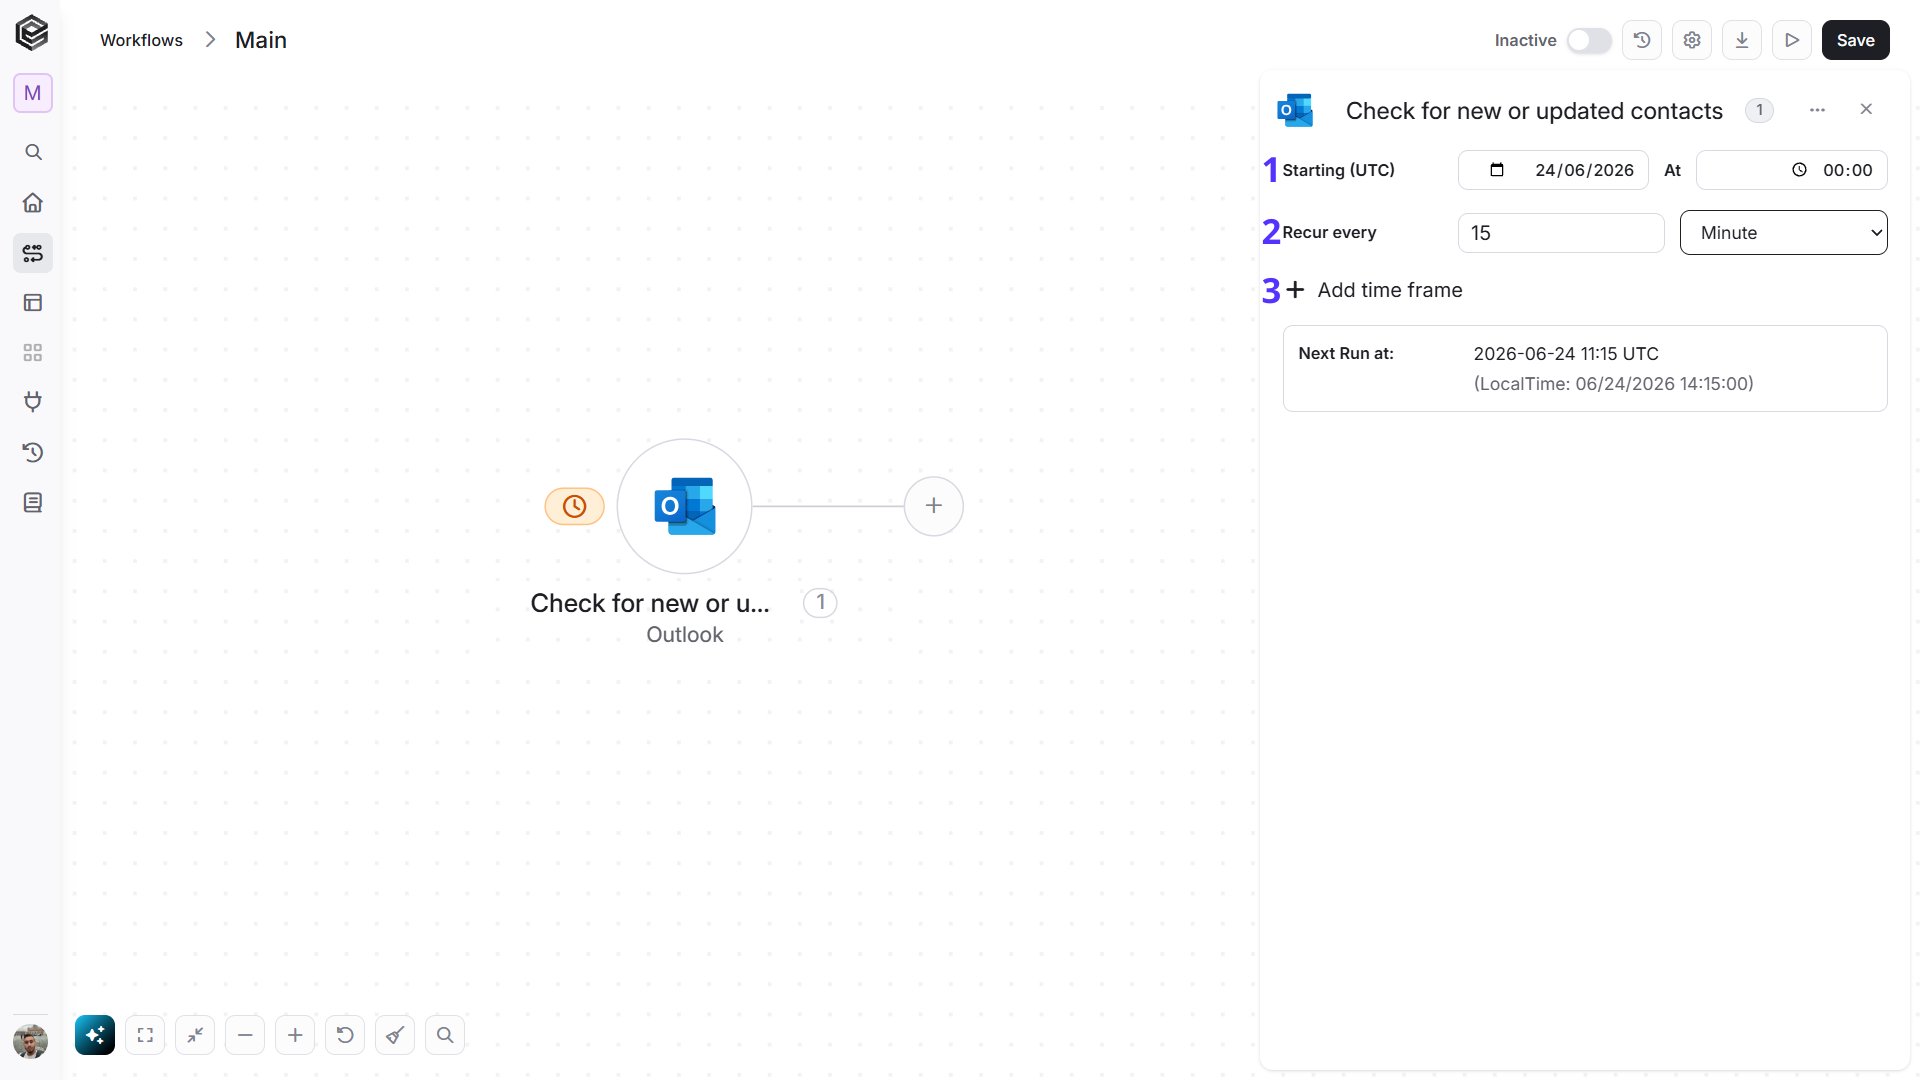
- Starting (UTC) - Select the start date and time for the scheduled trigger.
- Recur every - Choose the time interval for triggering and checking contacts. The minimum time interval is 15 minutes.
- Add time frame - You can specify a time frame during which the trigger will operate.
- Id - The unique identifier of the contact. Use it in later steps, for example in Get Contact or Update Contact.
- Created - The date and time the contact was created.
- Last Modified - The date and time the contact was last changed.
- Change Key - The version of the contact.
- Parent Folder Id - The identifier of the folder that holds the contact.
- Display Name - The name shown in the contact list.
- First Name - The contact’s first name.
- Last Name - The contact’s last name.
- Job Title - The contact’s role at the company.
- Company - The company the contact works for.
- Department - The contact’s department.
- Mobile Phone - The contact’s mobile phone number.
- Business Phones - The contact’s work phone numbers.
Check for upcoming events
Starts the workflow when an event in your calendar is about to start. Engini checks your calendar on the schedule you set.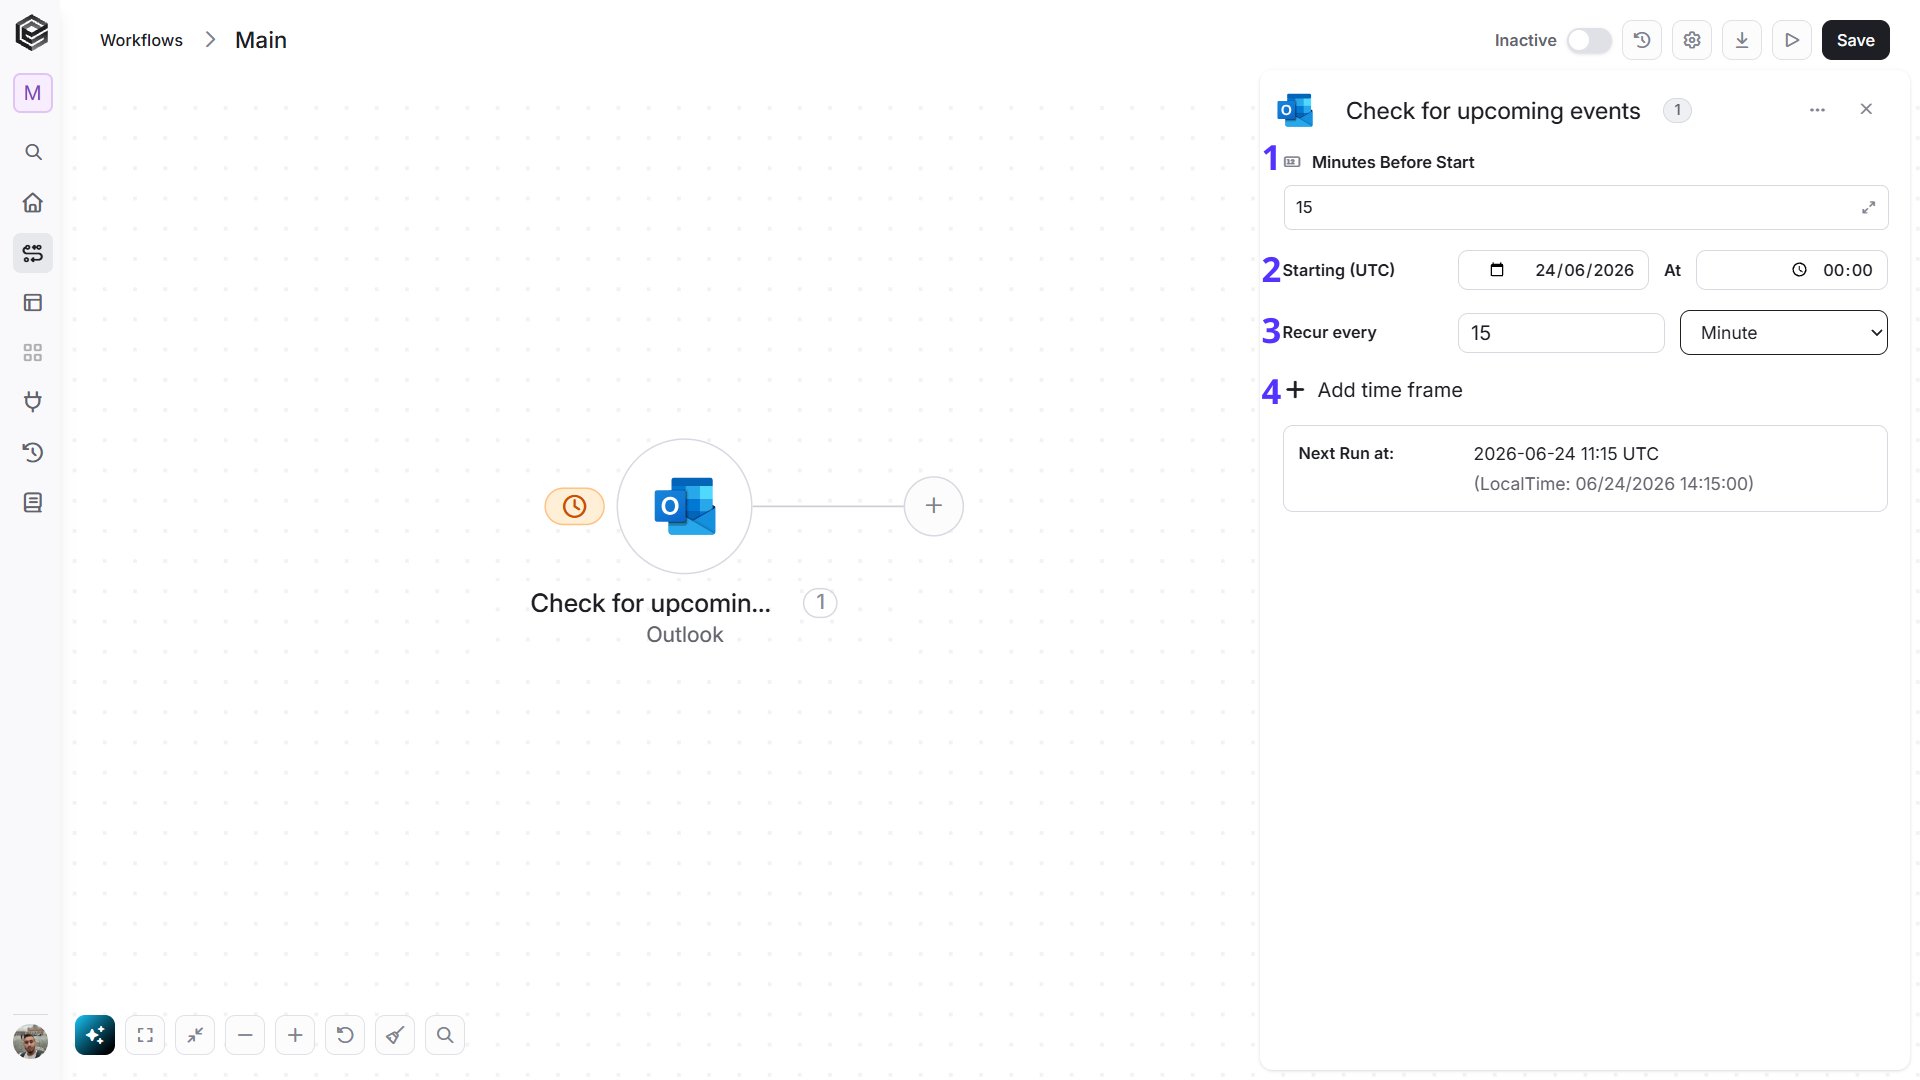
- Minutes Before Start - Enter how many minutes ahead to look. Events that start within this many minutes are passed to the next steps. The default is 15.
- Starting (UTC) - Select the date on which the schedule begins, and in At the time of day, in UTC.
- Recur every - Enter a number and choose a time unit, for example 15 and Minute, to set how often Engini checks your calendar for upcoming events. The minimum time interval is 15 minutes.
- Add time frame - You can specify a time frame during which the trigger will operate.
- Id - The unique identifier of the event. Use it in later steps, for example in Get Event or Update Event.
- Subject - The title of the event.
- Body Preview - A short text preview of the event description.
- Importance - The importance set on the event.
- Is All Day - Whether the event lasts all day.
- Is Cancelled - Whether the event was cancelled.
- Is Organizer - Whether you are the organizer of the event.
- Is Online Meeting - Whether the event is an online meeting.
- Online Meeting Url - The link to join the online meeting.
- Show As - How the event appears in your calendar, for example busy or free.
- Has Attachments - Whether the event has attached files.
- Type - The kind of event, for example a single event or an occurrence of a recurring series.
- Series Master Id - For an occurrence of a recurring event, the Id of the series it belongs to.
- Web Link - A link that opens the event in Outlook on the web.
- Created Date Time - The date and time the event was created.
- Last Modified Date Time - The date and time the event was last changed.
- Start - When the event starts:
- Date Time - The date and time the event starts.
- Time Zone - The time zone of the start date and time.
- End - When the event ends:
- Date Time - The date and time the event ends.
- Time Zone - The time zone of the end date and time.
- Location - Where the event takes place:
- Display Name - The name of the place, as shown in the event.
- Organizer - The person who organized the event:
- Name - The organizer’s name.
- Address - The organizer’s email address.
- Attendees - The people invited to the event. Each attendee has:
- Type - Whether the attendee is required, optional or a resource.
- Name - The attendee’s name.
- Address - The attendee’s email address.
- Response - The attendee’s answer to the invitation, for example accepted or declined.
- Time - The date and time the attendee responded.
Actions
Add Attachment to Draft Email
Adds a file to an email that is saved in your Drafts folder. The email is not sent.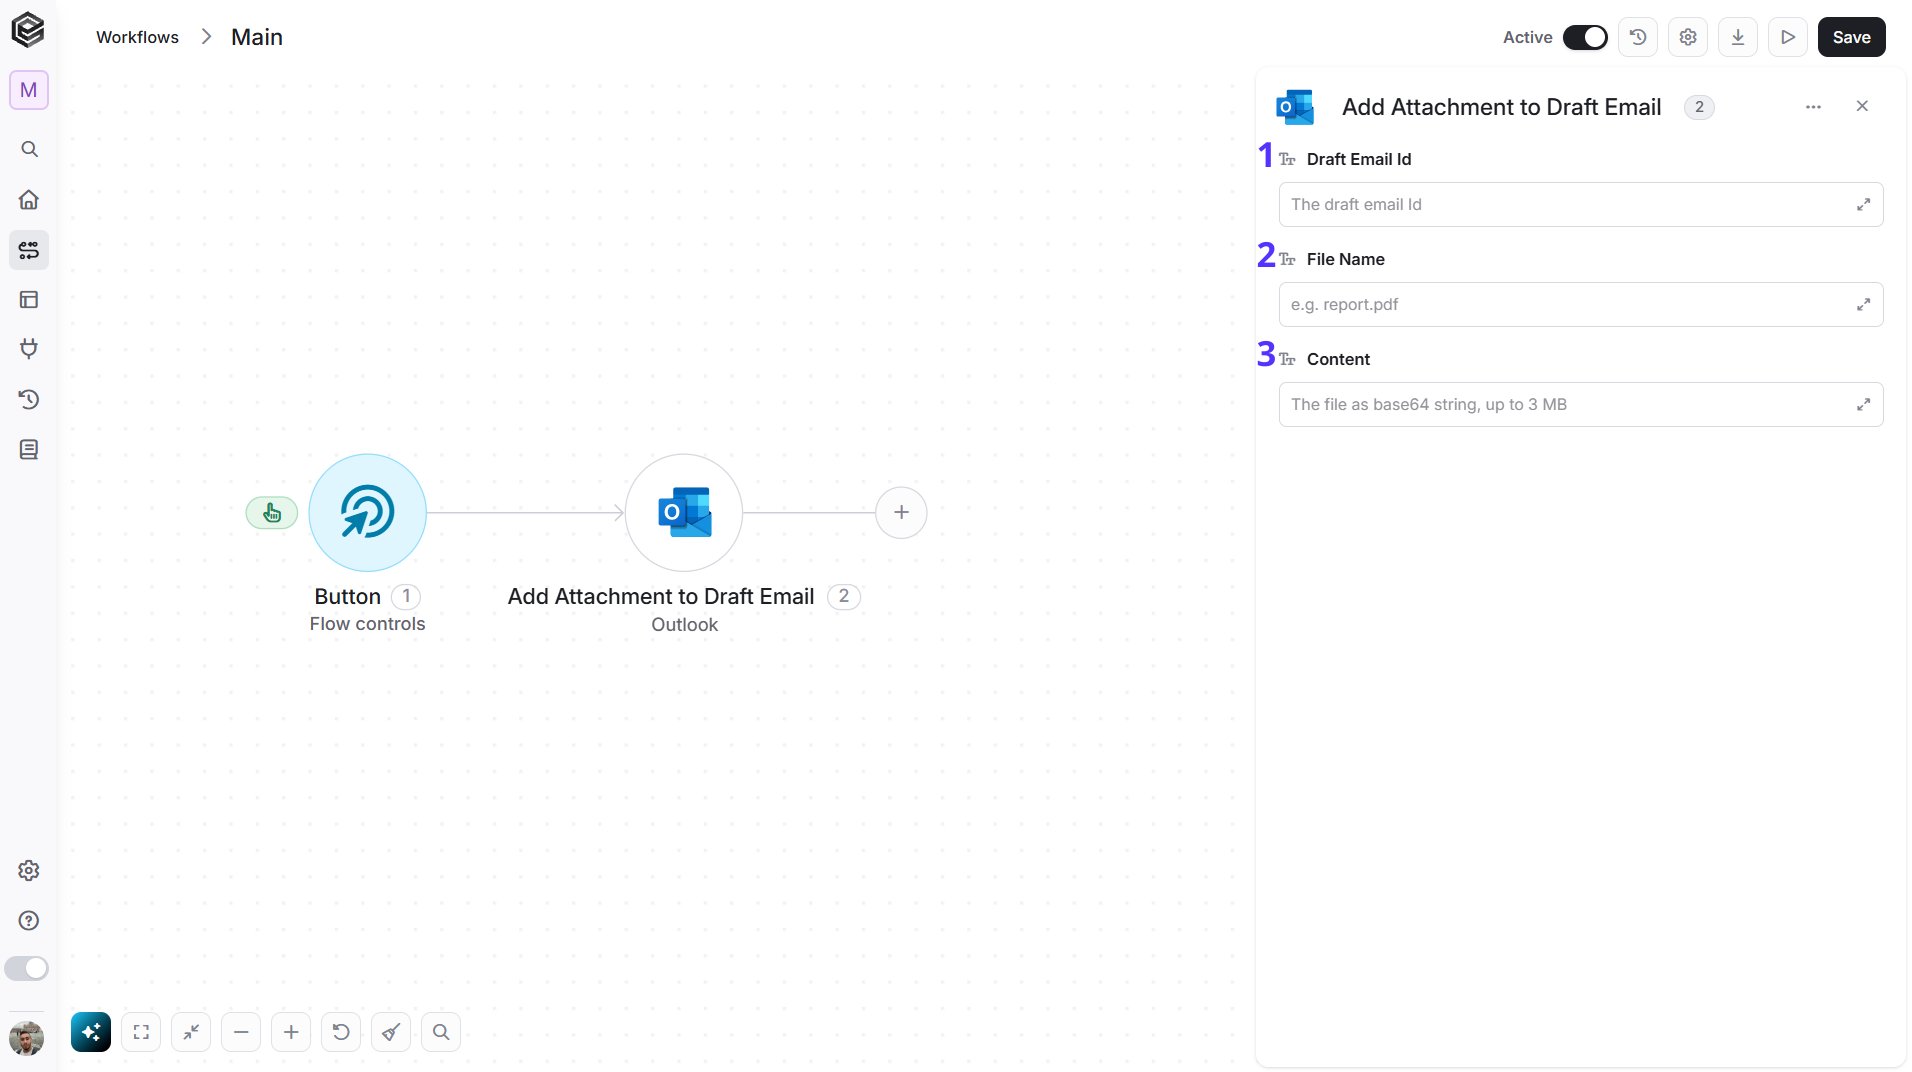
- Draft Email Id - The unique identifier of the draft email. Map it from a previous Create Draft Message step.
- File Name - The name of the file, including its extension, for example
invoice.pdf. - Content - The content of the file as Base64 text. The file can be up to 3 MB.
Add attachment to existing event
Adds a file to an event that already exists in a calendar.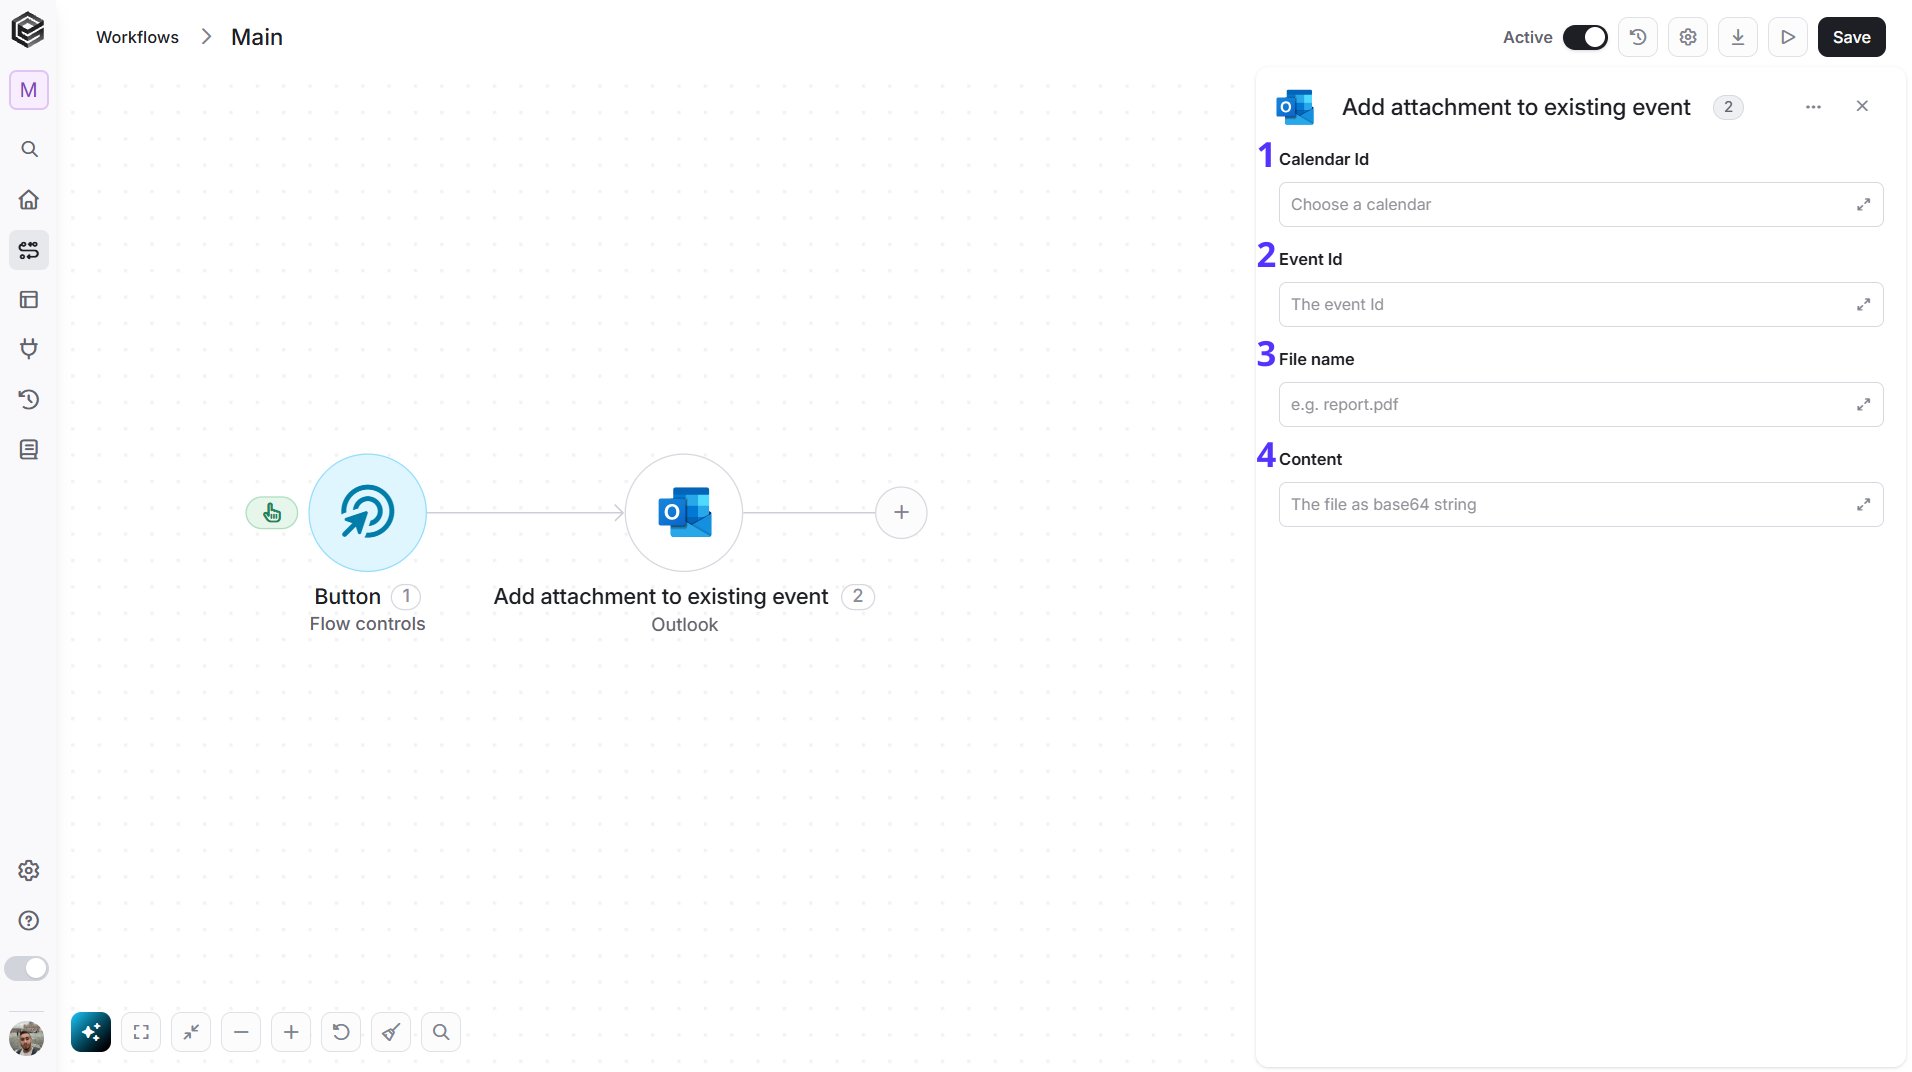
- Calendar Id - The unique identifier of the calendar that contains the event.
- Event Id - The unique identifier of the event you want to add the file to.
- File name - The name of the file, including its extension, for example
agenda.pdf. - Content - The content of the file as Base64 text.
Copy Message
Copies an email into another folder. The original email stays where it is.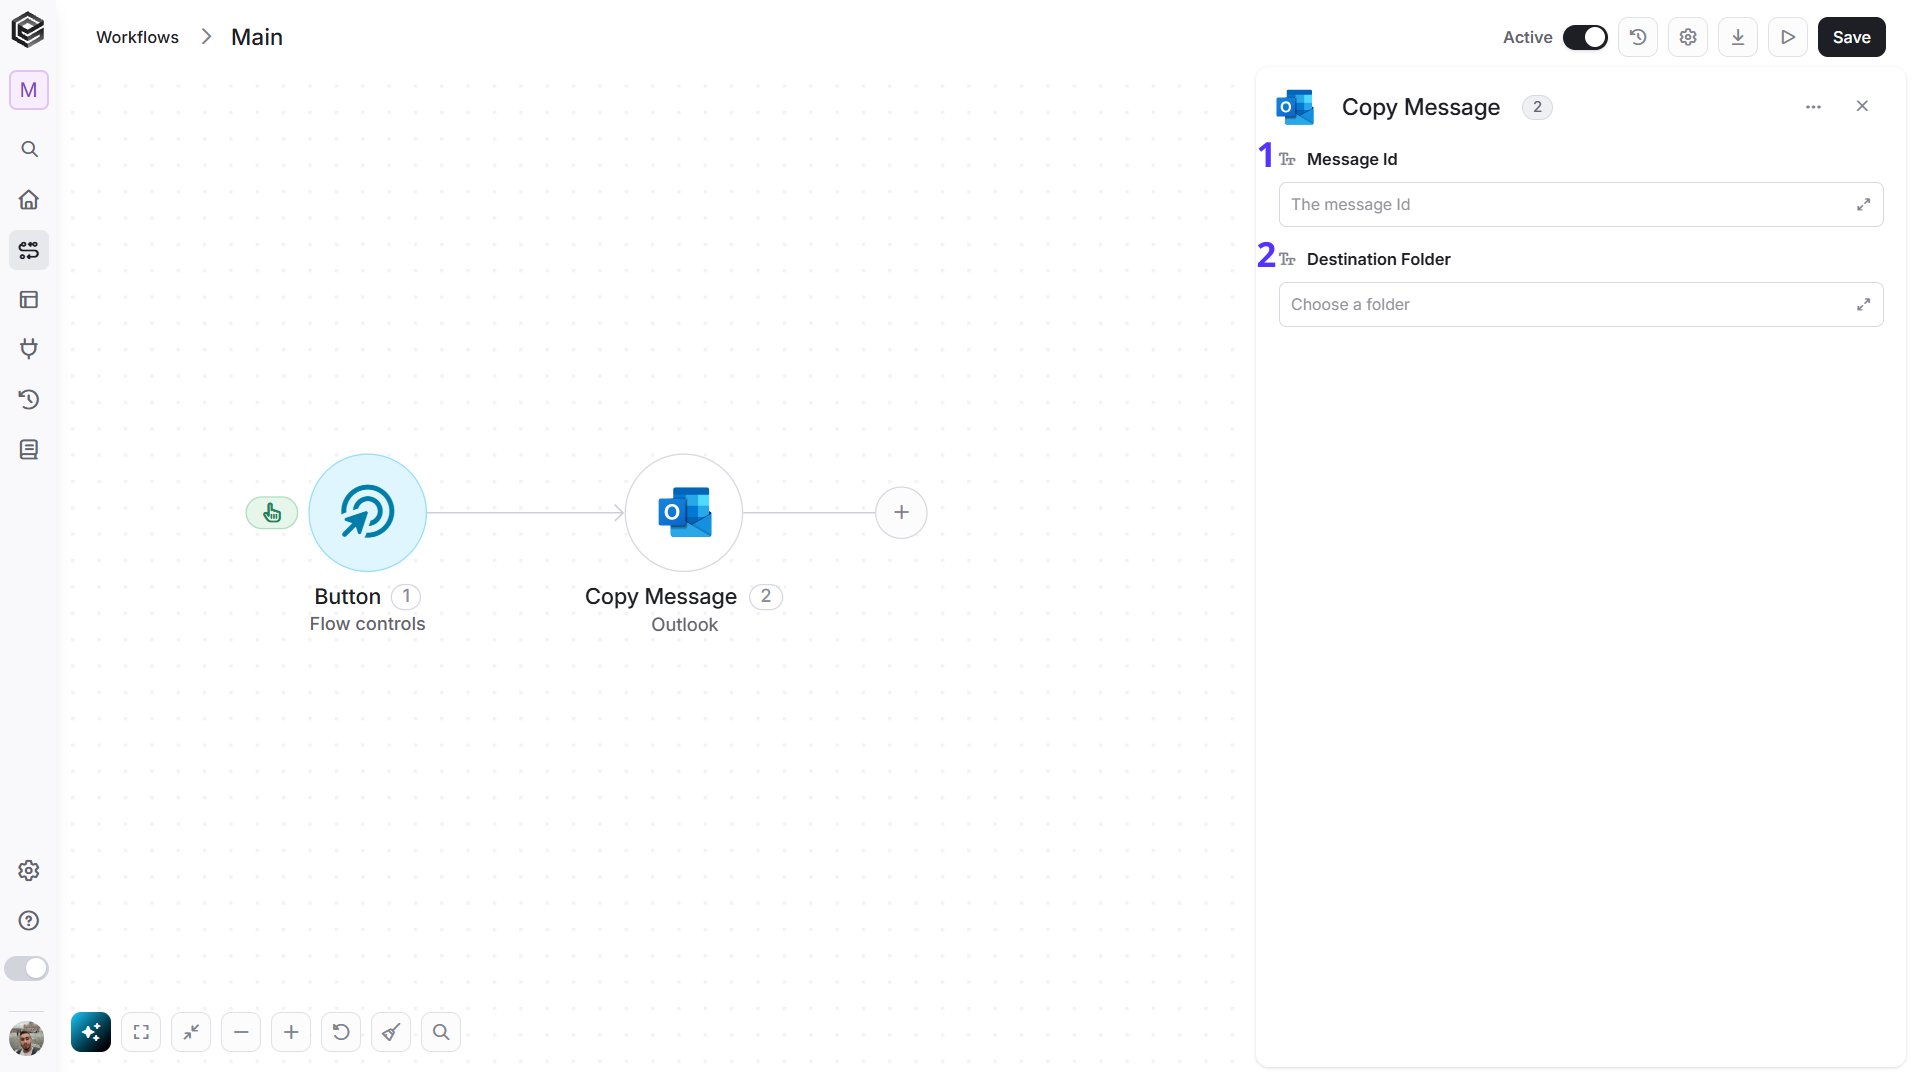
- Message Id - The unique identifier of the email you want to copy.
- Destination Folder - The folder to copy the email to. Enter a well-known folder name such as inbox or archive, or the unique identifier of a folder.
Create Calendar
Creates a new calendar in your Outlook account.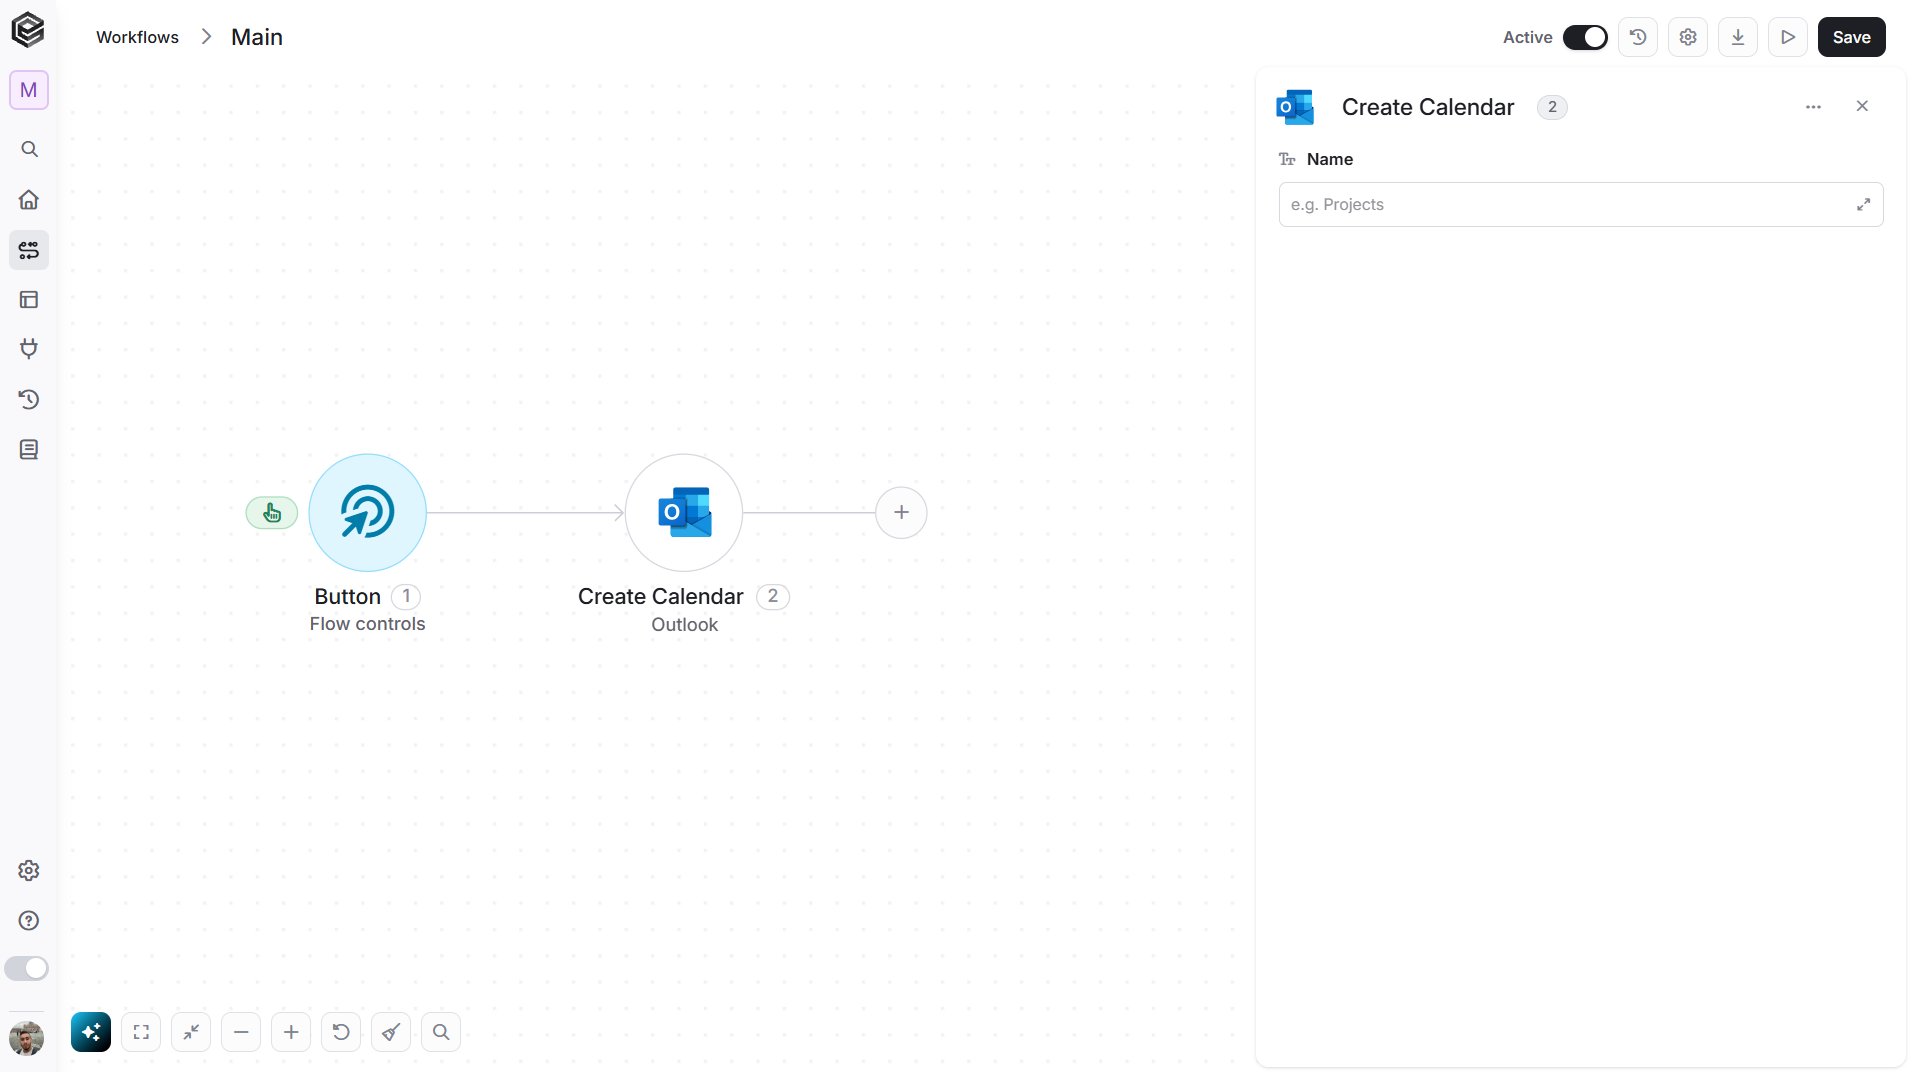
- Name - The name of the new calendar, for example
Project Planning.
Create Child Mail Folder
Creates a new folder inside an existing folder.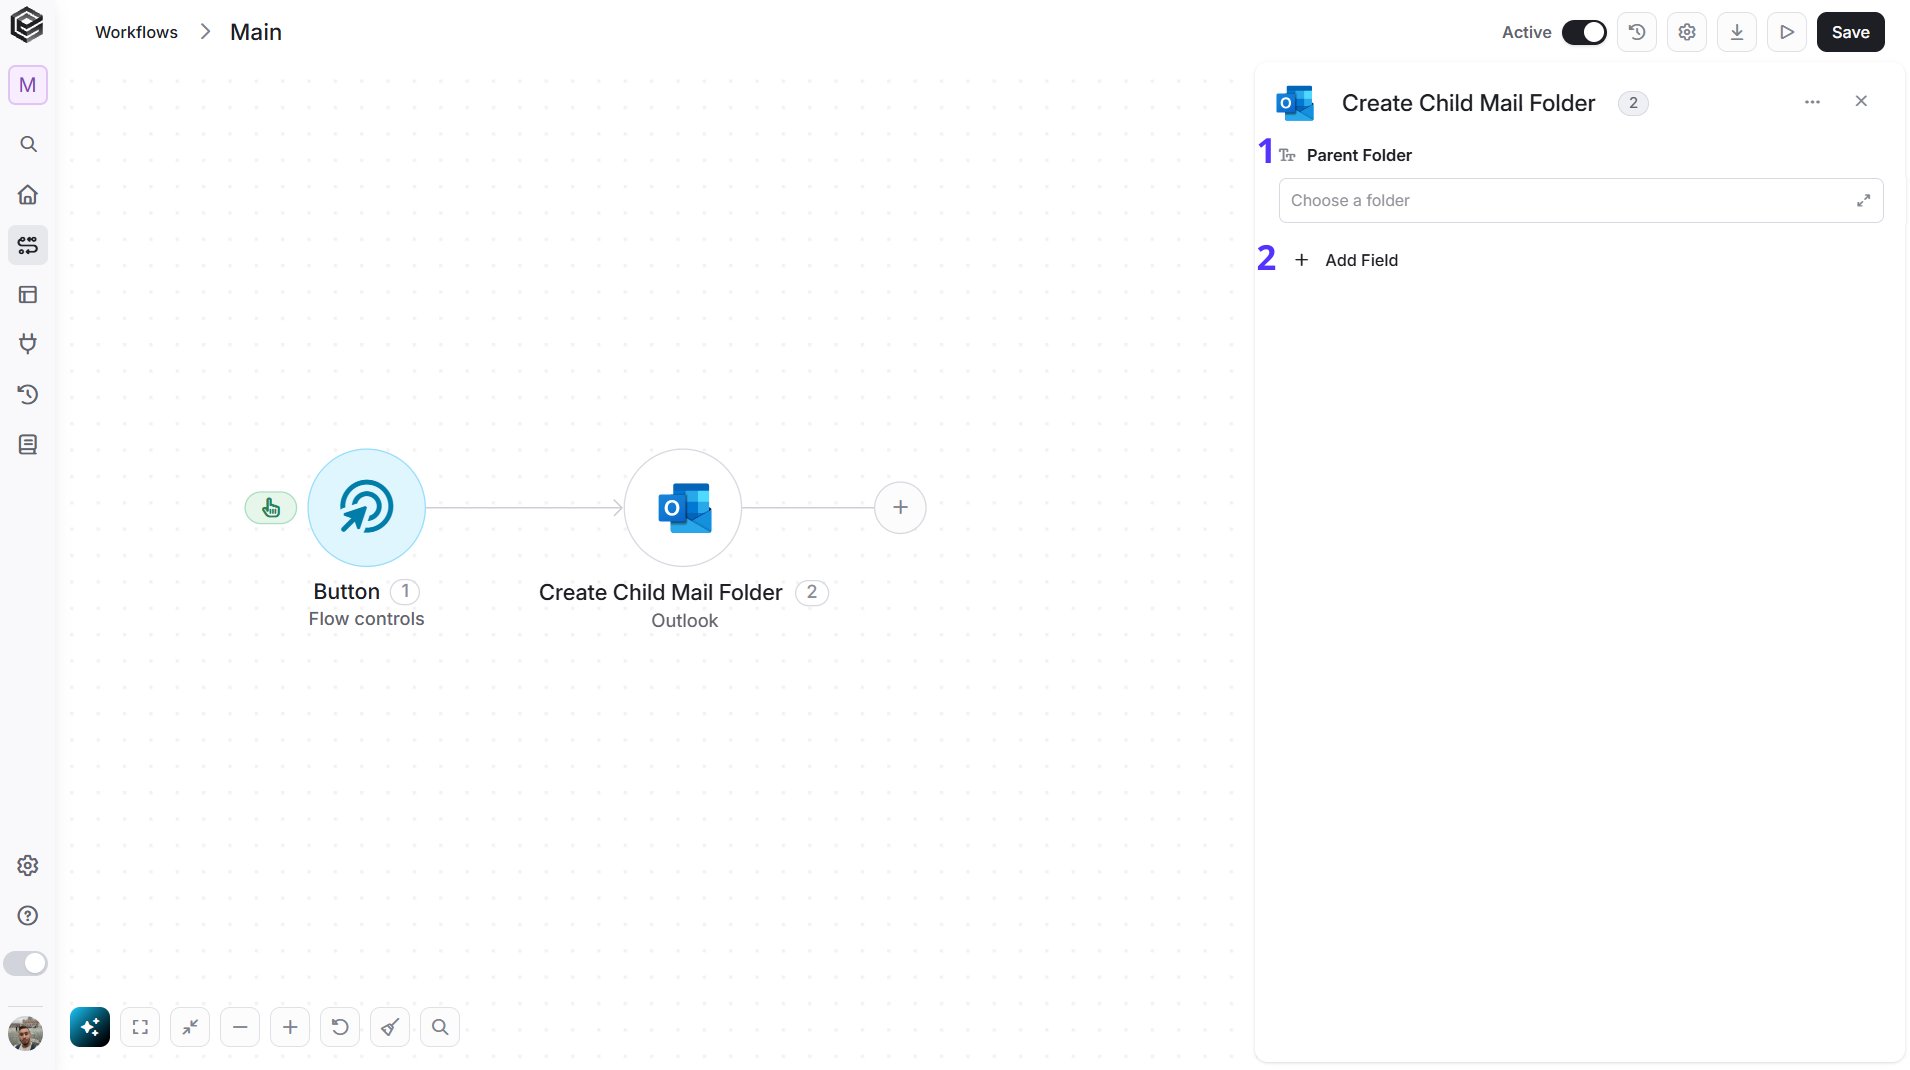
- Parent Folder - The folder to create the new folder in. Enter a well-known folder name such as inbox, or the unique identifier of a folder.
- Add Field - Click Add Field to add and populate additional fields for the selected activity. To learn more about managing activity data, click here.
- Folder Name - The name of the new folder.
- Hidden - Whether the folder is hidden. Choose Yes or No.
Create Contact
Creates a contact in your Outlook mailbox.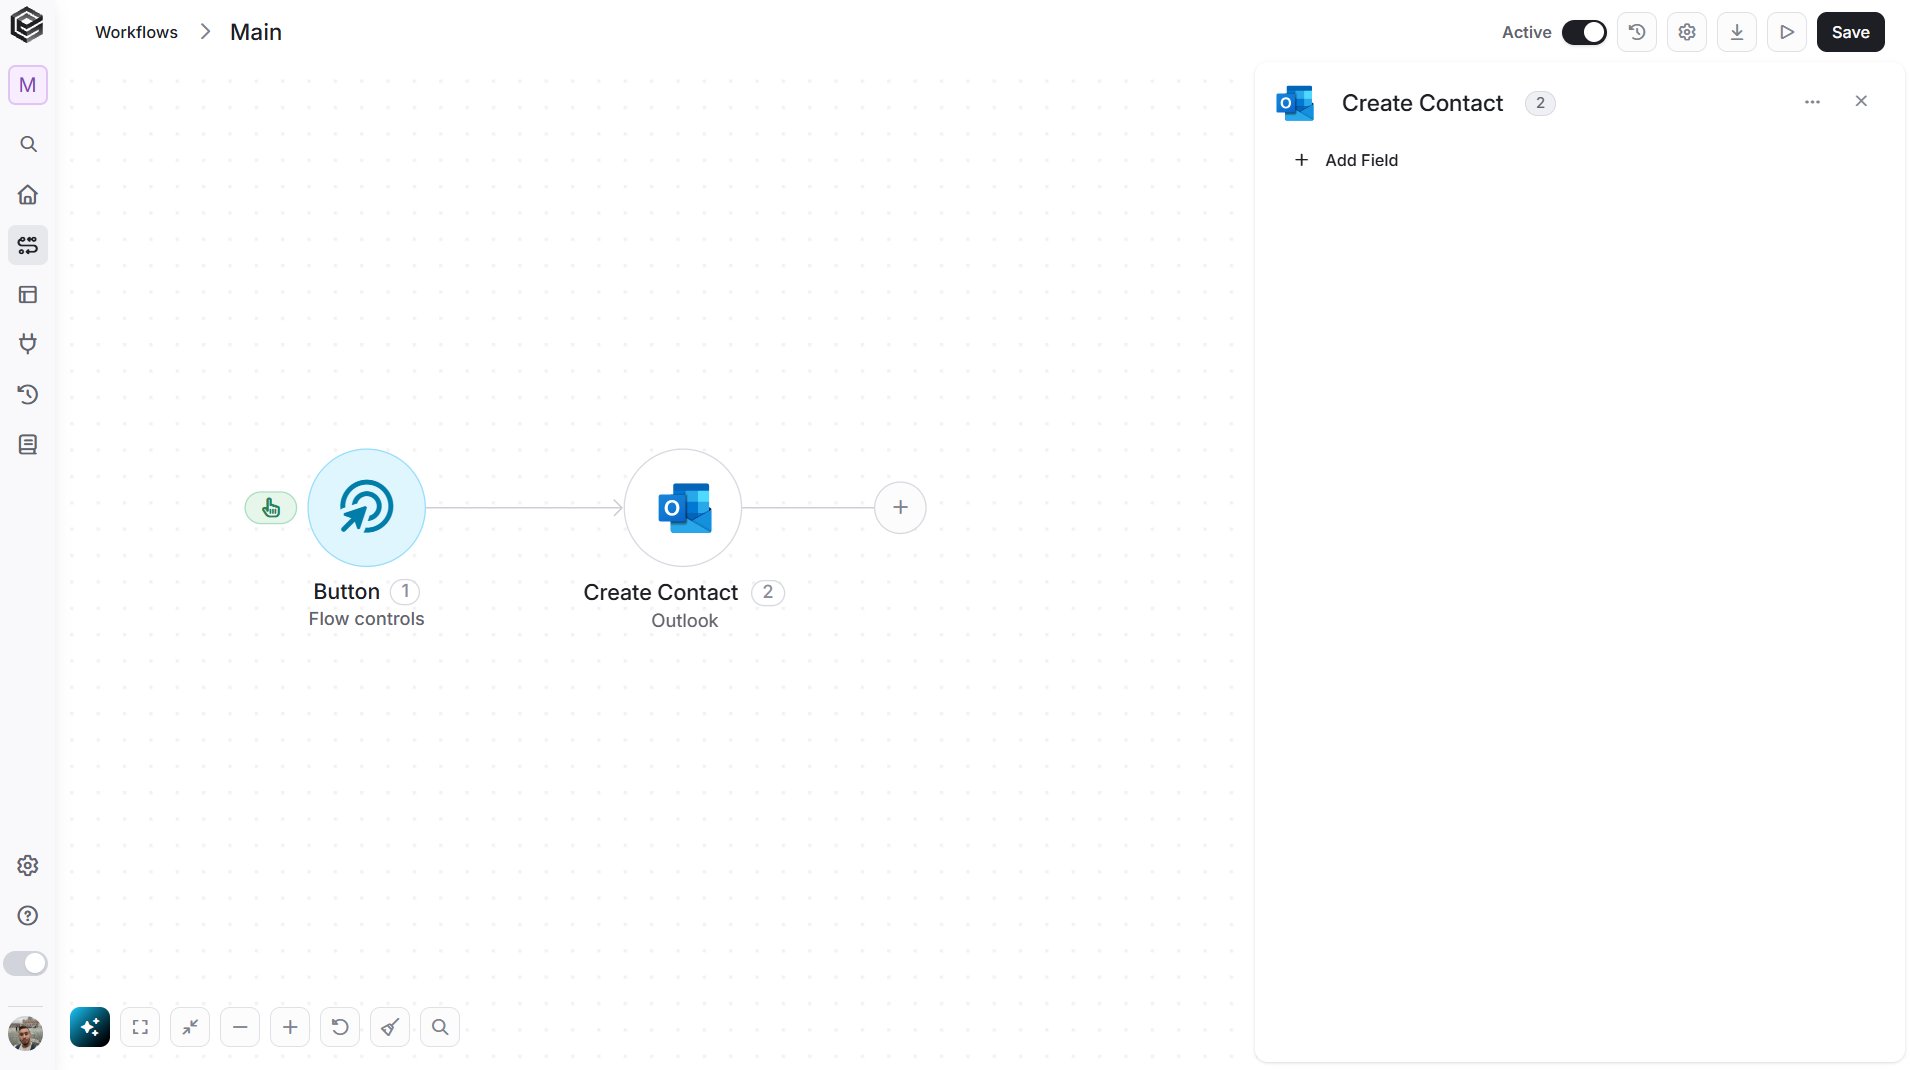
- Add Field - Click Add Field to add and populate additional fields for the selected activity. To learn more about managing activity data, click here.
- First Name - The contact’s first name.
- Last Name - The contact’s last name.
- Display Name - The name shown in the contact list.
- Email Addresses - The contact’s email addresses. Add one item per address and fill its Email (for example
name@example.com) and Name (the name shown for this address), or switch the field to raw input with the code icon and map a whole list from an earlier step. - Business Phones - The contact’s work phone numbers, one entry per number.
- Mobile Phone - The contact’s mobile phone number, with the country code, for example
+1 555 0100. - Job Title - The contact’s role at the company.
- Company - The company the contact works for.
- Department - The contact’s department at the company.
Create Draft Message
Creates an email in your Drafts folder without sending it.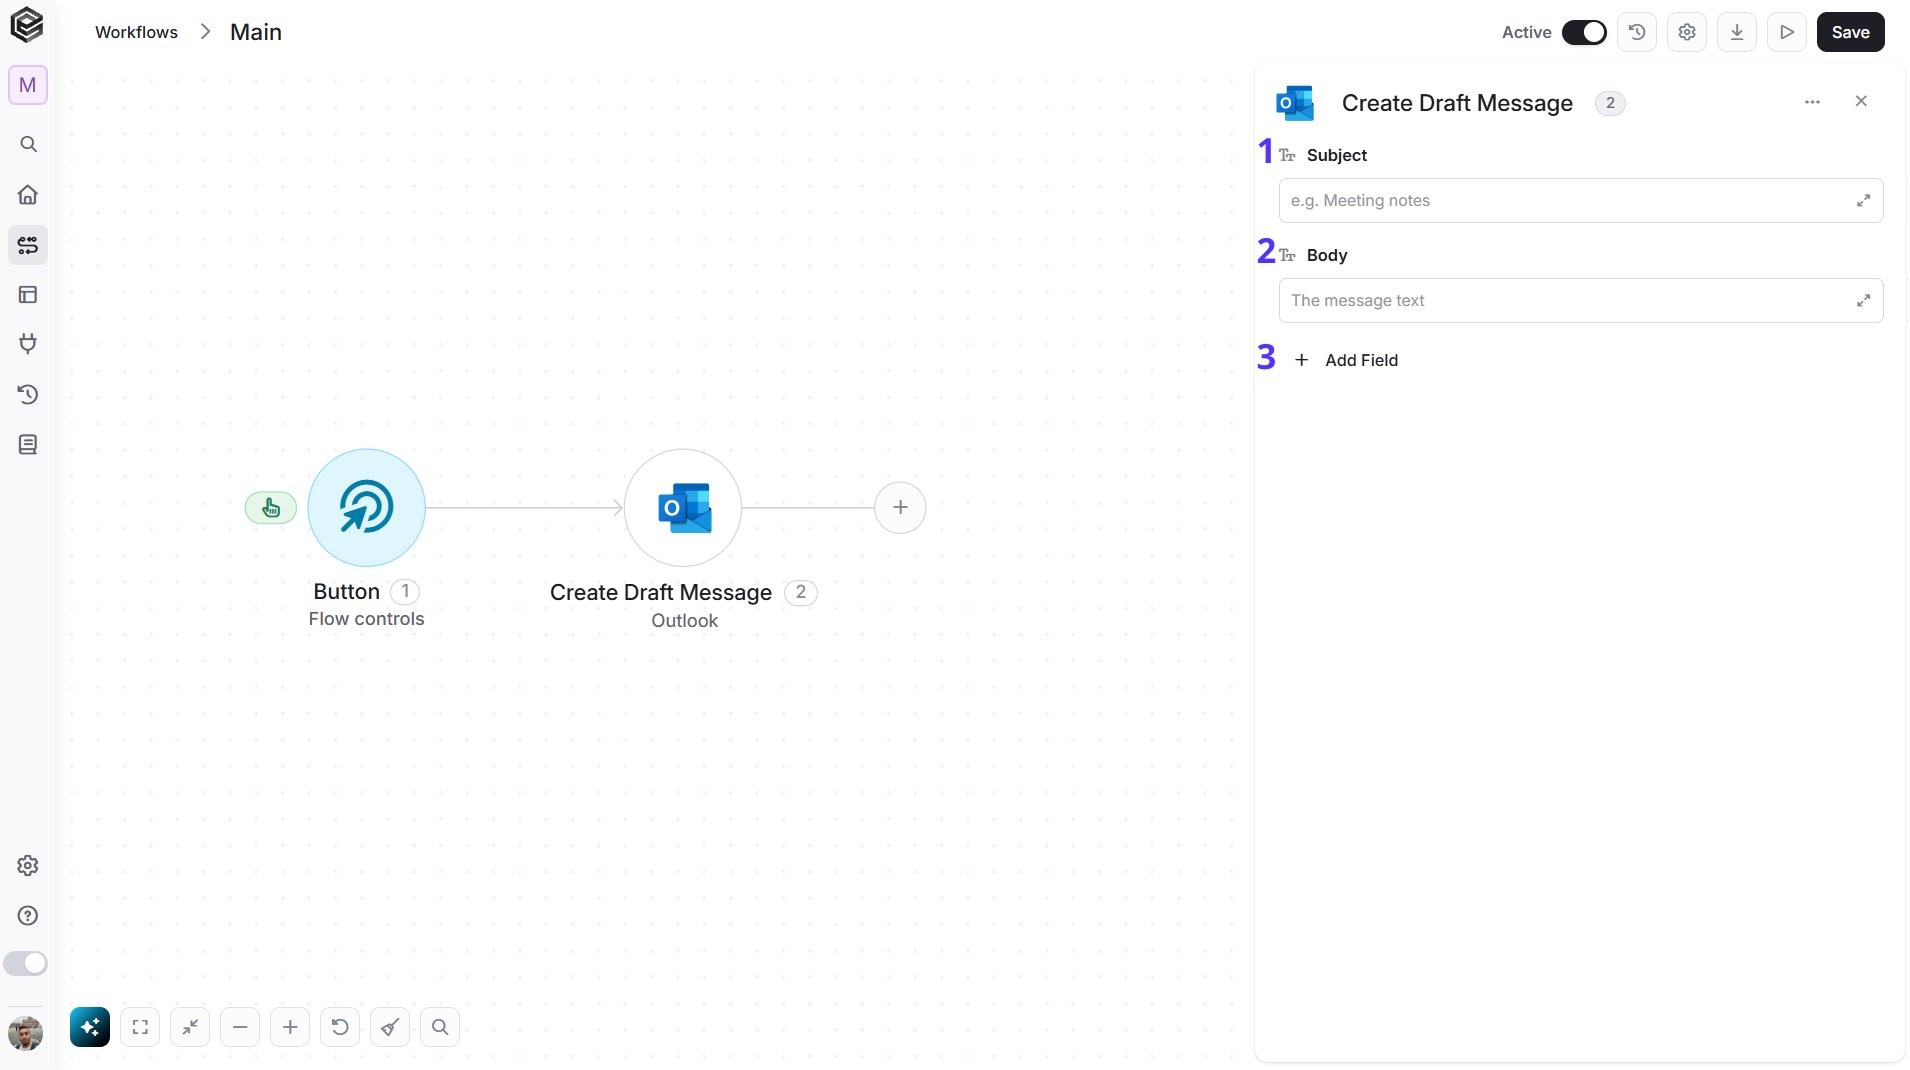
- Subject - The subject line of the email.
- Body - The content of the email. You can write plain text or HTML, for example
<p>Hello <b>Anna</b></p>. - Add Field - Click Add Field to add and populate additional fields for the selected activity. To learn more about managing activity data, click here.
- To Recipients - The people the email is addressed to. Each item is an Email Address group that holds an Email Address (required, placeholder
name@example.com) and a Name (placeholderName shown to the recipient). - Cc Recipients - The people to copy on the email. Each item is filled in like an item of To Recipients.
- Reply To - The addresses replies should go to. Each item is filled in like an item of To Recipients.
- Attachments - The files attached to the email. Each item has a File Name (with the extension, for example
report.pdf), an Attachment Type (leave it as is for a normal file) and Content (the file content as Base64 text). - Internet Message Headers - Additional internet message headers. Each item has a Name (a header name that starts with
x-, for examplex-order-number) and a Value.
- Add items one by one - Click the add button below the list. Each item opens its own fields (for a recipient, an Email Address group with Email Address and Name). Click the add button again for every further entry, and use the trash icon to remove one.
- Map a whole list - Switch the field to raw input with the code icon, then map a list that an earlier step produced, for example one built with Initialize Object Array and Append to Object Array. Use the list icon to switch back to the item fields.
Create Draft Reply
Creates a draft reply to an email. The reply is saved in your Drafts folder and is not sent.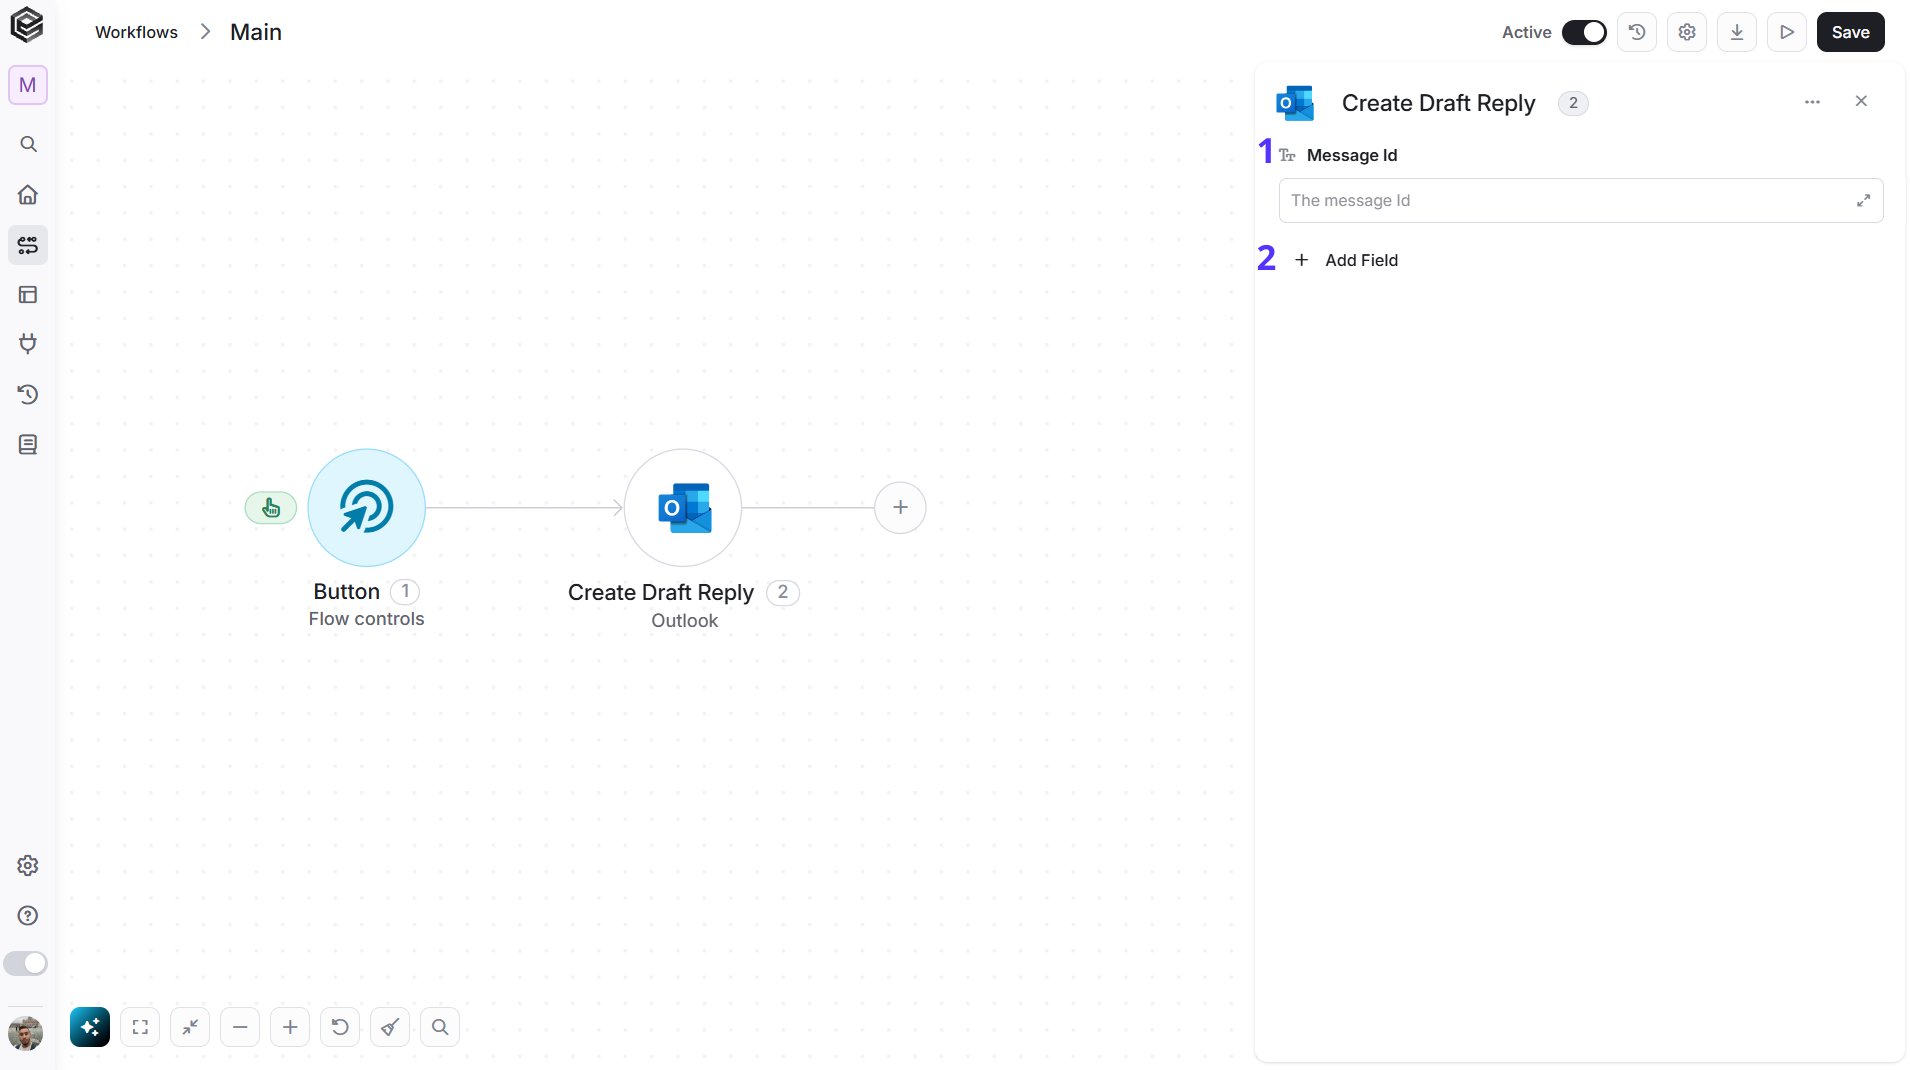
- Message Id - The unique identifier of the email you want to reply to.
- Add Field - Click Add Field to add and populate additional fields for the selected activity. To learn more about managing activity data, click here.
- Comment - The text of your reply.
Create Draft Reply All
Creates a draft reply to the sender and all recipients of an email. The reply is saved in your Drafts folder and is not sent.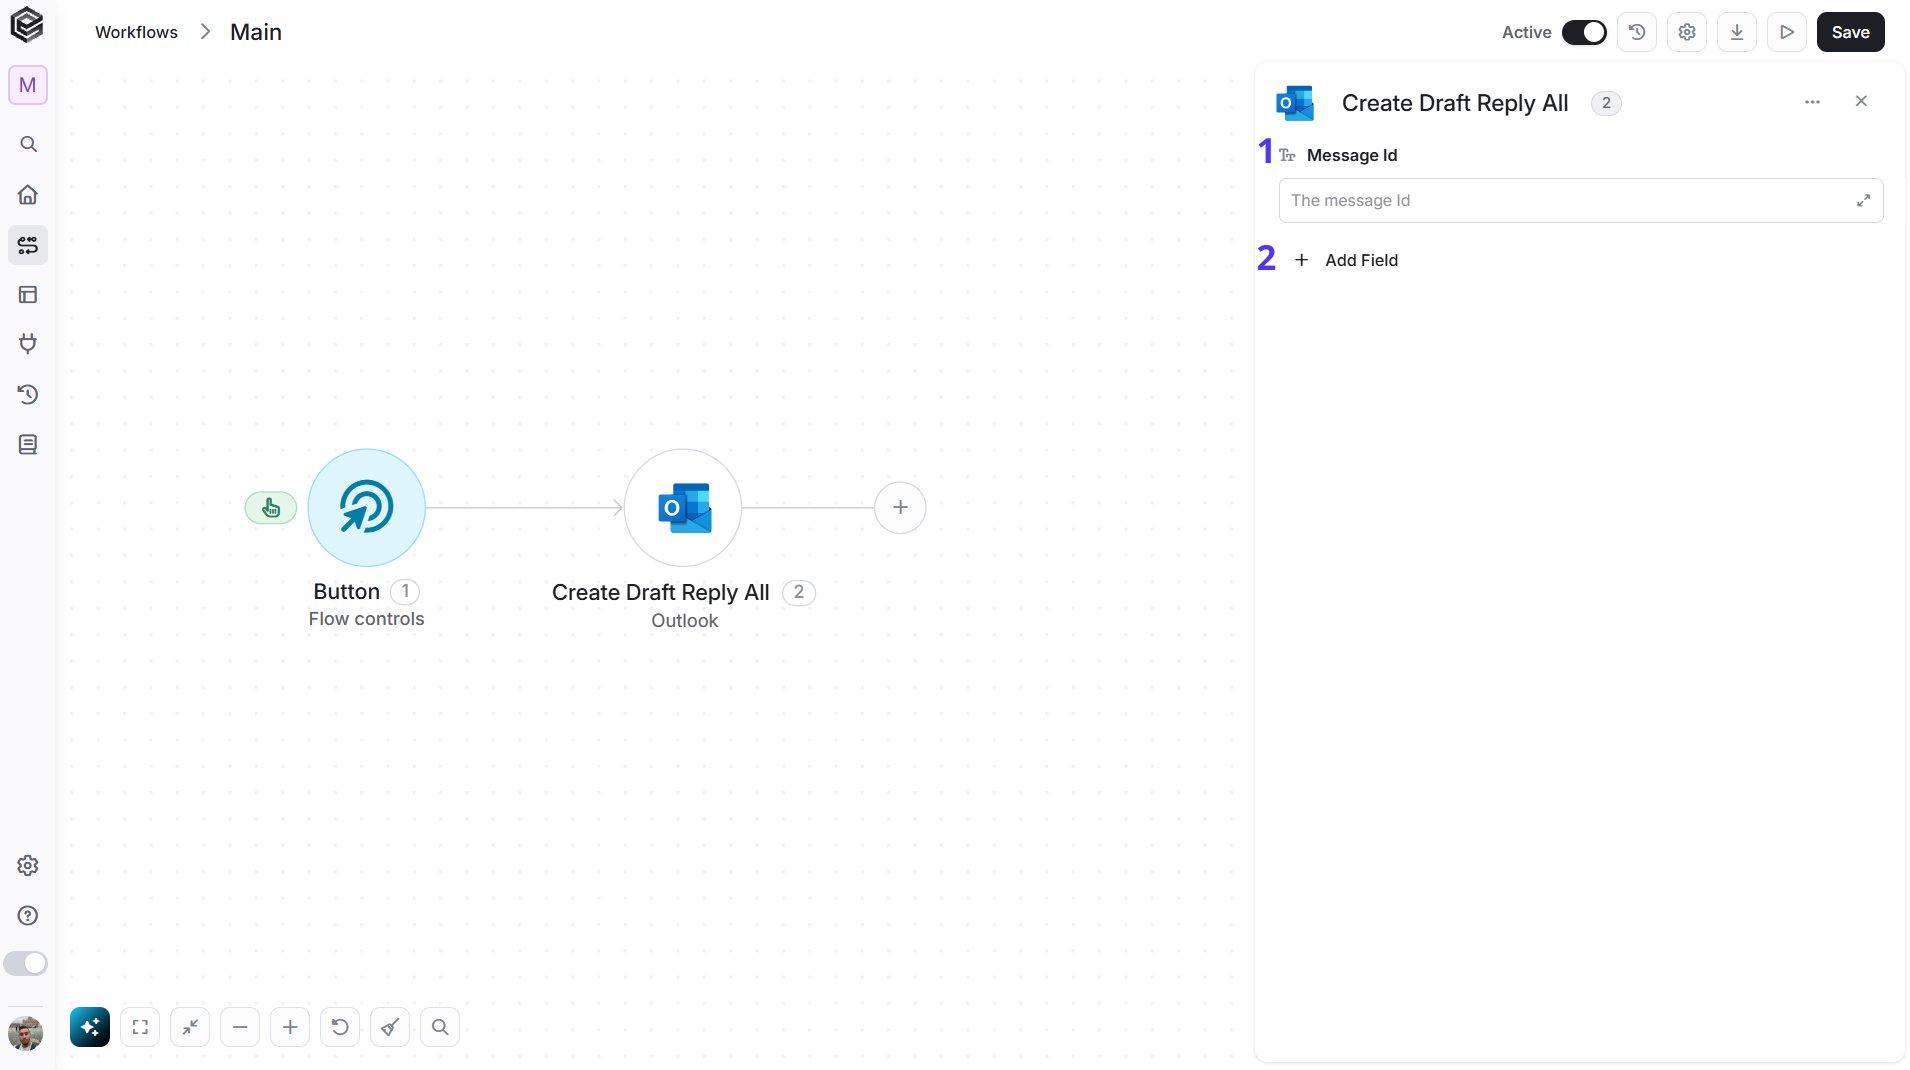
- Message Id - The unique identifier of the email you want to reply to.
- Add Field - Click Add Field to add and populate additional fields for the selected activity. To learn more about managing activity data, click here.
- Comment - The text of your reply.
Create Event
Creates an event in a calendar.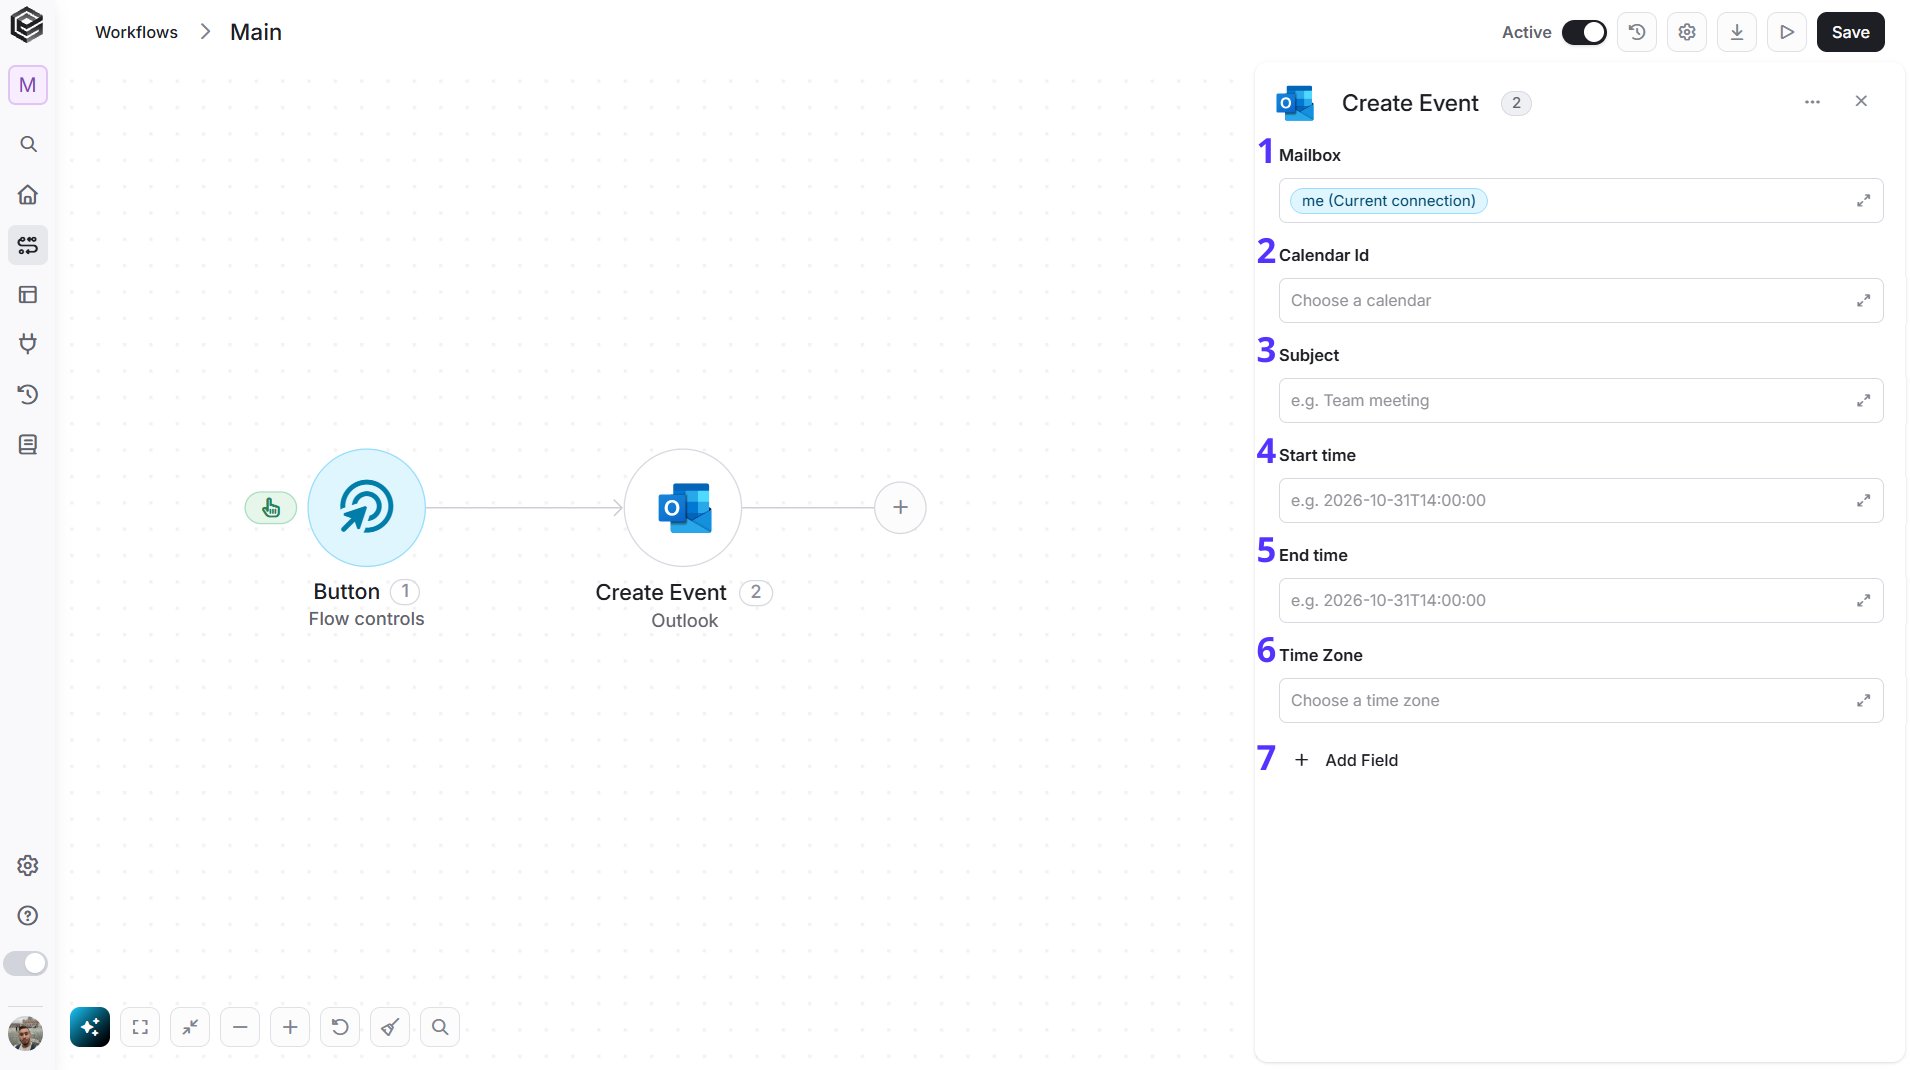
- Mailbox - The mailbox that owns the calendar. The default is
me, the mailbox of the connected account. To use a shared mailbox, enter its email address. - Calendar Id - The unique identifier of the calendar to add the event to. To use your default calendar, enter
calendar. - Subject - The title of the event.
- Start time - The start date and time of the event, written like
2026-10-31T14:00:00, without a time zone. Set the time zone in Time Zone. - End time - The end date and time of the event, written like
2026-10-31T15:00:00, without a time zone. - Time Zone - The time zone of the start and end times. Pick one from the list or type a time zone name.
- Add Field - Click Add Field to add and populate additional fields for the selected activity. To learn more about managing activity data, click here.
- Body - The description of the event. You can write plain text or HTML.
- Location - Where the event takes place.
- Required attendees - The attendees who must attend, as email addresses separated by commas, for example
anna@example.com, ben@example.com. - Optional attendees - The attendees who are invited but not required, as email addresses separated by commas.
- Categories - The Outlook categories assigned to the event, as category names separated by commas.
- Importance - The importance of the event.
- Sensitivity - The sensitivity of the event.
- Show As - How the event shows in your calendar, for example Busy or Free.
- Reminder Minutes Before Start - How many minutes before the start the reminder appears, as a whole number, for example
15. - Is Reminder On? - Whether a reminder is set.
- Is All Day? - Whether the event lasts all day.
- Response Requested? - Whether attendees are asked to respond.
- Is Online Meeting? - Whether the event is an online meeting.
- Allow New Time Proposals - Whether attendees can propose a new time.
- Is Draft? - Whether the event is a draft.
- Hide Attendees? - Whether attendees are hidden from each other.
Create Mail Folder
Creates a new folder at the top level of the mailbox.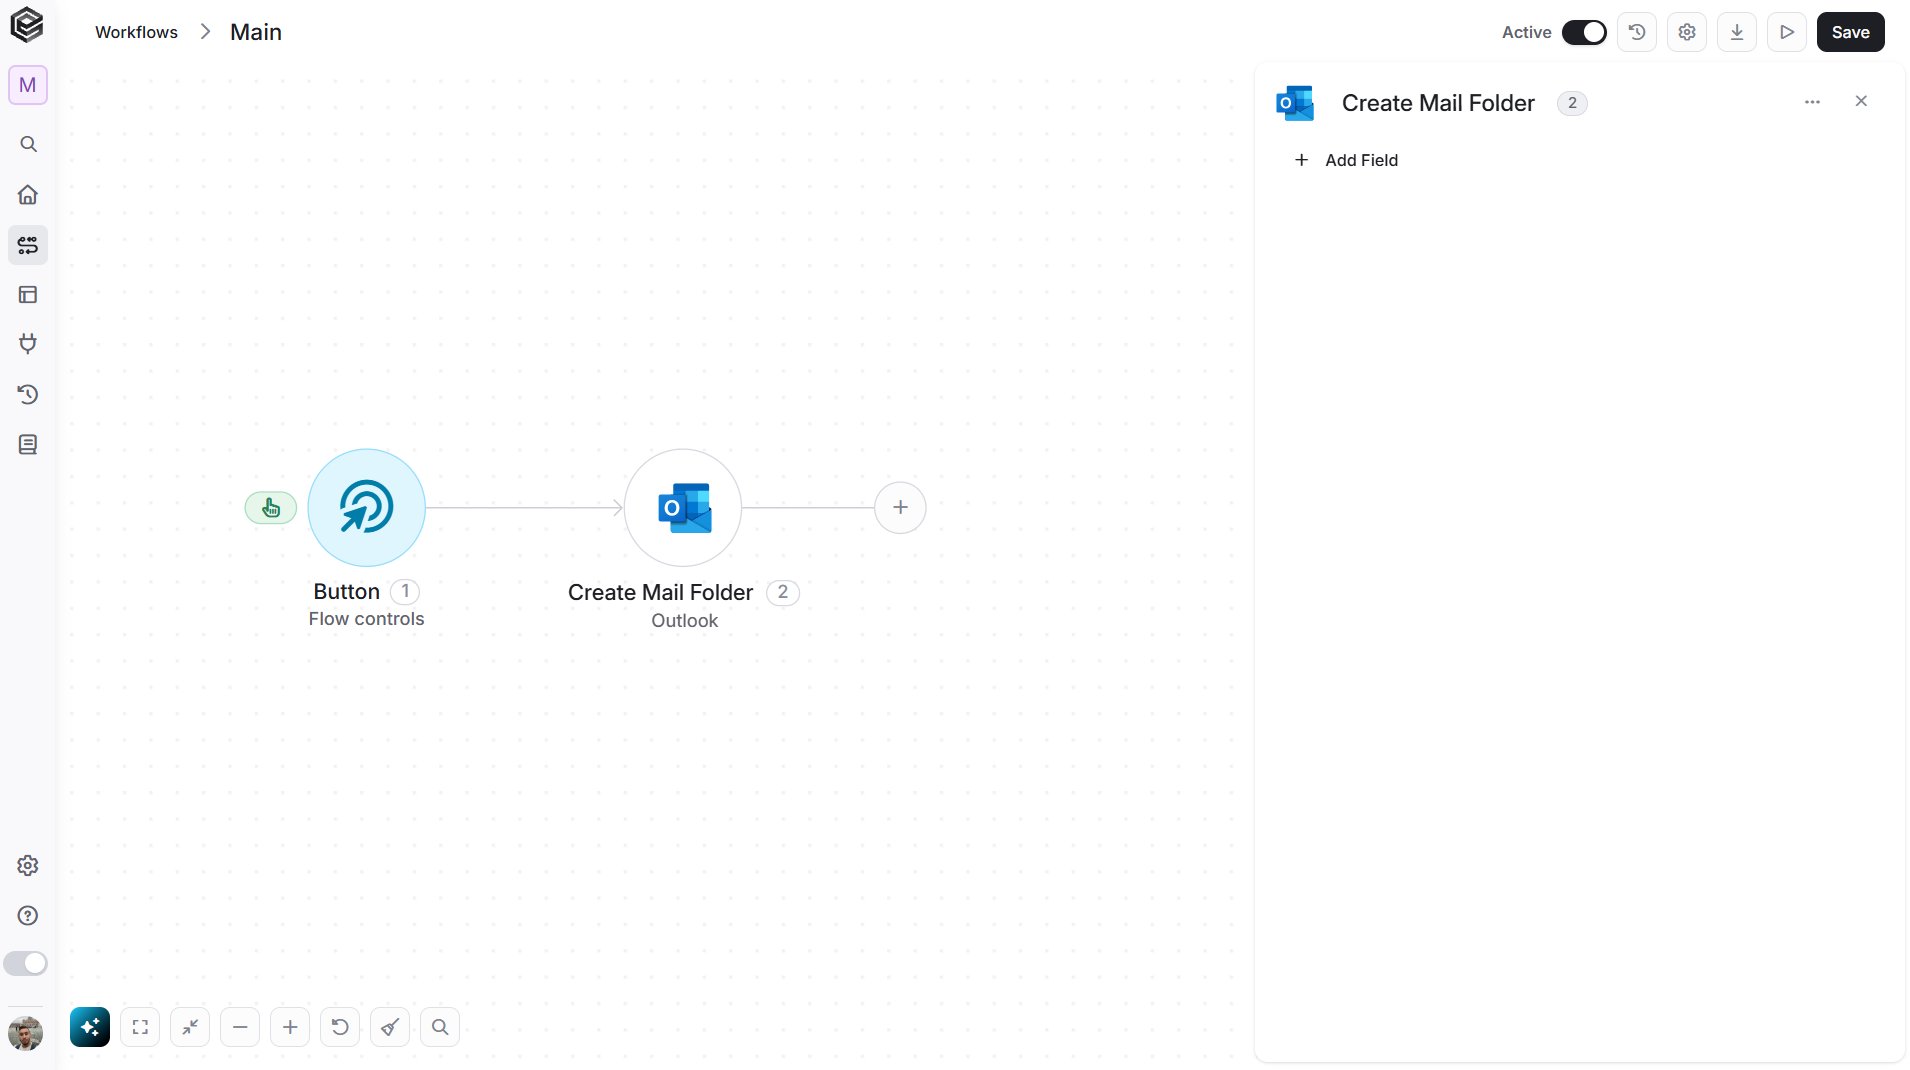
- Add Field - Click Add Field to add and populate additional fields for the selected activity. To learn more about managing activity data, click here.
- Folder Name - The name of the new folder.
- Hidden - Whether the folder is hidden. Choose Yes or No.
Delete Contact
Deletes a contact from your Outlook mailbox.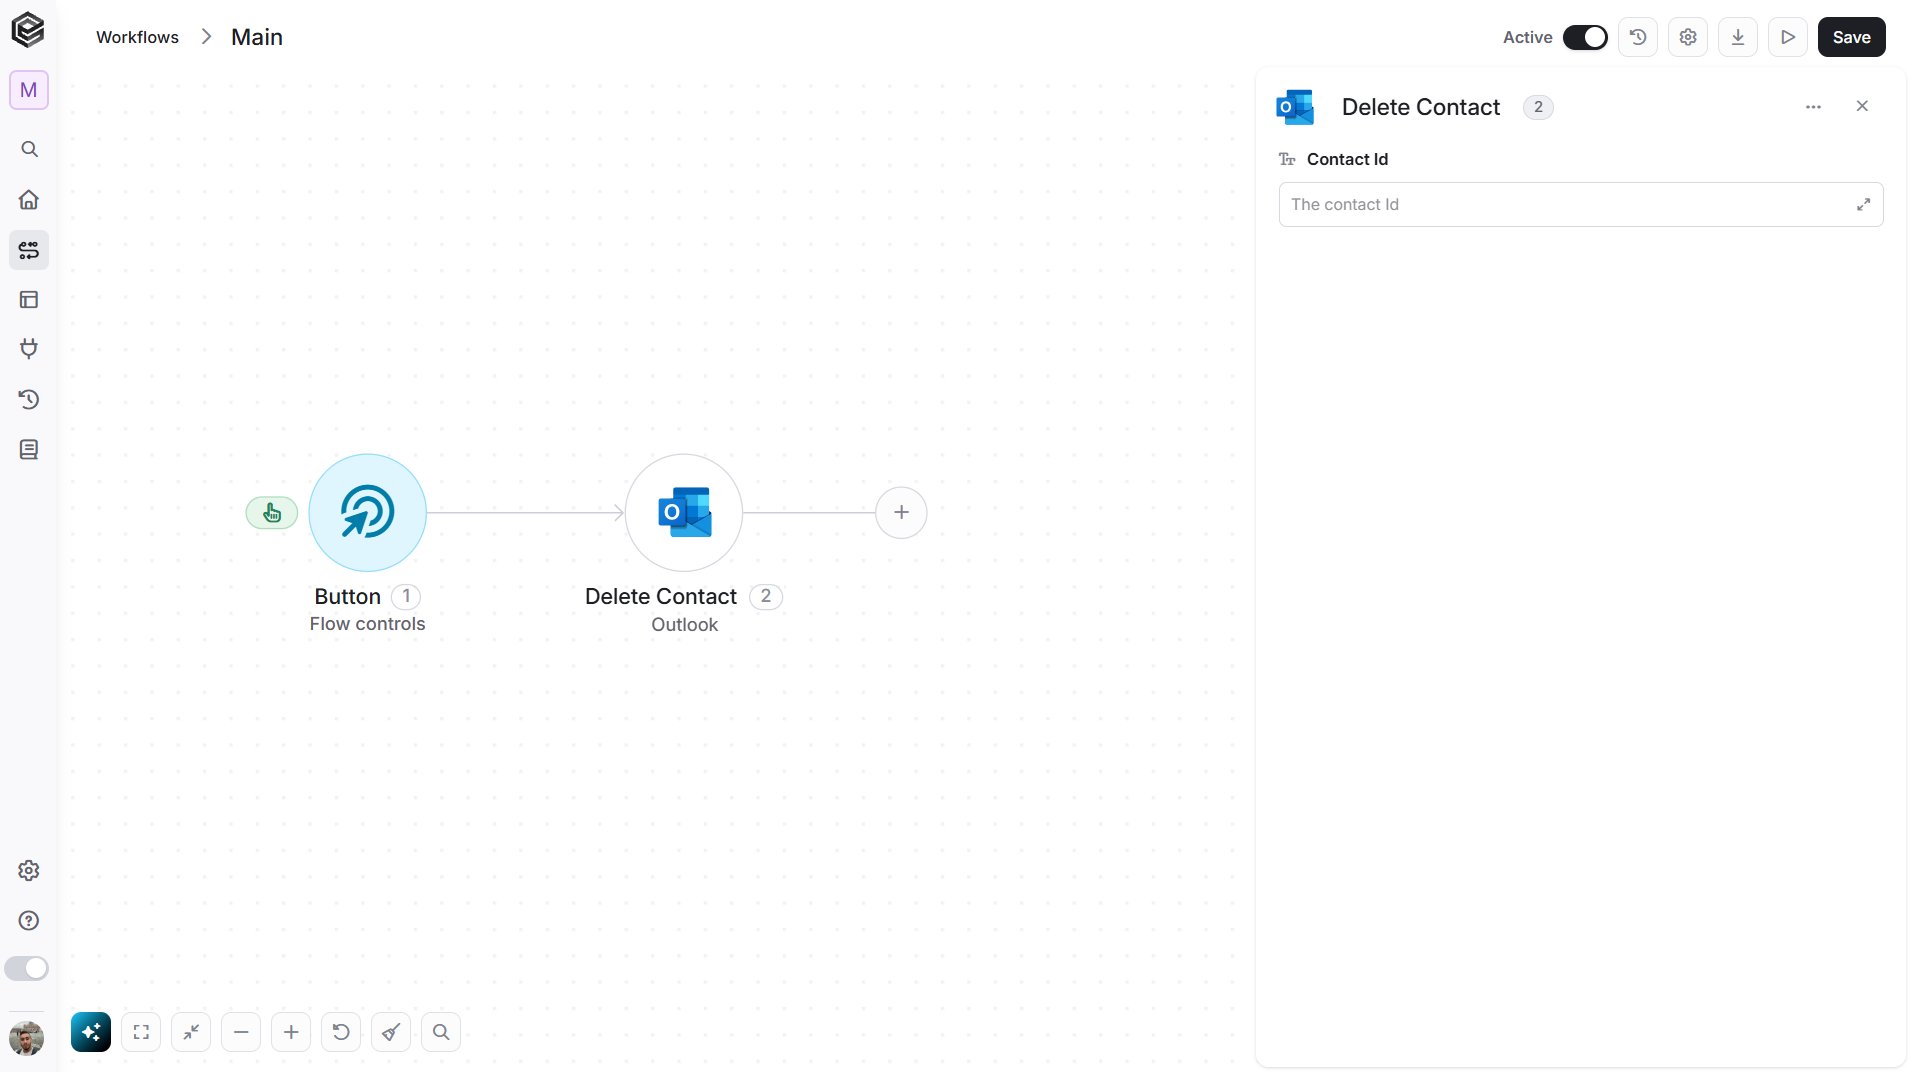
- Contact Id - The unique identifier of the contact you want to delete.
Delete Event
Deletes an event from a calendar.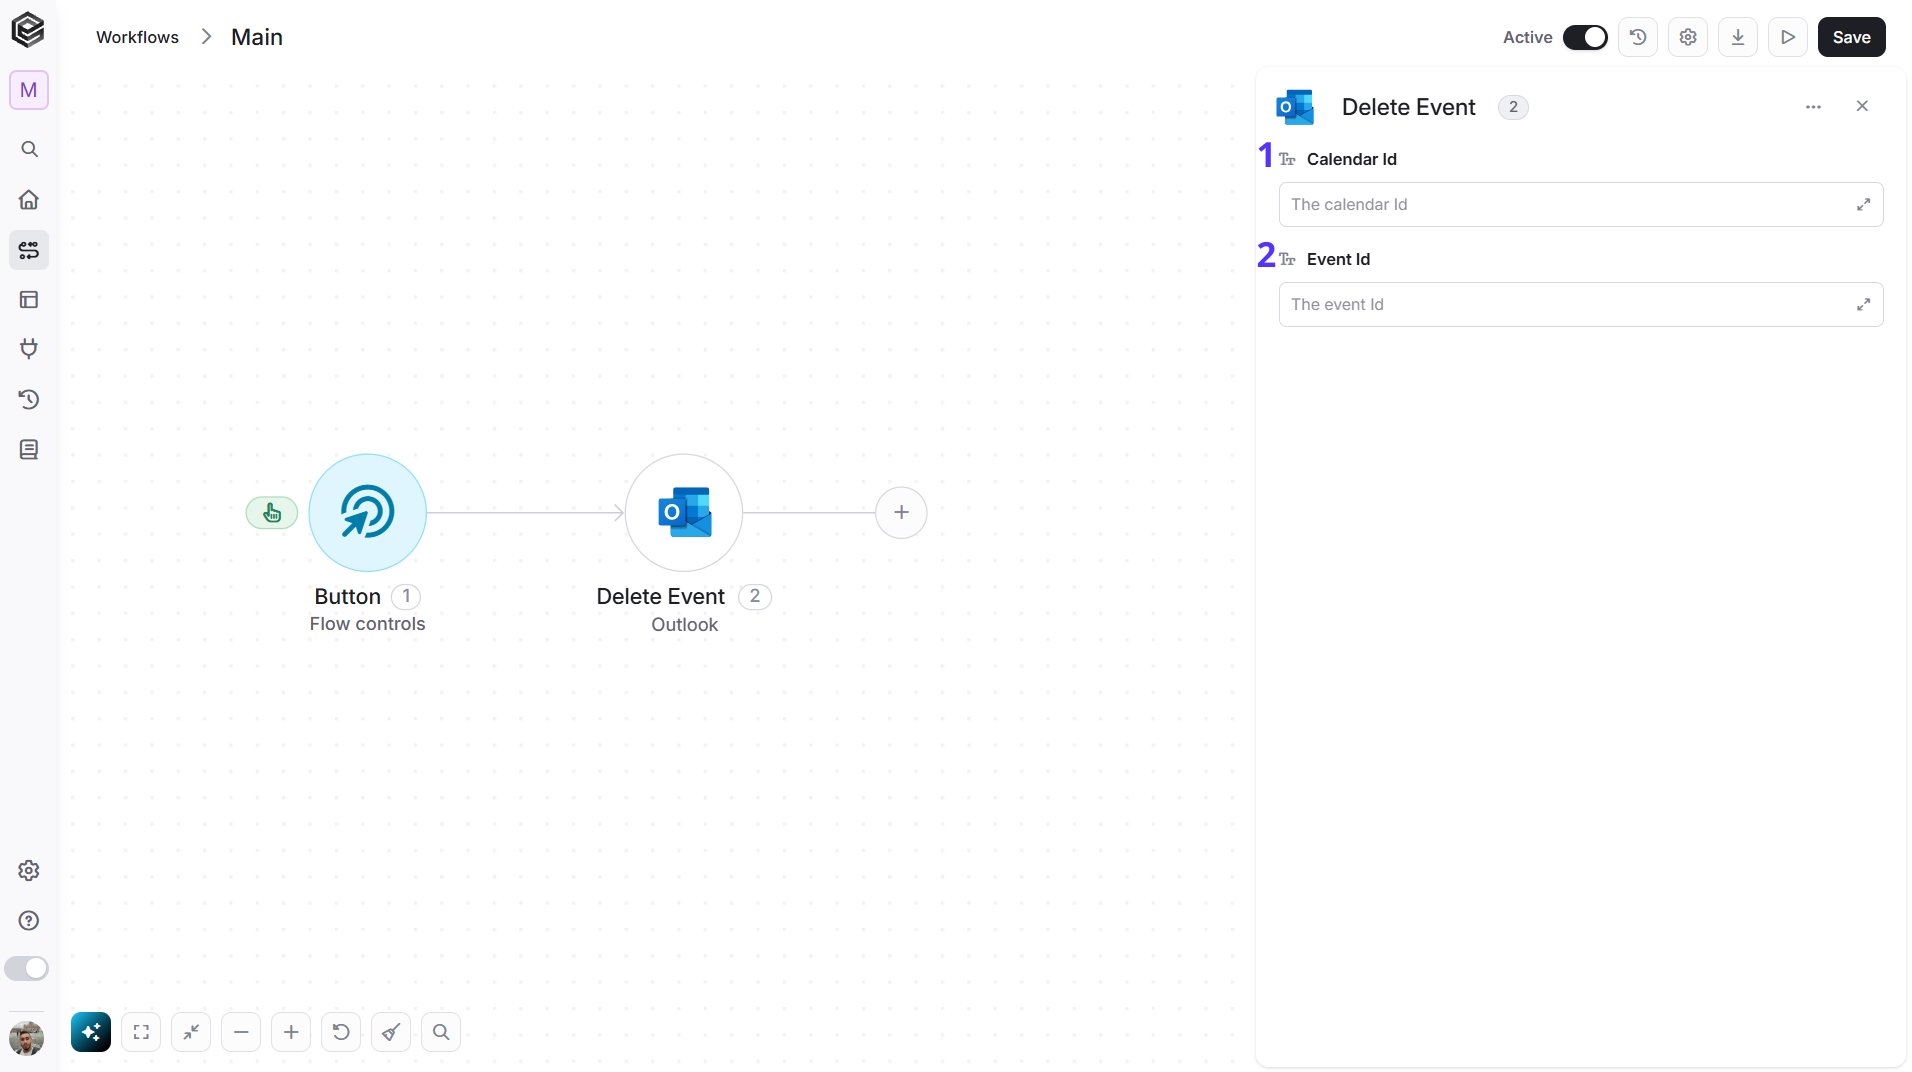
- Calendar Id - The unique identifier of the calendar that contains the event. To use your default calendar, enter
calendar. - Event Id - The unique identifier of the event you want to delete.
Delete Message
Moves an email to the Deleted Items folder. The email can be recovered from there until the folder is emptied.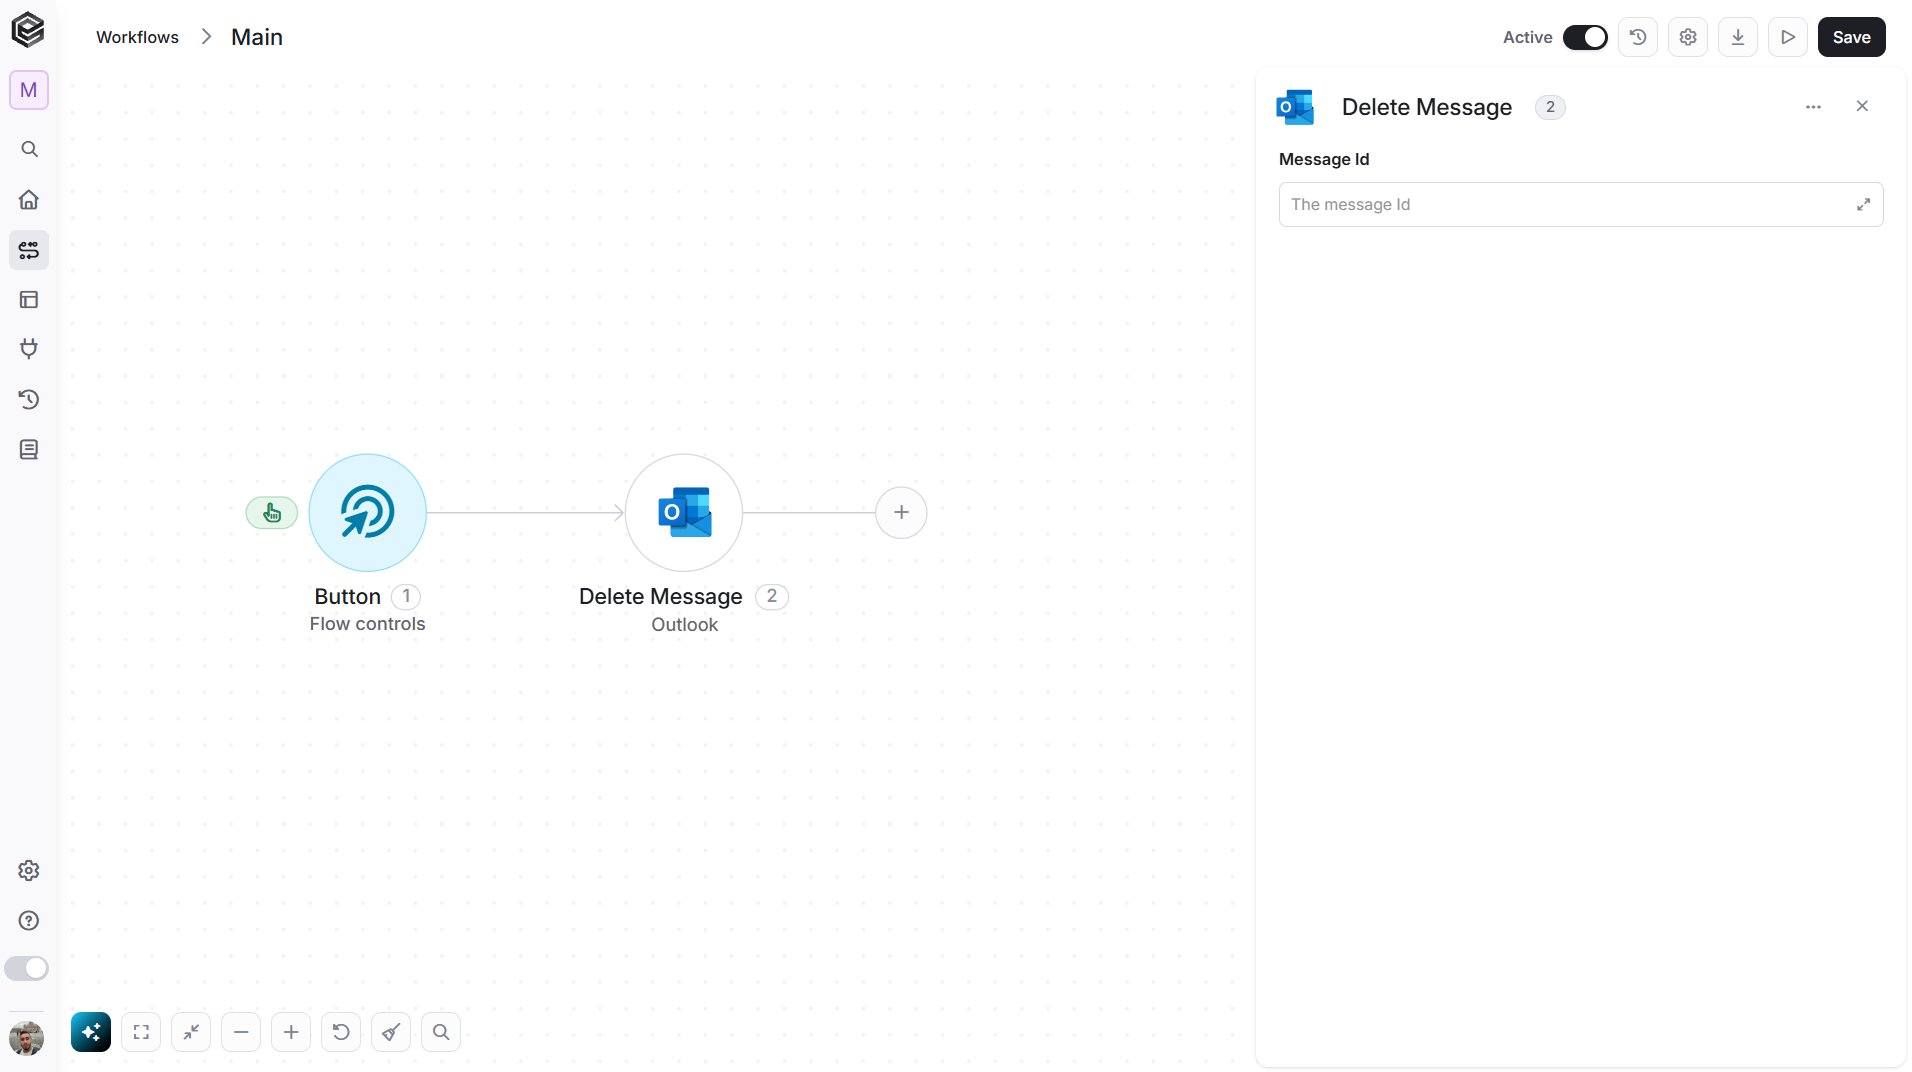
- Message Id - The unique identifier of the email you want to delete.
Download Attachment
Retrieves the file attached to an email.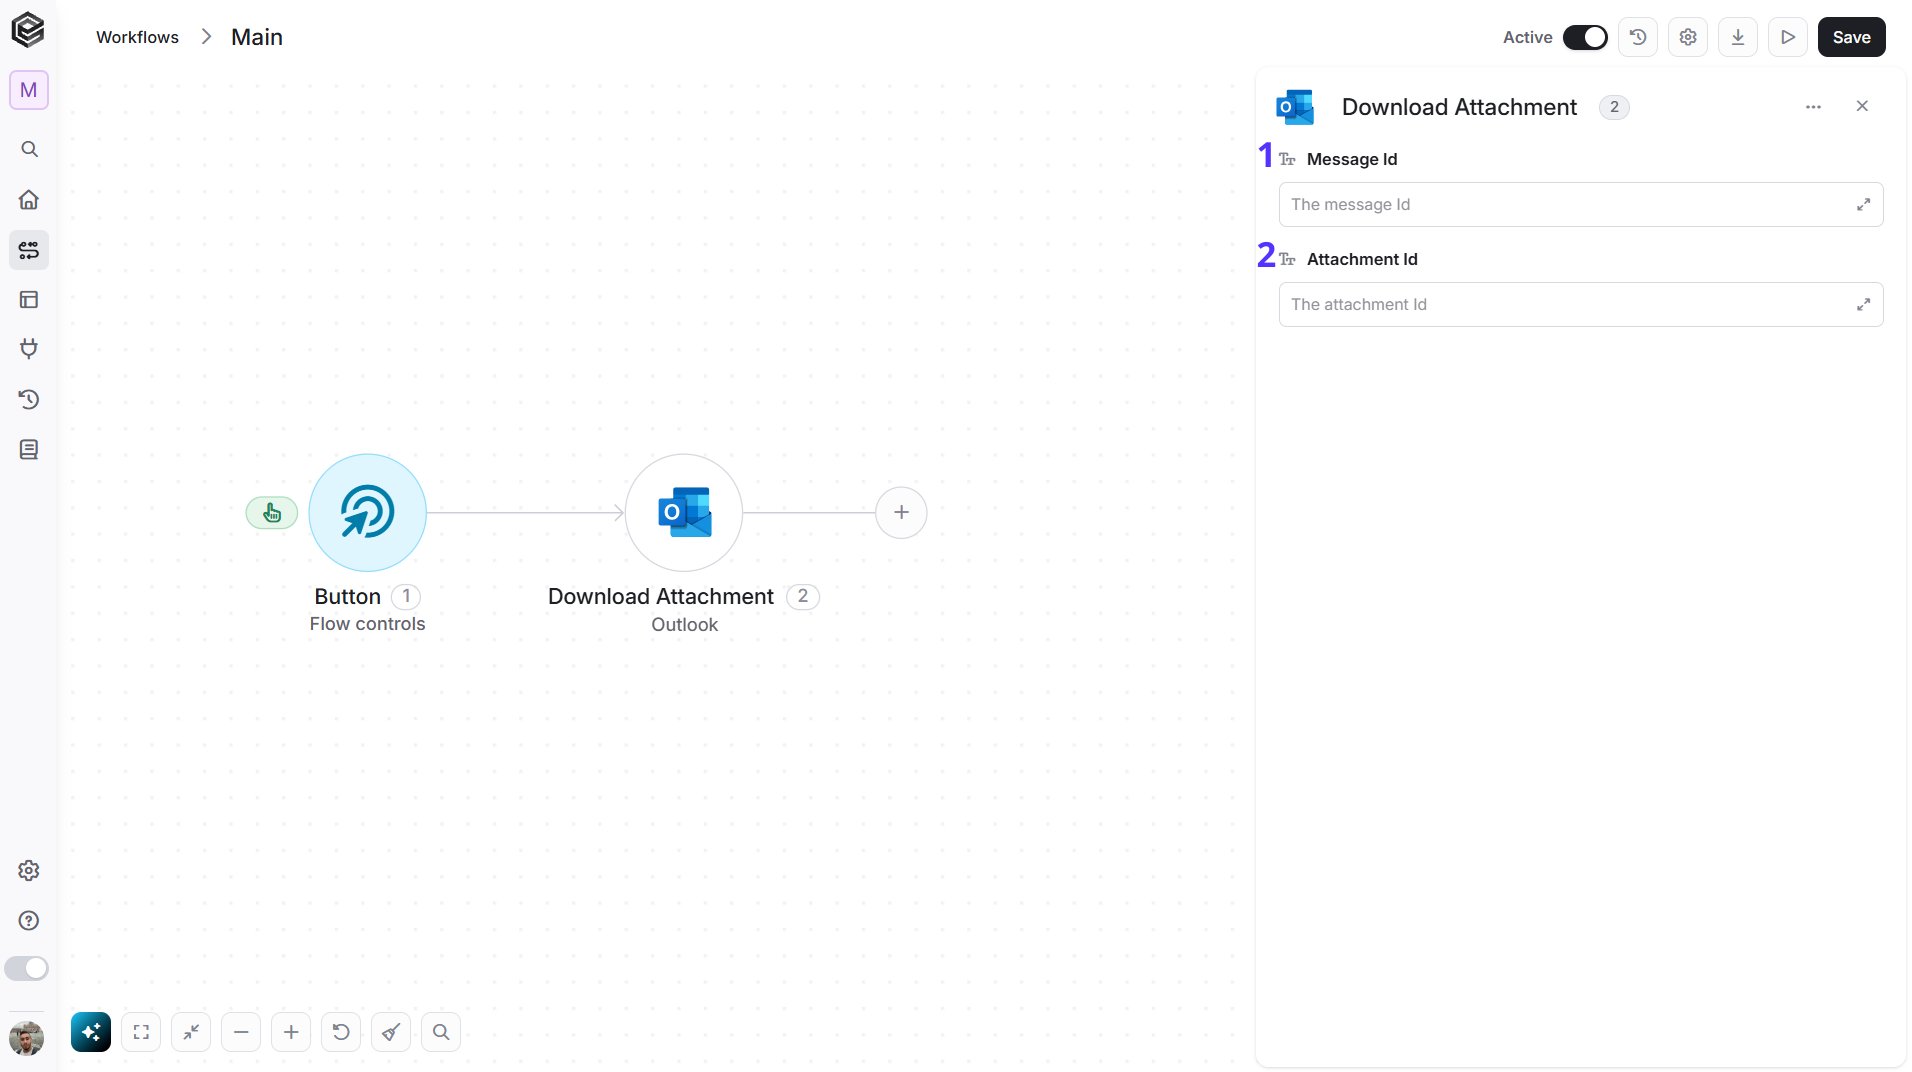
- Message Id - The unique identifier of the email that has the attachment.
- Attachment Id - The unique identifier of the attachment you want to download.
Forward Message
Forwards an existing email to new recipients.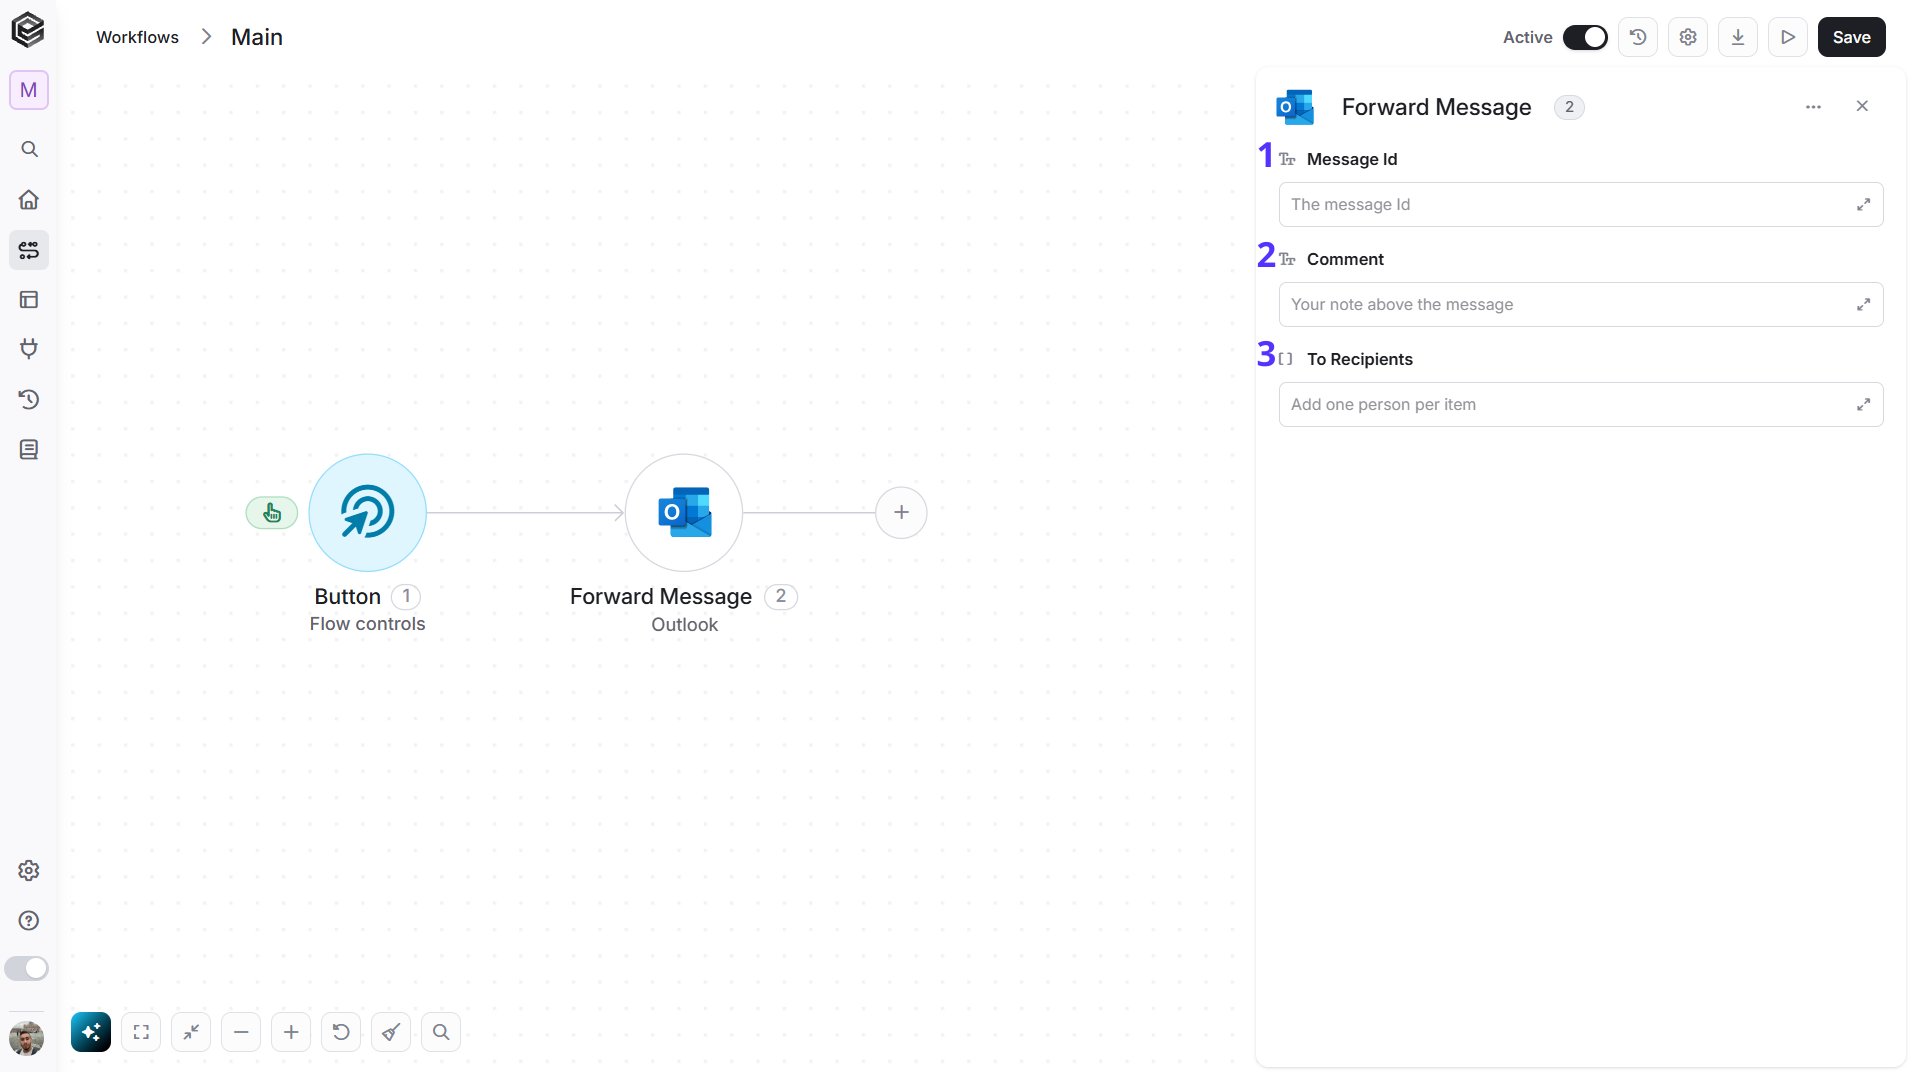
- Message Id - The unique identifier of the email you want to forward.
- Comment - A note to add above the forwarded email.
- To Recipients - The people the email is forwarded to. This field holds a list: add one item per person. Each item is an Email Address group that holds an Email Address (required, placeholder
name@example.com) and a Name (placeholderName shown to the recipient). Or switch the field to raw input with the code icon and map a whole list of recipients from an earlier step.
Get Attachment
Retrieves the content and properties of one attachment of an email.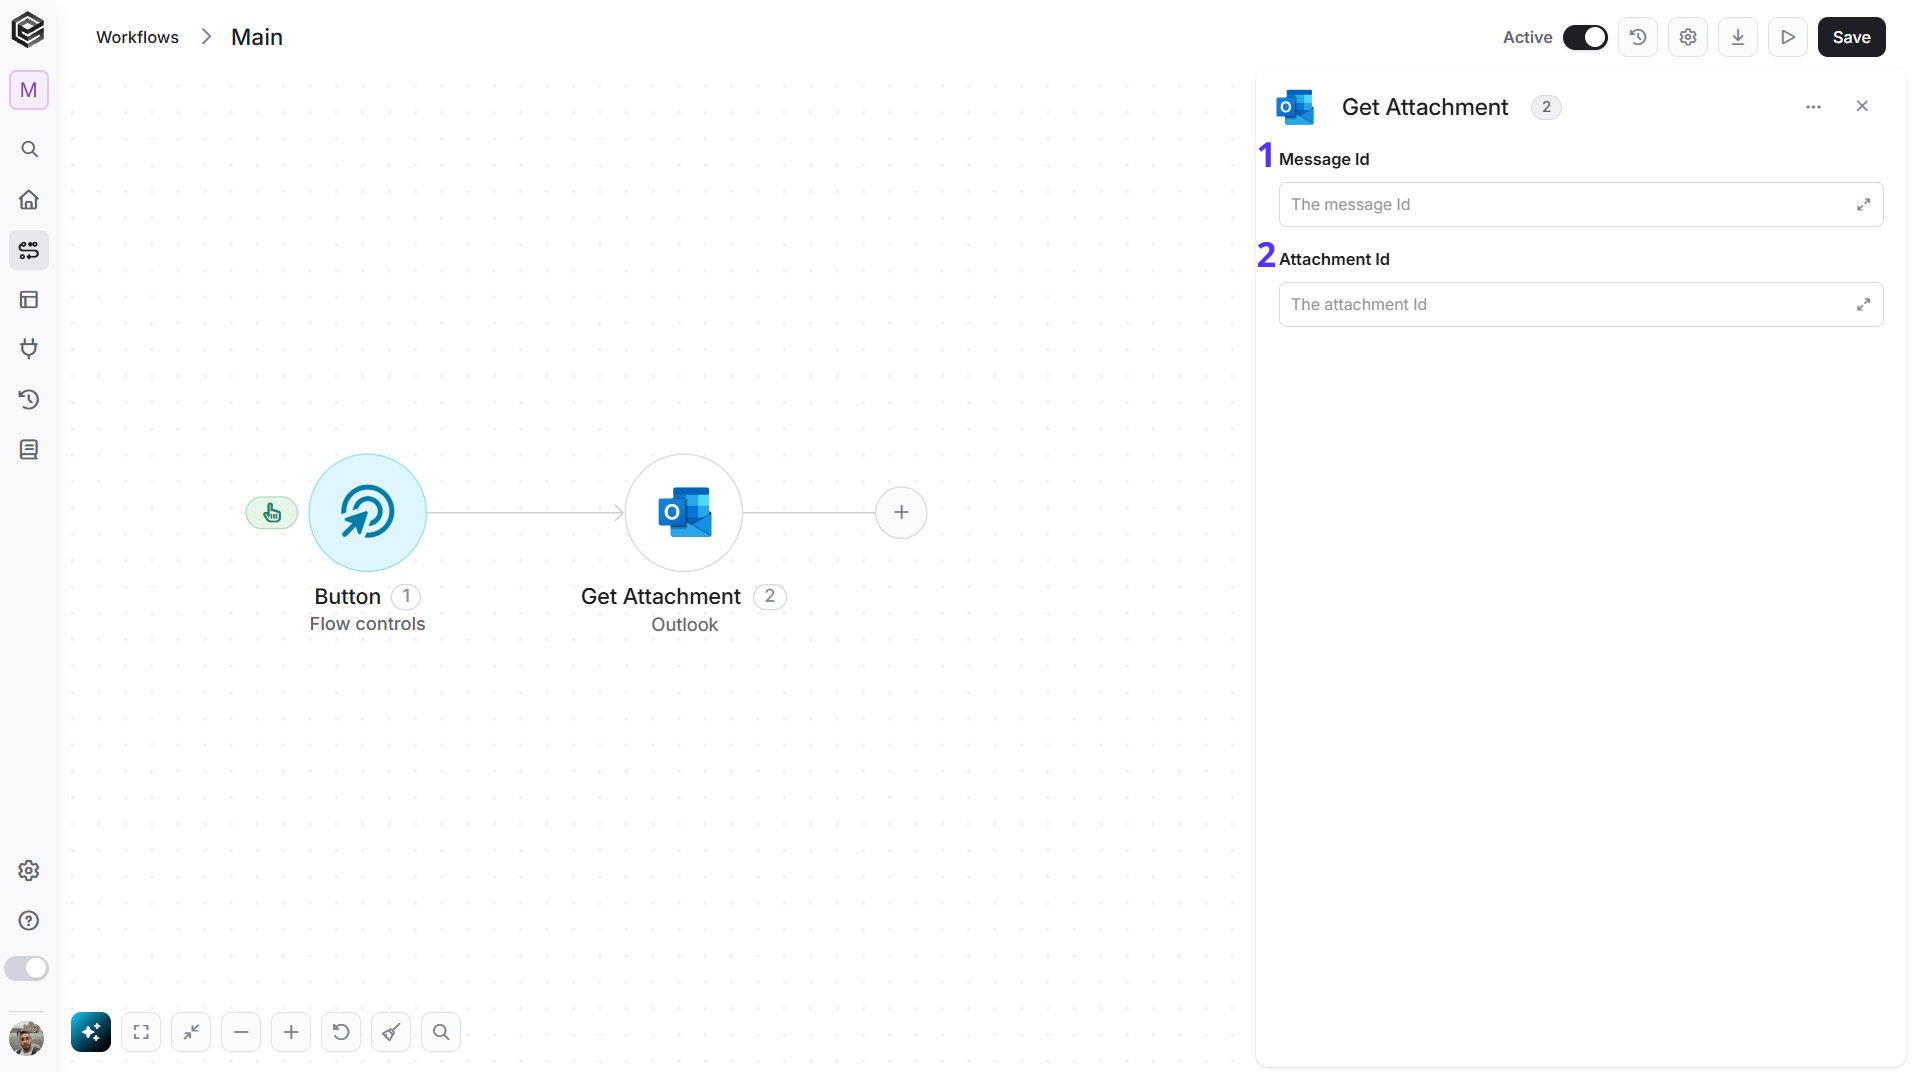
- Message Id - The unique identifier of the email that has the attachment.
- Attachment Id - The unique identifier of the attachment you want to retrieve.
Get Attachments
Retrieves the list of attachments of an email.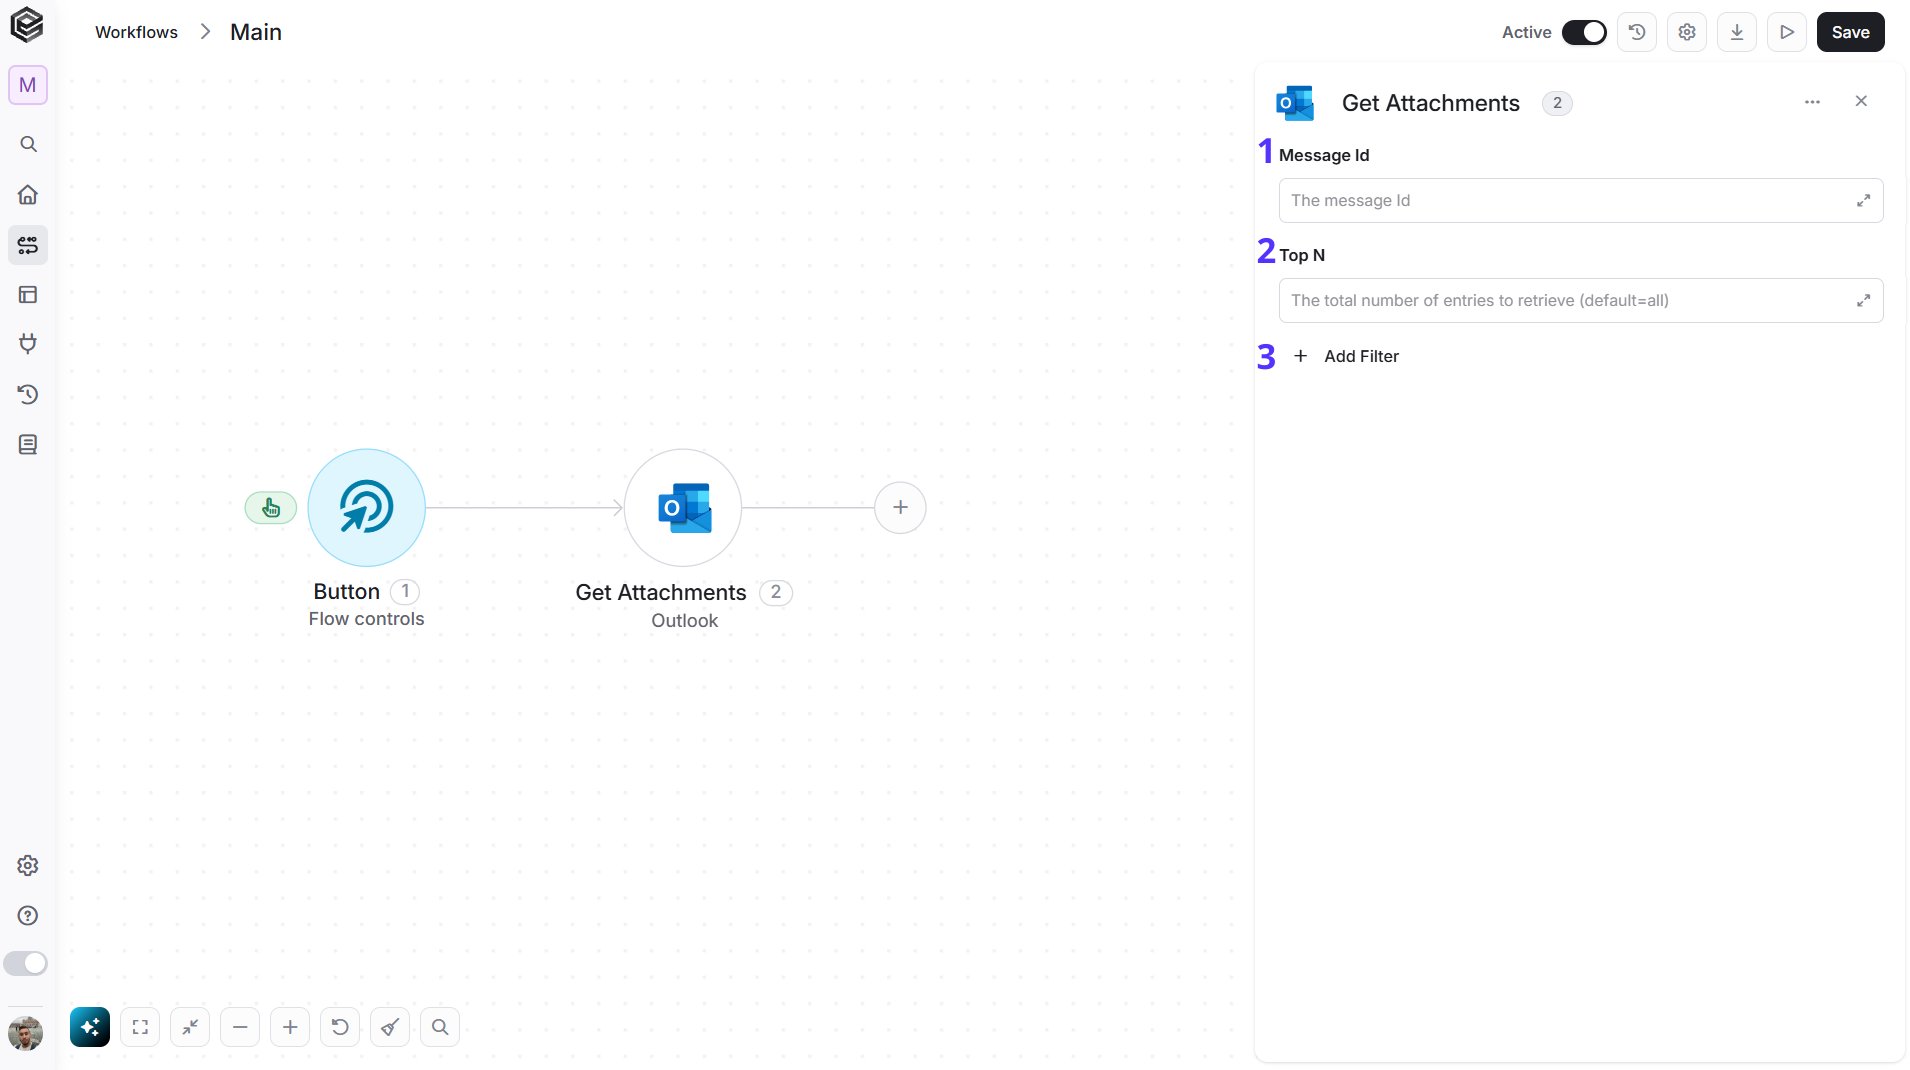
- Message Id - The unique identifier of the email that has the attachments.
- Top N - You can set the maximum number of records Engini will return for the object you chose (default = all records).
- Add Filter - Click Add Filter to define conditions that narrow down the data list and return only the relevant items. To learn more about using filters, click here.
Get Calendar
Retrieves the details of one of your calendars, such as its name and color.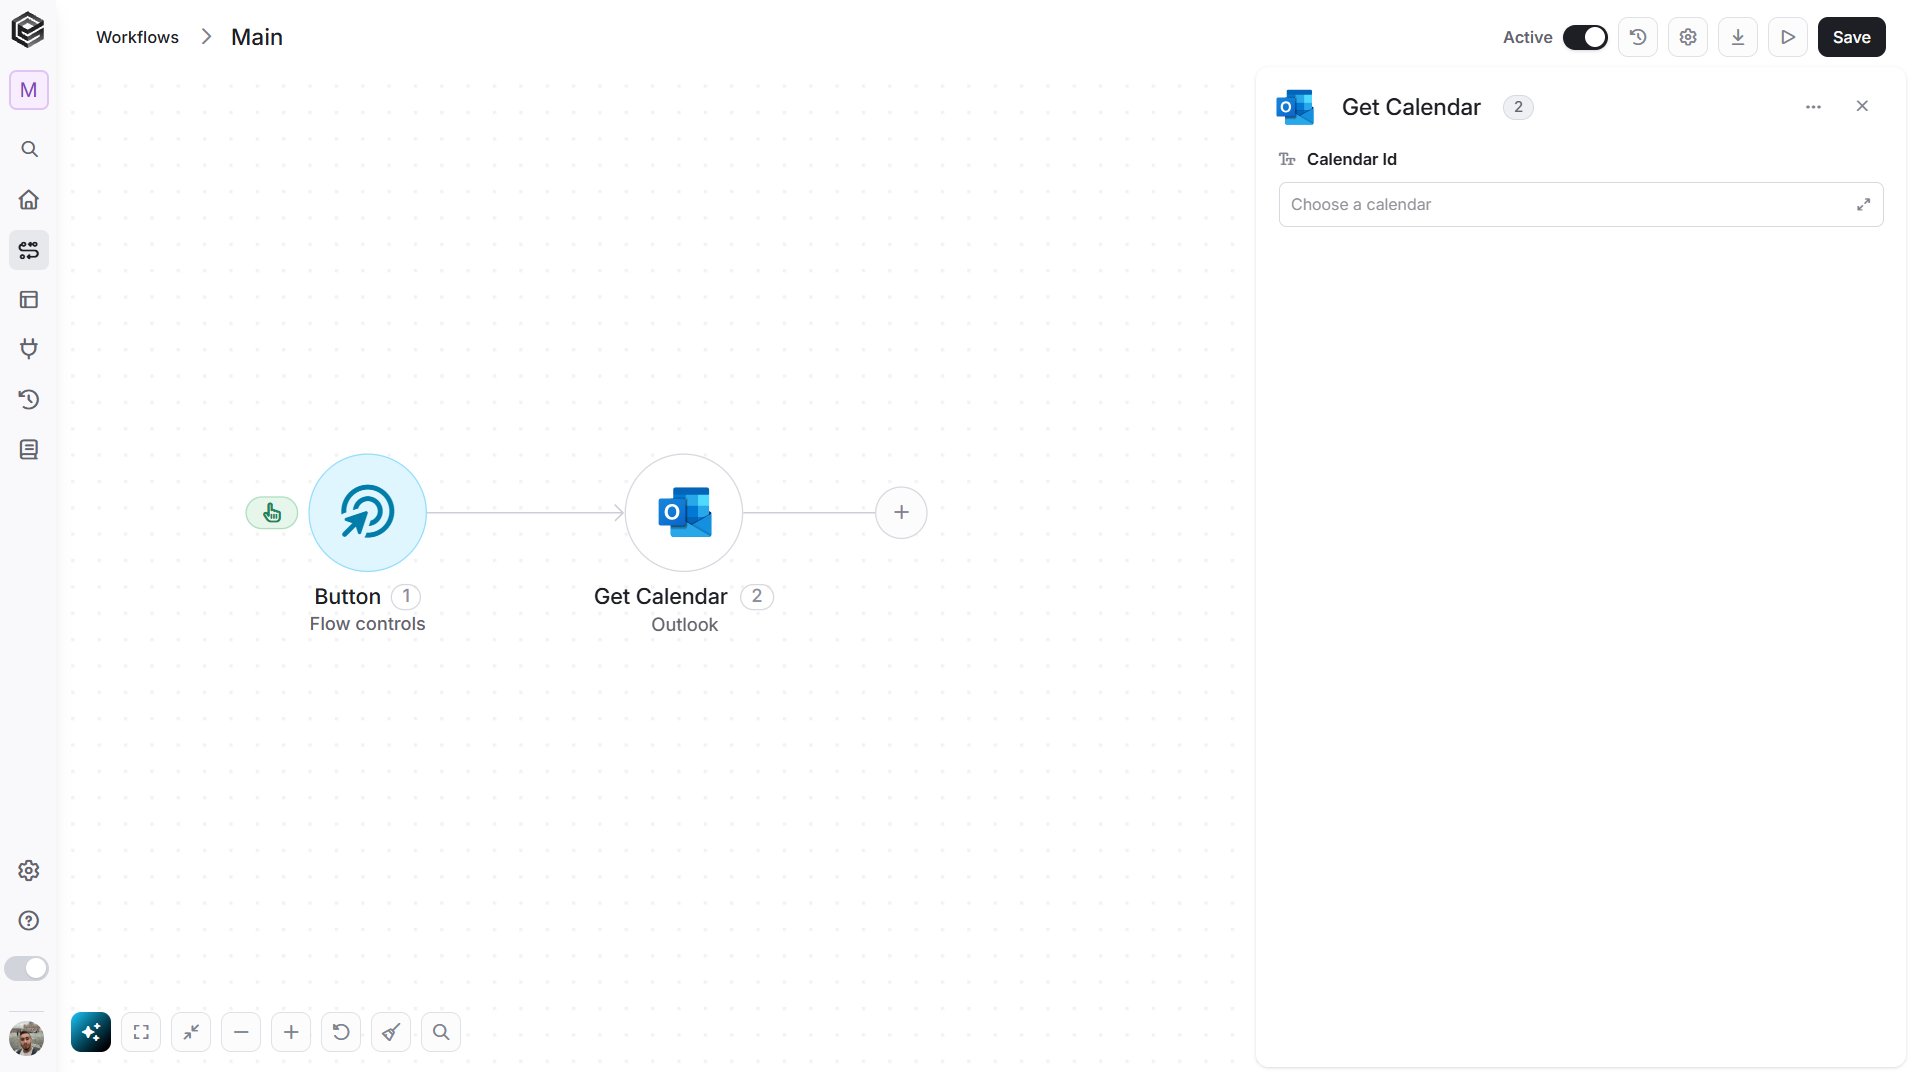
- Calendar Id - The calendar to retrieve. You have 3 ways to fill it:
- Dynamic List - Choose through a live, auto-generated list of your Outlook calendars.
- Dynamic Mapping - Map the Id returned by a previous Get Calendars step so it changes automatically based on real-time data.
- Static Text - Provide the identifier of a calendar.
Get Calendars
Retrieves the list of your Outlook calendars.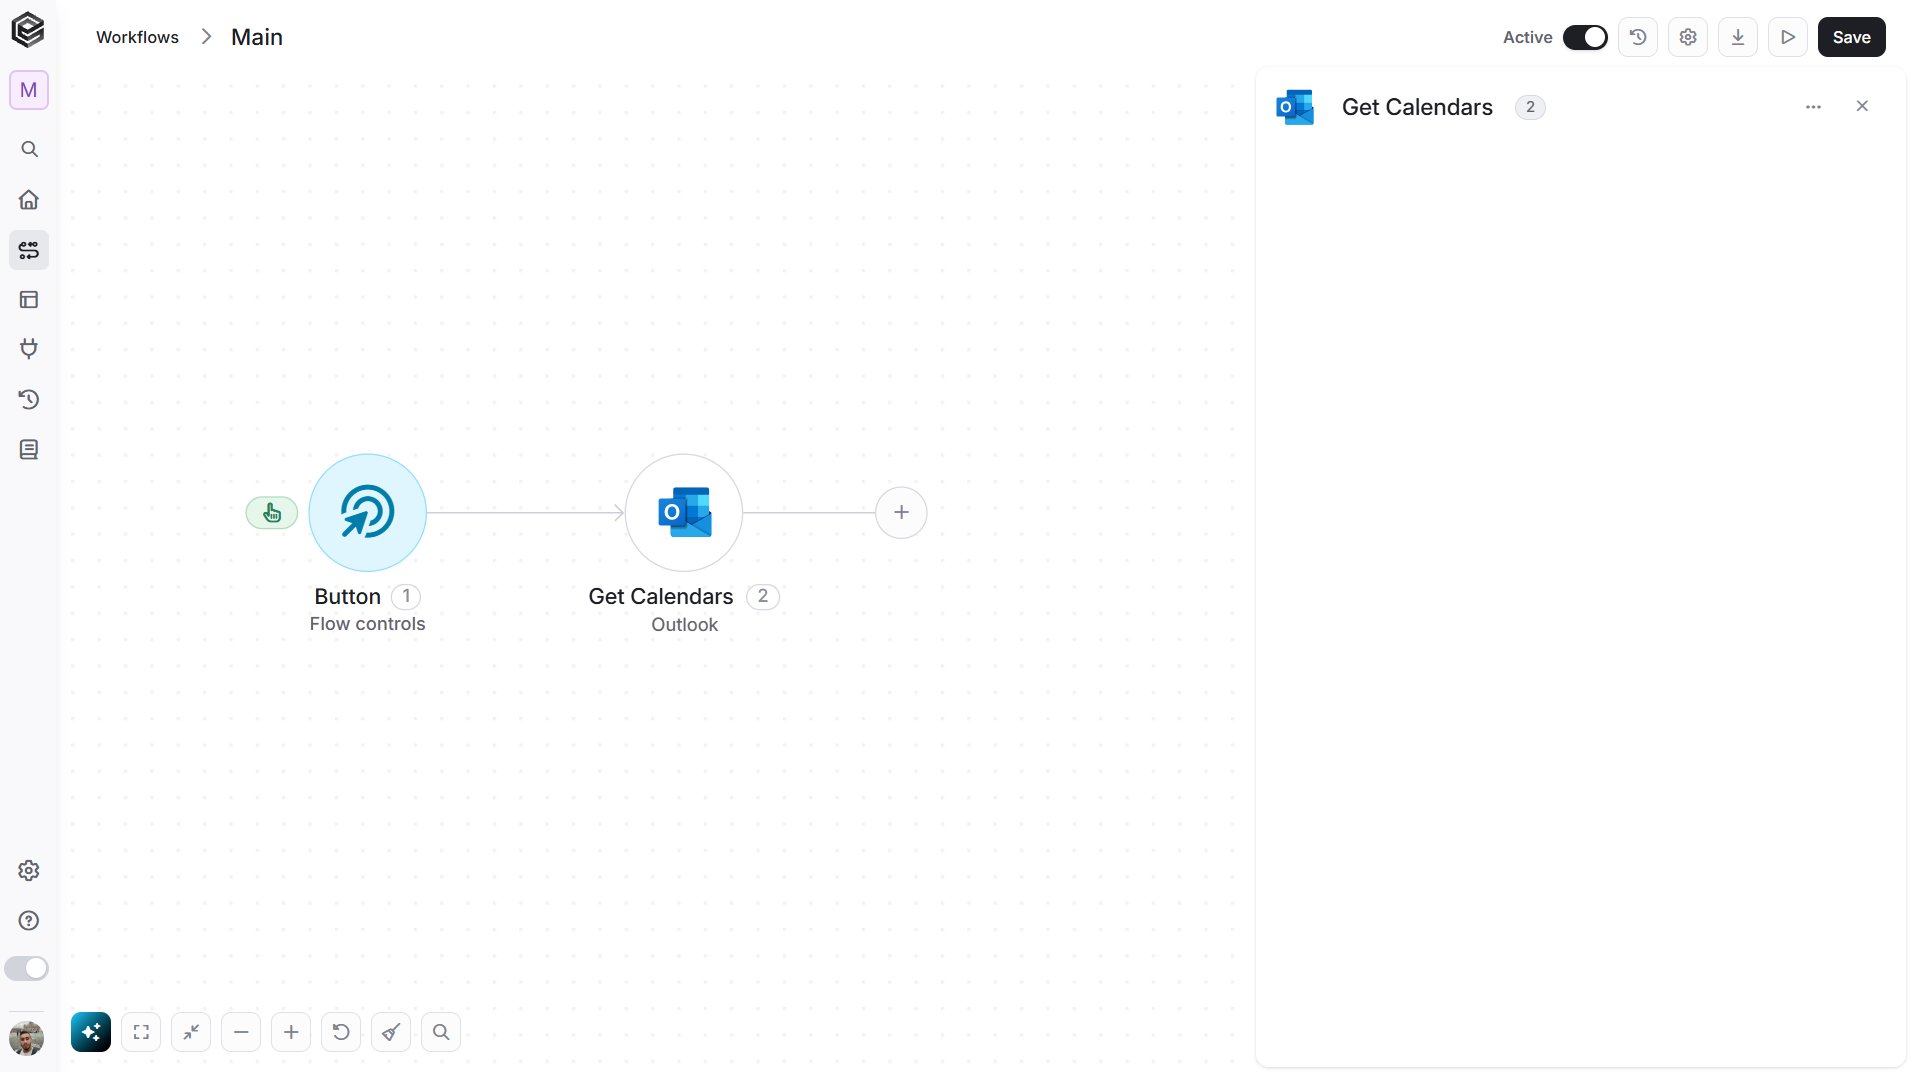
Get Contact
Retrieves the details of a single contact, such as the name, company and phone numbers.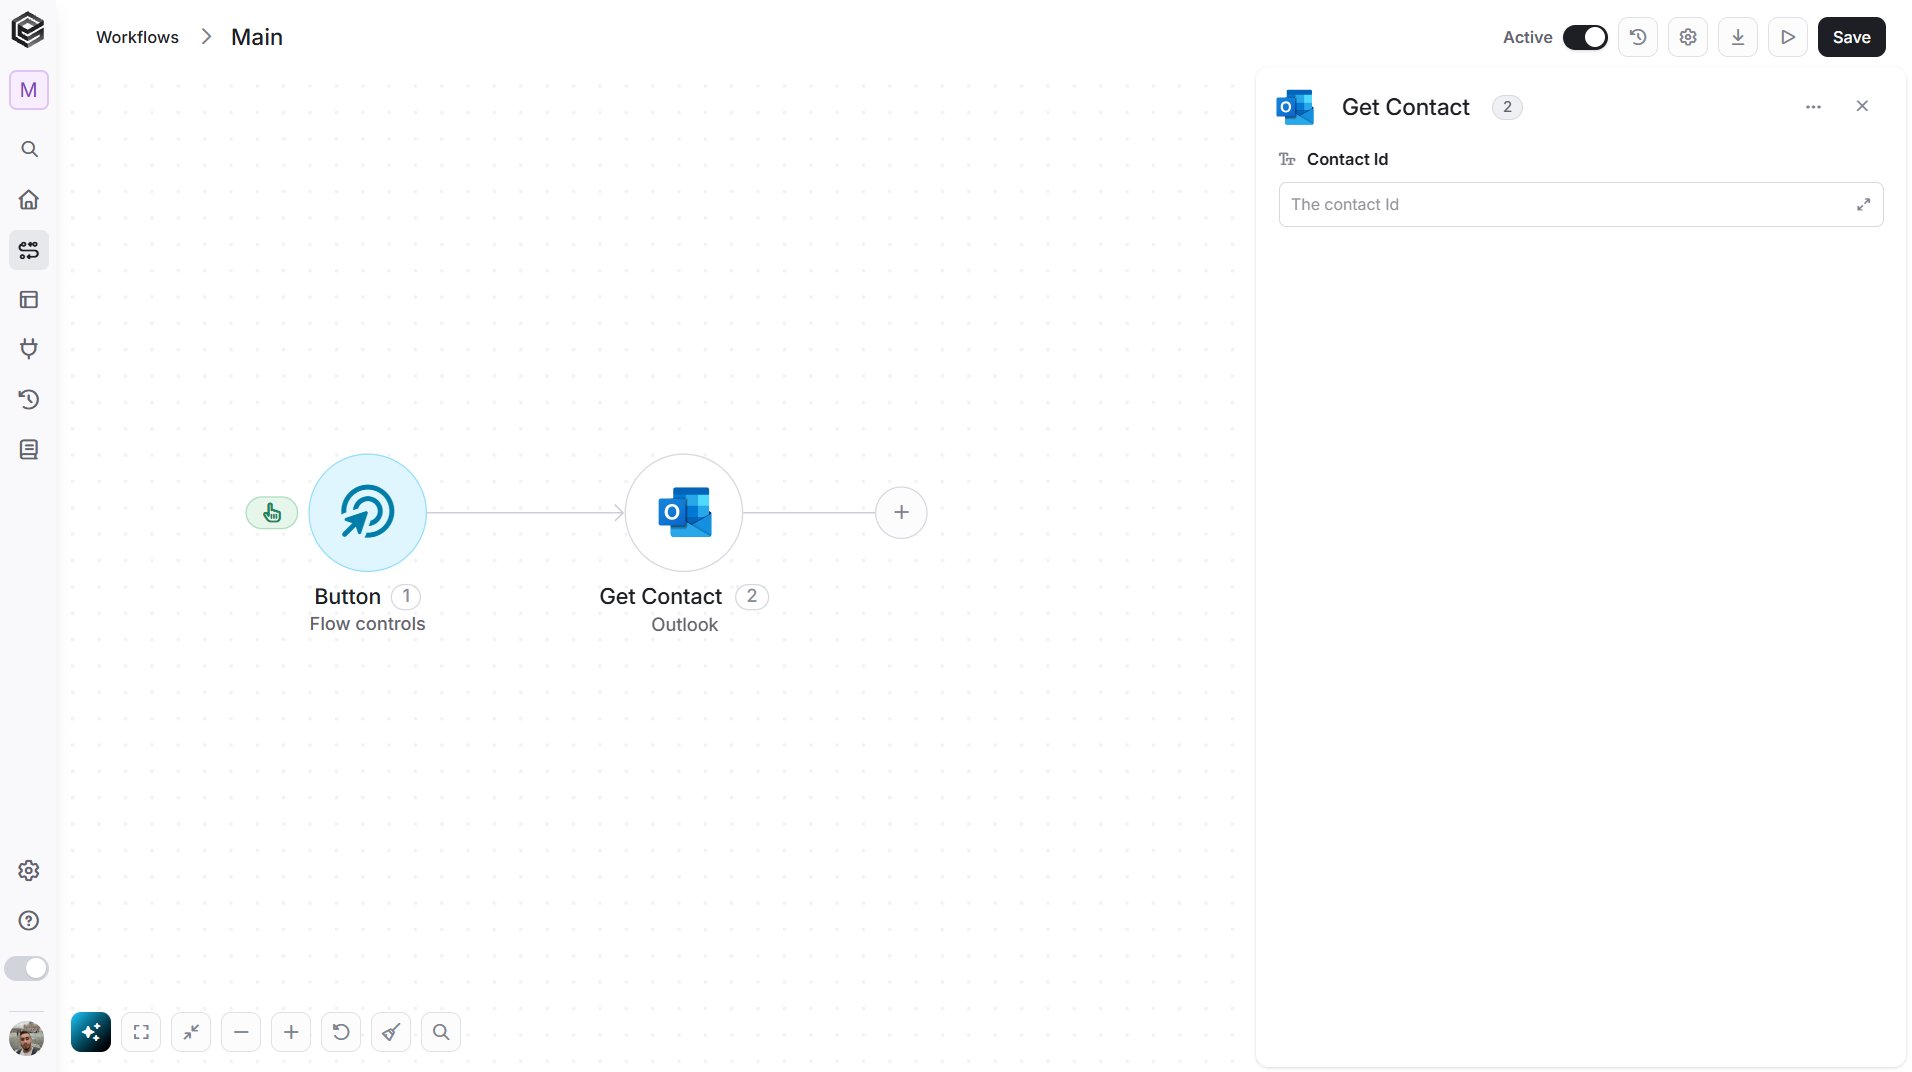
- Contact Id - The unique identifier of the contact you want to retrieve. Map it from a previous step, for example the Id of the Check for new or updated contacts trigger or of a Get Contacts step.
Get Contacts
Retrieves the contacts in your Outlook mailbox.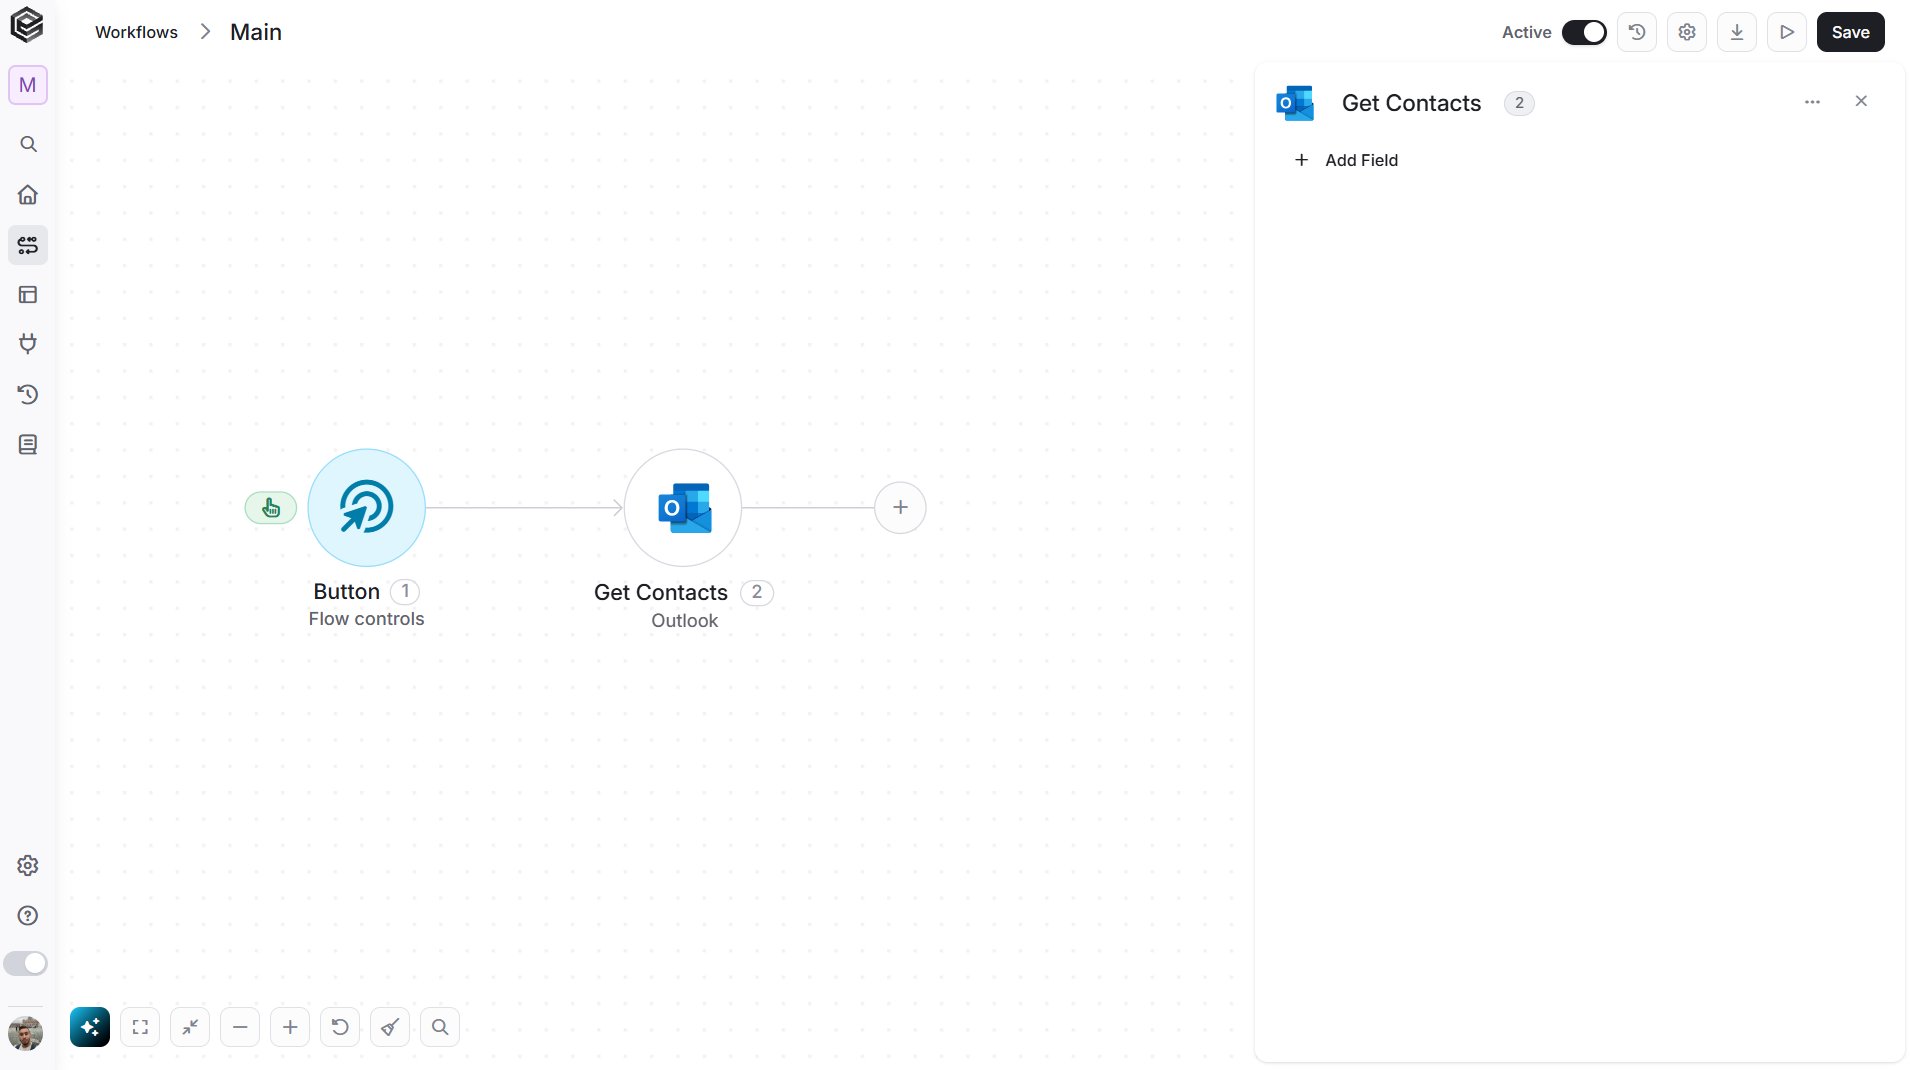
- Add Field - Click Add Field to add and populate additional fields for the selected activity. To learn more about managing activity data, click here.
- Email Address - Enter an email address to return only the contacts that have this email address. Leave it empty to return all your contacts. If no contact has the address, the result is an empty list.
Get Email
Retrieves the details of a single email, such as its sender, recipients and body.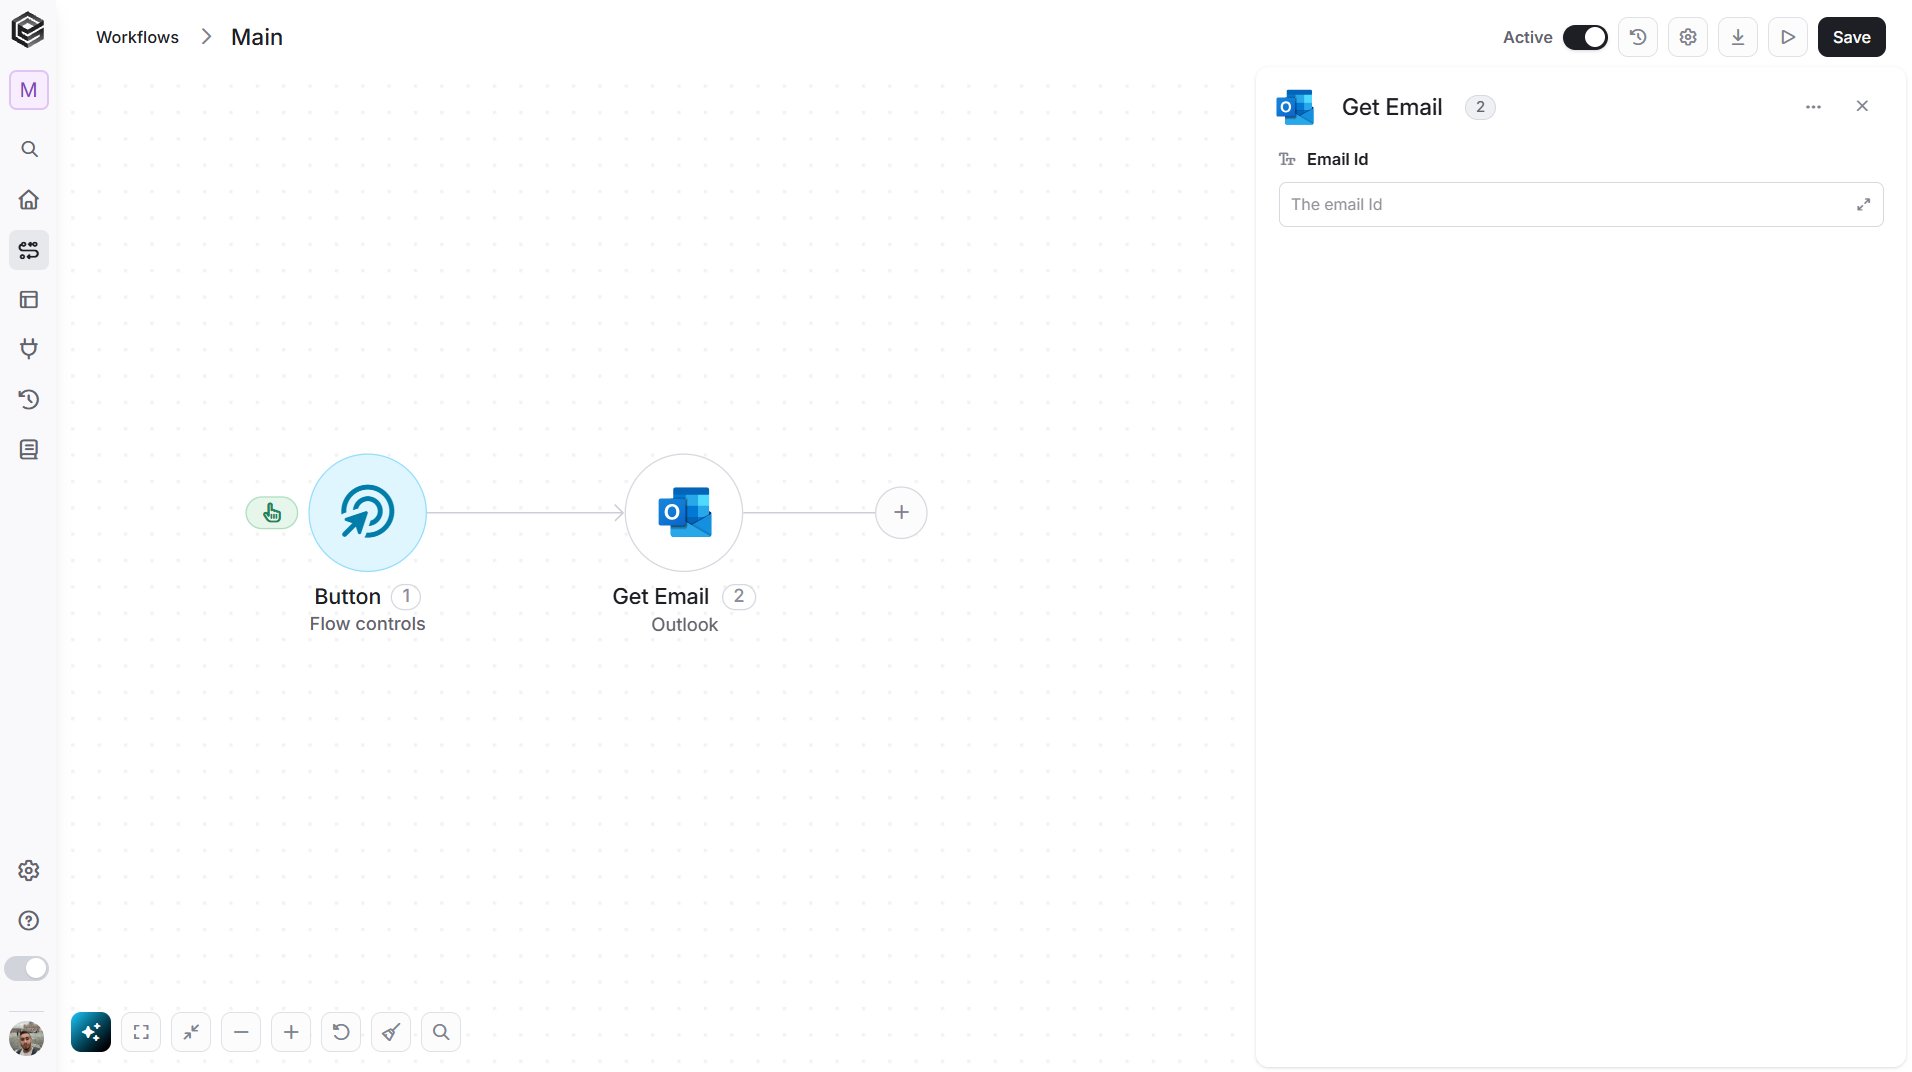
- Email Id - The unique identifier of the email you want to retrieve. Map it from a previous step, for example the Message Id of the Check for new emails trigger.
Get Event
Retrieves the details of a single calendar event, such as its subject and times.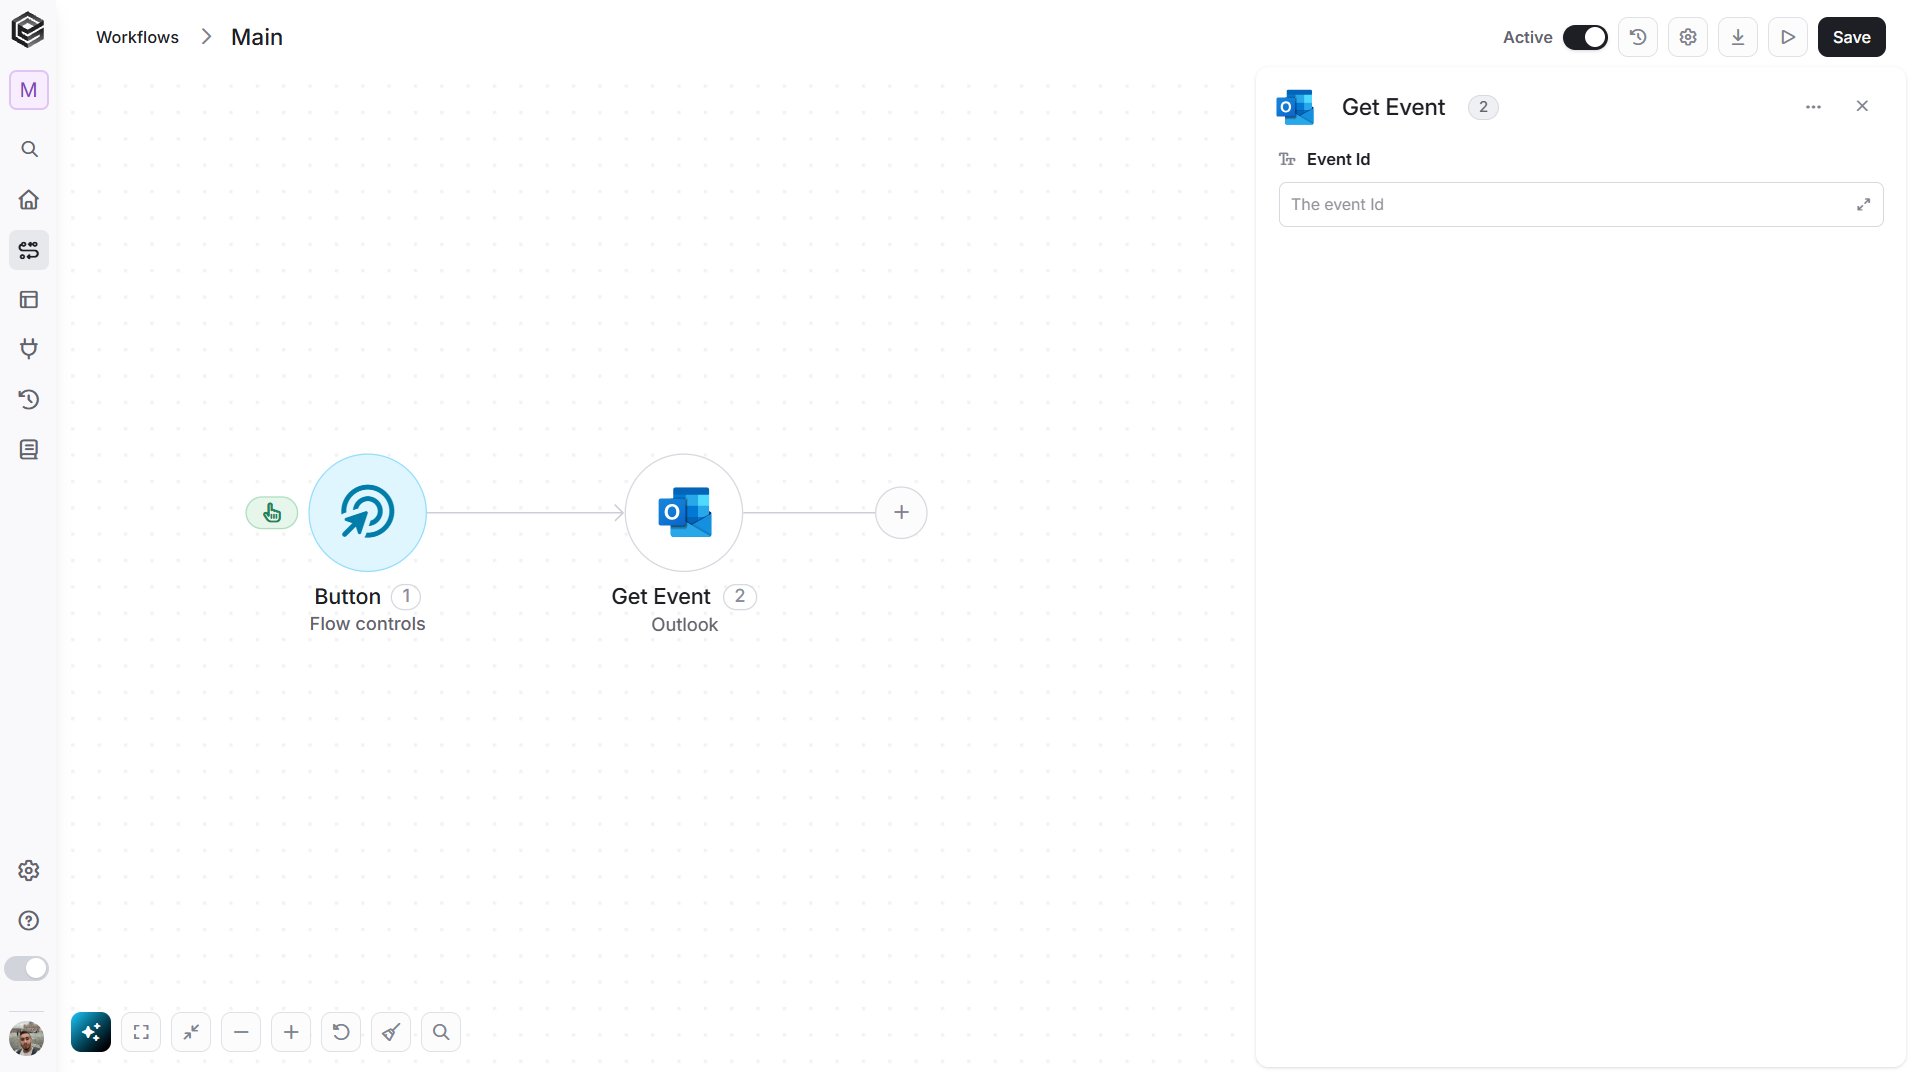
- Event Id - The unique identifier of the event you want to retrieve. Map it from a previous step, for example an Id returned by Get Events.
Get Event Instances
Retrieves the occurrences of a recurring event within a date range.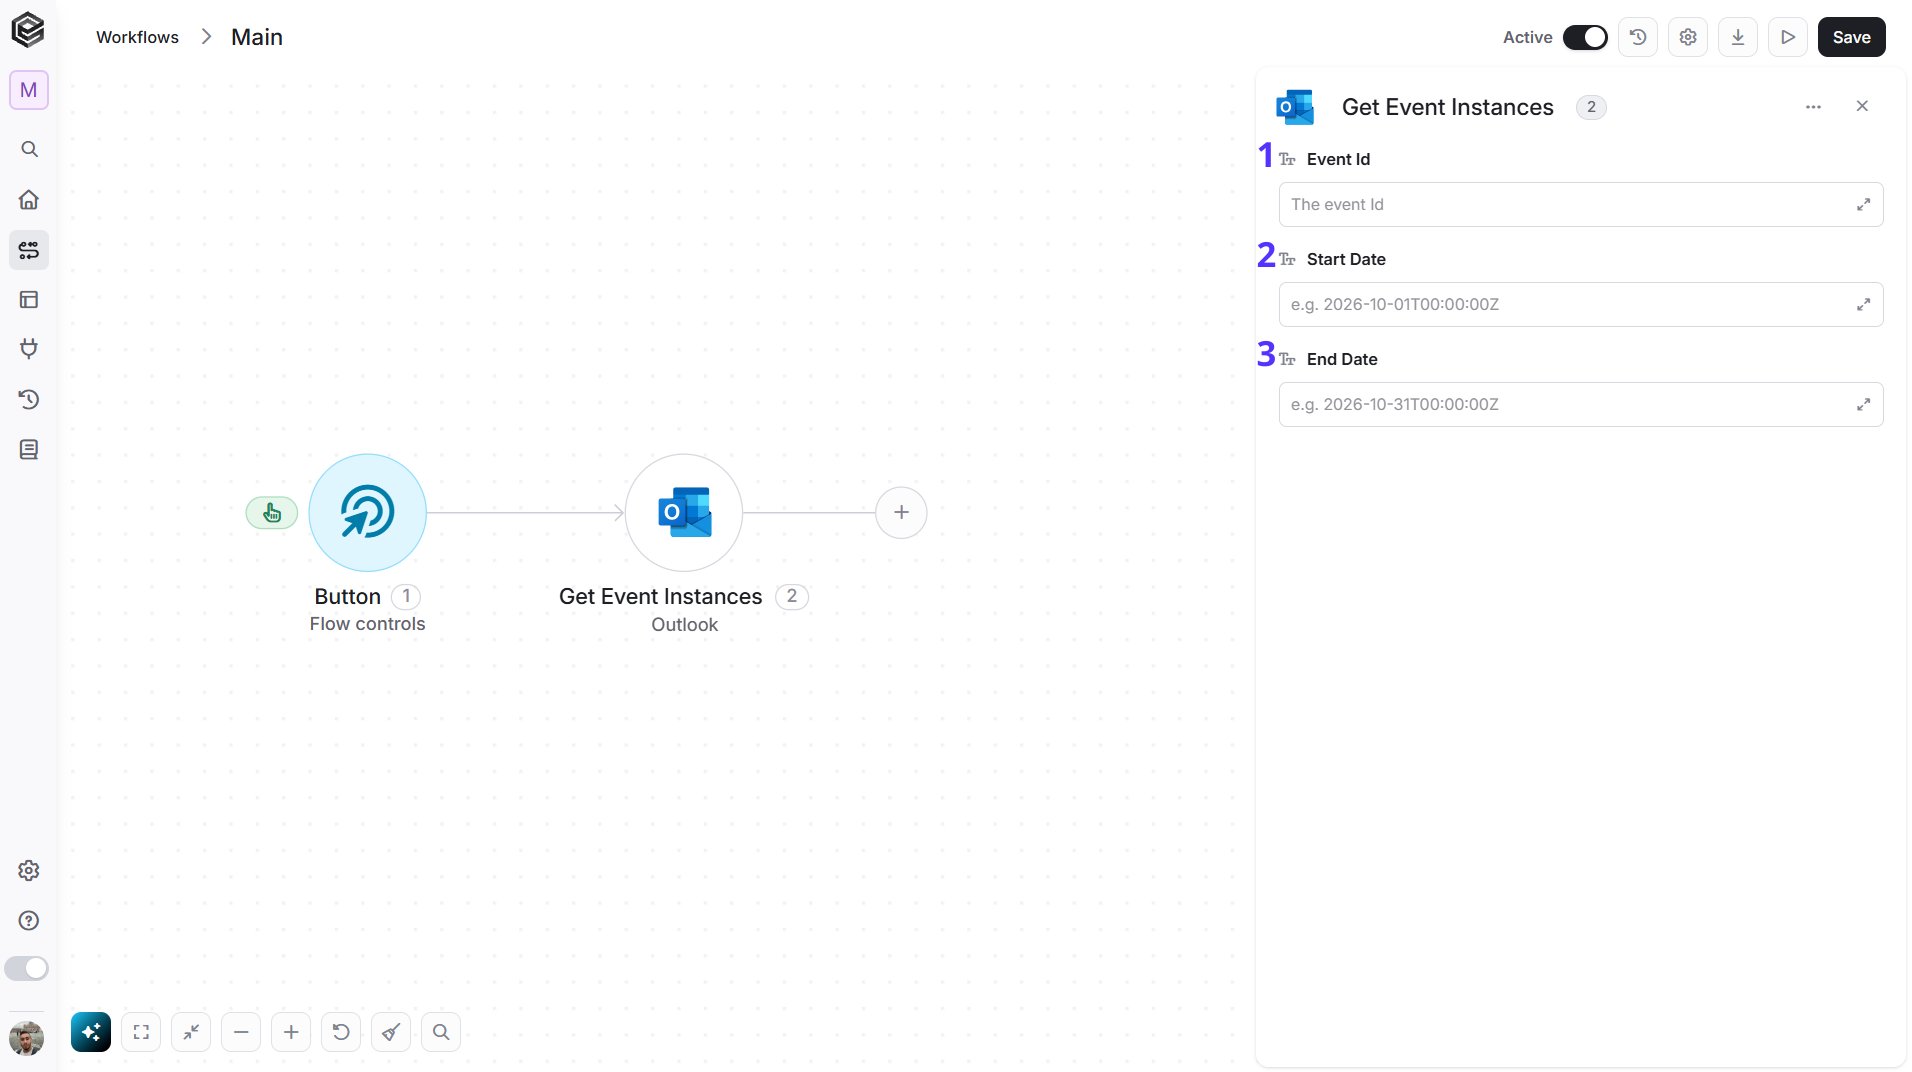
- Event Id - The unique identifier of the first event of a recurring series. Map it from a previous step, for example Get Events.
- Start Date - The start of the date range, for example
2026-10-01T00:00:00Z. - End Date - The end of the date range, for example
2026-10-31T00:00:00Z.
Get Events
Retrieves the events of one of your calendars.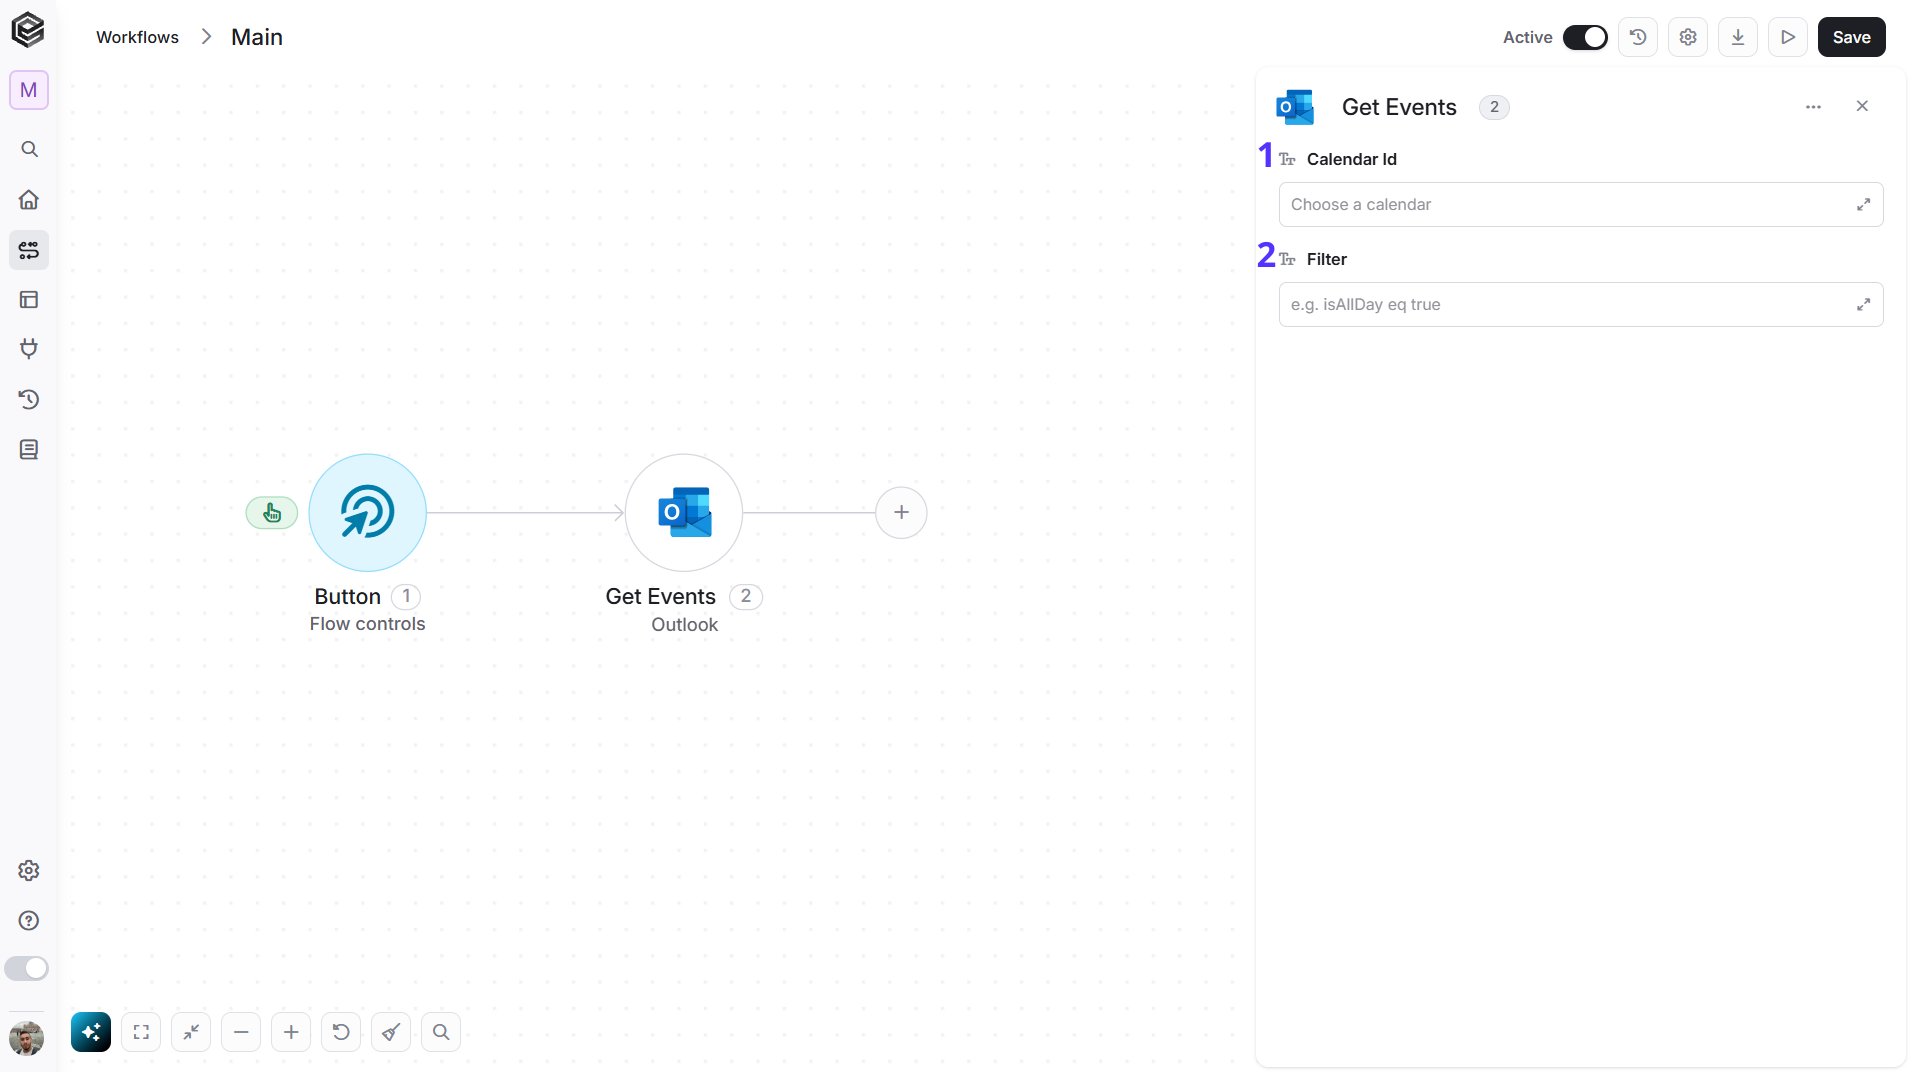
-
Calendar Id - The calendar to read the events from. You have 3 ways to fill it:
- Dynamic List - Choose through a live, auto-generated list of your Outlook calendars.
- Dynamic Mapping - Map the Id returned by a previous Get Calendars step so it changes automatically based on real-time data.
- Static Text - Provide the identifier of a calendar.
-
Filter - Enter an OData condition to return only the events that match it, for example
isAllDay eq true. Leave it empty to return all the events of the calendar.
Get Group Events
Retrieves the events of a group calendar.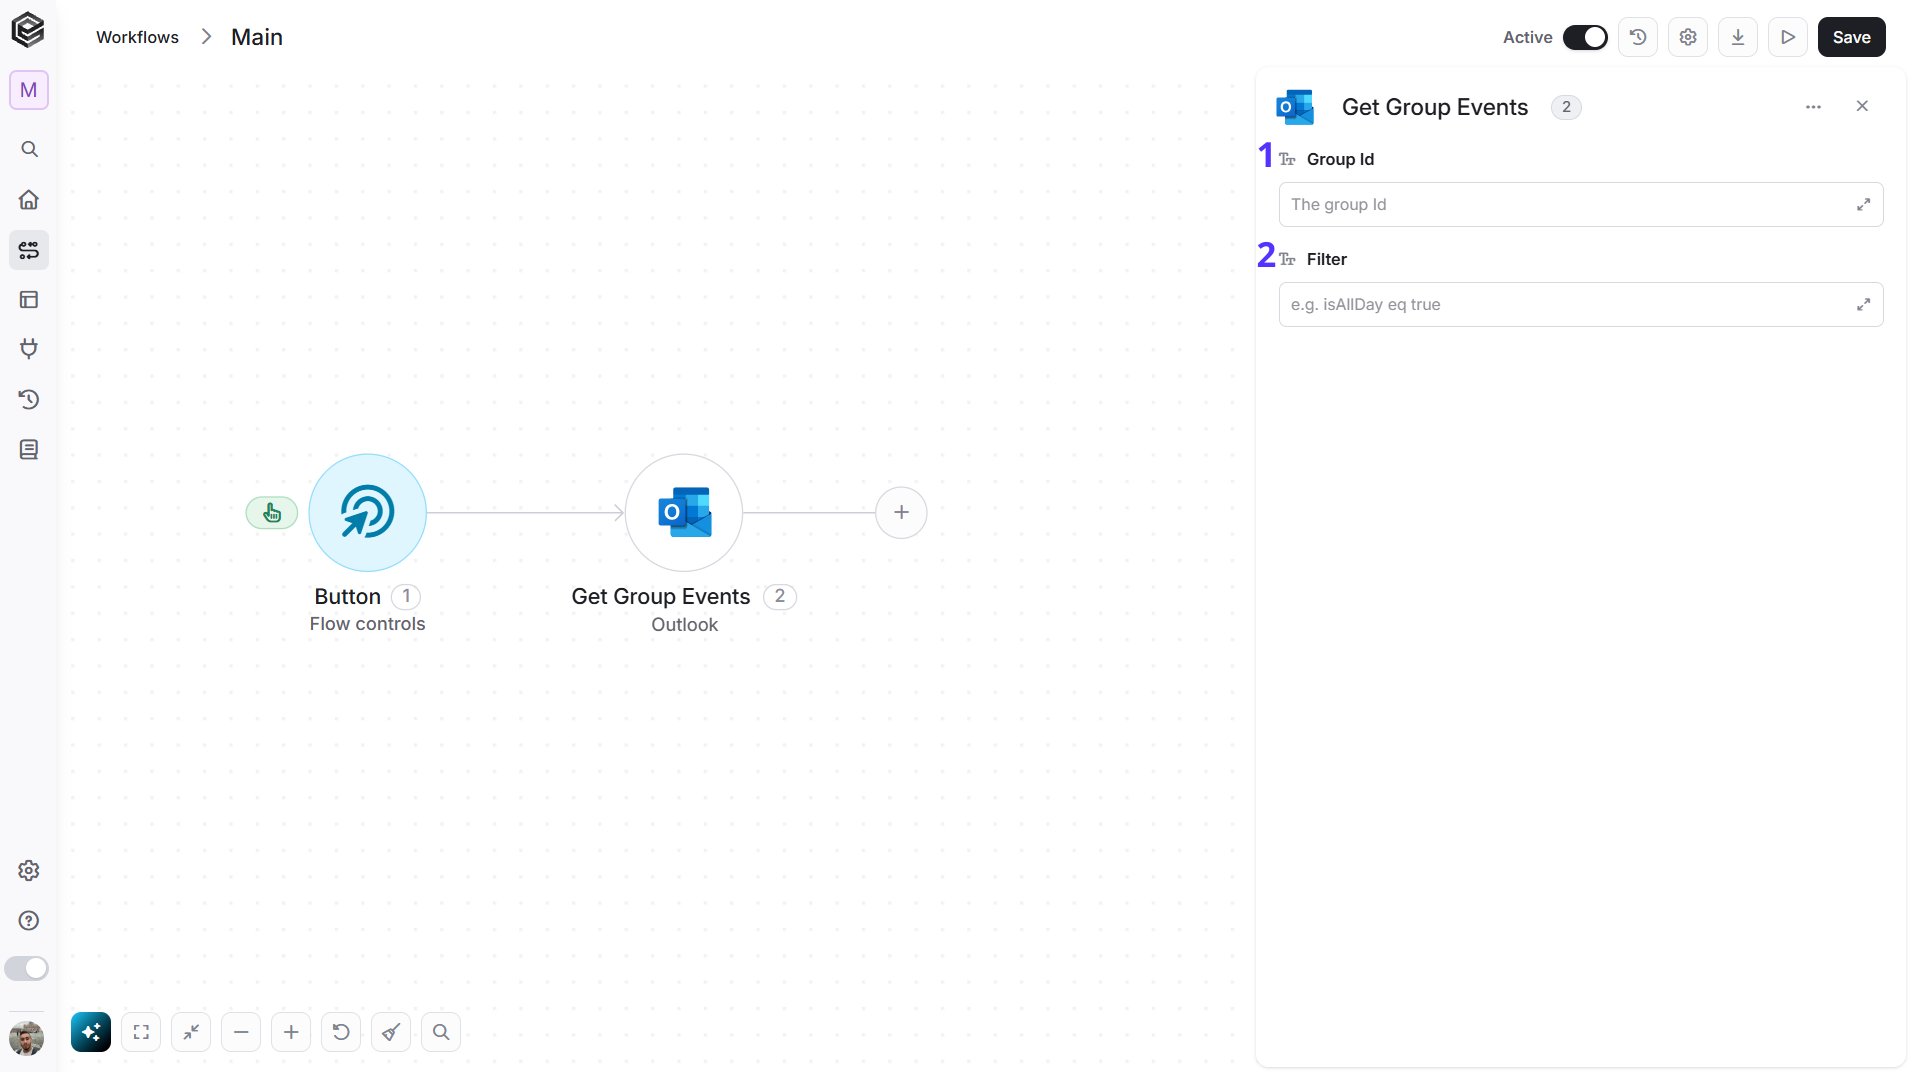
- Group Id - The unique identifier of the group whose events you want to read. It needs a work account connected through Custom OAuth 2.0.
- Filter - Enter an OData condition to return only the events that match it, for example
isAllDay eq true. Leave it empty to return all the events of the group.
Get Messages
Retrieves a list of emails from a mailbox folder.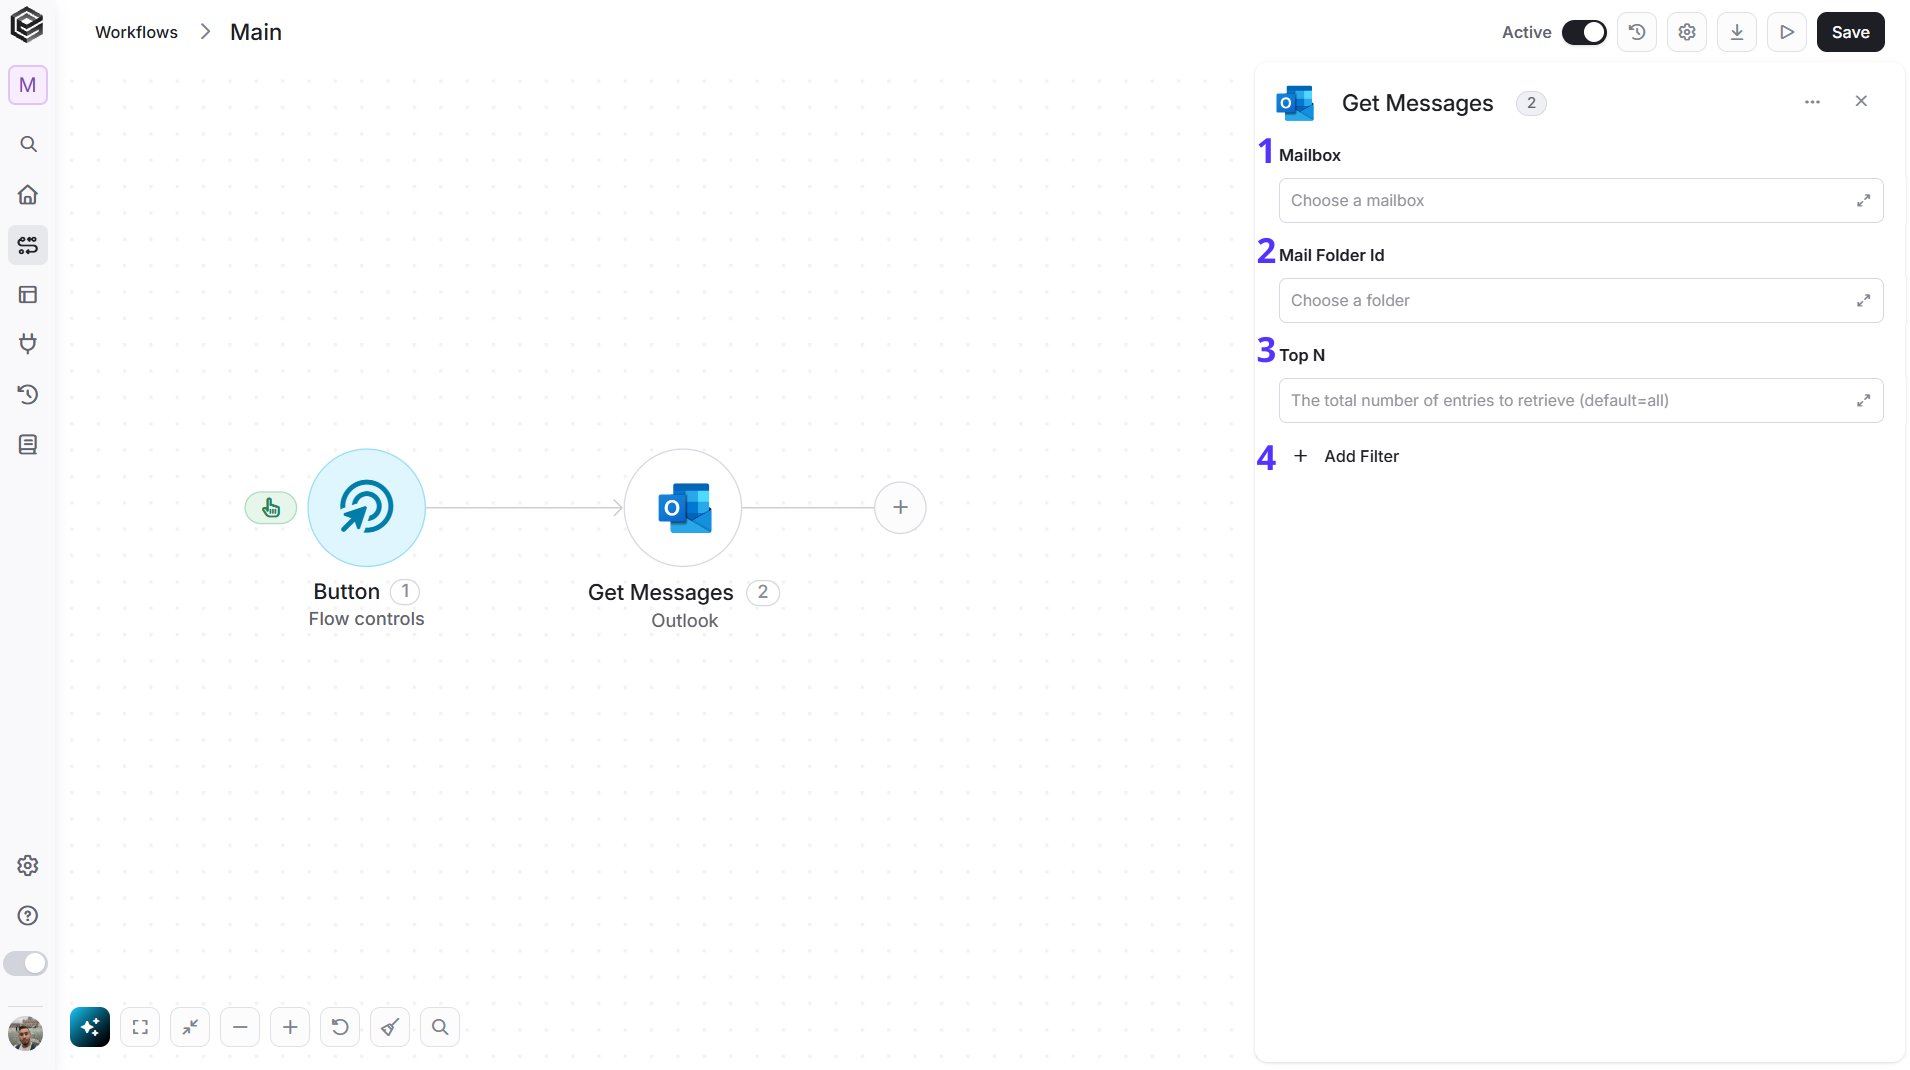
- Mailbox - The mailbox to read the emails from.
- Mail Folder Id - The unique identifier of the folder to read the emails from.
- Top N - You can set the maximum number of records Engini will return for the object you chose (default = all records).
- Add Filter - Click Add Filter to define conditions that narrow down the data list and return only the relevant items. To learn more about using filters, click here.
Get Schedule
Retrieves the availability information of a calendar.
Move Message
Moves an email to another folder in the mailbox.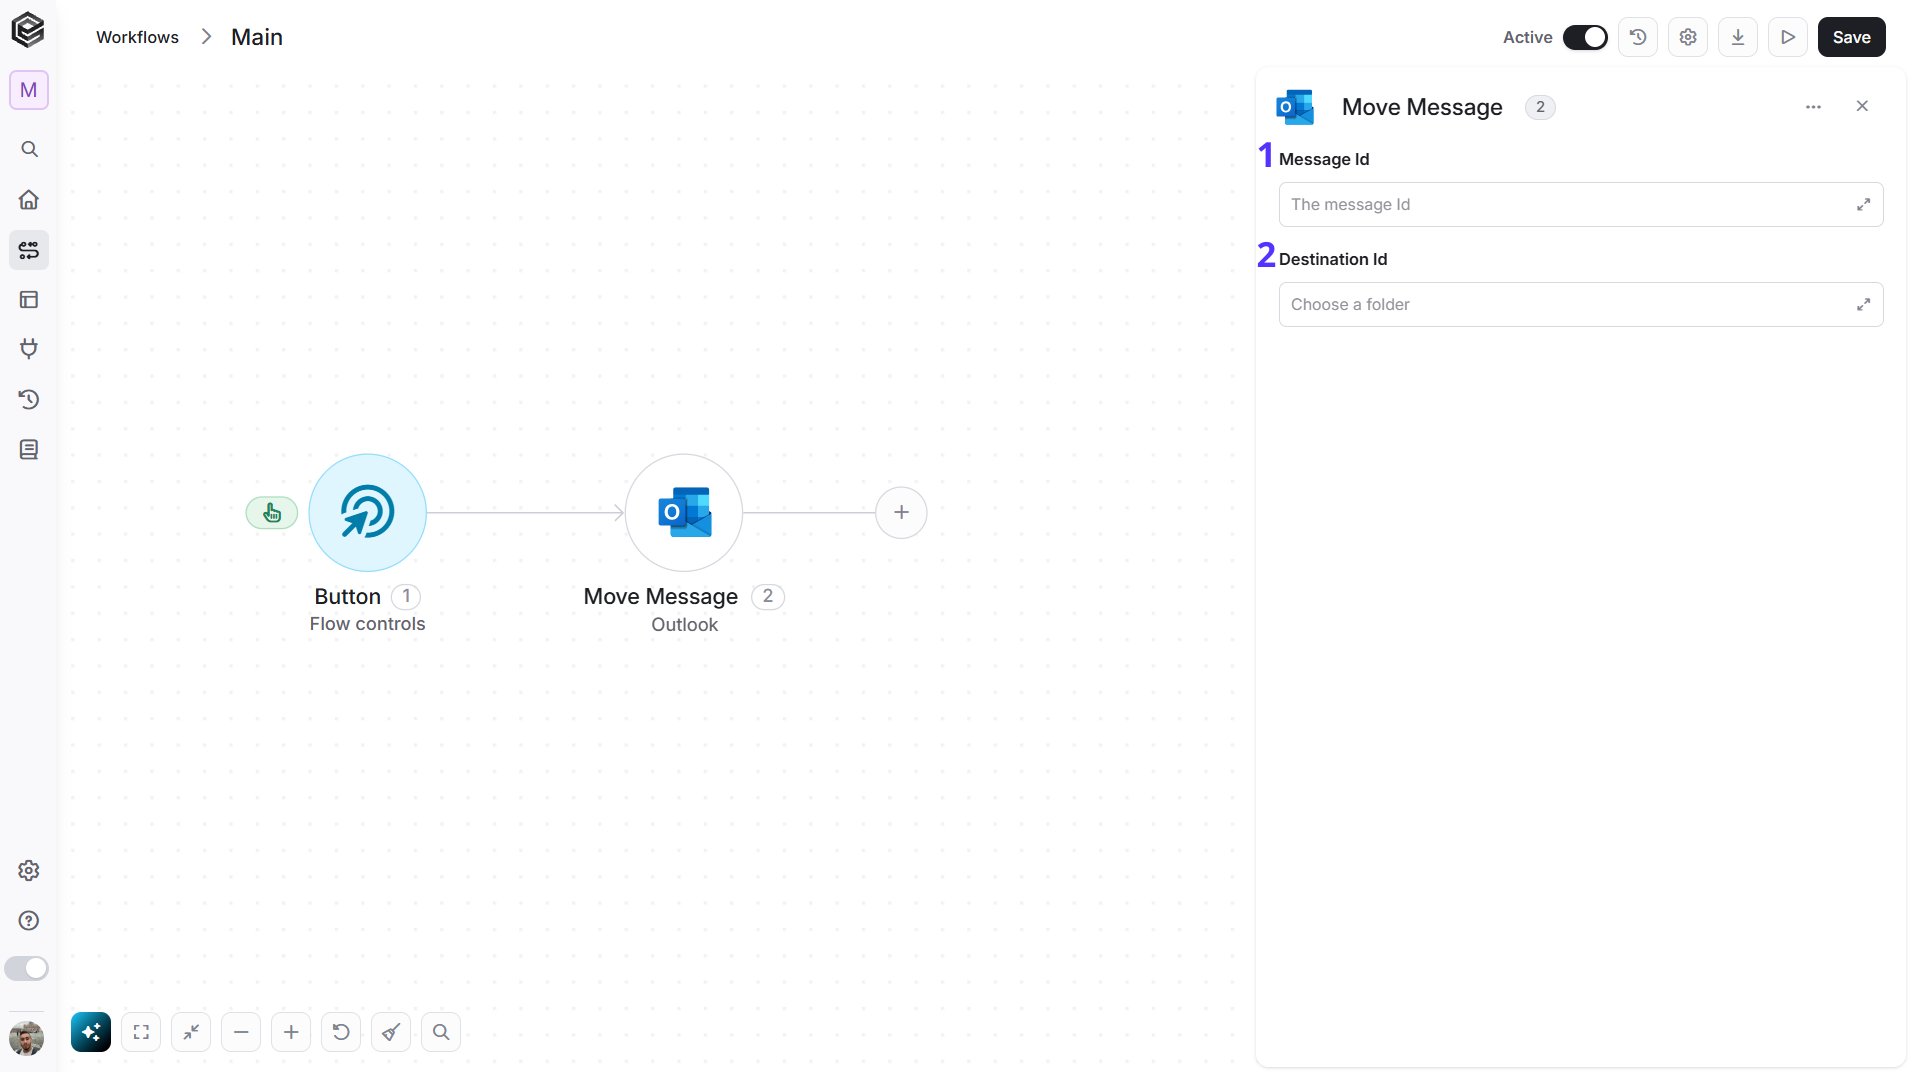
- Message Id - The unique identifier of the email you want to move.
- Destination Id - The unique identifier of the folder you want to move the email to.
Permanent Delete
Deletes an email completely, without moving it to Deleted Items. The email can’t be recovered.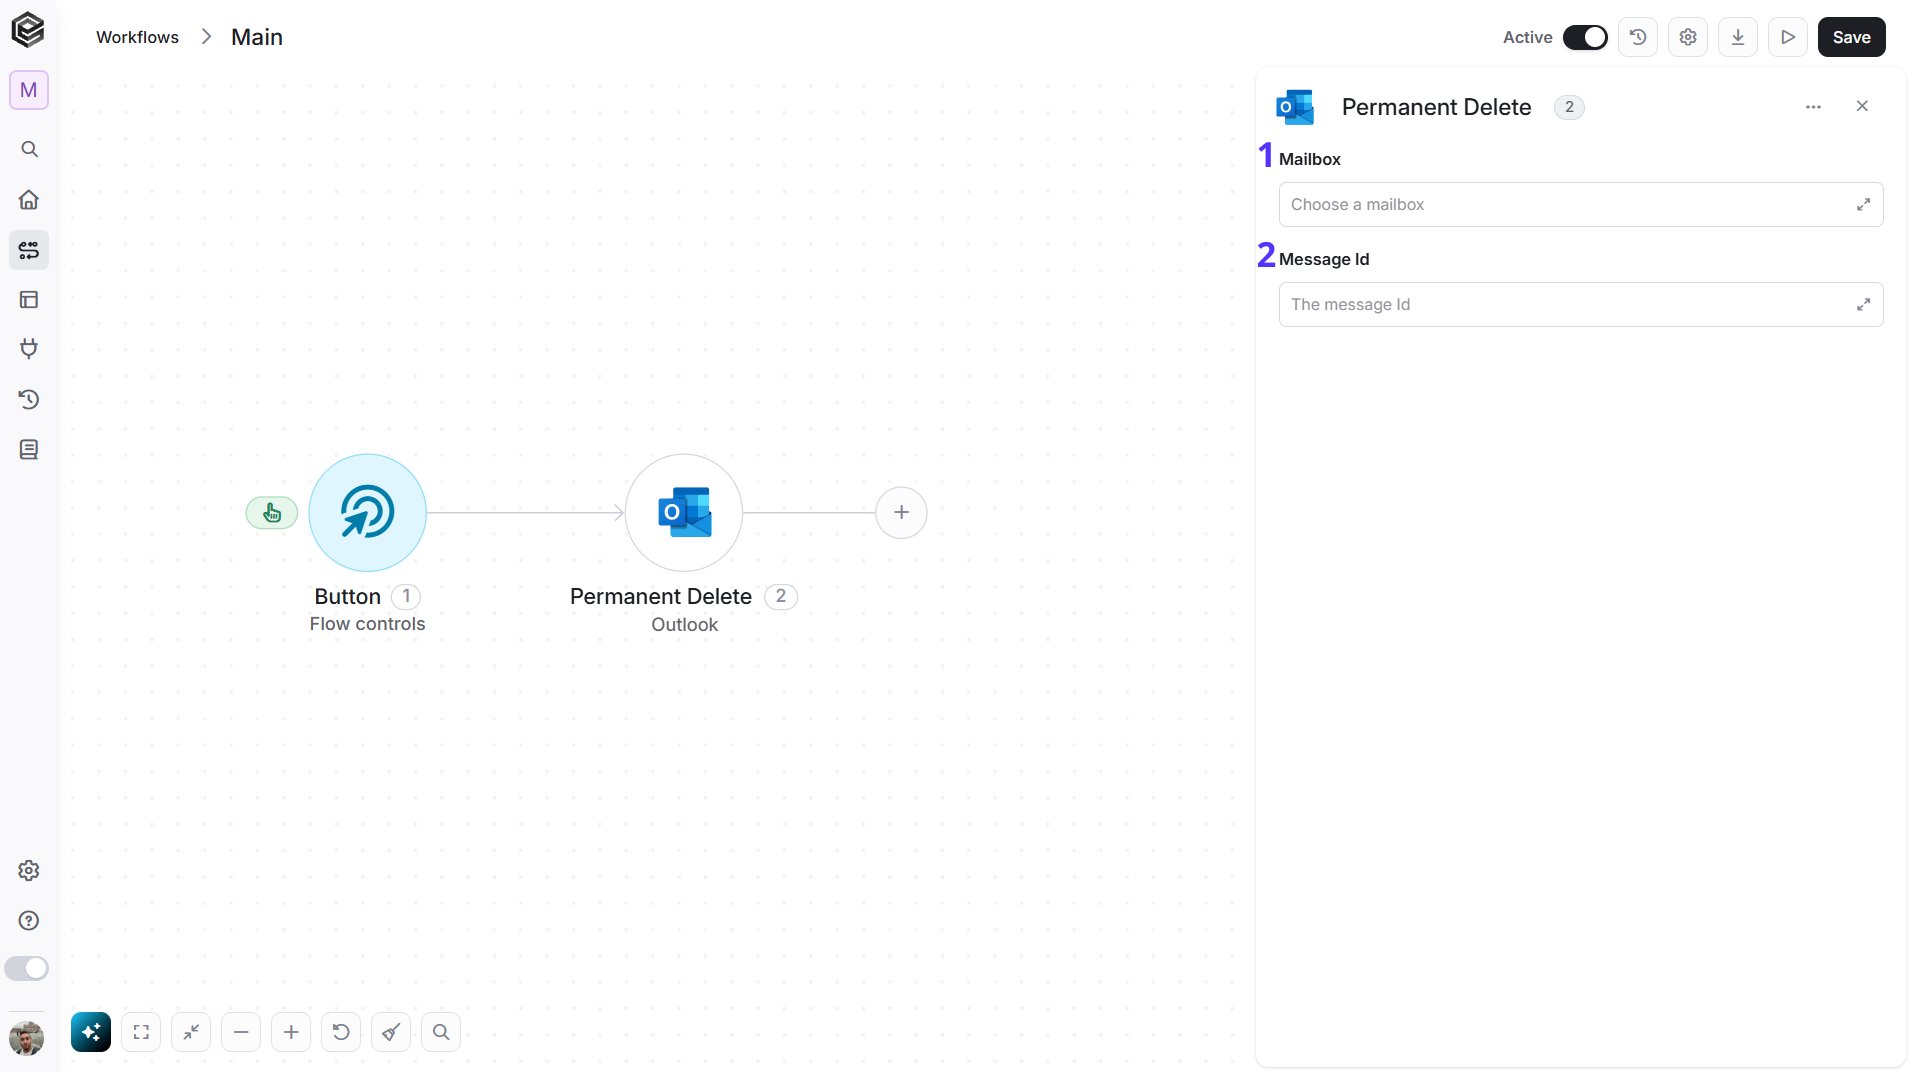
- Mailbox - The mailbox that contains the email. If you leave it empty, your own mailbox is used.
- Message Id - The unique identifier of the email you want to delete.
Reply Comment To a Message
Replies to an email with the comment you write.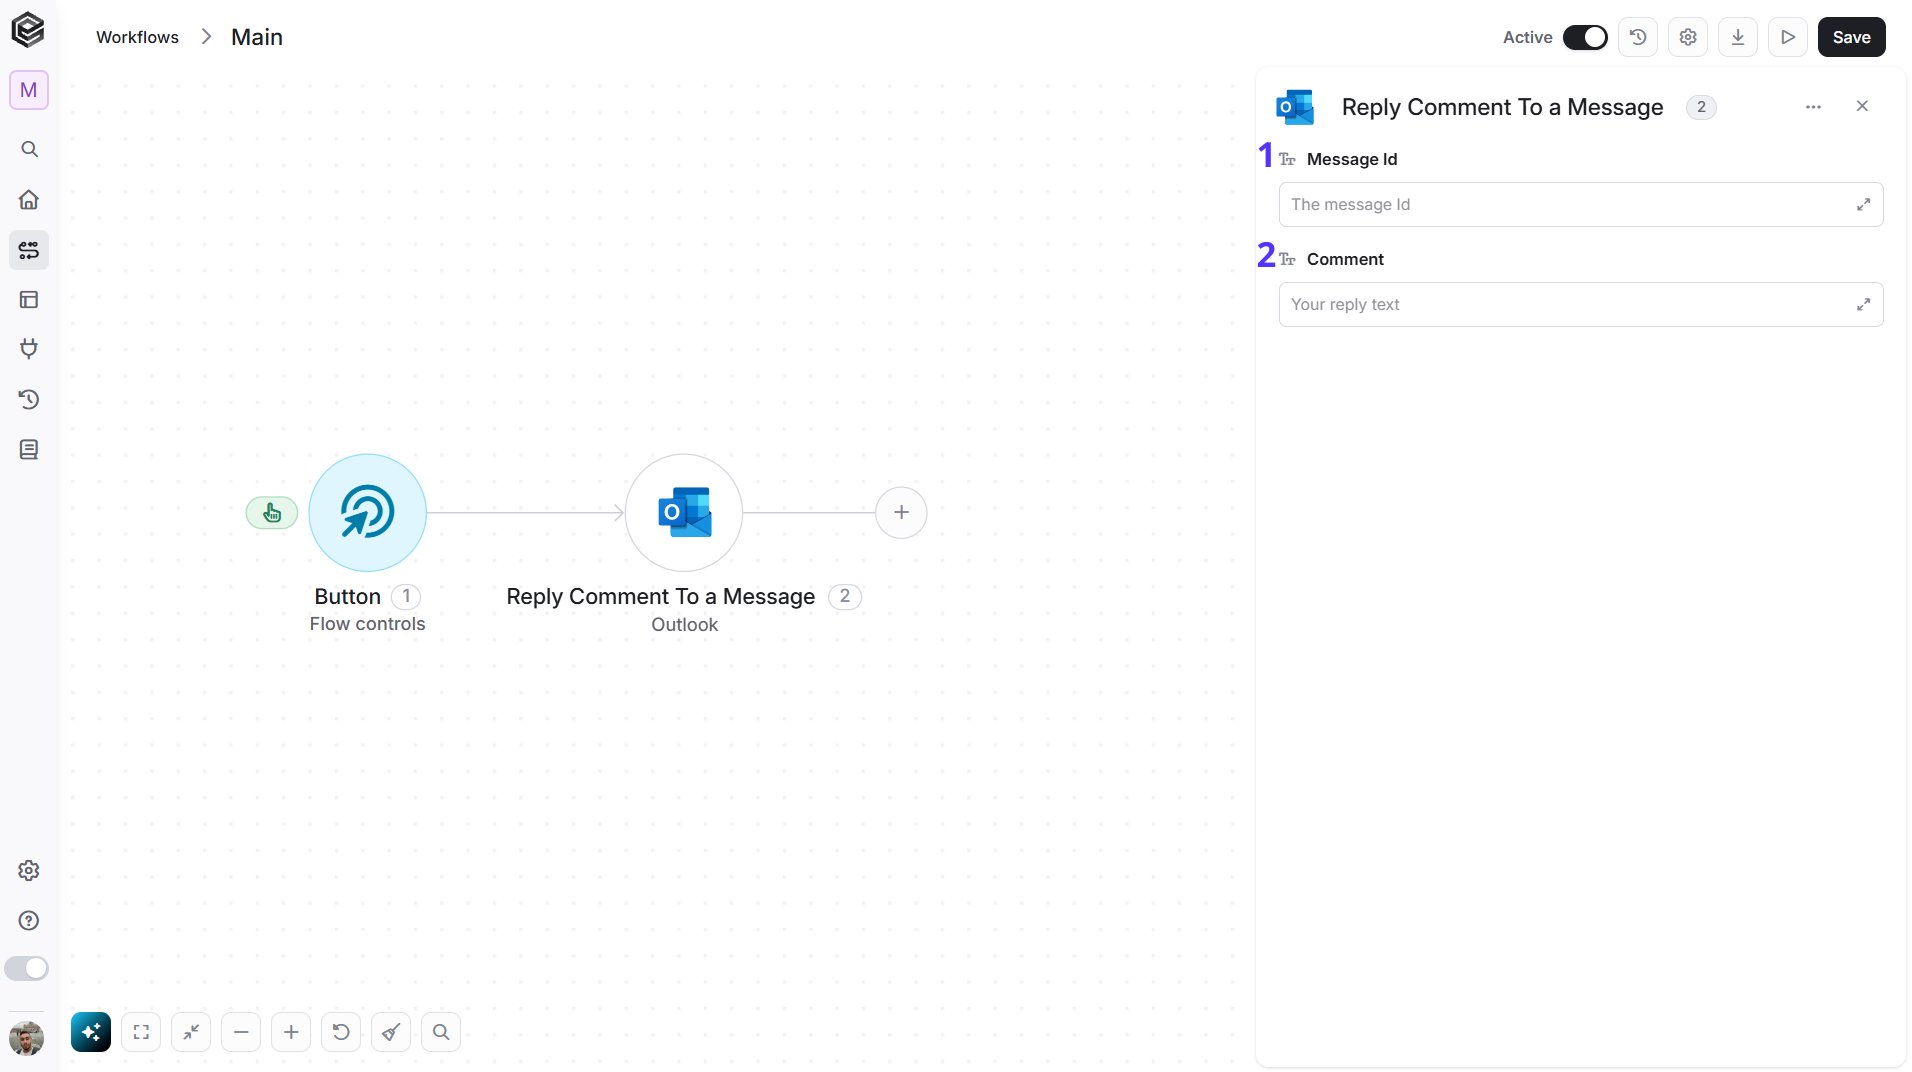
- Message Id - The unique identifier of the email you want to reply to.
- Comment - The text of your reply. You can write plain text or HTML.
Send Draft Message
Sends an email that is already saved in your Drafts folder.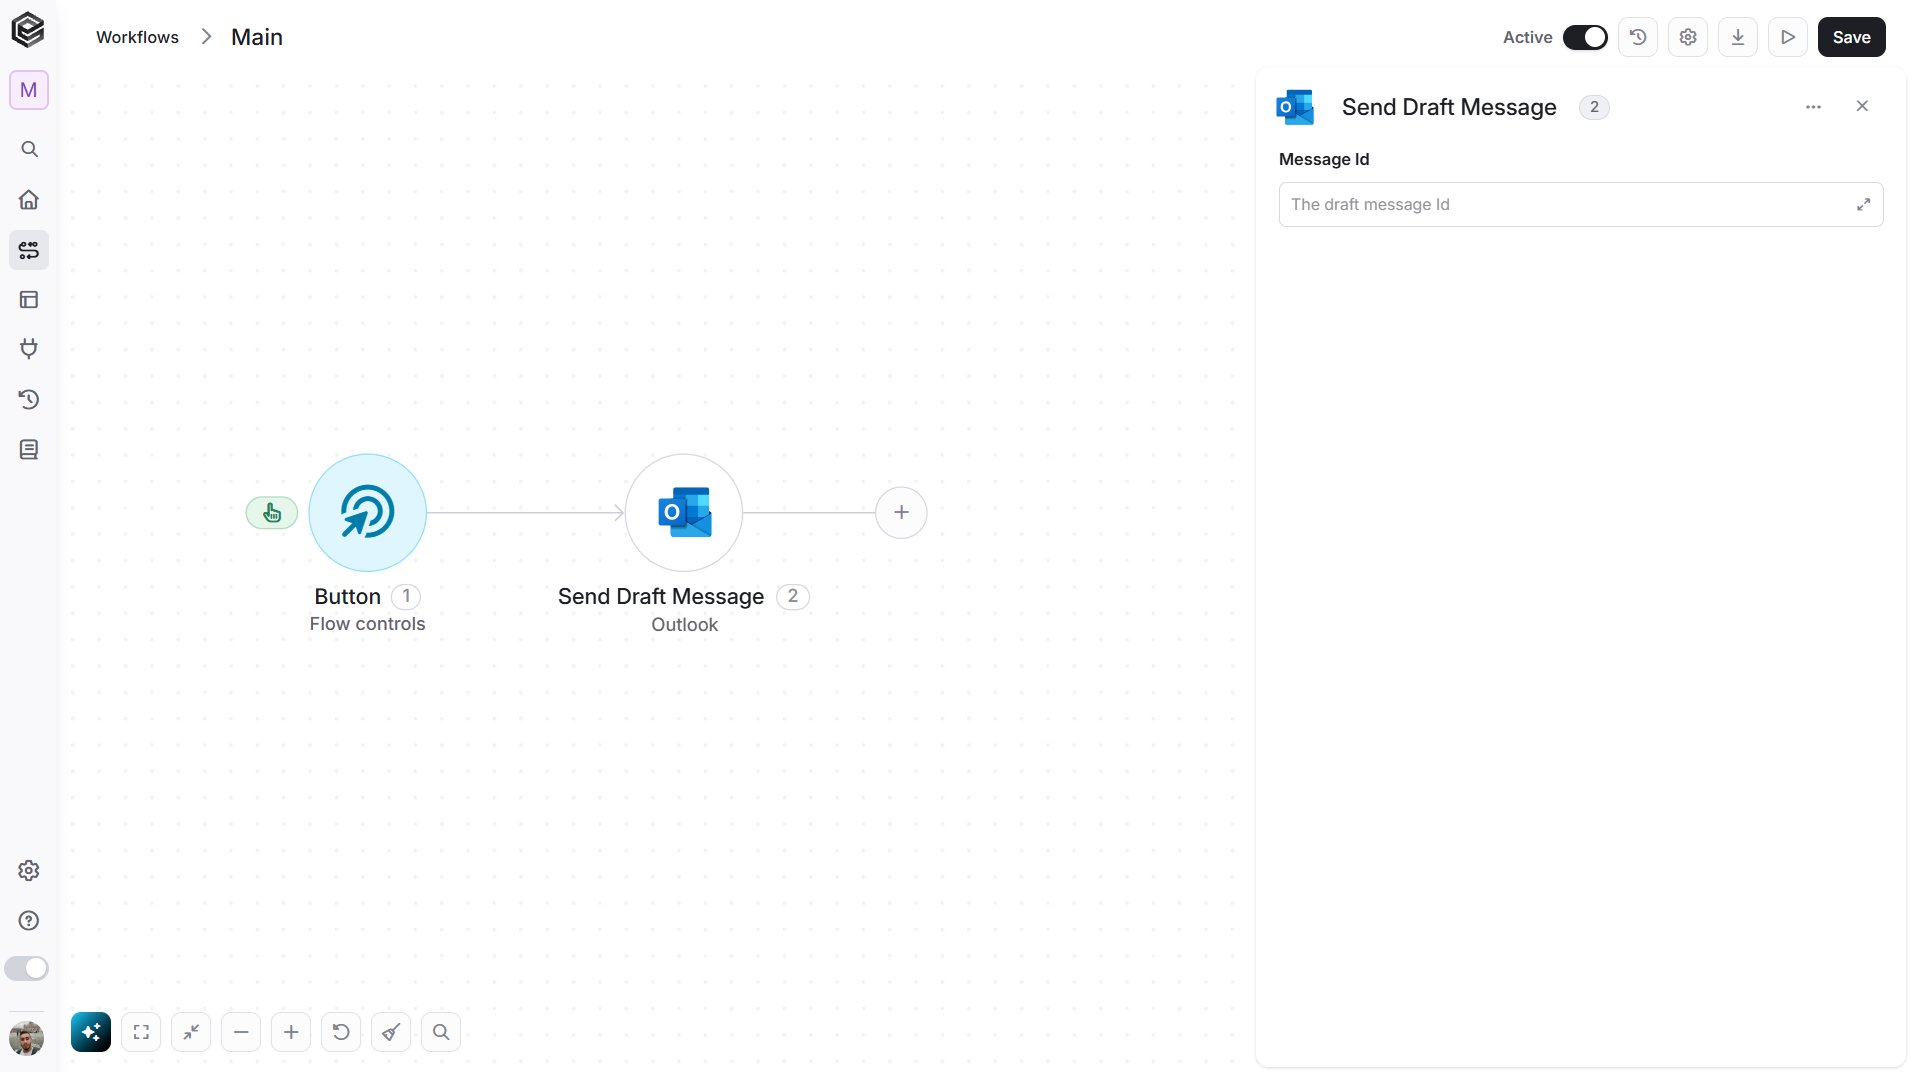
- Message Id - The unique identifier of the draft email. Map it from a previous Create Draft Message step.
Send Email
Sends an email from your Outlook mailbox.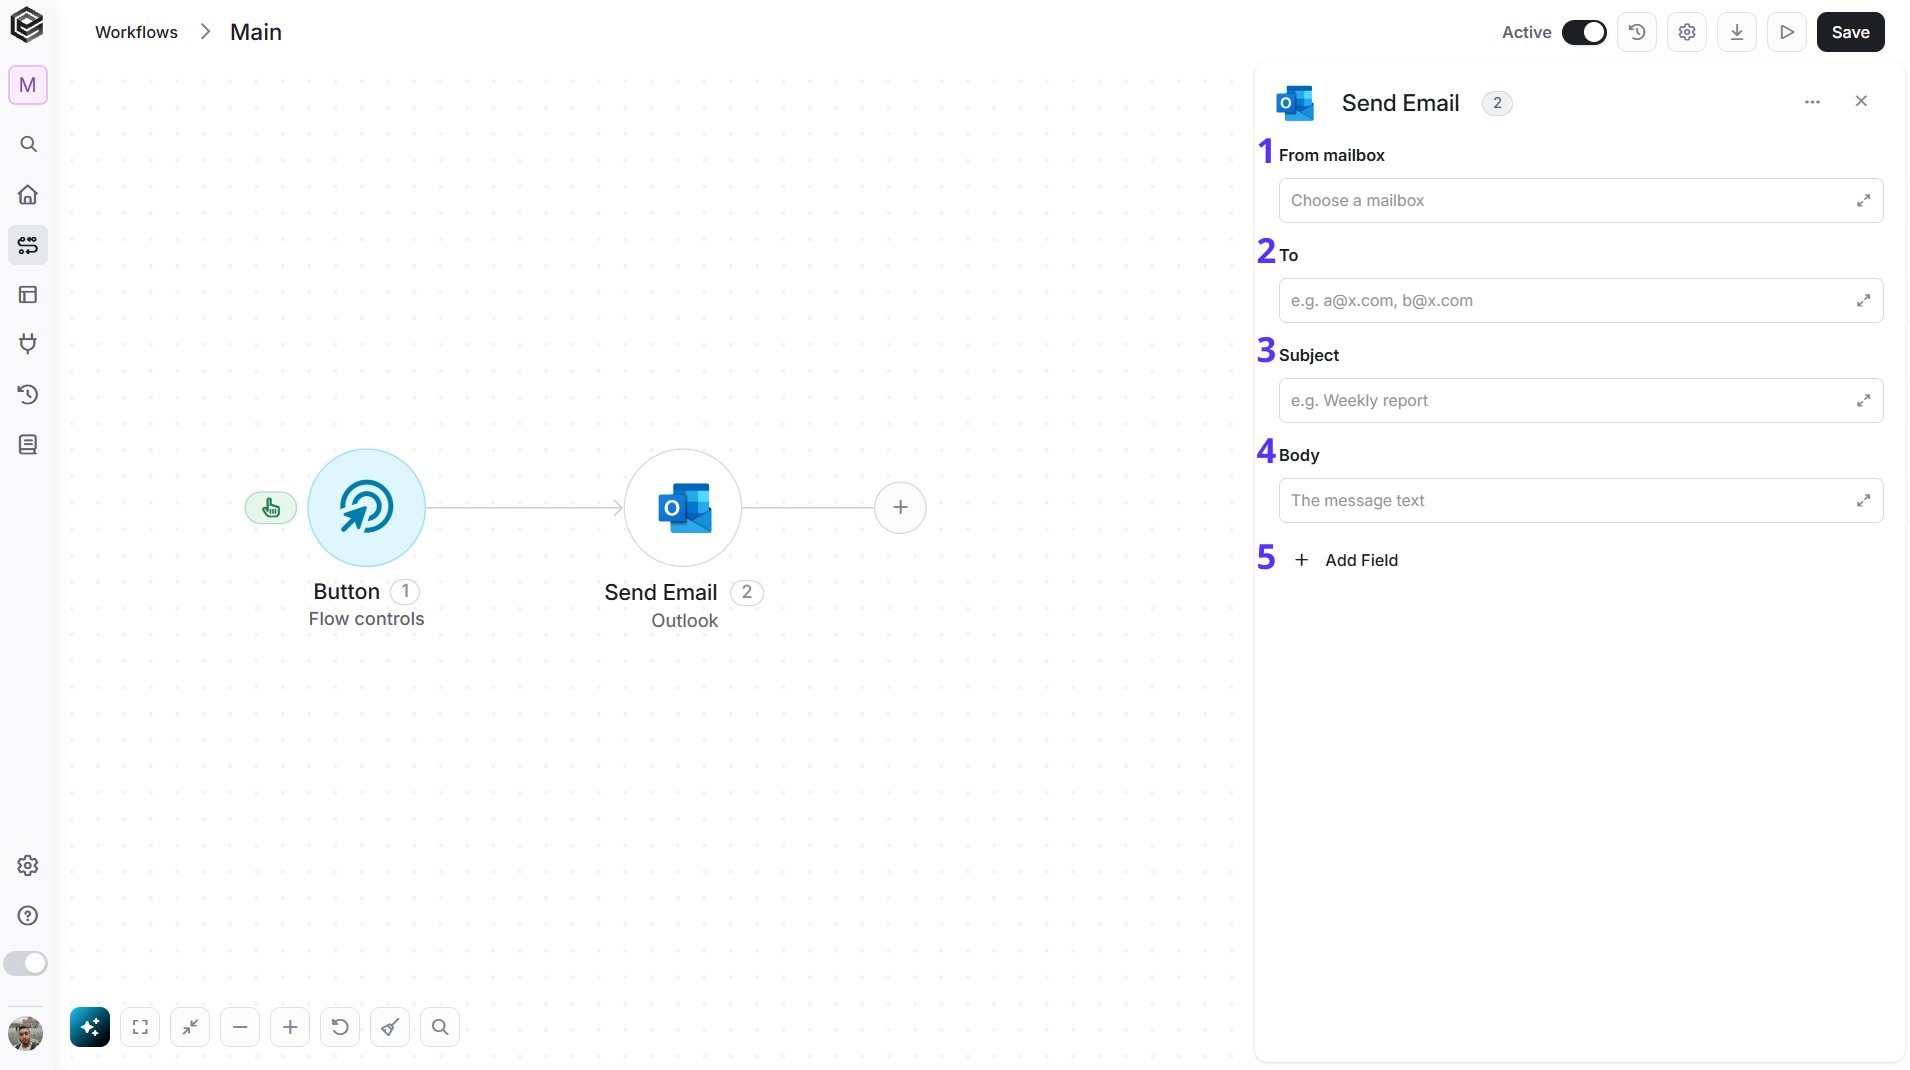
- From mailbox - The mailbox to send the email from. Leave it empty to send from the mailbox of the connected account, or enter the email address of a shared mailbox.
- To - The recipients’ email addresses, separated by commas (semicolons also work), for example
anna@example.com, ben@example.com. - Subject - The subject line of the email.
- Body - The content of the email. You can write plain text or HTML, for example
<p>Hello <b>Anna</b></p>. - Add Field - Click Add Field to add and populate additional fields for the selected activity. To learn more about managing activity data, click here.
- CC - Email addresses to copy on the email, separated by commas, for example
team@example.com, boss@example.com. - BCC - Email addresses to copy on the email without showing them to the other recipients, separated by commas.
- Attachments - The files attached to the email. Add one item per file and fill its File Name (with the extension, for example
invoice.pdf), Attachment Type and Content (the file content as Base64 text). To attach a list of files you built earlier, switch the field to raw input and map the list, for example one created with Initialize attachment array and Append to attachments array.
Send MIME Message
Sends an email you have already built as a complete MIME message, for example a message that is digitally signed (S/MIME) or that carries attachments. The whole message is passed to Outlook as one Base64-encoded text.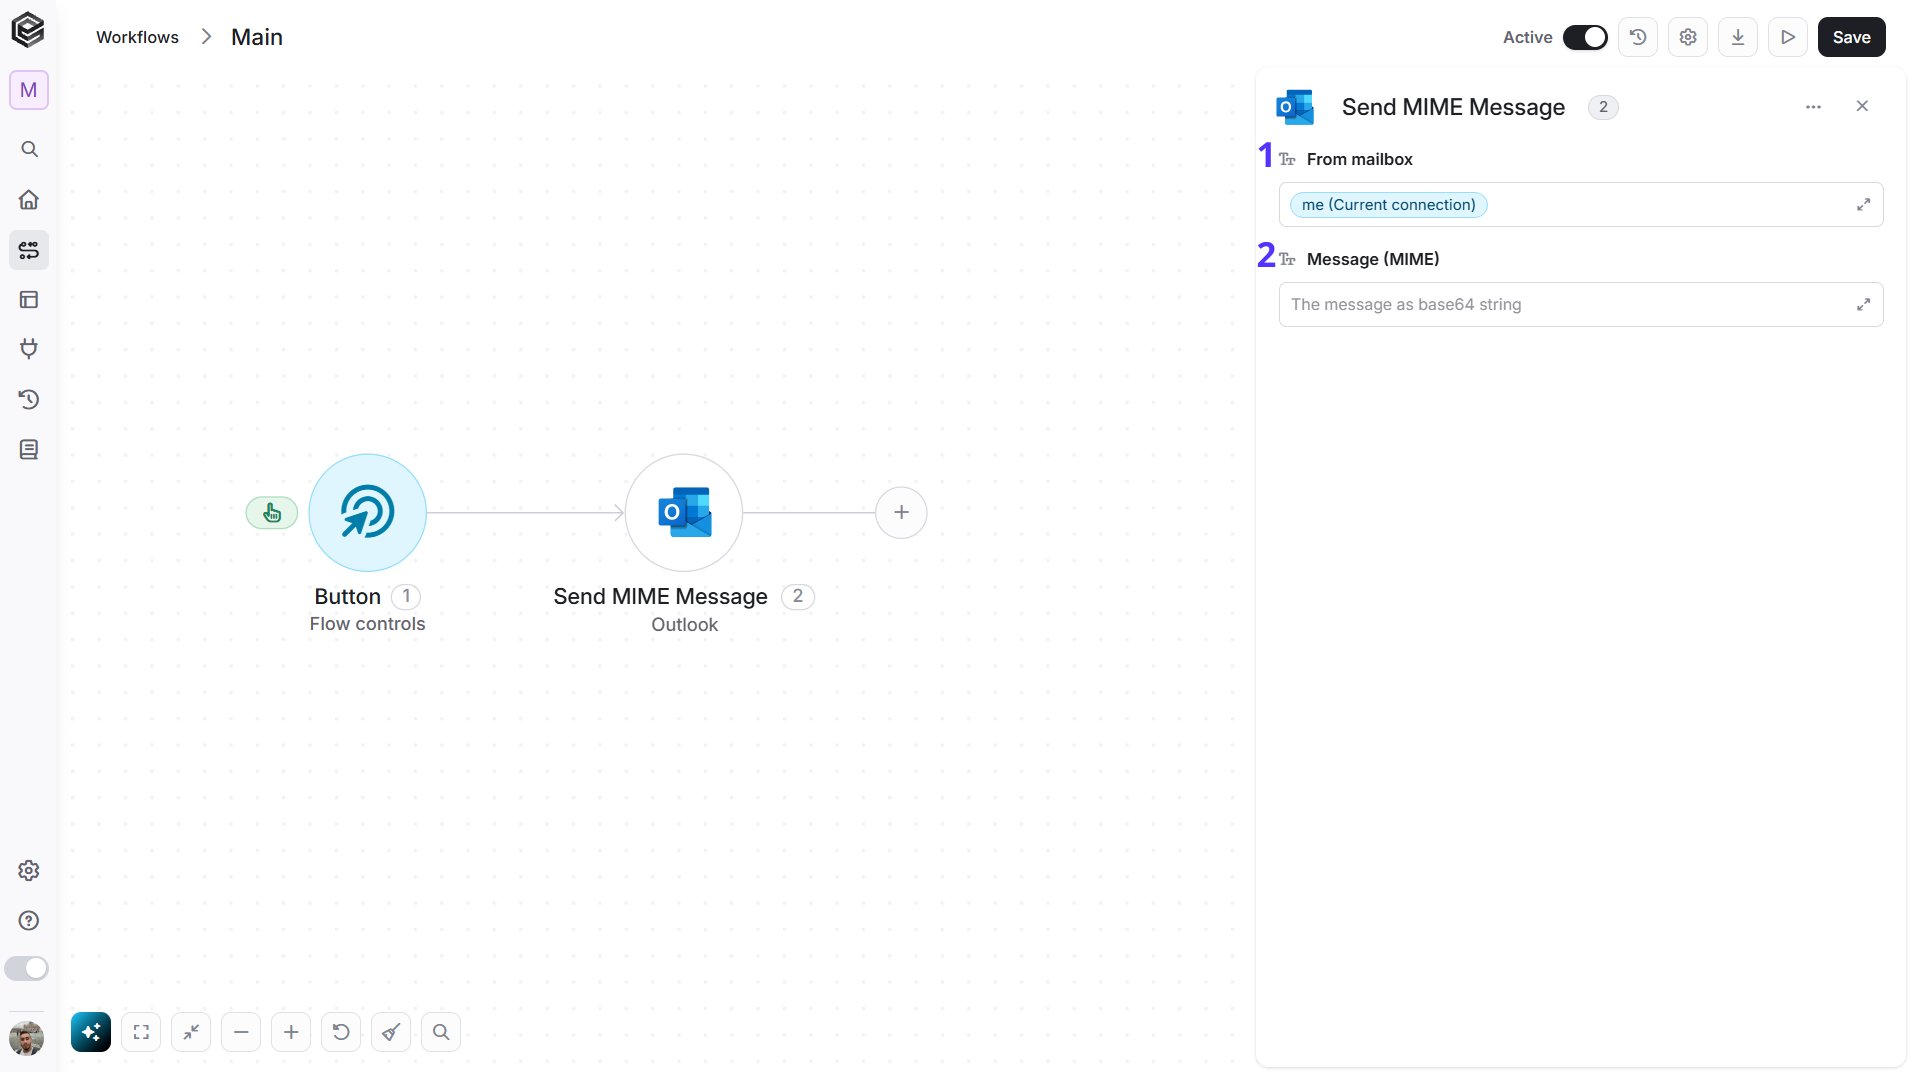
- From mailbox - The mailbox to send the message from. The default is
me (Current connection), your own mailbox. To send from a shared mailbox instead, choose it from the list. - Message (MIME) - The whole email as a Base64-encoded MIME message. It can carry the sender, the recipients, the subject, the body, S/MIME signing and attachments. Map it from an earlier step, for example a step that builds or reads the message file.
Update Contact
Changes the details of an existing contact.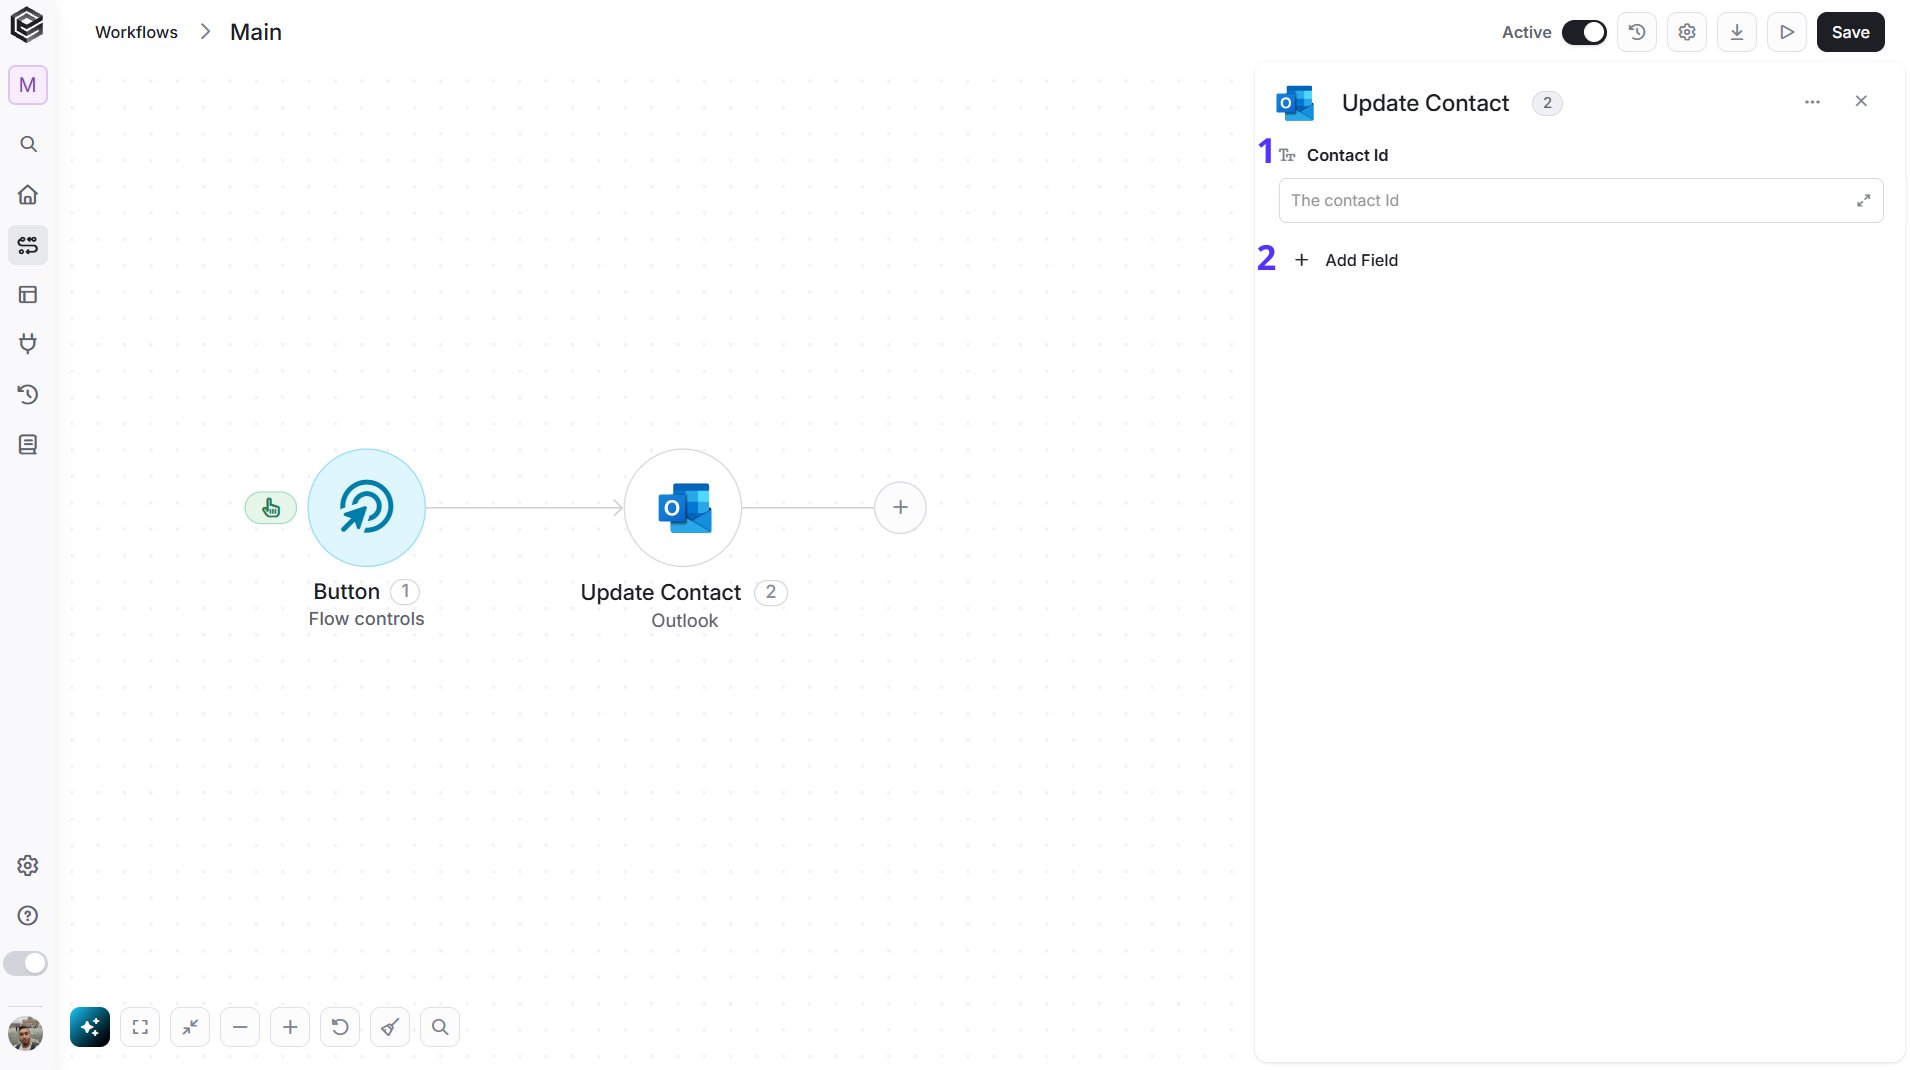
- Contact Id - The unique identifier of the contact you want to update. Map it from a previous step, for example a Get Contacts step.
- Add Field - Click Add Field to add and populate additional fields for the selected activity. To learn more about managing activity data, click here.
- First Name - The contact’s first name.
- Last Name - The contact’s last name.
- Display Name - The name shown in the contact list.
- Email Addresses - The contact’s email addresses. Add one item per address and fill its Email (for example
name@example.com) and Name (the name shown for this address), or switch the field to raw input with the code icon and map a whole list from an earlier step. - Business Phones - The contact’s work phone numbers, one entry per number.
- Mobile Phone - The contact’s mobile phone number, with the country code, for example
+1 555 0100. - Job Title - The contact’s role at the company.
- Company - The company the contact works for.
- Department - The contact’s department at the company.
Update Event
Changes an existing event in a calendar.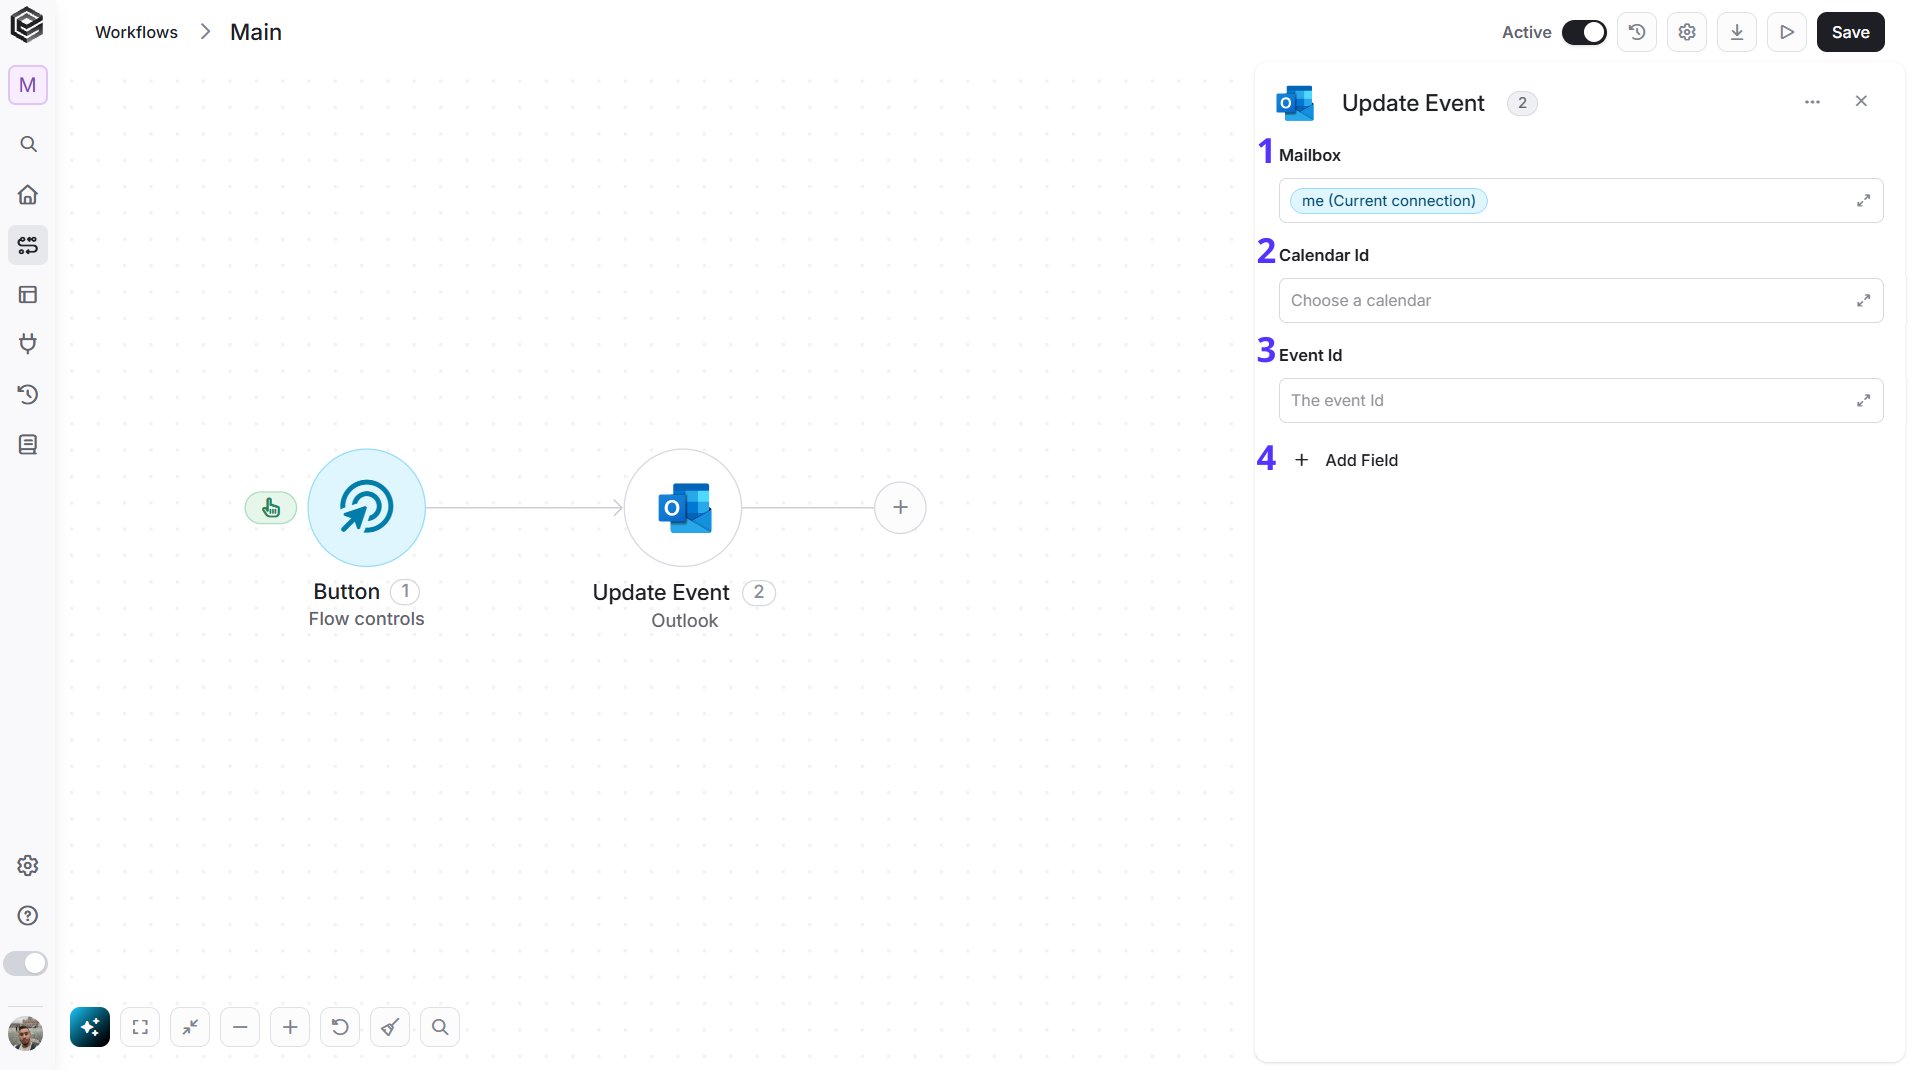
- Mailbox - The mailbox that owns the calendar. The default is
me, the mailbox of the connected account. To use a shared mailbox, enter its email address. - Calendar Id - The unique identifier of the calendar that contains the event.
- Event Id - The unique identifier of the event you want to update.
- Add Field - Click Add Field to add and populate additional fields for the selected activity. To learn more about managing activity data, click here.
- Subject - The title of the event.
- Start time - The new start date and time of the event, written like
2026-10-31T14:00:00, without a time zone. Set the time zone in Time Zone. - End time - The new end date and time of the event, written like
2026-10-31T15:00:00, without a time zone. - Time Zone - The time zone of the start and end times. Pick one from the list or type a time zone name.
- Body - The description of the event. You can write plain text or HTML.
- Location - Where the event takes place.
- Required attendees - The attendees who must attend, as email addresses separated by commas, for example
anna@example.com, ben@example.com. - Optional attendees - The attendees who are invited but not required, as email addresses separated by commas.
- Categories - The Outlook categories assigned to the event, as category names separated by commas.
- Importance - The importance of the event.
- Sensitivity - The sensitivity of the event.
- Show As - How the event shows in your calendar, for example Busy or Free.
- Reminder Minutes Before Start - How many minutes before the start the reminder appears, as a whole number, for example
15. - Is Reminder On? - Whether a reminder is set.
- Is All Day? - Whether the event lasts all day.
- Response Requested? - Whether attendees are asked to respond.
- Is Online Meeting? - Whether the event is an online meeting.
- Allow New Time Proposals - Whether attendees can propose a new time.
- Is Draft? - Whether the event is a draft.
- Hide Attendees? - Whether attendees are hidden from each other.
Update Message
Changes an existing email, for example a draft before you send it.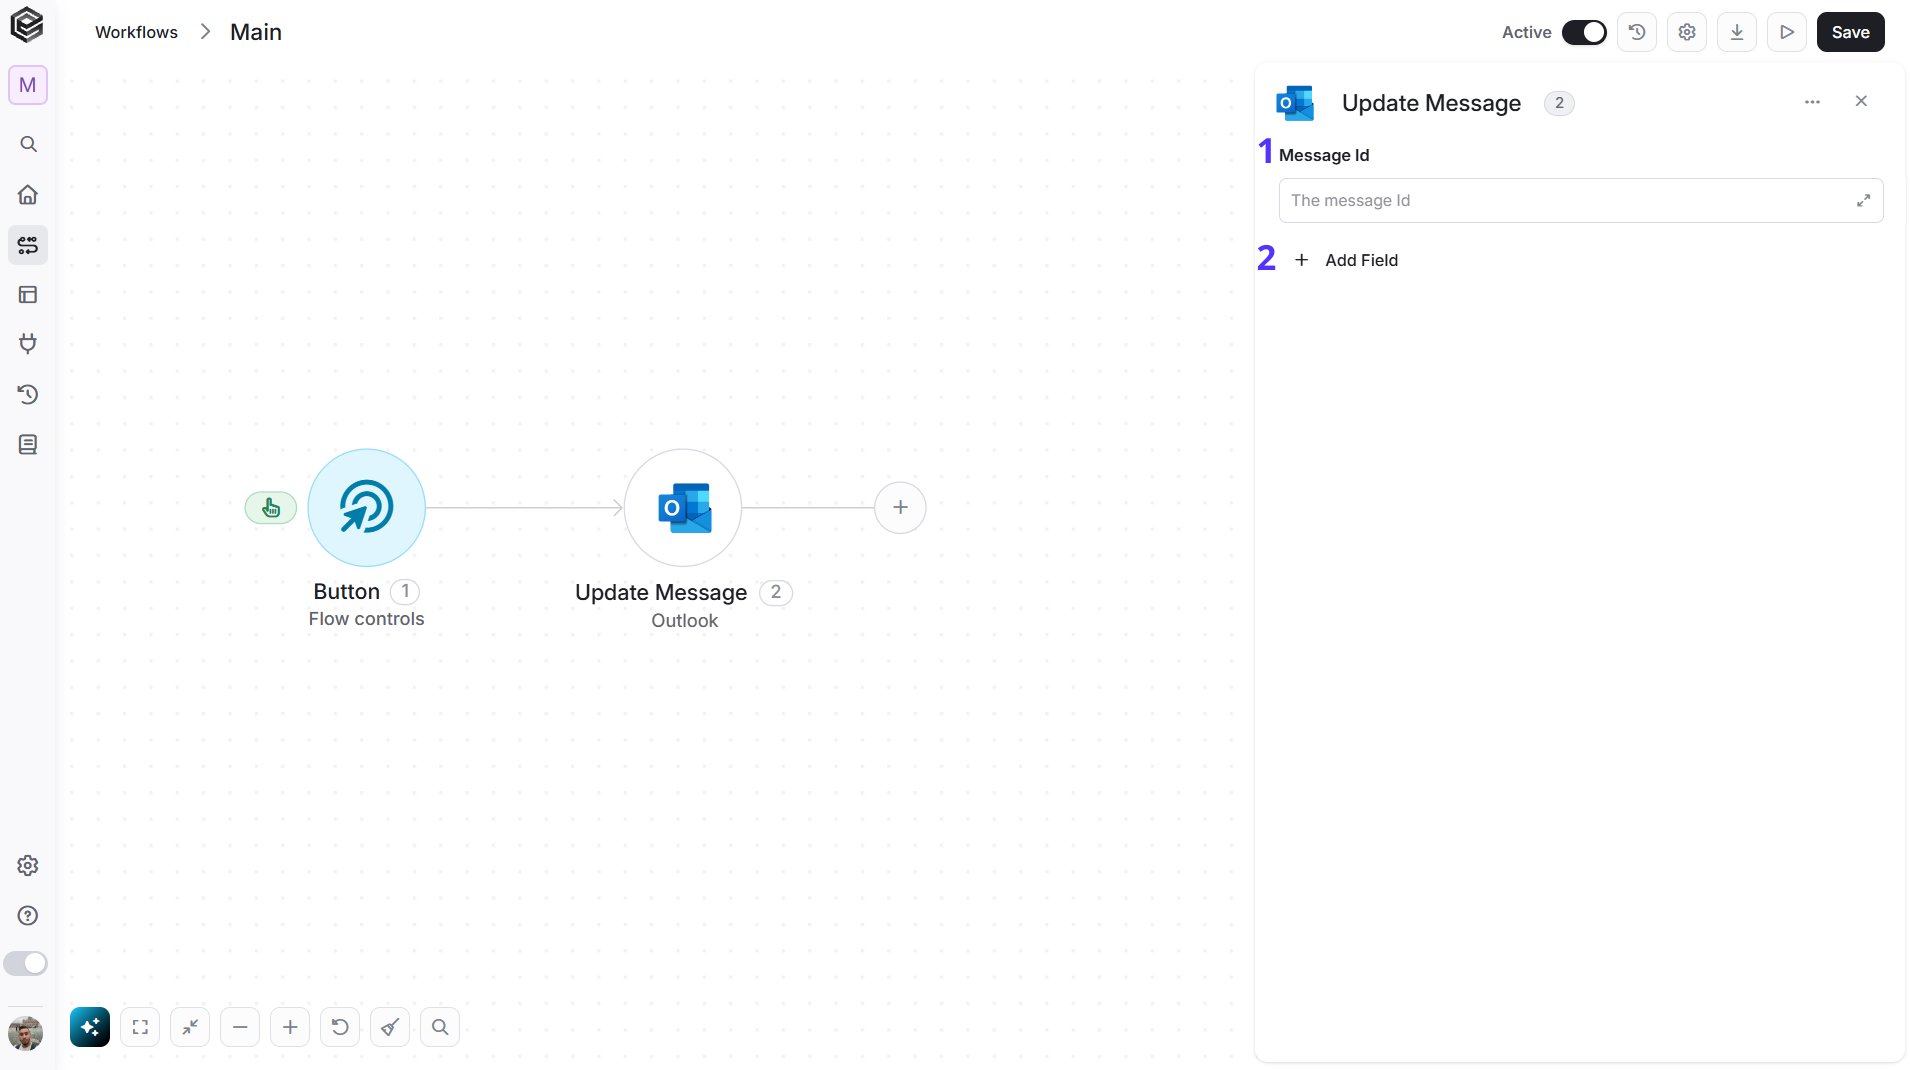
- Message Id - The unique identifier of the email you want to update.
- Add Field - Click Add Field to add and populate additional fields for the selected activity. To learn more about managing activity data, click here.
- Subject - The new subject line of the email.
- Body - The new content of the email. You can write plain text or HTML.
- To Recipients - The people the email is addressed to. Each item is an Email Address group that holds an Email Address (required, placeholder
name@example.com) and a Name (placeholderName shown to the recipient). - Cc Recipients - The people to copy on the email. Each item is filled in like an item of To Recipients.
- BCC Recipients - The people to copy on the email without showing them to the other recipients. Each item is filled in like an item of To Recipients.
- Reply To - The addresses replies should go to. Each item is filled in like an item of To Recipients.
- Categories - The Outlook categories assigned to the email, as a list of category names.
- Importance - The importance of the email: Low, normal or high.
- Is Read - Whether the email is marked as read.
- Is Delivery Receipt Requested - Whether a delivery receipt is requested.
- Is Read Receipt Requested - Whether a read receipt is requested.
- Inference Classification - Whether Outlook ranks the email as Focused or Other.
- Internet Message Id - The message Id from the email’s internet headers.
- Flag Status - The follow-up flag status of the email:
notFlagged,flaggedorcomplete. - Flag Date Time - The date and time of the follow-up flag, written like
2026-10-31T14:00:00, without a time zone. Set the time zone in Flag Time Zone. - Flag Time Zone - The time zone of the follow-up flag date and time, as a time zone name, for example
UTC.
- Add items one by one - Click the add button below the list. Each item opens its own fields (for a recipient, an Email Address group with Email Address and Name). Click the add button again for every further entry, and use the trash icon to remove one.
- Map a whole list - Switch the field to raw input with the code icon, then map a list that an earlier step produced, for example one built with Initialize Object Array and Append to Object Array. Use the list icon to switch back to the item fields.
Initialize attachment array
Creates a list variable that holds files, so you can collect several files in one place.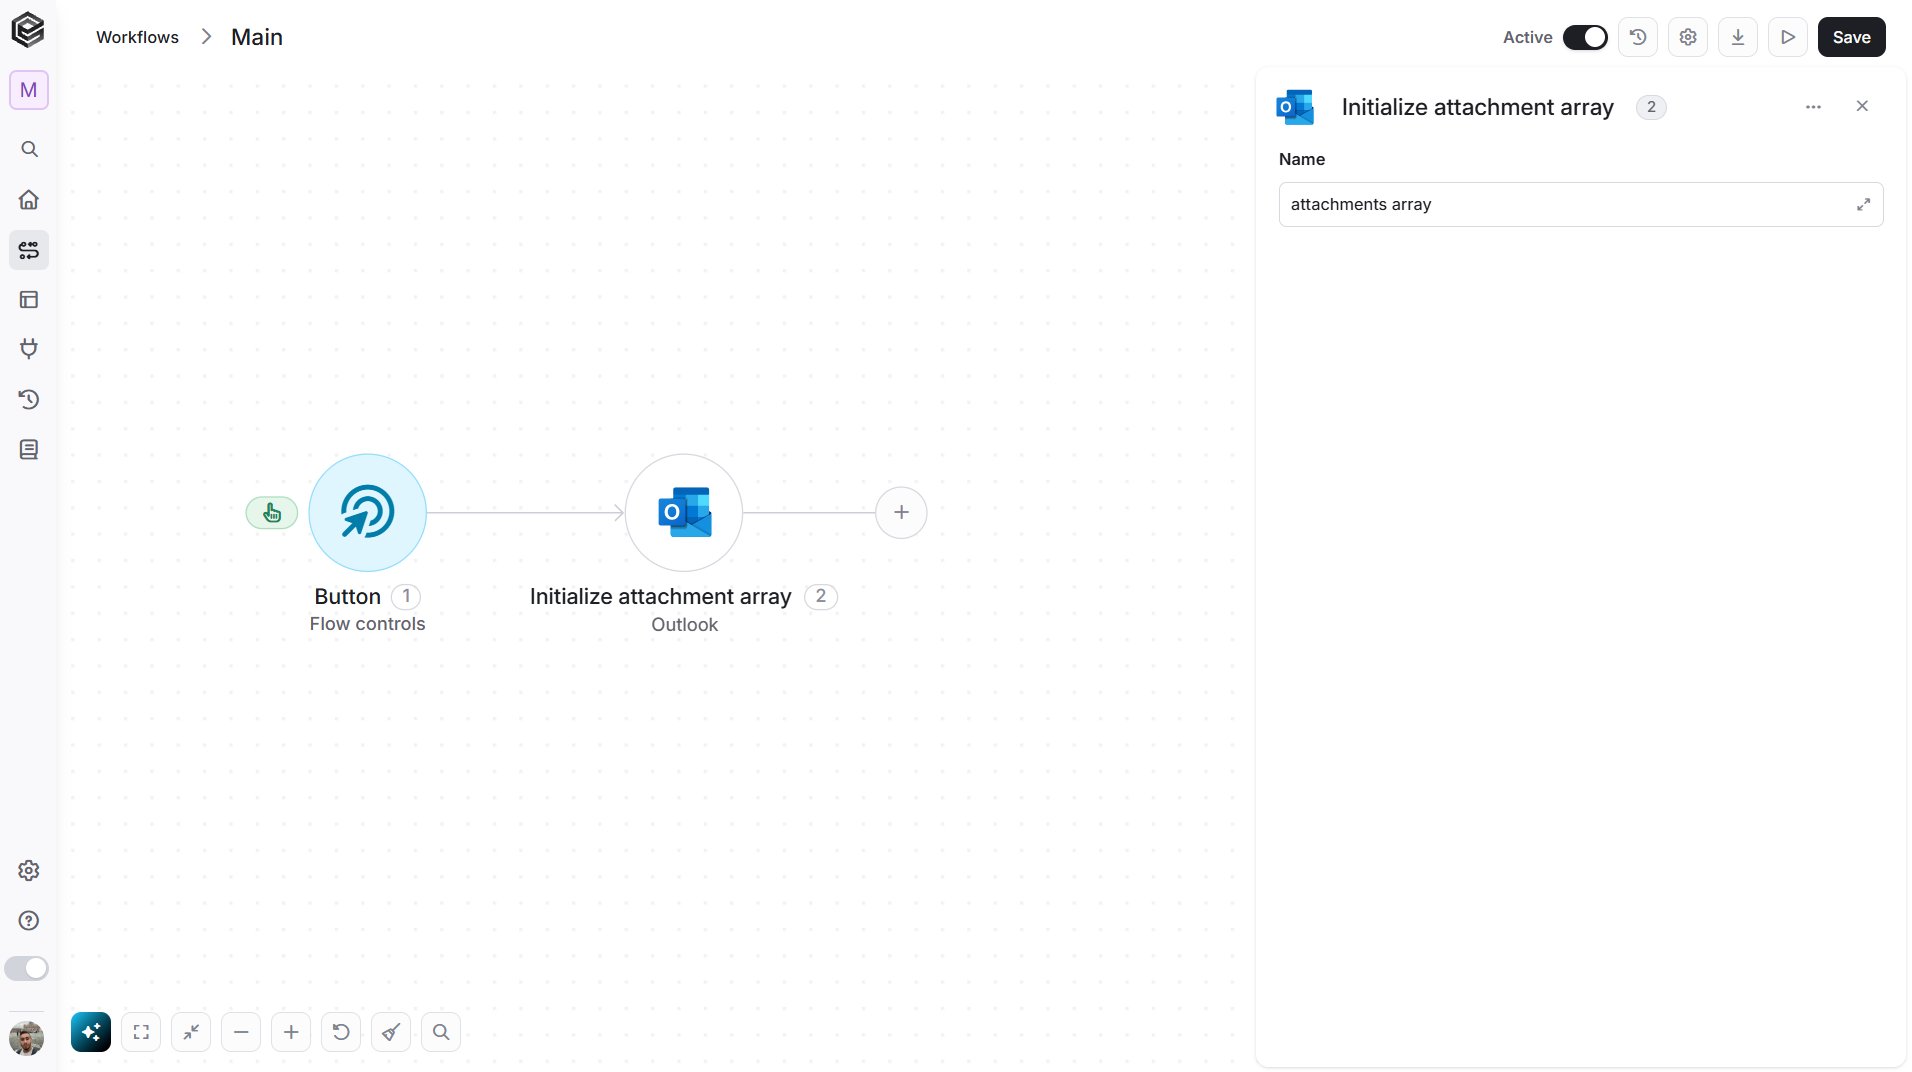
- Name - The name of the list. Use this name when you add files to it with Append to attachments array.
Append to attachments array
Adds a file to a list created with Initialize attachment array.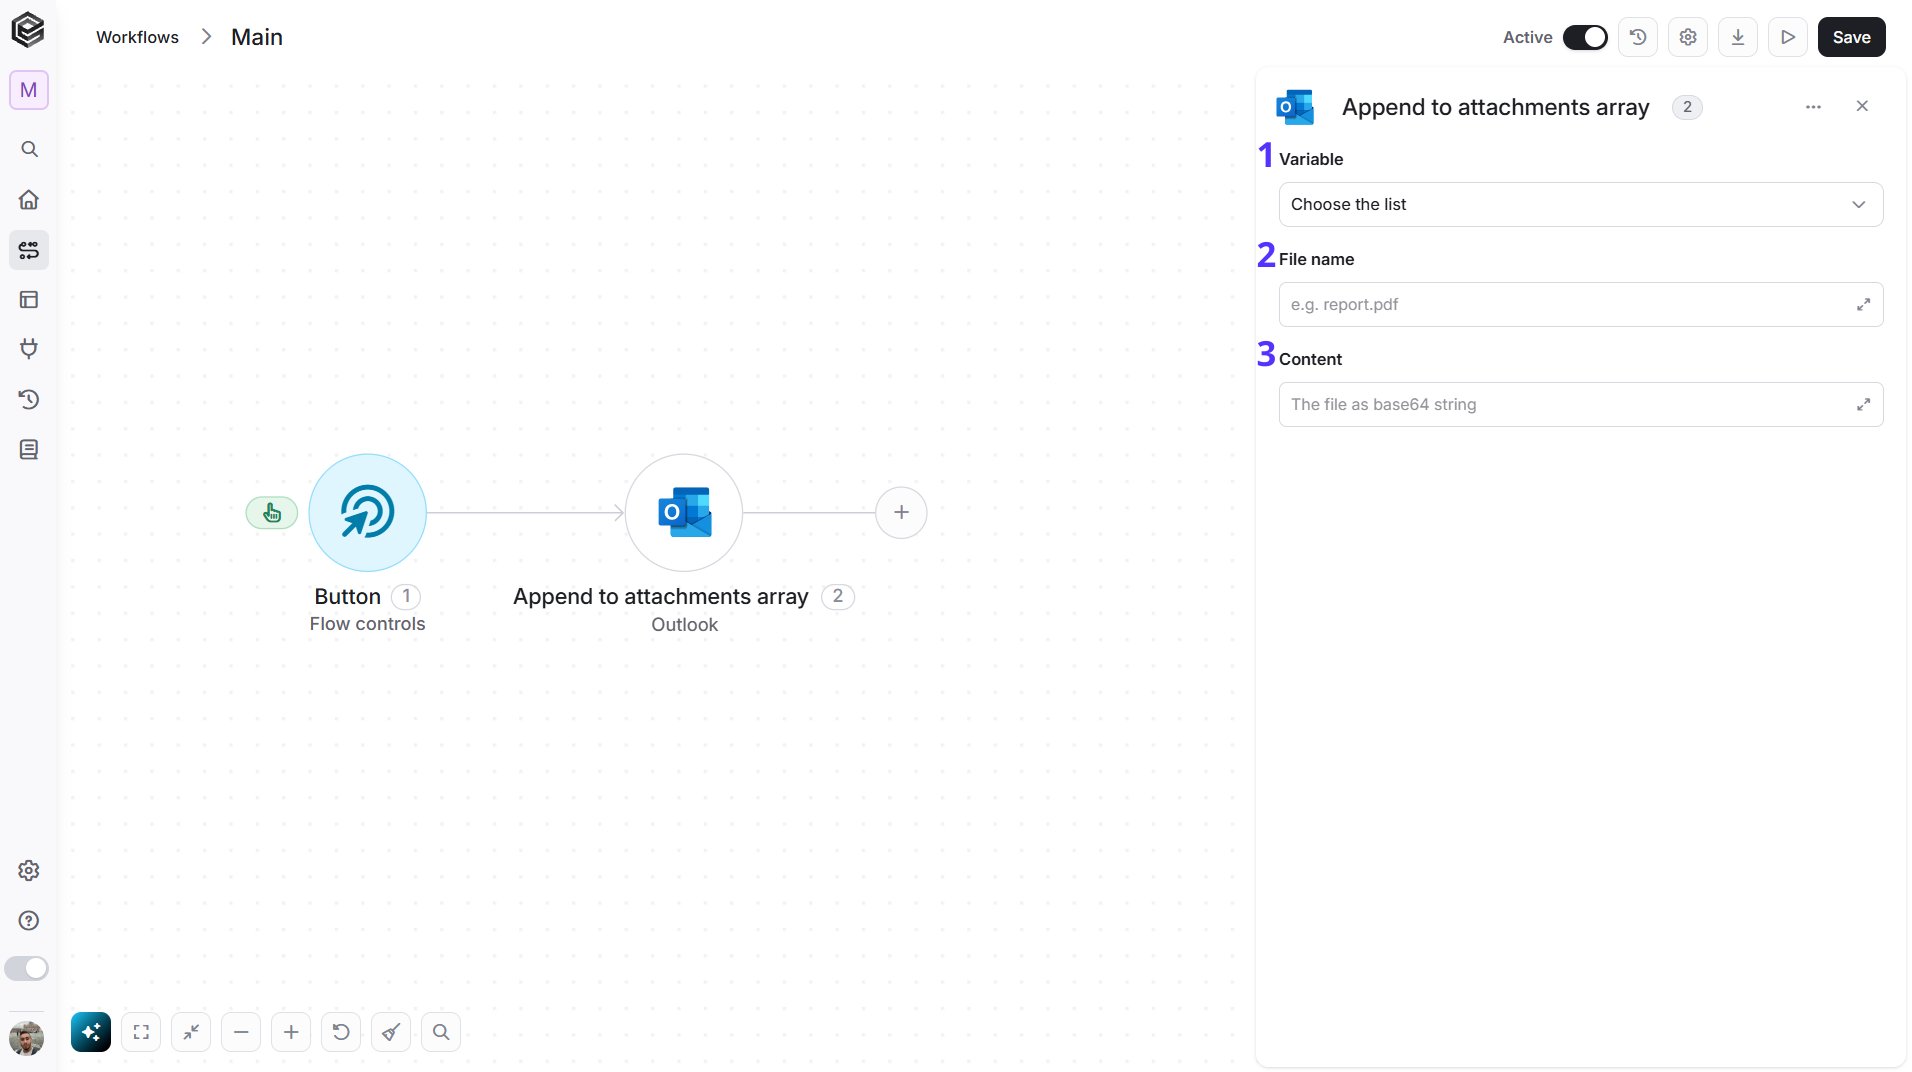
- Variable - Select the list you want to add the file to. The list must already be initialized.
- File name - The name of the file, including its extension.
- Content - The content of the file as Base64 text.
Initialize Object Array
Creates a new object array variable in your workflow to store structured Outlook data for use in later steps.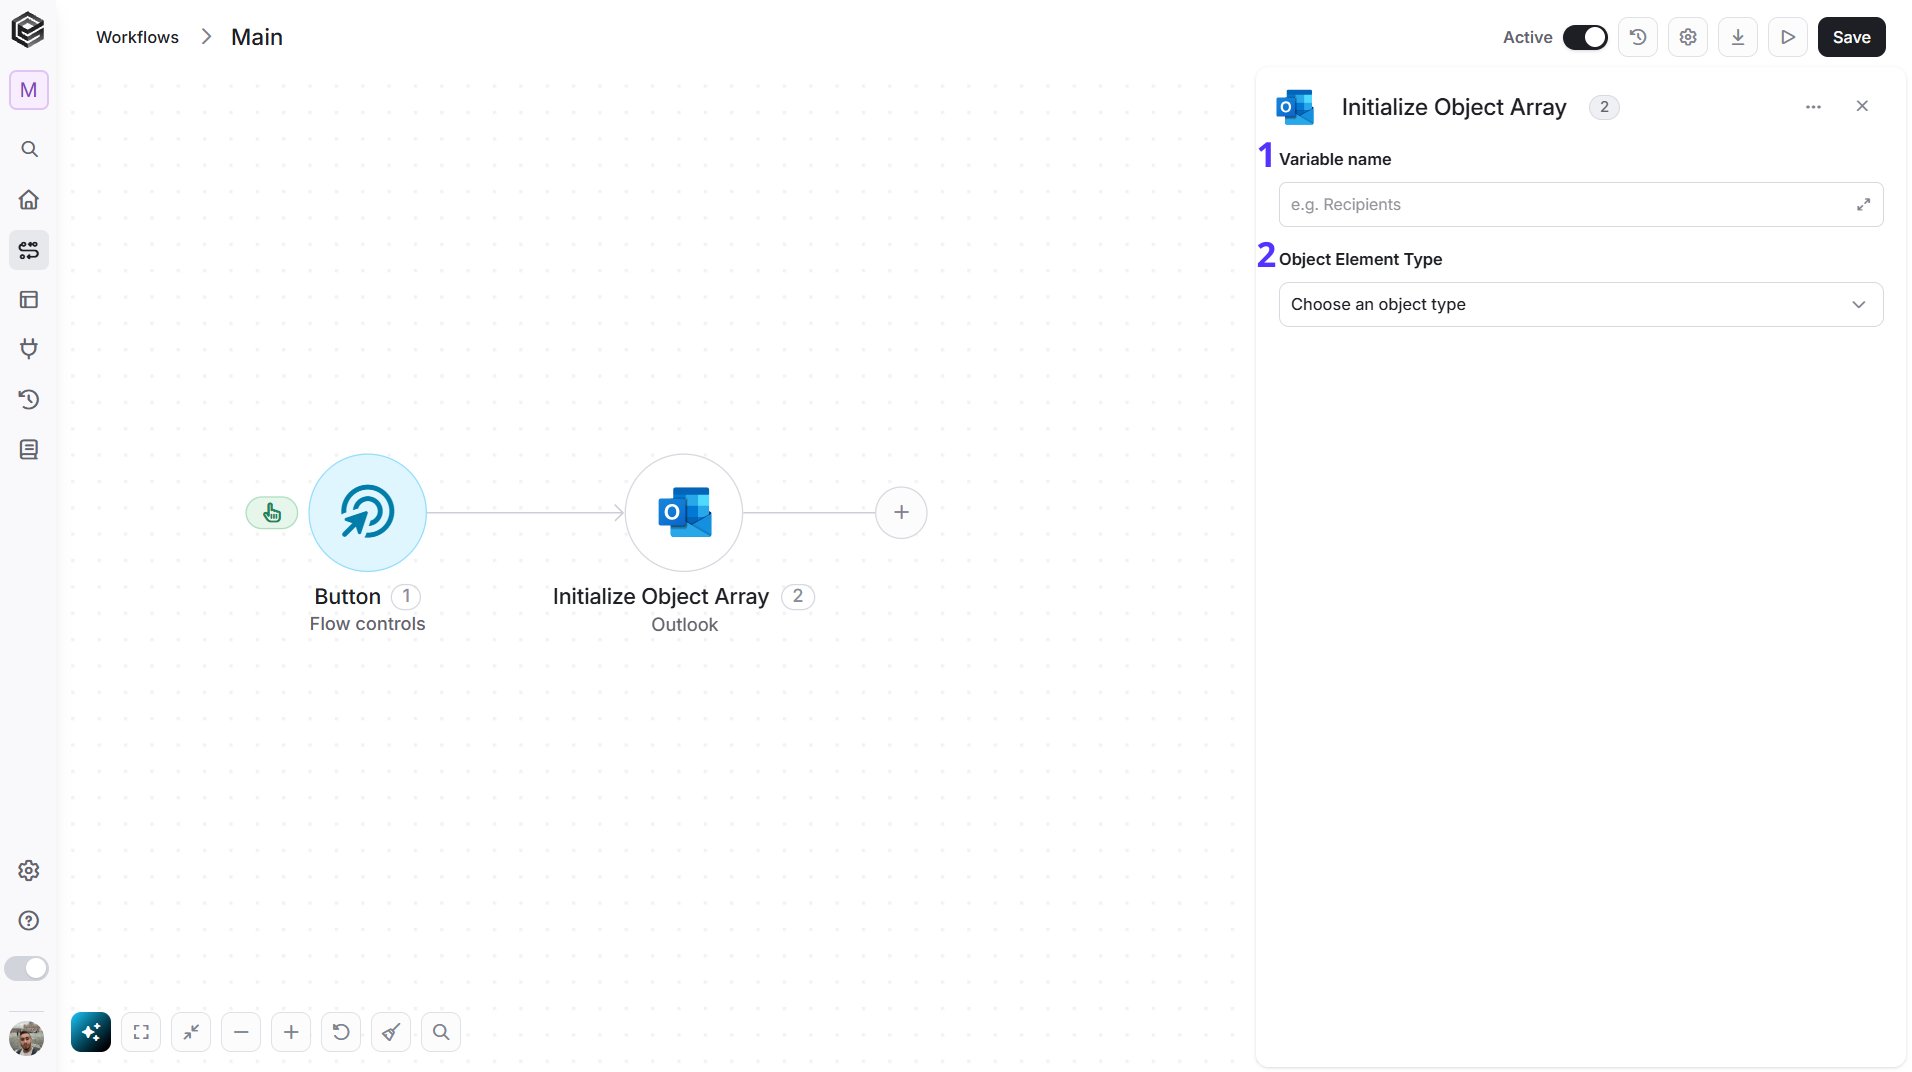
- Variable name - Enter the name of the variable that will hold the object array. This name will be used throughout the workflow whenever you refer to this object array.
- Object Element Type - Select the type of object the array will store. The selected type determines the structure of the array and opens its fields so you can fill in the values for the first entry.
Append to Object Array
Adds a new entry to an existing object array variable in your workflow.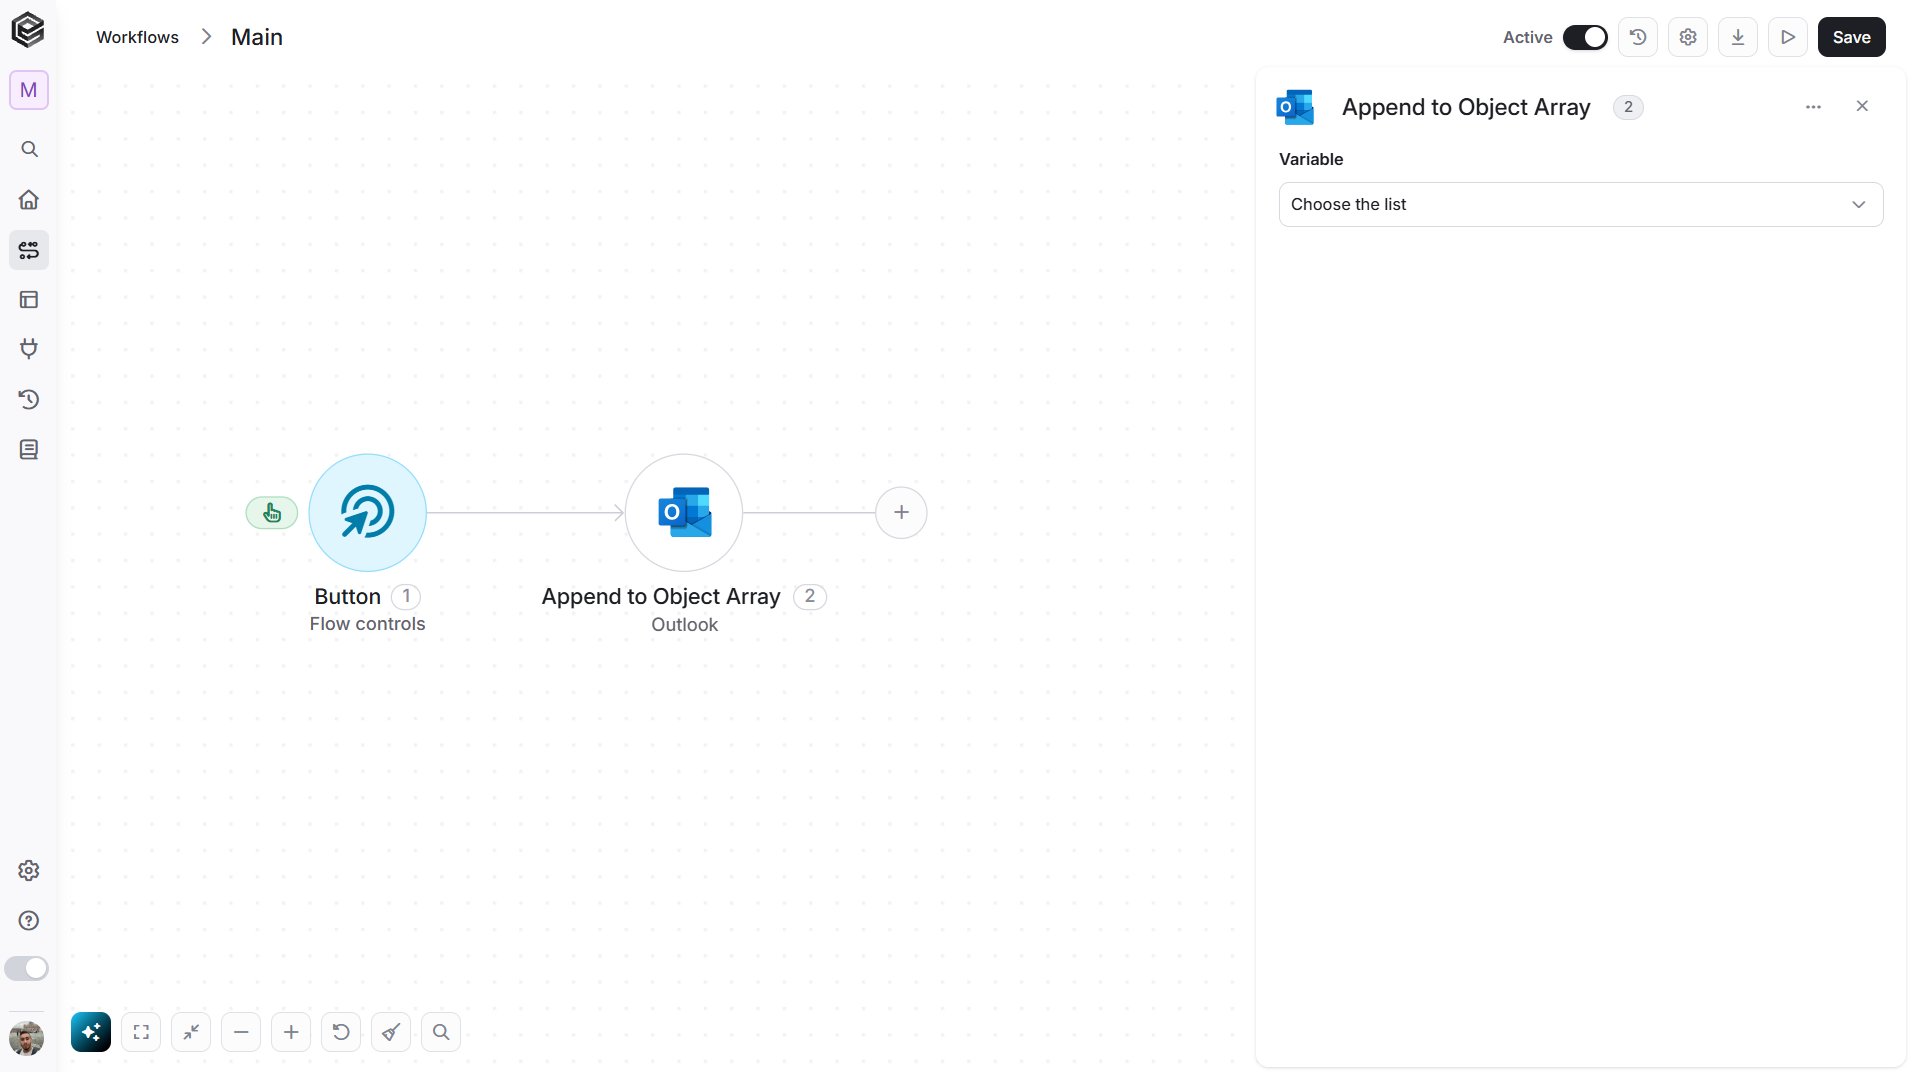
- Variable - Select the object array variable you want to append to. This must be an already initialized object array.
Map Object Array
Transforms a list of data into a structured object array that can be used later in the workflow. It iterates over each item in the selected data list and maps it into a structured entry.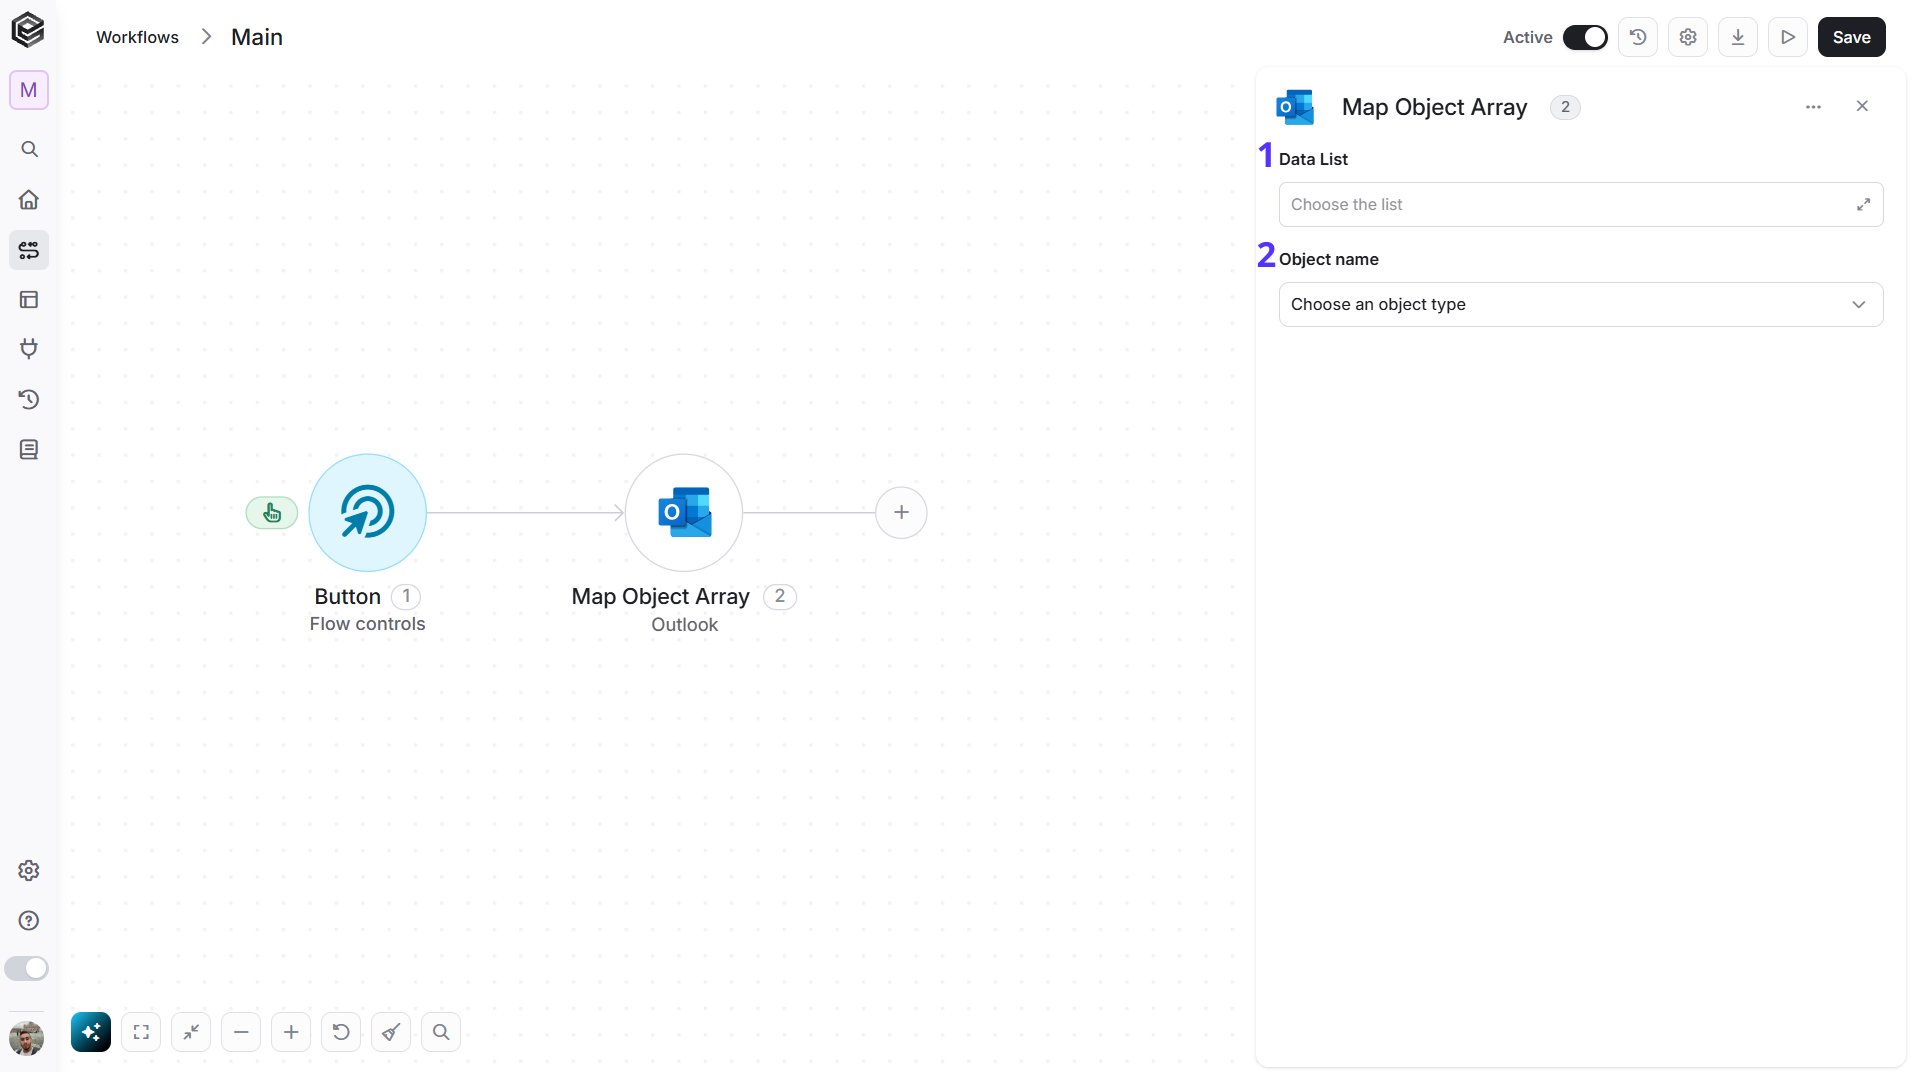
- Data List - Select or map the array or list of data you want to iterate over and transform.
- Object name - Select, from the list, the object that each item is mapped into.
Send API Request
This activity allows you to send a custom API request directly to Outlook’s API.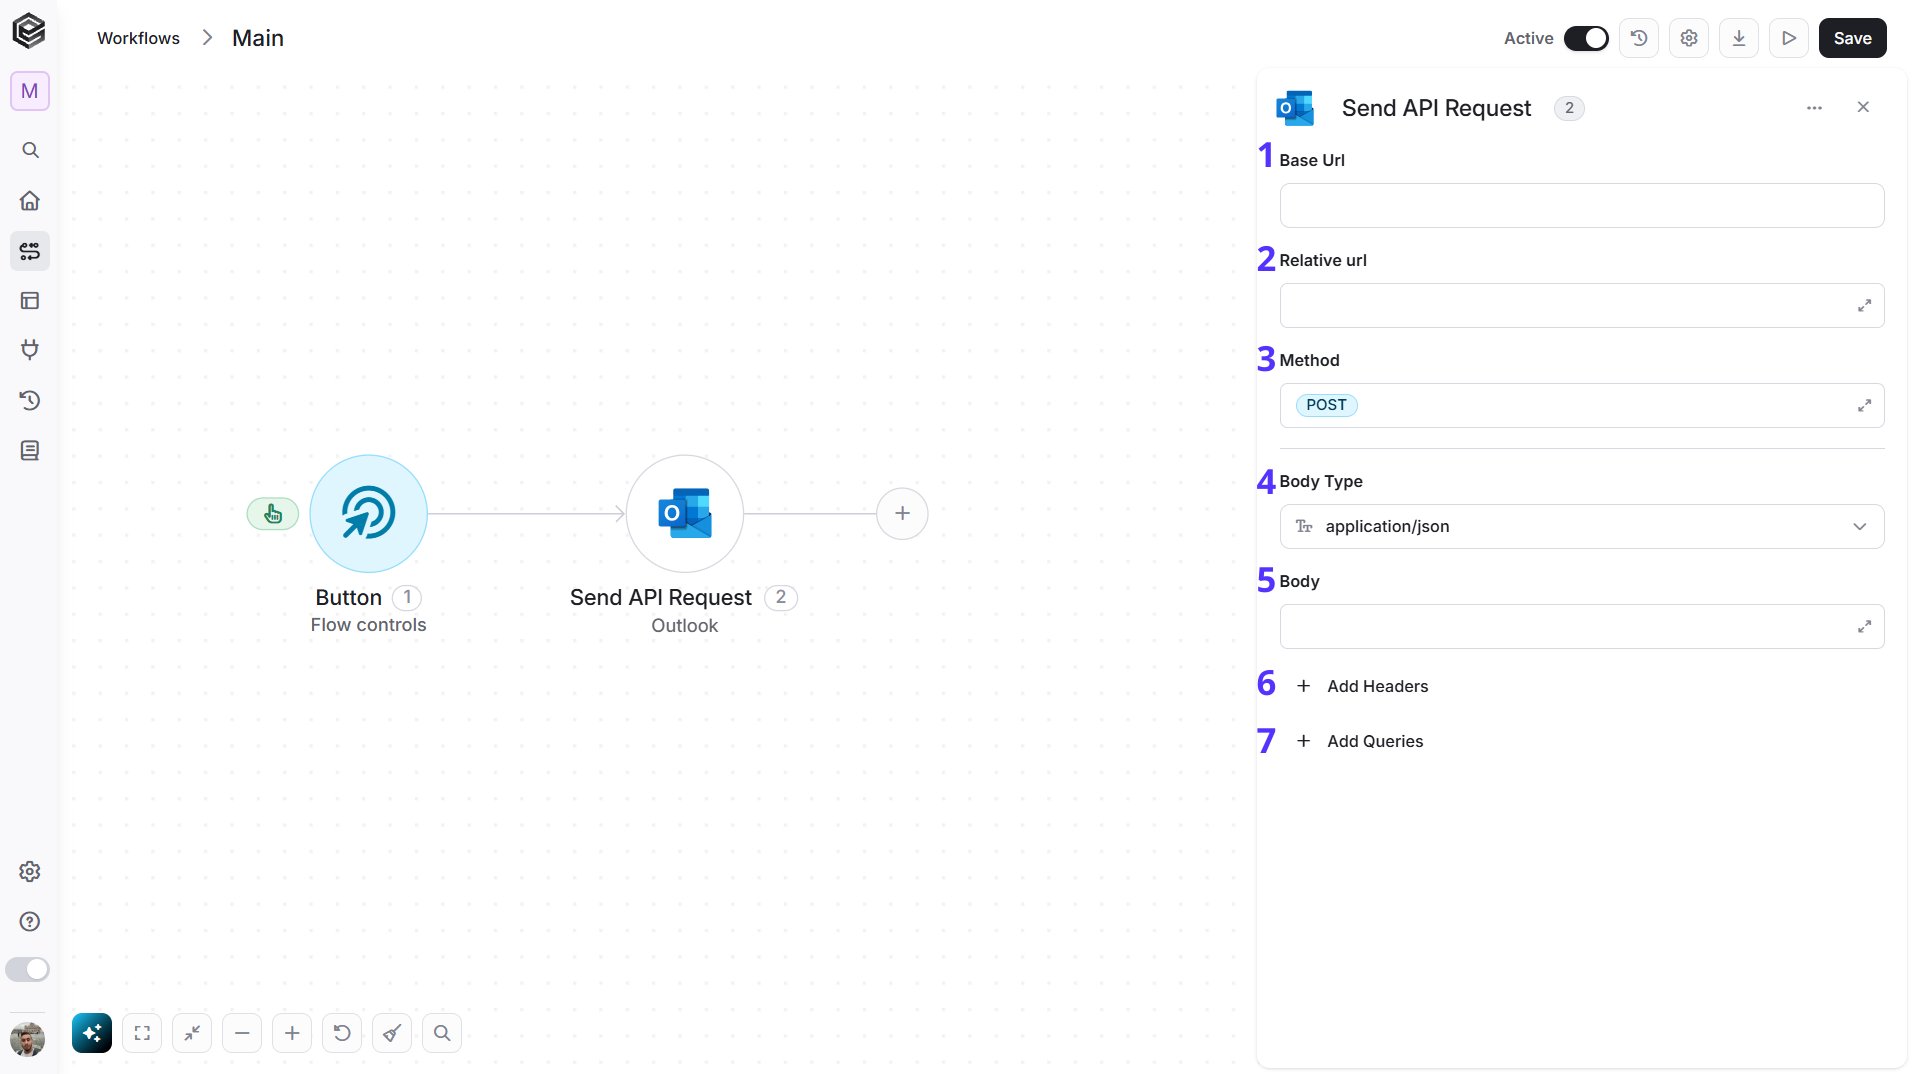
- Base Url - The root URL of the Outlook API. It is filled in from your Outlook connection and can’t be edited here.
- Relative url - You can specify additional path segments or parameters that need to be added to the end of the Base Url. This allows you to customize the specific request you want to perform.
- Method - Select the HTTP method (e.g., Get, Post, Put, Delete, Patch). The default is POST.
- Body Type - Defines the format of the data in the body of your request. The default, application/json, means the body contains a JSON-formatted payload.
- application/json – Sends the request body in JSON format. Commonly used by REST APIs.
- Custom (use Content-Type header) – Allows you to define a custom body format by manually setting the Content-Type header. Add a
Content-Typerow in Add Headers with the media type you need (for exampleapplication/xml). With any other Body Type, a Content-Type you type in Add Headers is not sent; Engini sets it from the Body Type. - application/x-www-form-urlencoded – Sends the body as URL-encoded key-value pairs, commonly used in form submissions.
- file – Sends a file as the request body.
- multipart/form-data – Sends form data that may include both text fields and files.
- text/html – Sends the request body as HTML content.
- text/plain – Sends the request body as plain text.
- text/xml – Sends the request body in XML format.
- Body - Contains any data that is being sent to the server.
- Add Headers - Additional metadata about the request, such as the type of data Engini can accept, the length of the request body, and authentication information.
- Add Queries - The query refers to the parameters or data that are included in the URL of an HTTP request to provide additional information or instructions to the server.