

Getting Started with OpenAI
Prerequisites
- An OpenAI account.
- Active access token.
Retrieve your OpenAI access token
- Create an OpenAI Account - Once you have an account, log in to the OpenAI platform.
- Log in to OpenAI - Once you have an account, log in to the OpenAI platform.
-
Navigate to the API Key Section
- After logging in, go to the API Keys section in your OpenAI account. This is typically found under the dashboard or settings menu.
- You will see an option to create a new API key. Click on it.
-
Generate an API Key

- Once you click to create a new API key, a key will be generated. This key is your access token.
- Copy the API key. Make sure to store it securely, as it provides access to your OpenAI resources.
- Use the Access Token - In your application or script, you’ll use this API key as the Authorization header in your HTTP requests to authenticate with OpenAI’s API.
- Managing API Keys - You can manage, regenerate, or delete API keys from the same section in your OpenAI account. If your API key is compromised, regenerate it immediately.
Connecting Engini to OpenAI
- Enter your Engini account at https://app.engini.io.
-
Navigate to the Connections page by clicking on Connections in the left sidebar or by clicking here.

-
Click on the “New Integration” option located at the top bar.

-
Choose the OpenAI option from the available applications.

-
Enter the following details in the “New Integration” form and press Save:

- Connection name - Enter a unique and descriptive name for this connection. This name will help you identify and manage the connection in your Engini account. “MS SQL” by default.
- Token – Enter the access token you obtained from OpenAI.
- Save Settings - Click on the save button to save your connection.
Triggers
The trigger is executed automatically in response to a specific event. Every workflow must start with a trigger. You can use the “Check for batches” trigger to initiate your workflow.Check for batches
This trigger will check the batch processing logs in OpenAI.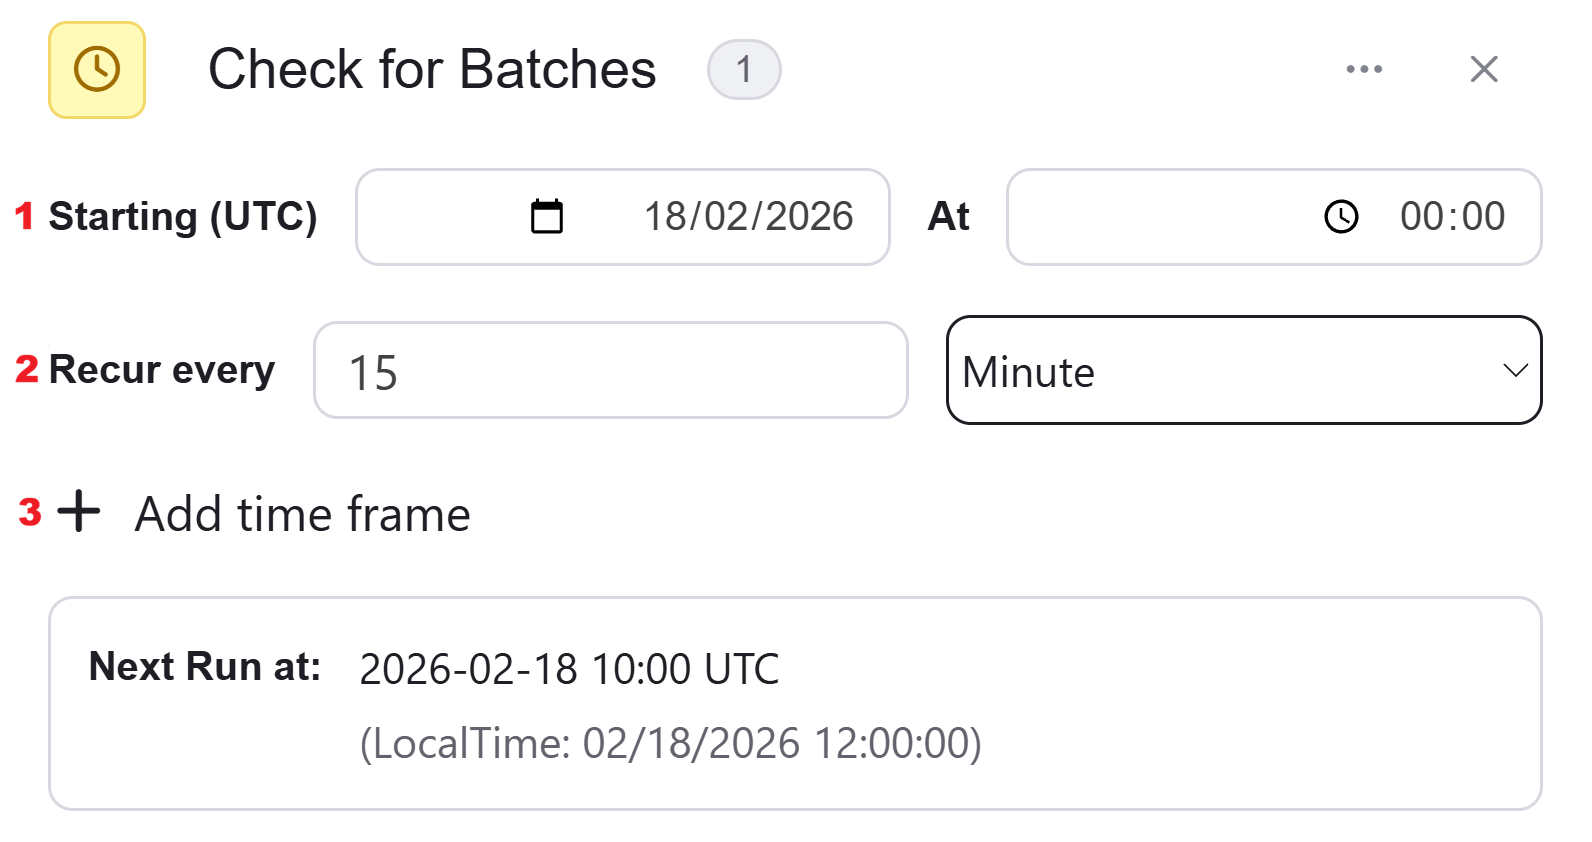
- Starting (UTC) - Specifies when the trigger should start. In this example, it is set to start on September 8, 2024, at 00:00 UTC.
- Recur Every - Interval, Defines how often the trigger should recur. In this case, it is set to recur every 15 minutes.
-
Add time frame - You can specify a time frame during which the trigger will operate.

- Click on “Add time frame” button.
- Select a specific time frame to activate the trigger. For example, every 15 minutes from 8 AM to 5 PM.
Actions
Add File to Vector Store
This action allows you to upload a file to a specified vector store in OpenAI.
- Vector Store Id - Enter the unique ID of the vector store where you want to store the file.
- File Id - Provide the ID of the file you wish to add to the vector store.
Analyze Image (Vision)
This action allows you to analyze an image using OpenAI’s vision model. You can provide specific details about the image, such as its type and source, to generate insights.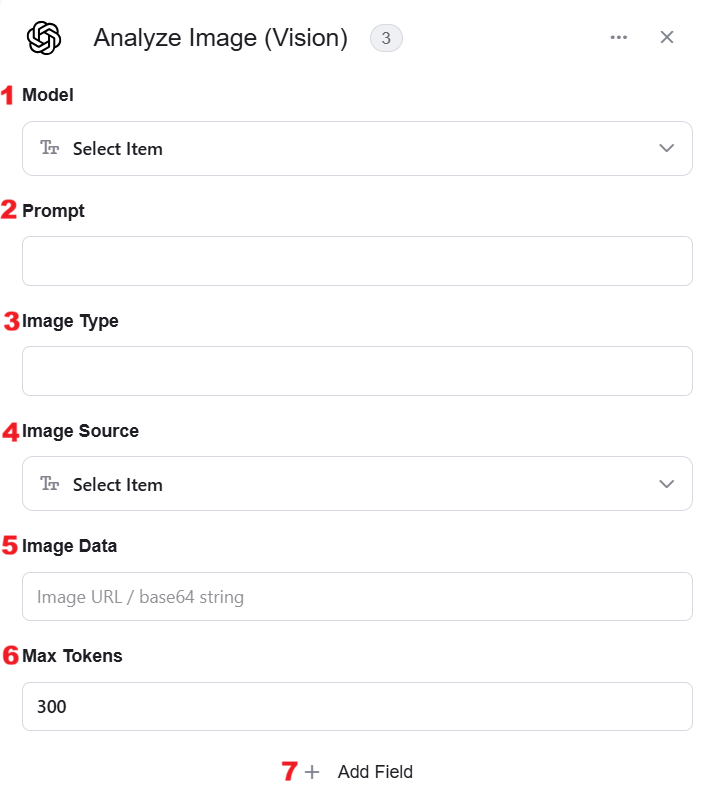
- Model - Select the AI model that will be used for analyzing the image.
- Prompt - Enter any specific instructions or details for how you want the image to be analyzed.
- Image Type - Define the type of image (e.g., JPG, PNG, etc.).
- Image Source - Select the source of the image. Options include:
- Base64 String - Provide the image data encoded as a Base64 string.
- Image URL - Provide the URL where the image is located.
- Image Data - Provide the image data as a URL or a base64-encoded string.
- Max Tokens - Set the maximum number of tokensthe model can use to generate a response based on the image analysis. The default is set to 300 tokens.
- Add Field - Click Add Field to add and populate additional fields for the selected activity. To learn more about managing activity data, click here.
Append to Object Array
This action allows you to add a new item to an existing object array within your workflow.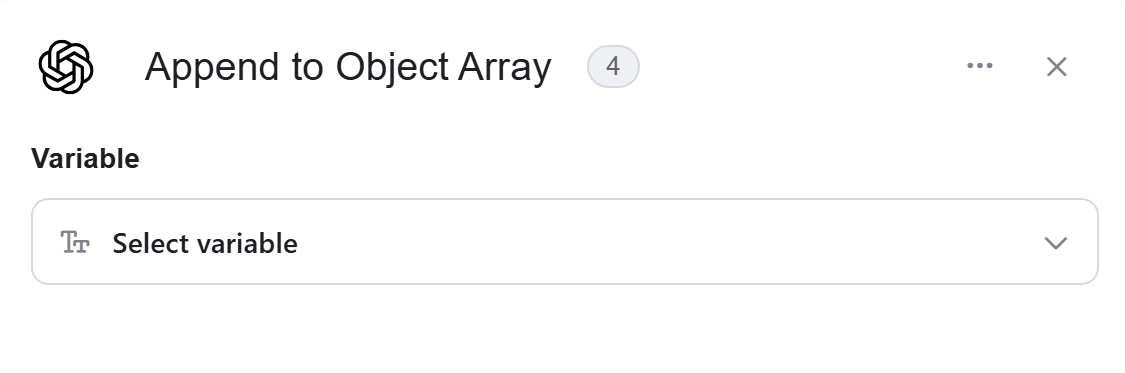
- Variable - Select the variable that contains the object array you want to append to. The chosen variable should already be defined in your workflow.
Cancel Batch
This action allows you to cancel an active or pending batch in OpenAI.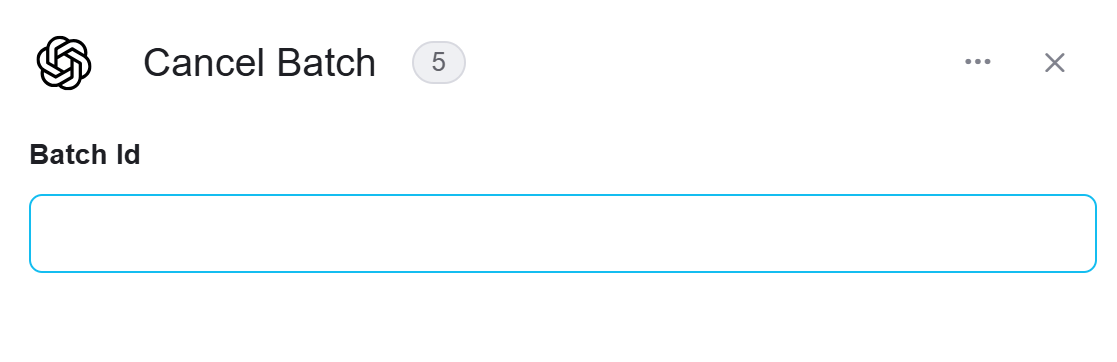
- Batch Id - Enter the unique ID of the batch you want to cancel. This ID should correspond to a batch that is currently active or scheduled.
Create Batch
This action allows you to create a new batch of requests in OpenAI.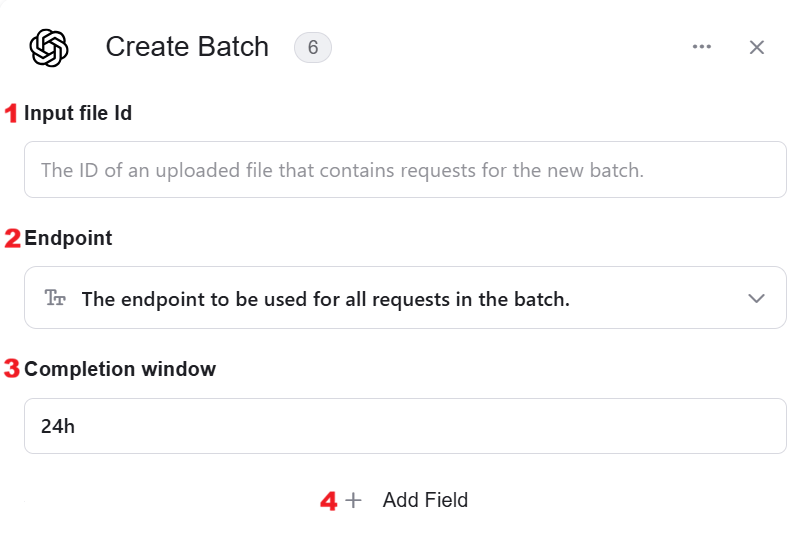
- Input file Id - Enter the ID of an uploaded file that contains the requests for the new batch.
- Endpoint - Select the endpoint that will be used for all requests in the batch.
- Completion window - Specify the time window (e.g., 24h) within which the batch should be completed.
- Add Field - Click Add Field to add and populate additional fields for the selected activity. To learn more about managing activity data, click here.
Create Chat Completion
This action allows you to generate a chat completion based on the provided conversation history.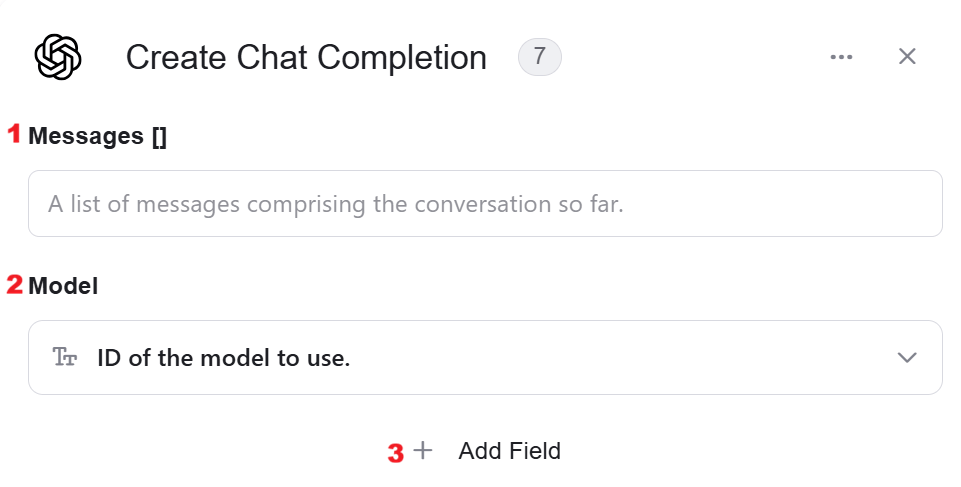
- Messages - Provide a list of messages comprising the conversation so far. These messages should include both user and assistant inputs to maintain context.
- Model - Select the ID of the model you want to use to generate the chat completion.\
- Add Field - Click Add Field to add and populate additional fields for the selected activity. To learn more about managing activity data, click here.
Create Moderation
This action allows you to classify input text using OpenAI’s moderation tools to determine if the content violates specific policies.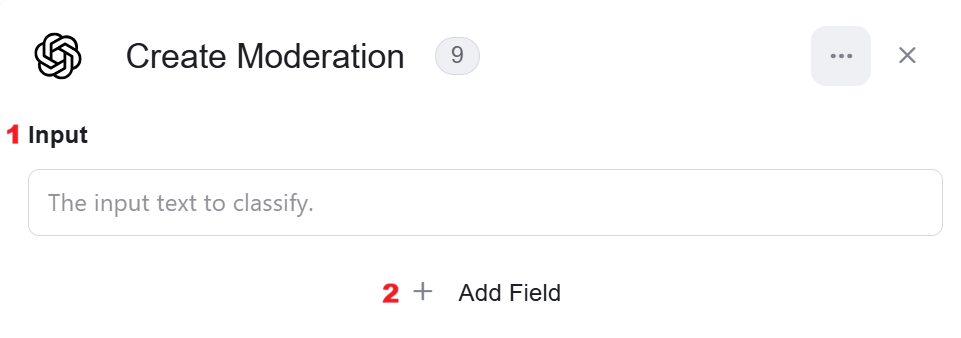
- Input - Enter the text you want to classify. This text will be analyzed to check if it complies with moderation guidelines.
- Add Field - Click Add Field to add and populate additional fields for the selected activity. To learn more about managing activity data, click here.
Create Transcription
This action allows you to transcribe an audio file using OpenAI’s transcription model.
- Filename - Enter the name of the audio file (in formats such as flac, mp3, mp4, mpeg, mpga, m4a, ogg, wav, or webm).
- Content - Provide the content of the audio file as a base64-encoded string.
- Properties:
- Model - Select the transcription model to be used (e.g., whisper-1).
- Request Format - Choose the format for the transcription result (e.g., text).
- Add Field - Click Add Field to add and populate additional fields for the selected activity. To learn more about managing activity data, click here.
Create Translation
This action allows you to translate an audio file into English using OpenAI’s translation model.
- Filename - Enter the name of the audio file (in formats such as flac, mp3, mp4, mpeg, mpga, m4a, ogg, wav, or webm).
- Content - Provide the content of the audio file as a base64-encoded string.
- Properties:
- Model - Select the translation model to be used (e.g., whisper-1).
- Response Format - Choose the format for the translation result (e.g., JSON).
- Add Field - Click Add Field to add and populate additional fields for the selected activity. To learn more about managing activity data, click here.
Generate Audio from Text
This action allows you to convert text into audio using OpenAI’s text-to-speech capabilities.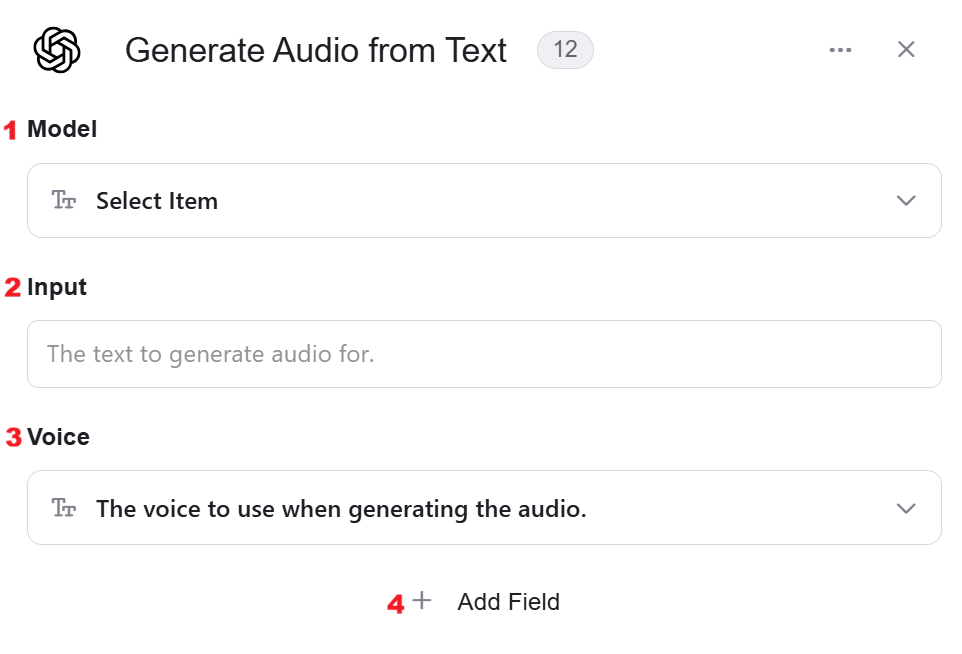
- Model - Select the model used to generate the audio from the input text.
- Input - Enter the text you want to convert into audio.
- Voice - Select the voice to be used when generating the audio.
- Add Field - Click Add Field to add and populate additional fields for the selected activity. To learn more about managing activity data, click here.
Delete File
This action allows you to delete a file from OpenAI’s system.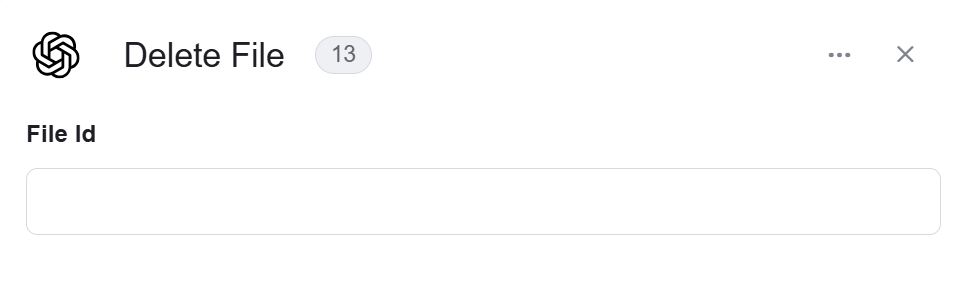
- File ID - Enter the unique ID of the file you want to delete. Make sure you have the correct file ID, as this action will permanently remove the file from the system.
Delete Vector Store File
This action allows you to delete a file from a specific vector store in OpenAI.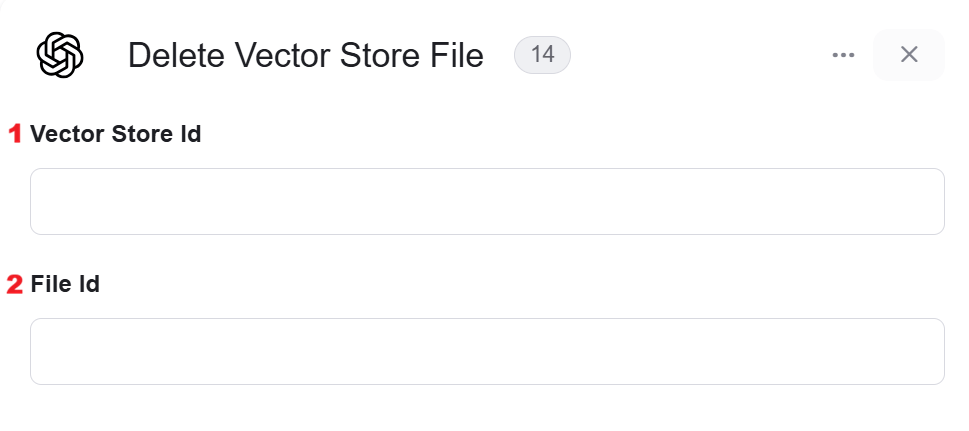
- Vector Store Id - Enter the unique ID of the vector store from which you want to delete the file.
- File Id - Enter the unique ID of the file you want to delete from the vector store.
Download File Content
This action allows you to download the content of a file from OpenAI’s system.
- File Id - Enter the unique ID of the file you want to download. The file’s content will be retrieved based on this ID.
Edit Image
This action allows you to edit an image using OpenAI’s image editing capabilities.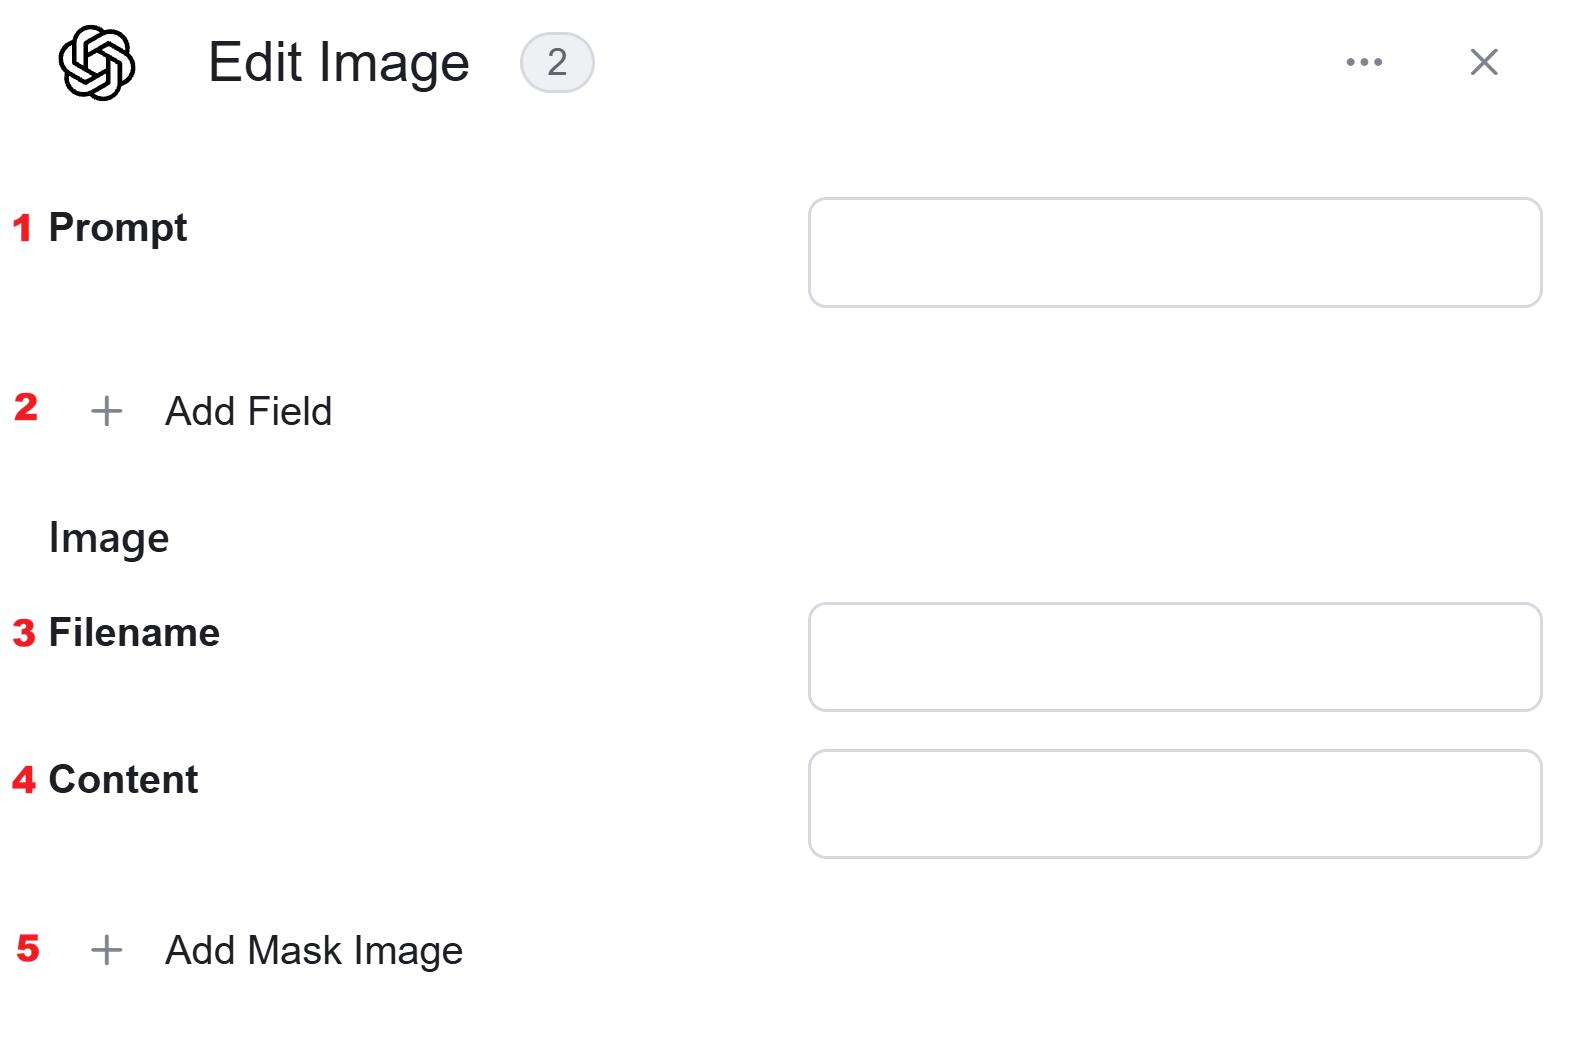
- Prompt - Enter a description of the changes you want to apply to the image.
- Add Field - Click Add Field to add and populate additional fields for the selected activity. To learn more about managing activity data, click here.
- Filename - Provide the name of the image you want to edit.
- Content - Enter the content of the image as a base64-encoded string.
- Add Mask Image - You can also click Add Mask Image to include a mask that specifies which parts of the image should be edited.
Generate Image
This action allows you to create an image using OpenAI’s image generation capabilities.
- Prompt - Enter a detailed text description of the desired image(s). The AI will use this prompt to generate an image based on the provided description.
- Add Field - Click Add Field to add and populate additional fields for the selected activity. To learn more about managing activity data, click here.
Get Batch Info
This action allows you to retrieve information about a specific batch in OpenAI.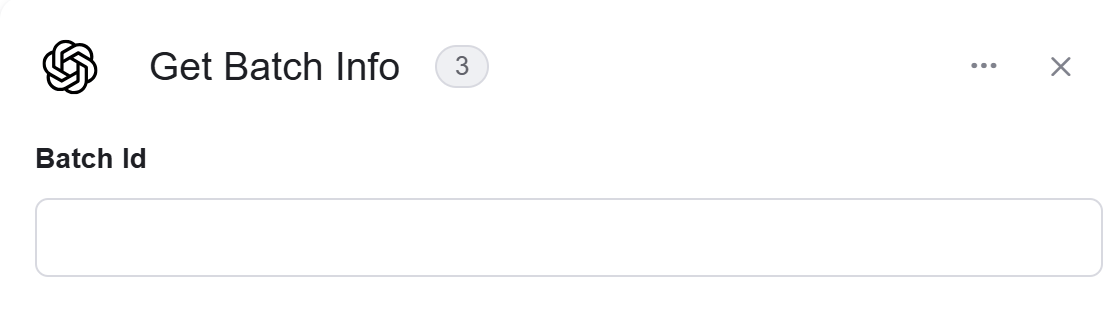
- Batch Id - Enter the unique ID of the batch for which you want to retrieve information. The details of the batch will be fetched based on this ID.
Get Batches
This action allows you to retrieve a list of batches stored in OpenAI’s system. You can use this to view all the batches that have been created and track their status.
Initialize Object Array
This activity initializes an object array in Open AI, and stores a single structured entry based on the selected object type (e.g. Assistant Message, Attachments, Chat Message).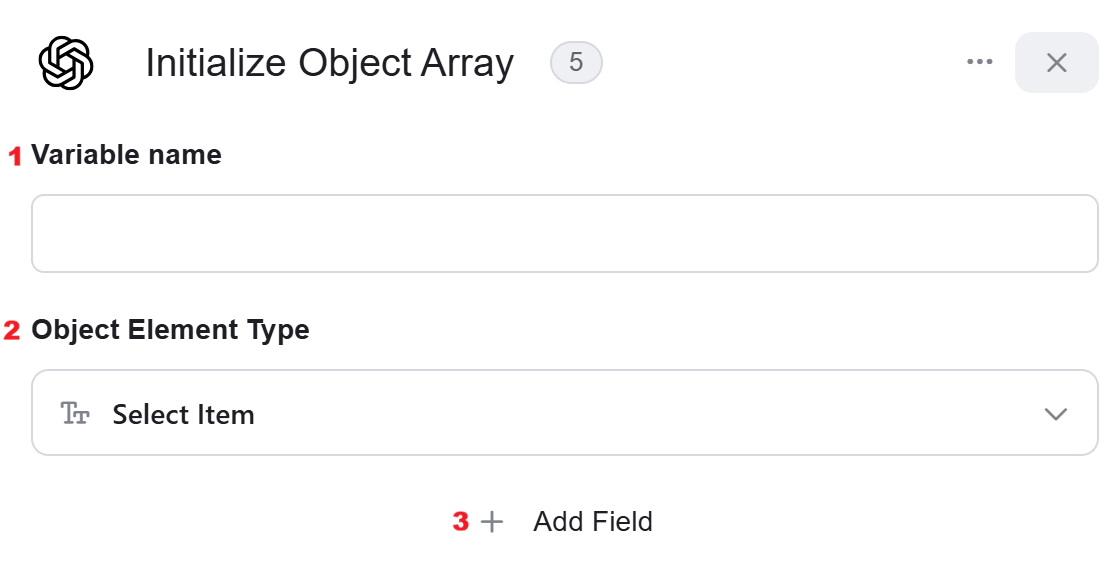
- Variable Name - Enter the name of the variable that will hold the initialized object array. This name will be used throughout the workflow whenever you refer to this object array.
- Object Element Type - This field defines the type of data the array will store, such as assistant messages, attachments, or chat messages. The selected type determines the structure of the array and its use in subsequent actions.
- Add Field - Click Add Field to add and populate additional fields for the selected activity. To learn more about managing activity data, click here.
List Files
This action allows you to retrieve a list of files stored in OpenAI’s system.
- Add Filter - Click Add Filter to define conditions that narrow down the data list and return only the relevant items. To learn more about using filters, click here.
List Vector Store Files
This action allows you to retrieve a list of files stored in a specific vector store in OpenAI.
- Vector Store Id - Enter the unique ID of the vector store from which you want to list the files.
- Order By Created At - Select whether you want to order the files by the date they were created in ascending or descending order.
- Add Filter - Click Add Filter to define conditions that narrow down the data list and return only the relevant items. To learn more about using filters, click here.
Message an Assistant
This action allows you to send a message to an assistant in OpenAI.
- Assistant Id - Enter the unique ID of the assistant to which you want to send the message.
- Message - Provide the content of the message you want to send.
- Tools - Select any tools the assistant should use when processing the message.
- Add Field - Click Add Field to add and populate additional fields for the selected activity. To learn more about managing activity data, click here.
Upload File
This action allows you to upload a file to OpenAI’s system.
- Filename - Enter the name of the file you want to upload.
- Content - Provide the content of the file as a base64-encoded string.
- Purpose - Select the purpose of the uploaded file from the list Purpose (e.g., assistants, batch, embedding, fine-tune, vision).