

Add a Connection to Jira in Engini
Prerequisites
-
A Jira Cloud site, for example
your-company.atlassian.net. - The email address of your Atlassian account.
- An API token from your Atlassian account. Note: The connection acts as the Atlassian user who created the API token. Your workflows can only do what that user is allowed to do in Jira.
Retrieve your Jira API Token
- Sign in to your Atlassian account and open API tokens.
- Click Create API token.
- Enter a name for the token and click Create.
- Click Copy and keep the token somewhere safe. Atlassian shows it only once.
Connecting Engini to Jira
- Enter your Engini account at https://app.engini.io.
-
Navigate to the Connections page by clicking on Connections in the left sidebar or by clicking here.
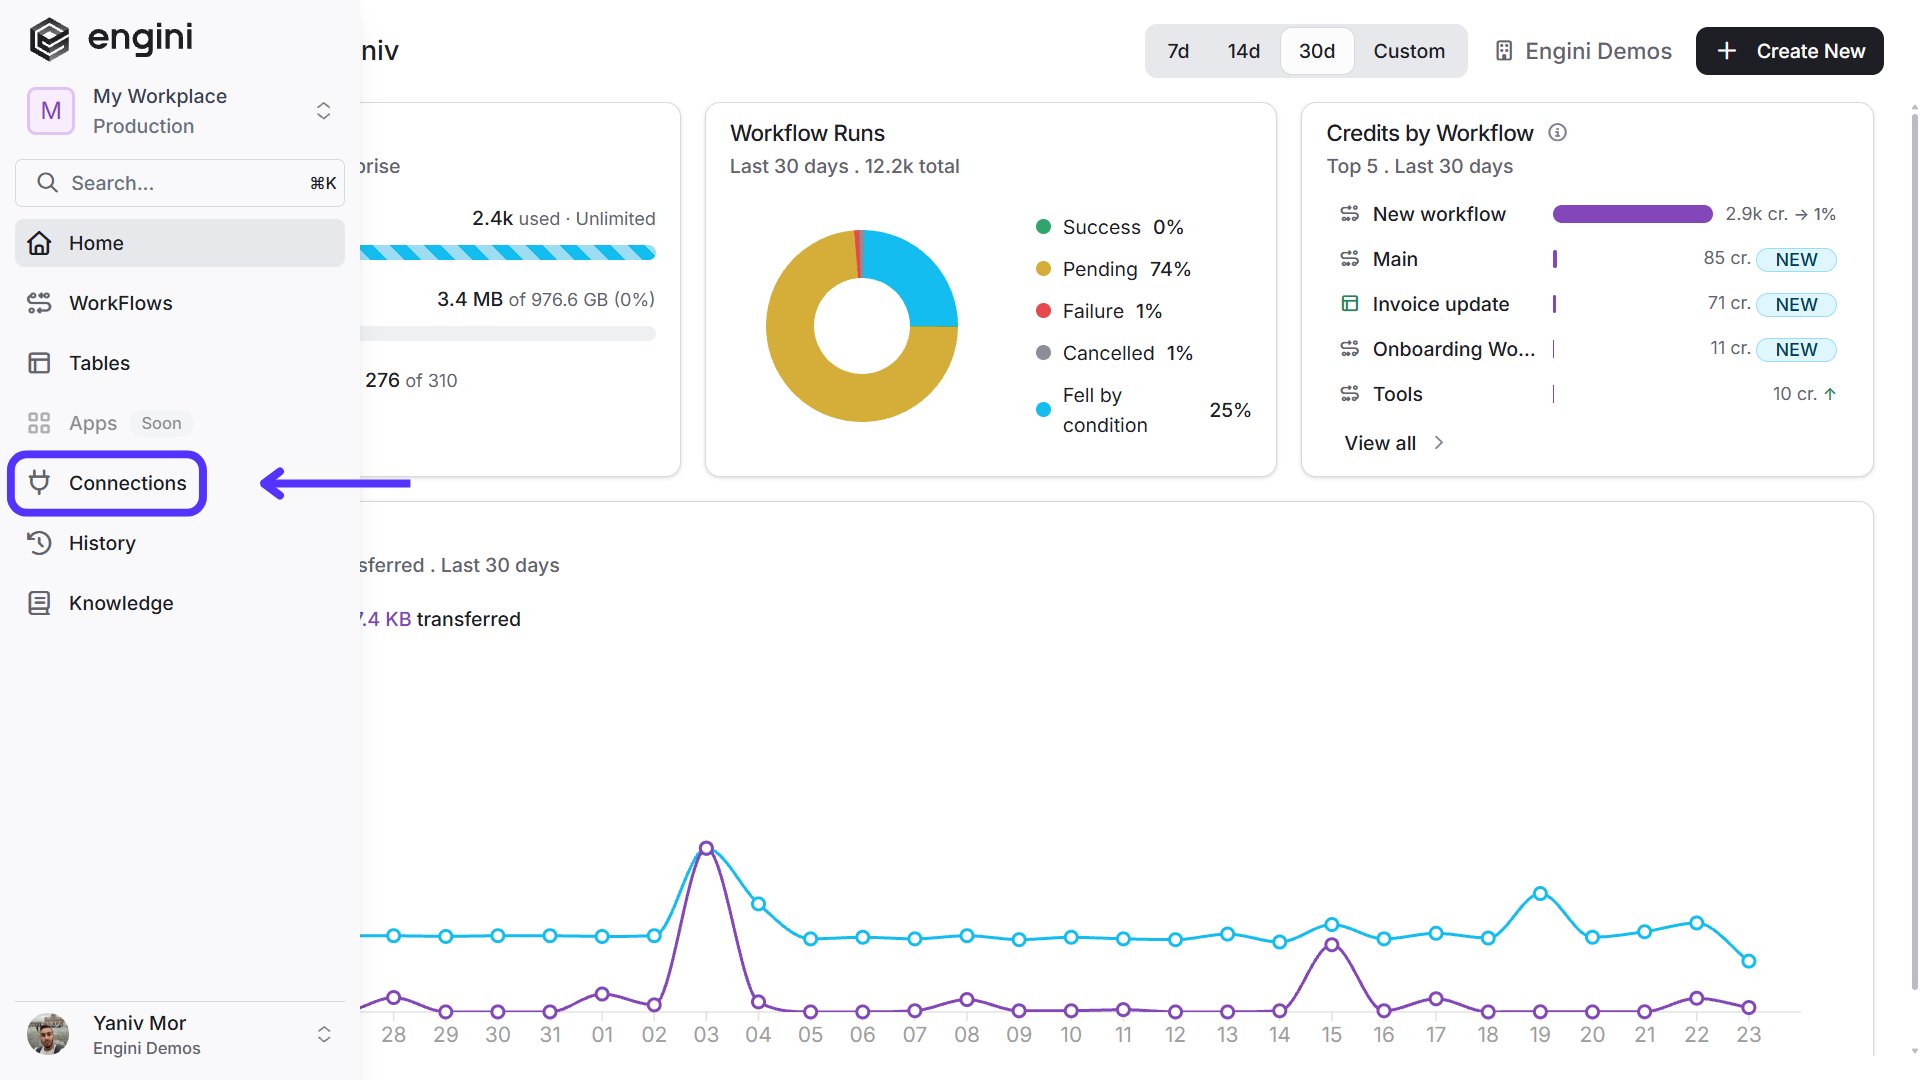
-
Click on the “New Integration” option located at the top bar.
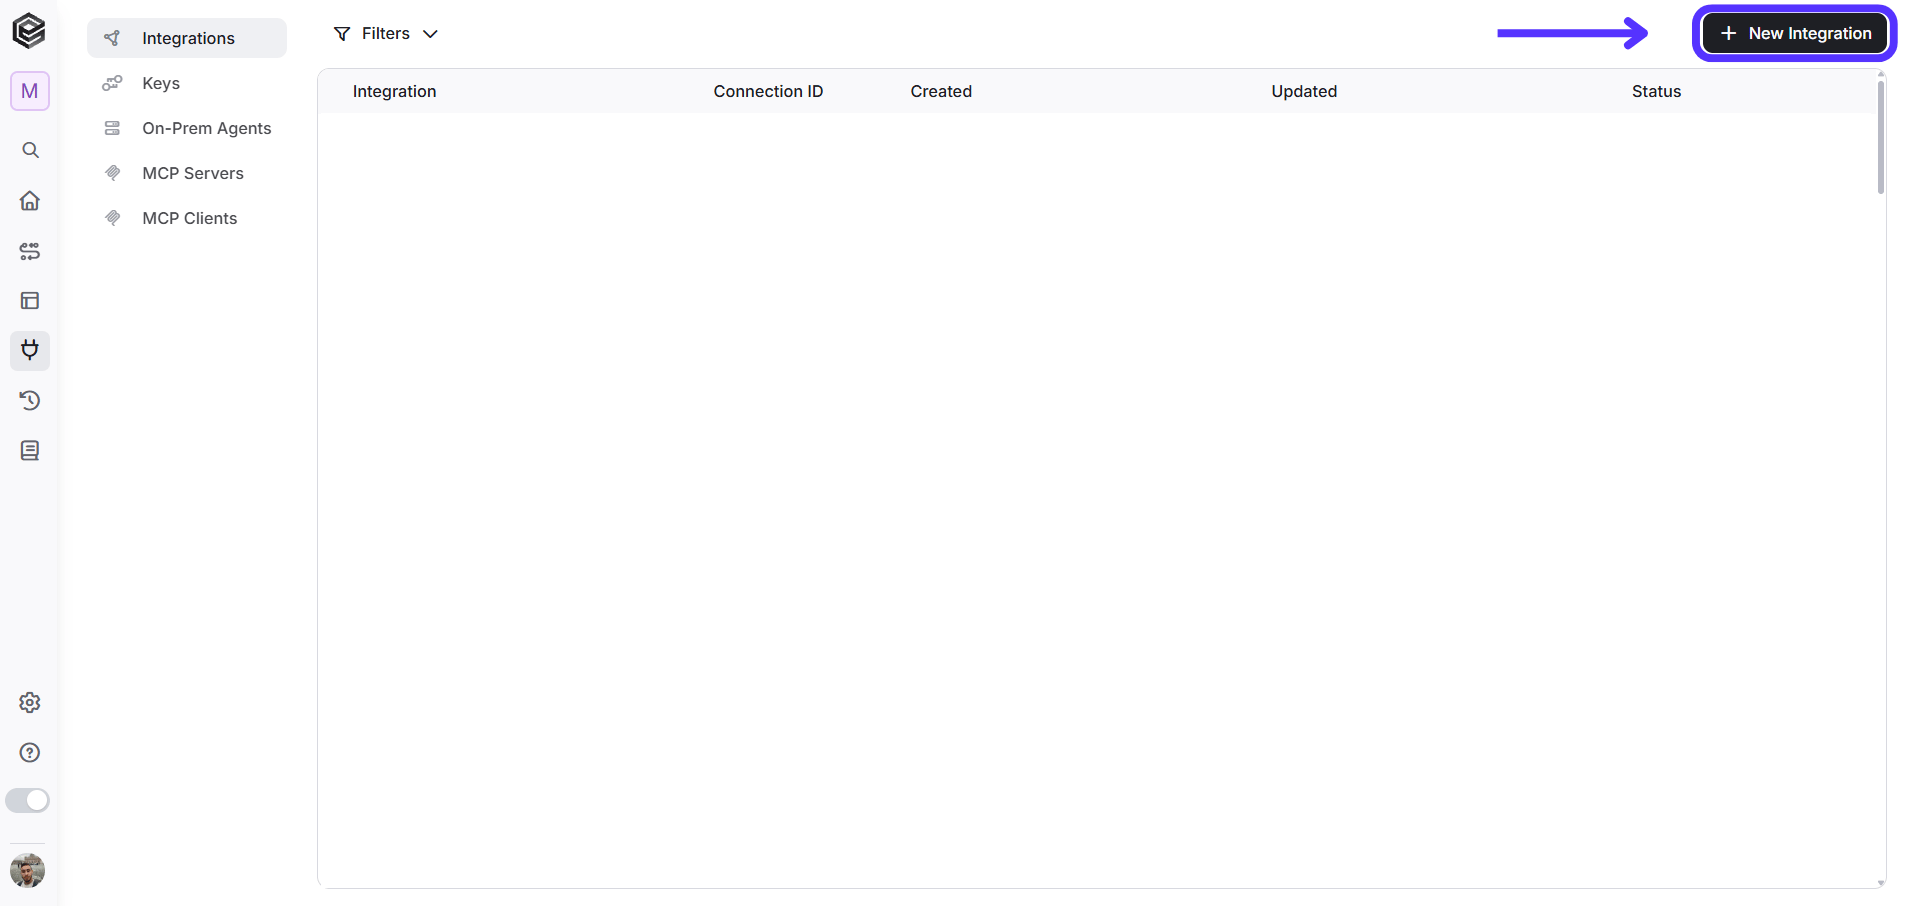
-
Choose the Jira option from the available applications.
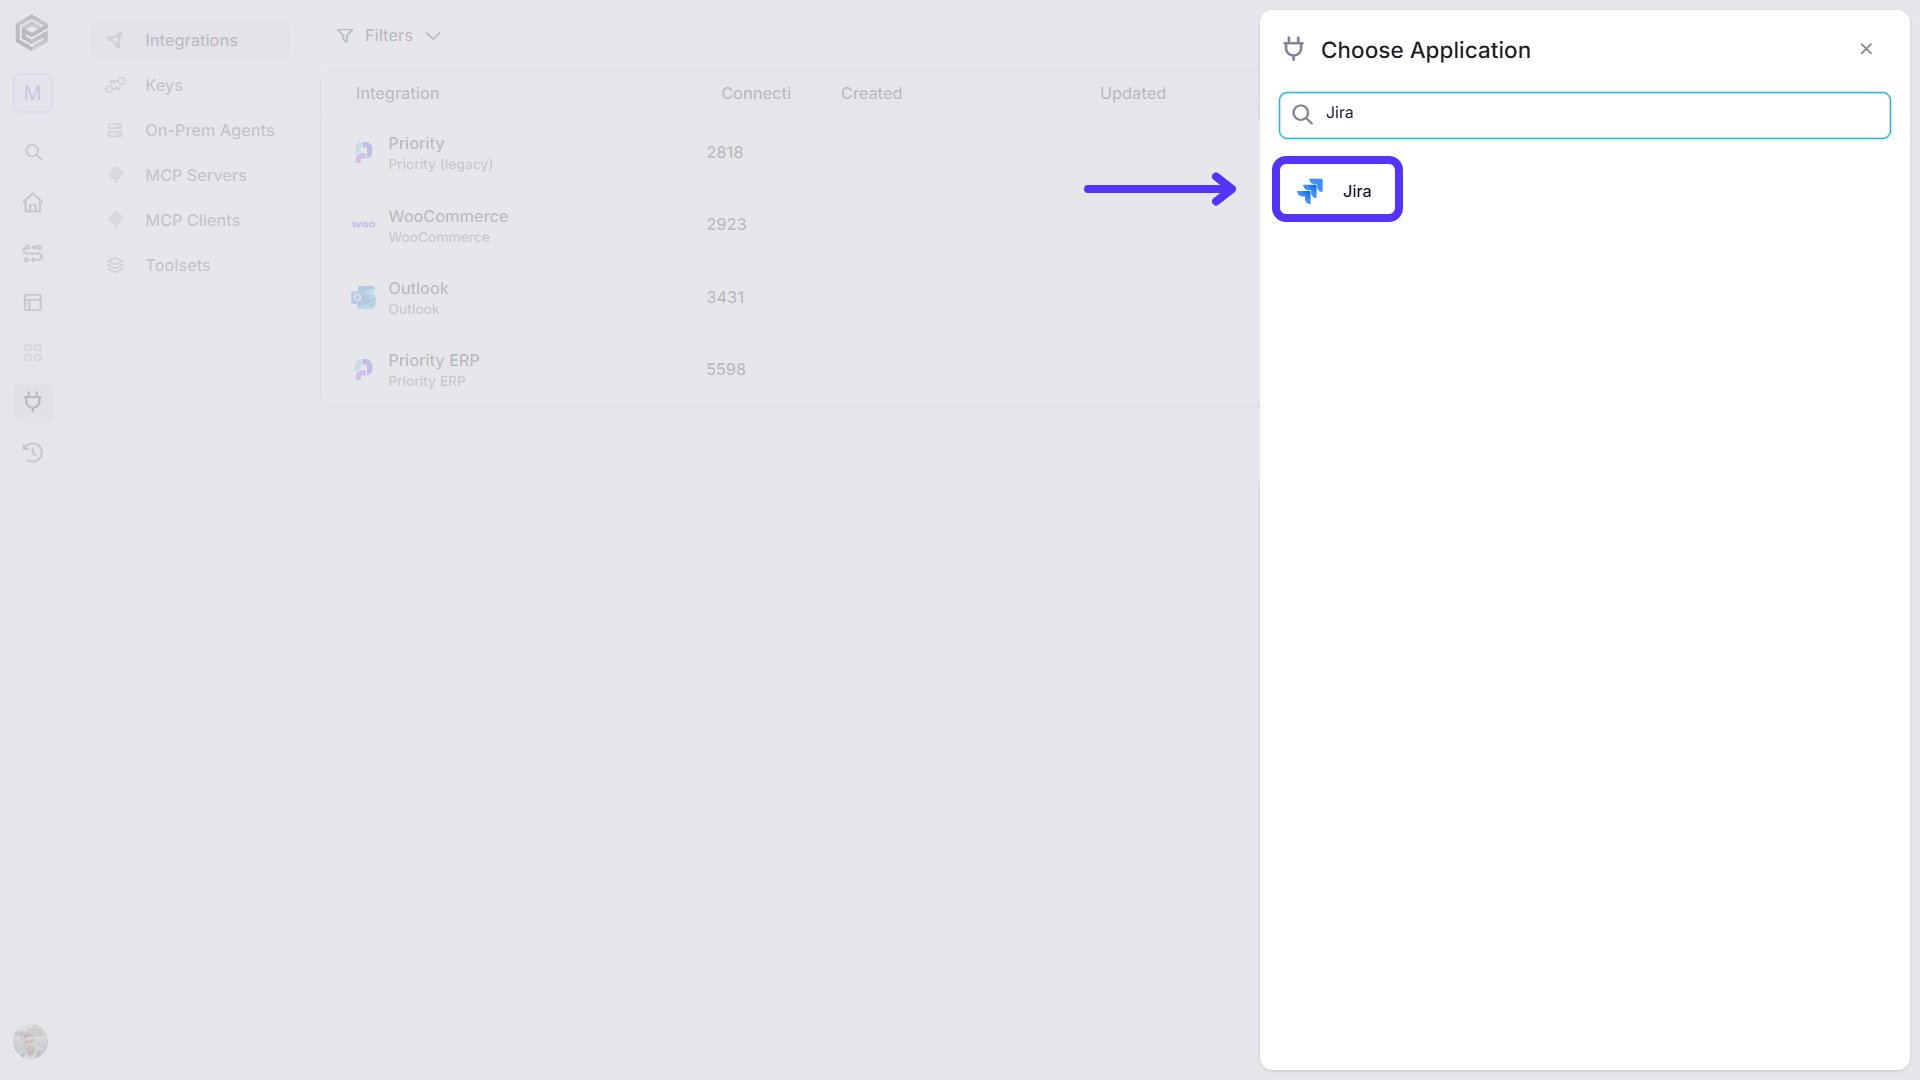
-
Enter the following details in the “New Integration” form and press Save:
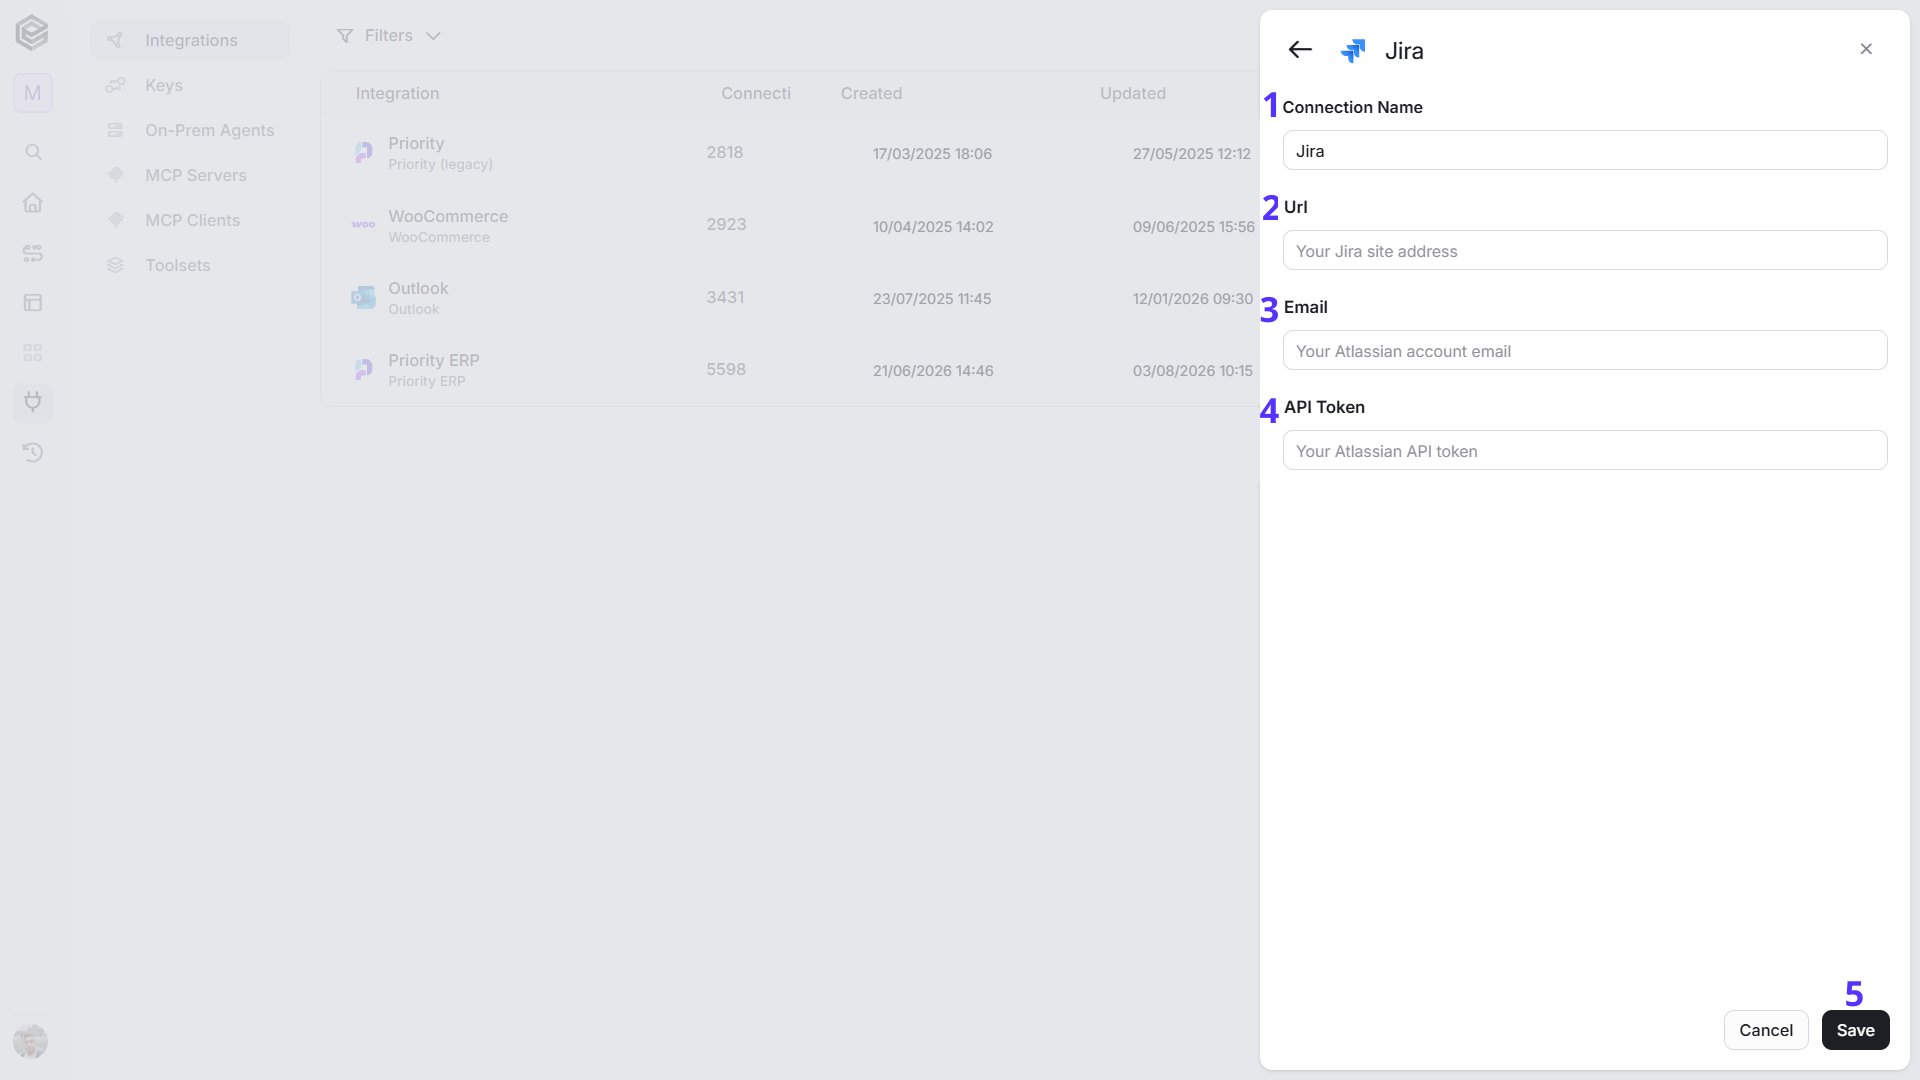
https://your-company.atlassian.net. 3. Email - Enter the email address of your Atlassian account. 4. API Token - Enter the API token you created in the previous section. 5. Save - Click Save to create the connection.
Triggers
Issue Created Or Updated
Starts the workflow when an issue is created or updated in Jira. The trigger works through a Jira webhook that sends the event to Engini.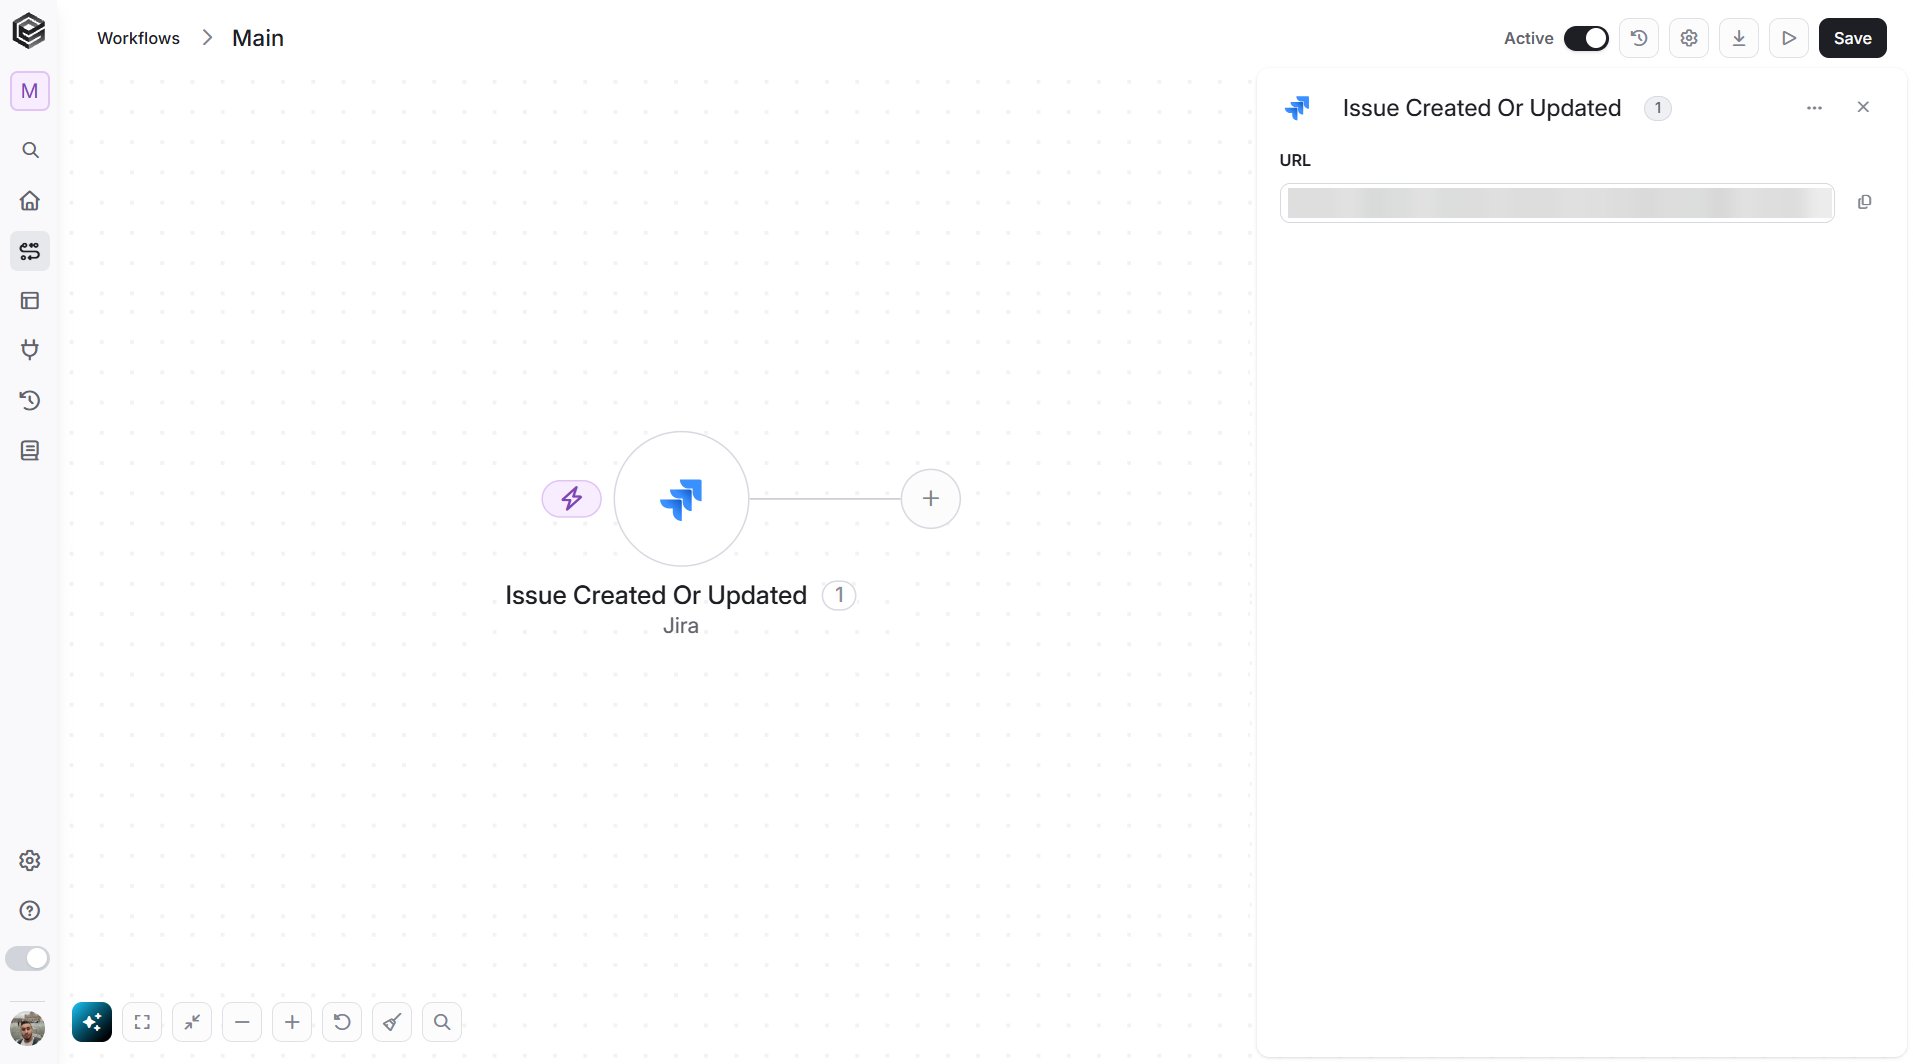
- URL - The webhook address of this trigger. Copy it and add it in Jira, as described below.
- In Jira, go to Settings > System > WebHooks.
- Click Create a WebHook.
- Paste the URL, choose the issue events you want to send (for example created and updated), and save the webhook.
Check for Updated Issues
Starts the workflow when issues have been updated in Jira. Instead of waiting for Jira to send an event, the trigger checks Jira on a schedule and returns the issues that were updated in the last 15 minutes. Because it does not use a webhook, it does not require Jira administrator permissions.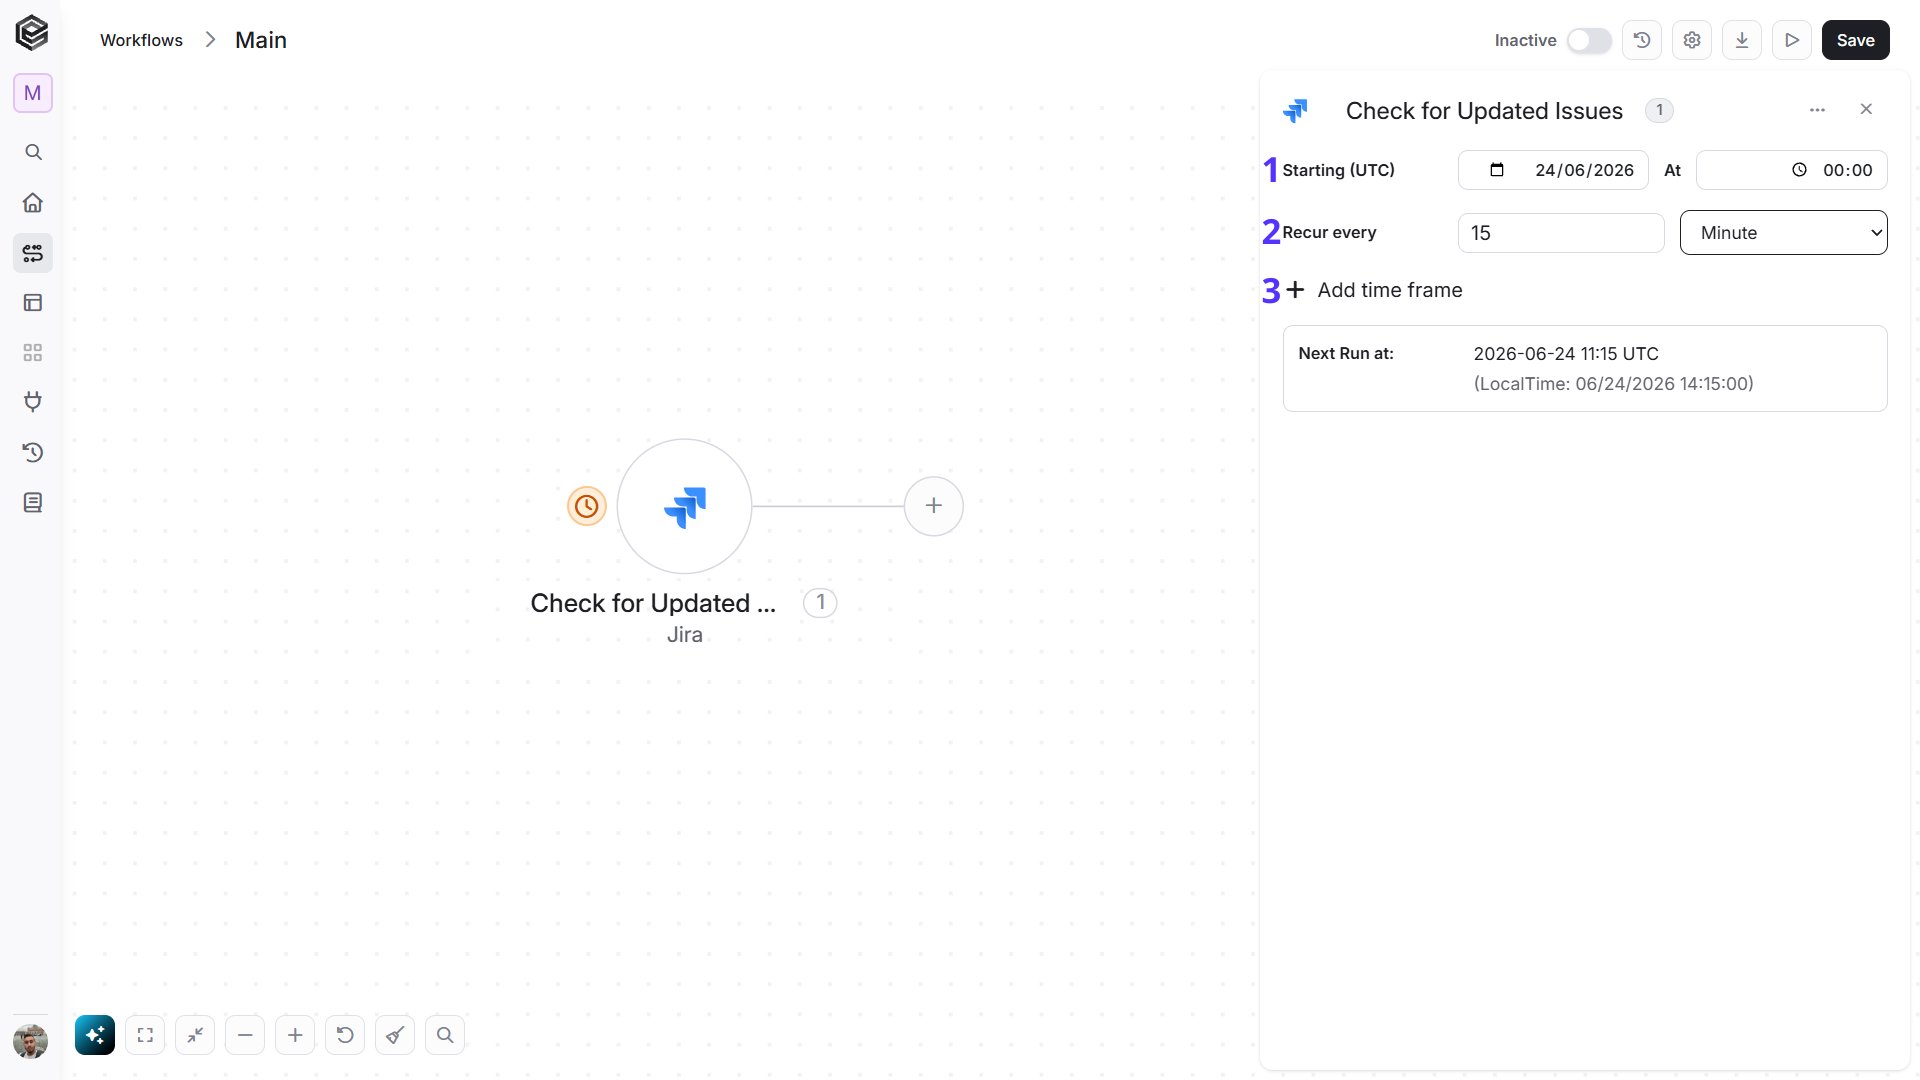
- Starting (UTC) - The date and time the schedule begins.
- Recur every - How often the trigger checks Jira. Set this to 15 minutes so that no updates are missed.
- Add time frame - Optionally limit the hours or days in which the trigger runs.
Actions
Most Jira actions work on an issue or on a project. You usually start by selecting the Issue or Project, and the other fields build on it.Add Comment
Adds a comment to a Jira issue.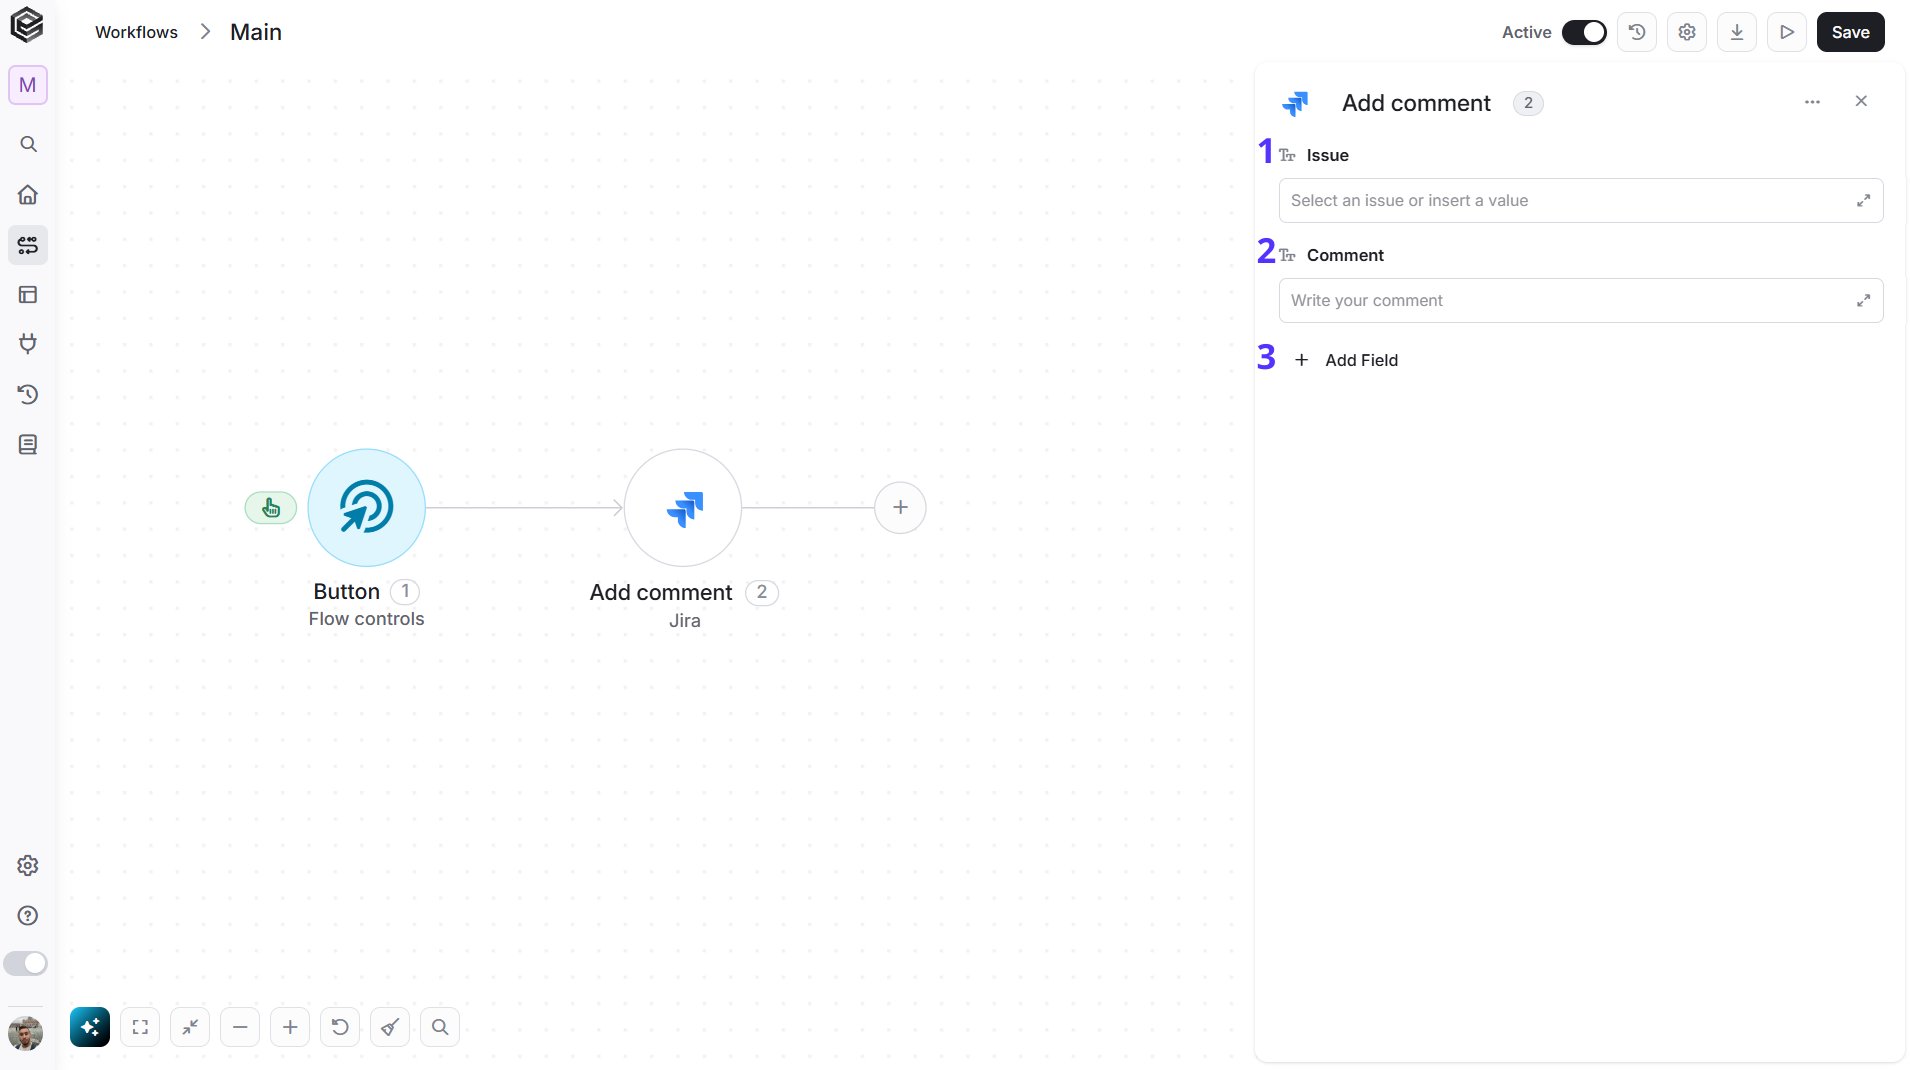
- Issue - The issue to comment on. Select the issue, map it from a previous step, or enter its key, for example “PROJ-123”. The key is shown at the top of the issue in Jira.
- Comment - The text of the comment, in plain text, for example “The customer confirmed the fix.” You can also map text from a previous step.
- Add Field - Click Add Field to add optional fields. To learn more, click here.
Assign Issue
Assigns a Jira issue to a user.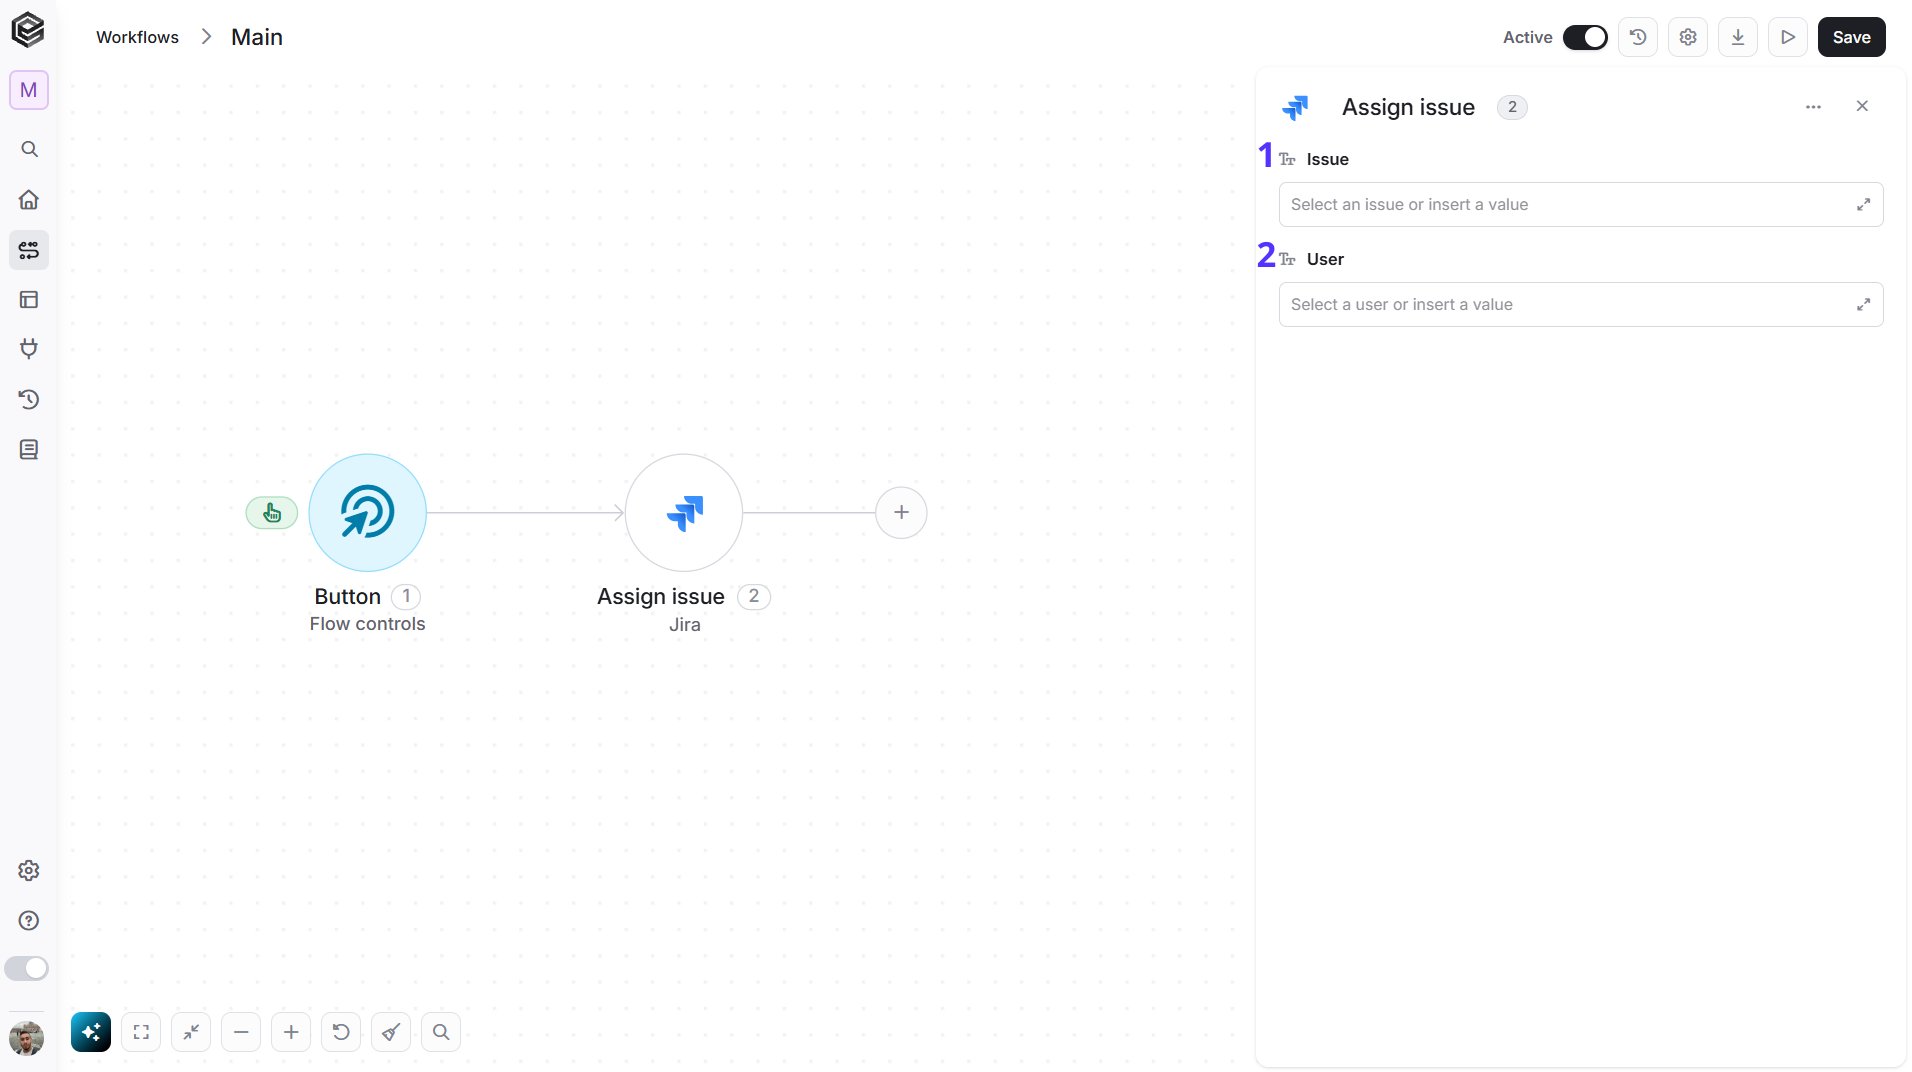
- Issue - The issue to assign. Select the issue, map it from a previous step, or enter its key, for example “PROJ-123”. The key is shown at the top of the issue in Jira.
- User - The user who will become the assignee. Select the user from the list, map an account Id from a previous step such as Get All Users, or enter the Jira account Id.
Create Component
Creates a new component in a Jira project.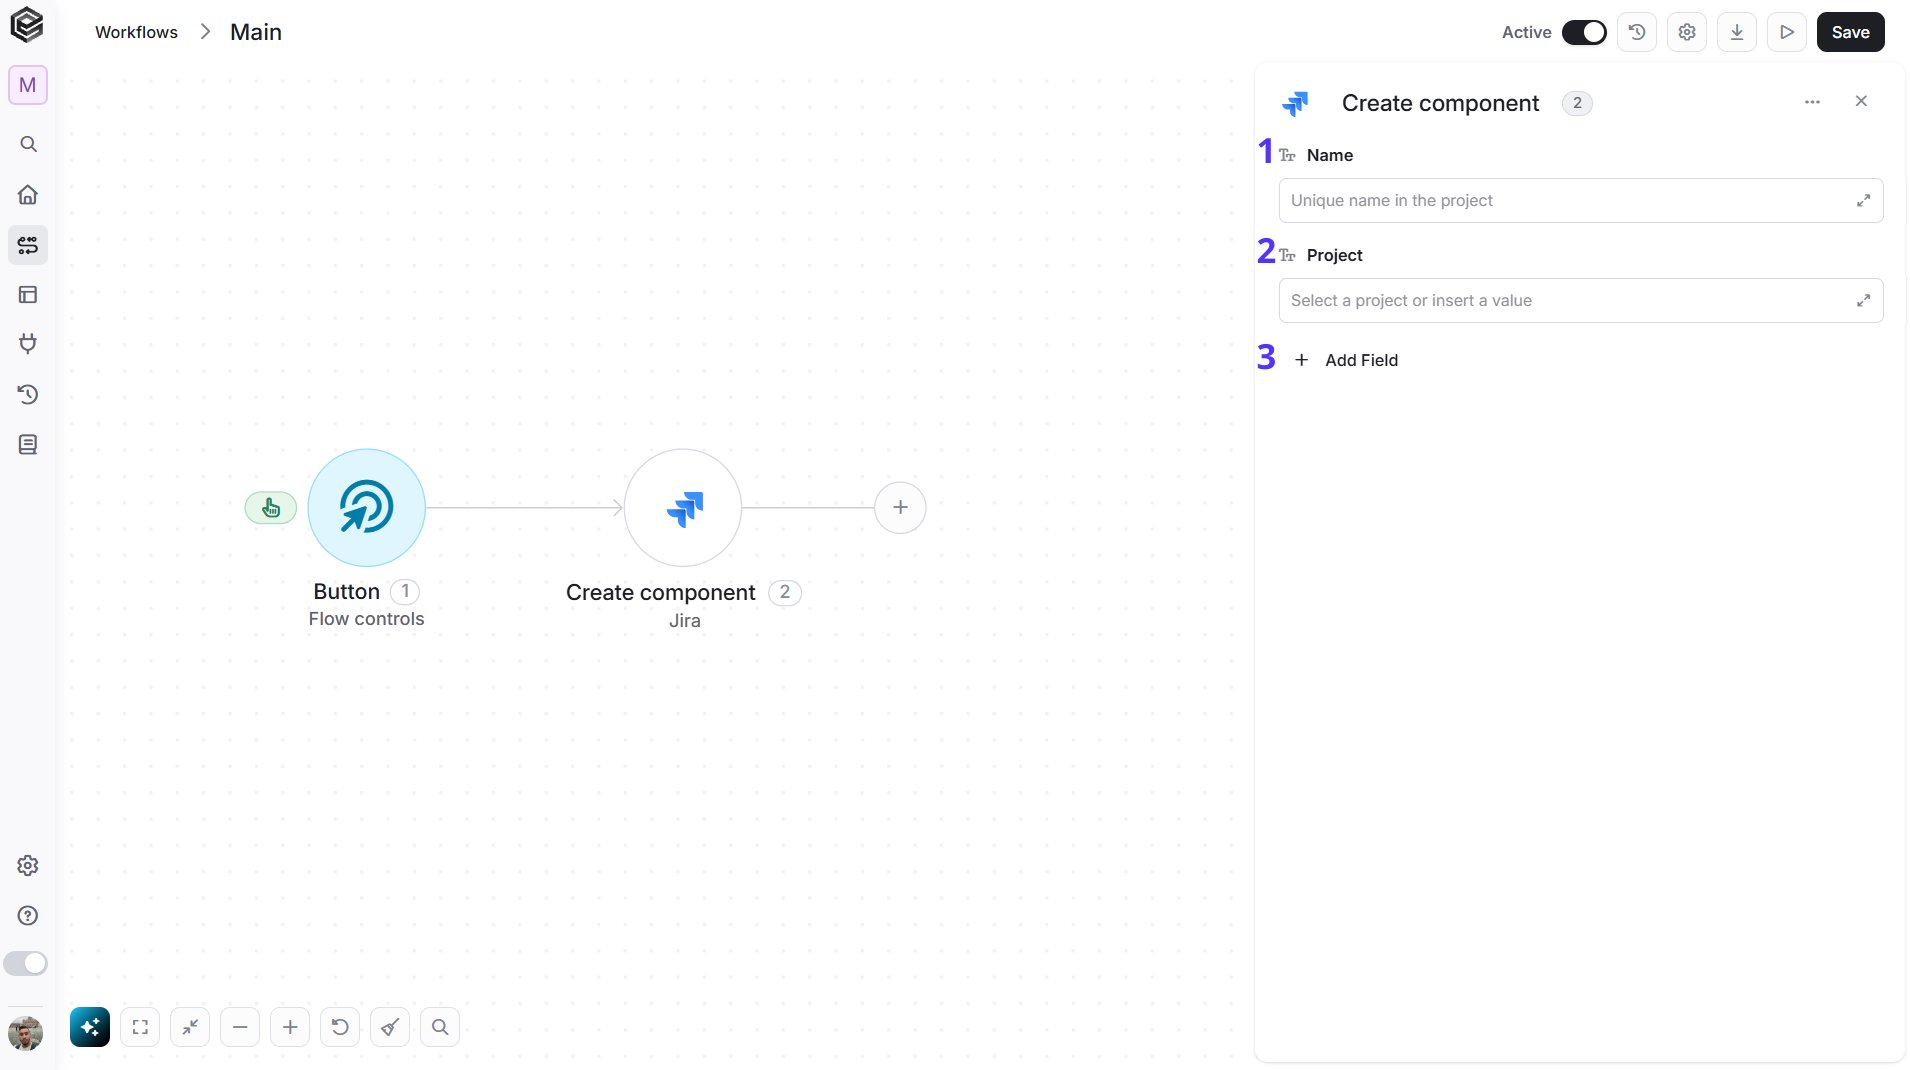
- Name - The name of the new component, for example “Backend”. It must be unique in the project.
- Project - The project that will hold the component. Select the project from the list, map it from a previous step, or enter its key, for example “PROJ”.
- Add Field - Click Add Field to add optional fields. To learn more, click here.
PROJECT_LEAD or UNASSIGNED), Description and Lead Account Id (the account Id of the component lead).
Create Custom Field Options (Context)
Adds new options to a custom field in a field context.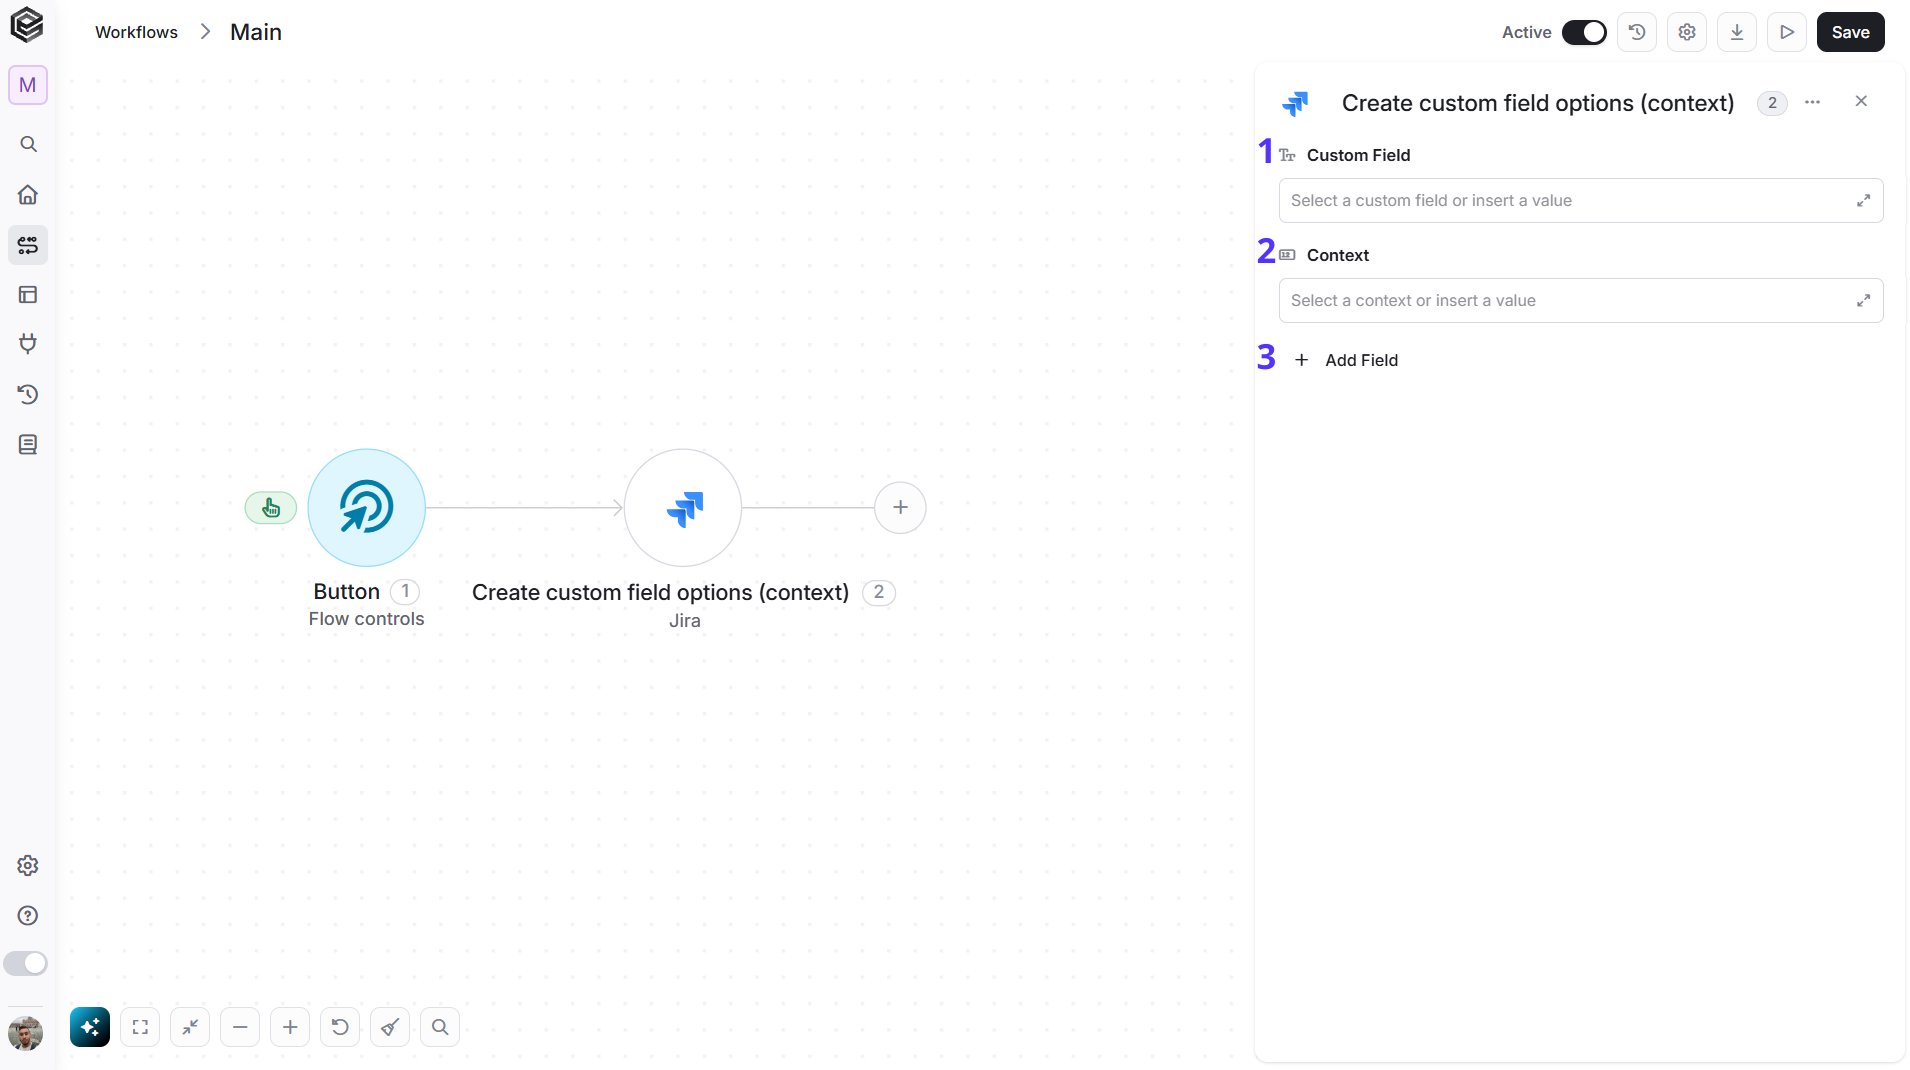
- Custom Field - The custom field that gets the new options. Select it from the list, or enter its Id, for example “customfield_10000”.
- Context - The field context that holds the options. Select the custom field first and then choose the context, or enter the context Id.
- Add Field - Click Add Field to add optional fields. To learn more, click here.
Create Issue
Creates a new issue in a Jira project.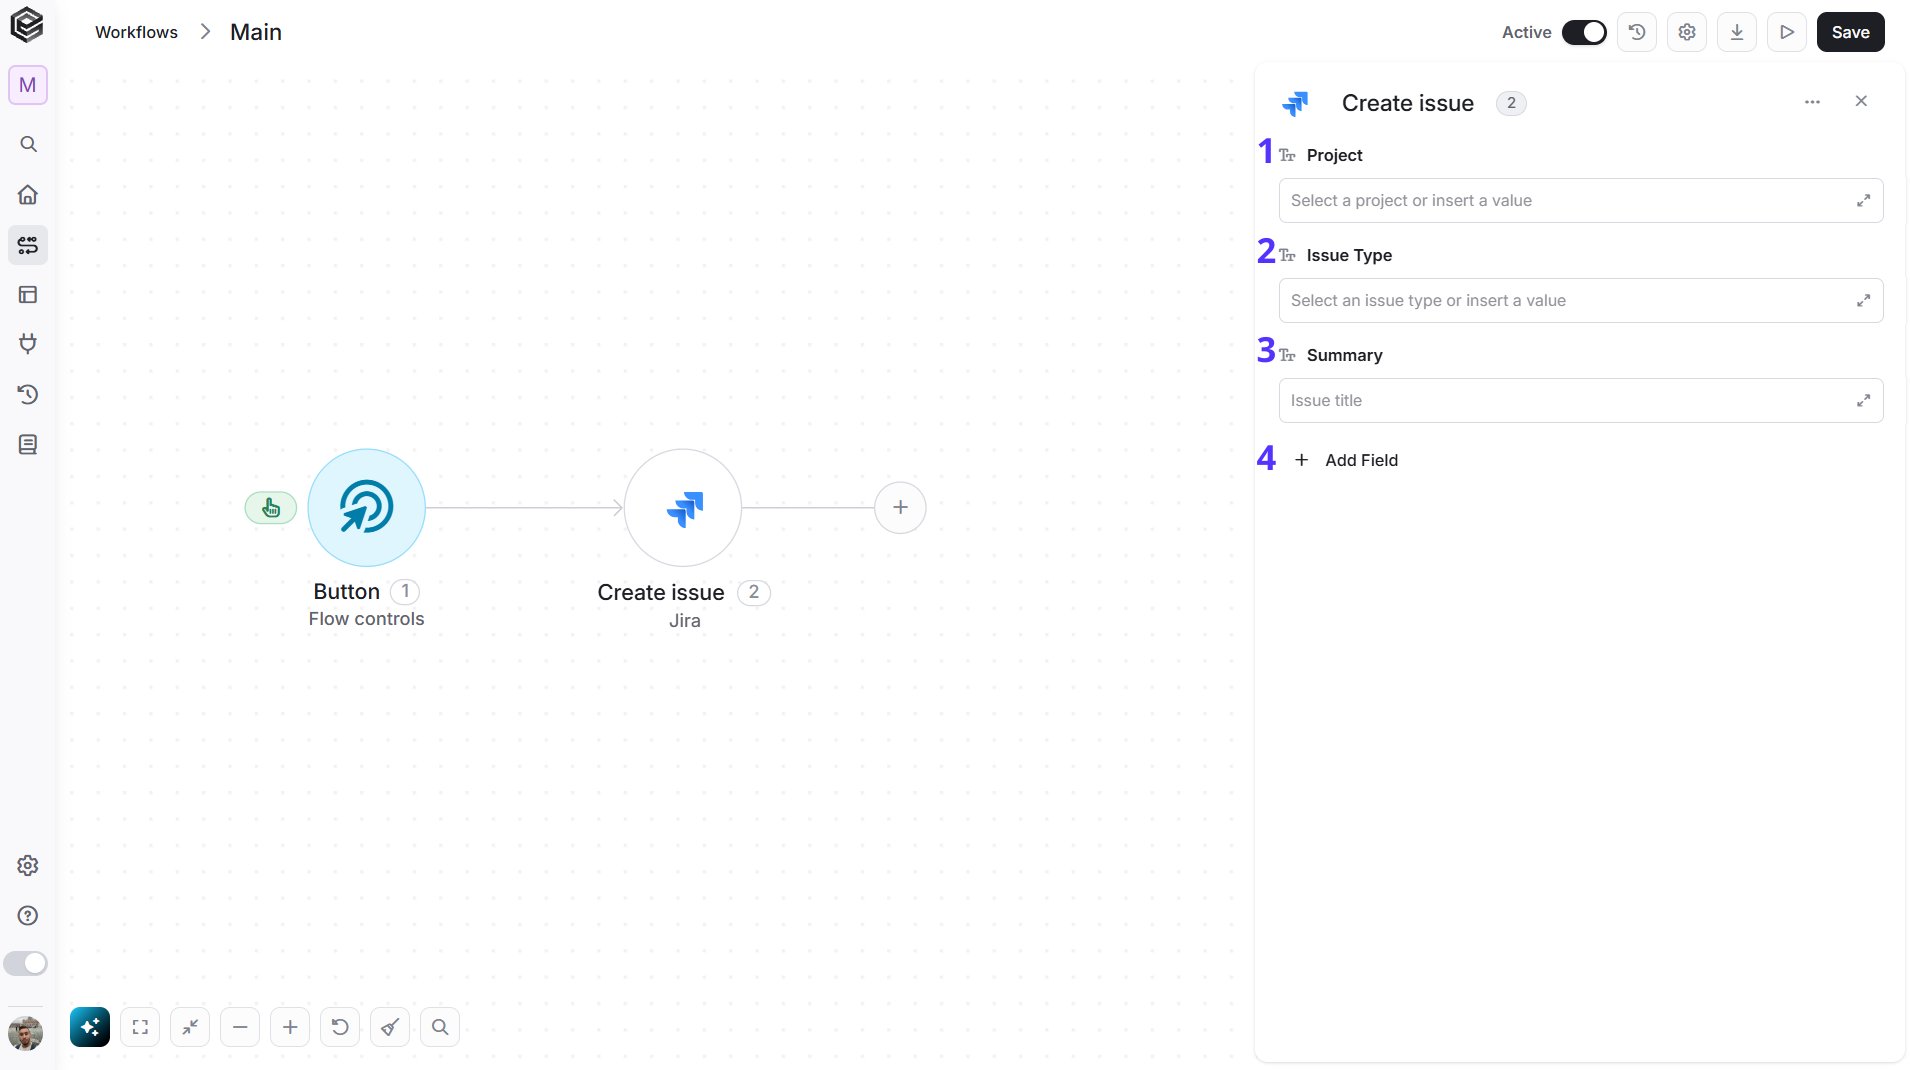
- Project - The project that will hold the new issue. Select the project from the list, map it from a previous step, or enter its key, for example “PROJ”.
- Issue Type - The type of the new issue, such as Task, Bug or Story. Select the project first, then choose the type from the list, or enter the issue type Id.
- Summary - The title of the new issue, as it appears in Jira lists and boards, for example “Login page returns an error”.
- Add Field - Click Add Field to add optional fields. To learn more, click here.
Create Issue Link
Links two Jira issues to each other.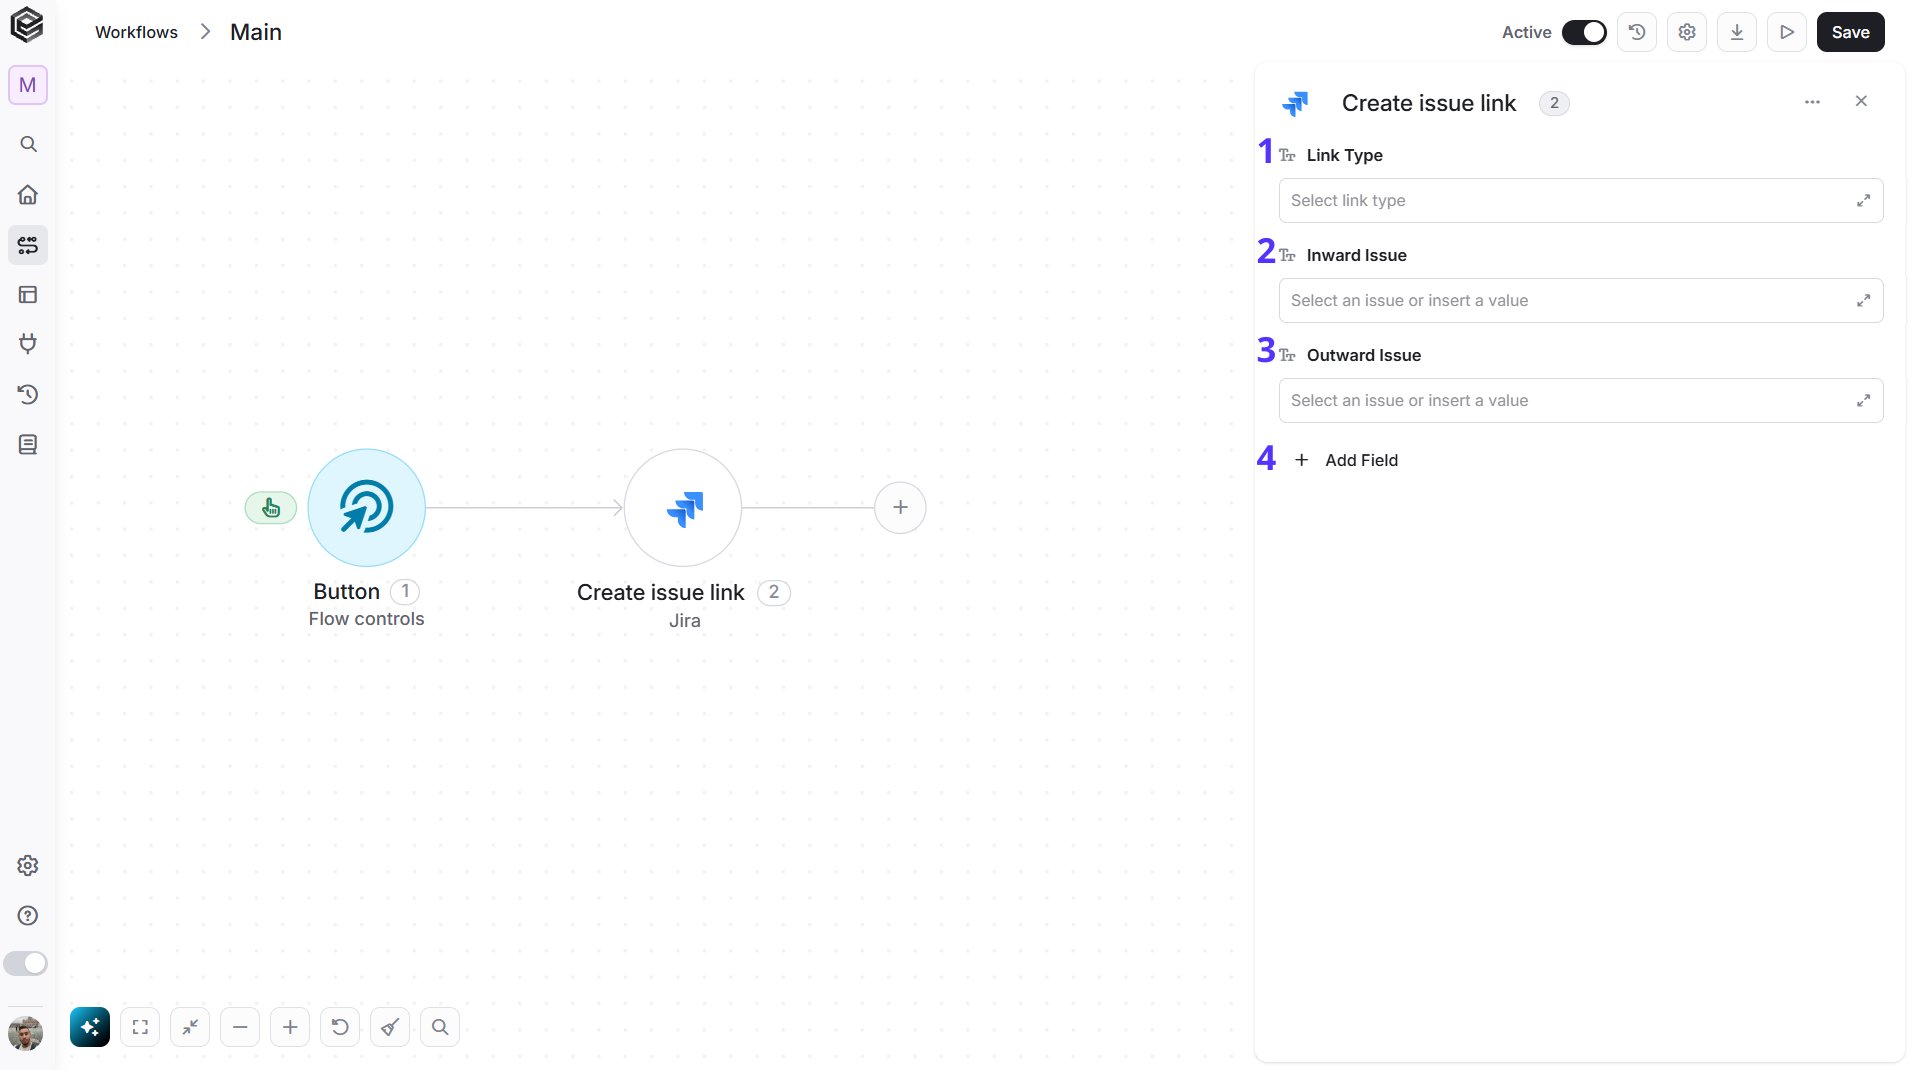
- Link Type - The relationship between the two issues. Enter its name exactly as written: Blocks, Cloners, Duplicate or Relates.
- Inward Issue - The issue on the inward side of the link, for example “PROJ-124”. Select the issue or enter its key.
- Outward Issue - The issue on the outward side of the link, for example “PROJ-123”. Select the issue or enter its key.
- Add Field - Click Add Field to add optional fields. To learn more, click here.
Create Version
Creates a new version (release) in a Jira project.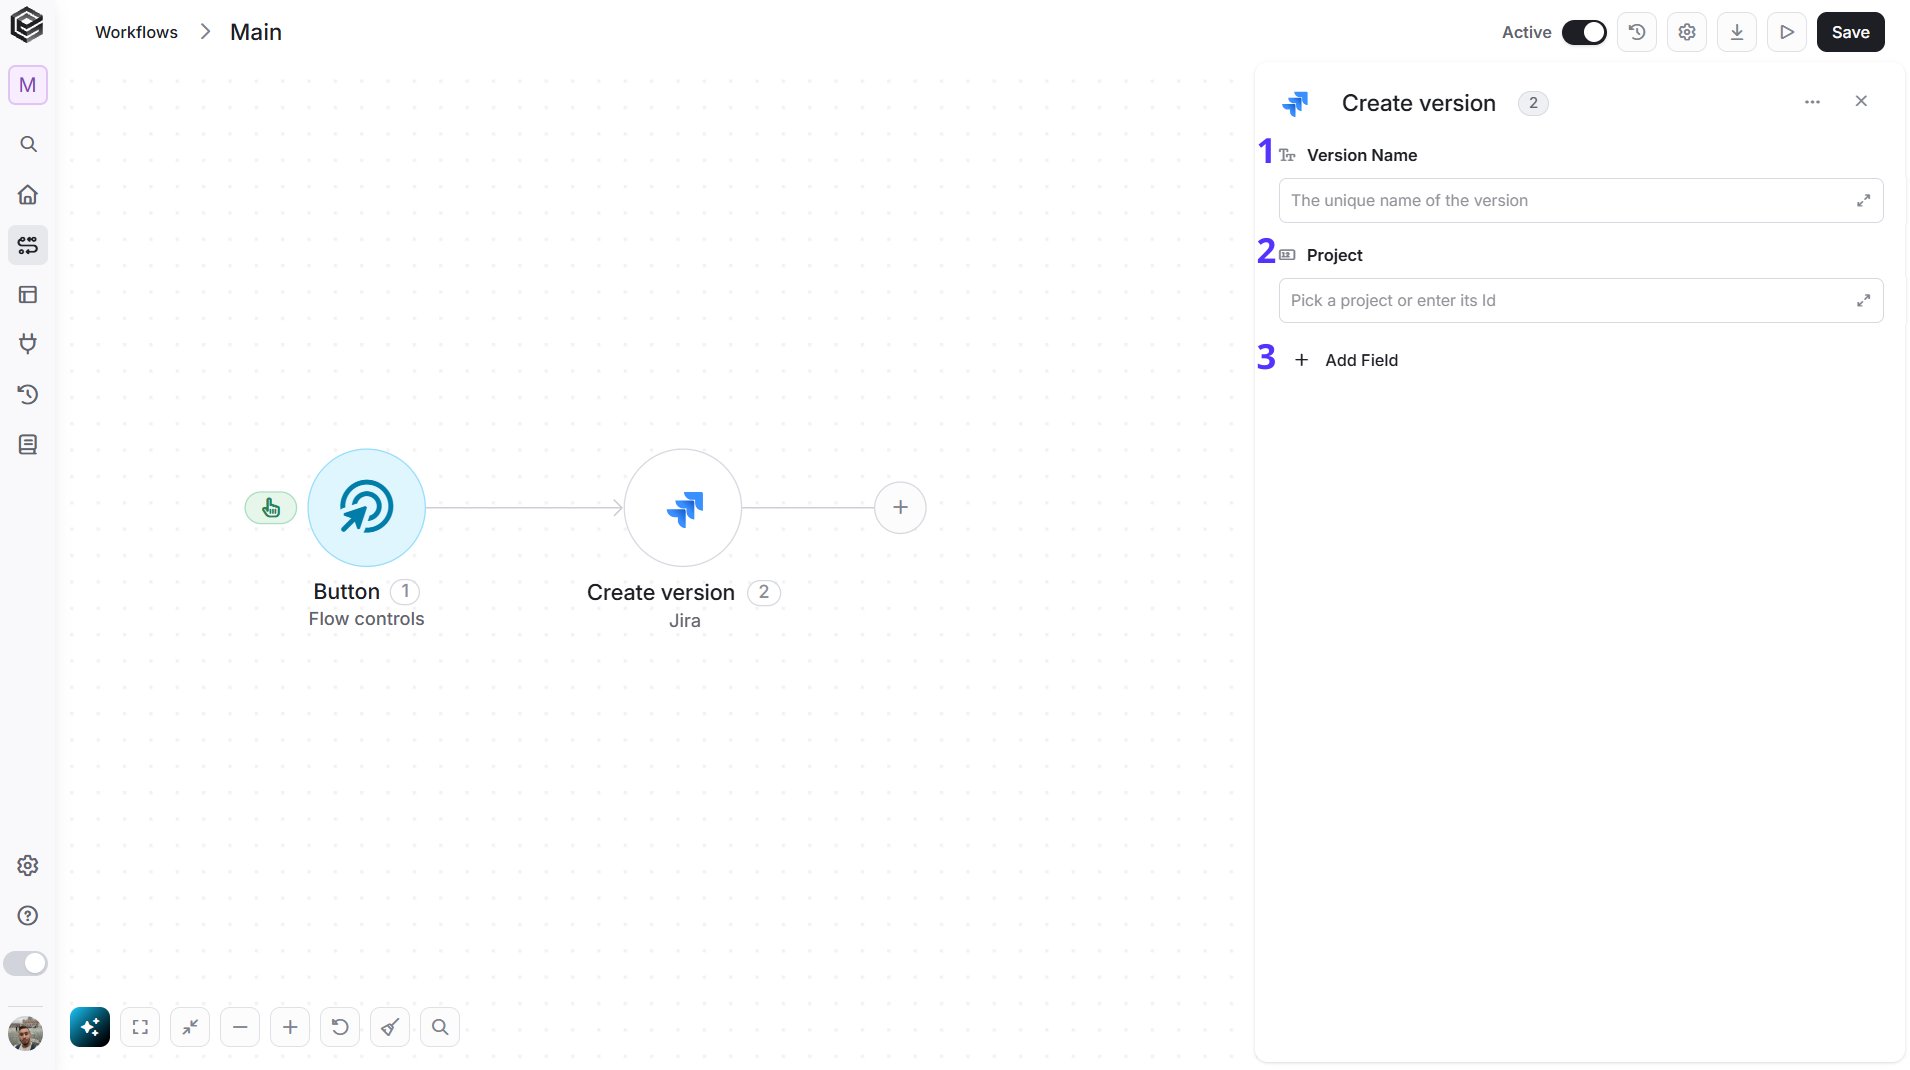
- Version Name - The name of the new version, for example “v2.1”. It must be unique in the project.
- Project - The project that will hold the version. Select the project from the list, map it from a previous step, or enter its project Id, for example “10000”.
- Add Field - Click Add Field to add optional fields. To learn more, click here.
2027-12-31), and Released.
Delete Attachment
Deletes an attachment from a Jira issue.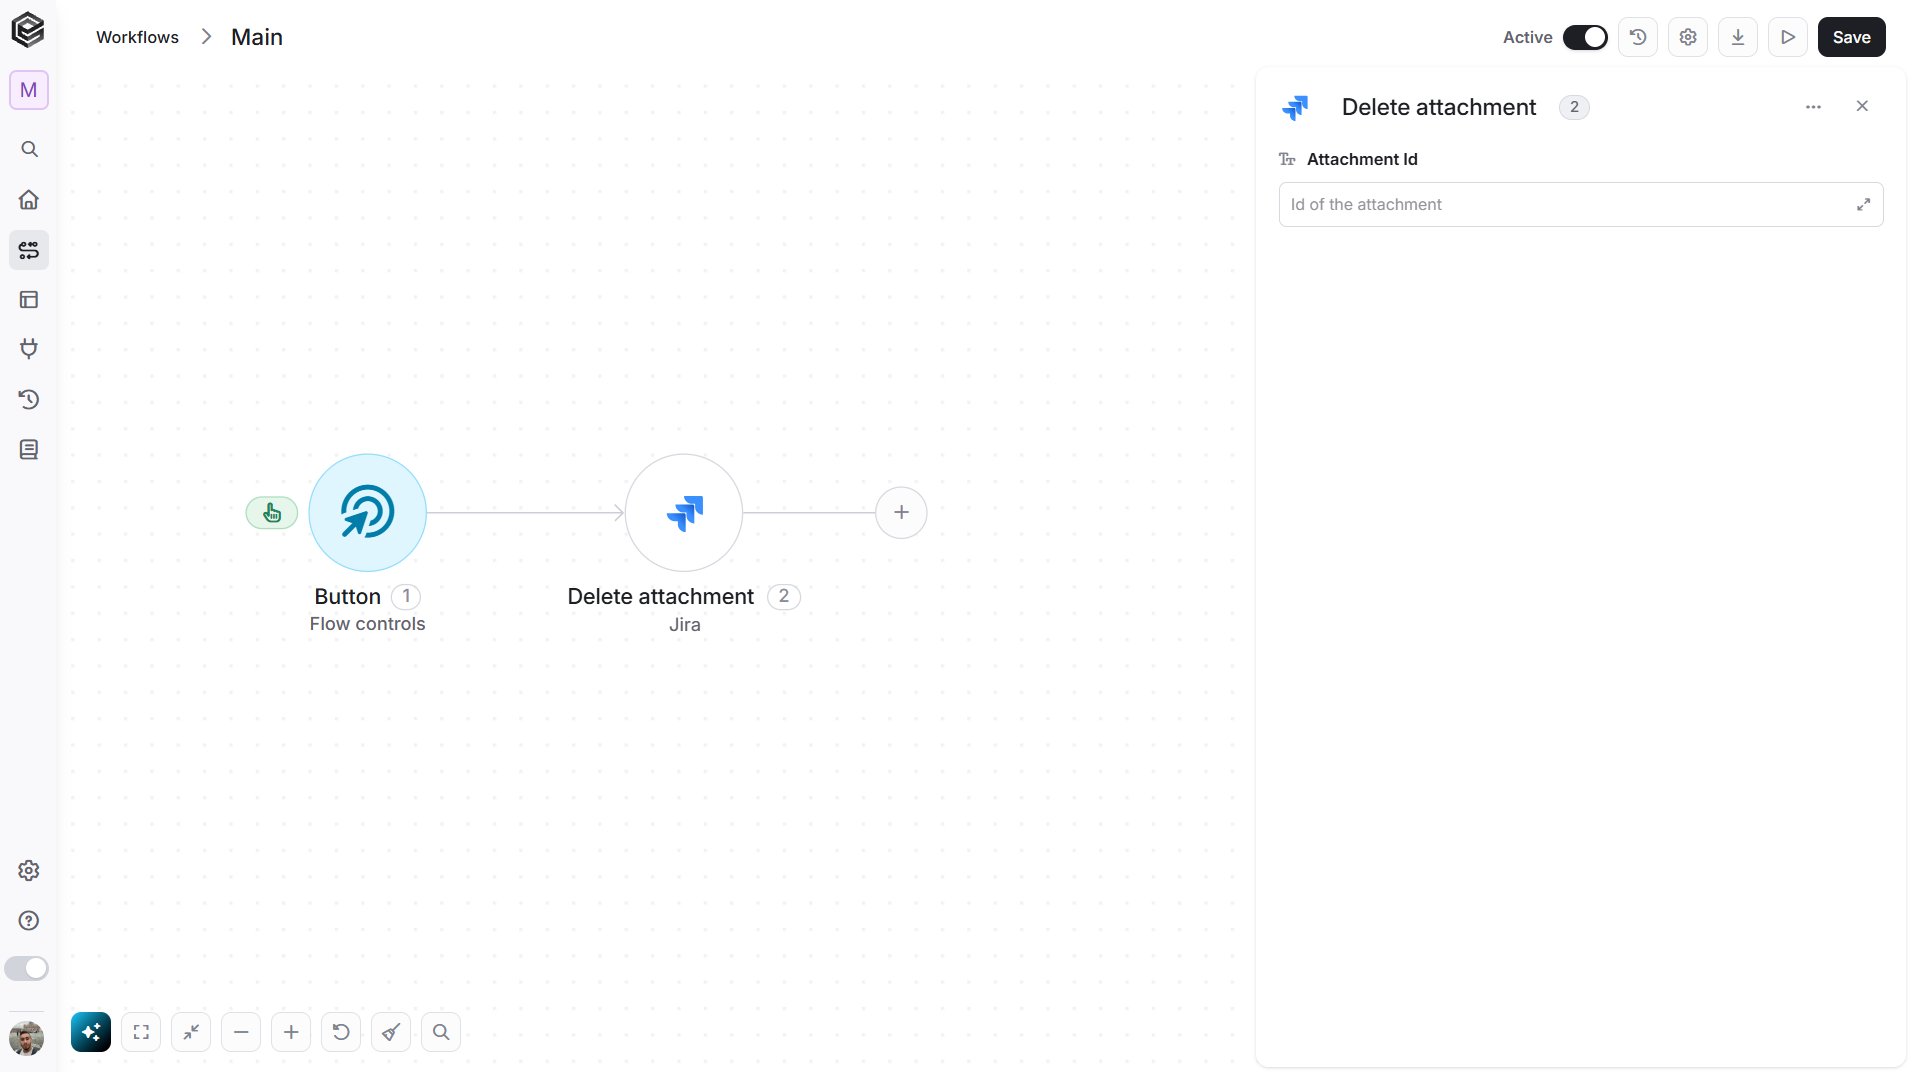
- Attachment Id - The Id of the attachment to delete, for example “10001”. You can get it from the Get Issue action, in the attachments of the issue.
Delete Comment
Deletes a comment from a Jira issue.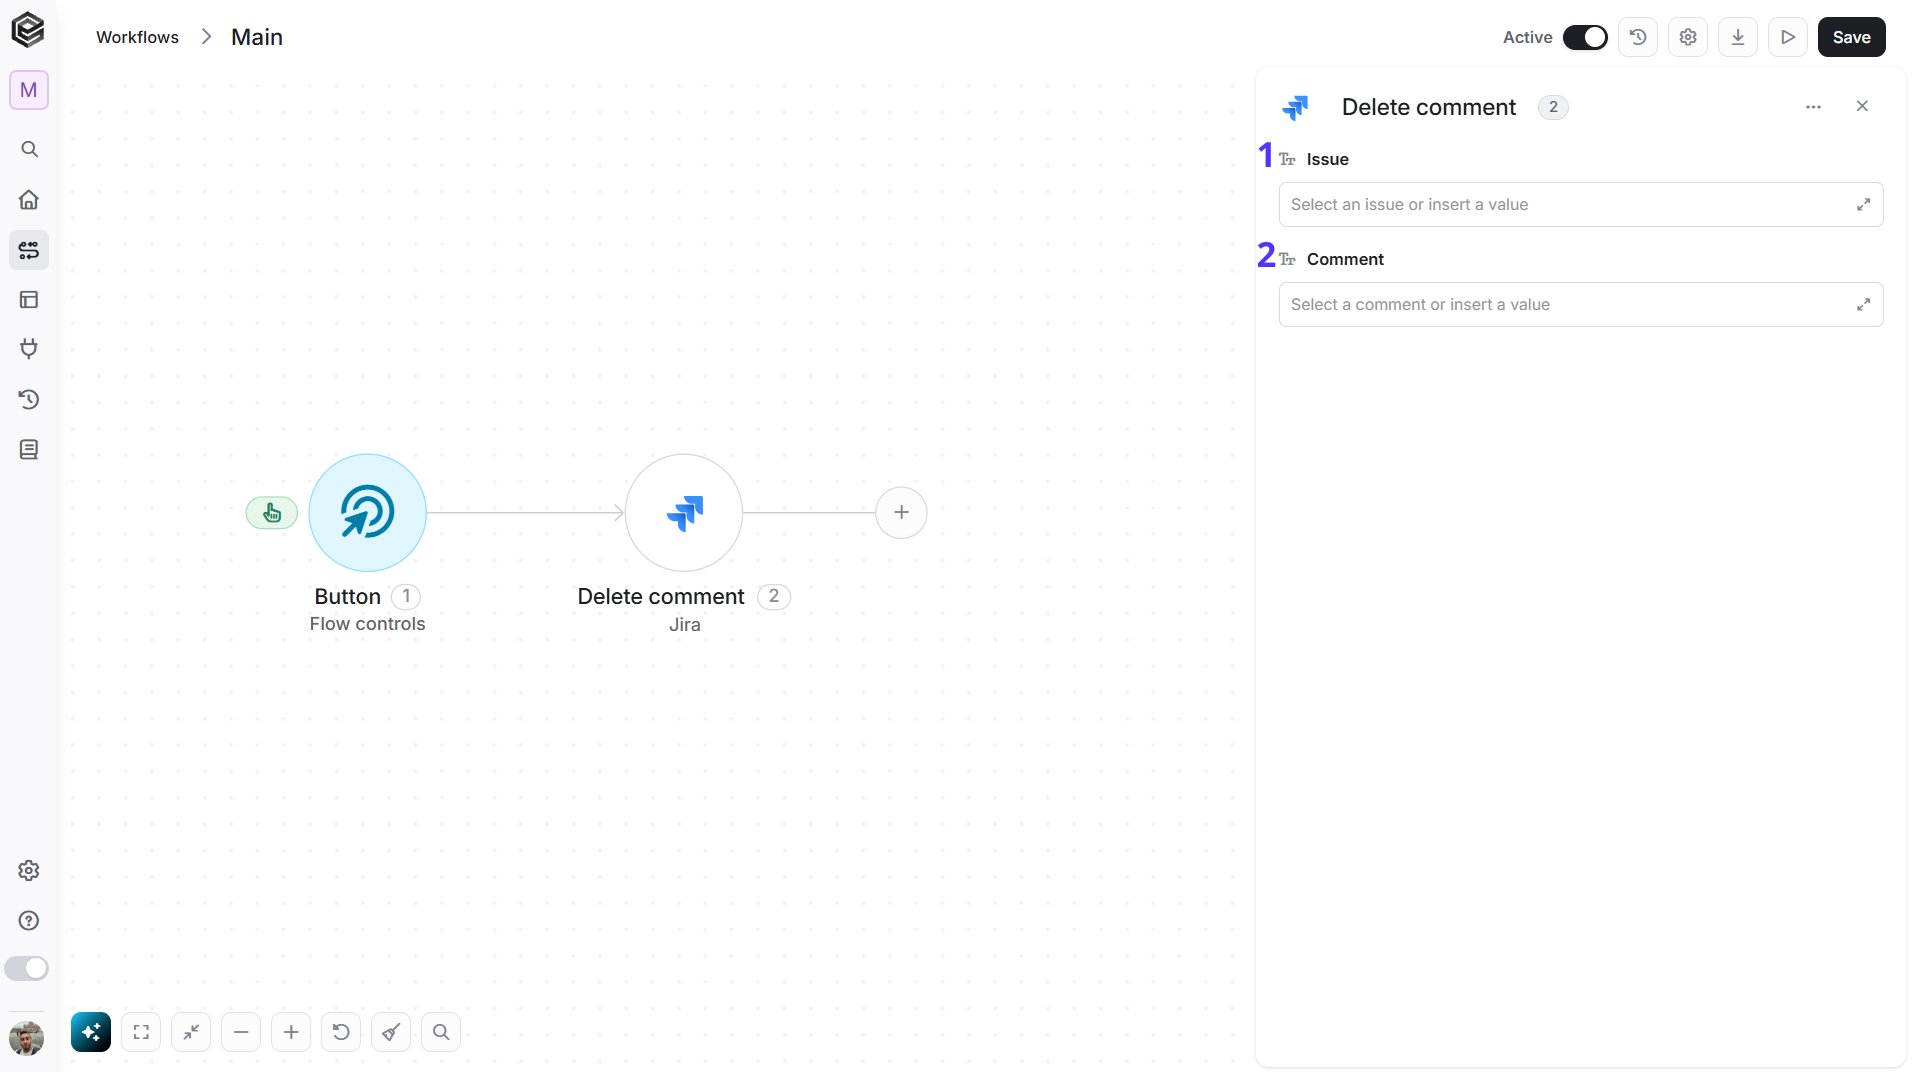
- Issue - The issue that holds the comment. Select the issue, map it from a previous step, or enter its key, for example “PROJ-123”. The key is shown at the top of the issue in Jira.
- Comment - The comment to delete. Select the issue first and then choose the comment from the list, or map the comment Id returned by Get Comments.
Delete Component
Deletes a component from a Jira project.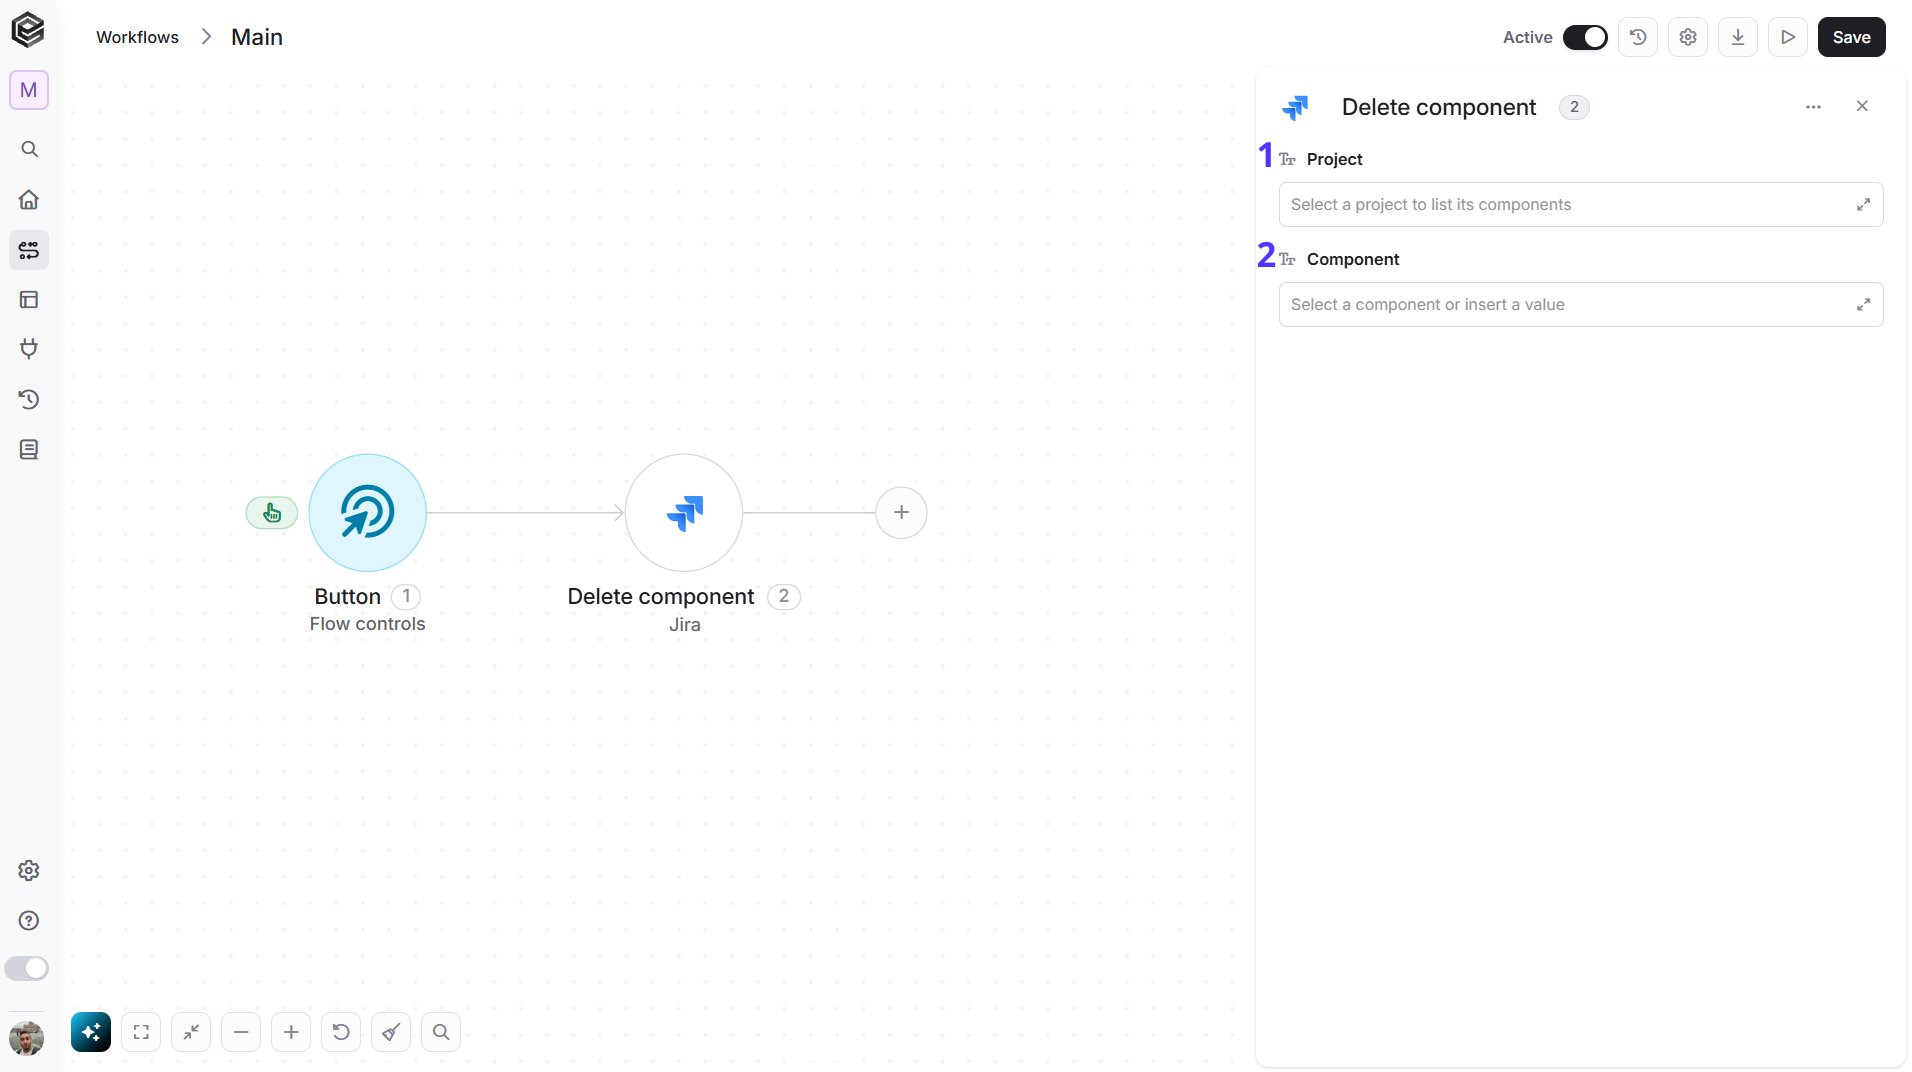
- Project - The project that holds the component. Select the project from the list, map it from a previous step, or enter its key, for example “PROJ”. Select it first to load its components.
- Component - The component to delete. Choose it from the list, or map the component Id returned by Get Project Components.
Delete Issue
Deletes a Jira issue.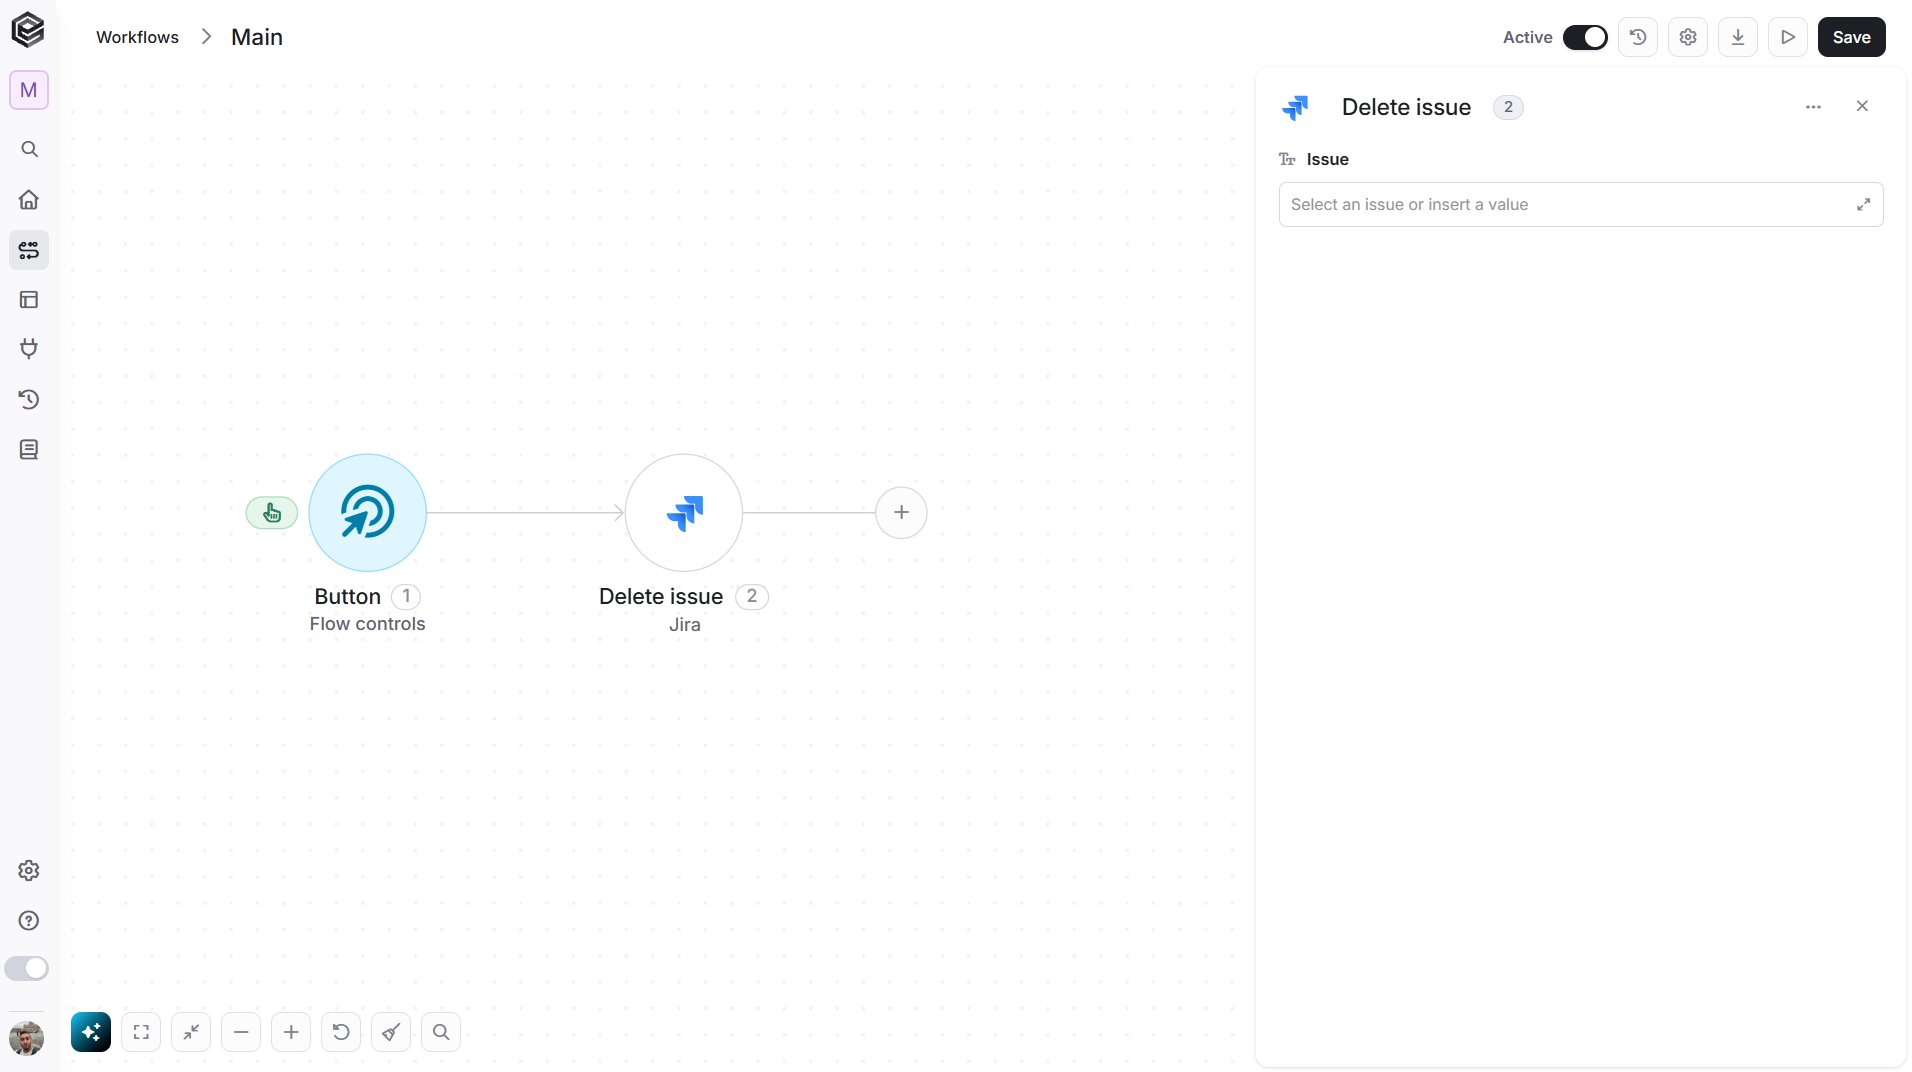
- Issue - The issue to delete. Select the issue, map it from a previous step, or enter its key, for example “PROJ-123”. The key is shown at the top of the issue in Jira.
Delete Issue Link
Removes a link between two Jira issues.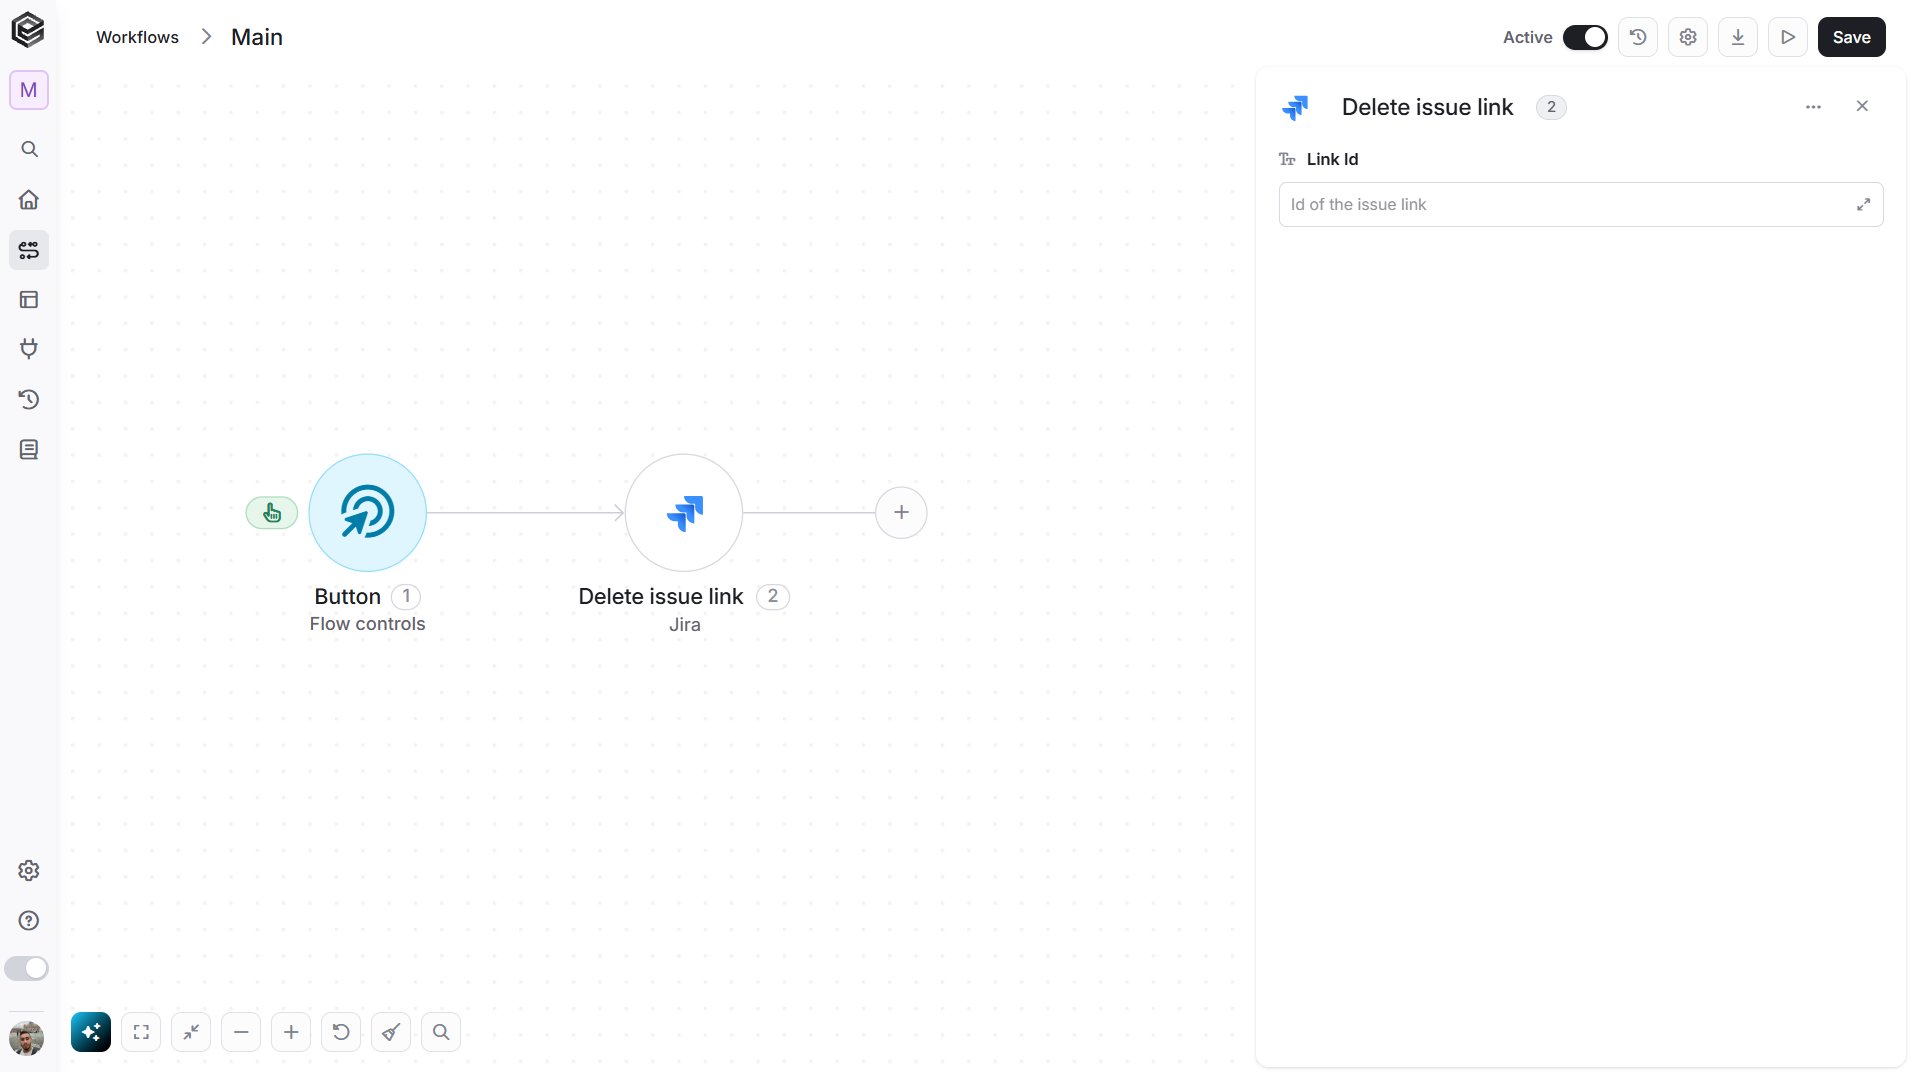
- Link Id - The Id of the issue link to remove, for example “10000”. You can get it from the Get Issue action, in the issue links of the issue.
Delete Version
Deletes a version (release) from a Jira project.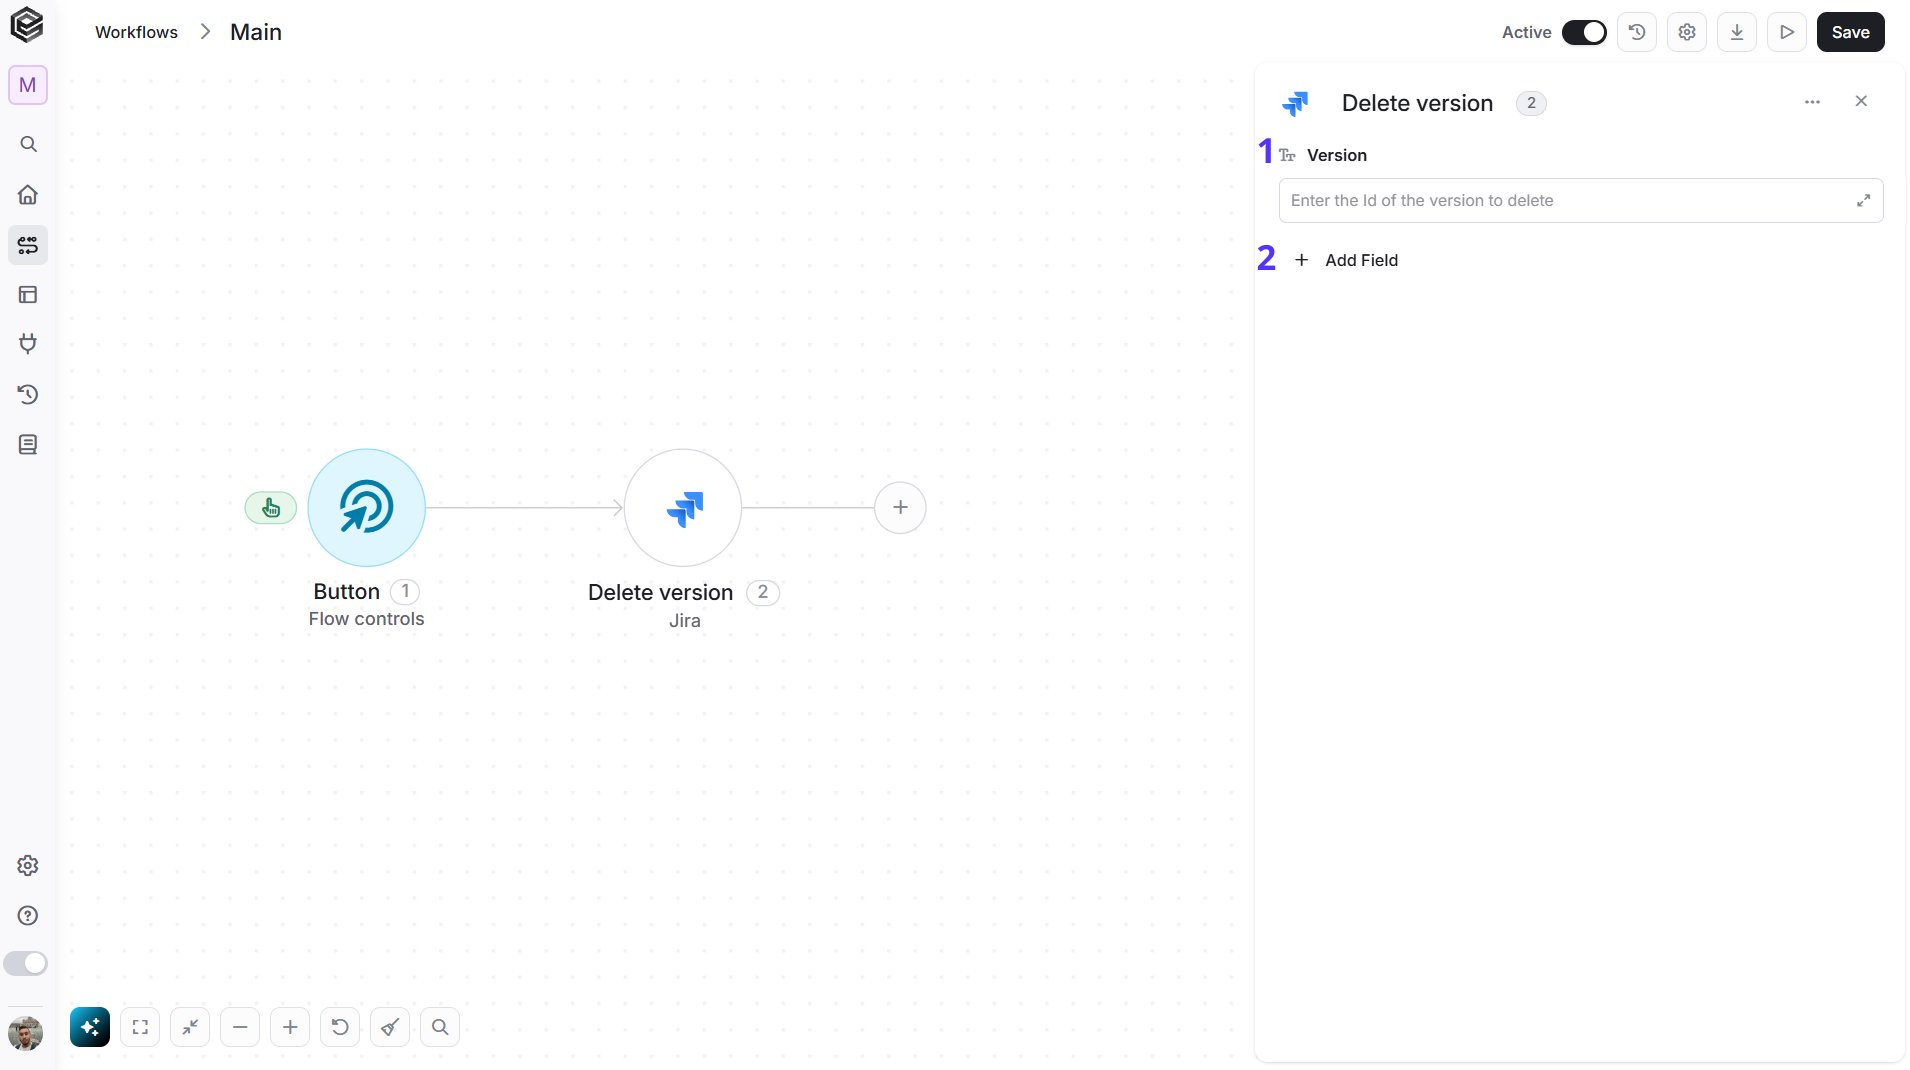
- Version - The Id of the version to delete, for example “10000”. You can get it from the Get Project Versions action.
- Add Field - Click Add Field to add optional fields. To learn more, click here.
Delete Watcher
Removes a user from the watchers of a Jira issue.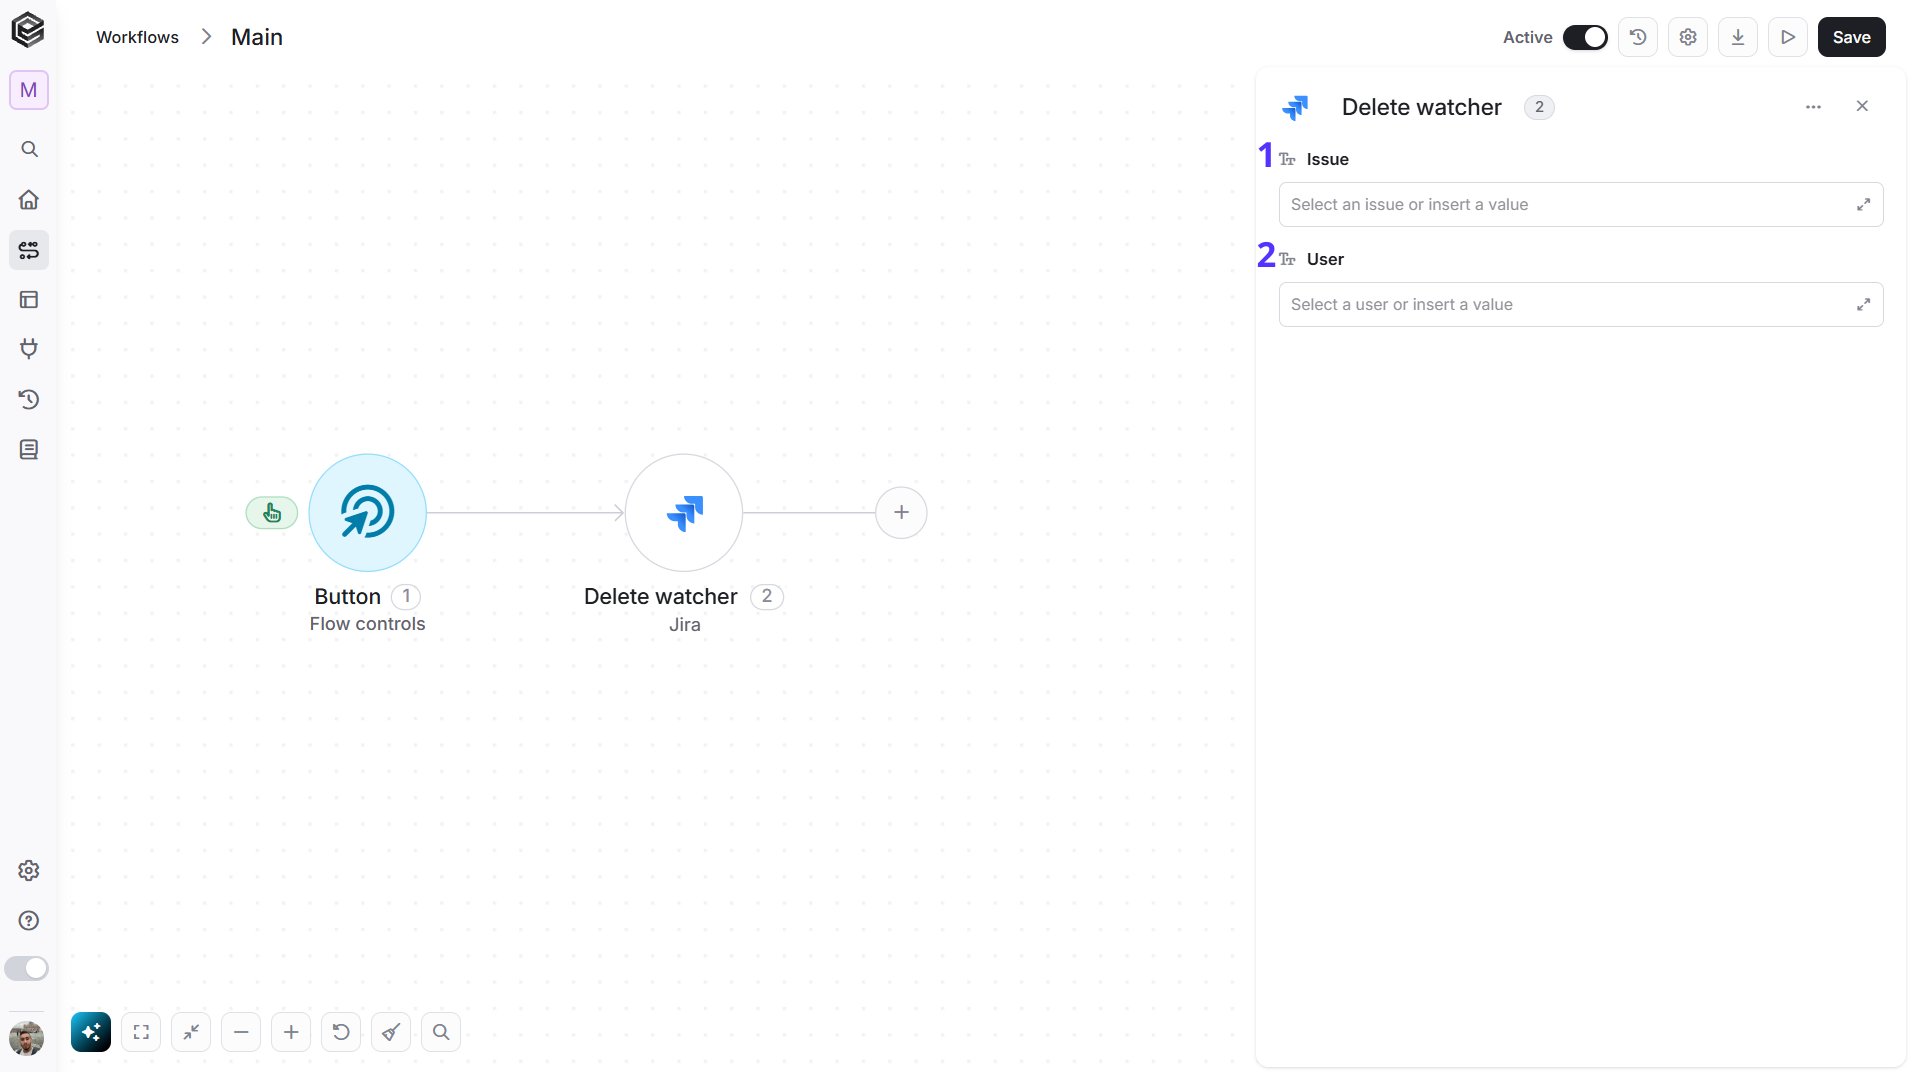
- Issue - The issue to remove the watcher from. Select the issue, map it from a previous step, or enter its key, for example “PROJ-123”. The key is shown at the top of the issue in Jira.
- User - The watcher to remove. Select the user from the list, map an account Id from a previous step such as Get Issue Watchers, or enter the Jira account Id.
Edit Issue
Updates the fields of an existing Jira issue.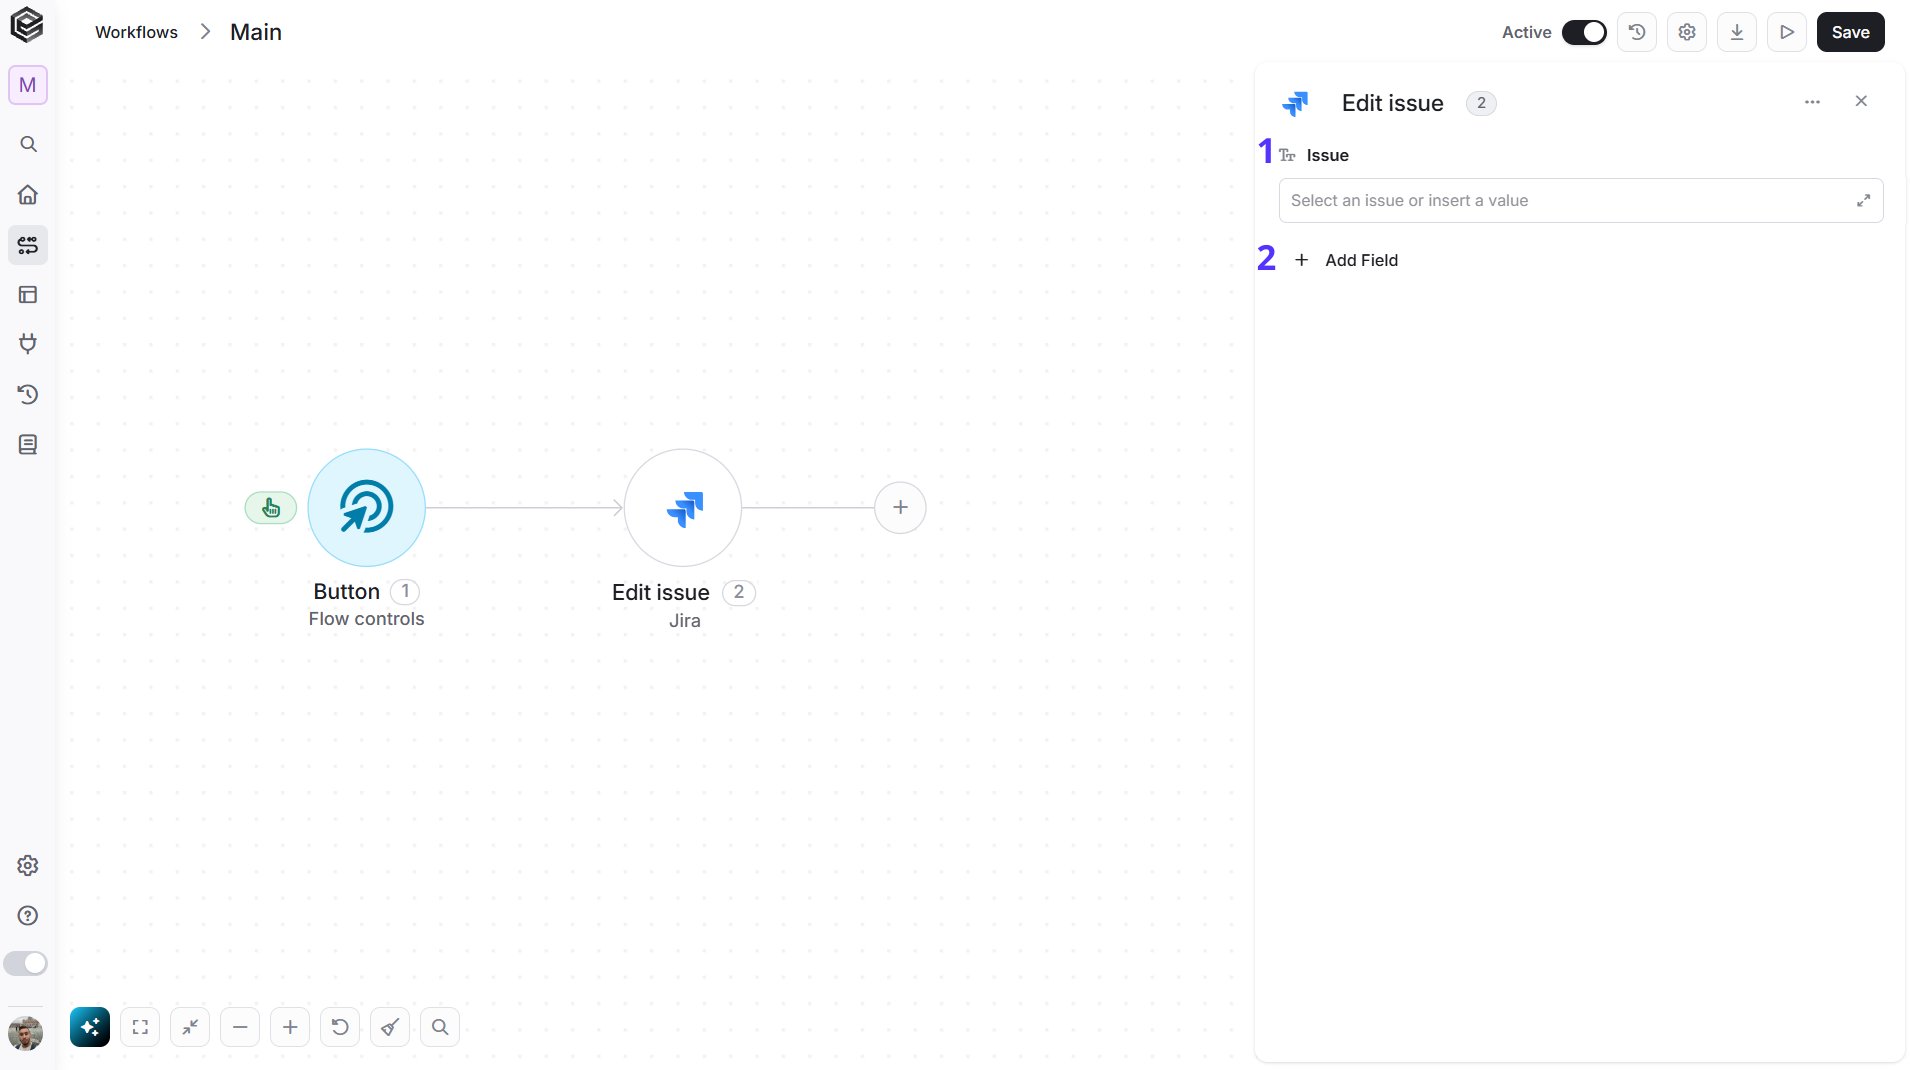
- Issue - The issue to edit. Select the issue, map it from a previous step, or enter its key, for example “PROJ-123”. The key is shown at the top of the issue in Jira.
- Add Field - Click Add Field to add optional fields. To learn more, click here.
yyyy-MM-dd), Parent Issue Key and Issue Type.
Get All Users
Retrieves the users of your Jira site.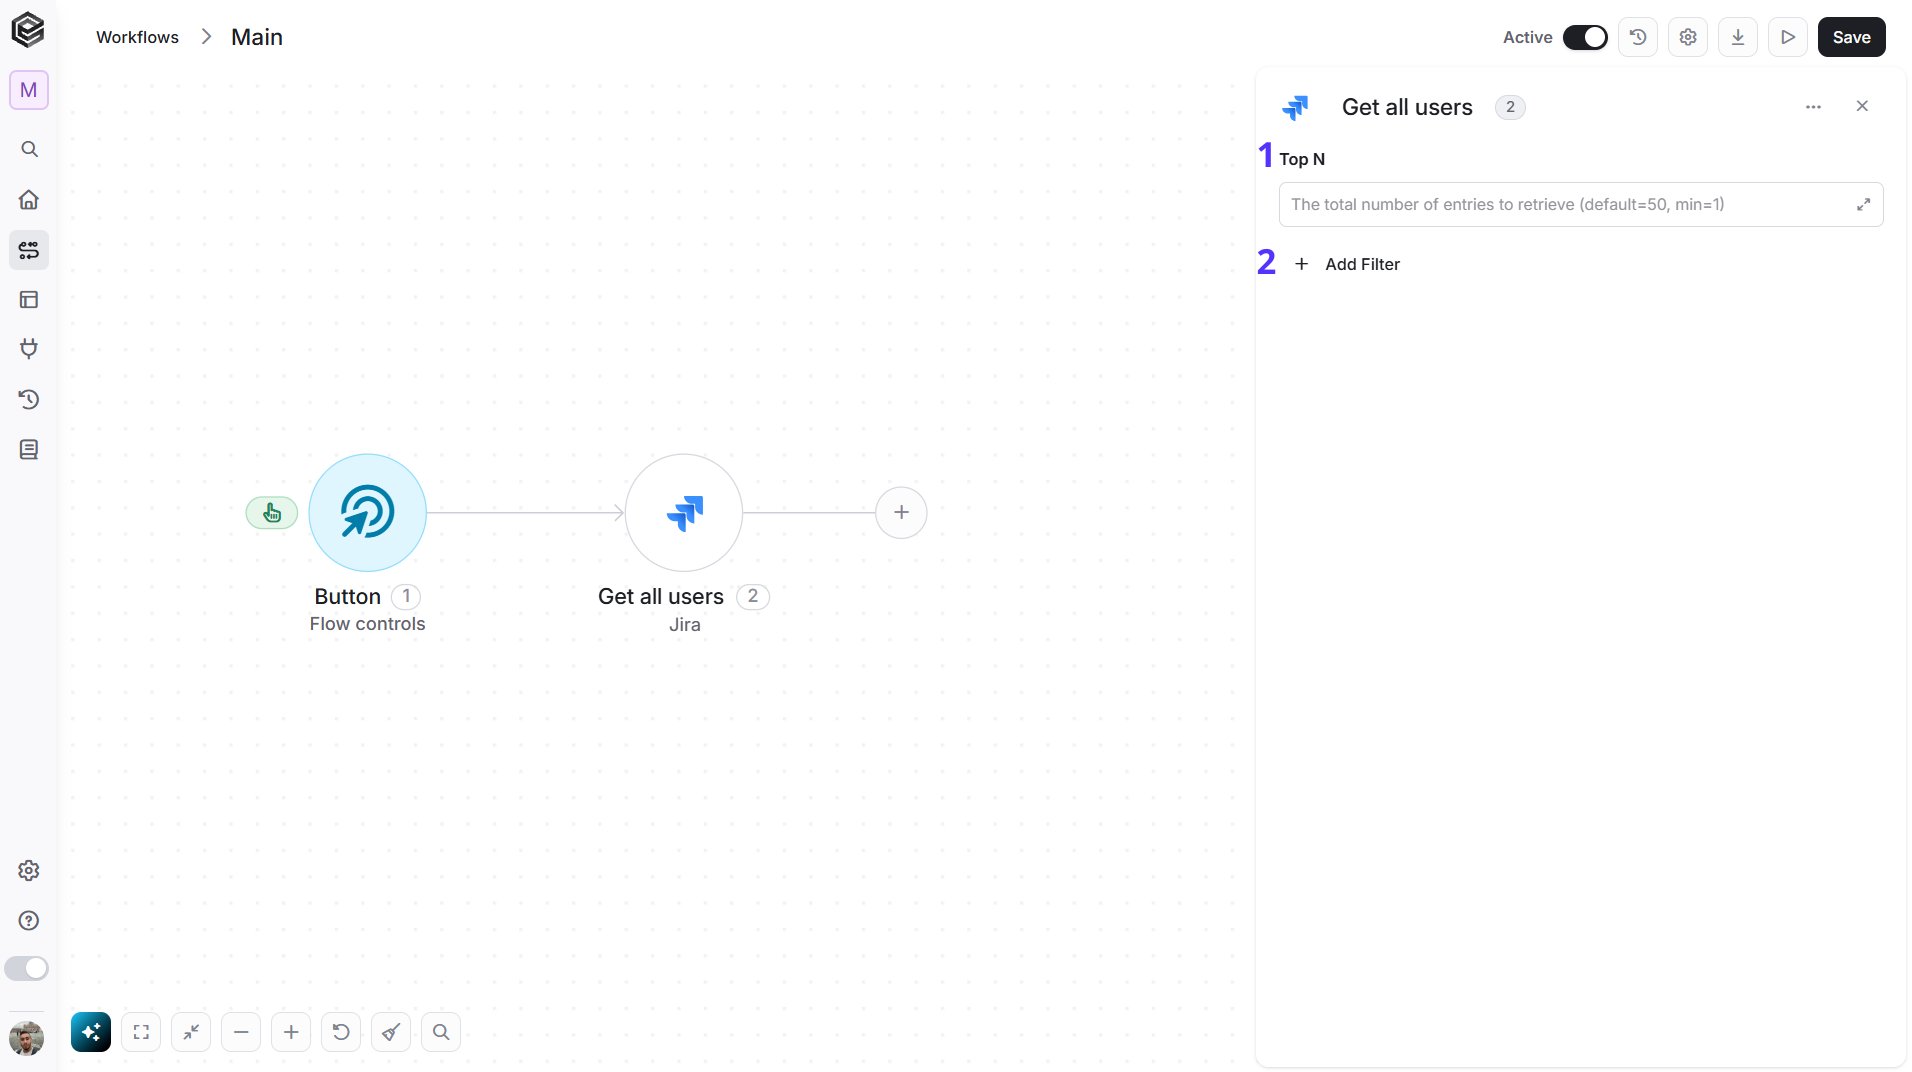
- Top N - The maximum number of users Engini will return (default = 50). Increase it if your Jira site has more users.
- Add Filter - Narrow the returned list with conditions. To learn more, click here. For example, return only the users whose display name contains “John”.
Get Attachment Content
Downloads the content of a file attached to a Jira issue.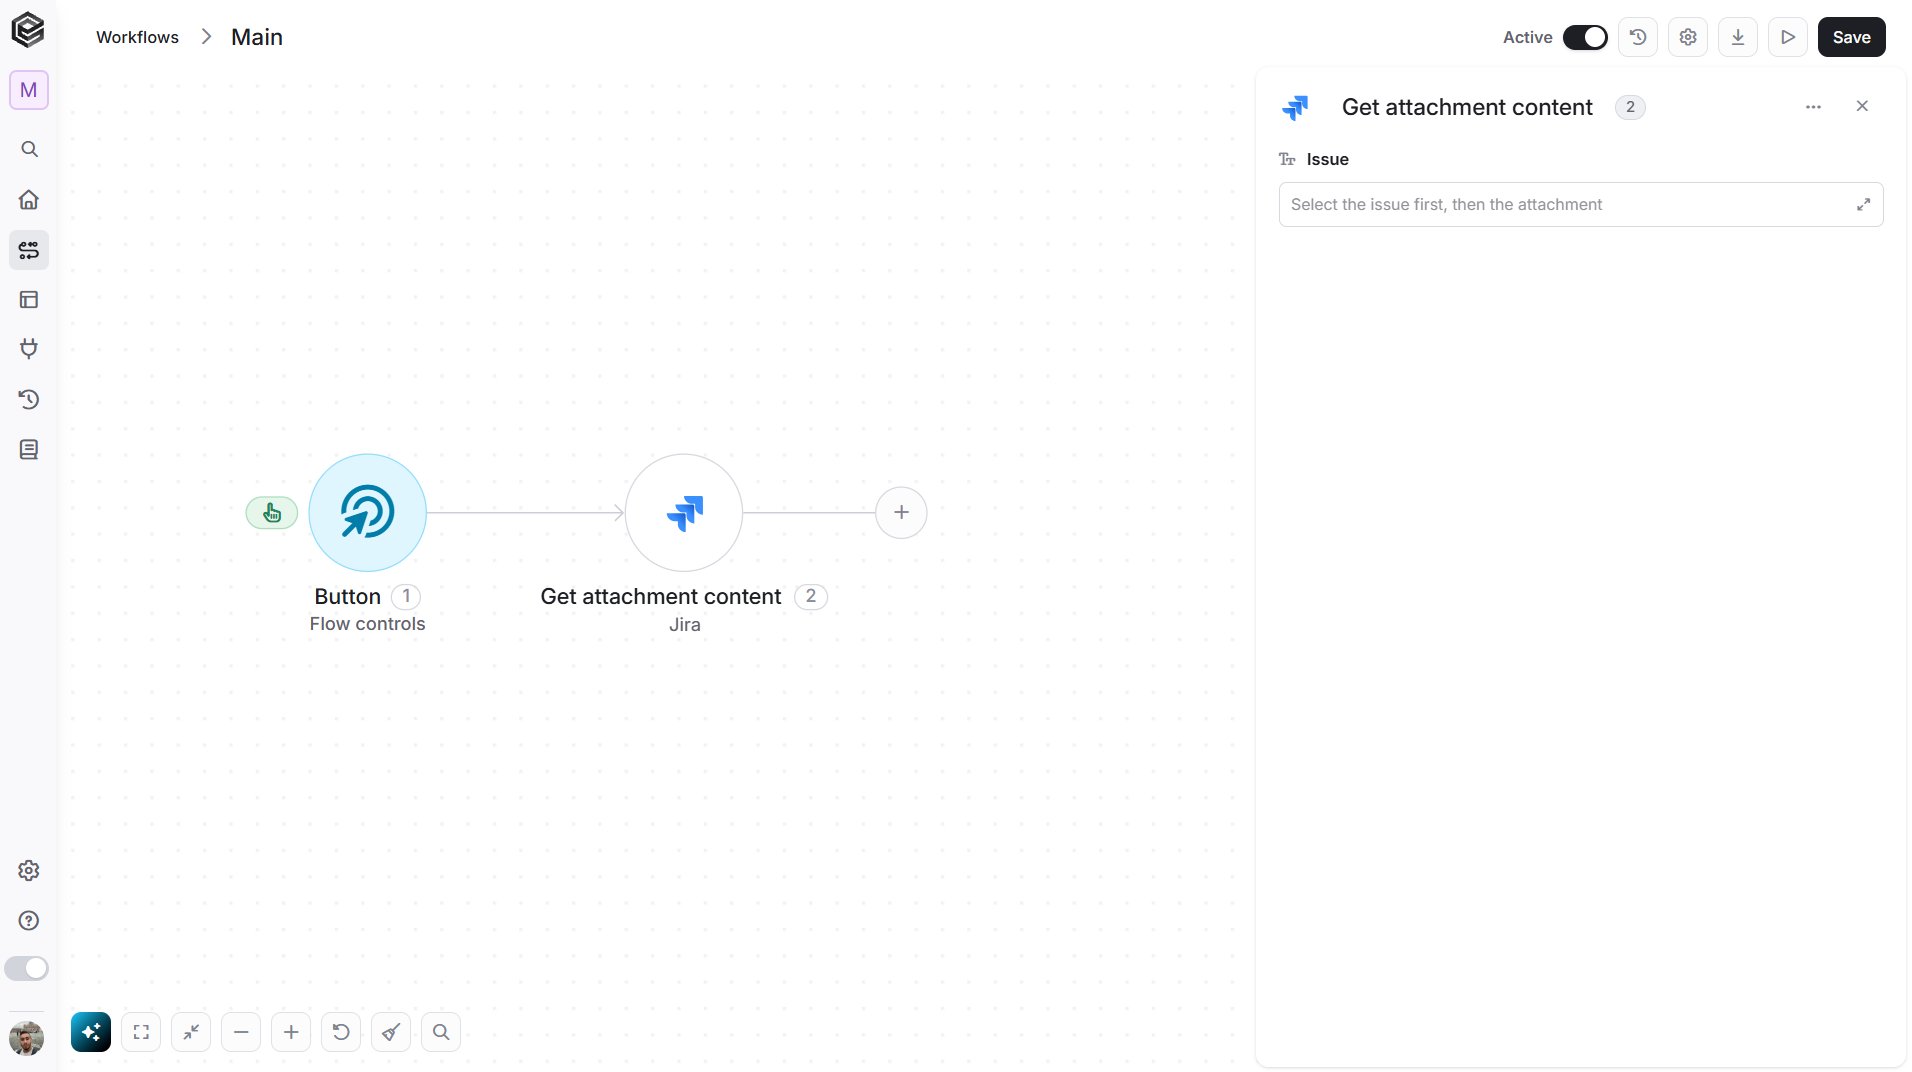
- Issue - The issue that holds the attachment. Select the issue, map it from a previous step, or enter its key, for example “PROJ-123”. The key is shown at the top of the issue in Jira.
- Attachment - The file to download. After you select the issue, the Attachment field appears; choose the file from its list.
Get Changelogs
Retrieves the change history of a Jira issue.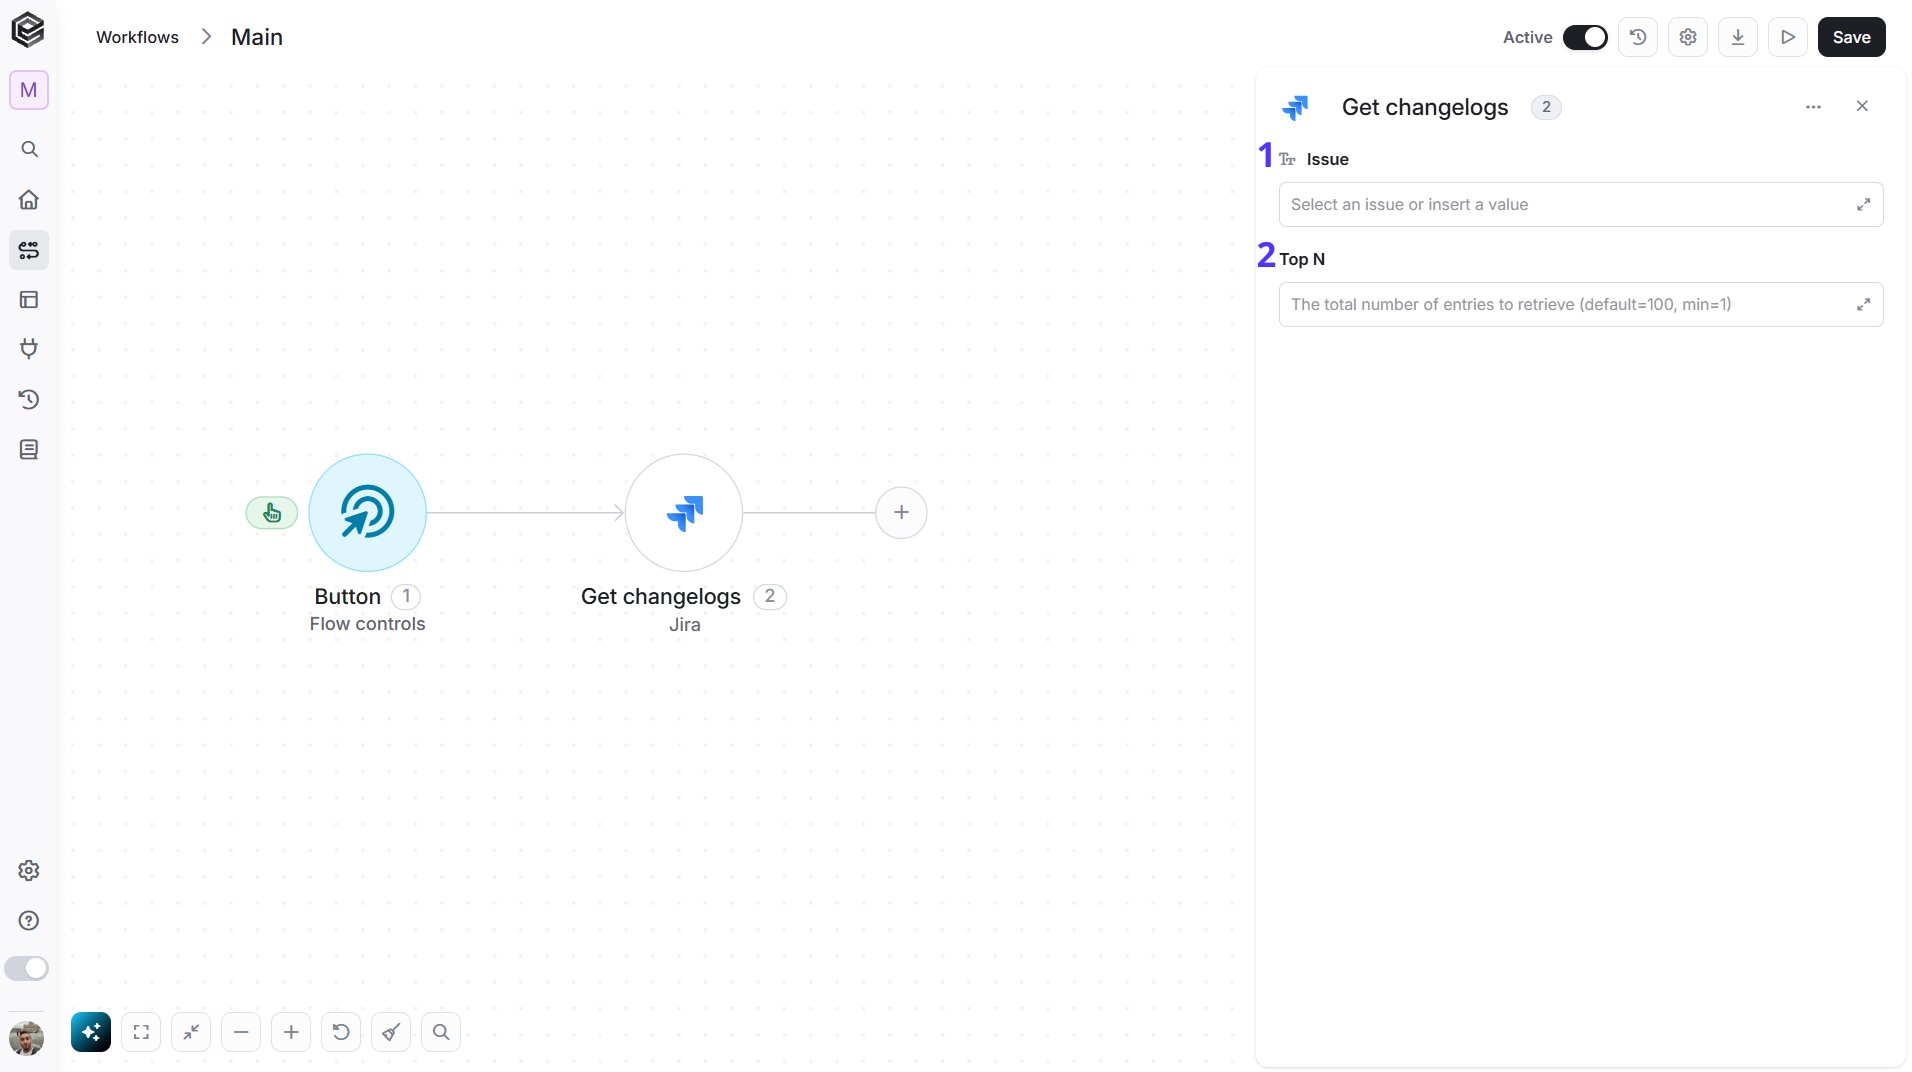
- Issue - The issue whose history you want. Select the issue, map it from a previous step, or enter its key, for example “PROJ-123”. The key is shown at the top of the issue in Jira.
- Top N - The maximum number of change records Engini will return (default = 100). Each record shows who changed the issue, when, and which fields changed.
Get Comment
Retrieves a single comment from a Jira issue.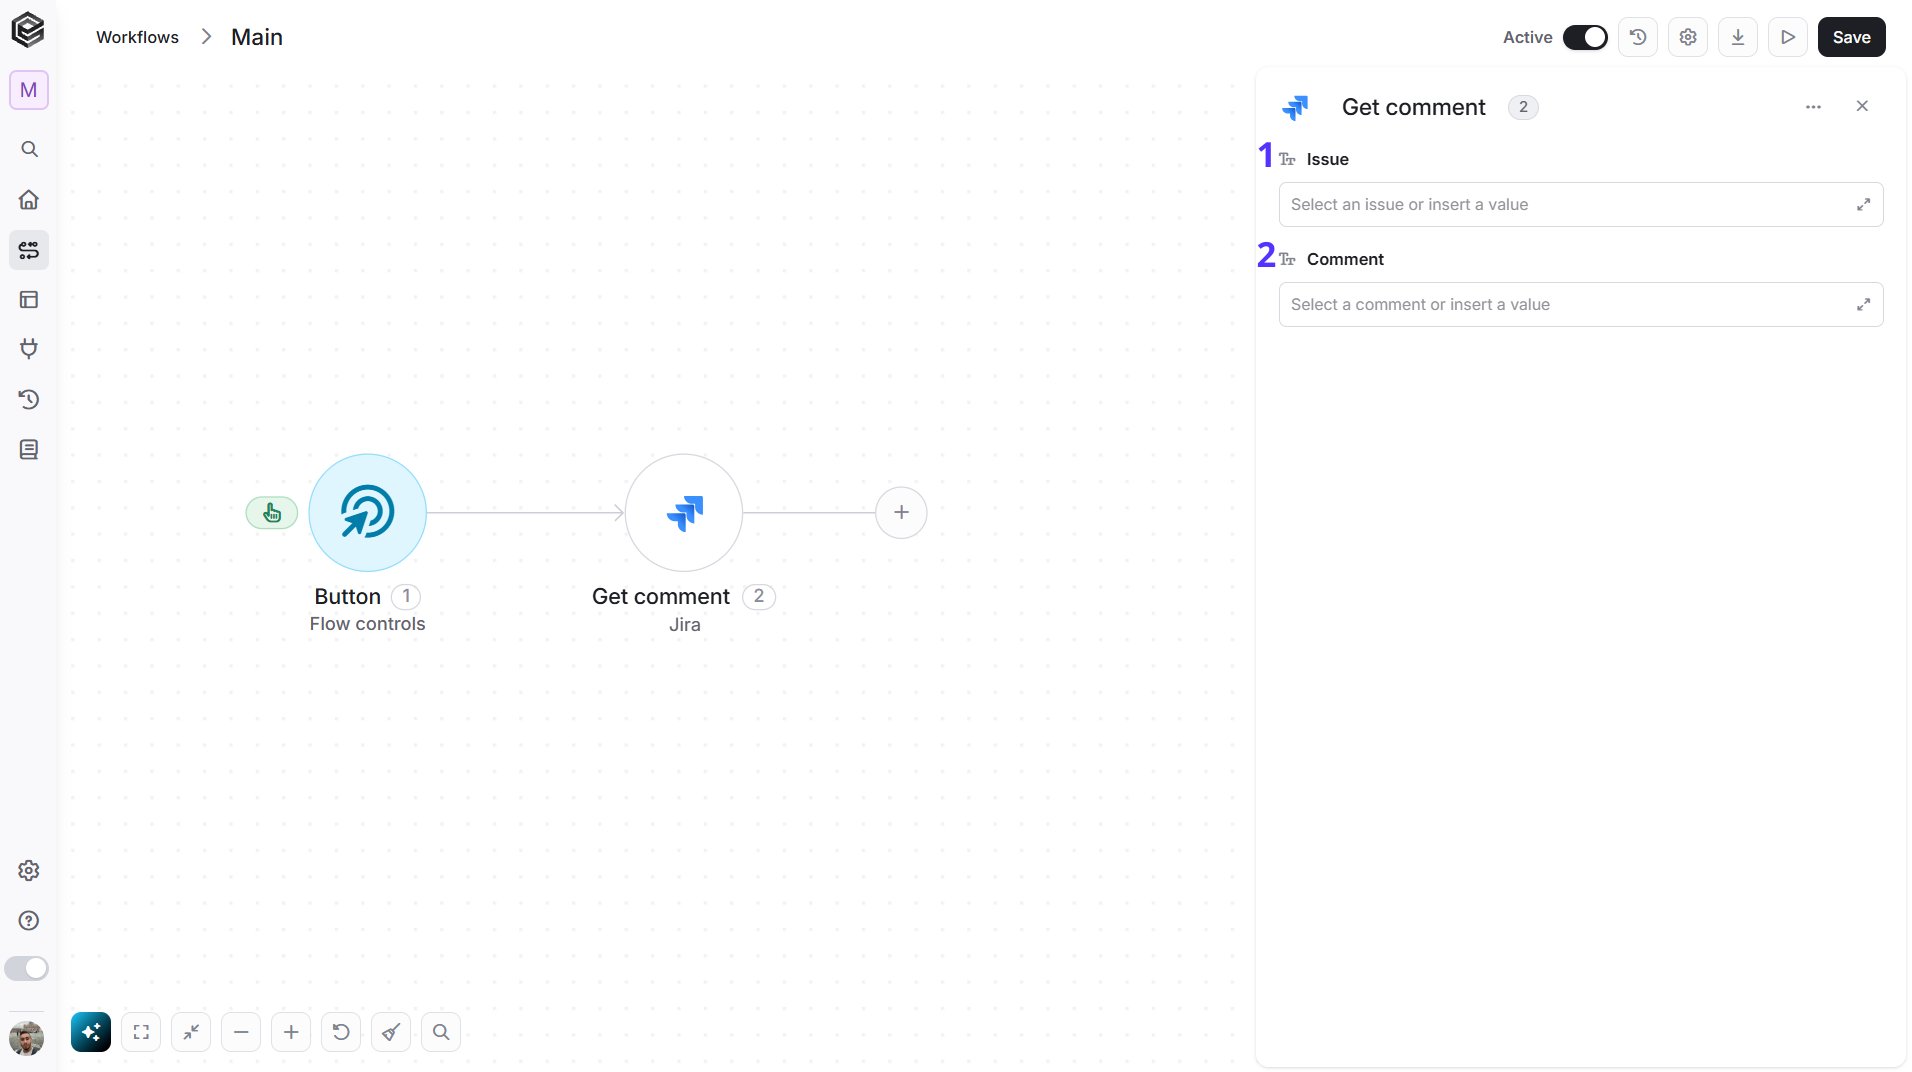
- Issue - The issue that holds the comment. Select the issue, map it from a previous step, or enter its key, for example “PROJ-123”. The key is shown at the top of the issue in Jira.
- Comment - The comment to retrieve. Select the issue first and then choose the comment from the list, or map the comment Id returned by a previous step, such as Get Comments or Add Comment.
Get Comments
Retrieves the comments of a Jira issue.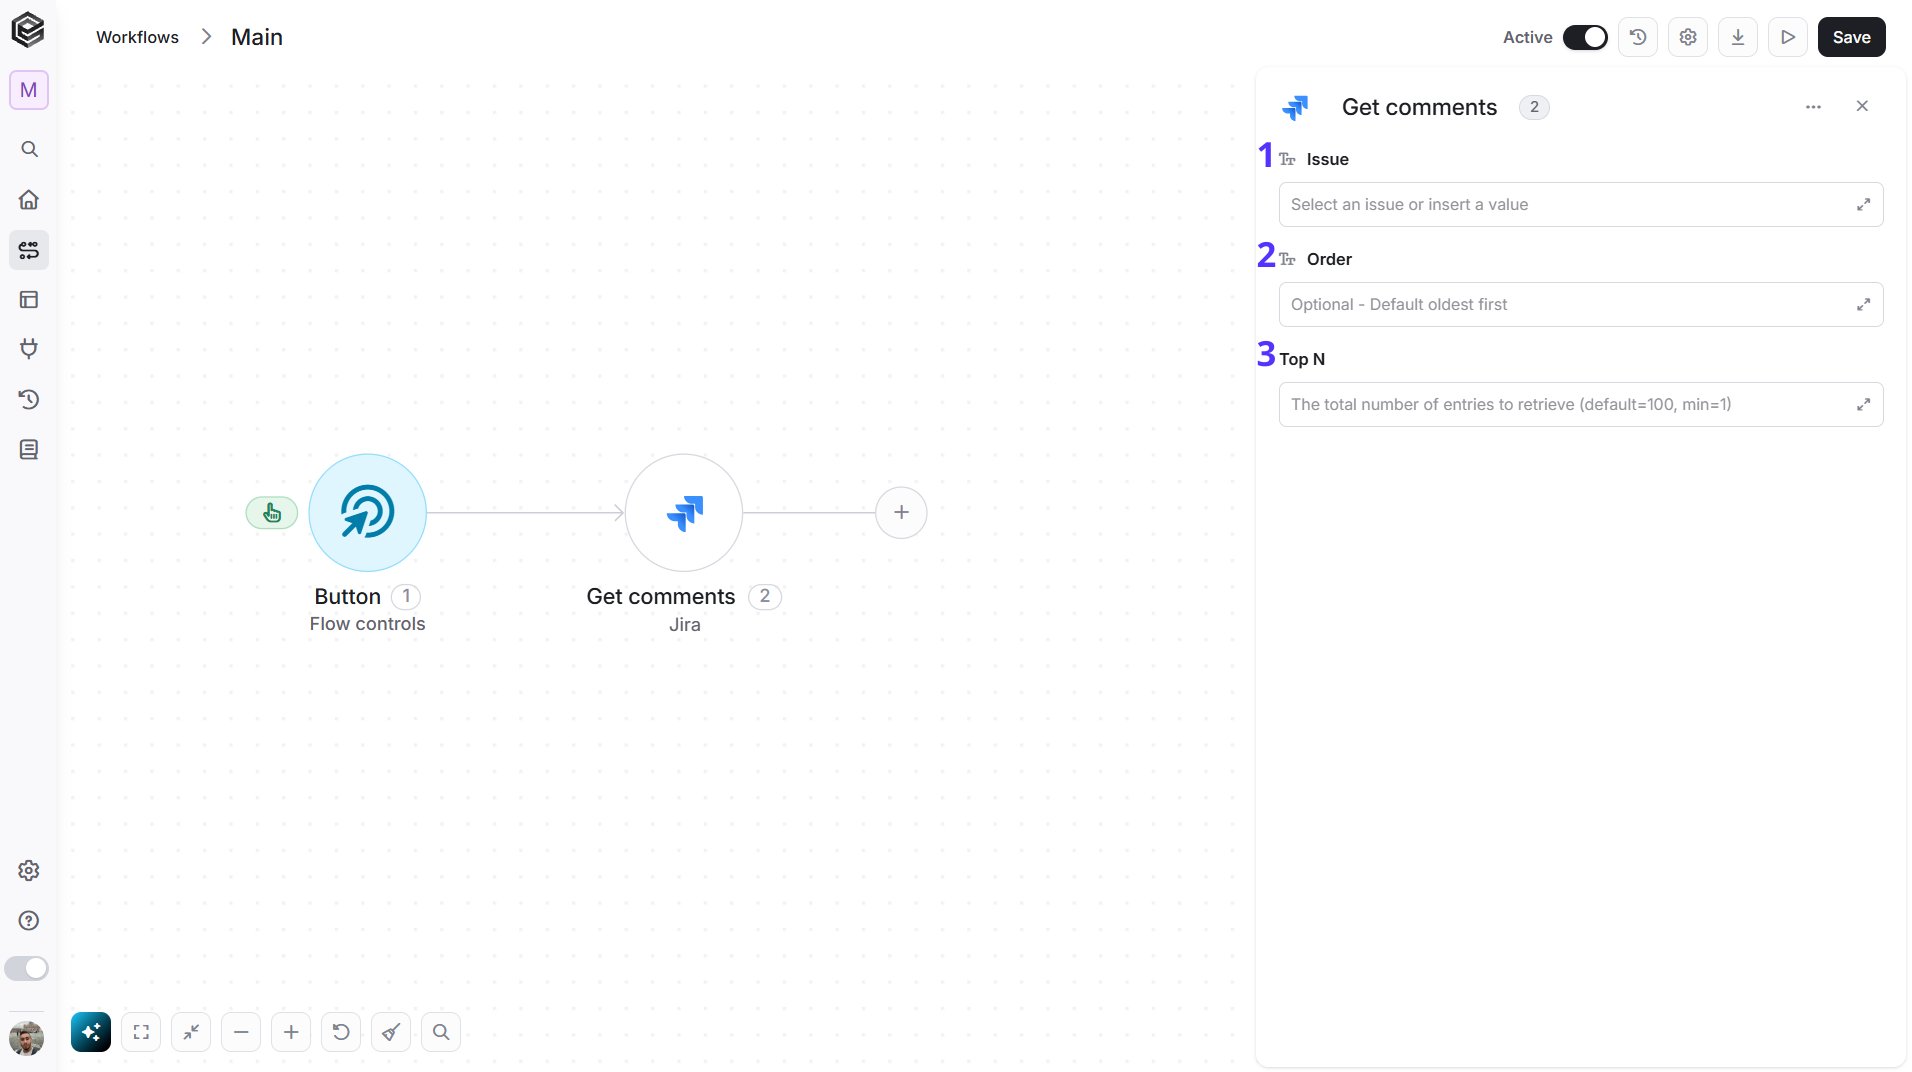
- Issue - The issue whose comments you want. Select the issue, map it from a previous step, or enter its key, for example “PROJ-123”. The key is shown at the top of the issue in Jira.
- Order - Optional. Enter
created(oldest first, the default) to read the conversation from the beginning, or-created(newest first) to get the latest comments at the top. - Top N - The maximum number of comments Engini will return (default = 100). Enter a smaller number, for example 10, to get only a few comments.
Get Current User
Retrieves the Jira user the connection is signed in as, for example to get your own account Id.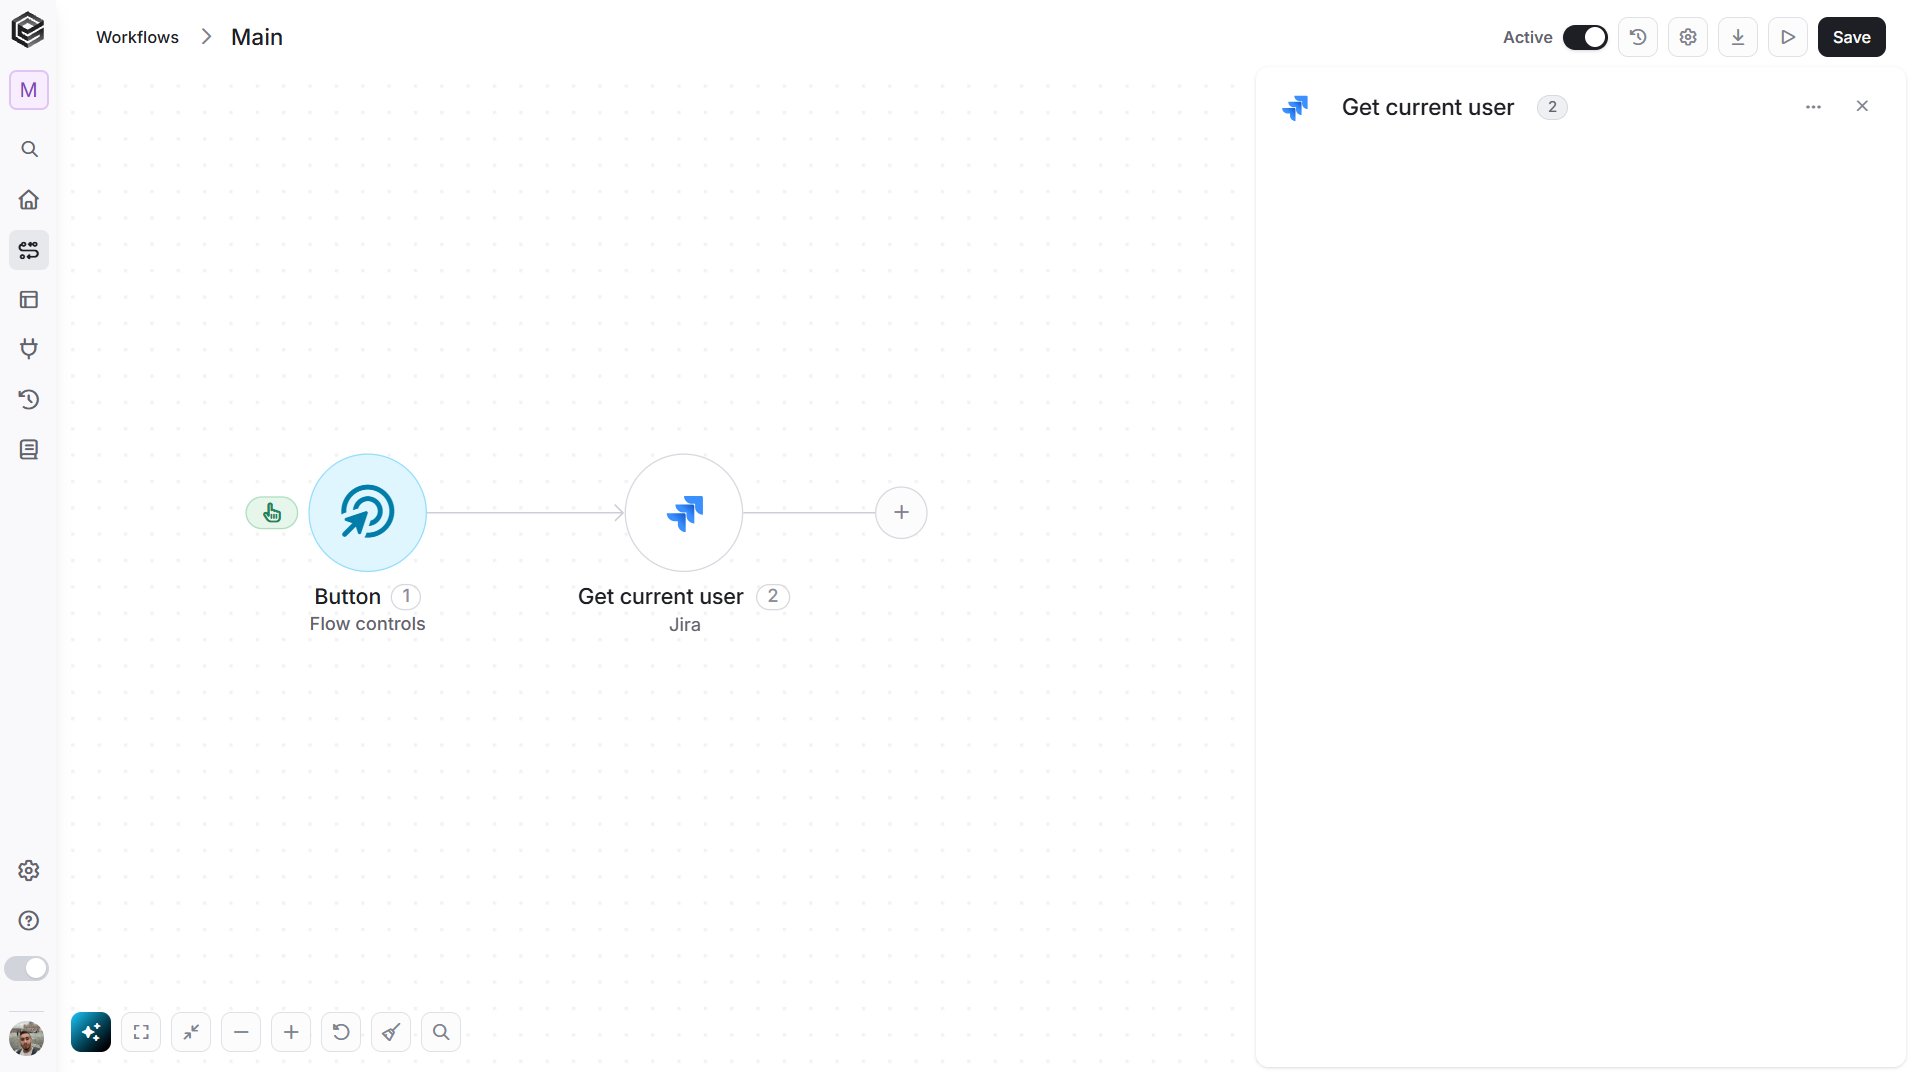
Get Custom Field Contexts
Retrieves the contexts of a custom field. A context defines the projects and issue types where the field and its options apply.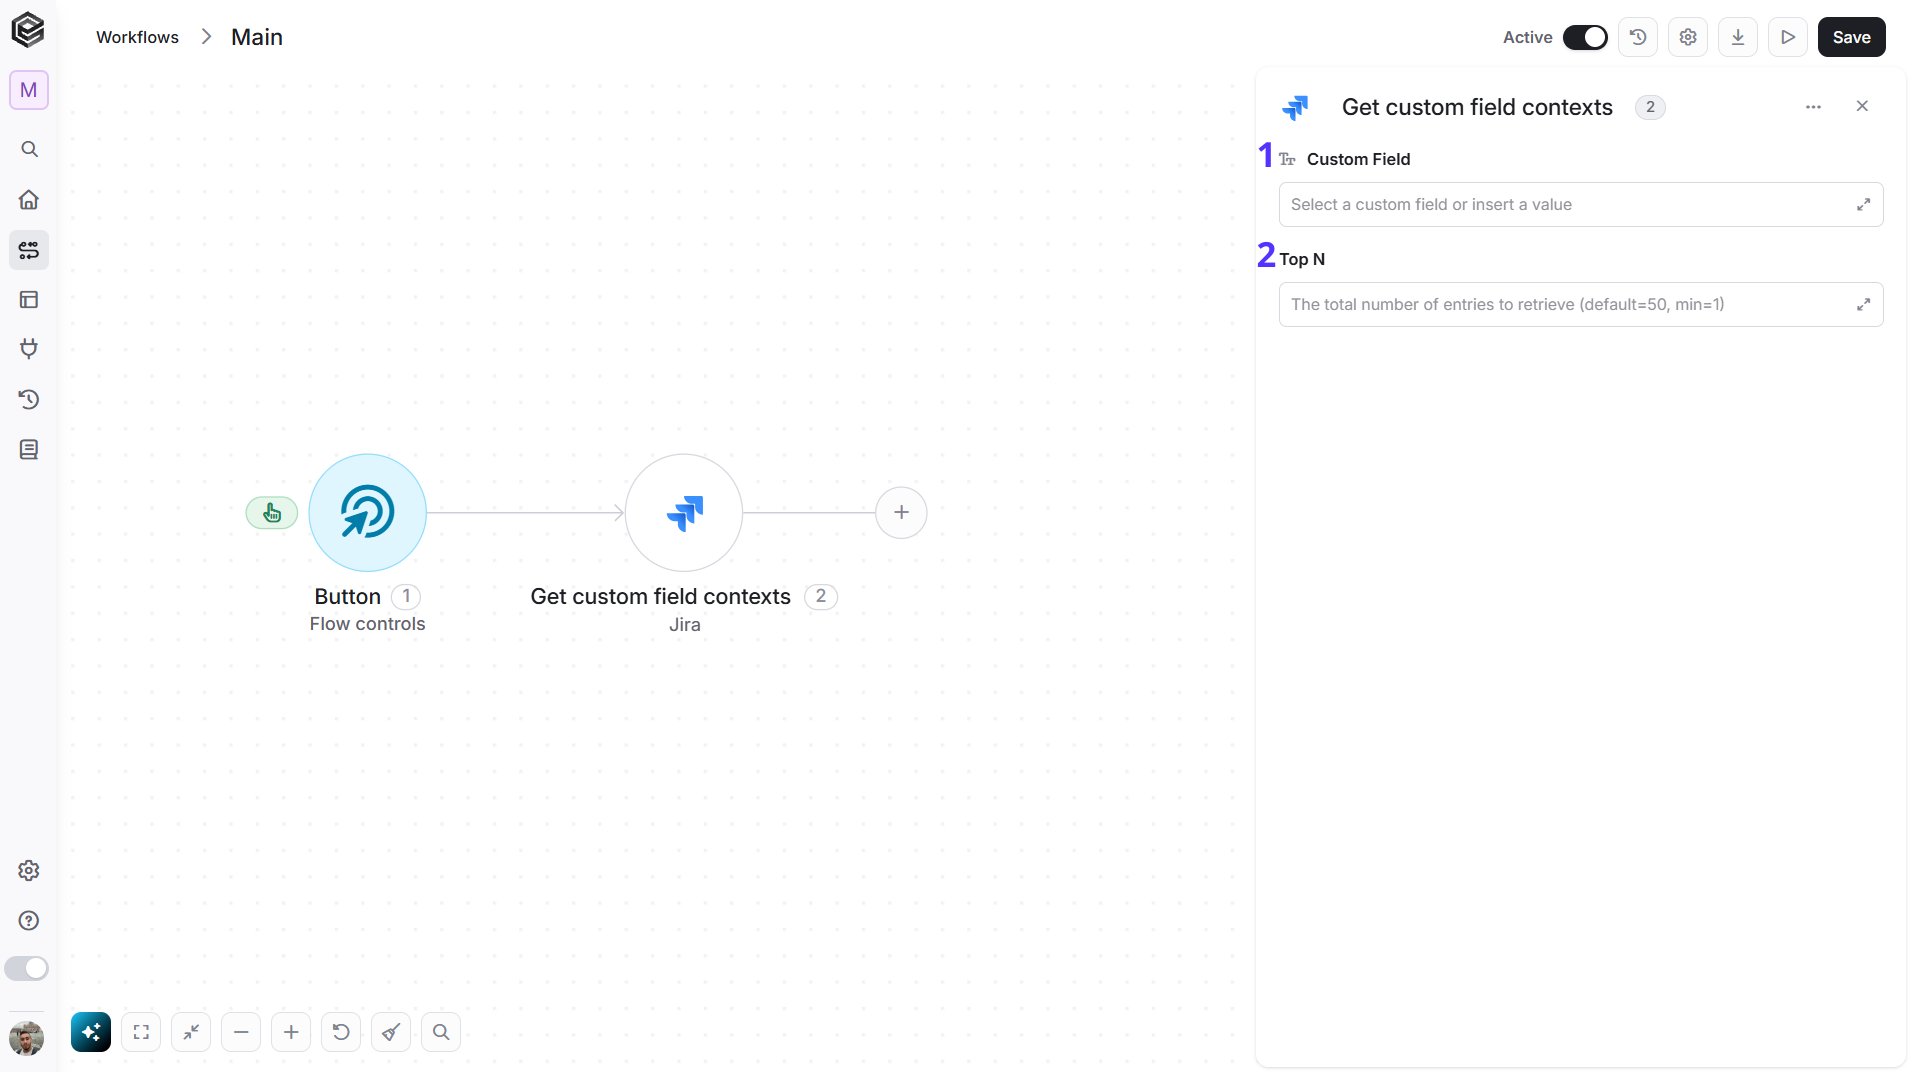
- Custom Field - The custom field whose contexts you want. Select it from the list, map it from a previous step such as Get Custom Fields, or enter its Id, for example “customfield_10000”.
- Top N - The maximum number of contexts Engini will return (default = 50).
Get Custom Fields
Retrieves the custom fields of your Jira site, such as their names and Ids.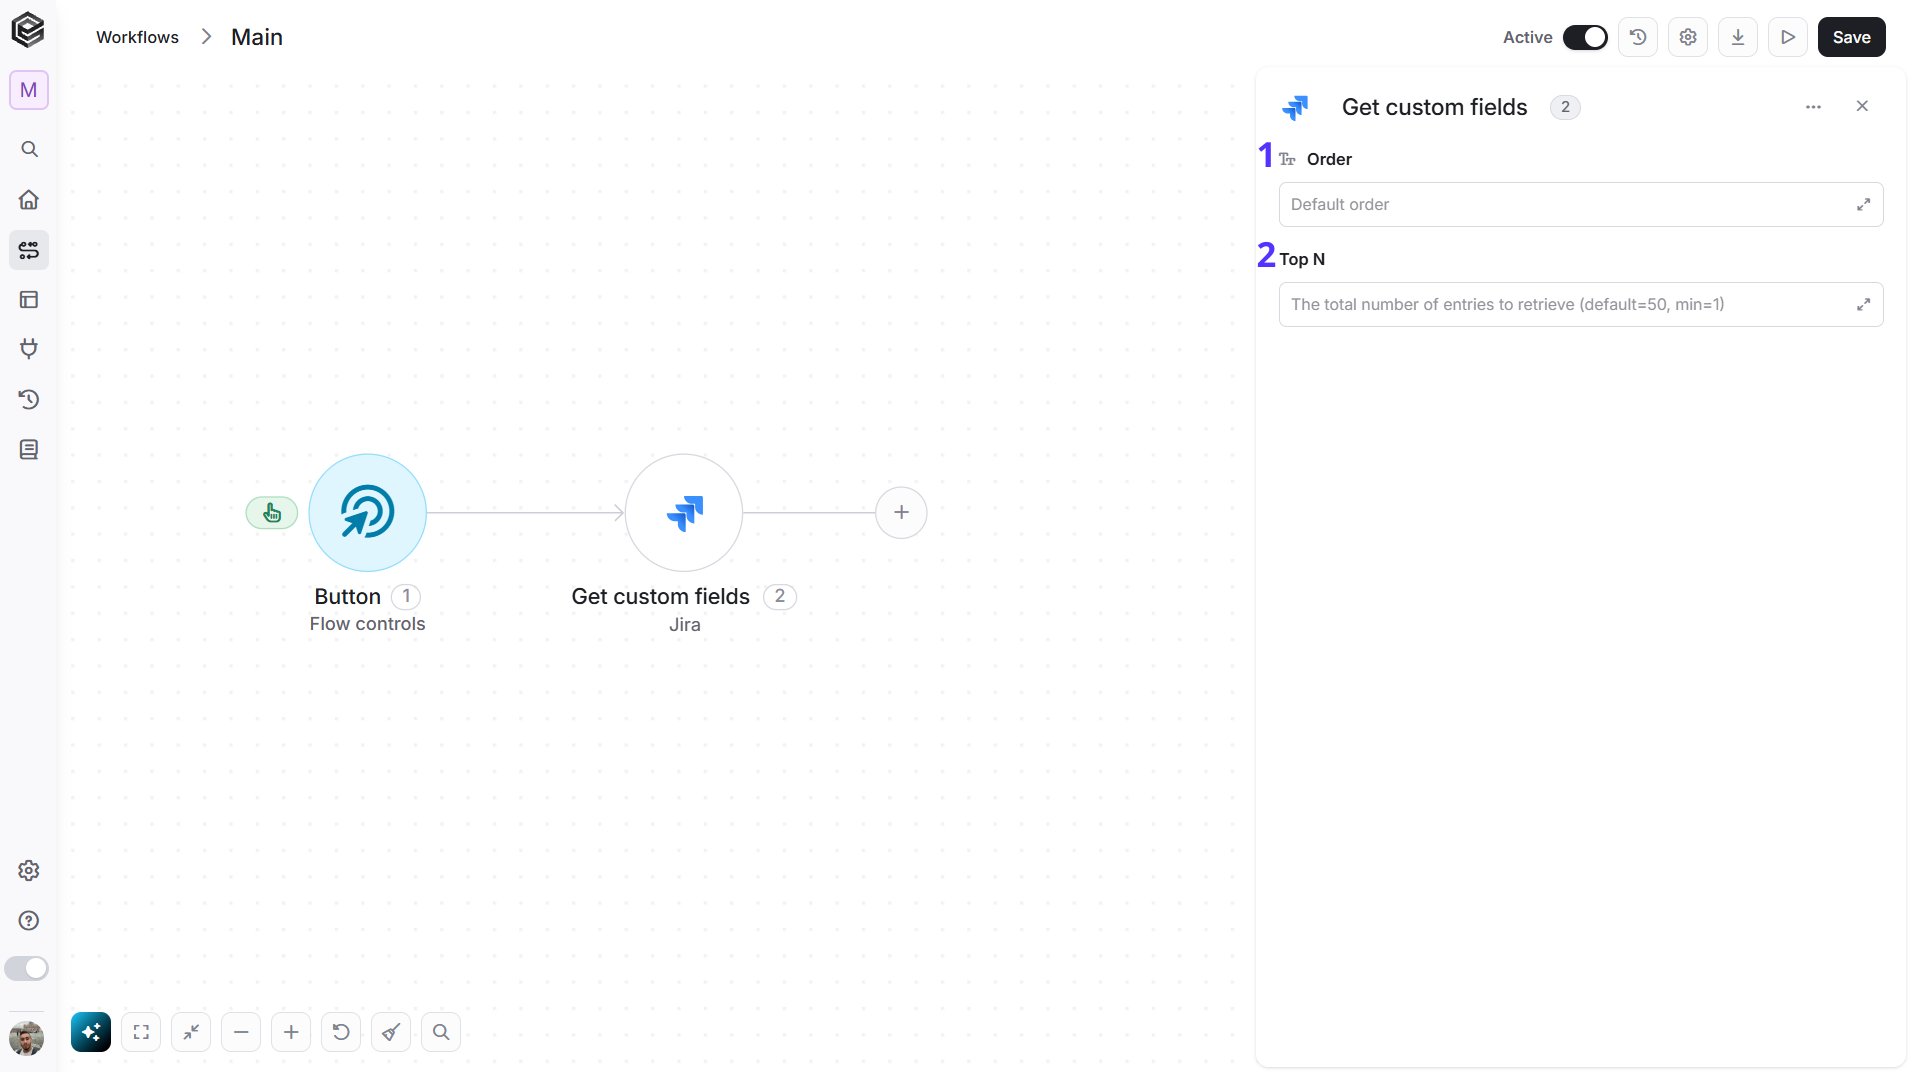
- Order - Optional. Enter how to sort the list:
name(Name A-Z),-name(Name Z-A),lastUsed(last used oldest first) or-lastUsed(last used newest first). Leave it empty for Jira’s default order. - Top N - The maximum number of custom fields Engini will return (default = 50).
Get Issue
Retrieves the details of a Jira issue, such as its summary, status, assignee and fields.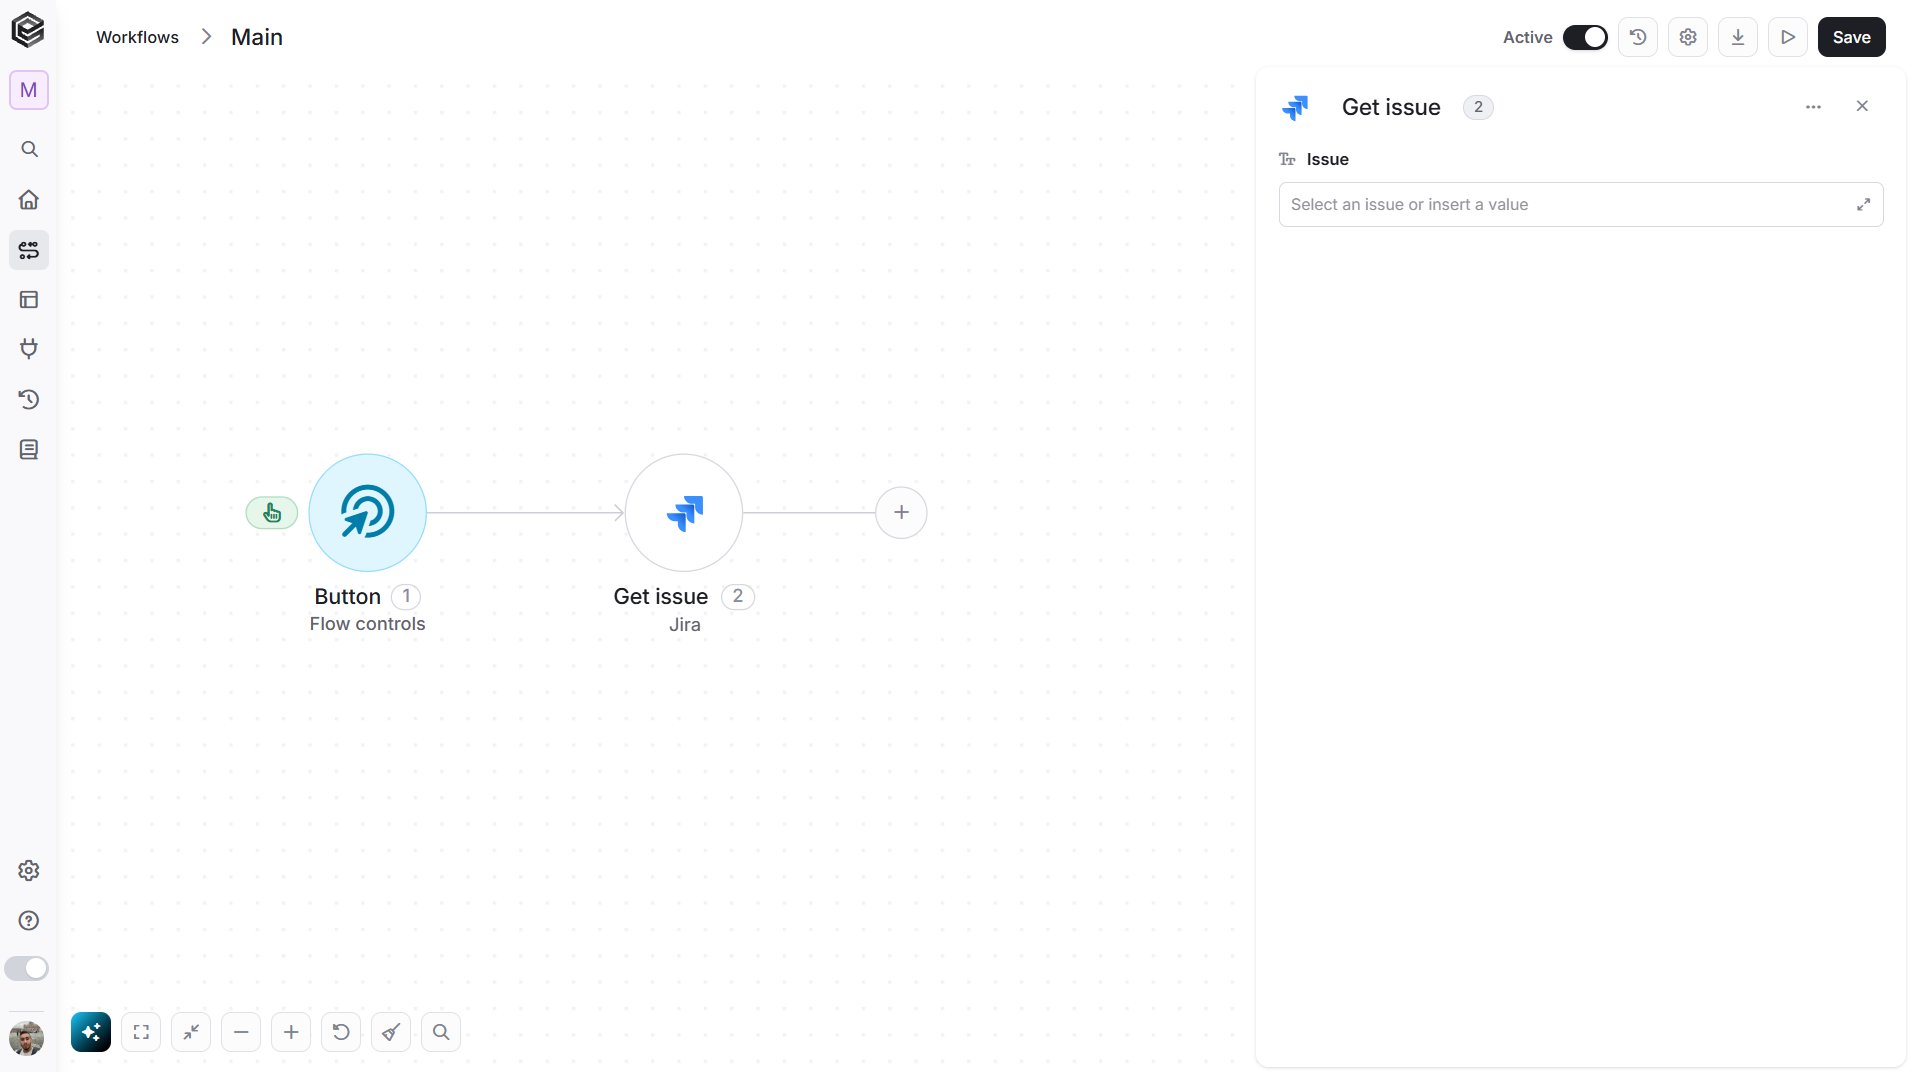
- Issue - The issue to retrieve. Select the issue, map it from a previous step, or enter its key, for example “PROJ-123”. The key is shown at the top of the issue in Jira. The action returns the summary, status, assignee, description and the other fields of the issue.
Get Issue Types for Project
Retrieves the issue types that are available in a Jira project, such as Task, Bug and Story.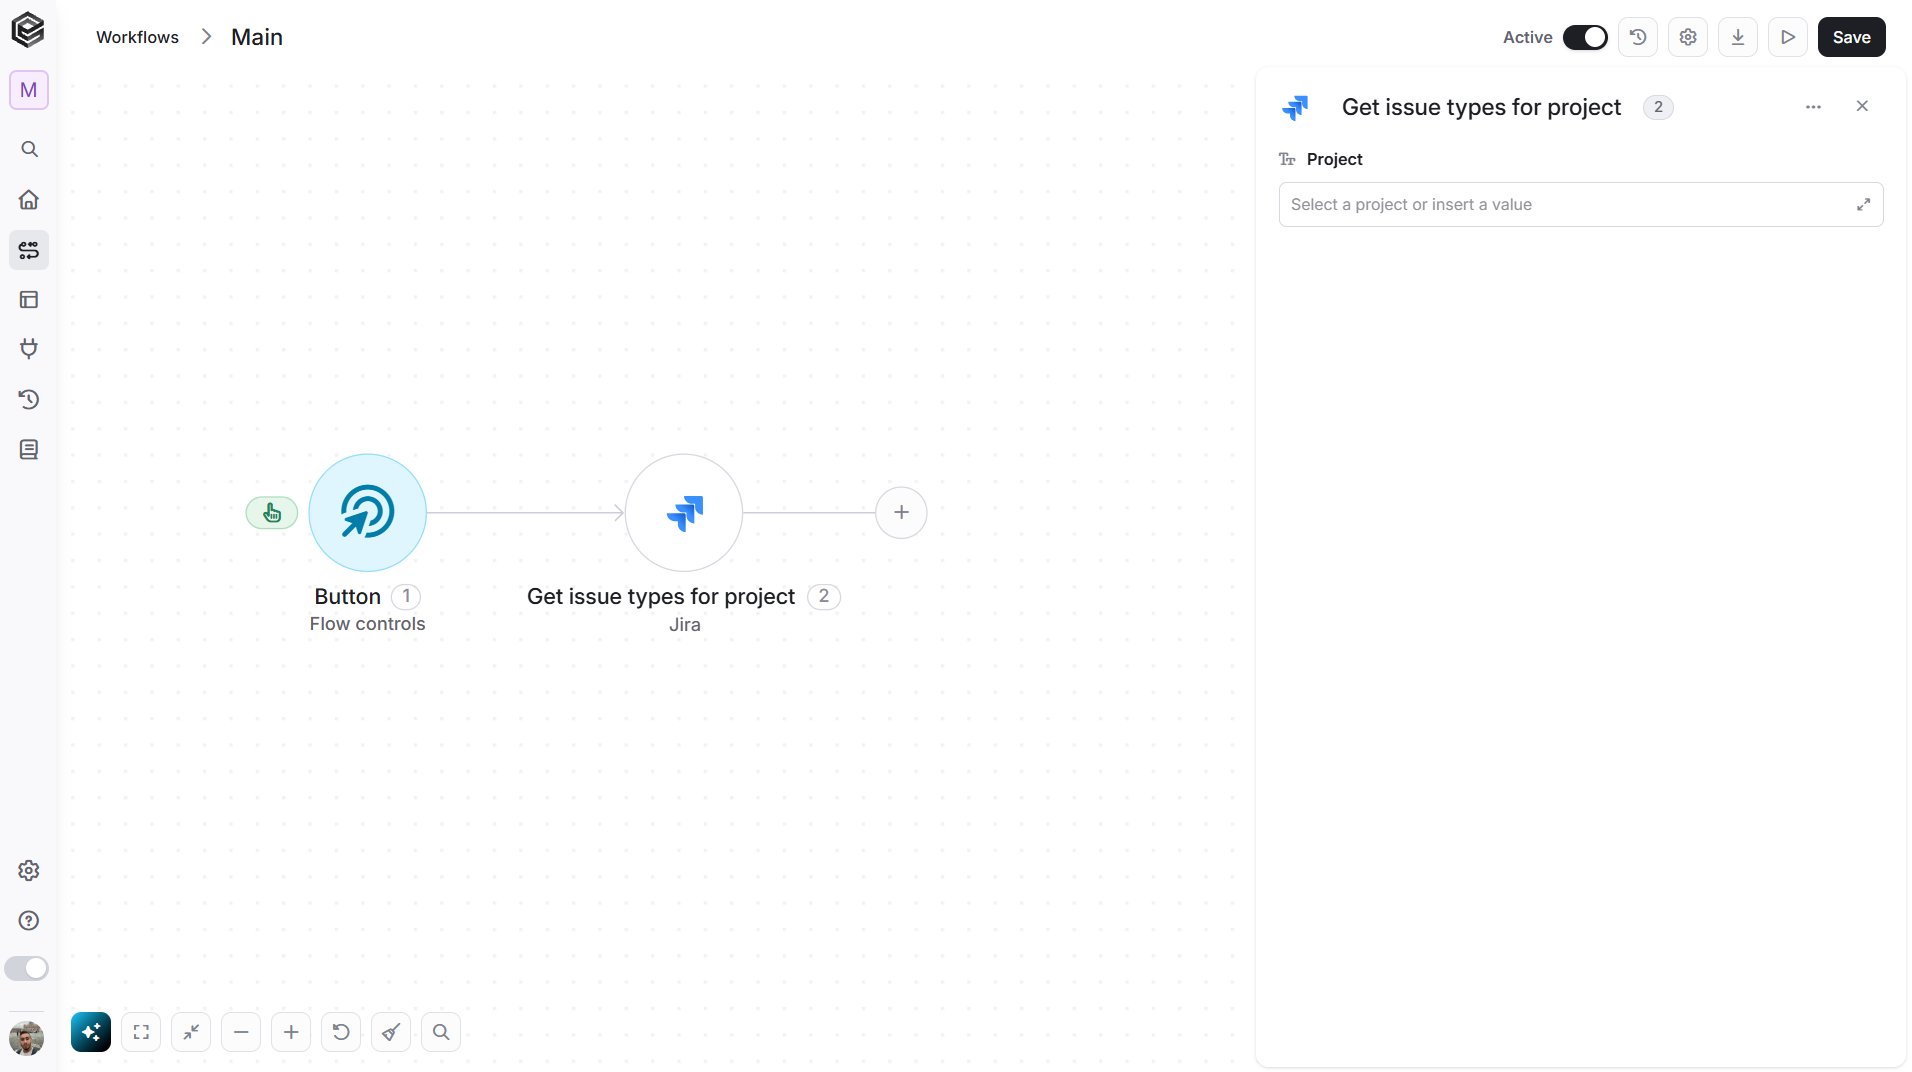
- Project - The project whose issue types you want. Select the project from the list, map it from a previous step, or enter its key, for example “PROJ”. The project key is the short prefix of your issue keys.
Get Issue Watchers
Retrieves the users who are watching a Jira issue.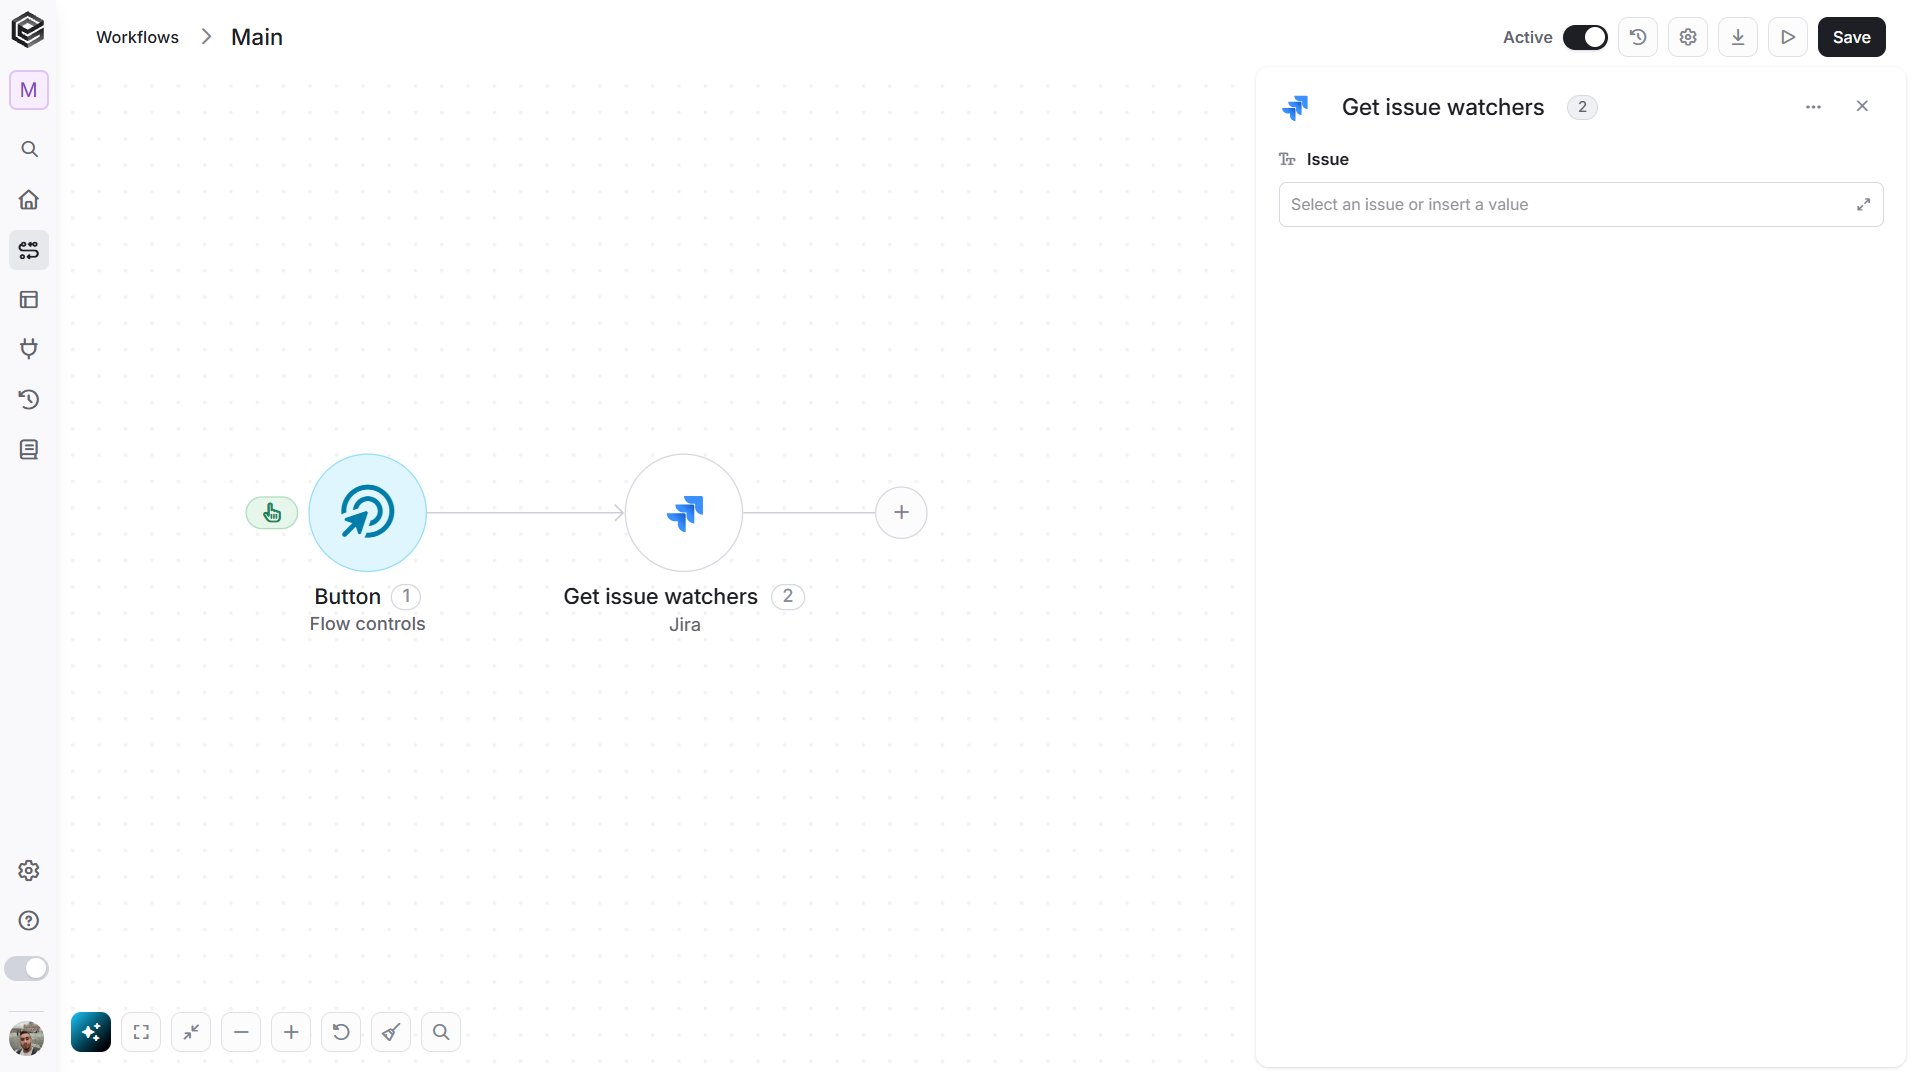
- Issue - The issue whose watchers you want. Select the issue, map it from a previous step, or enter its key, for example “PROJ-123”. The key is shown at the top of the issue in Jira.
Get Project Components
Retrieves the components of a Jira project.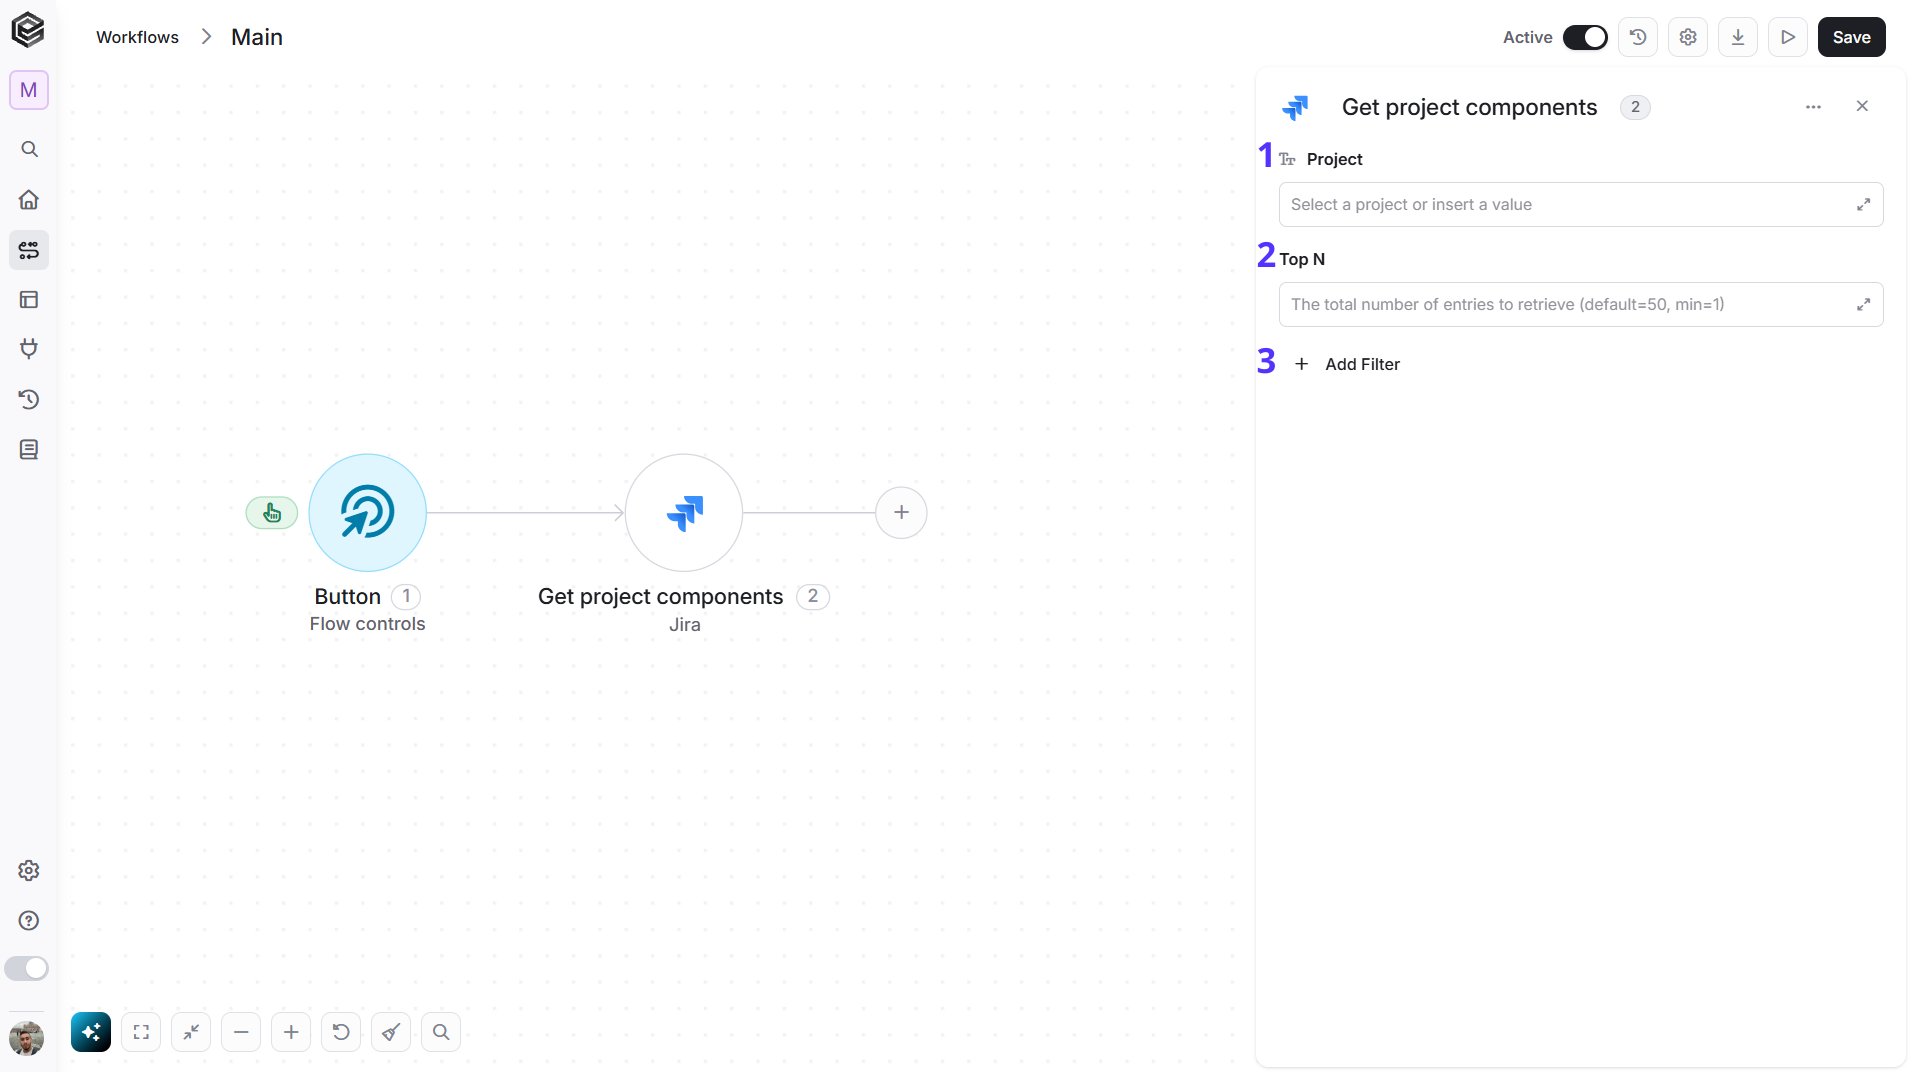
- Project - The project whose components you want. Select the project from the list, map it from a previous step, or enter its key, for example “PROJ”. The project key is the short prefix of your issue keys.
- Top N - The maximum number of components Engini will return (default = 50).
- Add Filter - Narrow the returned list with conditions. To learn more, click here. For example, return only the components whose name contains “Backend”.
Get Project Versions
Retrieves the versions (releases) of a Jira project.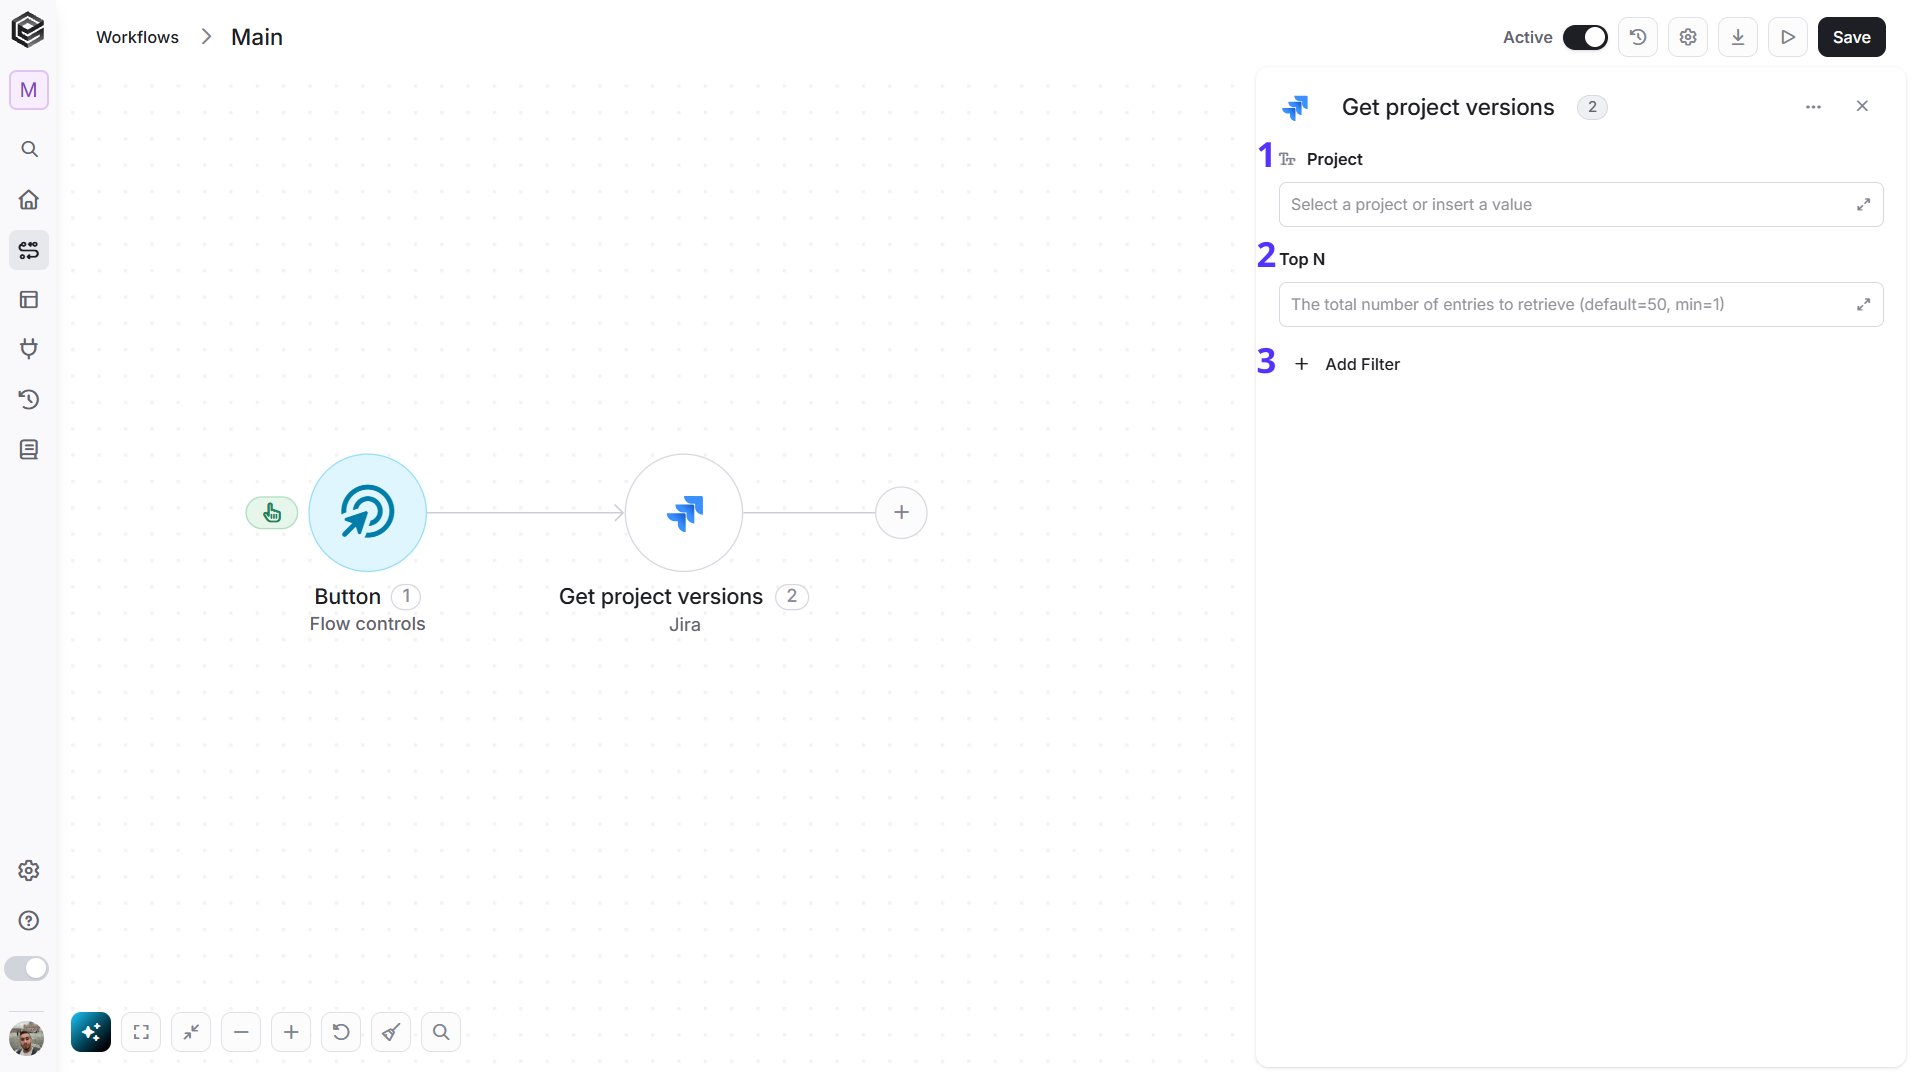
- Project - The project whose versions you want. Select the project from the list, map it from a previous step, or enter its key, for example “PROJ”. The project key is the short prefix of your issue keys.
- Top N - The maximum number of versions Engini will return (default = 50).
- Add Filter - Narrow the returned list with conditions. To learn more, click here. For example, return only the versions that are not released yet.
Get Projects Paginated
Retrieves the projects of your Jira site.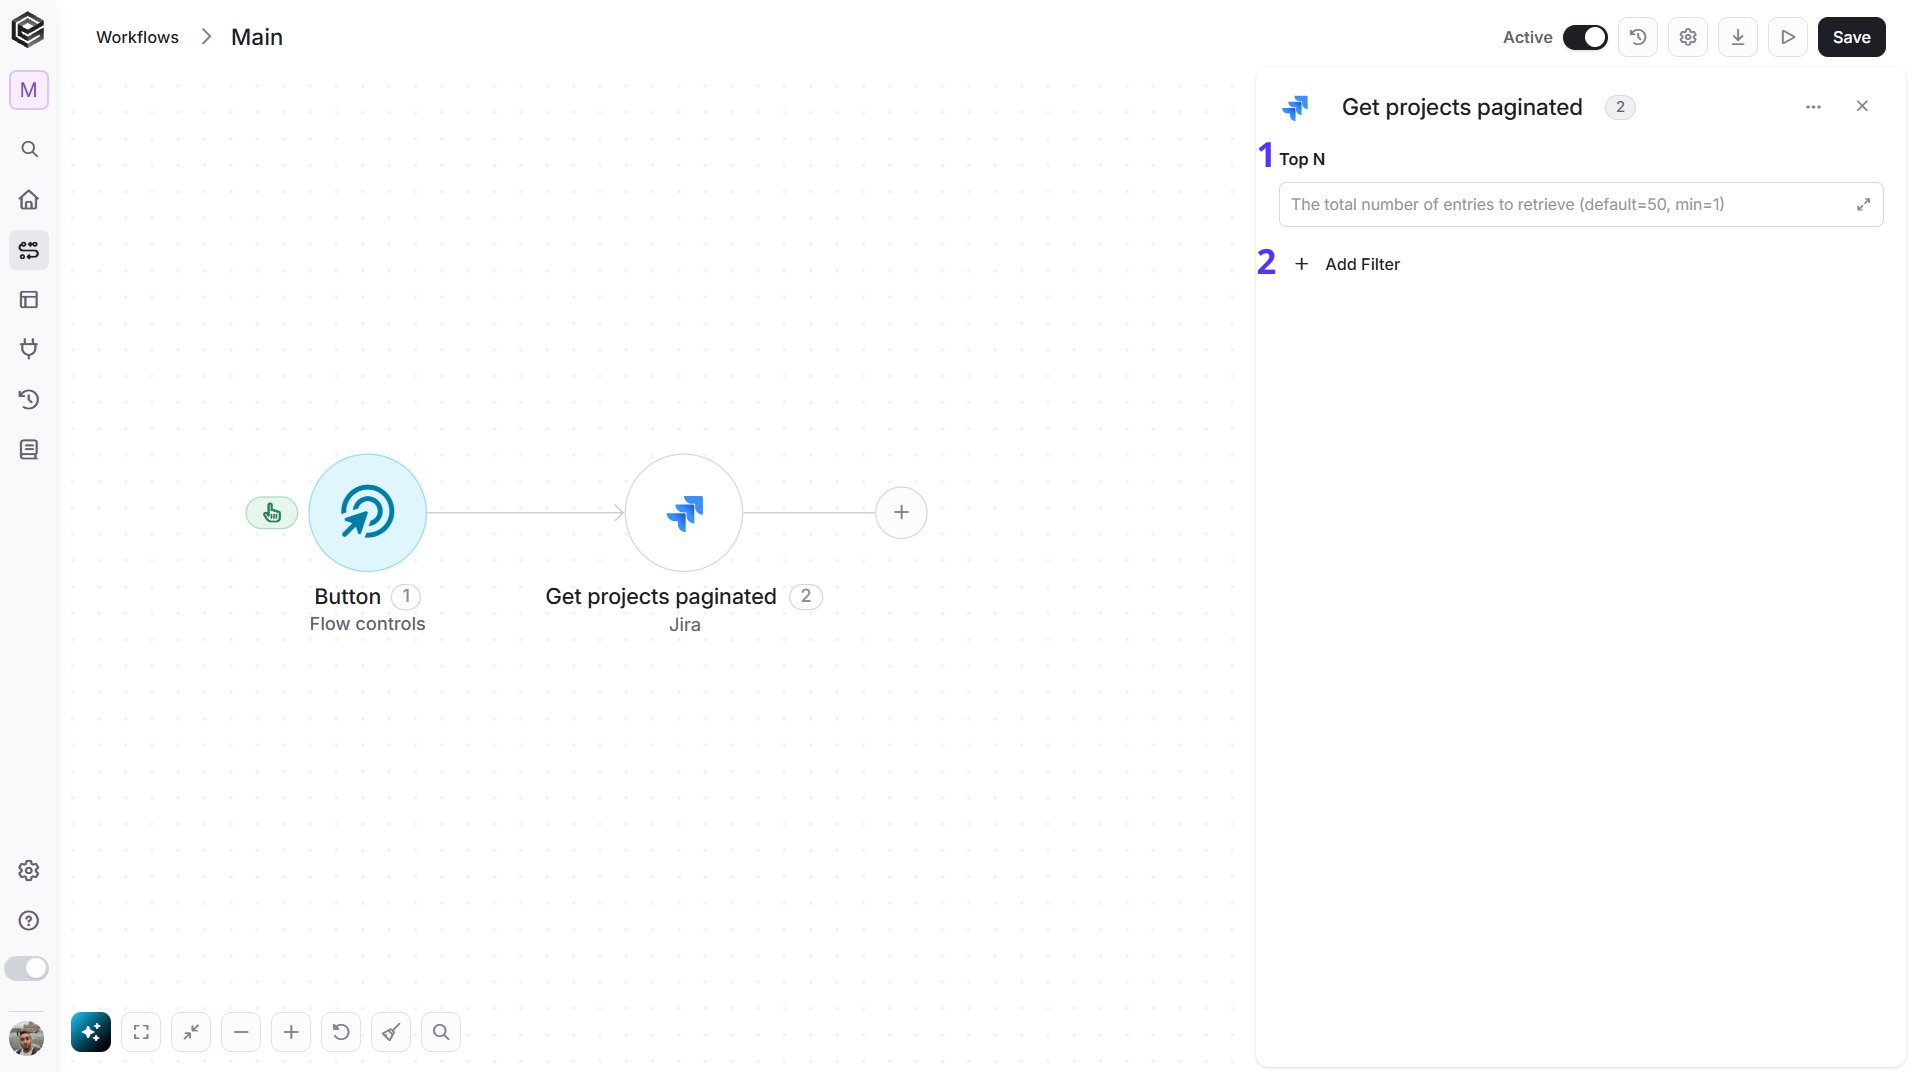
- Top N - The maximum number of projects Engini will return (default = 50). Increase it if your Jira site has more projects.
- Add Filter - Narrow the returned list with conditions. To learn more, click here. For example, return only the projects whose name contains “Marketing”.
Get Transitions
Retrieves the transitions that can be applied to a Jira issue, such as moving it to another status.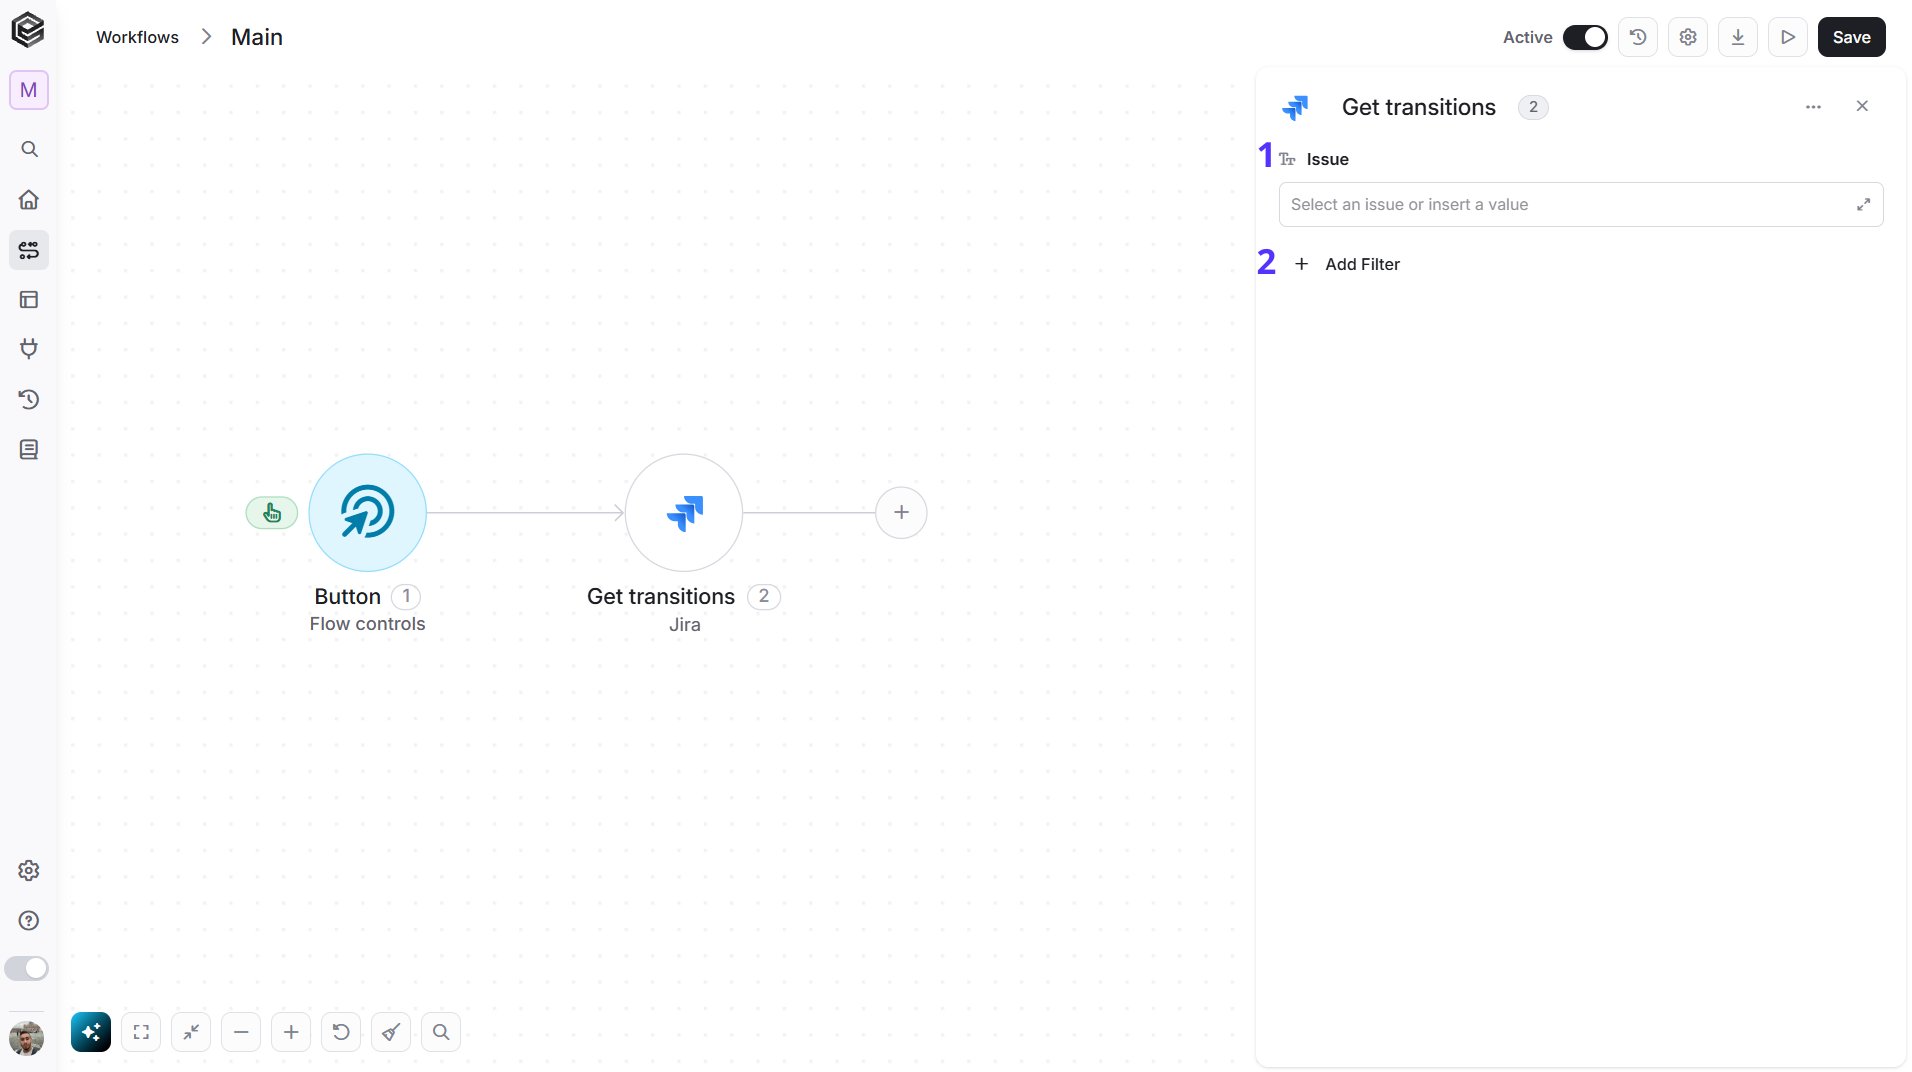
- Issue - The issue whose transitions you want. Select the issue, map it from a previous step, or enter its key, for example “PROJ-123”. The key is shown at the top of the issue in Jira. The available transitions depend on the current status of the issue.
- Add Filter - Narrow the returned list with conditions. To learn more, click here. For example, return only the transition named “In Progress”.
Get User
Retrieves the details of a single Jira user.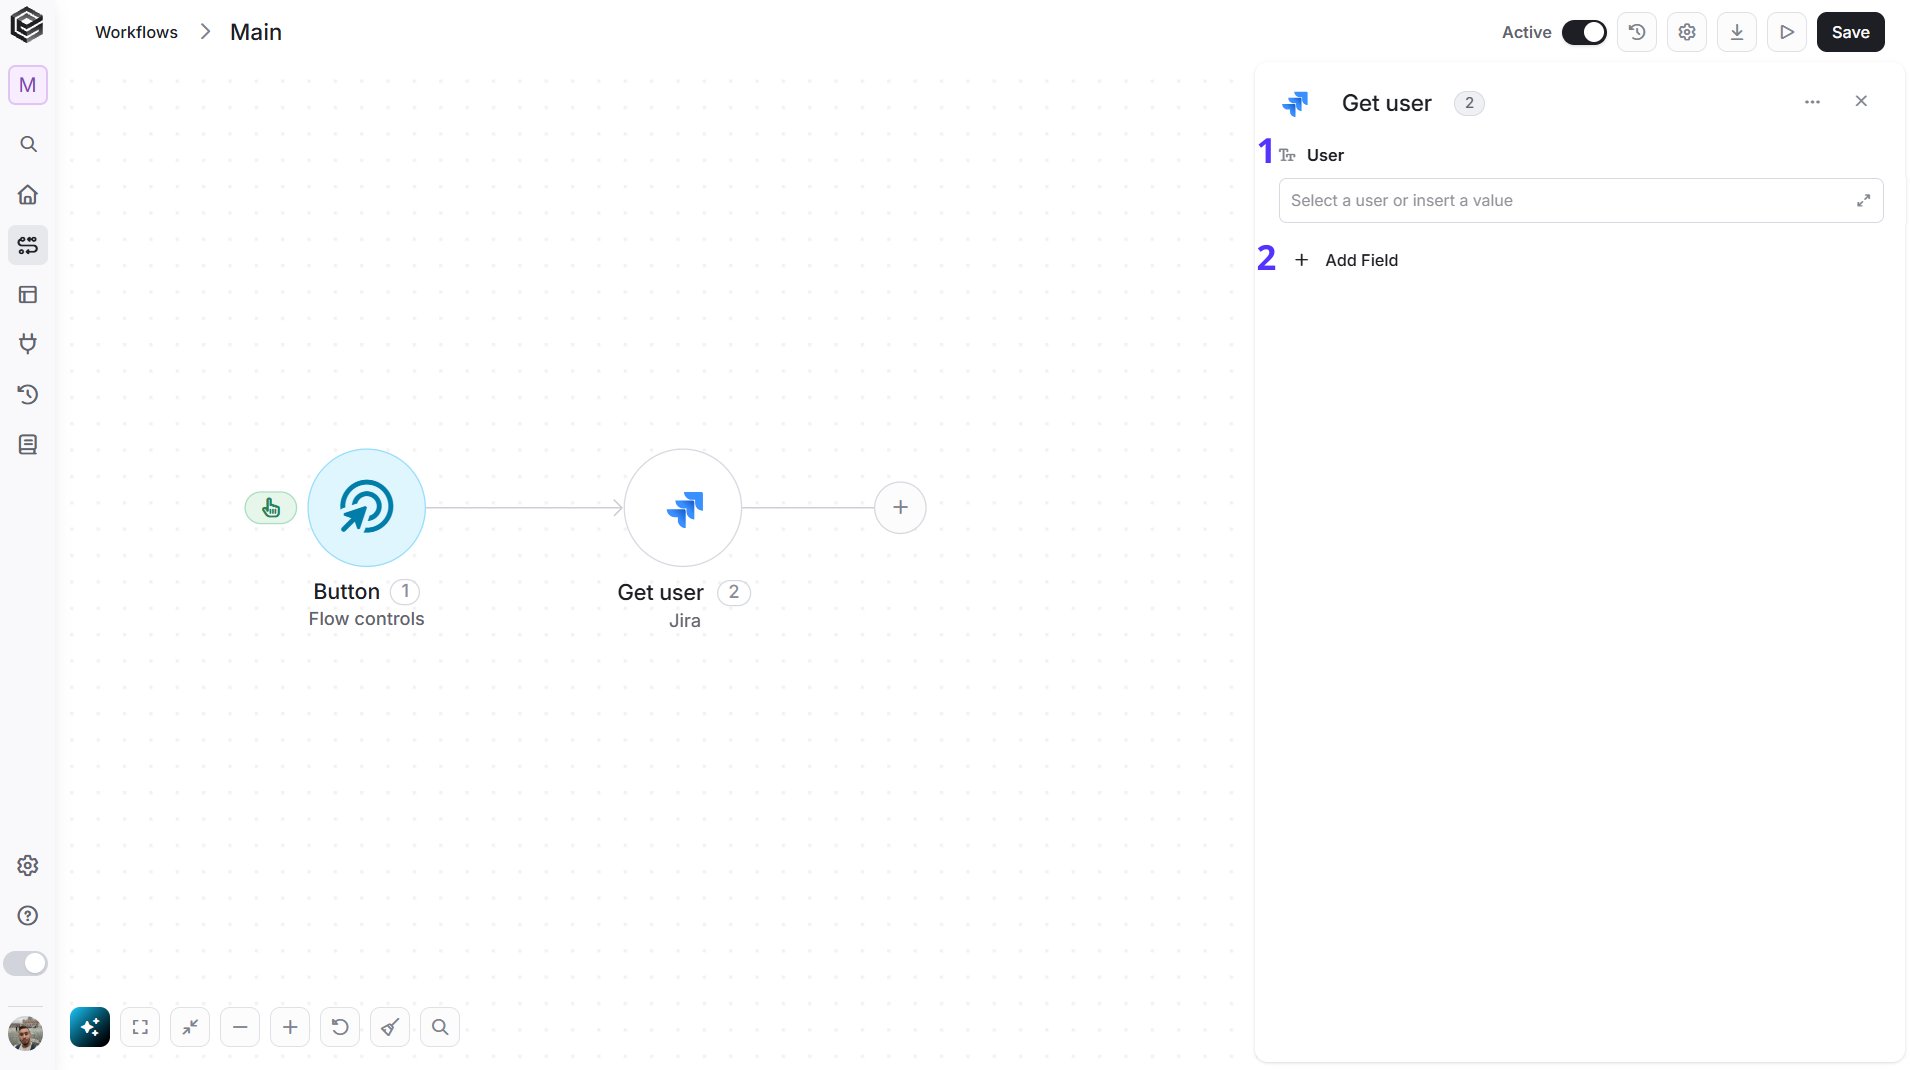
- User - The user to retrieve. Select the user from the list, map an account Id from a previous step such as Get All Users, or enter the Jira account Id. The account Id is part of the address of the user’s Jira profile page.
- Add Field - Click Add Field to add optional fields. To learn more, click here.
groups or applicationRoles, to return the user’s groups or application roles together with the user).
Transition Issue
Moves a Jira issue to another status by applying a transition.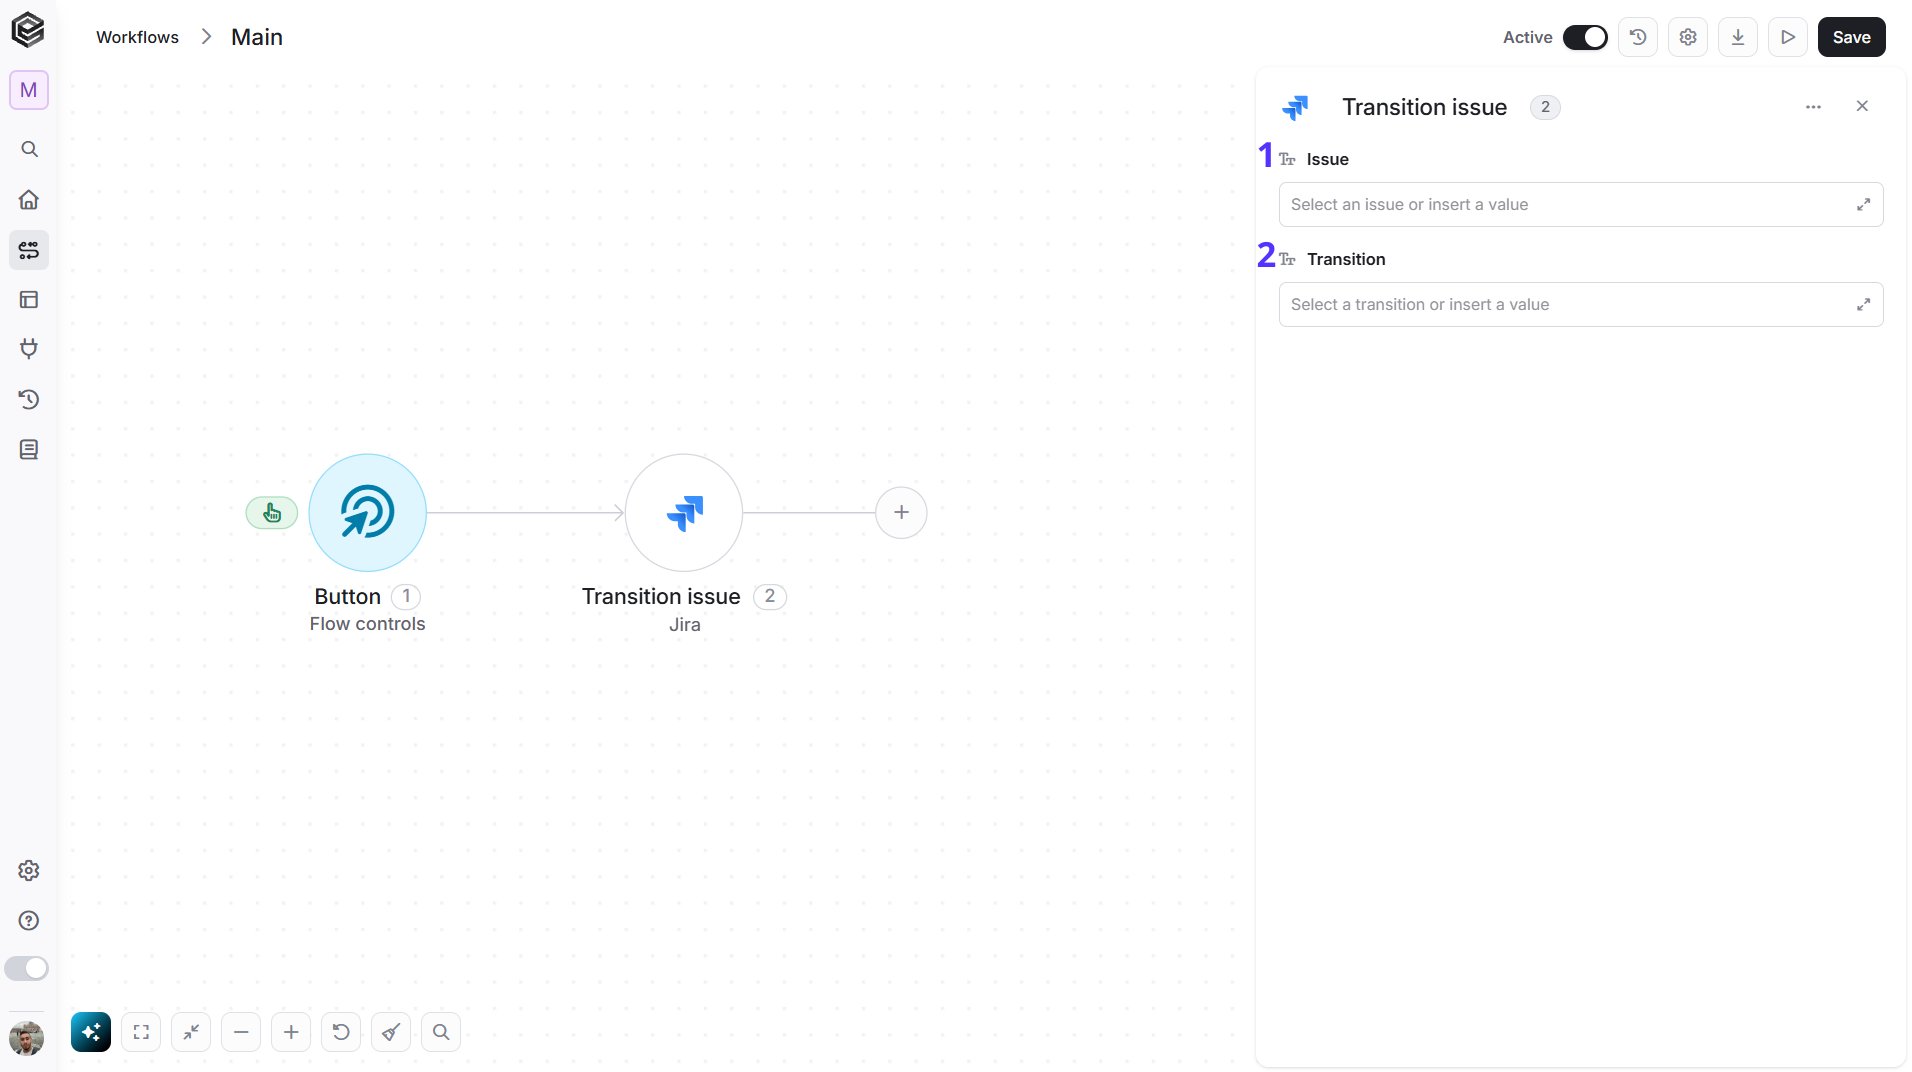
- Issue - The issue to move. Select the issue, map it from a previous step, or enter its key, for example “PROJ-123”. The key is shown at the top of the issue in Jira.
- Transition - The transition to apply, for example from To Do to In Progress. Select the issue first and then choose the transition from the list, or map a transition Id returned by Get Transitions. Only transitions available for the current status of the issue can be applied.
Update Comment
Changes the text of an existing comment on a Jira issue.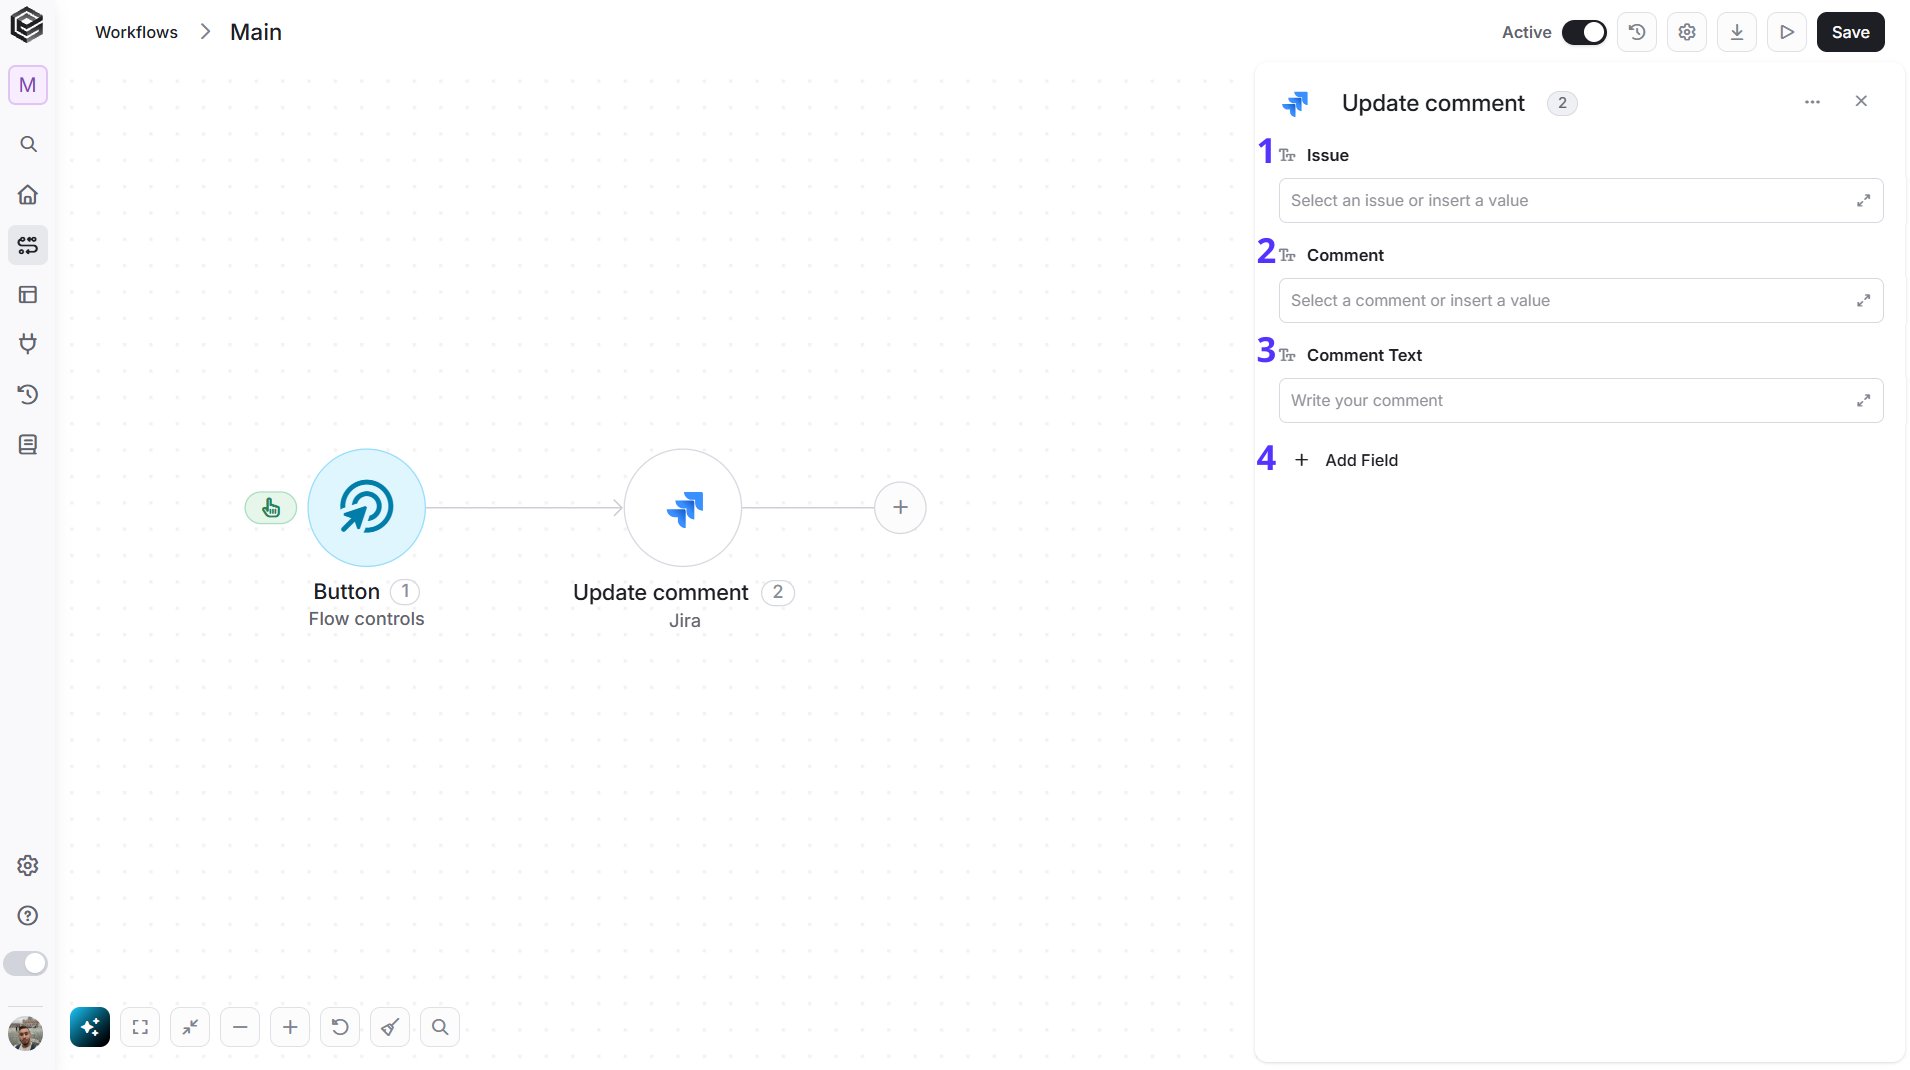
- Issue - The issue that holds the comment. Select the issue, map it from a previous step, or enter its key, for example “PROJ-123”. The key is shown at the top of the issue in Jira.
- Comment - The comment to update. Select the issue first and then choose the comment from the list, or map the comment Id returned by a previous step, such as Get Comments.
- Comment Text - The new text of the comment, in plain text. It replaces the existing text.
- Add Field - Click Add Field to add optional fields. To learn more, click here.
group or role) and Visibility Name.
Update Component
Updates an existing component of a Jira project.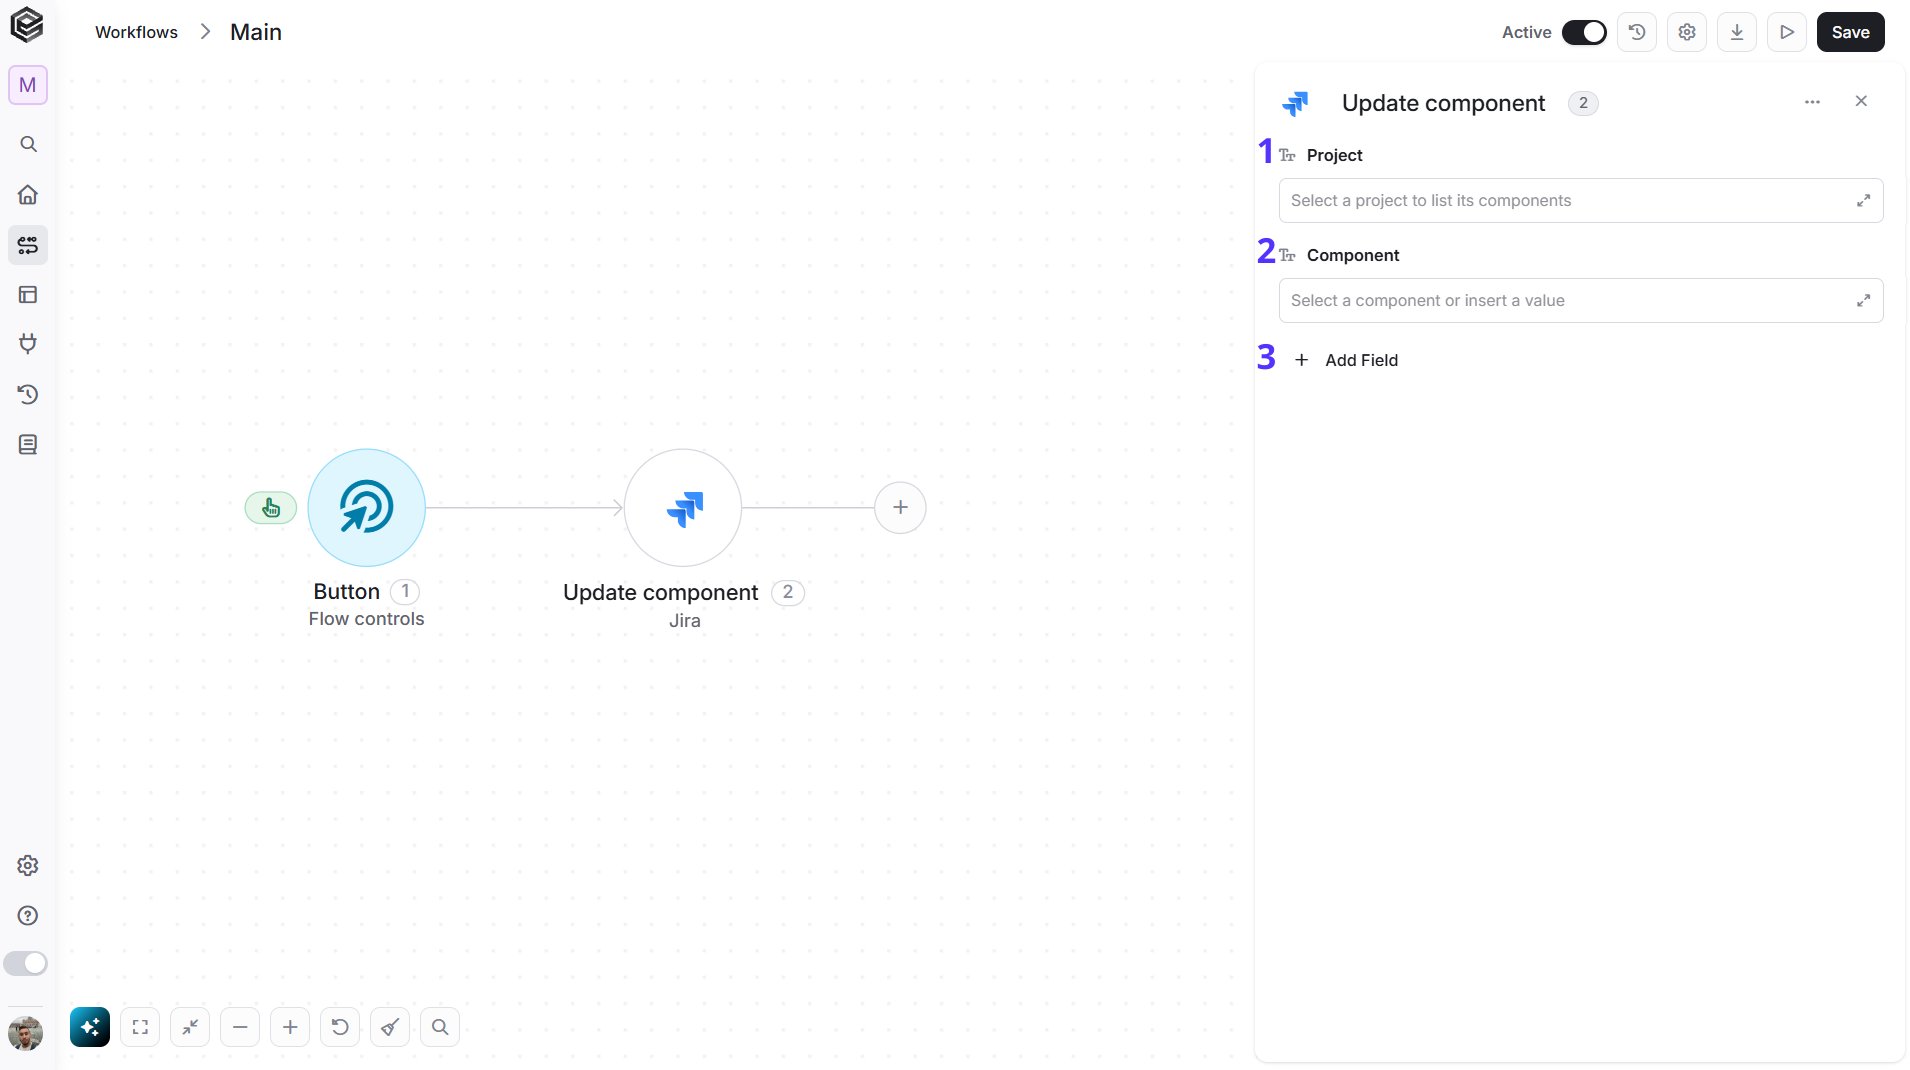
- Project - The project that holds the component. Select the project from the list, map it from a previous step, or enter its key, for example “PROJ”. Select it first to load its components.
- Component - The component to update. Choose it from the list, or map the component Id returned by Get Project Components.
- Add Field - Click Add Field to add optional fields. To learn more, click here.
Update Custom Field Options (Context)
Updates the options of a custom field in a field context.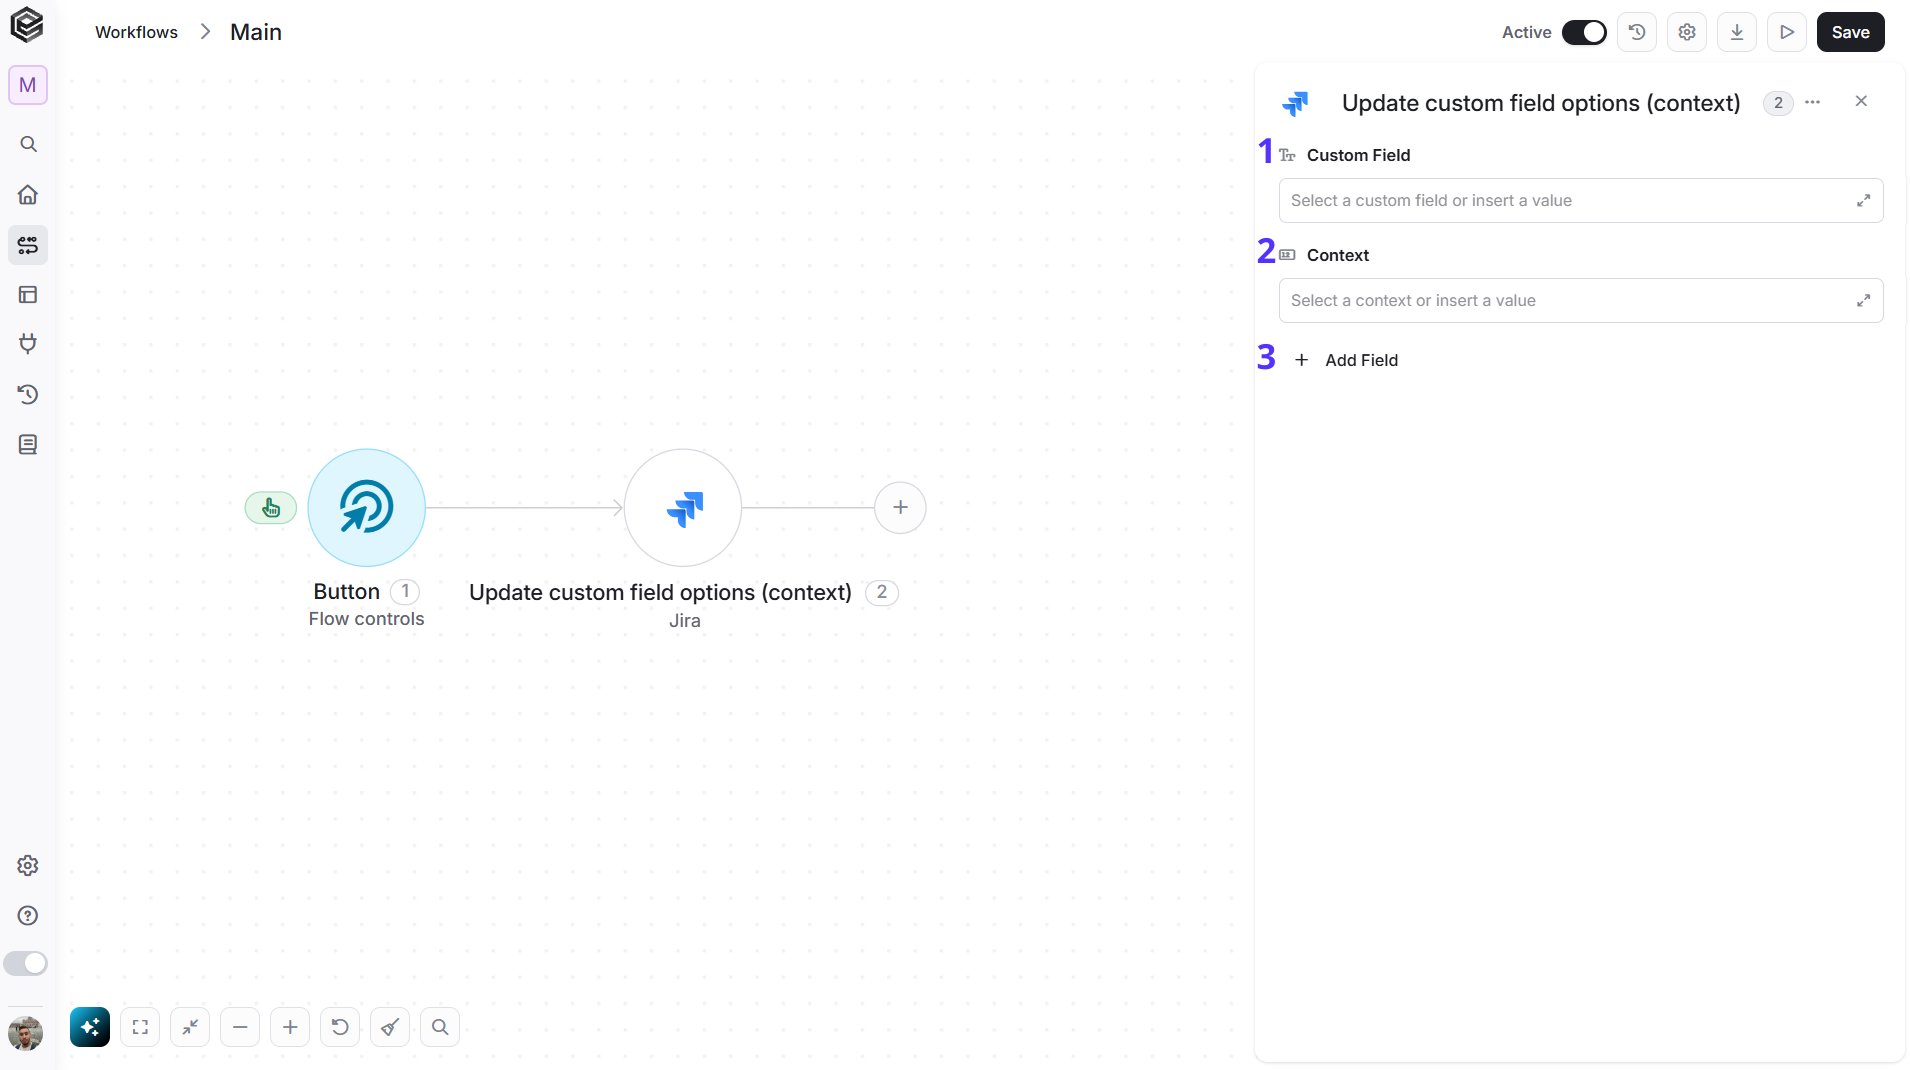
- Custom Field - The custom field whose options you want to update. Select it from the list, or enter its Id, for example “customfield_10000”.
- Context - The field context that holds the options. Select the custom field first and then choose the context, or enter the context Id.
- Add Field - Click Add Field to add optional fields. To learn more, click here.
Update Version
Updates an existing version (release) of a Jira project.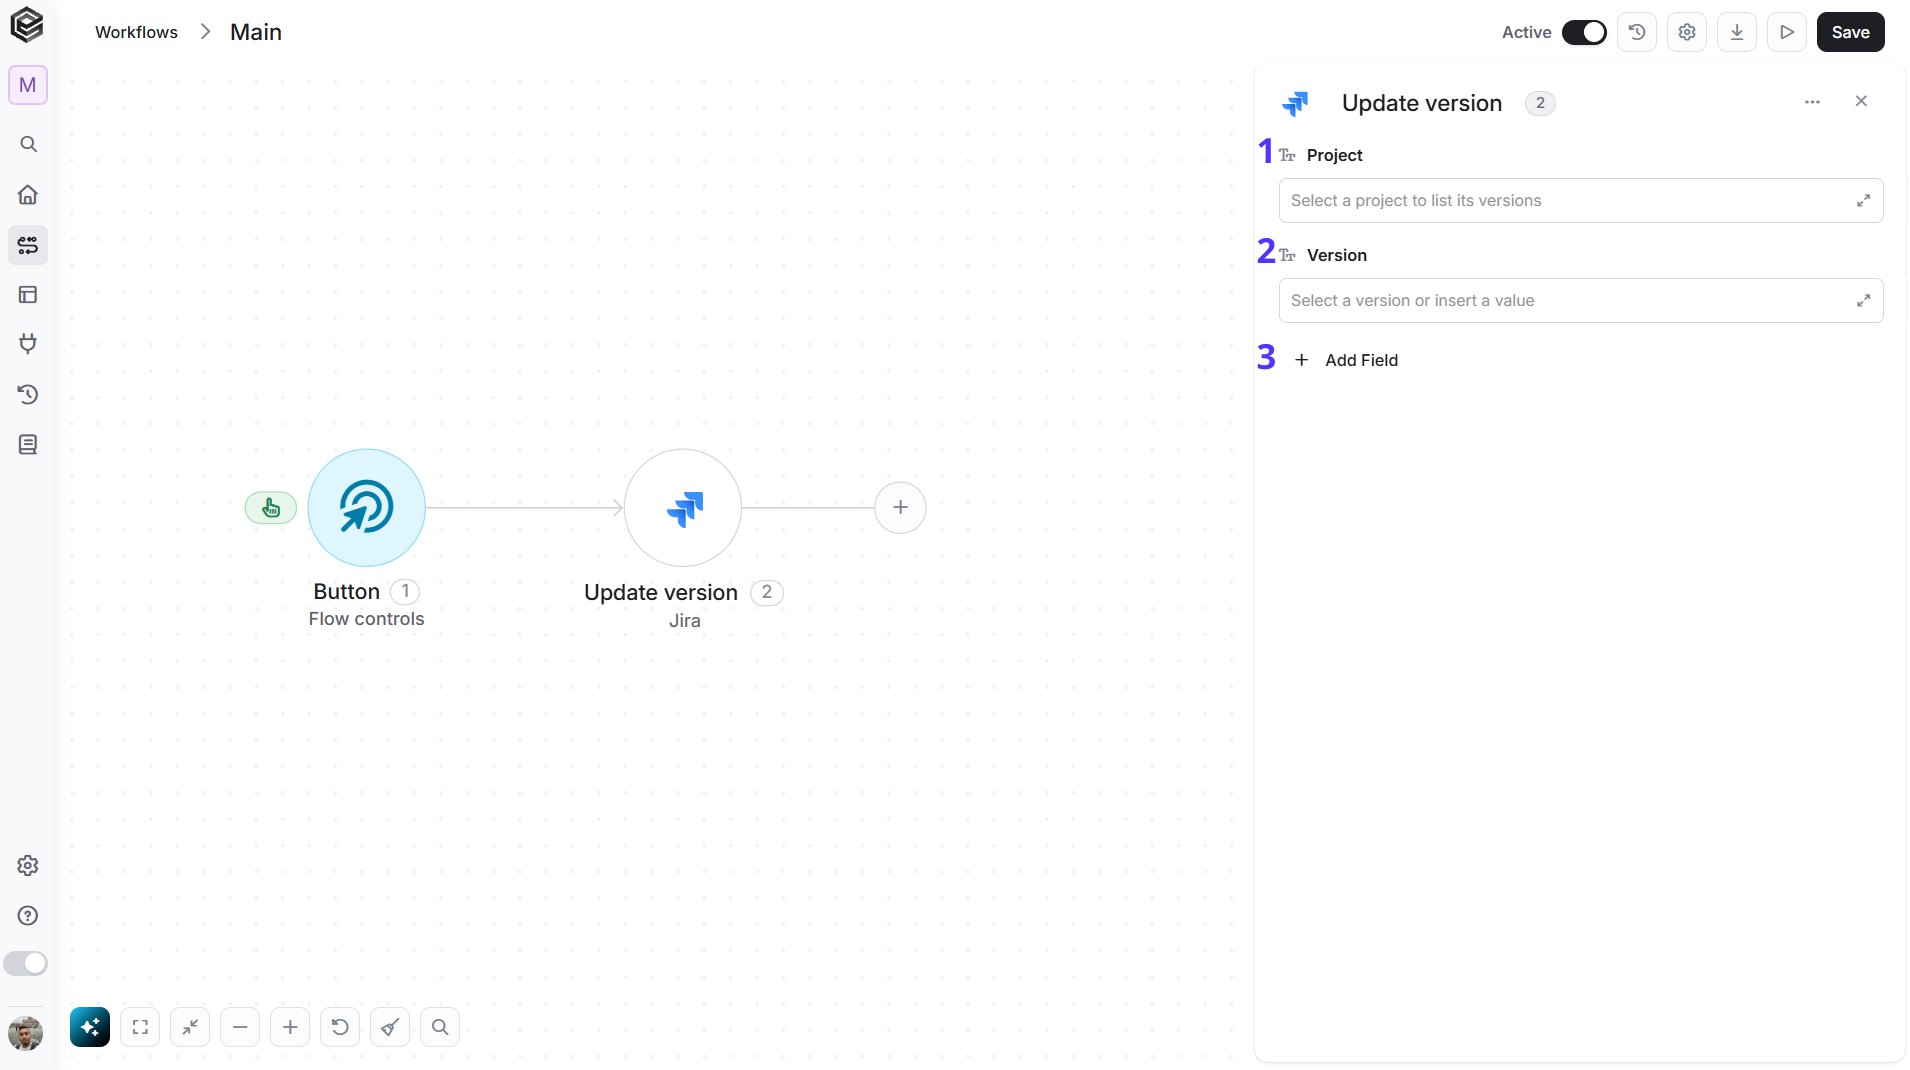
- Project - The project that holds the version. Select the project from the list, map it from a previous step, or enter its key, for example “PROJ”. Select it first to load its versions.
- Version - The version to update. Choose it from the list, or map the version Id returned by Get Project Versions.
- Add Field - Click Add Field to add optional fields. To learn more, click here.
operations, issuesstatus, driver or approvers), Move Unfixed Issues To (the self link of the target version), Name (must be unique in the project), Release Date and Start Date (ISO 8601, for example 2027-12-31), Released and Driver.
Send API Request
This activity allows you to send a custom API request directly to Jira’s API. Use it for Jira features that the actions above don’t cover.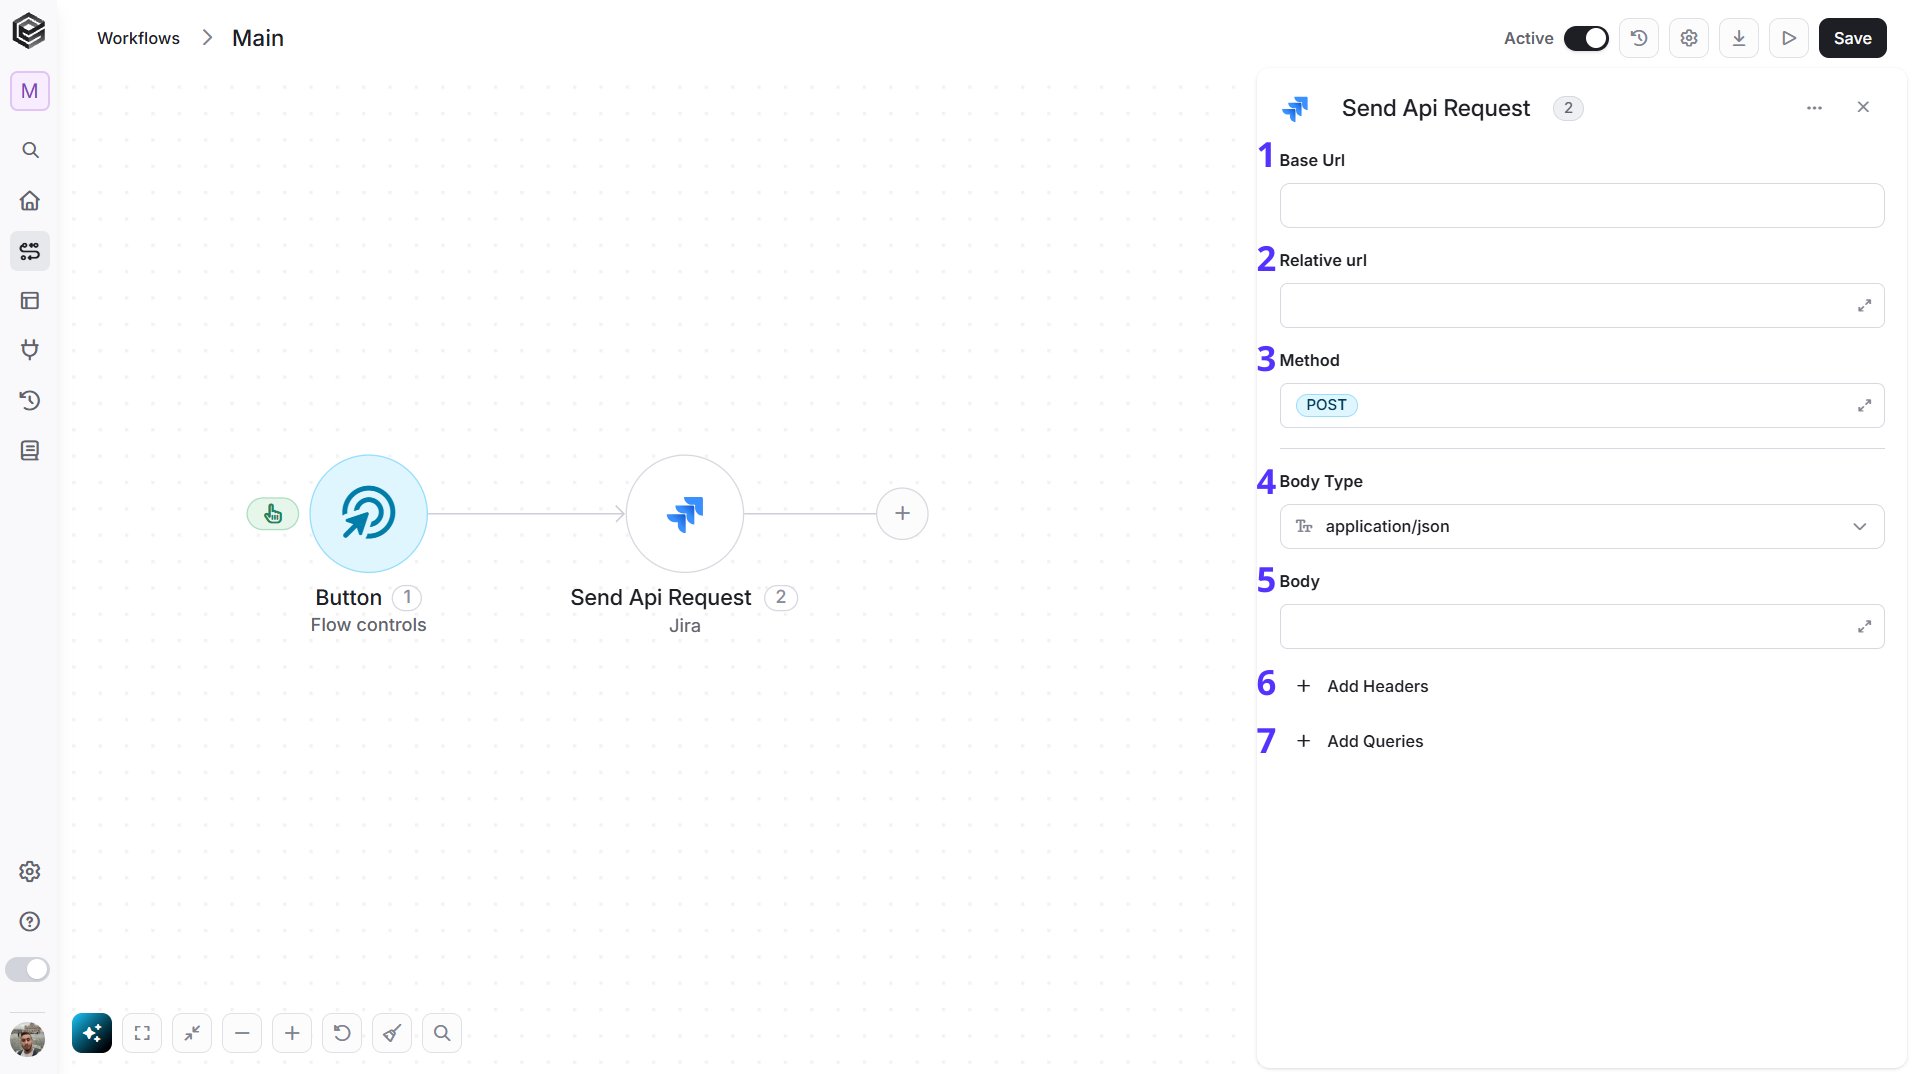
- Base Url - The root URL of the Jira API. It is filled in from your Jira connection and can’t be edited here.
- Relative url - You can specify additional path segments or parameters that need to be added to the end of the Base Url. This allows you to customize the specific request you want to perform.
- Method - Select the HTTP method (e.g., Get, Post, Put, Delete, Patch). The default is POST.
- Body Type - Defines the format of the data in the body of your request. The default, application/json, means the body contains a JSON-formatted payload.
- Body - Contains any data that is being sent to the server.
- Add Headers - Additional metadata about the request, such as the type of data Engini can accept, the length of the request body, and authentication information.
- Add Queries - The query refers to the parameters or data that are included in the URL of an HTTP request to provide additional information or instructions to the server.