

Getting Started with Morning
Prerequisites
- A Morning account.
- Active client id and client secret.
Add a connection to Morning in Engini
- Enter your Engini account at https://app.engini.io.
-
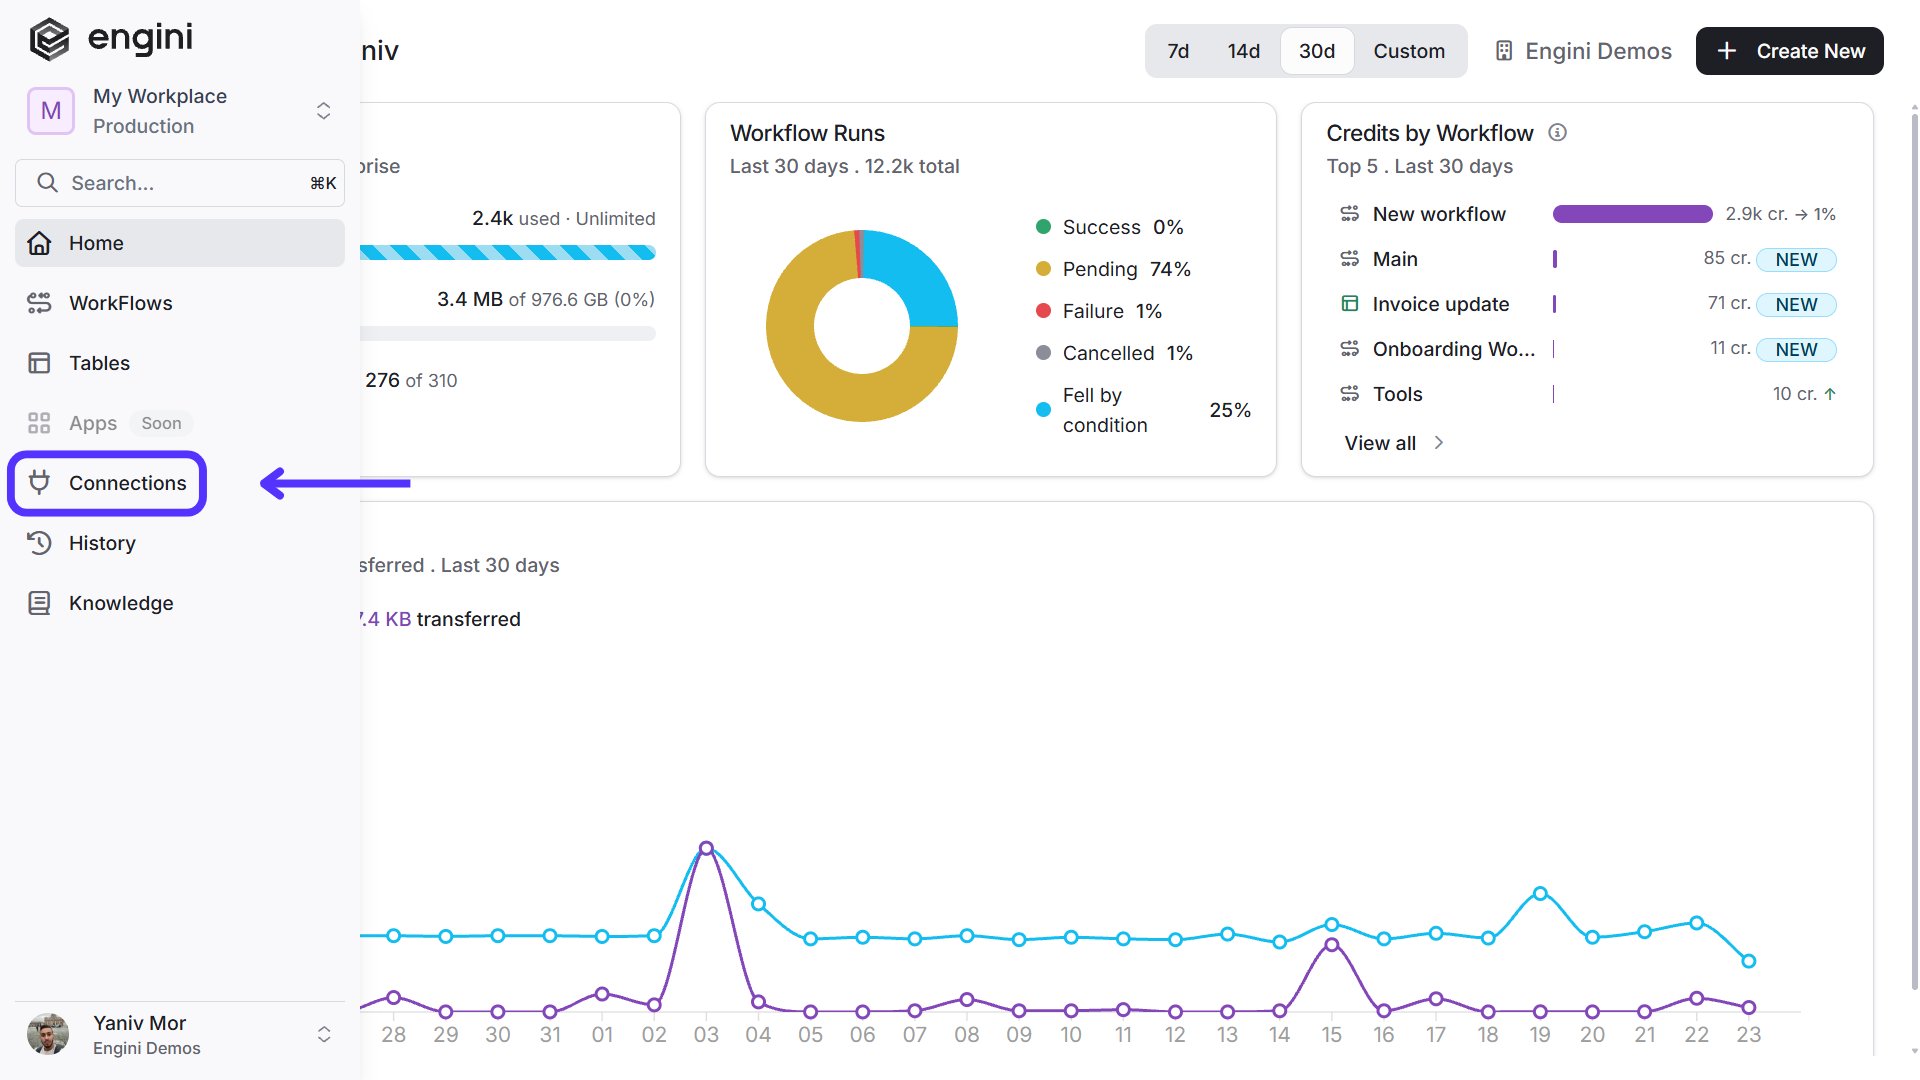
Navigate to Connections page by clicking on the Connections on the left sidebar or by clicking here.
-
Click on the Add connection option located at the topbar.

-
Choose Morning option from the available applications.

-
Enter the following details in the “Edit Connection” form:

- Connection Name - Enter a unique and descriptive name for this connection. This name will help you easily identify and manage your Morning connection within your system.
- Environment - Please choose your environment, Sandbox or Production.
- URL – This is your base url. It is filled automatically after you press save.
- Client Id – Enter the API key you get from morning.
- Client Secret – Enter the API secret you get from morning.
- Save Settings - Click on the save button to save the connection.
Actions
Add client

- Name - The name of the new client you add to your Morning.
- Click on the field to show the tooltip with all the options you can choose.
- You can populate the field in one of the following options:
- Static value – number / string. when using strings, you need to surround them with single quotes (‘).
- Property value from a previous activity (Using the tooltip that opens when clicking on the field).
- Add Field - Click Add Field to add and populate additional fields for the selected activity. To learn more about managing activity data, click here.
Update client

- Id
- Click on the empty field and the tooltip will pop up showing all the id you can use.
- Select the customer ID that is relevant. you can use:
- Static value – number / string. when using strings, you need to surround them with single quotes (‘).
- Property value from a previous activity (Using the tooltip that opens when clicking on the field).
- Add Field - Click Add Field to add and populate additional fields for the selected activity. To learn more about managing activity data, click here.
Get client
Gets one client record.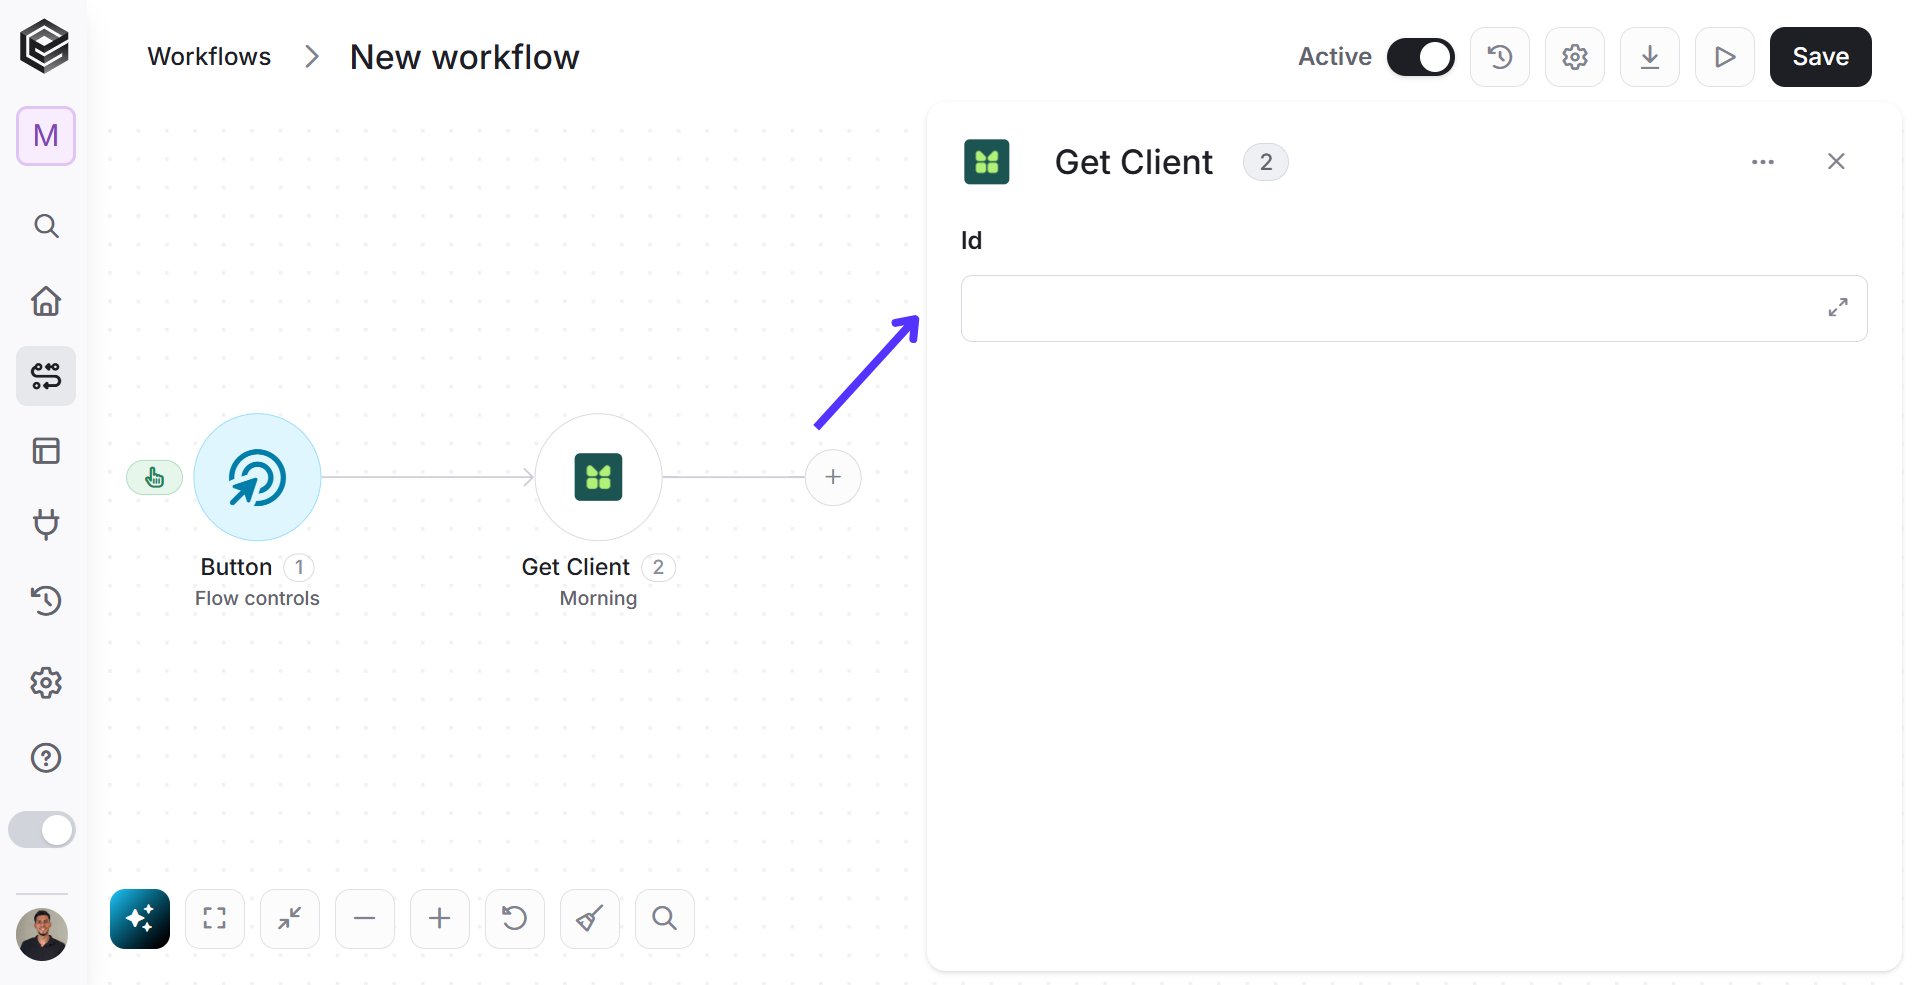
- Id
- Click on the empty field and the tooltip will pop up showing all the id you can use.
- Select the customer ID that is relevant. you can use:
- Static value – number / string. when using strings, you need to surround them with single quotes (‘).
- Property value from a previous activity (Using the tooltip that opens when clicking on the field).
Delete client
Deletes client record.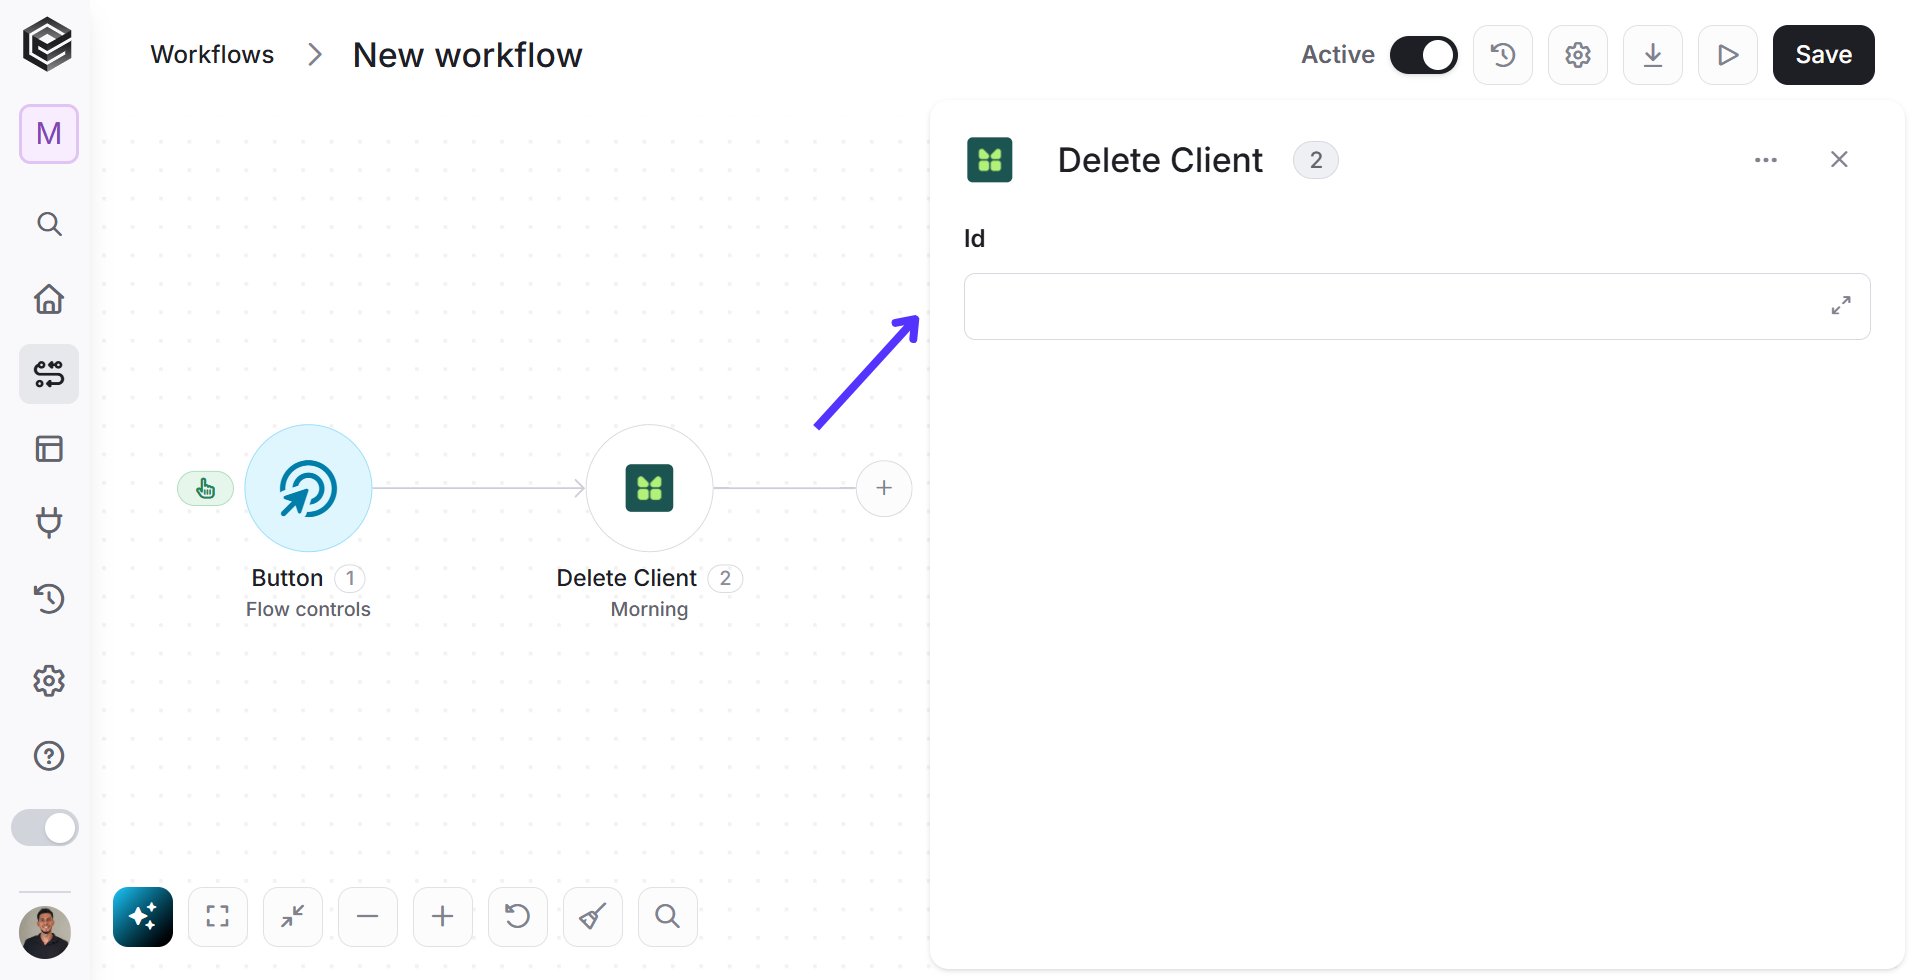
- Id
- Click on the empty field and the tooltip will pop up showing all the id you can use.
- Select the customer ID that is relevant. you can use:
- Static value – number / string. when using strings, you need to surround them with single quotes (‘).
- Property value from a previous activity (Using the tooltip that opens when clicking on the field).
Search clients
Searches for clients records.
- Add Filter - Click Add Filter to define conditions that narrow down the data list and return only the relevant items. To learn more about using filters, click here.
Add item

-
Item name - The name of the new item you add to your Morning.
- Click on the field to show the tooltip with all the options you can choose.
- You can populate the field in one of the following options:
- Static value – number / string. when using strings, you need to surround them with single quotes (‘).
- Property value from a previous activity (Using the tooltip that opens when clicking on the field).
-
Item description - The description of the new item you add to your Morning.
- Click on the field to show the tooltip with all the options you can choose.
- You can populate the field in one of the following options:
- Static value – number / string. when using strings, you need to surround them with single quotes (‘).
- Property value from a previous activity (Using the tooltip that opens when clicking on the field).
-
Item price - The price of the new item you add to your Morning.
- Click on the empty field to be shown the tooltip with all the options you can use to fill the field.
- You can populate the field in one of the following options:
- Numeric Static value
- Property value from a previous activity (Using the tooltip that opens when clicking on the field).
- Expression – using functions and/or Previous activity properties and/or static values (Using the tooltip that opens when clicking on the field).
-
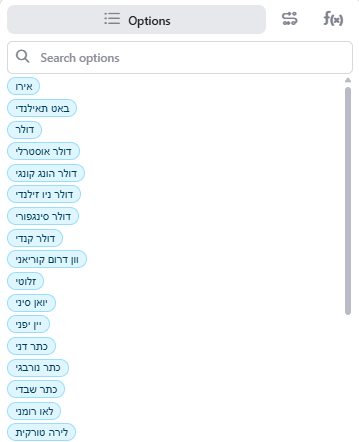
Currency - Click on the empty field to be shown the tooltip with all the currencies you can use.
Update item

- Id
- Click on the empty field and the tooltip will pop up showing all the id you can use.
- Select the id that is relevant. you can use:
- Static value – number / string. when using strings, you need to surround them with single quotes (‘).
- Property value from a previous activity (Using the tooltip that opens when clicking on the field).
- Item name - The name of the item you are updating.
- Click on the field to show the tooltip with all the options you can choose.
- You can populate the field in one of the following options:
- Static value – number / string. when using strings, you need to surround them with single quotes (‘).
- Property value from a previous activity (Using the tooltip that opens when clicking on the field).
- Item description - The description of the item you are updating.
- Click on the field to show the tooltip with all the options you can choose.
- You can populate the field in one of the following options:
- Static value – number / string. when using strings, you need to surround them with single quotes (‘).
- Property value from a previous activity (Using the tooltip that opens when clicking on the field).
- Item price
The price of the item you are updating.
- Click on the empty field to be shown the tooltip with all the options you can use to fill the field.
- You can populate the field in one of the following options:
- Numeric Static value
- Property value from a previous activity (Using the tooltip that opens when clicking on the field).
- Expression – using functions and/or Previous activity properties and/or static values (Using the tooltip that opens when clicking on the field).
- Currency Click on the empty field to be shown the tooltip with all the currencies you can use.
Get item
Gets one item record. The item ID Example: 17b3a103-cb47-b124-3d2b-ec9838cf35ad.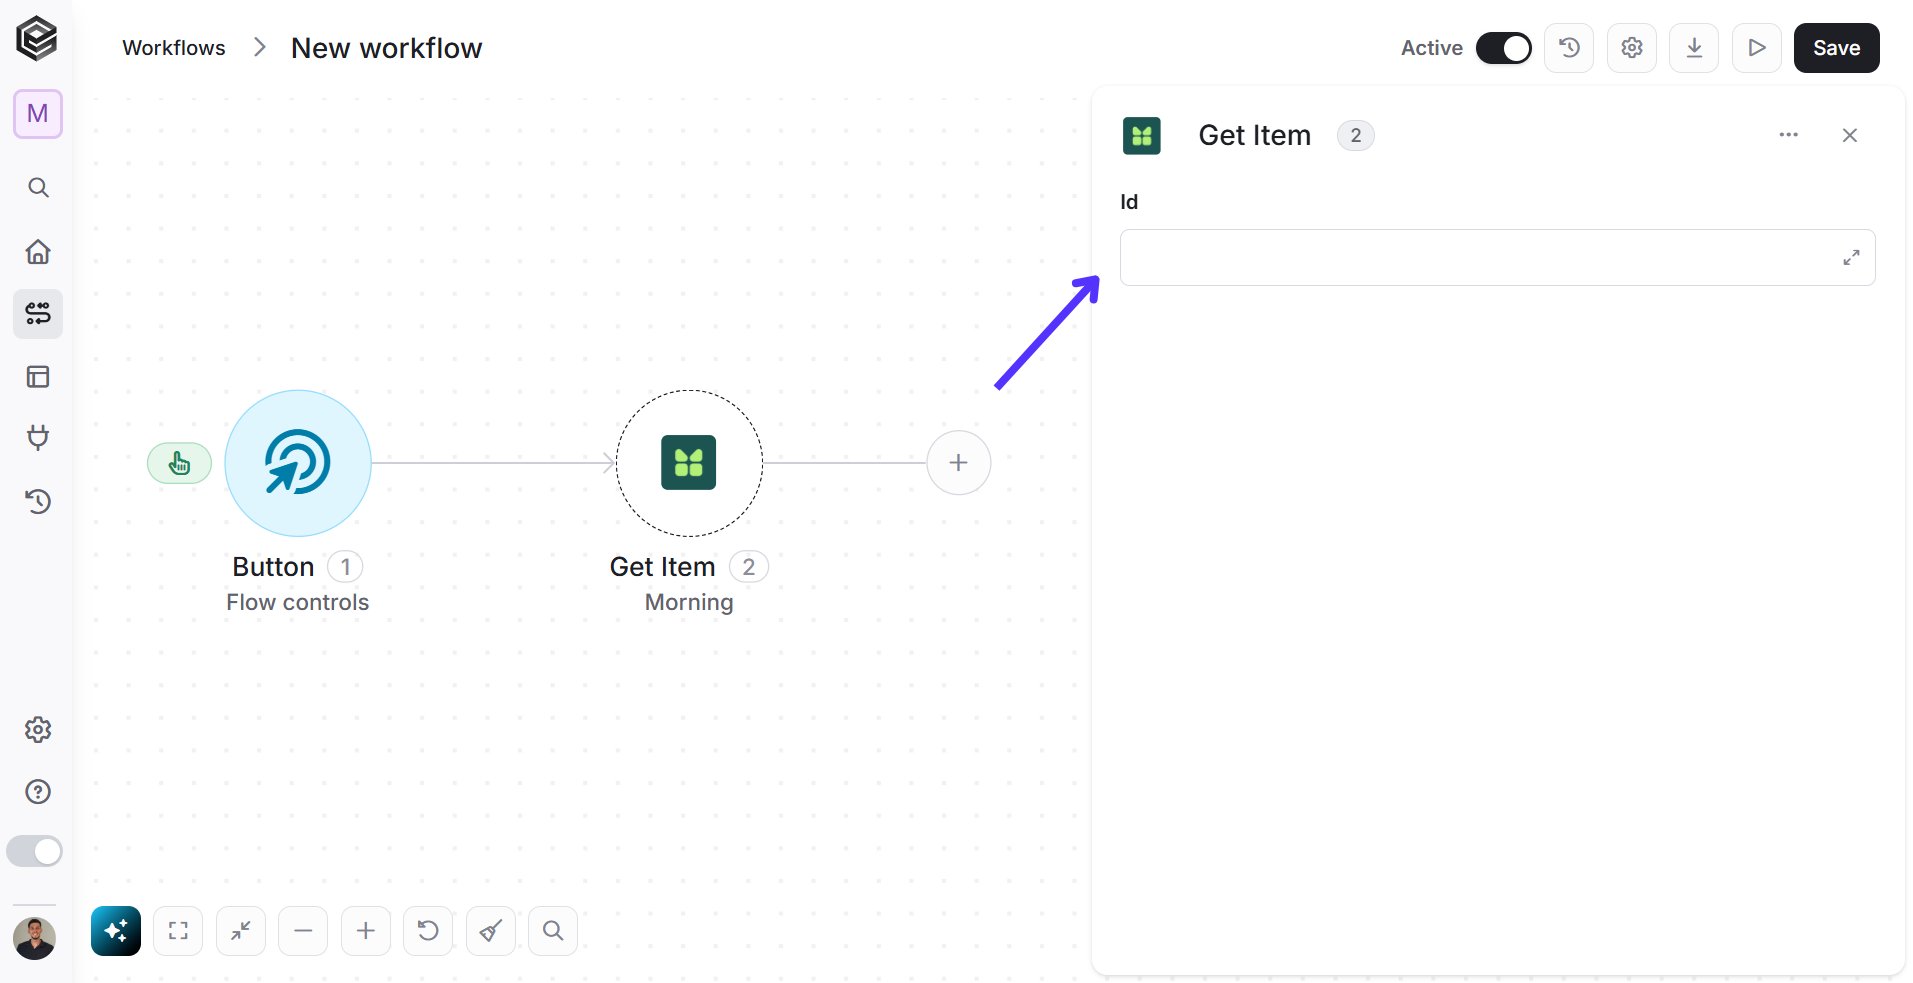
- Id
- Click on the empty field and the tooltip will pop up showing all the id you can use.
- Select the customer ID that is relevant. you can use:
- Static value – number / string. when using strings, you need to surround them with single quotes (‘).
- Property value from a previous activity (Using the tooltip that opens when clicking on the field).
Delete item
Deletes item record.
- Id
- Click on the empty field and the tooltip will pop up showing all the id you can use.
- Select the id that is relevant. you can use:
- Static value – number / string. when using strings, you need to surround them with single quotes (‘).
- Property value from a previous activity (Using the tooltip that opens when clicking on the field).
Search items
Searches for items records.
- Add Filter - Click Add Filter to define conditions that narrow down the data list and return only the relevant items. To learn more about using filters, click here.
Add document
Add a document to the current business.
- Document type - Select the type of document from a dropdown menu. It could include options such as invoices, receipts, reports, or other document classifications based on your business or organizational needs.
- Language - Select the appropriate language in which the document will be created from the dropdown options to ensure clear communication and compliance with language preferences or regulations.
-
Primary currency - Click on the empty field to be shown the tooltip with all the currencies you can use.
-
Vat type - Select the appropriate VAT (Value Added Tax) classification for the document.
NOTE: When declaring your vatType there’s multiple different declarations. You can define the general vatType of the document, but – you can also define each income row vatType.
- Choose from the dropdown options, which include:
- Default (Based on business type)
- Exempt (VAT free)
- Mixed (Contains exempt and due VAT income rows)
- Choose from the dropdown options, which include:
- Add Field - Click Add Field to add and populate additional fields for the selected activity. To learn more about managing activity data, click here.
Search document
Searches for documents.
- Add Filter - Click Add Filter to define conditions that narrow down the data list and return only the relevant items. To learn more about using filters, click here.
Close document
Closes a document. After closing a document, you won’t be able to edit the document.
- Id
- Click on the empty field and the tooltip will pop up showing all the id you can use.
- Select the id that is relevant. you can use:
- Static value – number / string. when using strings, you need to surround them with single quotes (‘).
- Property value from a previous activity (Using the tooltip that opens when clicking on the field).
Open document
Opens a document. The document will open in a new window on morning, and you can view, edit or print it as needed.
- Id
- Click on the empty field and the tooltip will pop up showing all the id you can use.
- Select the id that is relevant. you can use:
- Static value – number / string. when using strings, you need to surround them with single quotes (‘).
- Property value from a previous activity (Using the tooltip that opens when clicking on the field).
Send document to customer

- Id
- Click on the empty field and the tooltip will pop up showing all the id you can use.
- Select the id that is relevant. you can use:
- Static value – number / string. when using strings, you need to surround them with single quotes (‘).
- Property value from a previous activity (Using the tooltip that opens when clicking on the field).
- Recipients field - You can enter one or more recipients.
- Click on the empty field and the tooltip will pop up showing all the recipients you can use.
- Select the recipient. you can use:
- Static value – number / string. when using strings, you need to surround them with single quotes (‘).
- Property value from a previous activity (Using the tooltip that opens when clicking on the field).
- Add Field - Click Add Field to add and populate additional fields for the selected activity. To learn more about managing activity data, click here.
Get Document
Gets one document record.
- Id
- Click on the empty field and the tooltip will pop up showing all the id you can use.
- Select the id that is relevant. you can use:
- Static value – number / string. when using strings, you need to surround them with single quotes (‘).
- Property value from a previous activity (Using the tooltip that opens when clicking on the field).
Get a Preview Document

- Document type - Select the type of document you want to get from a dropdown menu. It could include options such as invoices, receipts, reports, or other document classifications based on your business or organizational needs.
- Language - Select the appropriate language of the document you want to get from the dropdown options.
-
Primary currency - Click on the empty field to be shown the tooltip with all the currencies you can use.
-
Vat type - Select the appropriate VAT (Value Added Tax) classification for the document. Choose from the dropdown options, which include:
- Default (Based on business type)
- Exempt (VAT free)
- Mixed (Contains exempt and due VAT income rows)
- Add Field - Click Add Field to add and populate additional fields for the selected activity. To learn more about managing activity data, click here.
Get Document Statuses

- Add Filter - Click Add Filter to define conditions that narrow down the data list and return only the relevant items. To learn more about using filters, click here.
Get Document Types

- Add Filter - Click Add Filter to define conditions that narrow down the data list and return only the relevant items. To learn more about using filters, click here.
Get Document download links

- Id
- Click on the empty field and the tooltip will pop up showing all the id you can use.
- Select the id that is relevant. you can use:
- Static value – number / string. when using strings, you need to surround them with single quotes (‘).
- Property value from a previous activity (Using the tooltip that opens when clicking on the field).
Get Document distribution info
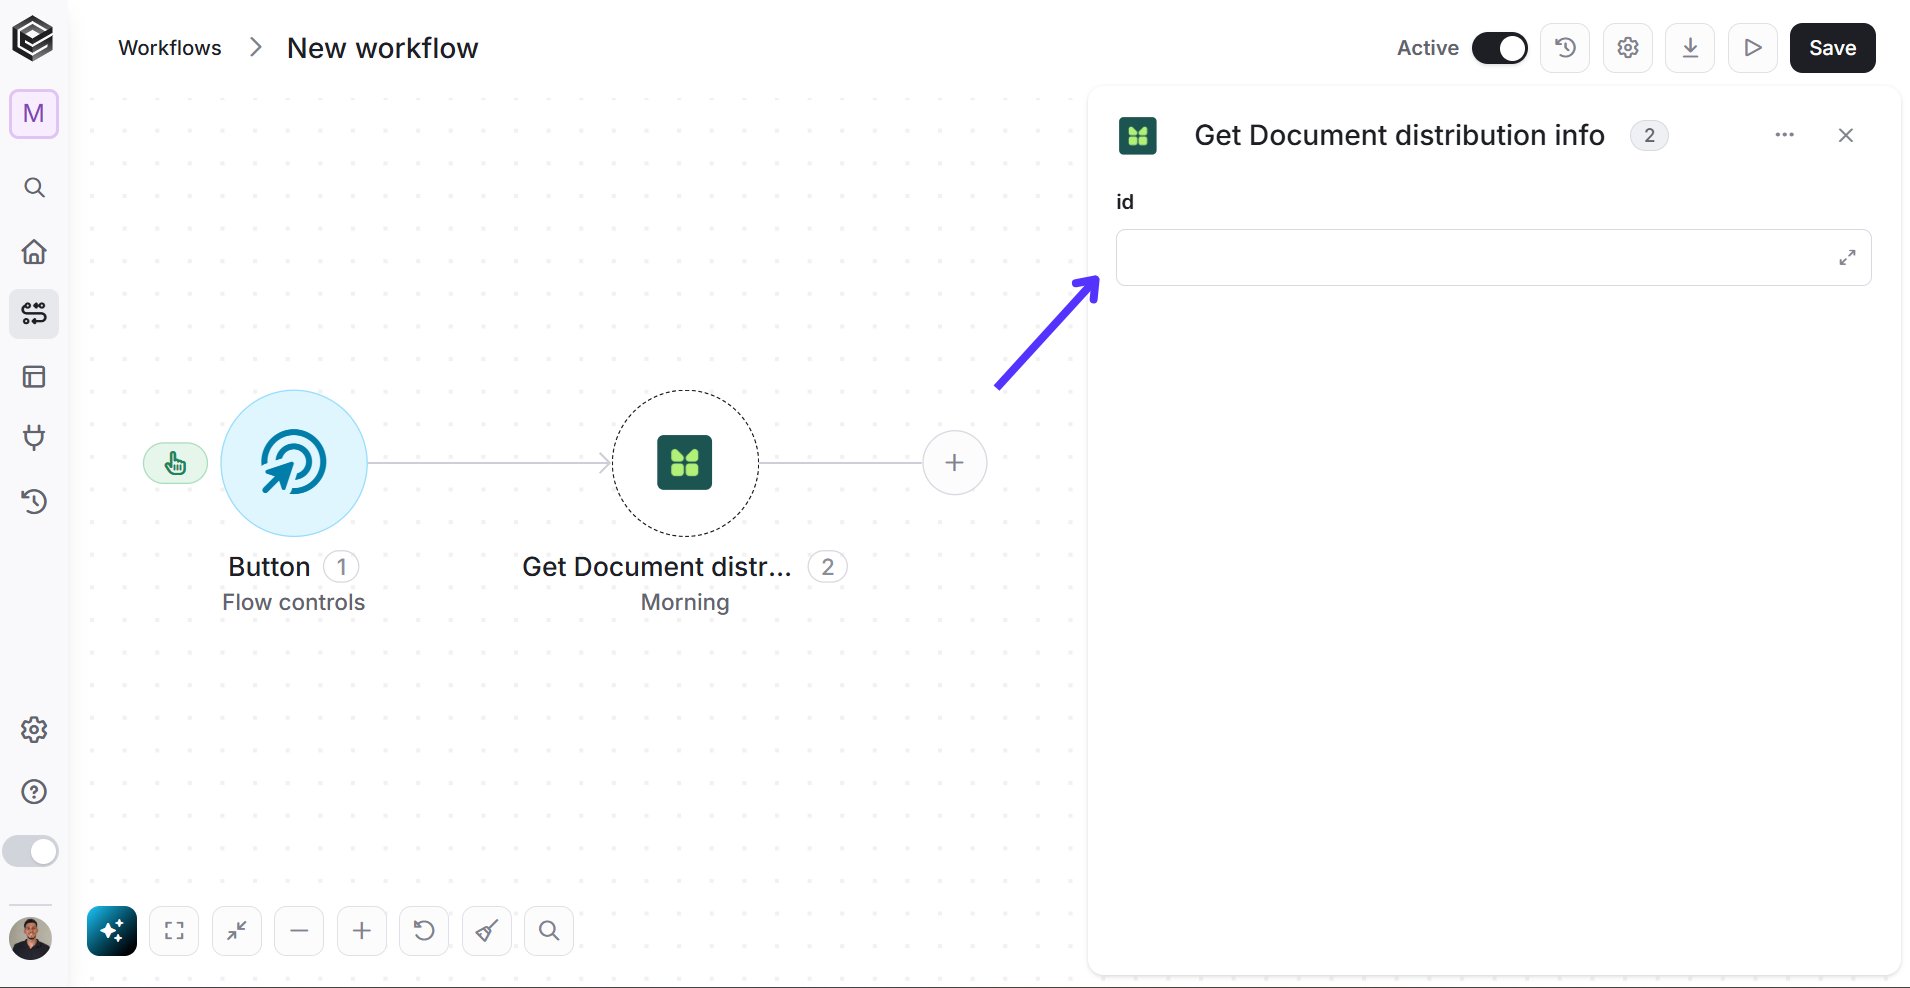
- Id
- Click on the empty field and the tooltip will pop up showing all the id you can use.
- Select the id that is relevant. you can use:
- Static value – number / string. when using strings, you need to surround them with single quotes (‘).
- Property value from a previous activity (Using the tooltip that opens when clicking on the field).
Initialize INCOME Array
Add this activity to initialize a INCOME array. The Name is automatically populated as “income array” by default. However, this field is editable.
Add INCOME to array
To use this action, you first need to initialize a income array.
- Variable - Select the variable from the dropdown menu. This variable likely represents the specific array or container where income data will be added.
-
Item description - Provide a clear and concise description of the income item being added to the array. You can populate the field in one of the following options:
- Static value – number / string. when using strings, you need to surround them with single quotes (‘).
- Property value from a previous activity (Using the tooltip that opens when clicking on the field).
- Expression – using functions and/or Previous activity properties and/or static values (Using the tooltip that opens when clicking on the field).
-
Quantity - Specify the quantity associated with the income item. This could represent the number of units sold, hours worked, or any other relevant unit of measurement depending on the nature of the income source.
You can populate the field in one of the following options:
- Numeric Static value
- Property value from a previous activity (Using the tooltip that opens when clicking on the field).
- Expression – using functions and/or Previous activity properties and/or static values (Using the tooltip that opens when clicking on the field).
-
Item price - Input the unit price or value associated with each unit in the quantity.
You can populate the field in one of the following options:
- Numeric Static value
- Property value from a previous activity (Using the tooltip that opens when clicking on the field).
- Expression – using functions and/or Previous activity properties and/or static values (Using the tooltip that opens when clicking on the field).
-
Currency - Click on the empty field to be shown the tooltip with all the currencies you can use.
-
Vat Type - Select the appropriate VAT (Value Added Tax) classification for the income. Choose from the dropdown options, which include:
- Default (Based on business type)
- Exempt (VAT free)
- Mixed (Contains exempt and due VAT income rows)
- Add Field - Click Add Field to add and populate additional fields for the selected activity. To learn more about managing activity data, click here.
Initialize EMAILS Array
Add this activity to initialize a EMAILS array. The Name is automatically populated as “email array” by default. However, this field is editable.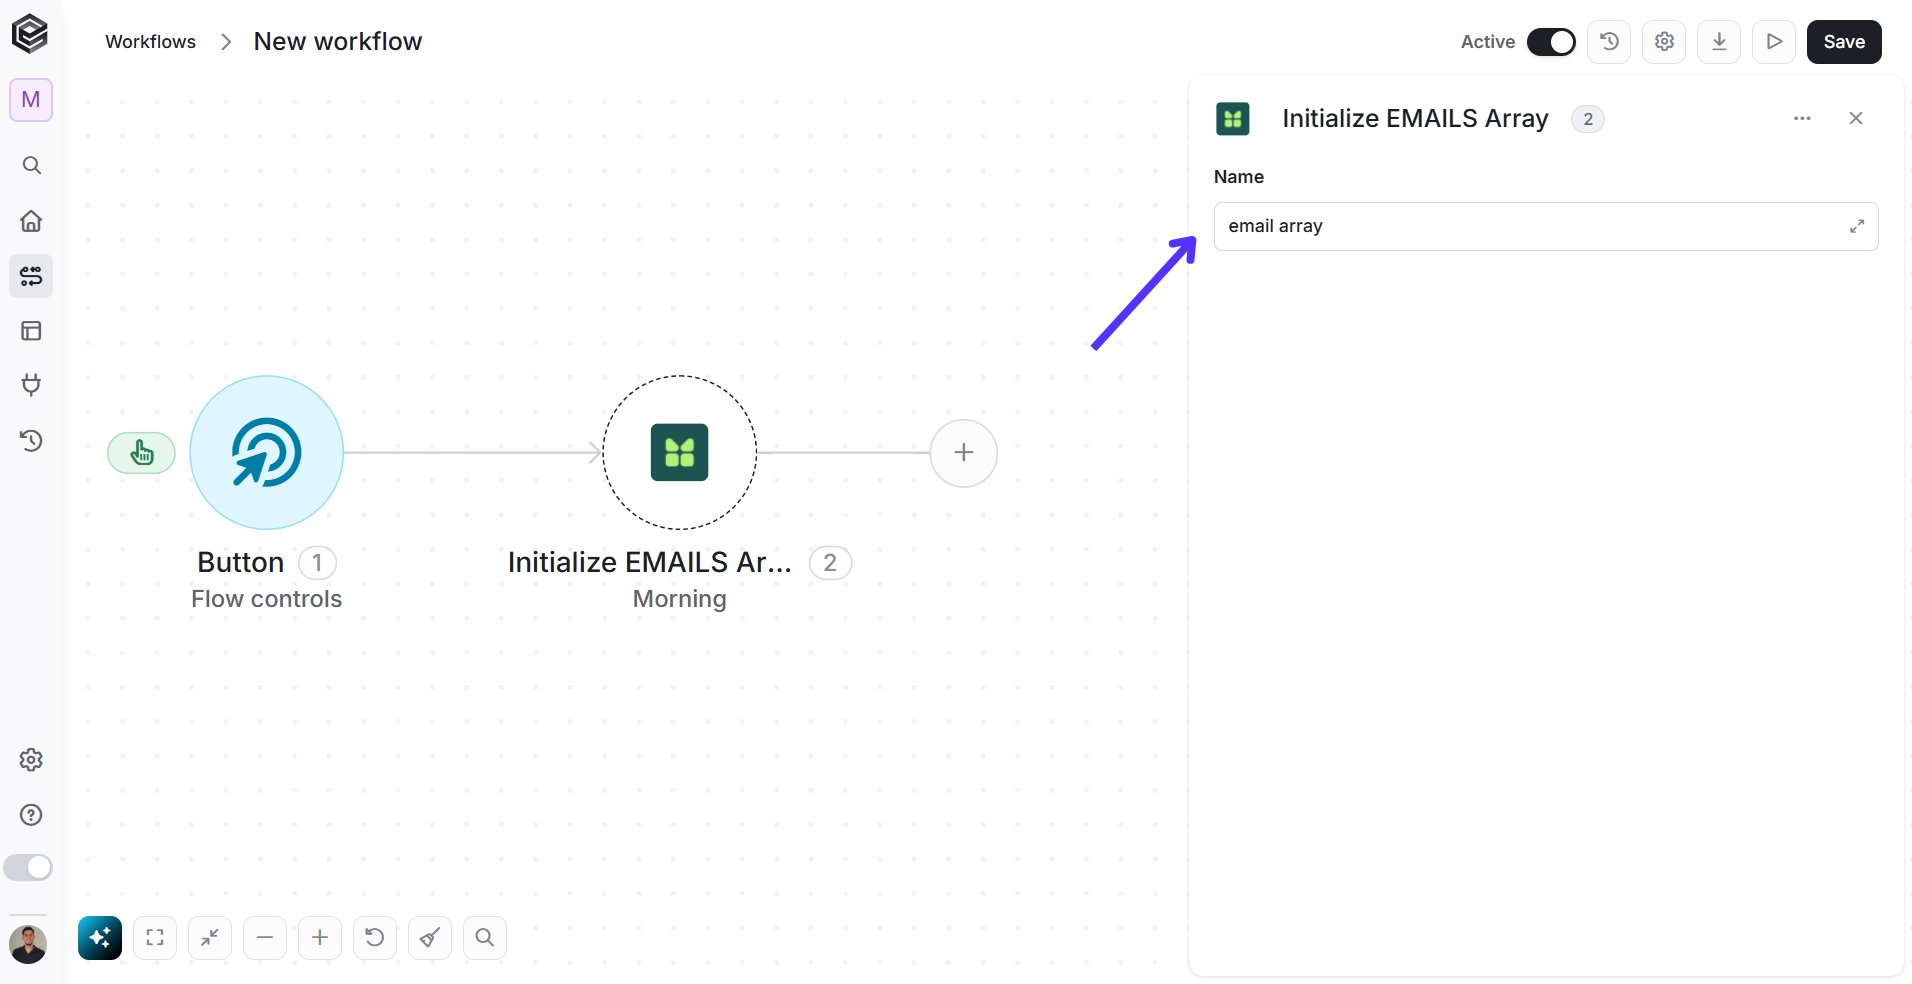
Append EMAIL to array
To use this action, you first need to initialize a email array.
- Name - Select a variable from a dropdown menu. This variable likely represents the specific array or container where email data will be appended.
- Value - Input the actual email address or relevant information associated with the email entry. You can populate the field in one of the following options:
- Static value – number / string. when using strings, you need to surround them with single quotes (‘).
- Property value from a previous activity (Using the tooltip that opens when clicking on the field).
- Expression – using functions and/or Previous activity properties and/or static values (Using the tooltip that opens when clicking on the field).
Initialize PAYMENTS Array
Add this activity to initialize a PAYMENTS array. The Name is automatically populated as “payment array” by default. However, this field is editable.
Add PAYMENT to array
To use this action, you first need to initialize a payment array.
- Variable - Select the variable from the dropdown menu. This variable likely represents the specific array or container where payment data will be added.
-
Payment date (YYYY-MM-DD) - Enter the specific date of payment in the format “YYYY-MM-DD”.
You can populate the field in one of the following options:
- String static value – when using strings, you need to surround them with single quotes (‘).
- Property value from a previous activity (Using the tooltip that opens when clicking on the field).
- Expression – using functions and/or Previous activity properties and/or static values (Using the tooltip that opens when clicking on the field).
- Payment method - Click on the empty field to be shown the tooltip with all the methods you can use.
-
Price - Input the monetary value of the payment. This could represent the total amount paid in a transaction.
You can populate the field in one of the following options:
- Numeric static value
- Property value from a previous activity (Using the tooltip that opens when clicking on the field).
- Expression – using functions and/or Previous activity properties and/or static values (Using the tooltip that opens when clicking on the field).
-
Currency - Click on the empty field to be shown the tooltip with all the currencies you can use.
- Add Field - Click Add Field to add and populate additional fields for the selected activity. To learn more about managing activity data, click here.
Initialize RECIPIENTS Array
Add this activity to initialize a RECIPIENTS array. The Name is automatically populated as “recipients array” by default. However, this field is editable.
Append RECIPIENT to array
To use this action, you first need to initialize a recipient array.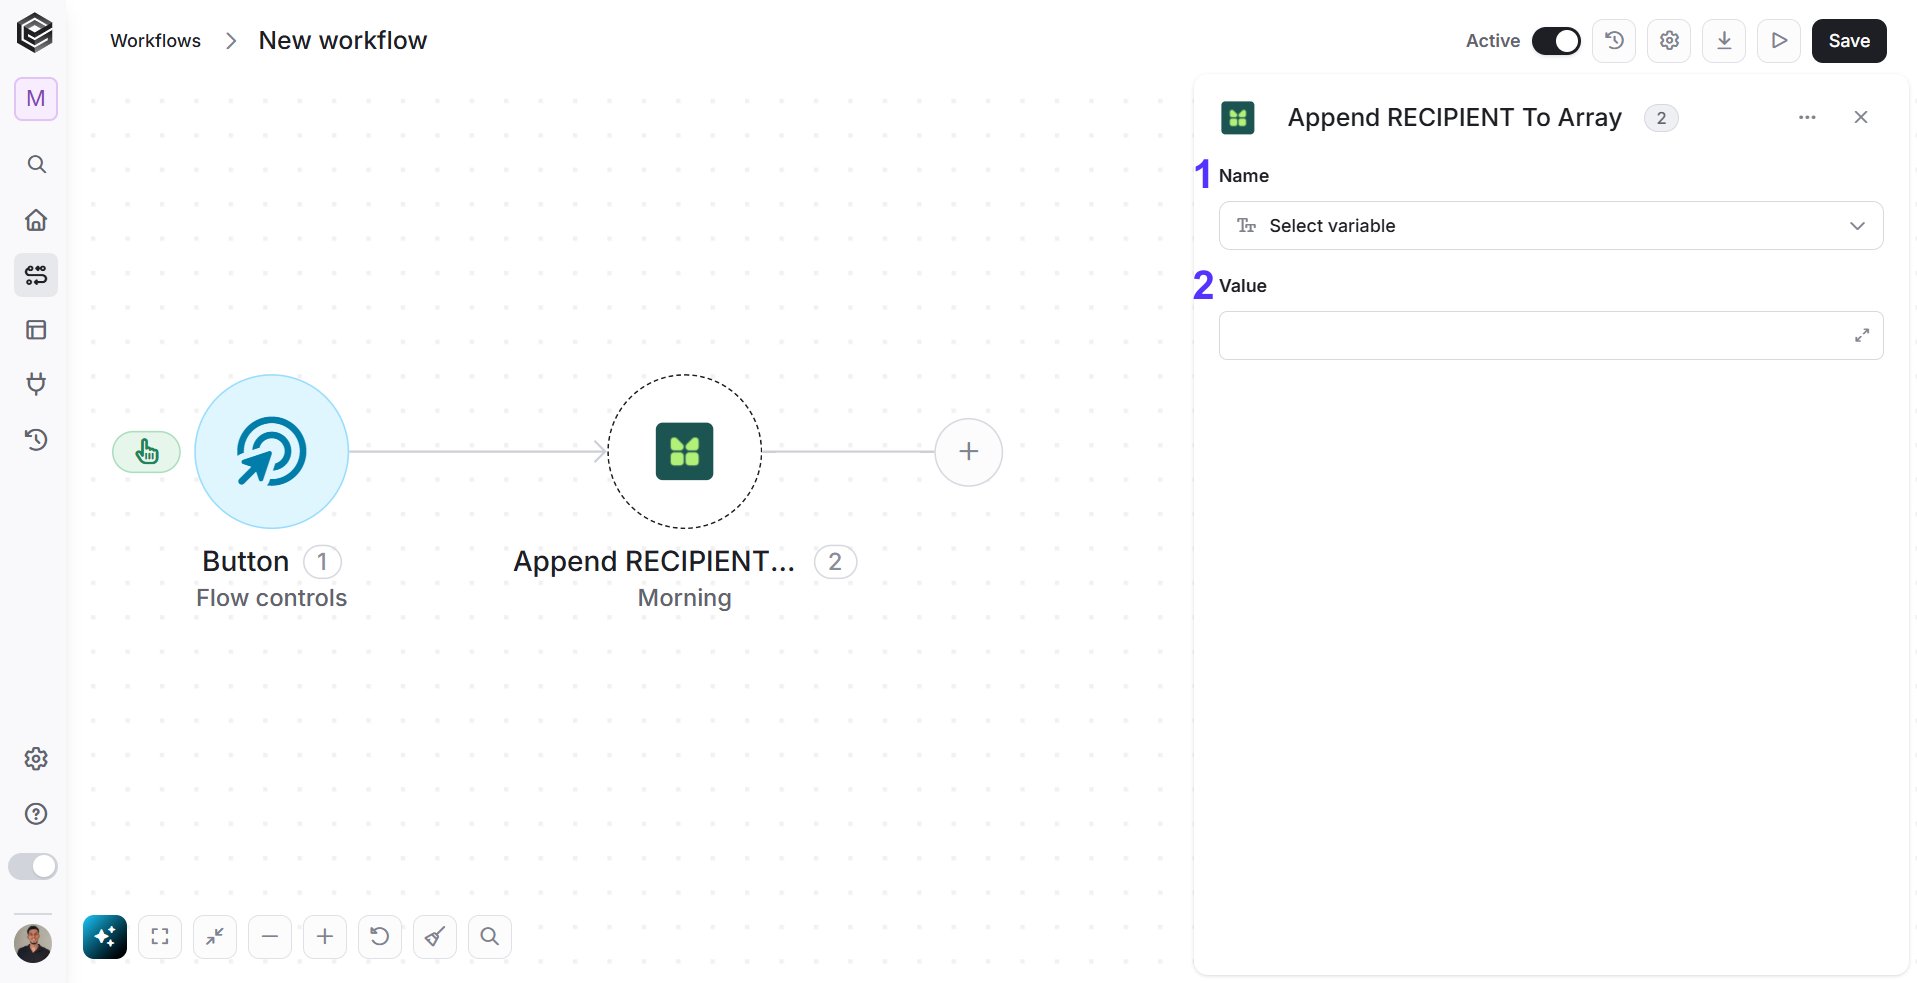
- Name - Select a variable from a dropdown menu. This variable likely represents the specific array or container where recipient data will be appended.
- Value - Input the relevant information associated with the recipient entry.
You can populate the field in one of the following options:
- Static value – number / string. when using strings, you need to surround them with single quotes (‘).
- Property value from a previous activity (Using the tooltip that opens when clicking on the field).
- Expression – using functions and/or Previous activity properties and/or static values (Using the tooltip that opens when clicking on the field).
Initialize LABELS Array
Add this activity to initialize a LABELS array. The Name is automatically populated as “label array” by default. However, this field is editable.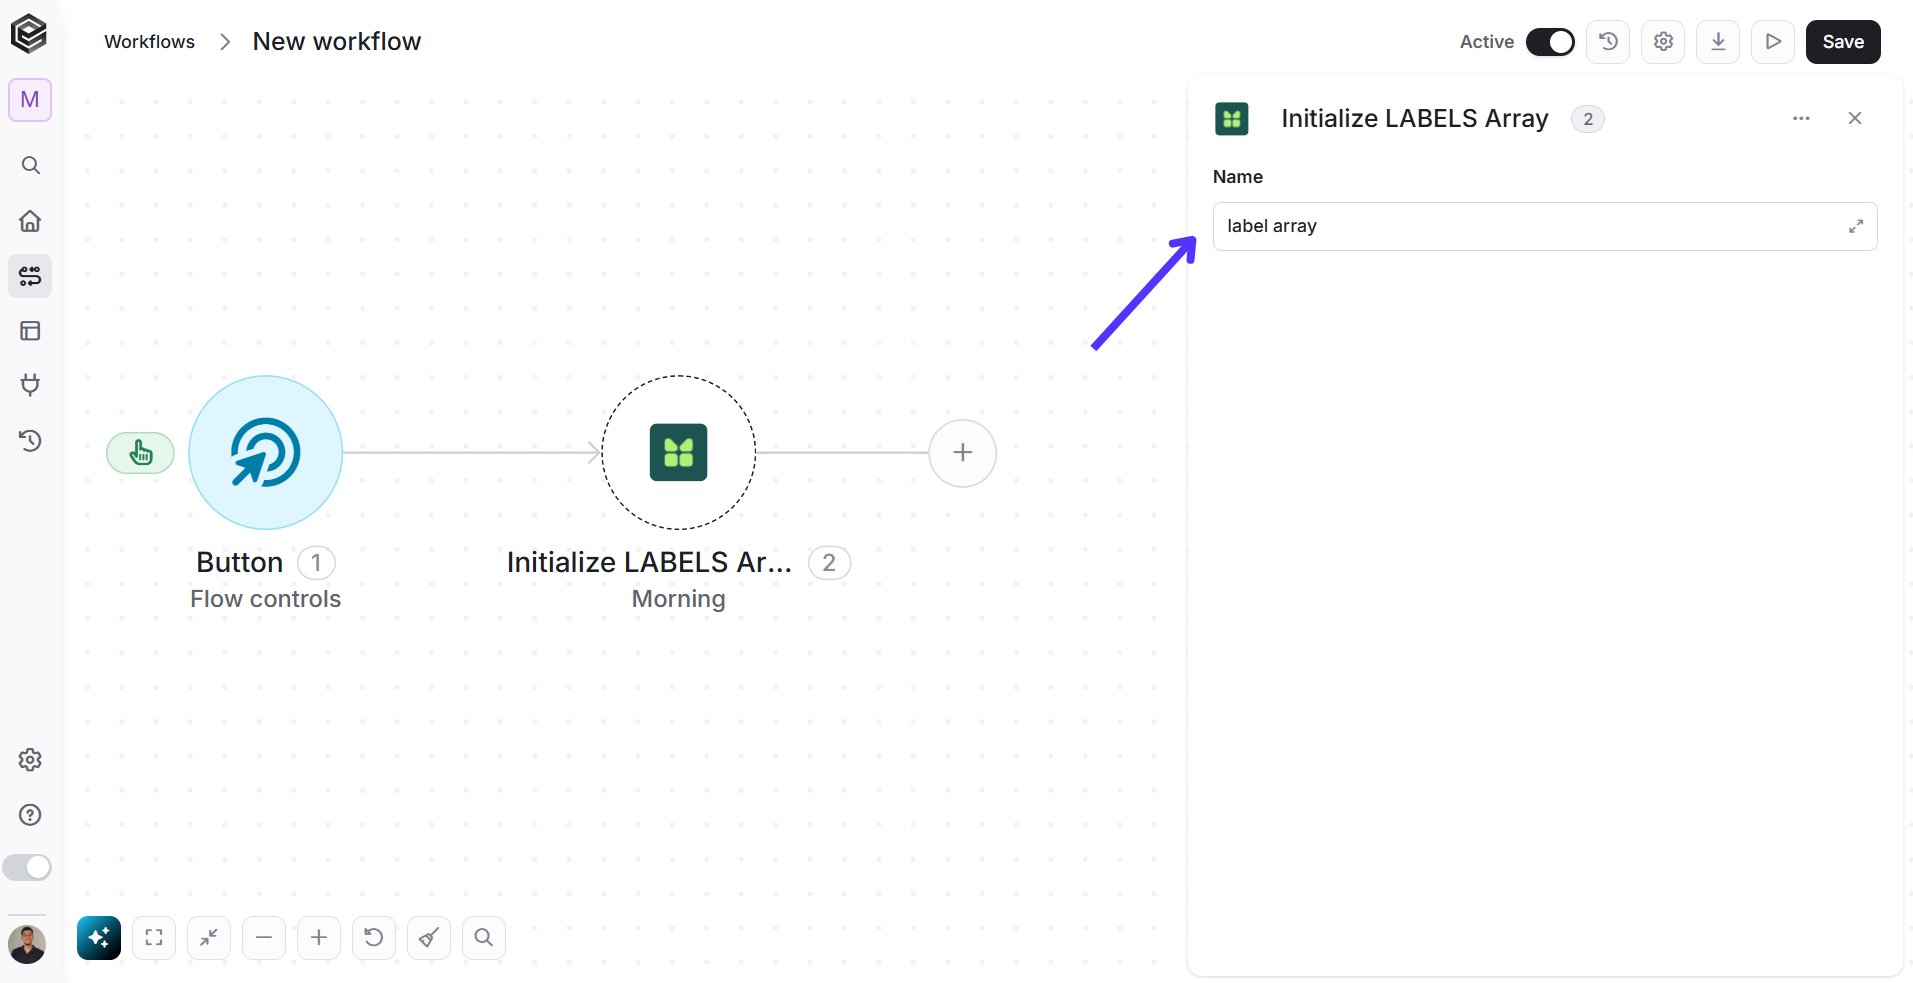
Append LABEL to array
To use this action, you first need to initialize a label array.
- Name - Select a variable from a dropdown menu. This variable likely represents the specific array or container where label data will be appended.
- Value - Input the relevant information associated with the label entry. You can populate the field in one of the following options:
- Static value – number / string. when using strings, you need to surround them with single quotes (‘).
- Property value from a previous activity (Using the tooltip that opens when clicking on the field).
- Expression – using functions and/or Previous activity properties and/or static values (Using the tooltip that opens when clicking on the field).