

Getting Started with Google Sheets
Prerequisites
- A Google Calendar account.
Add a connection to Google Sheets in Engini
- Enter your Engini account at https://app.engini.io.
-
Navigate to Connections page by clicking on the Connections on the left sidebar or by clicking here.

-
Click on the “New Integration” option located at the top bar.

-
Choose Google Calendar option from the available applications.

- Enter the following details in the “New Integration” form and press Save:
OAuth2
This method uses a predefined authentication flow. You don’t need to provide a Client ID or Client Secret, you simply sign in using your account.
- Connection name - Enter unique identifier for the connection within Engini.
- Authentication Method - Select OAuth2.
- Click on the “Sign in with Google” button.
- Sign into your Google account.
- Fields automatically populated post connecting to a Google account include:
- Access Token: A token for authorization to access Google services.
- Refresh Token: A token used to obtain a new access token when the current one expires.
- Click on the Save Settings button to save the connection.
Custom OAuth2
This method requires you to configure your own OAuth2 credentials. You must provide both a valid Client ID and Client Secret obtained from your Google Cloud Console project.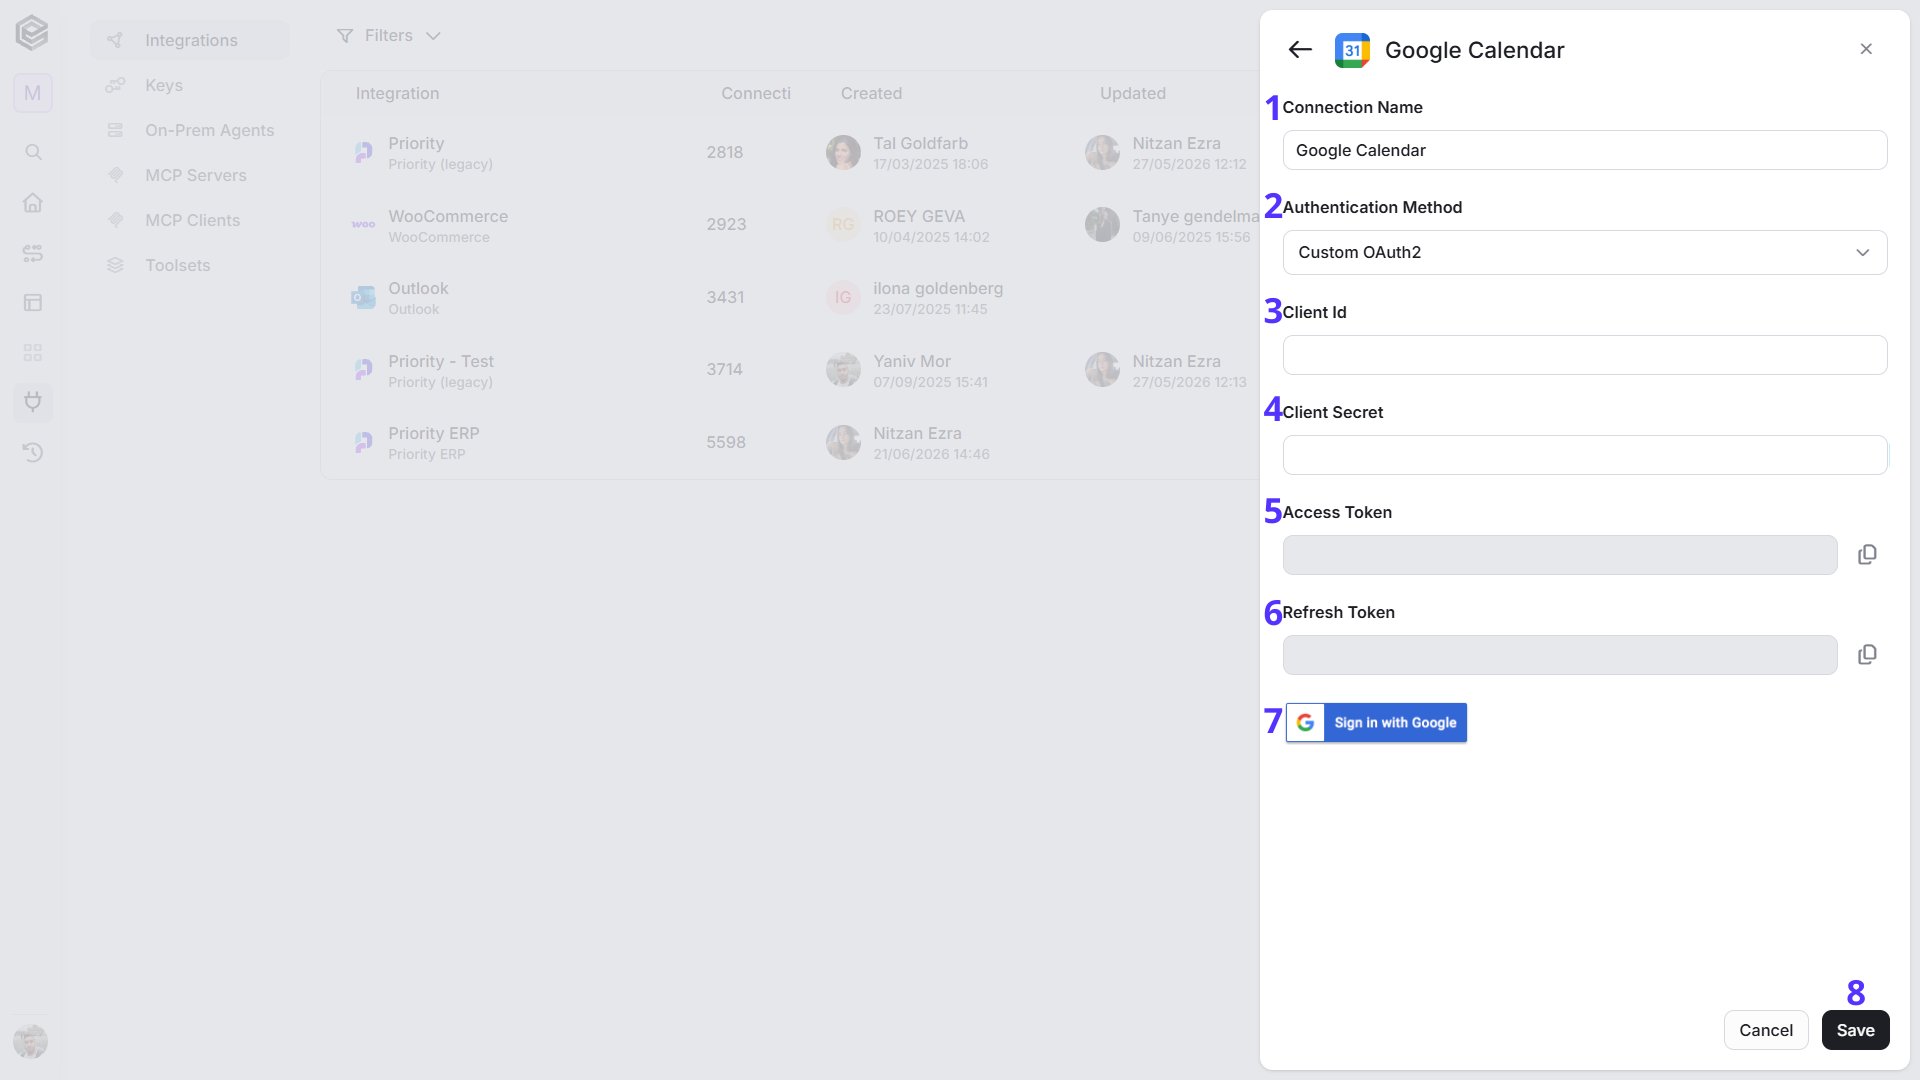
- Connection name - Choose a unique identifier for the connection within Engini.
- Authentication Method - Select Custom OAuth2 when connecting to Google services using a custom OAuth client. To learn more about this authentication, enter here.
- Client ID - Enter the Client ID from the OAuth 2.0 credentials in the Google Cloud project.
- Client Secret - Enter the Client Secret from the same set of OAuth 2.0 credentials in the Google Cloud project.
- Access Token - Automatically populated post connecting to a your Google account.
- Refresh Token - Automatically populated post connecting to a your Google account.
- Sign in with Google - Click Sign in with Google and log in with the Google account used to create the project in Google Cloud. This ensures access to the correct OAuth credentials and permissions.
- Click on the Save Settings button to save the connection.
Actions
Create Calendar
This action creates a new calendar in the connected Google Calendar account, allowing you to organize events under a dedicated calendar.
- Summary - The name of the calendar to be created. This title will appear in your Google Calendar and help identify the calendar among others.
Get Calendar
This action retrieves details of a specific calendar from the connected Google Calendar account, allowing you to access its configuration and metadata.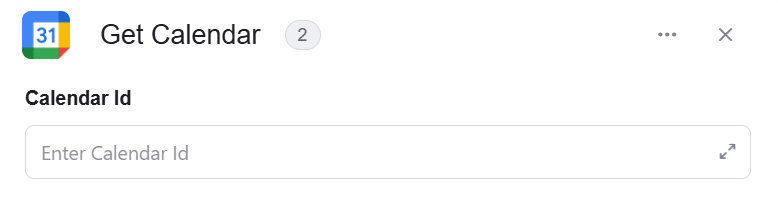
-
Calendar Id - The unique identifier of the calendar you want to retrieve. This value is used to specify which calendar to fetch from your account.

Get Calendar List
This action retrieves a list of all calendars available in the connected Google Calendar account, allowing you to view and work with multiple calendars within your workflows.
- Add Filter - Click Add Filter to define conditions that narrow down the data list and return only the relevant items. To learn more about using filters, click here.
Update Calendar
This action updates an existing calendar in the connected Google Calendar account, allowing you to modify its details and settings as needed.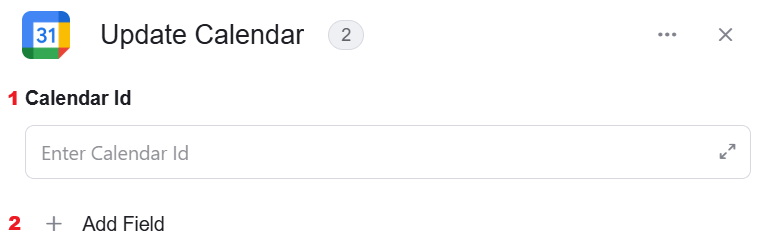
-
Calendar Id - The unique identifier of the calendar you want to retrieve. This value is used to specify which calendar to fetch from your account.
- Add Field - Click Add Field to add and populate additional fields for the selected activity. To learn more about managing activity data, click here.
Delete Calendar
This action deletes an existing calendar from the connected Google Calendar account, removing it and all its associated events permanently.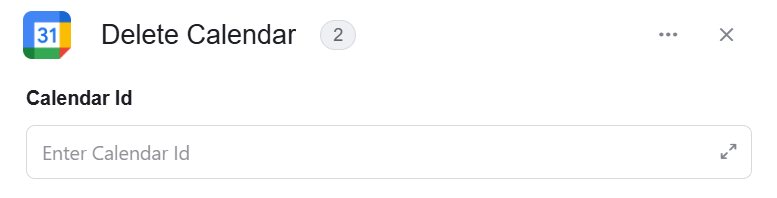
-
Calendar Id - The unique identifier of the calendar you want to retrieve. This value is used to specify which calendar to fetch from your account.
Clear Calendar
This action removes all events from a specific calendar in the connected Google Calendar account, while keeping the calendar itself intact.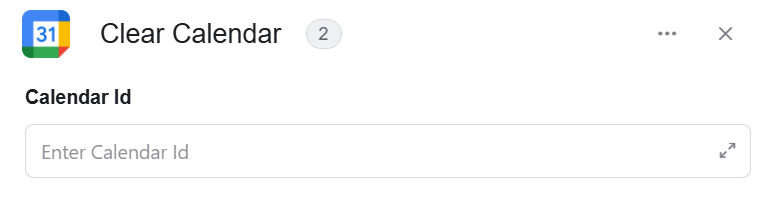
-
Calendar Id - The unique identifier of the calendar you want to retrieve. This value is used to specify which calendar to fetch from your account.
Create Event (Full Create)
This action allows you to create a detailed event in the selected Google Calendar, providing full control over scheduling and event configuration.
-
Calendar Id - The unique identifier of the calendar you want to retrieve. This value is used to specify which calendar to fetch from your account.
- Type of creation - Defines the method used to create the event. In this case, Full Create is selected, which allows you to provide full event details such as start and end time, along with additional fields for a more detailed and customized event setup.
- Start - Date Time - The start date and time of the event in ISO format (YYYY-MM-DDThh:mm:ssZ).
- End - Date Time - The end date and time of the event in ISO format (YYYY-MM-DDThh:mm:ssZ).
- Add Field - Click Add Field to add and populate additional fields for the selected activity. To learn more about managing activity data, click here.
Create Event (Quick Create)
This action creates a new event in the selected Google Calendar, allowing you to schedule meetings or activities.
-
Calendar Id - The unique identifier of the calendar you want to retrieve. This value is used to specify which calendar to fetch from your account.
- Type of creation - Defines the method used to create the event. In this case, Quick Create is selected, which allows you to create an event using a simple text input.
- Text - A natural language input used to quickly create an event (for example: “Meeting tomorrow at 10am”). The system will automatically parse the details and create the event accordingly.
- Add Field - Click Add Field to add and populate additional fields for the selected activity. To learn more about managing activity data, click here.
Get Event
This action retrieves the details of a specific event from the selected Google Calendar.
-
Calendar Id - The unique identifier of the calendar you want to retrieve. This value is used to specify which calendar to fetch from your account.
-
Event Id - The unique identifier of the event you want to retrieve.
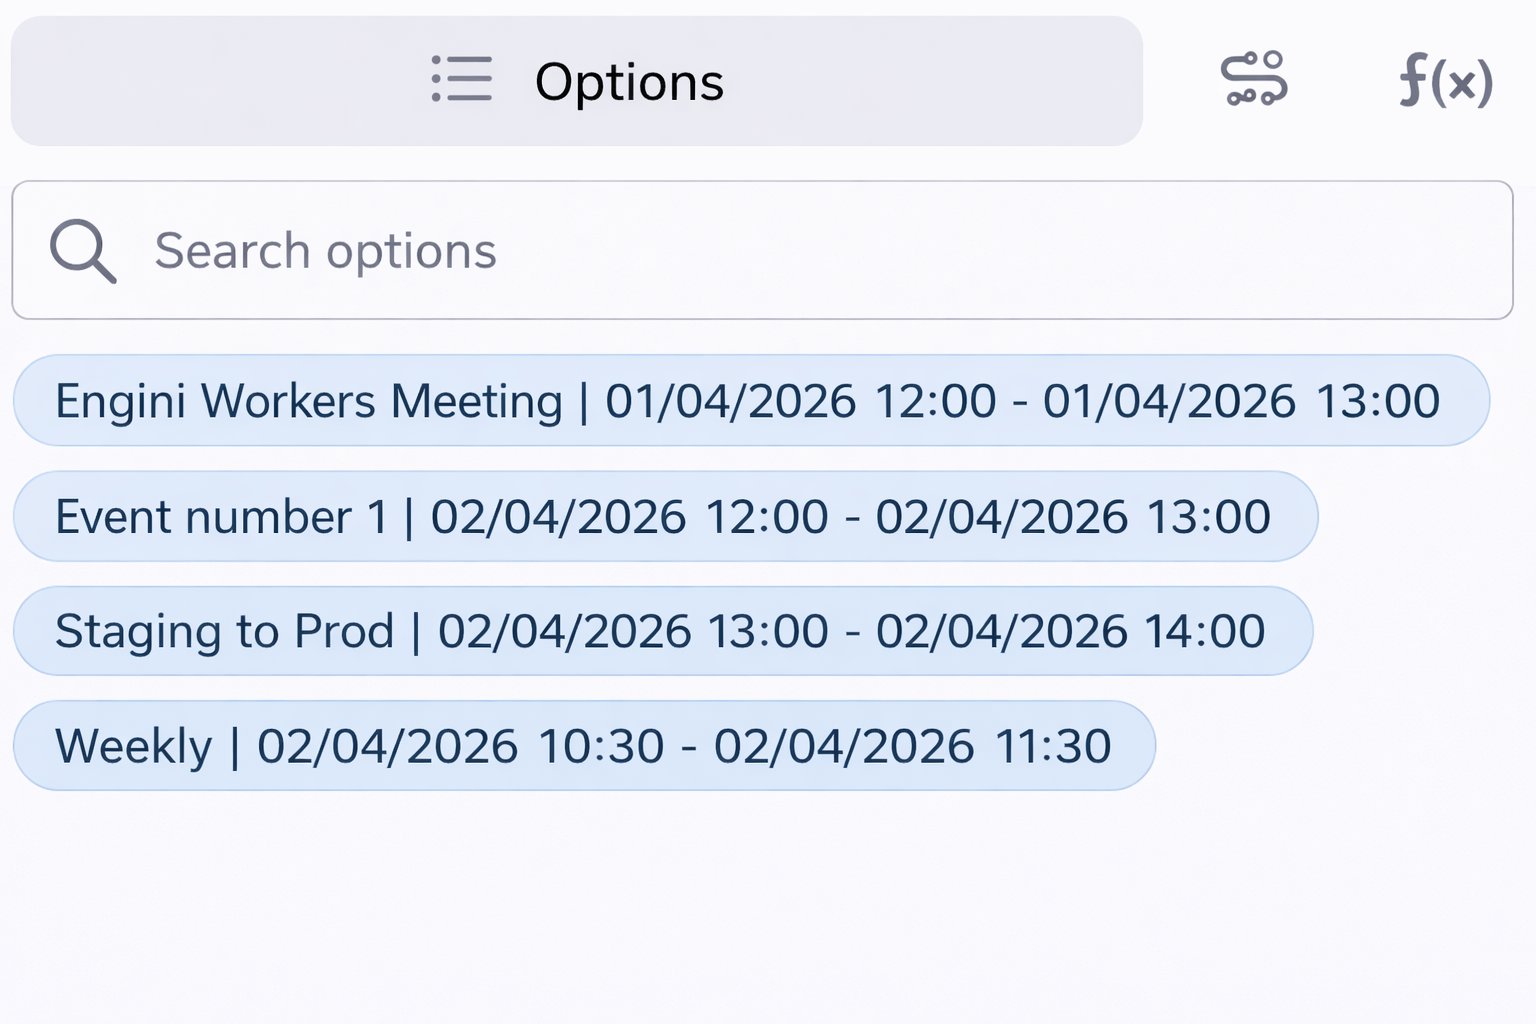
- Add Filter - Click Add Filter to define conditions that narrow down the data list and return only the relevant items. To learn more about using filters, click here.
Get Events
This action retrieves a list of events from the selected Google Calendar, allowing you to work with multiple events within your workflows.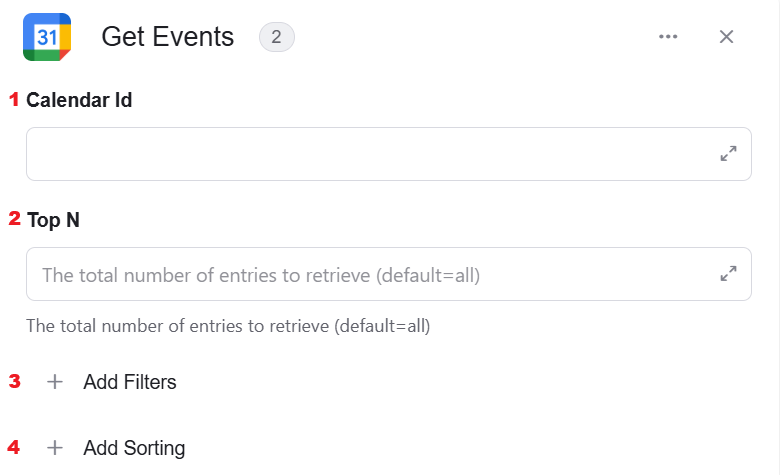
-
Calendar Id - The unique identifier of the calendar you want to retrieve. This value is used to specify which calendar to fetch from your account.
- Top N - Specifies the maximum number of entries to retrieve, with a default setting of all entries if left blank.
- Add Filter - Click Add Filter to define conditions that narrow down the data list and return only the relevant items. To learn more about using filters, click here.
- Add Sort - Click Add Sort to organize the data list by a selected field in ascending or descending order. To learn more about sorting data, click here.
Update Event
This action updates an existing event in the selected Google Calendar, allowing you to modify its details and schedule.
-
Calendar Id - The unique identifier of the calendar you want to retrieve. This value is used to specify which calendar to fetch from your account.
-
Event Id - The unique identifier of the event you want to retrieve.
- Start - Date Time - The start date and time of the event in ISO format (YYYY-MM-DDThh:mm:ssZ).
- End - Date Time - The end date and time of the event in ISO format (YYYY-MM-DDThh:mm:ssZ).
- Add Filter - Click Add Filter to define conditions that narrow down the data list and return only the relevant items. To learn more about using filters, click here.
- Add Field - Click Add Field to add and populate additional fields for the selected activity. To learn more about managing activity data, click here.
Delete Event
This action deletes a specific event from the selected Google Calendar, removing it permanently.
-
Calendar Id - The unique identifier of the calendar you want to retrieve. This value is used to specify which calendar to fetch from your account.
-
Event Id - The unique identifier of the event you want to retrieve.
- Add Field - Click Add Field to add and populate additional fields for the selected activity. To learn more about managing activity data, click here.
Create Access Control Rule
This action creates a new access control rule for a specific calendar, allowing you to define permissions and sharing settings for other users.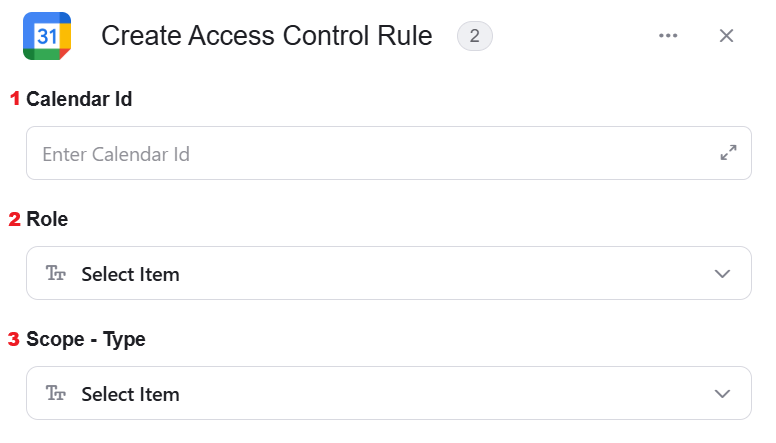
-
Calendar Id - The unique identifier of the calendar you want to retrieve. This value is used to specify which calendar to fetch from your account.
- Role - Defines the level of access granted (for example: reader, writer, owner).
- Scope - Type - Defines the type of entity the rule applies to (such as user, group, or domain).
Get Access Control Rule
This action retrieves the details of a specific access control rule from the selected calendar, allowing you to view its permissions and sharing configuration.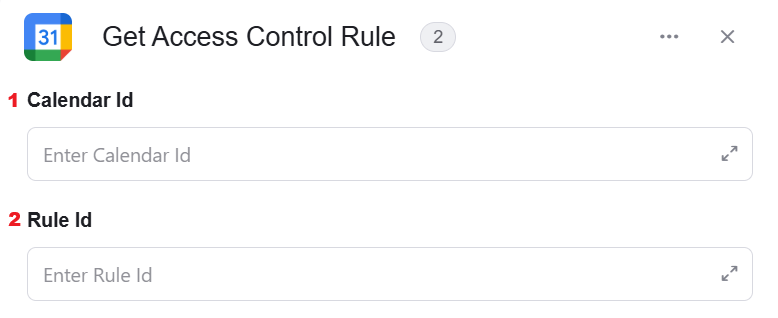
-
Calendar Id - The unique identifier of the calendar you want to retrieve. This value is used to specify which calendar to fetch from your account.
- Rule Id - The unique identifier of the access control rule you want to get (After selecting a calendar).
Get Access Control Rules
This action retrieves a list of access control rules from the selected calendar, allowing you to view all sharing and permission settings.
-
Calendar Id - The unique identifier of the calendar you want to retrieve. This value is used to specify which calendar to fetch from your account.
- Add Filter - Click Add Filter to define conditions that narrow down the data list and return only the relevant items. To learn more about using filters, click here.
Update Access Control Rule
This action updates an existing access control rule for a specific calendar, allowing you to modify permissions and sharing settings.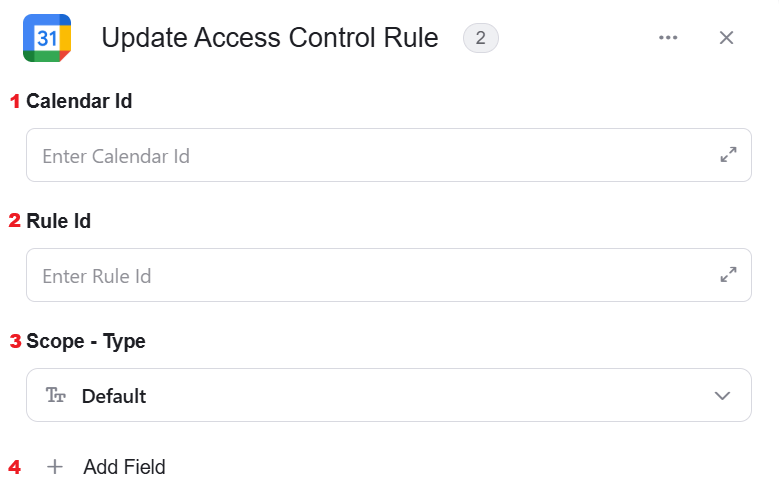
-
Calendar Id - The unique identifier of the calendar you want to retrieve. This value is used to specify which calendar to fetch from your account.
- Rule Id - The unique identifier of the access control rule you want to update (After selecting a calendar).
- Scope - Type - Defines the type of entity the rule applies to (such as user, group, or domain).
- Add Field - Click Add Field to add and populate additional fields for the selected activity. To learn more about managing activity data, click here.
Delete Access Control Rule
This action deletes an existing access control rule from the selected calendar, removing the defined permission or sharing configuration.
-
Calendar Id - The unique identifier of the calendar you want to retrieve. This value is used to specify which calendar to fetch from your account.
- Rule Id - The unique identifier of the access control rule you want to delete (After selecting a calendar).Rule Id – The unique identifier of the access control rule you want to delete. After selecting a calendar, clicking this field triggers a background API request that loads the rules for that specific calendar, allowing you to choose the relevant rule from the list.
Get Availability Information
This action retrieves availability (free/busy) information for one or more calendars within a specified time range, helping you determine scheduling conflicts or open time slots.
- Start Time - The beginning of the time range for which availability is checked, in ISO format.
- End Time - The end of the time range for which availability is checked, in ISO format.
- Items [] - A list of calendars or resources for which availability information is requested.
- Add Field - Click Add Field to add and populate additional fields for the selected activity. To learn more about managing activity data, click here.
Initialize Objects Array
This activity initializes a new variable designed to hold an array of objects of a specific Google Calendar type.
- Variable name – Enter a name for the variable that will store the array of objects.
- Object Element Type – Select the type of object that this variable will contain. This determines the structure and available fields for each item in the list.
- Add Field - Click Add Field to add and populate additional fields for the selected activity. To learn more about managing activity data, click here.
Append Object To Array
This action adds a new object to an existing object array variable that was initialized earlier in the workflow.
- Variable – Select the object that each item in the list represents. This defines the structure and available fields for each item during the mapping process.
- Add Field - Click Add Field to add and populate additional fields for the selected activity. To learn more about managing activity data, click here.
Map Array
This activity transforms a list of data into an array of Google Calendar compatible objects.
- Data List – Select the list of items you want to transform. This can be a variable or output from a previous step.
- Object Name – Select the type of object that each item in the list represents. This defines the structure and available fields for each item during the mapping process.
- Add Field - Click Add Field to add and populate additional fields for the selected activity. To learn more about managing activity data, click here.
Send API Request
This activity allows you to send a custom API request directly to the Google Calendar.
- Base Url – This is the root URL of the API you’re sending the request to.
- Relative url – You can specify additional path segments or parameters that need to be added to the end of the automatically generated URL. This allows you to customize the specific request you want to perform.
- Method – Select the HTTP method (e.g., Get, Post, Put, Delete, Patch).
- Body Type – Defines the format of the data in the body of your request. Commonly used values include application/json (as shown), which means the body will contain a JSON-formatted payload.
- Body – Contains any data that is being sent to the server.
- Add Headers – Additional metadata about the request, such as the type of data the Engini can accept, the length of the request body, and authentication information.
- Add Queries – The query refers to the parameters or data that are included in the URL of an HTTP request to provide additional information or instructions to the server.