

Getting Started with Comeet
Add a connection to Comeet in Engini
- Enter your Engini account at https://app.engini.io.
-
Navigate to Connections page by clicking on the Connections on the left sidebar or by clicking here.

-
Click on the “New Integration” option located at the top bar.

- Choose Comeet option from the available applications.
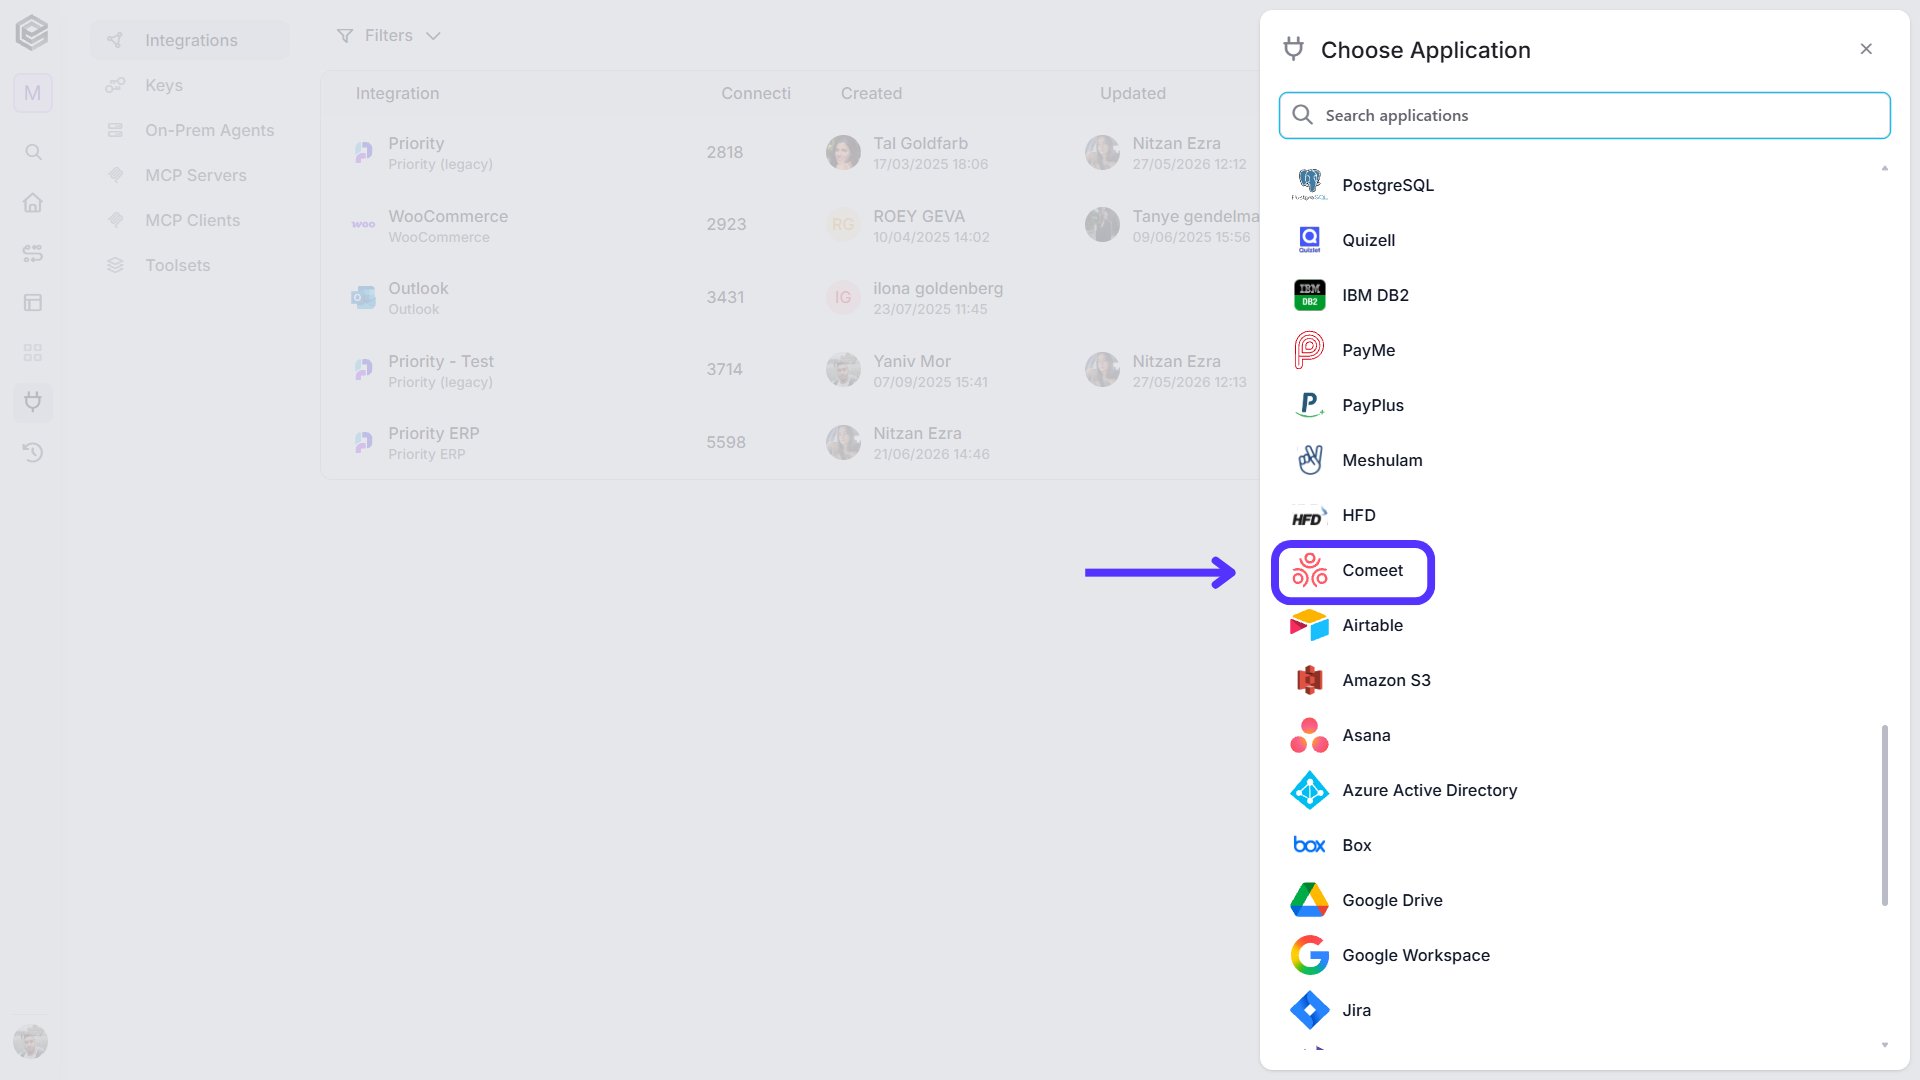
-
Enter the following details in the “New Integration” form and press Save:

- Connection name - Enter a unique and descriptive name for this connection. This name will help you identify and manage the connection in your Engini account. “Comeet” by default.
- API Token - Enter the API Token.
- Save Settings - Click on the Save button located at the bottom of the form.
Schedule Triggers
Check Trigger
- Check for candidate status changed: Check if there is update at candidate status information.
- Check for candidate created: Check if candidate created.
- Check for candidate update: Check if there is update at candidate information for an existing candidate.
- Check for opening created: Check if Opening created.
- Check for Opening status Changed: Check if there is update at Opening status information.
- Check for opening updated: Check if there is update at Opening information.
-
Check for Position Update: Check if there is update at position information for an existing position.

- Starting (UTC)- Choose the date and time for this workflow to start working. For the selected day time the workflow will run according to the selected frequency.
- Recur every- Select the time interval. The minimum time interval is 15 minutes.
-
Add time frame- Click on the “Add time frames” button.
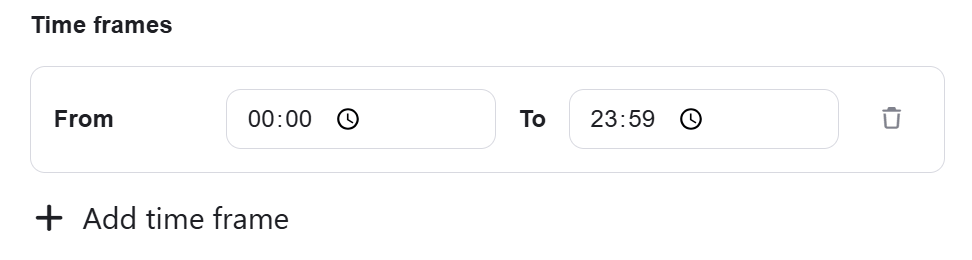
- Select the specific time frame during which you want your workflow to be executed. Simply select the start time and end time that best align with your scheduling preferences.
- Press the “Add time frame” button for adding more time frames.
- Add Conditions - Click Add Conditions to define conditions that narrow down the data list and return only the relevant items. To learn more about using filters, click here.
Position Created
Copy the URL and paste in the relevant place in Comeet.
- Add Conditions - Click Add Conditions to define conditions that narrow down the data list and return only the relevant items. To learn more about using filters, click here.
Position Updated
Copy the URL and paste in the relevant place in Comeet.
- Add Conditions - Click Add Conditions to define conditions that narrow down the data list and return only the relevant items. To learn more about using filters, click here.
Position Deleted
Copy the URL and paste in the relevant place in Comeet.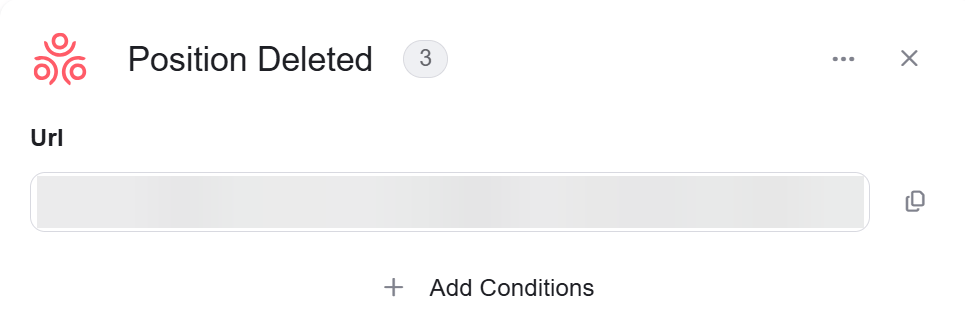
- Add Conditions - Click Add Conditions to define conditions that narrow down the data list and return only the relevant items. To learn more about using filters, click here.
Actions
Create Candidate

- Position UID- Enter the unique ID of the position.
- Partner Candidate Id- Enter the Unique ID of the candidate on the partner’s system.
- First Name- Enter the first name of the candidate.
- Last Name- Enter the last name of the candidate.
- Add Field - Click Add Field to add and populate additional fields for the selected activity. To learn more about managing activity data, click here.
Create an Opening

- Position UID- Enter the unique ID of the position.
- Name- Enter the Opening name.
- Reason- Enter One of the following:
- New
- Replacement hire
- Temporary replacement
- Status- The status value should be OPEN
- Add Field - Click Add Field to add and populate additional fields for the selected activity. To learn more about managing activity data, click here.
Create a Candidate Note
Create a note in the scope of an existing candidate. This note can be used to add information about the candidate or to document an event on the candidate profile.
- Candidate UID- Enter the UID of the candidate.
- Time_created- Enter the time created: YYYY-MM-DDTHH🇲🇲ssZ
- Text- Enter information about the candidate. HTML. The following tags are supported: <b> <i> <u>. Due to security restrictions other tags will be removed or displayed as text.
- Add Field - Click Add Field to add and populate additional fields for the selected activity. To learn more about managing activity data, click here.
Create a position
Creates a new object of the selected object type.
- Name- Enter the name of the position .
- Status- Enter One of the following:
- open
- on hold
- closed
- Is Discreet- Enter true/ false, true means that the position is only visible to teammates on the position’s hiring team.
- Add Field - Click Add Field to add and populate additional fields for the selected activity. To learn more about managing activity data, click here.
Delete a Person

Update Candidate
Updates an existing candidate.
- Candidate ID- Enter the ID of the candidate you want to update.
- Add Field - Click Add Field to add and populate additional fields for the selected activity. To learn more about managing activity data, click here.
Get candidate
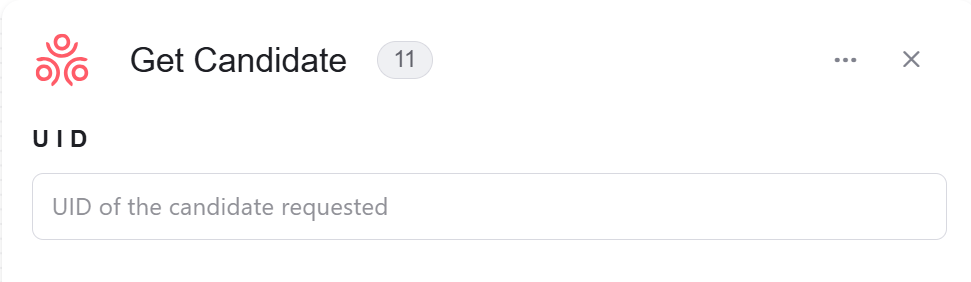
Get a position

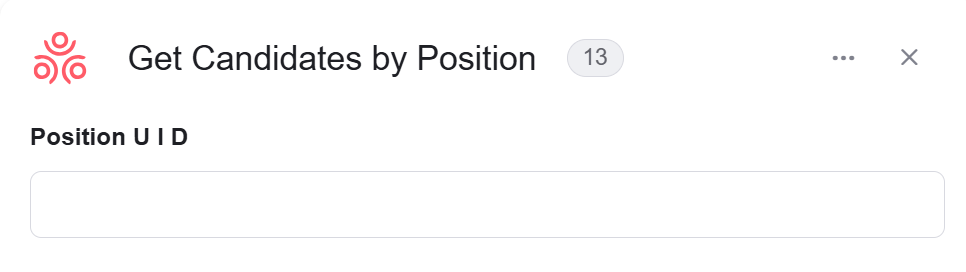
Get Candidates by position
Get Deleted candidates
Gets all the deleted candidates who meet the conditions.
- Add Filter - Click Add Filter to define conditions that narrow down the data list and return only the relevant items. To learn more about using filters, click here.
Find duplicate candidates
The response includes an array of candidates that were detected as possible duplicates.
- Add Filter - Click Add Filter to define conditions that narrow down the data list and return only the relevant items. To learn more about using filters, click here.
Get Openings
Gets all the openings who meet the conditions.
- Add Filter - Click Add Filter to define conditions that narrow down the data list and return only the relevant items. To learn more about using filters, click here.
Get Candidates
Gets all the candidates who meet the conditions.
- Add Filter - Click Add Filter to define conditions that narrow down the data list and return only the relevant items. To learn more about using filters, click here.
Get a positions
Gets all the positions who meet the conditions.
- Add Filter - Click Add Filter to define conditions that narrow down the data list and return only the relevant items. To learn more about using filters, click here.
Initialize files Array
It allows you to create and set up an array of files.
- Name- By default, the array is named ‘files array’, but you have the flexibility to rename it according to your specific use case.
Initialize links Array
It allows you to create and set up an array of linkes.
- Name - You have the flexibility to rename it according to your specific use case.
- Add Field - Click Add Field to add and populate additional fields for the selected activity. To learn more about managing activity data, click here.
Initialize Hiring manager object

- Variable Name - By default, the name is ‘Hiring manager’, but you have the flexibility to rename it according to your specific use case.
- Email - Enter the Email of the Hiring manger.
Initialize Lead Recrutier
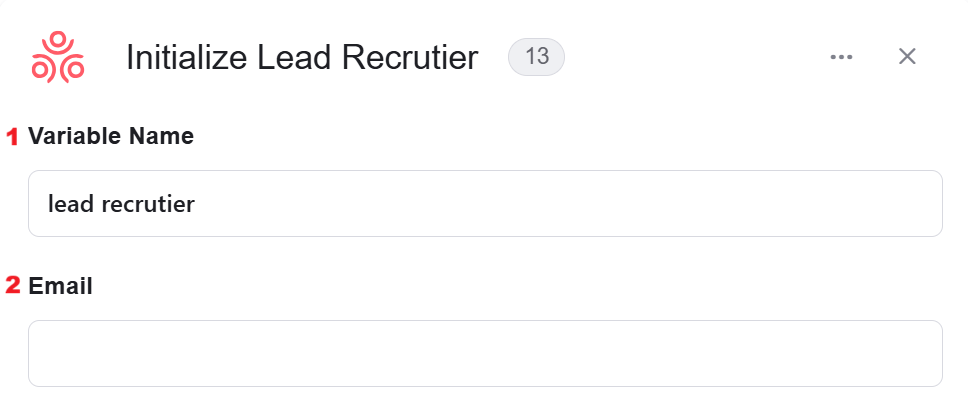
- Variable Name - By default, the name is ‘lead rectutiet’, but you have the flexibility to rename it according to your specific use case
- Email - Enter the Email of the recruiting coordinator.
Initialize Recruiting Coordinator

- Variable Name- By default, the name is ‘Recruiting coordinator’, but you have the flexibility to rename it according to your specific use case
- Email- Enter the Email of the recruiting coordinator
Initialize position categories Array
It allows you to create and set up an array of position categories.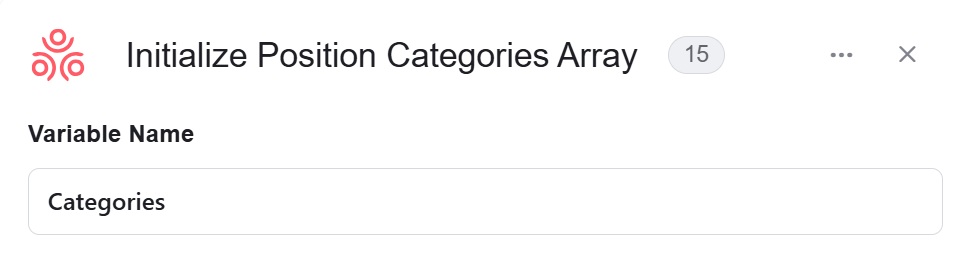
Append To Links array
You can add a link to an existing array, allowing you to create, expand, and manipulate collections of objects efficiently.
- Variable- The variable you’ll append to the links array
- URL- The URL you’ll append append to links array.
Append To Files array
You can add an item object to an existing array, allowing you to create, expand, and manipulate collections of objects efficiently.
- Variable- Choose from the dropdown an existing variable that you would like to add.
- Name- Enter the name of the file you’ll append to the files array.
- File- The file content must be in base64 format.
Append To Categories array
You can add an category to an existing array, allowing you to create, expand, and manipulate collections of objects efficiently.
- Variable- This variable you’ll append the new item.
- Add Field - Click Add Field to add and populate additional fields for the selected activity. To learn more about managing activity data, click here.
Psudonymize a person
It allows deleting INIpersonally identifiable information.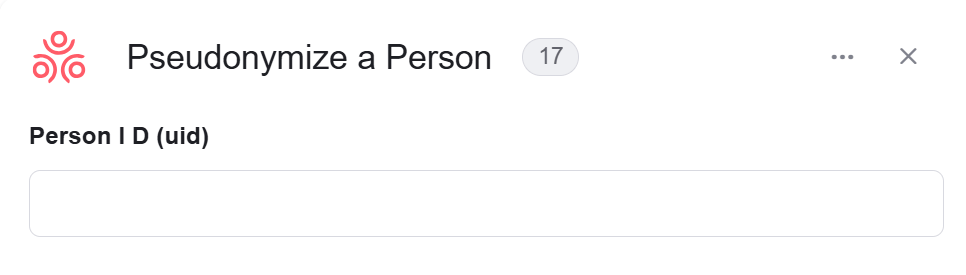
Send API Request

- Base Url – This is the root URL of the API you’re sending the request to.
- Relative url – You can specify additional path segments or parameters that need to be added to the end of the automatically generated URL. This allows you to customize the specific request you want to perform.
- Method – Select the HTTP method (e.g., Get, Post, Put, Delete, Patch).
- Body Type – Defines the format of the data in the body of your request. Commonly used values include application/json (as shown), which means the body will contain a JSON-formatted payload.
- Body – Contains any data that is being sent to the server.
-
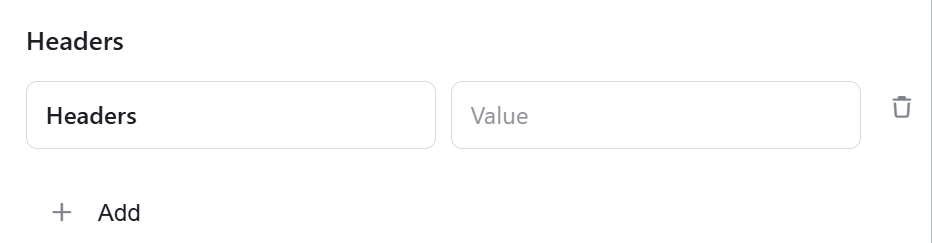
Add Headers – Additional metadata about the request, such as the type of data the Engini can accept, the length of the request body, and authentication information.
-
Add Queries – The query refers to the parameters or data that are included in the URL of an HTTP request to provide additional information or instructions to the server.
