

Add a Connection to Coupa in Engini
Prerequisites
-
A Coupa instance and its URL, for example
https://your-instance.coupahost.com. -
An OAuth2 client (Client ID and Client Secret) created in Coupa, with the scopes your workflows need.
Note: To approve or reject approvals, the client needs the
core.approval.readandcore.approval.writescopes. The supplier triggers needcore.supplier.read.
Retrieve your Coupa Client ID and Client Secret
- Log in to your Coupa instance as an administrator.
- Go to Setup > Oauth2/OpenID Connect Clients and click Create.
- Set the Grant type to Client Credentials.
- Enter a name and a unique login for the client, and fill in the contact details Coupa asks for.
- Select the scopes you need:
core.approval.readandcore.approval.writefor approvals, andcore.supplier.readfor the supplier triggers. - Save the client. Coupa shows the client’s Identifier (your Client ID) and its Secret (your Client Secret).
Connecting Engini to Coupa
- Enter your Engini account at https://app.engini.io.
-
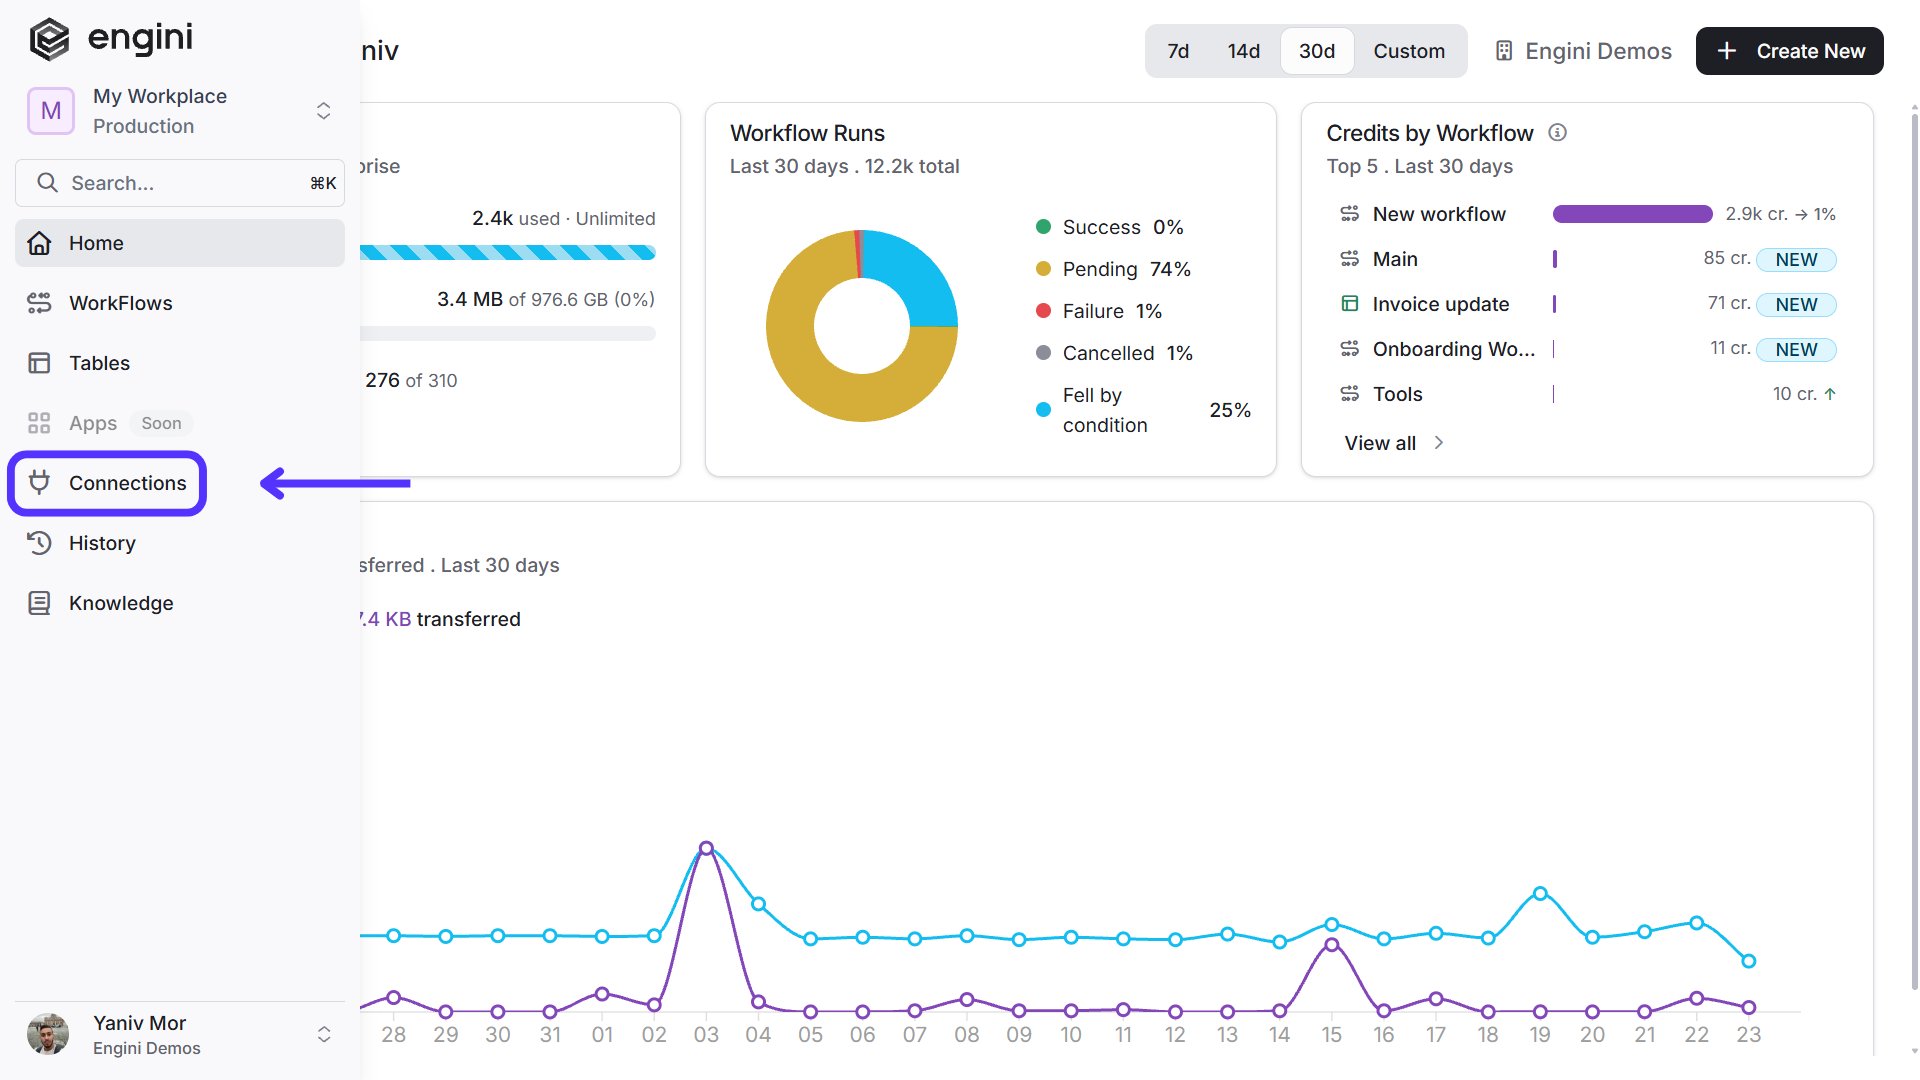
Navigate to the Connections page by clicking on Connections in the left sidebar or by clicking here.
-
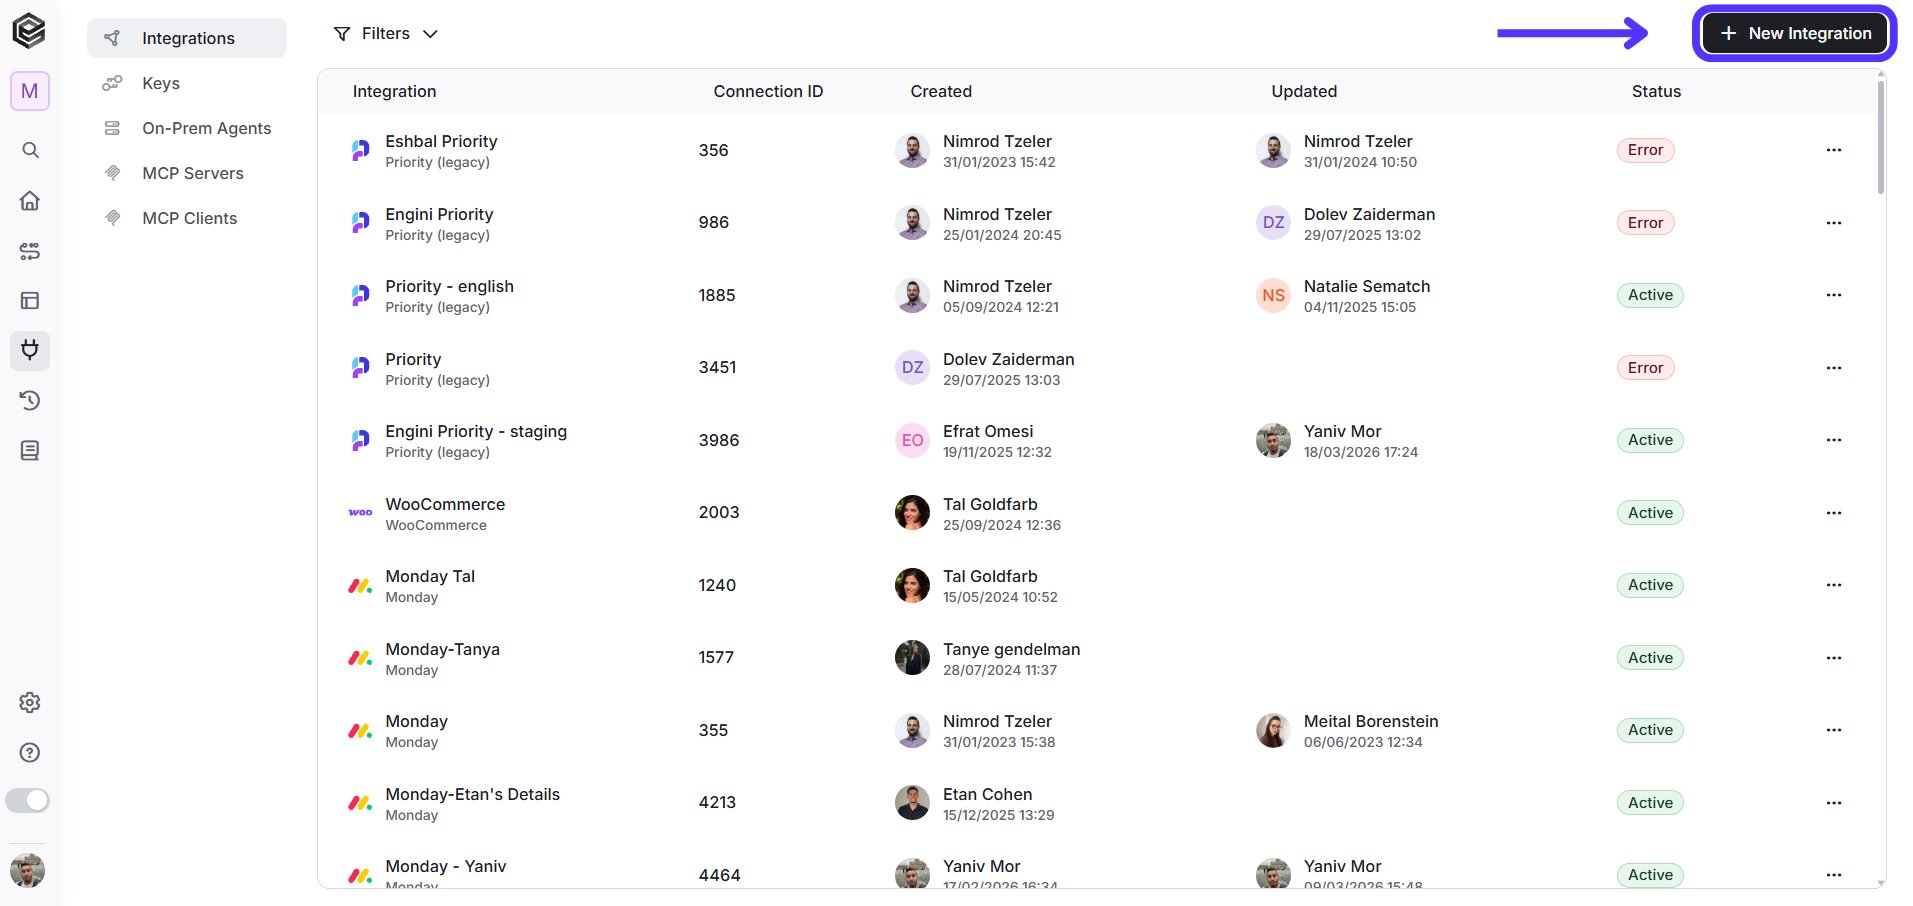
Click on the “New Integration” option located at the top bar.
-
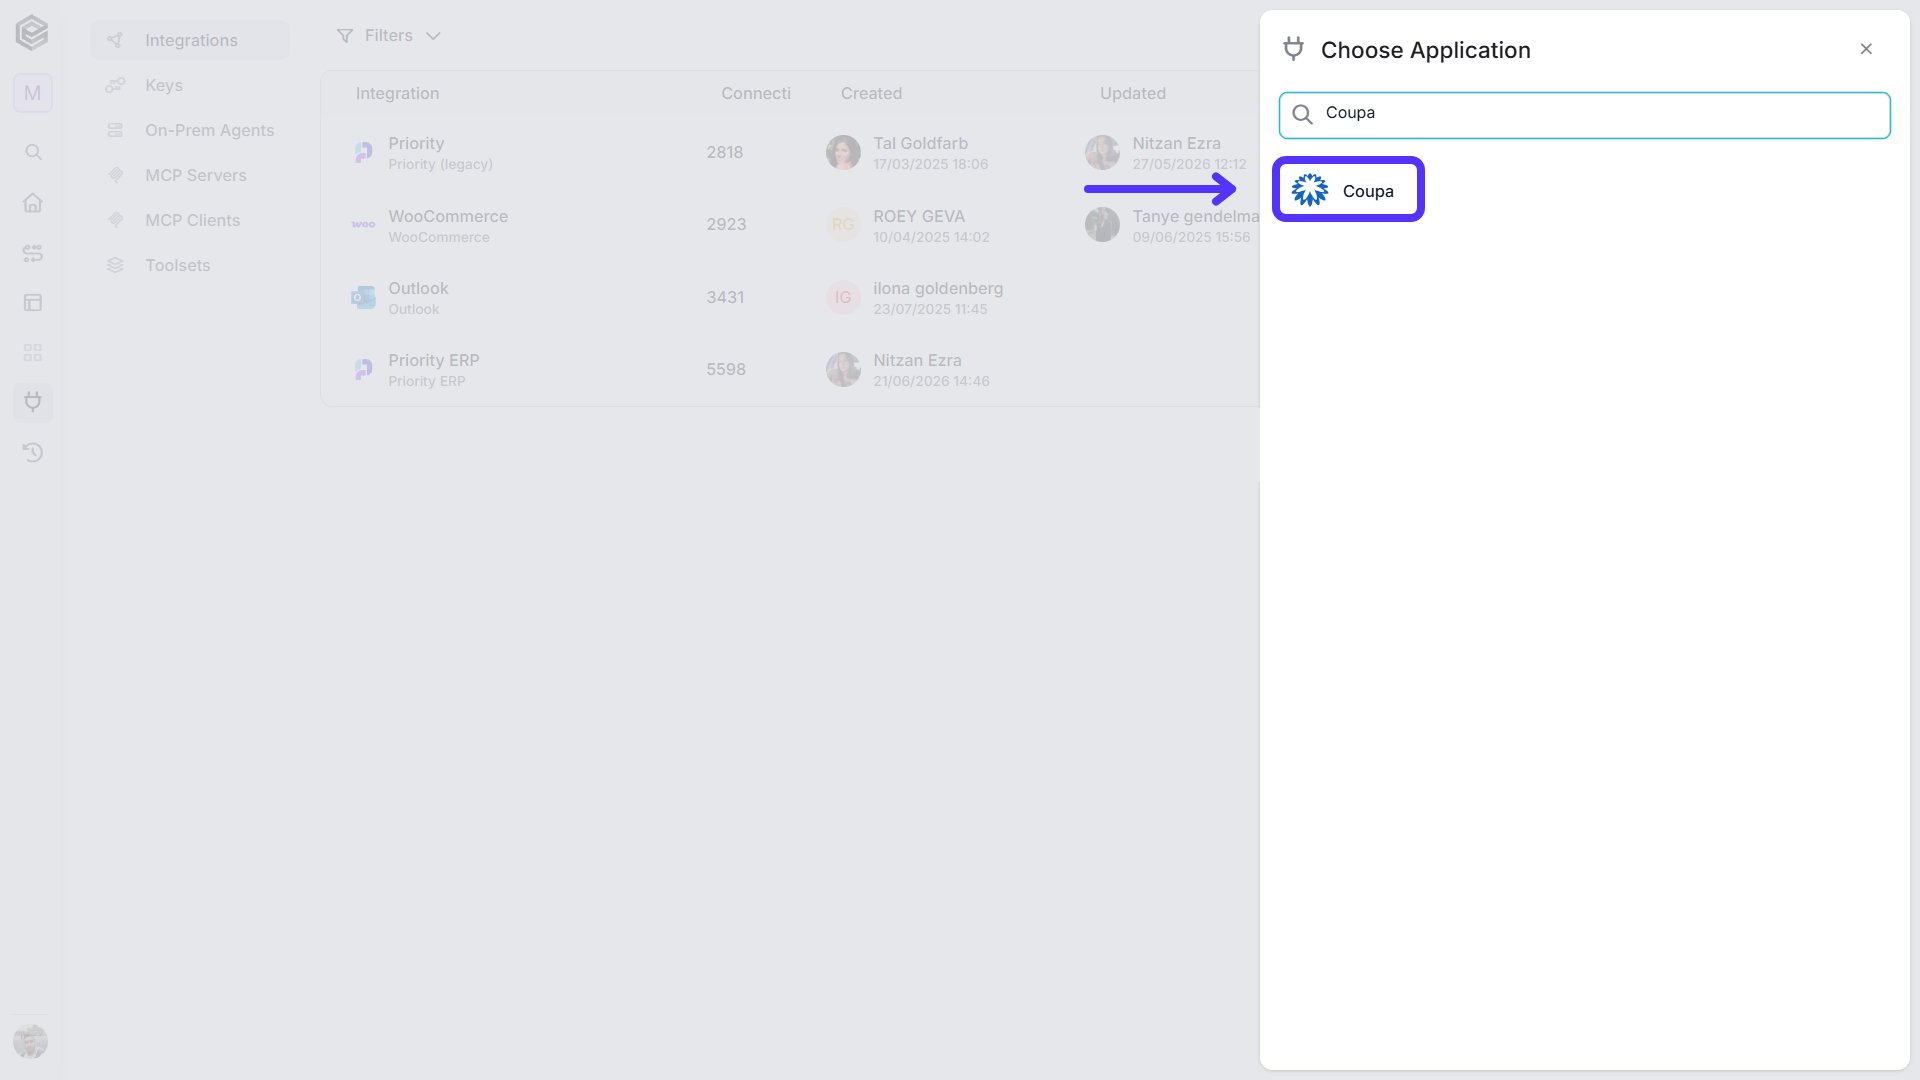
Choose the Coupa option from the available applications.
-
Enter the following details in the “New Integration” form and press Save:
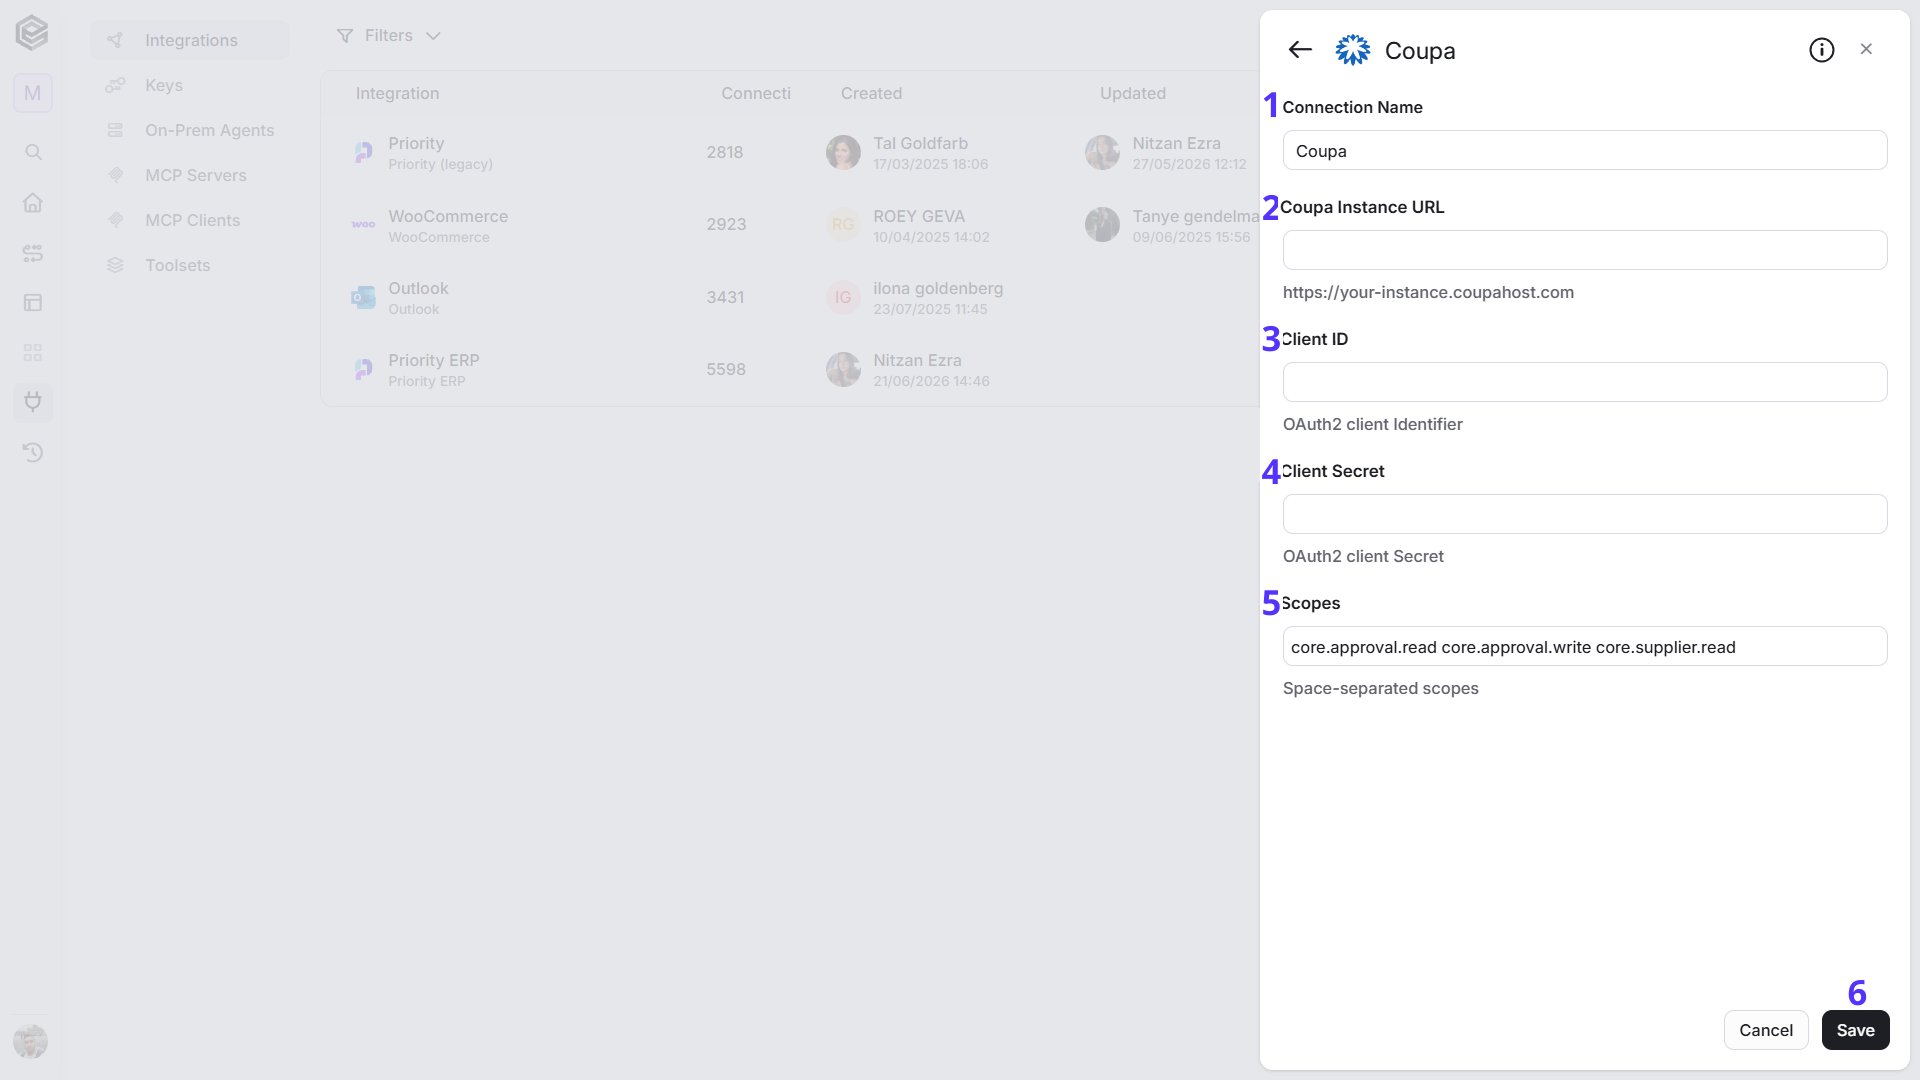
- Connection Name - Enter a name that helps identify the Coupa connection.
- Coupa Instance URL - Enter the address of your Coupa instance, in the format
https://your-instance.coupahost.com. - Client ID - Enter the Identifier of the OAuth2 client you created in Coupa.
- Client Secret - Enter the Secret of the OAuth2 client.
- Scopes - Optional. Enter the scopes the connection may use, separated by spaces. The field comes filled with
core.approval.read core.approval.write core.supplier.read, which covers Grant an Approval, Reject an Approval and both supplier triggers. Add any other scopes your Send API Request calls need. - Save - Click Save to create the connection.
Triggers
Check for New Suppliers
Starts the workflow when new suppliers have been created in Coupa since the last check.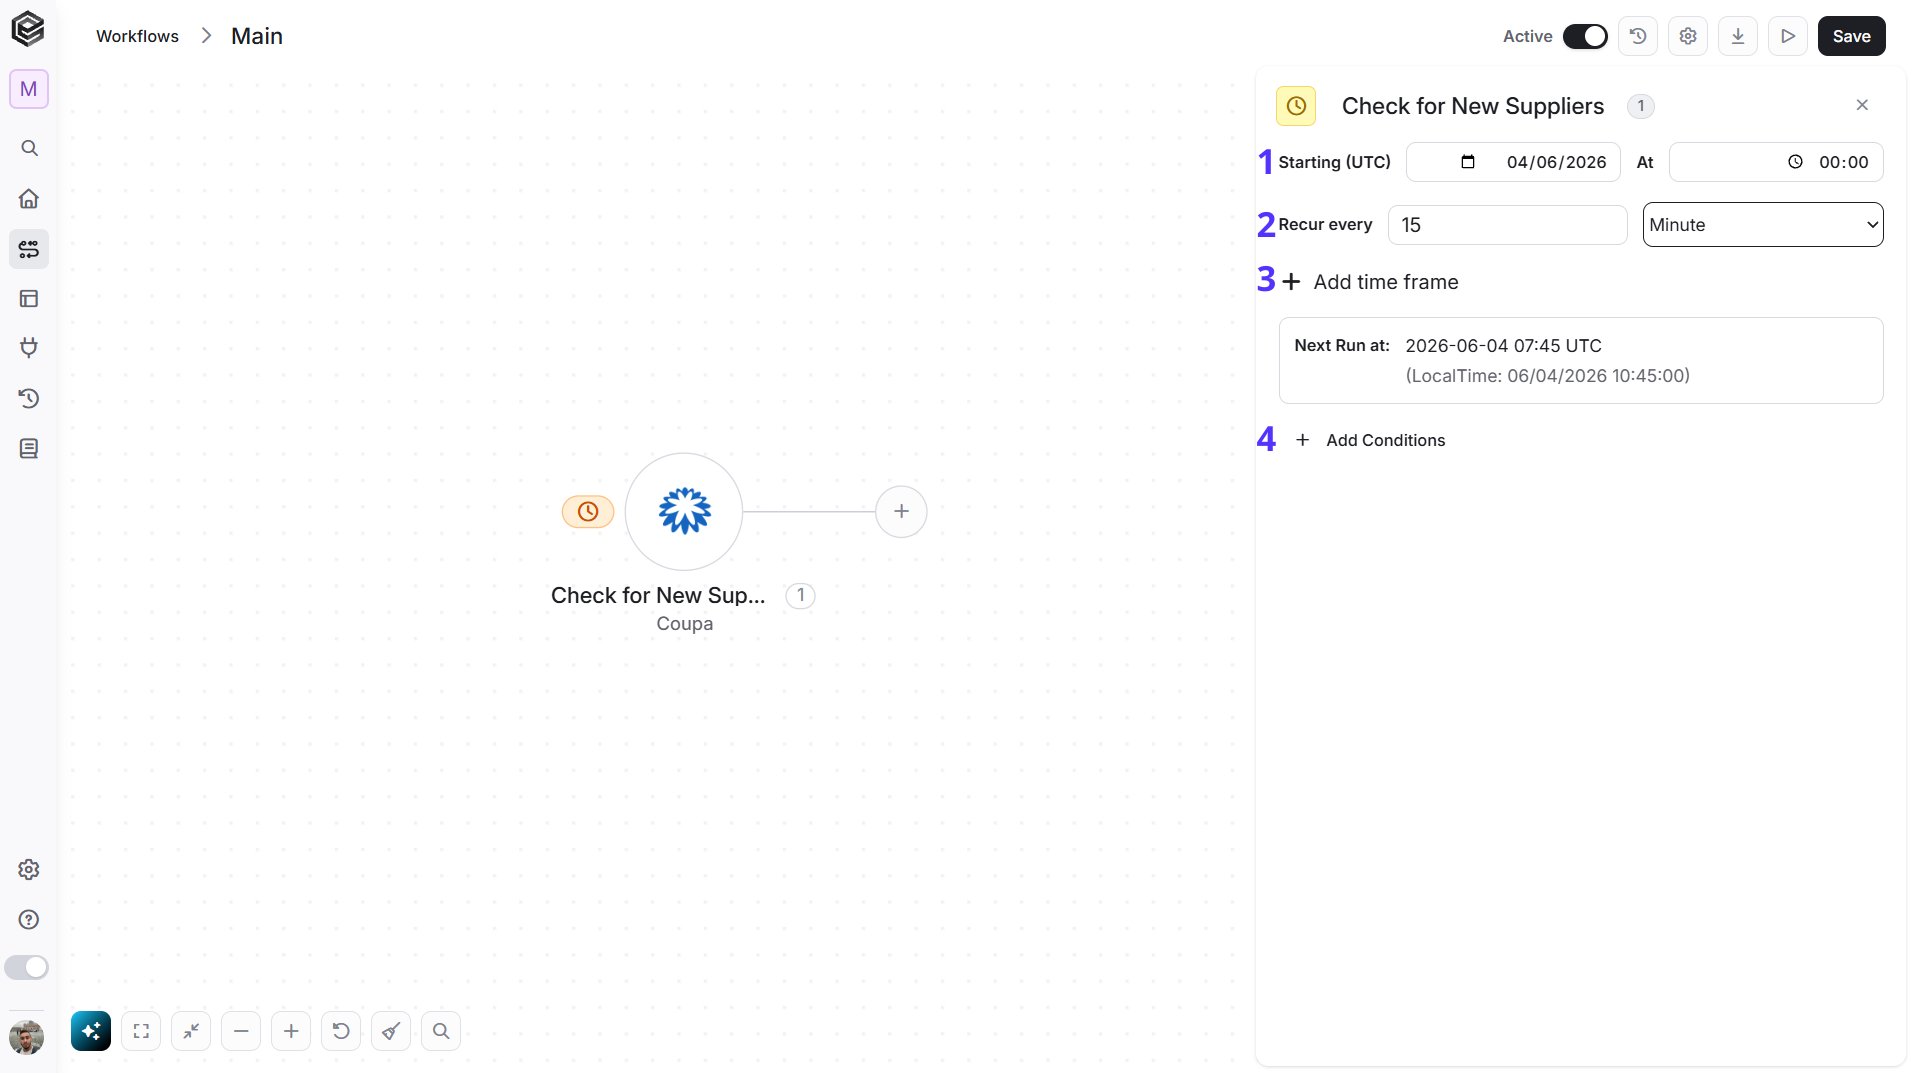
- Starting (UTC) - Select the start date and time for the scheduled trigger.
- Recur every - Choose the time interval for triggering and checking suppliers. The minimum time interval is 15 minutes.
- Add time frame - You can specify a time frame during which the trigger will operate.
- Add Conditions - Click Add Conditions to define conditions that narrow down the data list and return only the relevant items. To learn more about using filters, click here. Note: Conditions return only the suppliers that match, for example Status equals active. The condition fields include ready-made ones such as Name Contains, Status Is Not and Created On Or After.
- ID
- Name
- Display Name
- Supplier Number
- Status
- On Hold
- DUNS Number
- Tax ID
- Website
- Primary Contact
- Payment Method
- PO Method
- PO Email
- Invoice Matching Level
- Created At
- Updated At
Check for Updated Suppliers
Starts the workflow when suppliers have been updated in Coupa since the last check.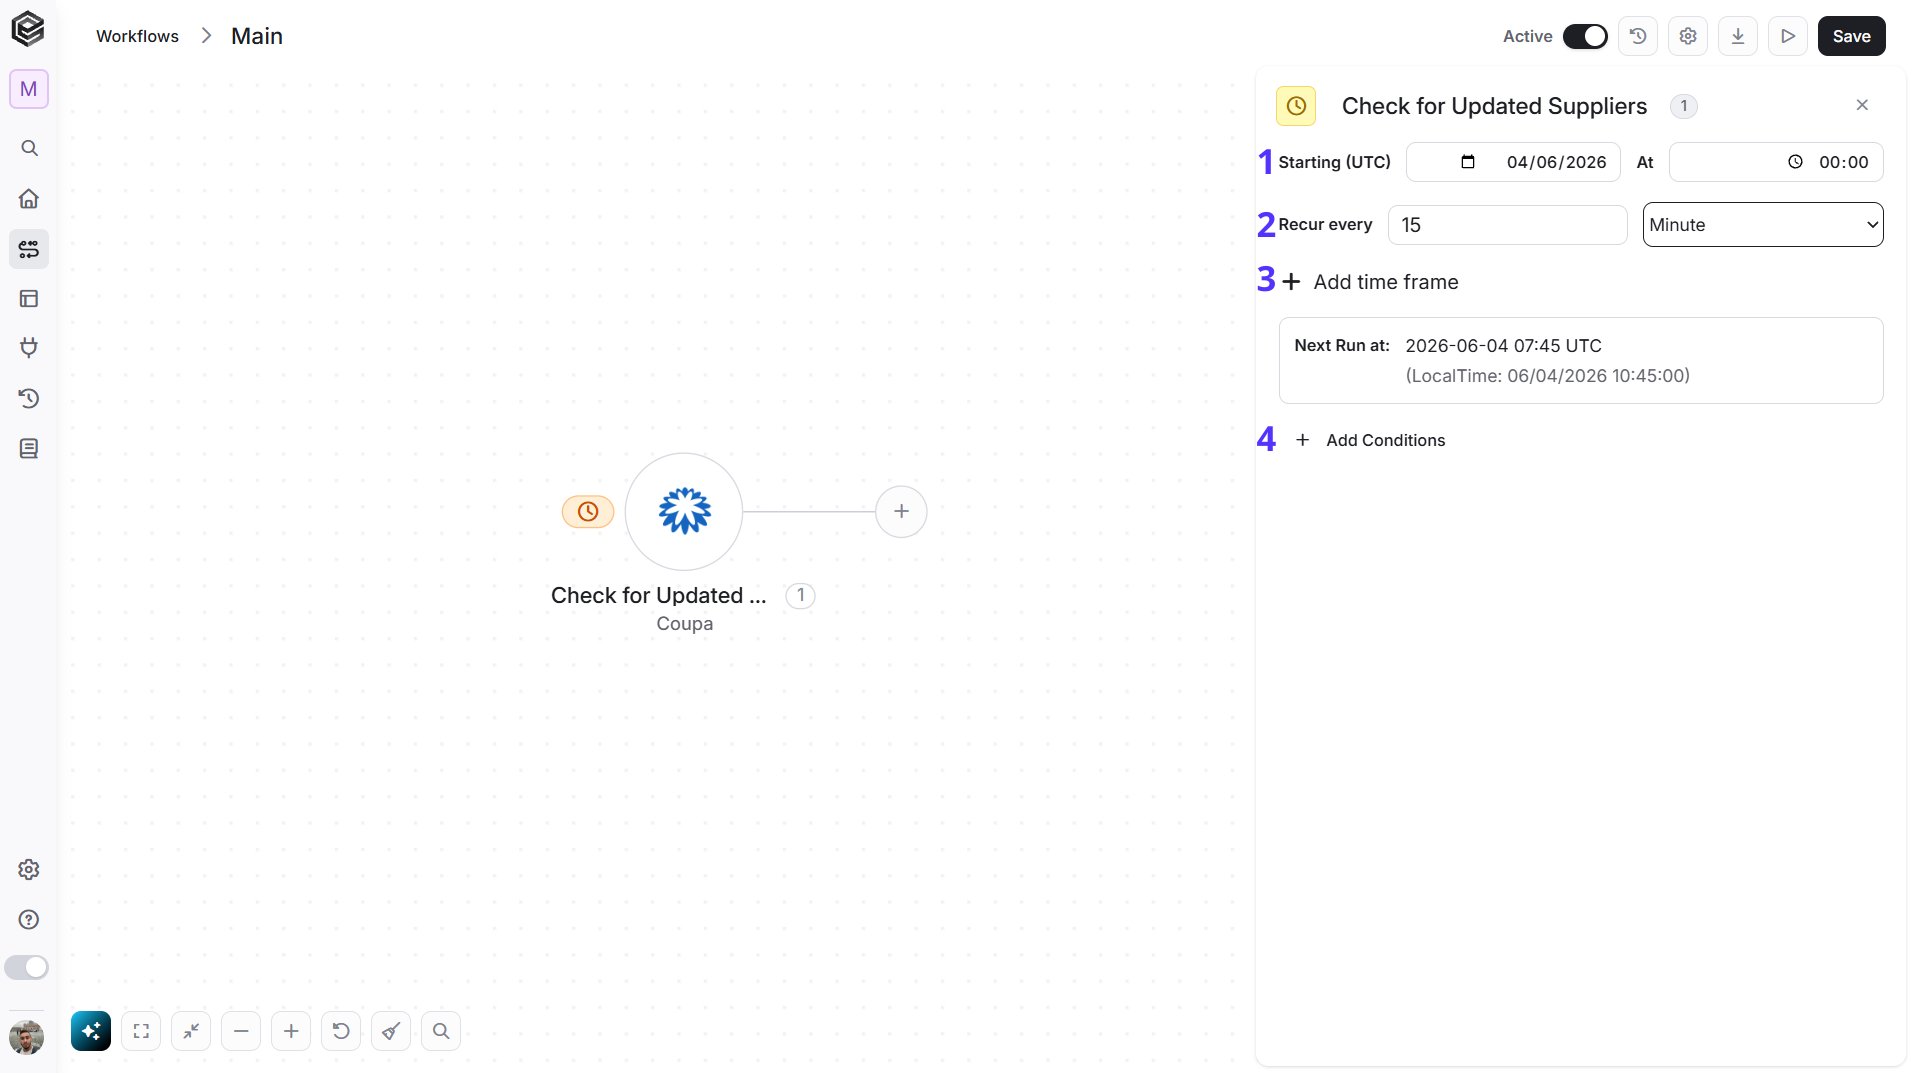
- Starting (UTC) - Select the start date and time for the scheduled trigger.
- Recur every - Choose the time interval for triggering and checking suppliers. The minimum time interval is 15 minutes.
- Add time frame - You can specify a time frame during which the trigger will operate.
- Add Conditions - Click Add Conditions to define conditions that narrow down the data list and return only the relevant items. To learn more about using filters, click here. Note: Conditions return only the suppliers that match, for example Status equals active. The condition fields include ready-made ones such as Name Contains, Status Is Not and Created On Or After.
- ID
- Name
- Display Name
- Supplier Number
- Status
- On Hold
- DUNS Number
- Tax ID
- Website
- Primary Contact
- Payment Method
- PO Method
- PO Email
- Invoice Matching Level
- Created At
- Updated At
Check for New Records
Starts the workflow when records of the selected type have been created in Coupa since the last check.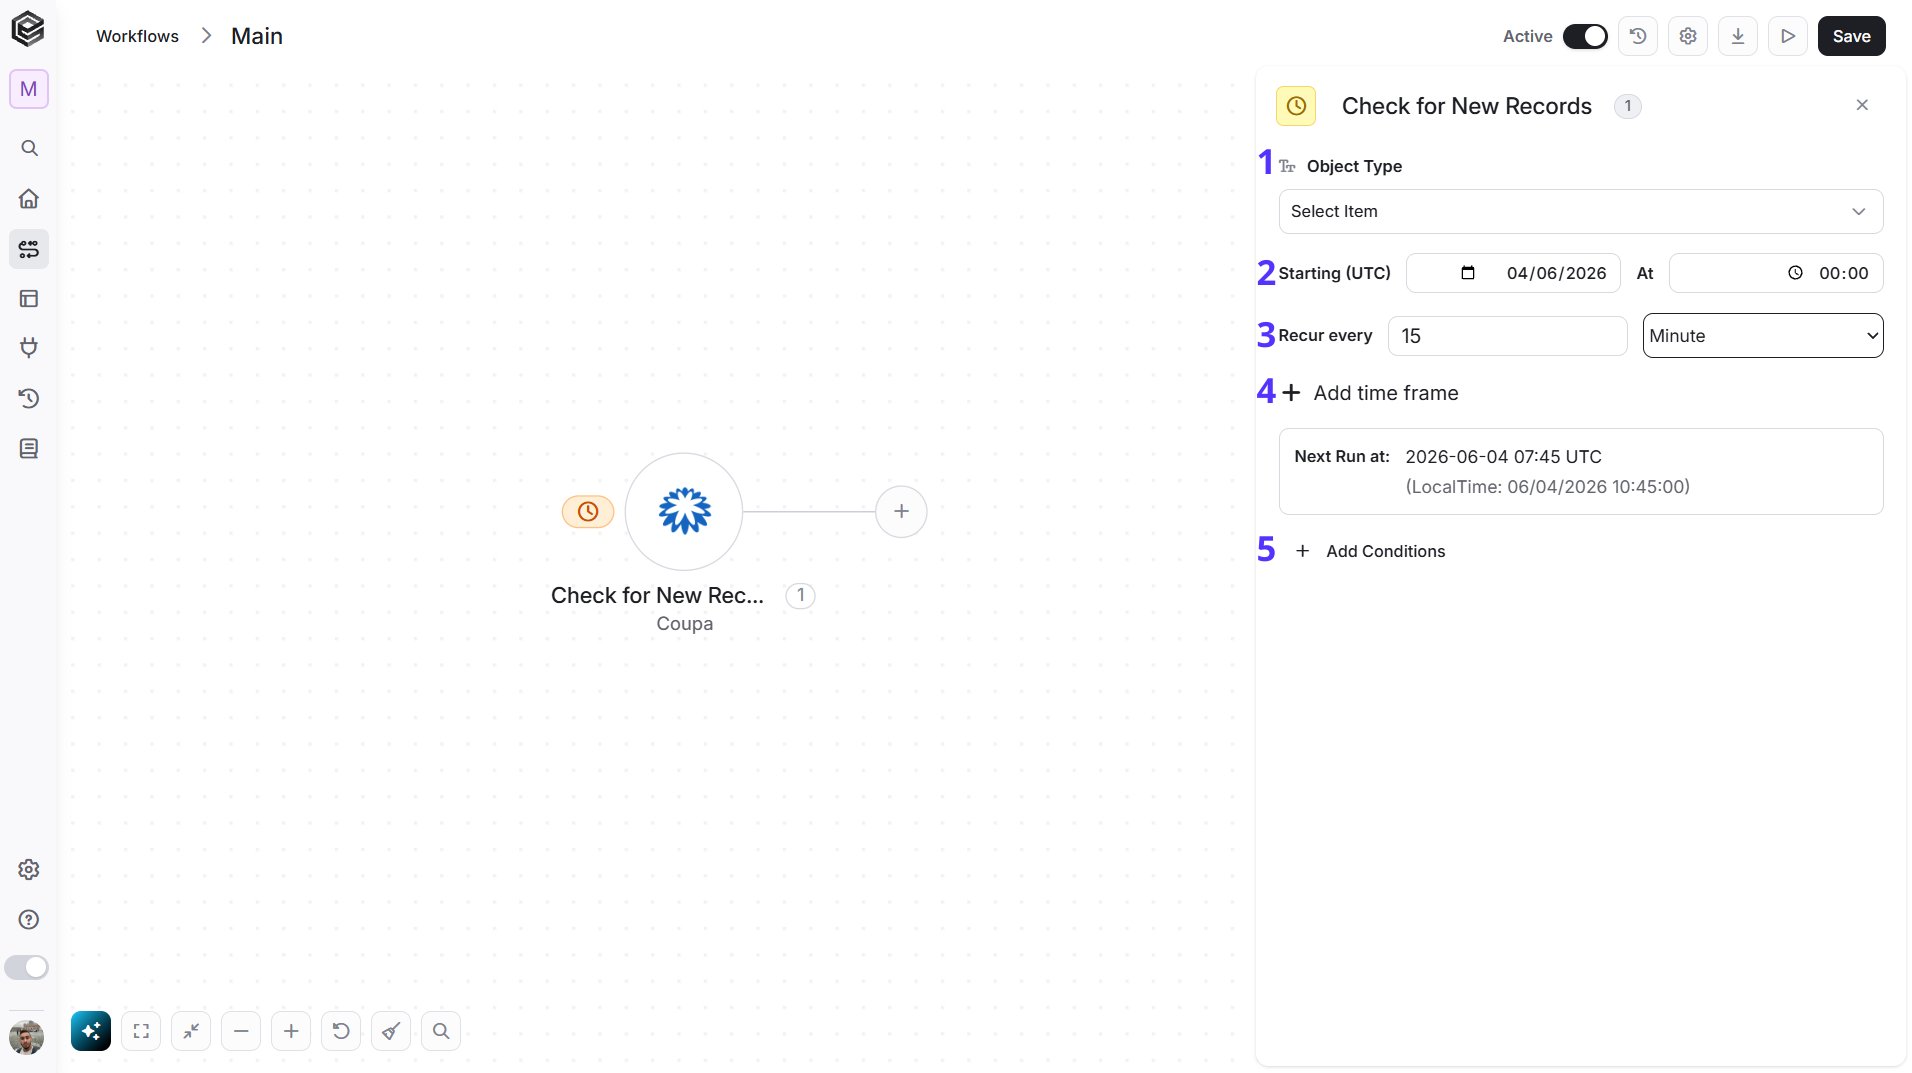
- Object Type - Select the type of record to watch: Invoices, Purchase Orders, Requisitions, Suppliers, Users, Items, Accounts, Contracts, Expense Reports, Receipts, Commodities or Departments.
- Starting (UTC) - Select the start date and time for the scheduled trigger.
- Recur every - Choose the time interval for triggering and checking records. The minimum time interval is 15 minutes.
- Add time frame - You can specify a time frame during which the trigger will operate.
- Add Conditions - Click Add Conditions to define conditions that narrow down the data list and return only the relevant items. To learn more about using filters, click here.
Check for Updated Records
Starts the workflow when records of the selected type have been updated in Coupa since the last check.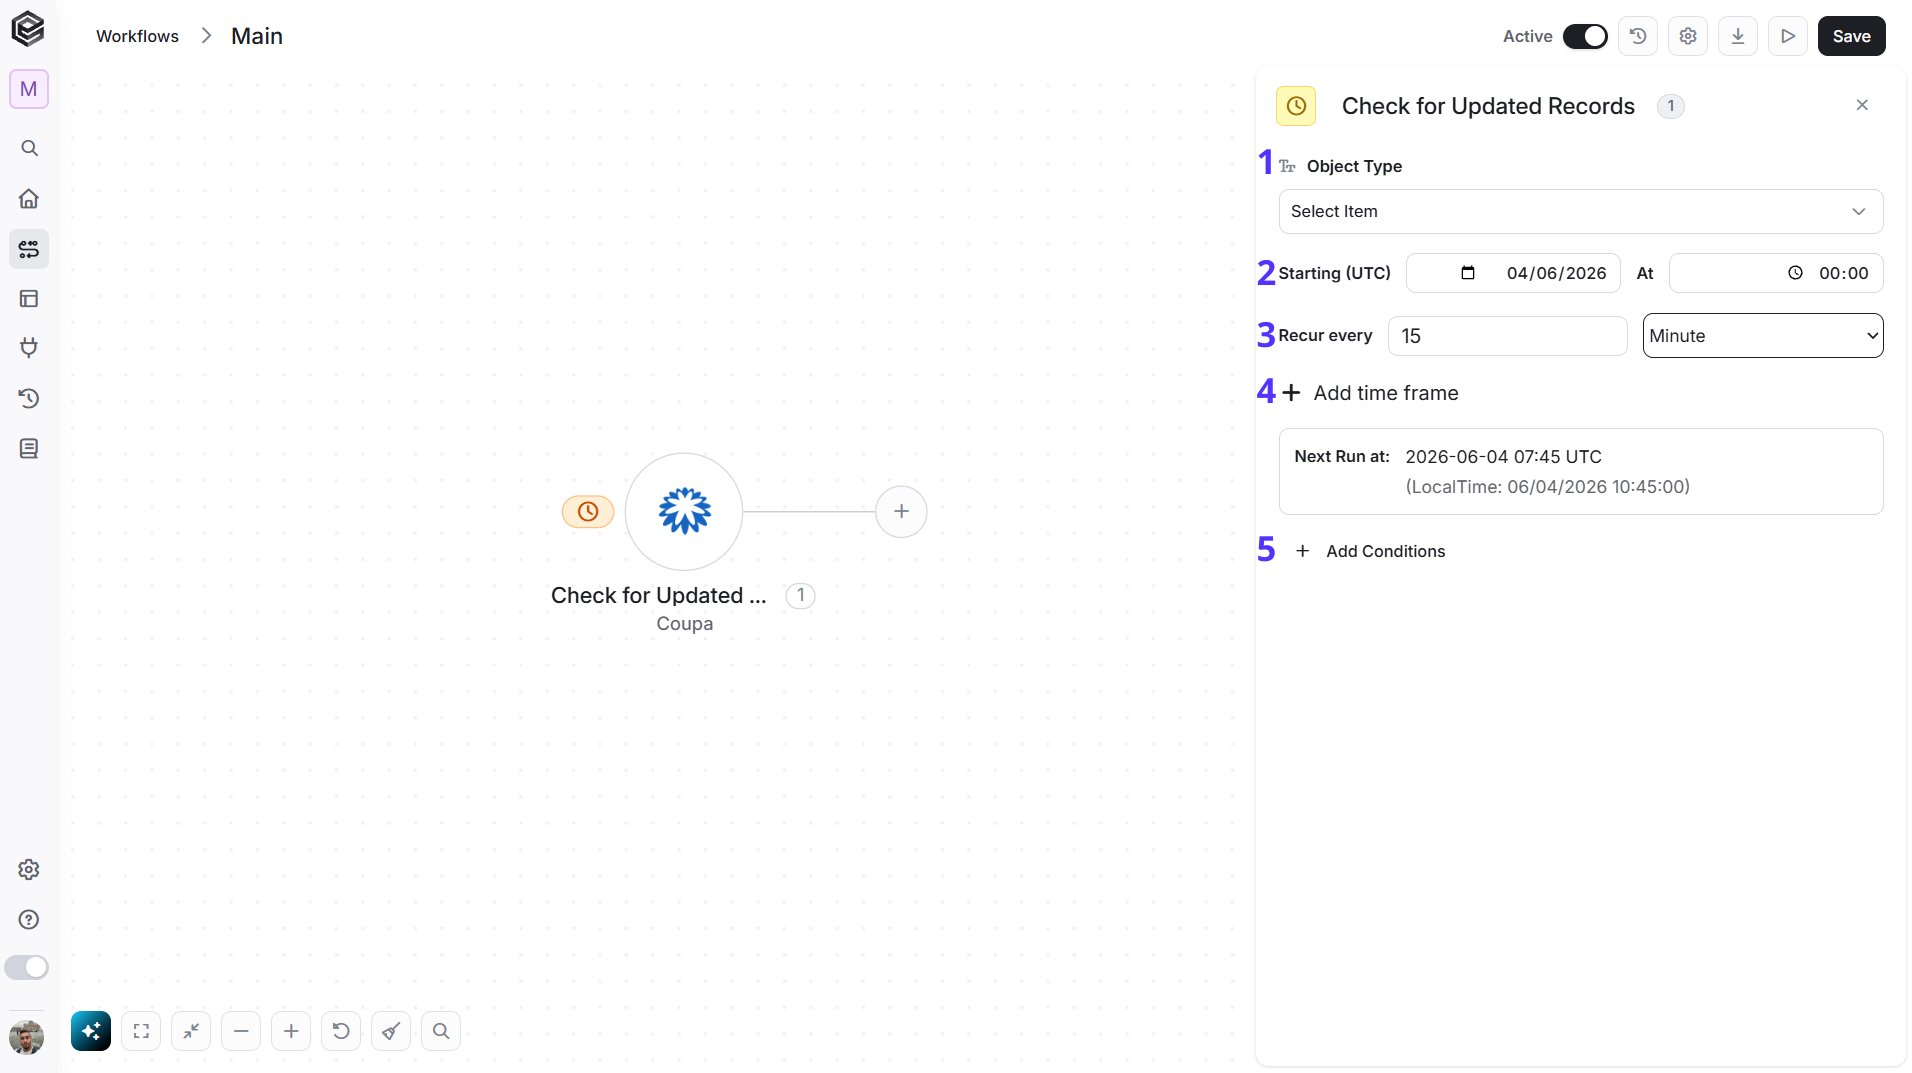
- Object Type - Select the type of record to watch: Invoices, Purchase Orders, Requisitions, Suppliers, Users, Items, Accounts, Contracts, Expense Reports, Receipts, Commodities or Departments.
- Starting (UTC) - Select the start date and time for the scheduled trigger.
- Recur every - Choose the time interval for triggering and checking records. The minimum time interval is 15 minutes.
- Add time frame - You can specify a time frame during which the trigger will operate.
- Add Conditions - Click Add Conditions to define conditions that narrow down the data list and return only the relevant items. To learn more about using filters, click here.
Actions
Grant an Approval
Approves a pending approval in Coupa.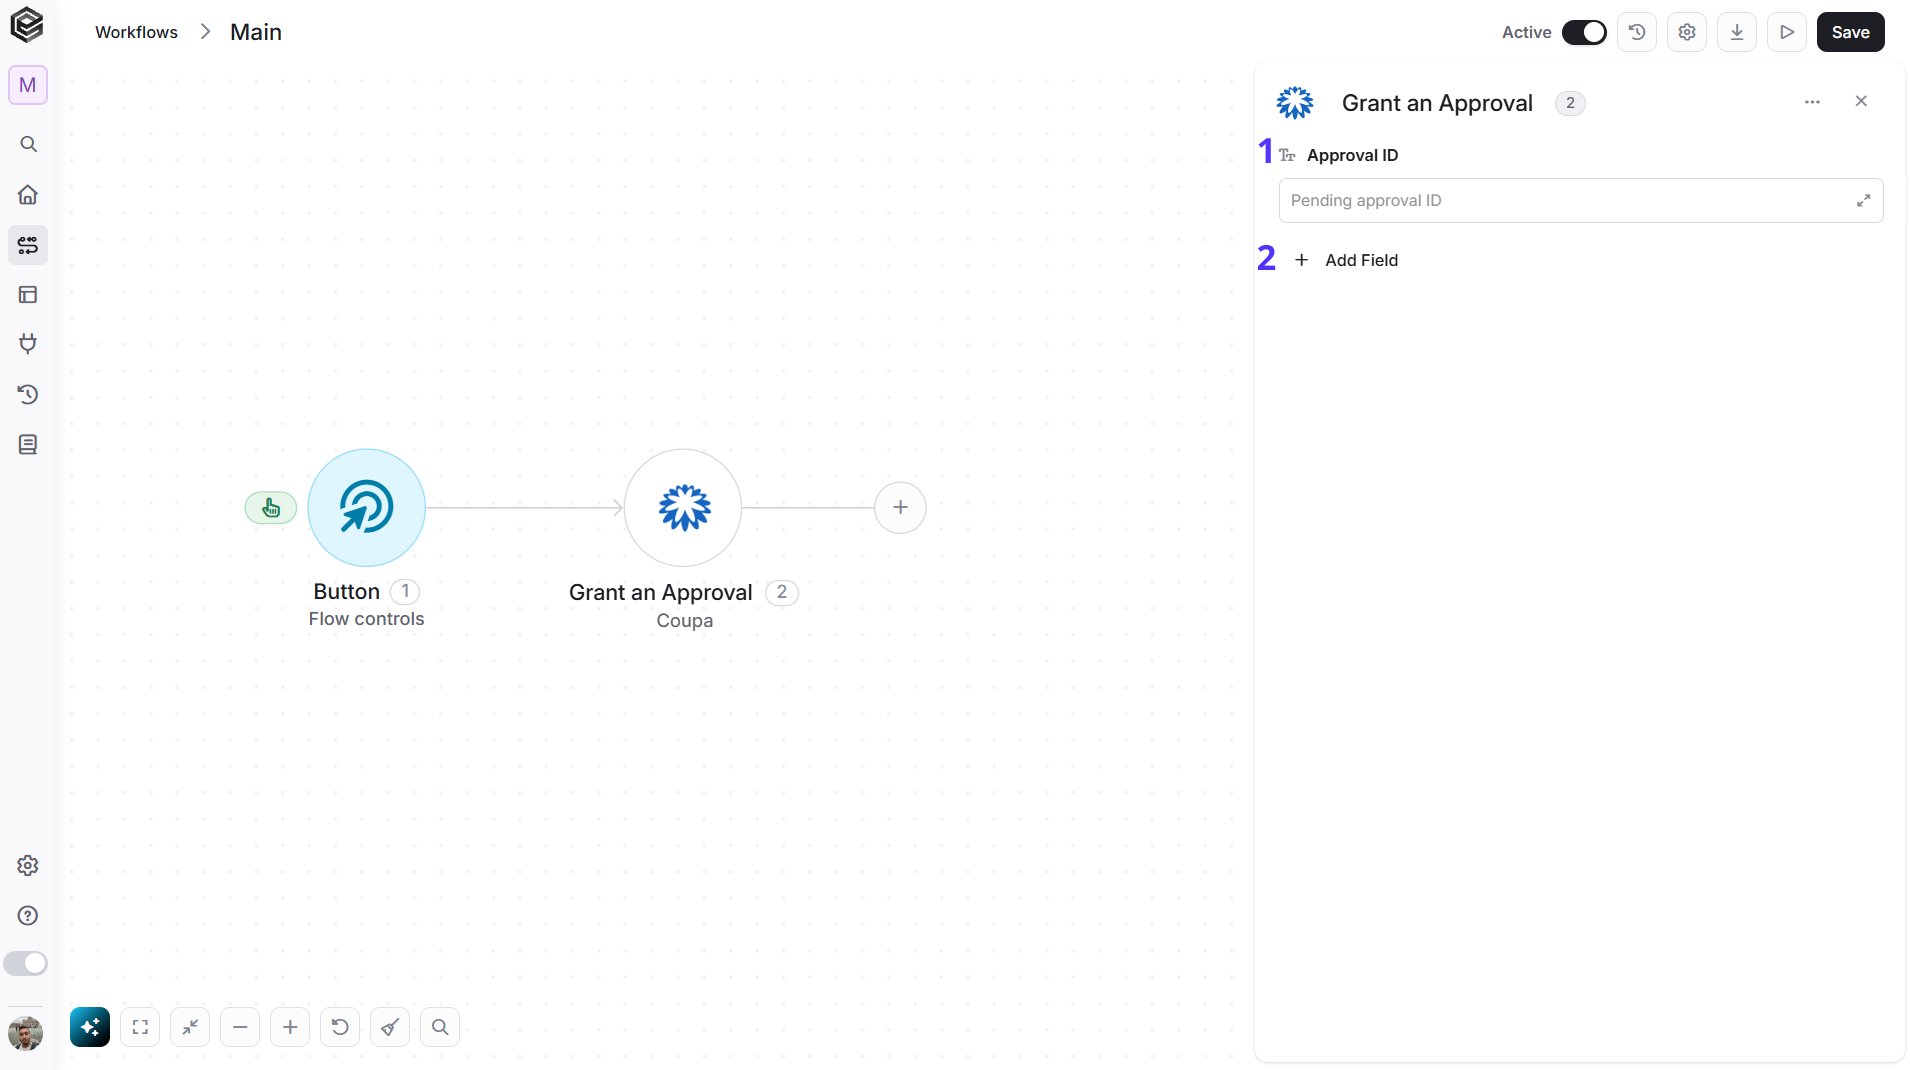
- Approval ID - Select the pending approval from the list, or map its ID from a previous step in your workflow.
- Add Field - Click Add Field to add and populate additional fields for the selected activity. To learn more about managing activity data, click here.
- Approver User ID - The ID of the Coupa user to act as. That user must be the approver of this approval.
Reject an Approval
Rejects a pending approval in Coupa.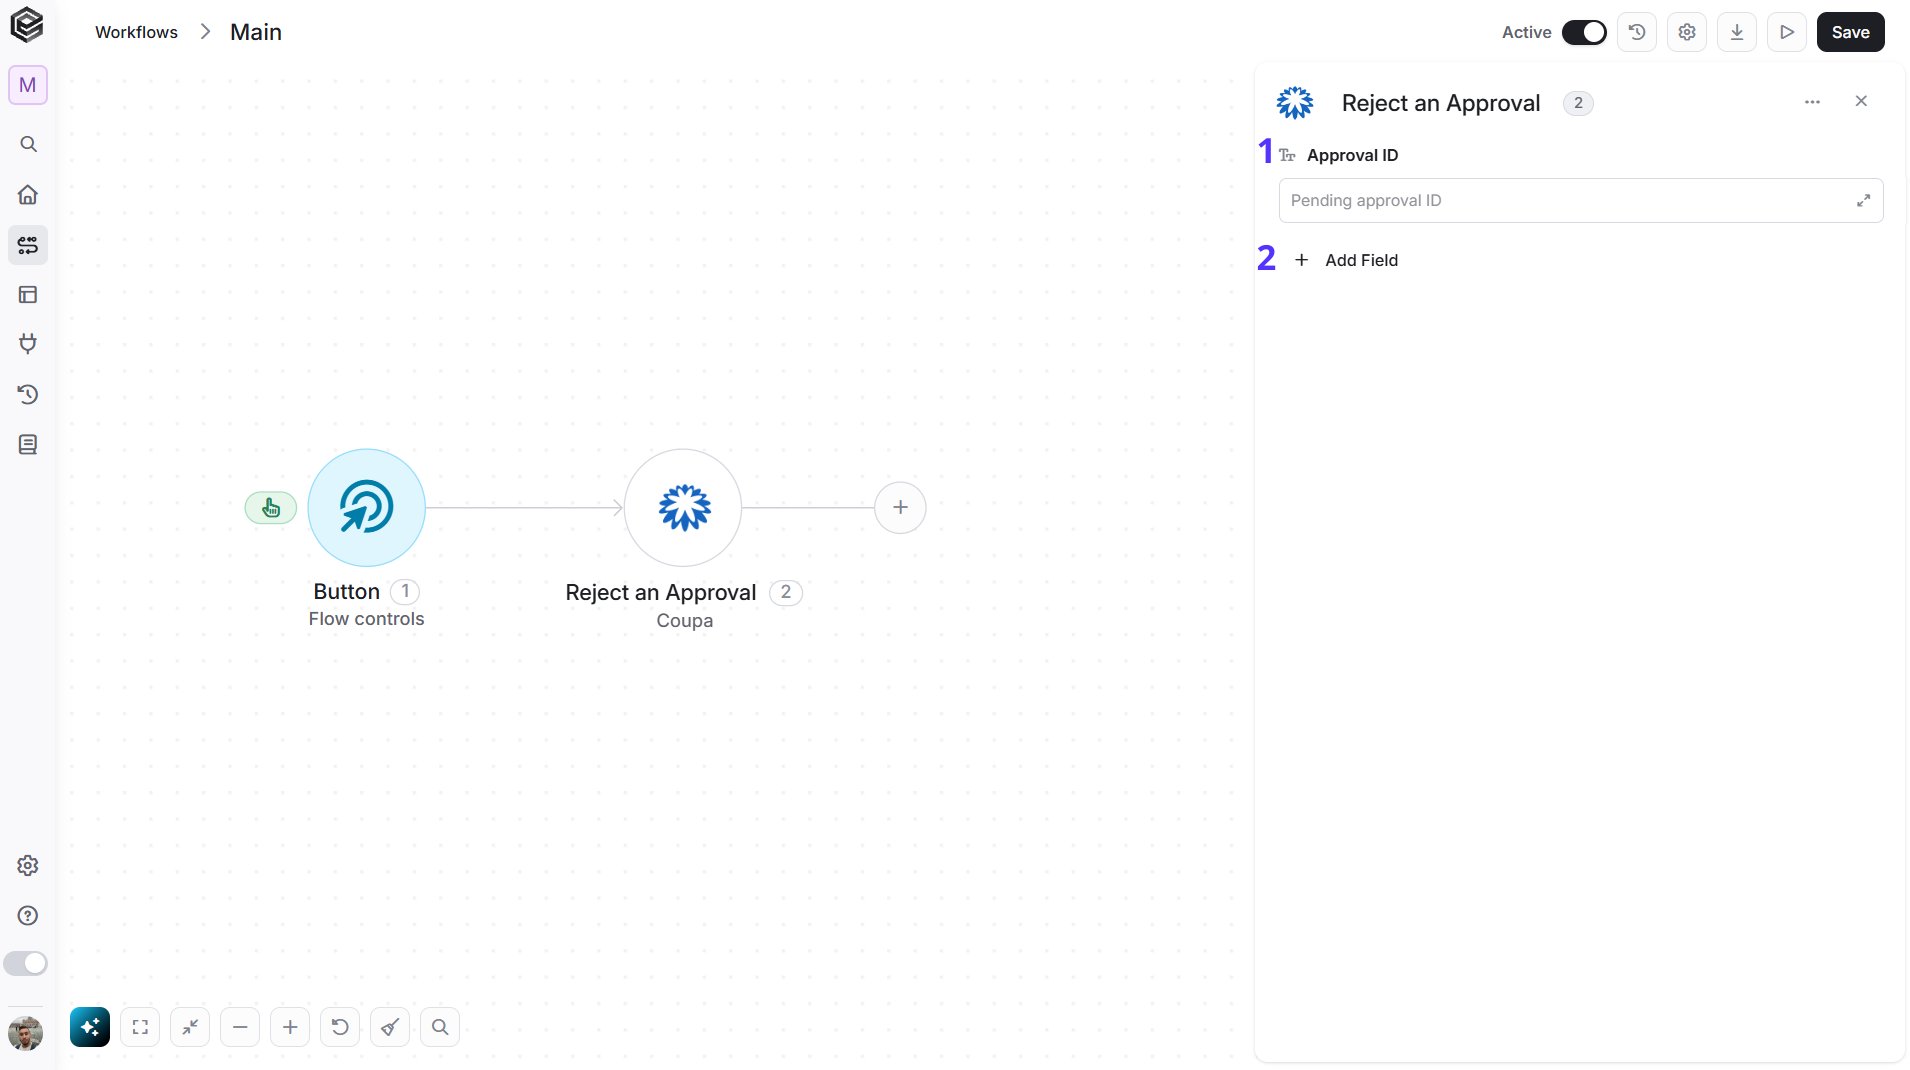
- Approval ID - Select the pending approval from the list, or map its ID from a previous step in your workflow.
- Add Field - Click Add Field to add and populate additional fields for the selected activity. To learn more about managing activity data, click here.
- Reason - The reason for the rejection, sent to Coupa with it.
- Approver User ID - The ID of the Coupa user to act as. That user must be the approver of this approval.
Get Record
Retrieves a single Coupa record of the selected type.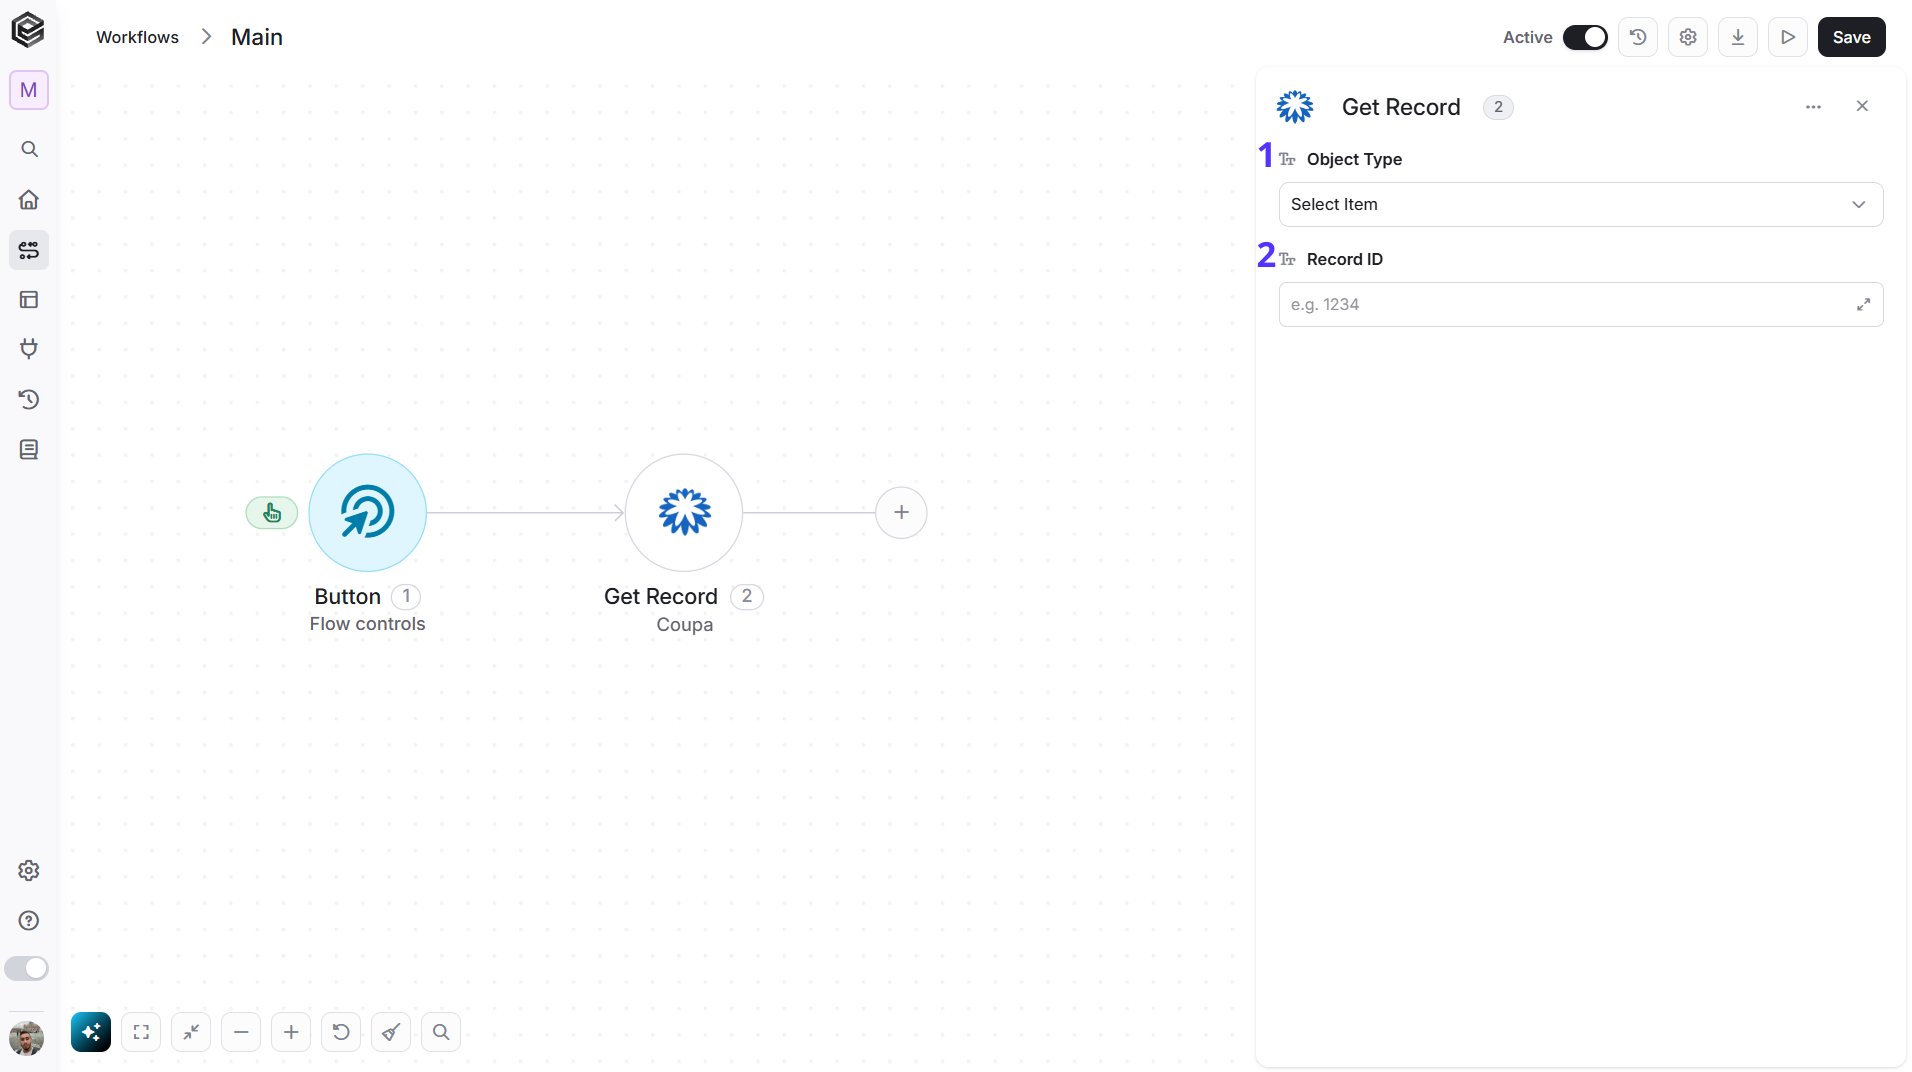
- Object Type - Select the type of record to retrieve: Invoices, Purchase Orders, Requisitions, Suppliers, Users, Items, Accounts, Contracts, Expense Reports, Receipts, Commodities or Departments.
- Record ID - Select the record from the list, or map its ID from a previous step in your workflow.
Get Records
Retrieves multiple Coupa records of the selected type, optionally limiting the number of results and applying filters or sorting.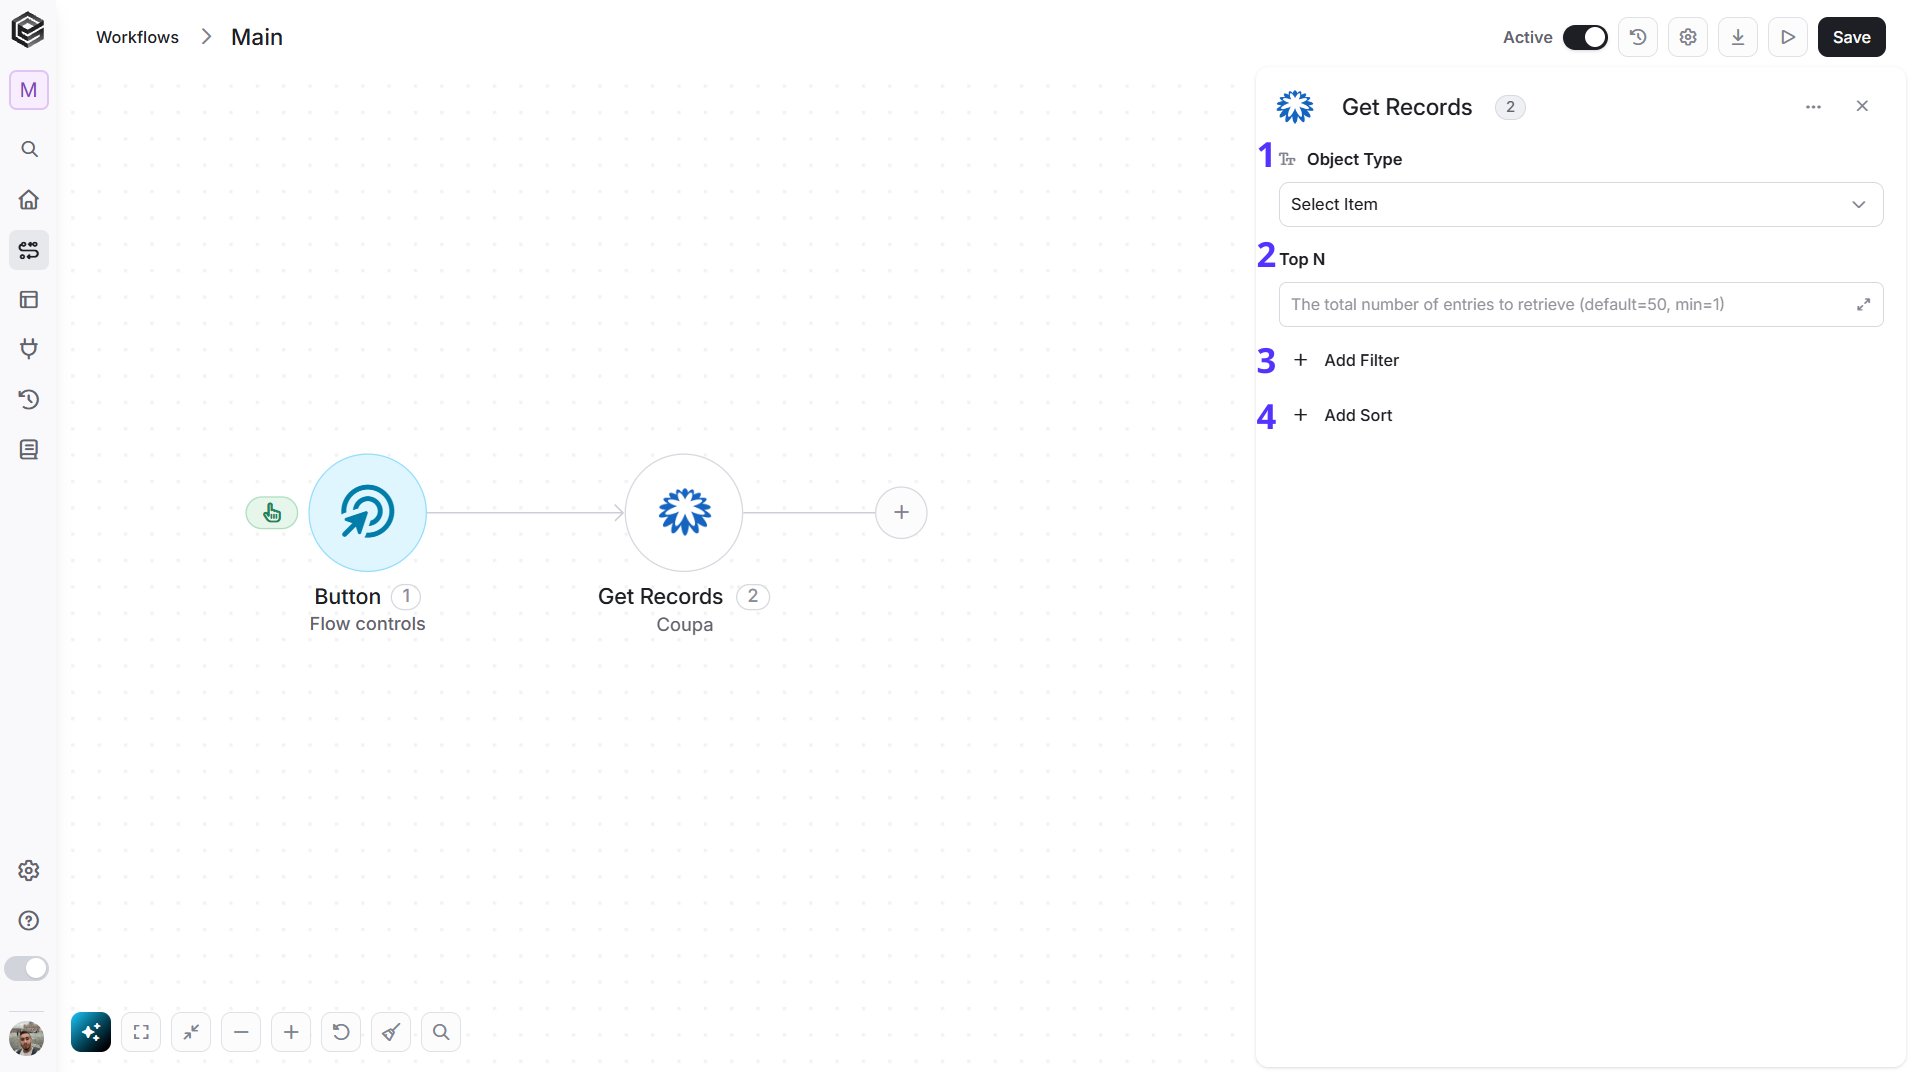
- Object Type - Select the type of record to retrieve: Invoices, Purchase Orders, Requisitions, Suppliers, Users, Items, Accounts, Contracts, Expense Reports, Receipts, Commodities or Departments.
- Top N - You can set the maximum number of records Engini will return (default = 50, minimum = 1).
- Add Filter - Click Add Filter to define conditions that narrow down the data list and return only the relevant items. To learn more about using filters, click here.
- Add Sort - Click Add Sort to organize the data list by a selected field in ascending or descending order. To learn more about sorting data, click here.
Create Record
Creates a new record of the selected type in Coupa.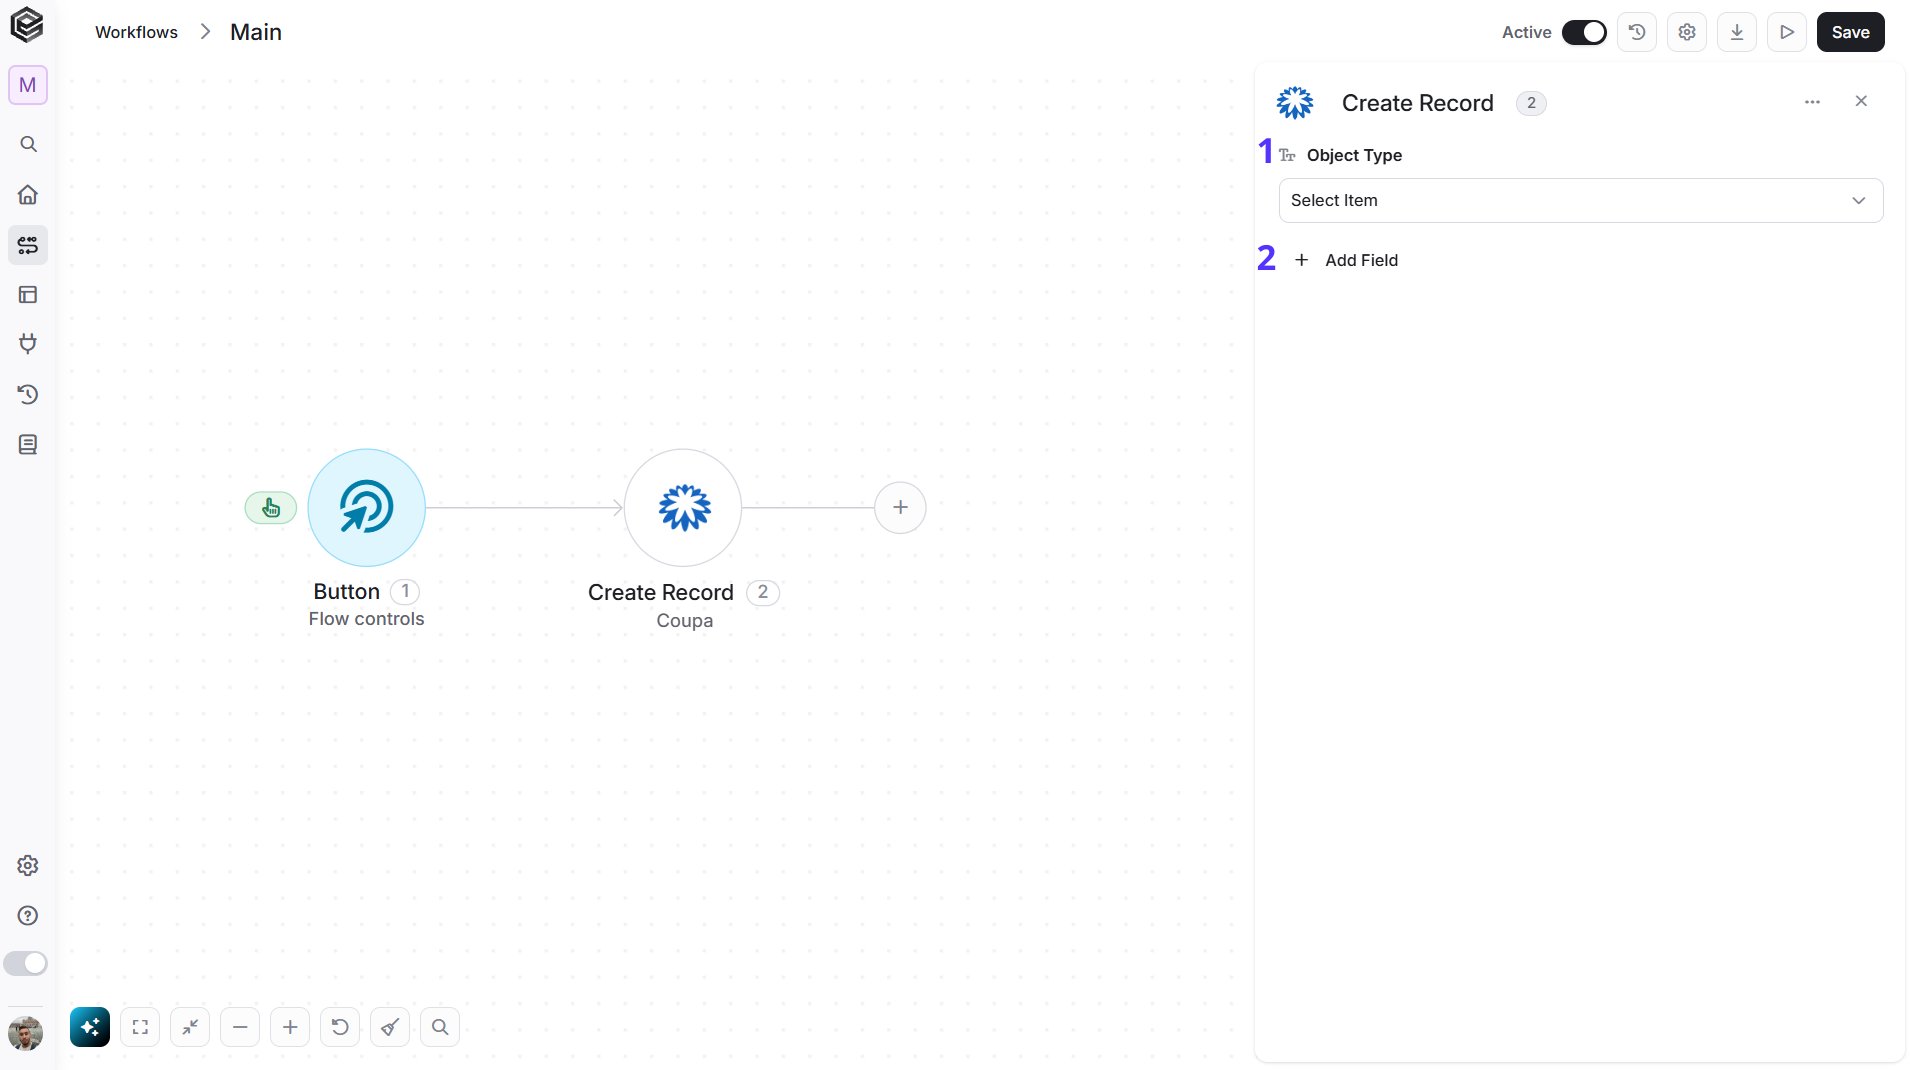
- Object Type - Select the type of record to create: Invoices, Purchase Orders, Requisitions, Suppliers, Users, Items, Accounts, Contracts, Expense Reports, Receipts, Commodities or Departments.
- Add Field - Click Add Field to add and populate additional fields for the selected activity. To learn more about managing activity data, click here.
Update Record
Updates an existing record of the selected type in Coupa.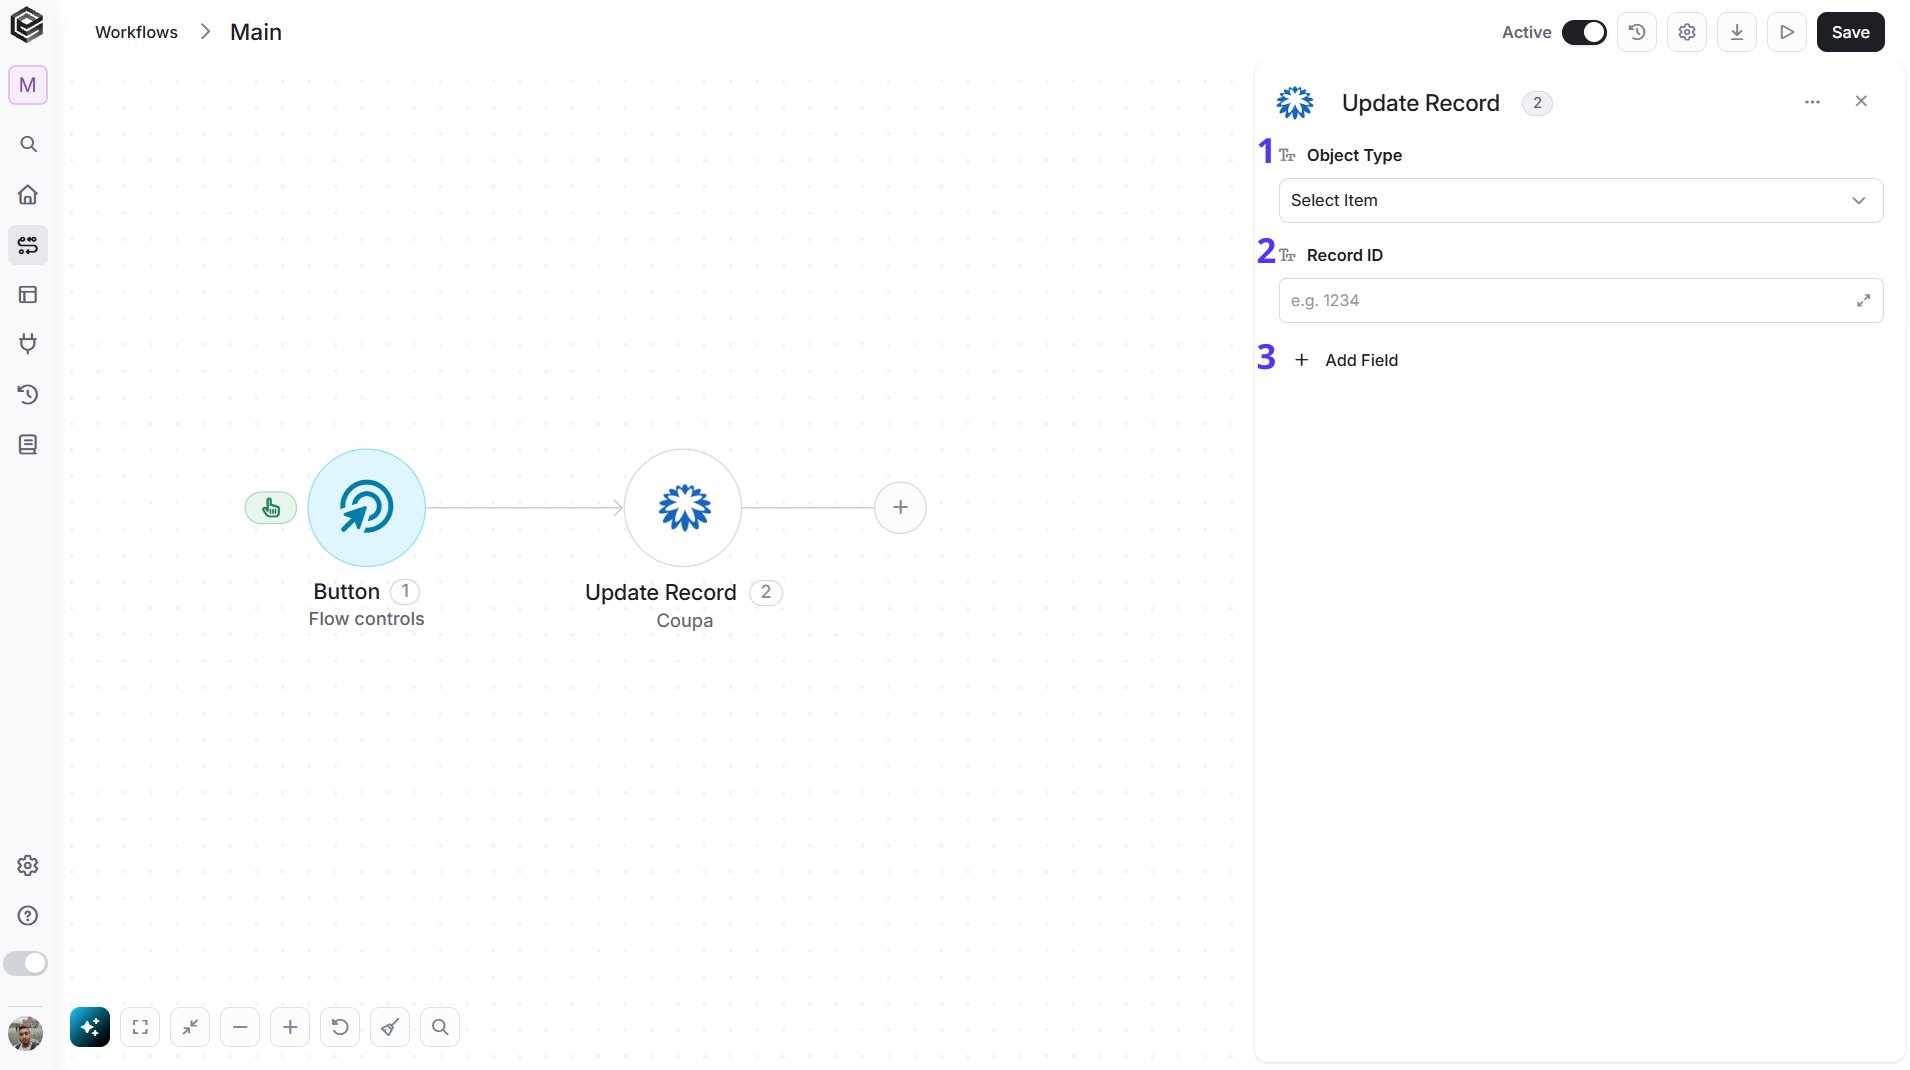
- Object Type - Select the type of record to update: Invoices, Purchase Orders, Requisitions, Suppliers, Users, Items, Accounts, Contracts, Expense Reports, Receipts, Commodities or Departments.
- Record ID - Select the record from the list, or map its ID from a previous step in your workflow.
- Add Field - Click Add Field to add and populate additional fields for the selected activity. To learn more about managing activity data, click here.
Delete Record
Deletes a record in Coupa. Only Requisitions and Receipts can be deleted.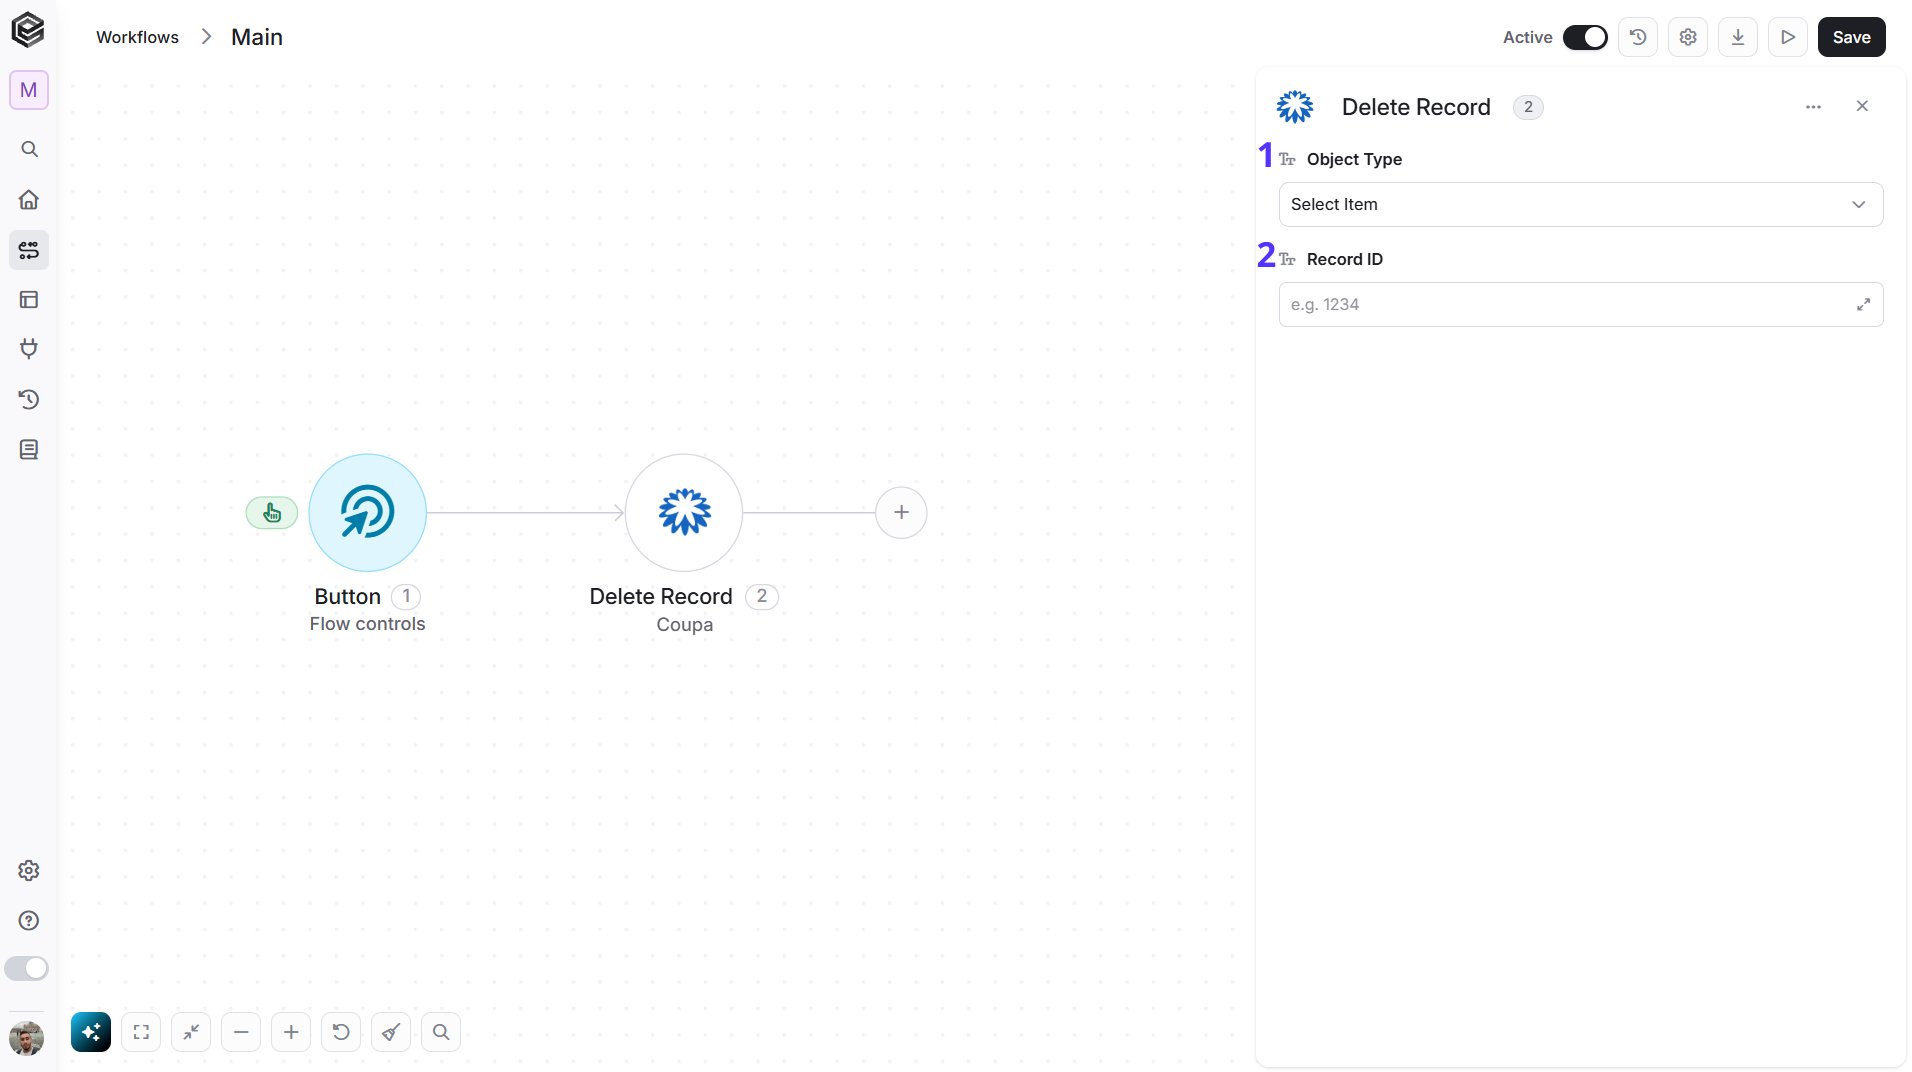
- Object Type - Select Requisitions or Receipts.
- Record ID - Select the record from the list, or map its ID from a previous step in your workflow.
Submit Requisition for Approval
Submits a requisition to start its approval in Coupa.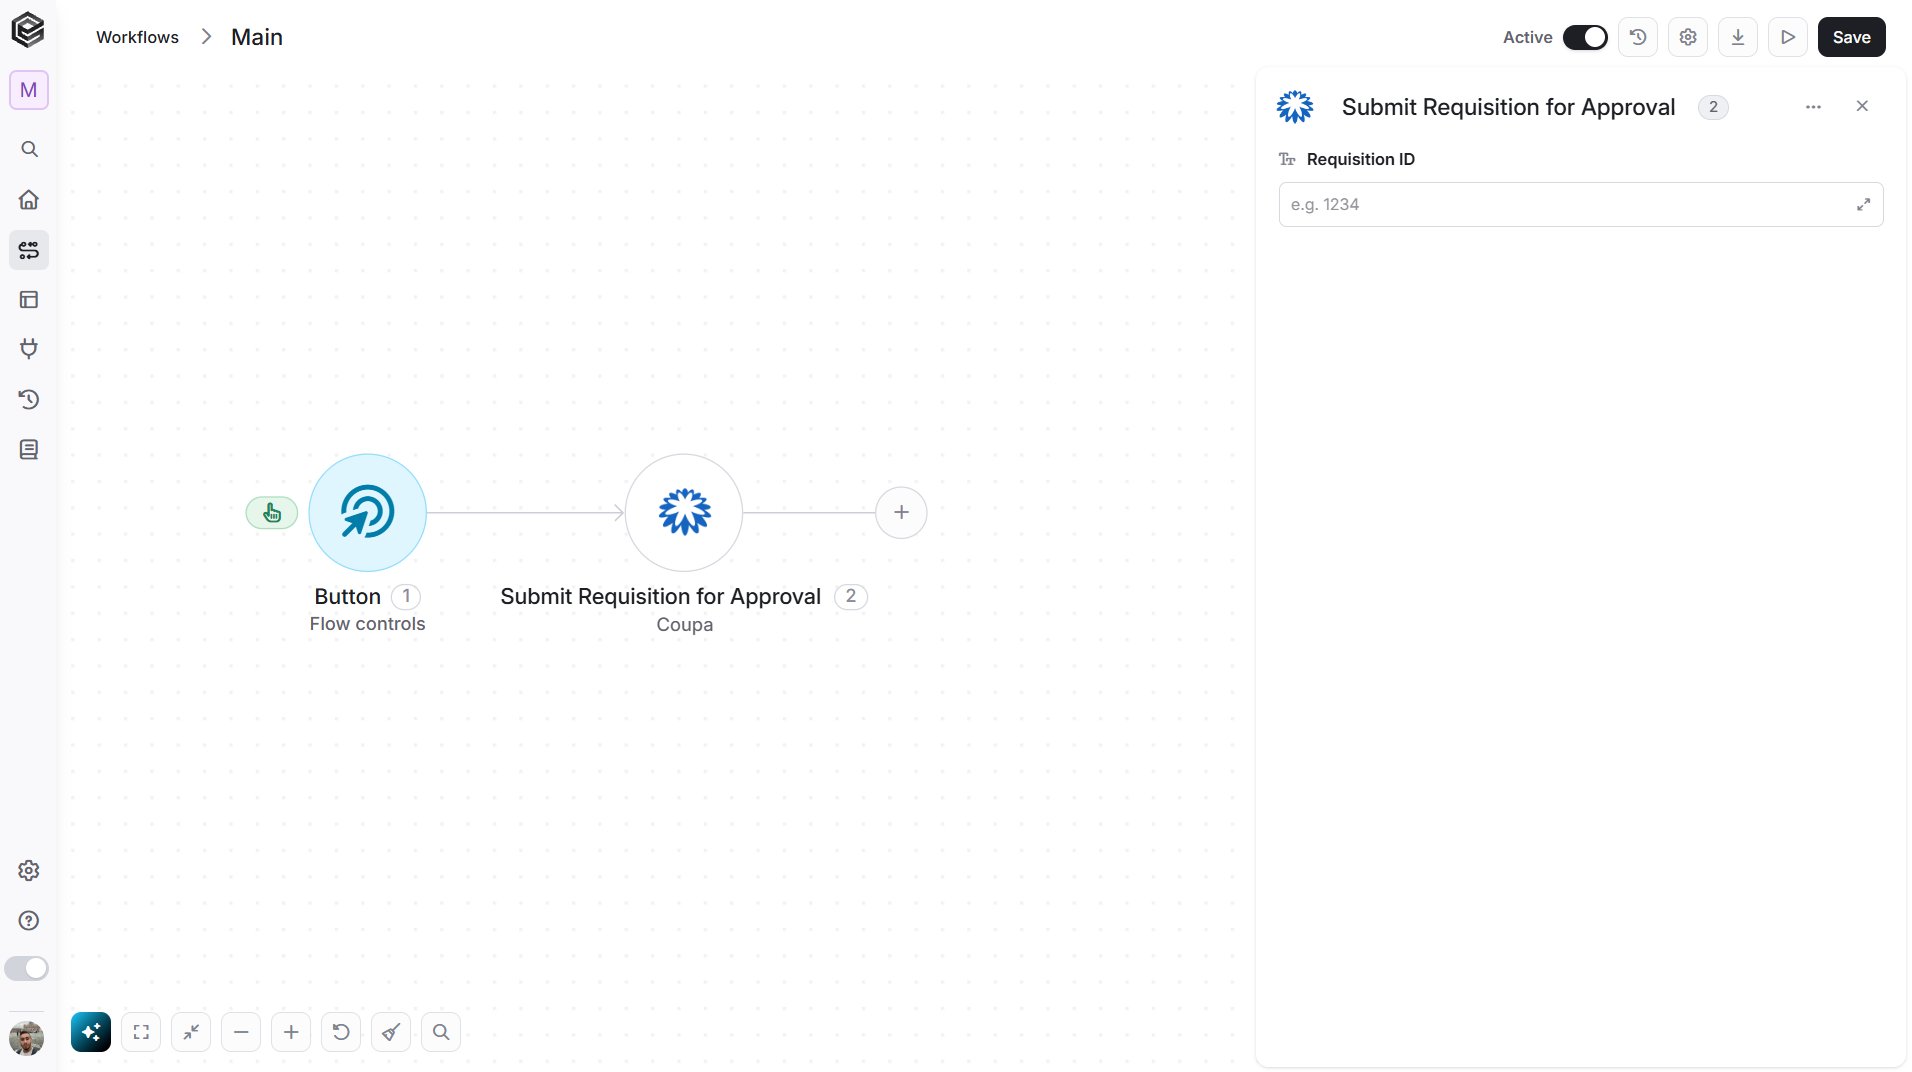
Get Approvals
Retrieves multiple approvals from Coupa, optionally limiting the number of results and applying filters or sorting.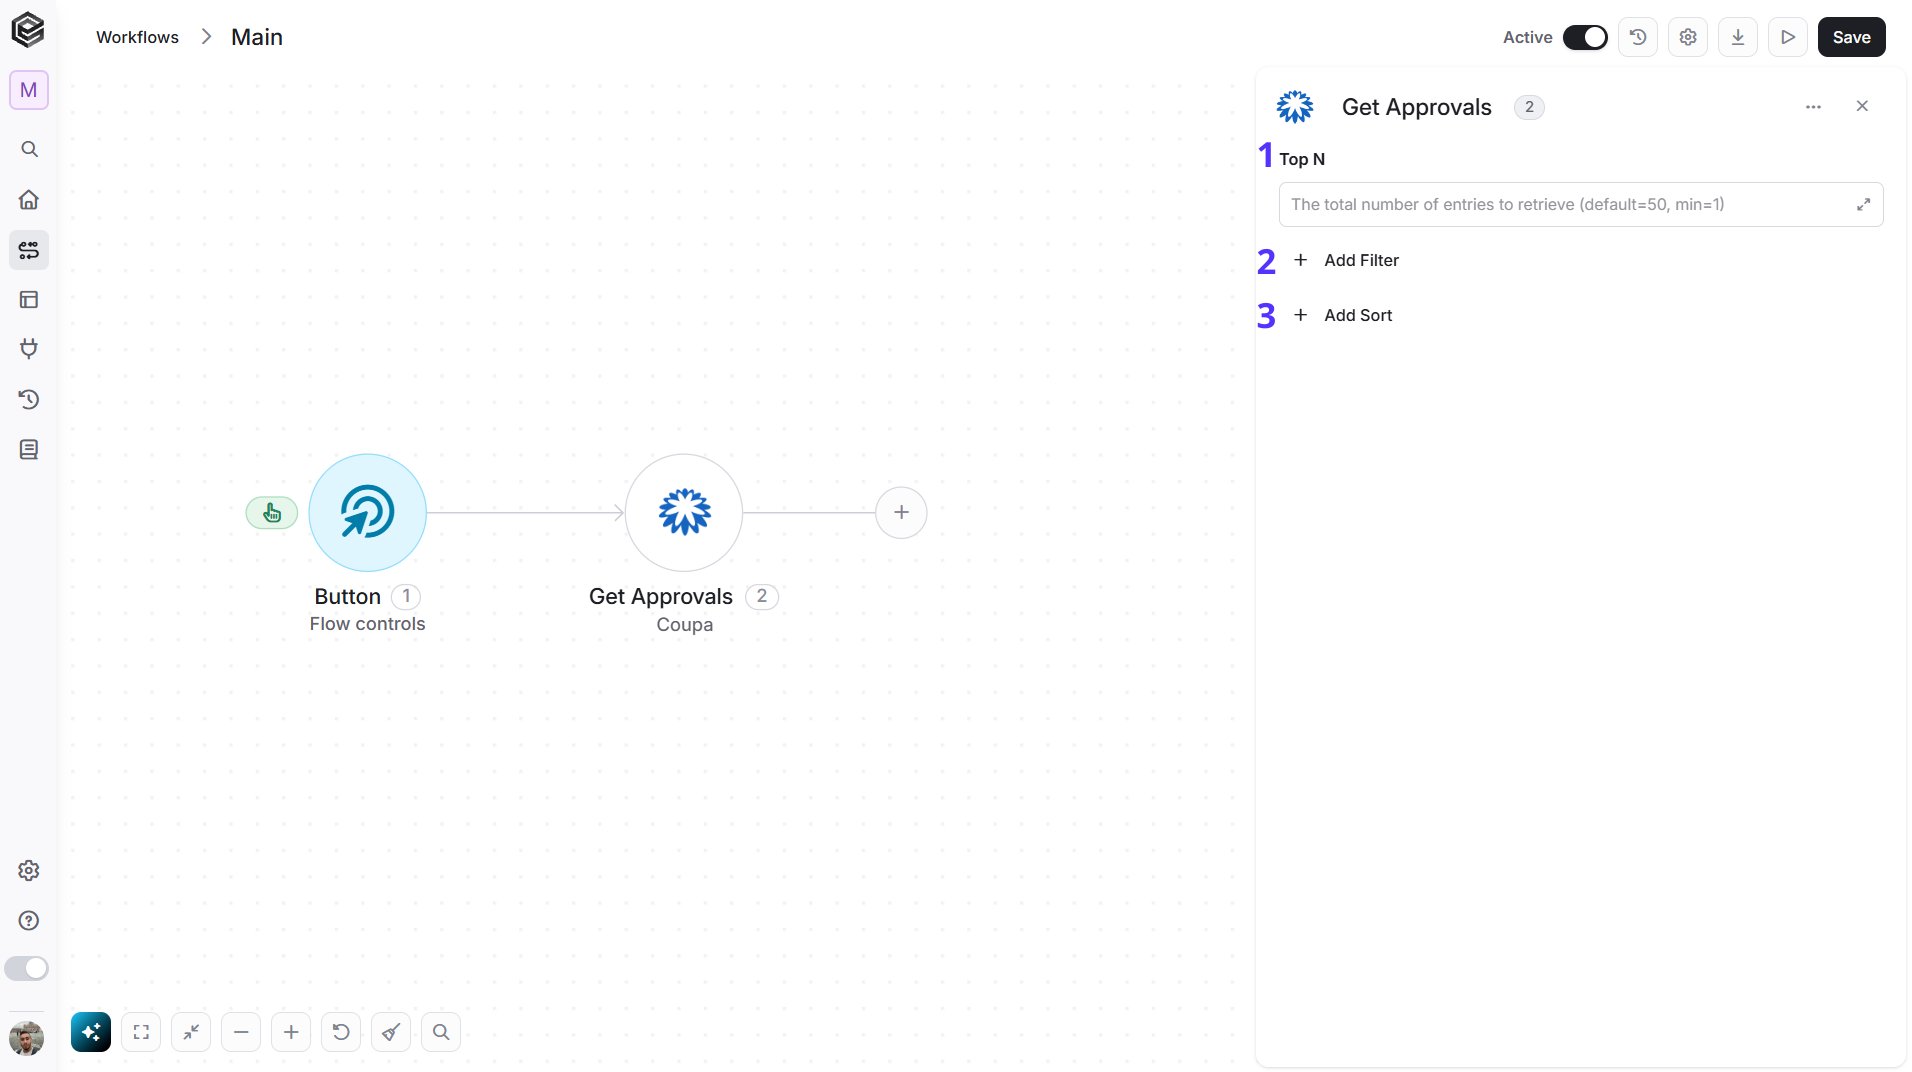
- Top N - You can set the maximum number of approvals Engini will return (default = 50, minimum = 1).
- Add Filter - Click Add Filter to define conditions that narrow down the data list and return only the relevant items. To learn more about using filters, click here.
- Add Sort - Click Add Sort to organize the data list by a selected field in ascending or descending order. To learn more about sorting data, click here.
Get Approval
Retrieves a single approval from Coupa.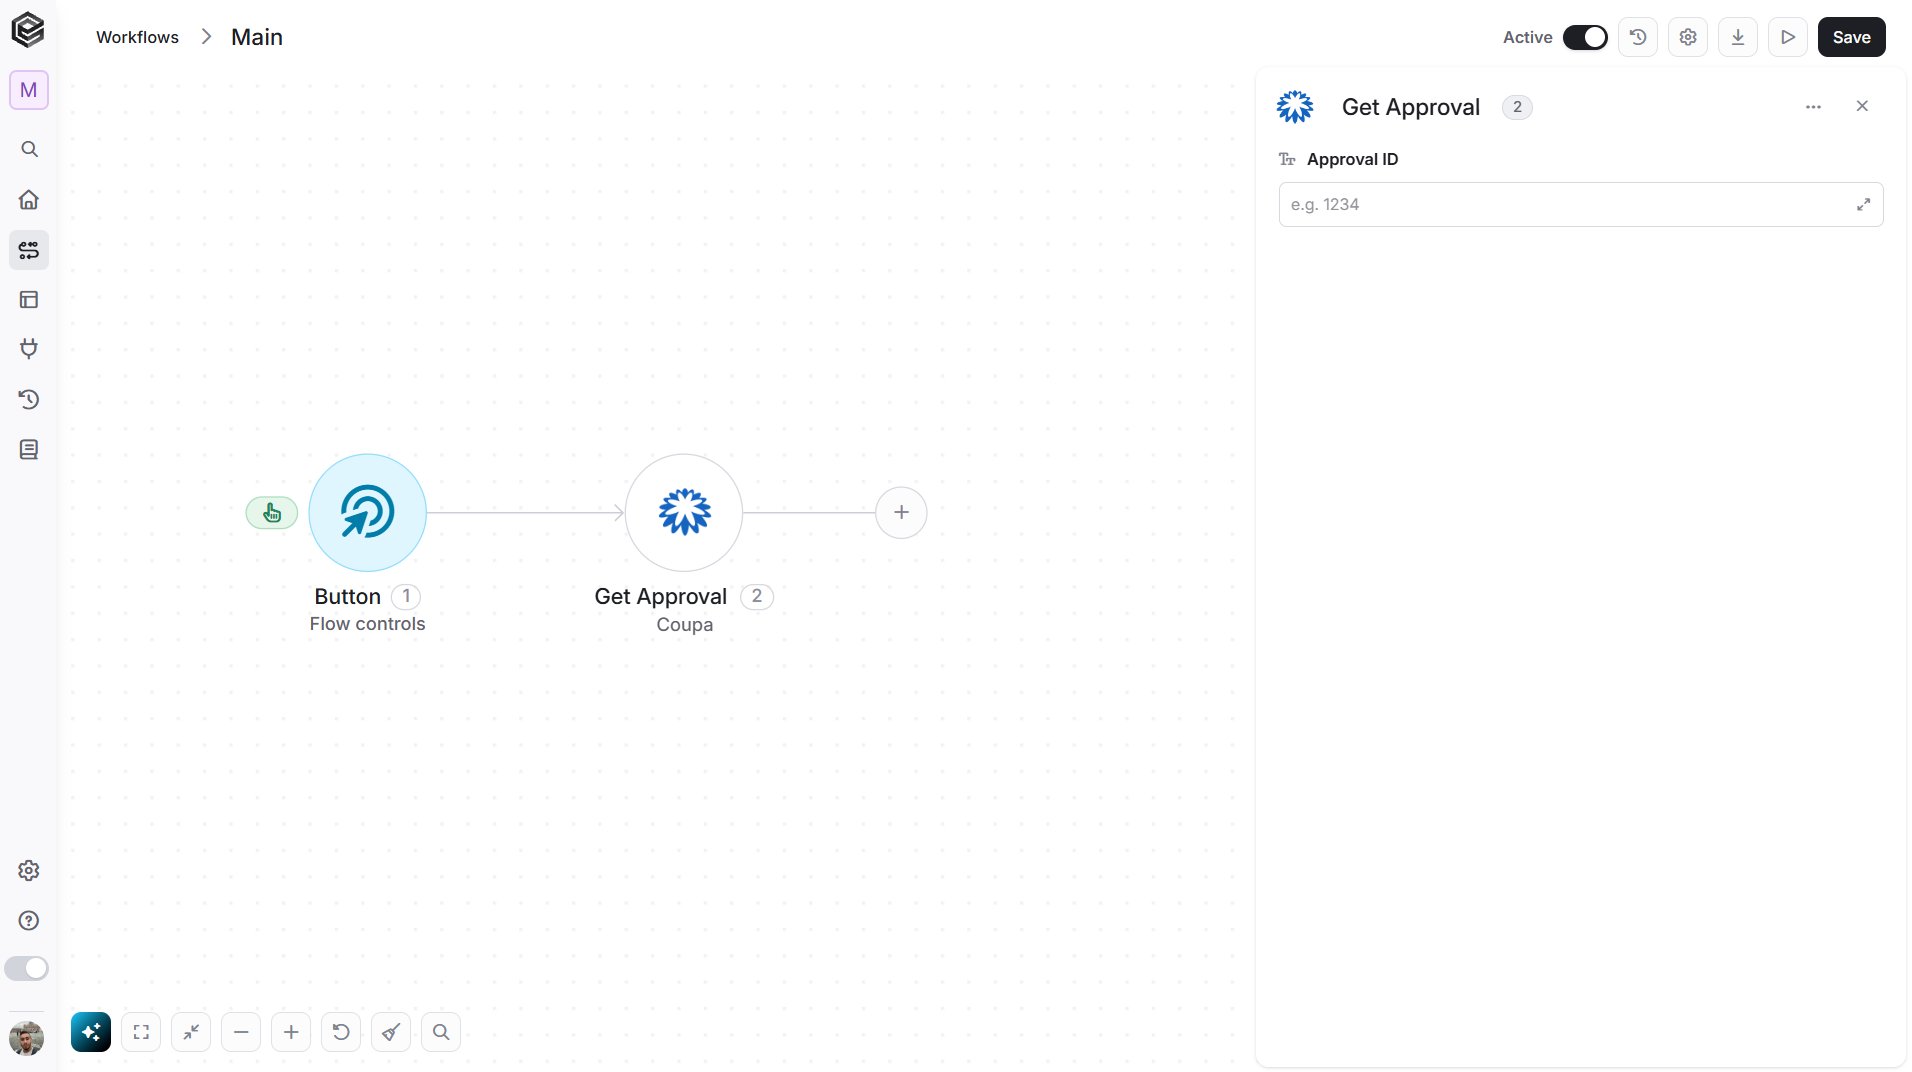
Cancel Purchase Order
Cancels a purchase order in Coupa.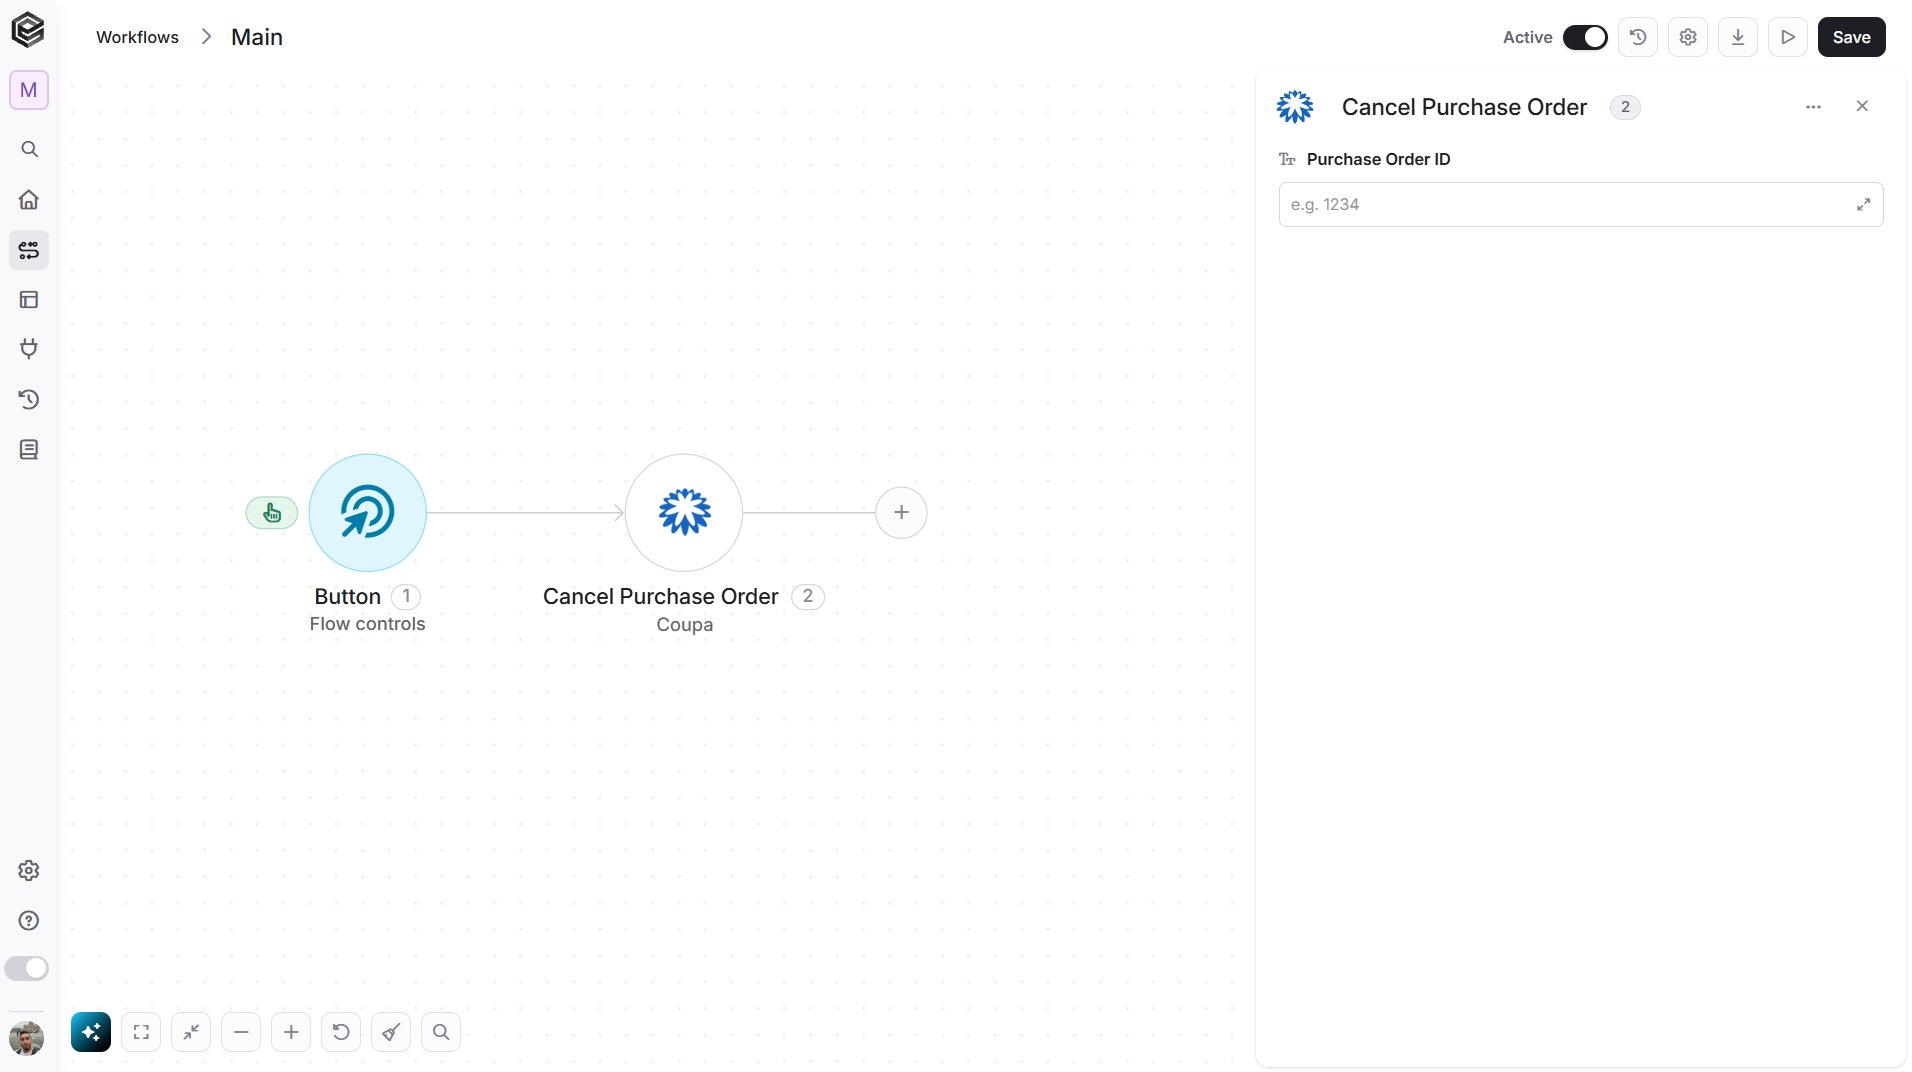
Close Purchase Order
Closes a purchase order in Coupa.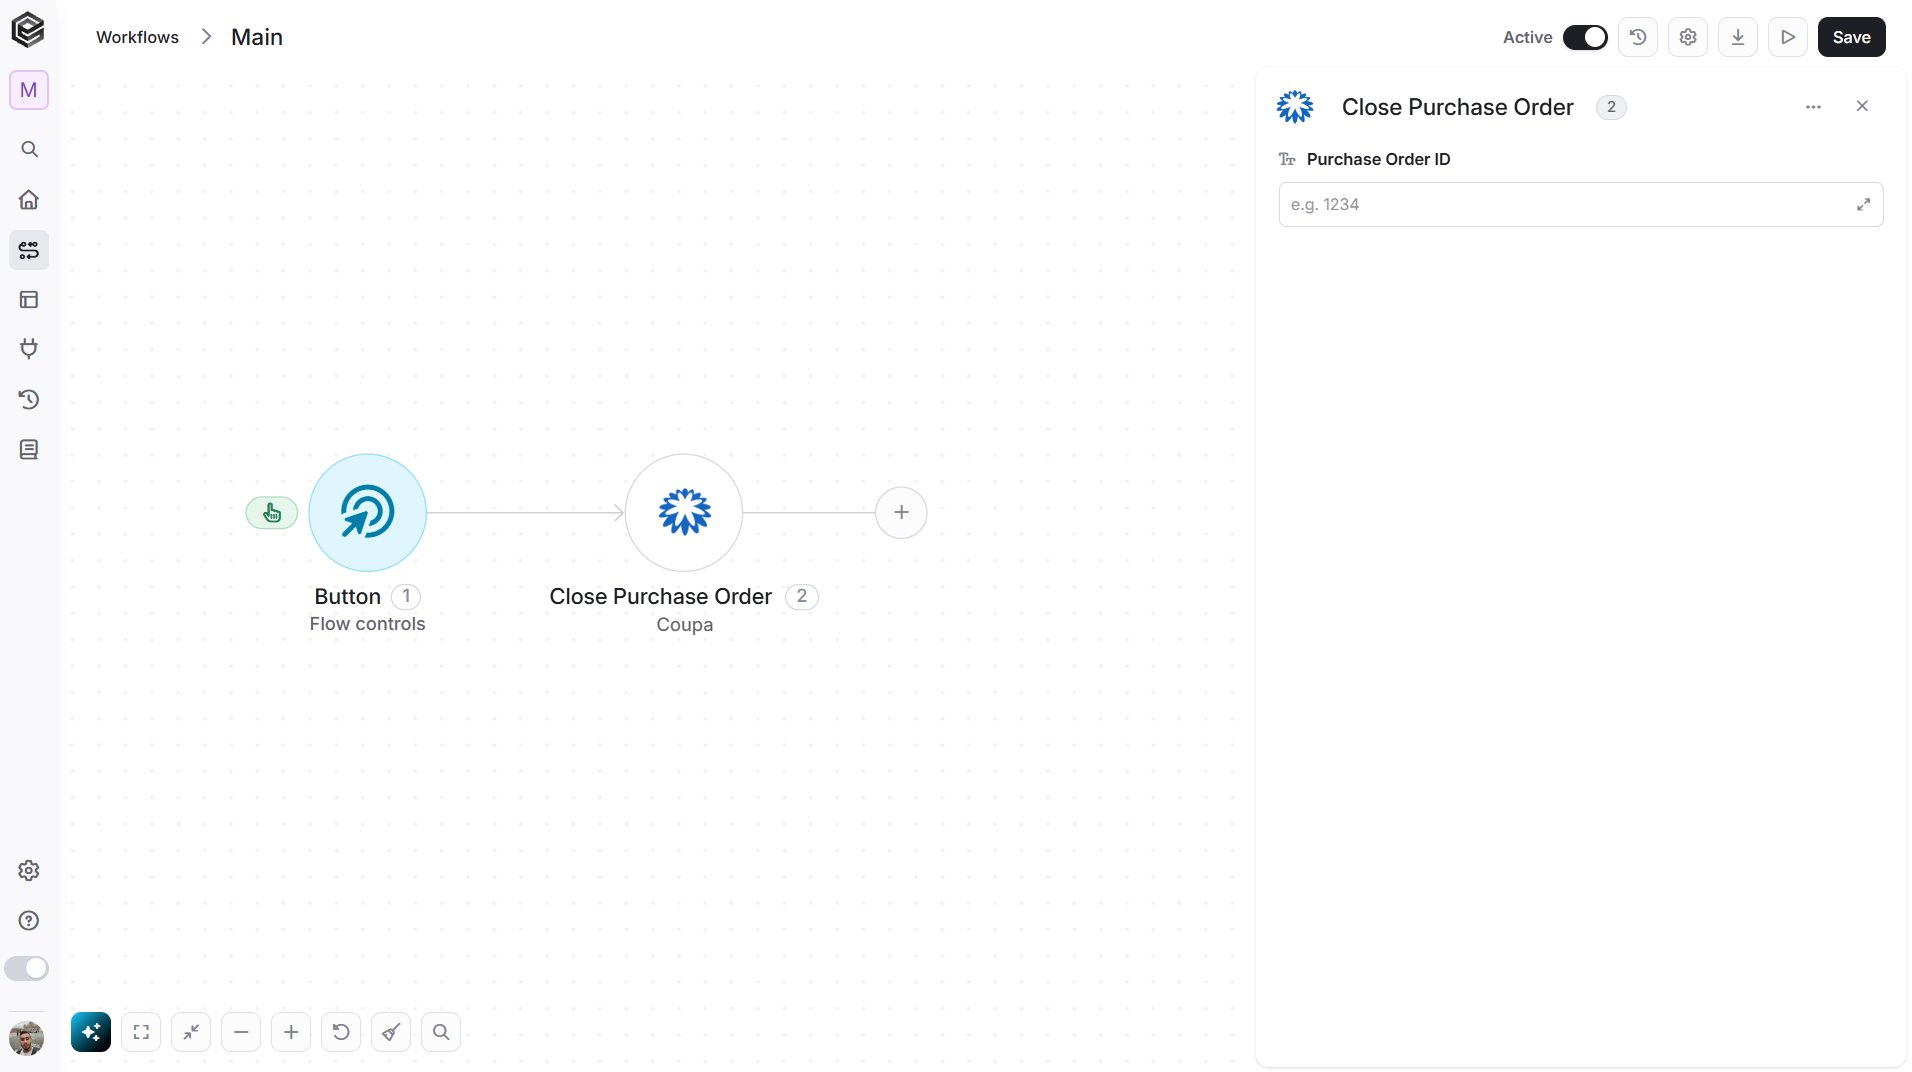
Request Purchase Order Change
Requests a change to an existing purchase order in Coupa.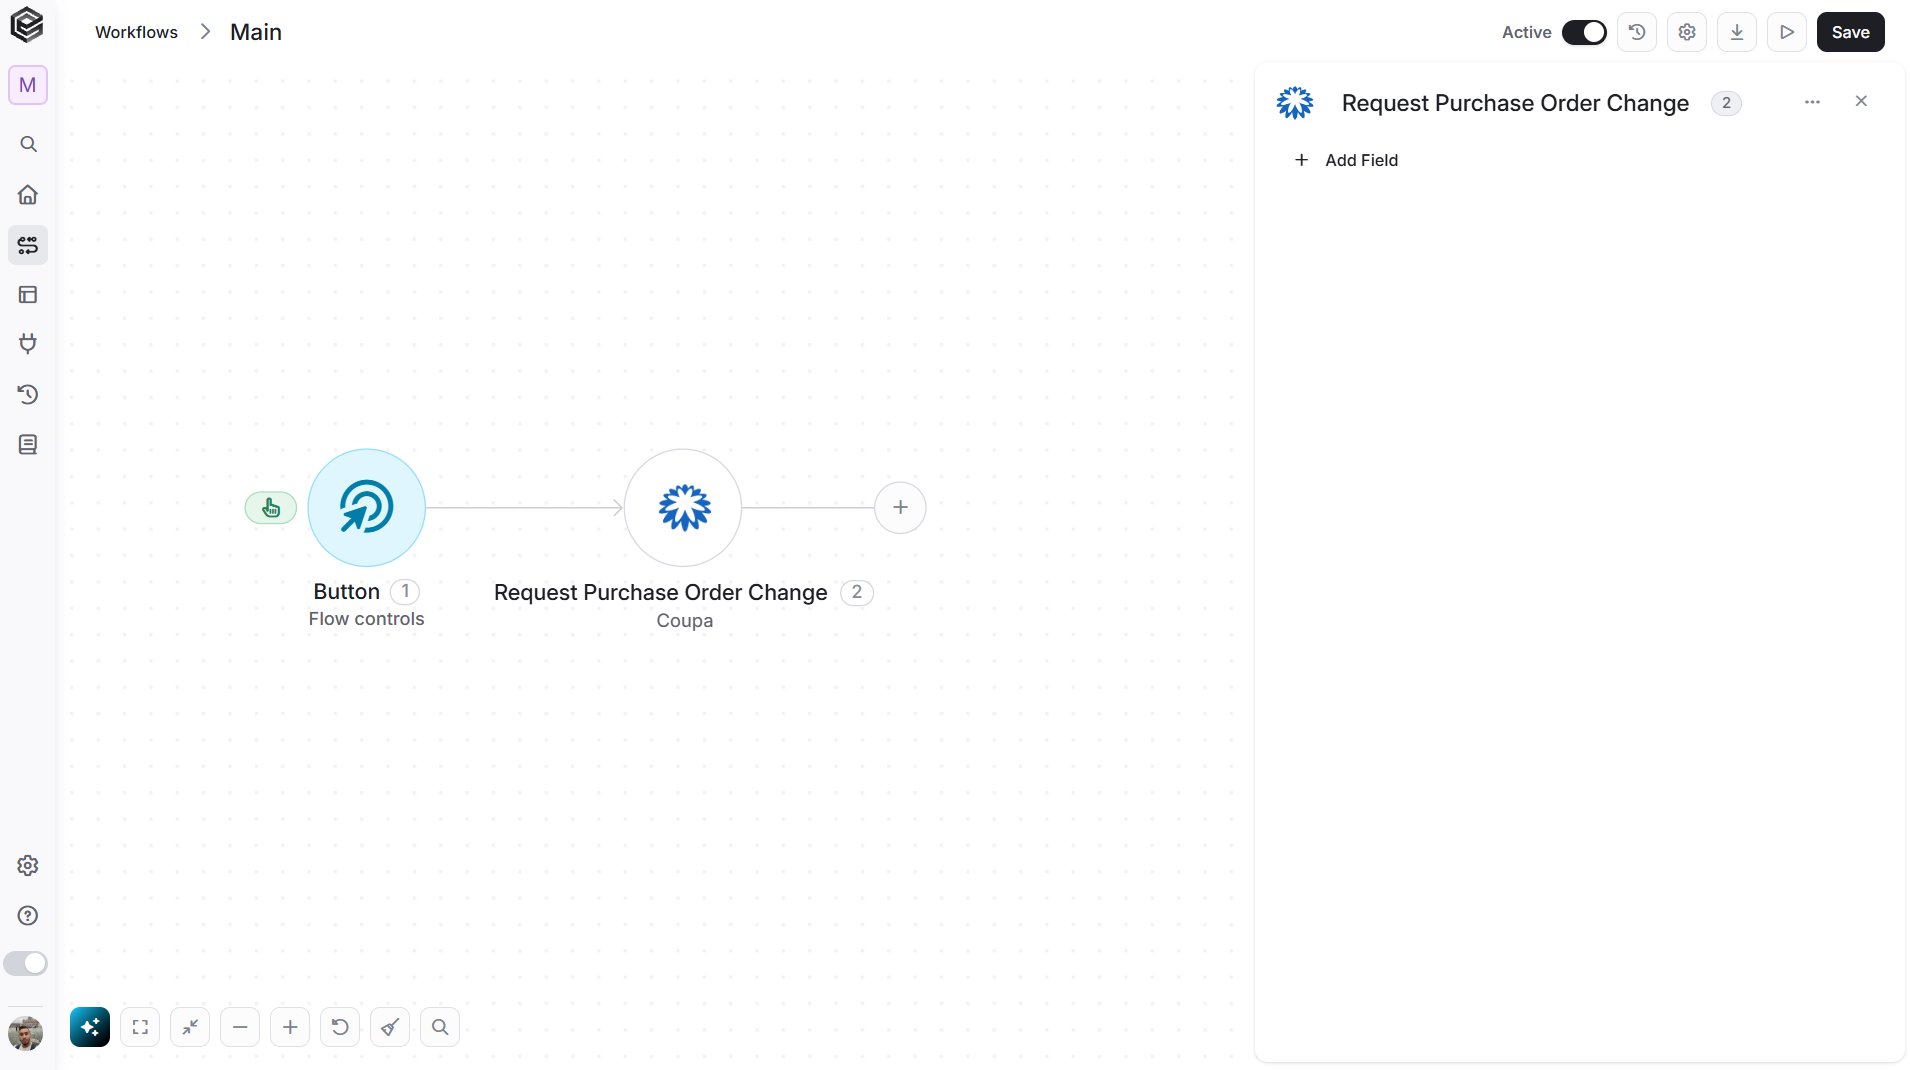
Submit Expense Report for Approval
Submits an expense report to start its approval in Coupa.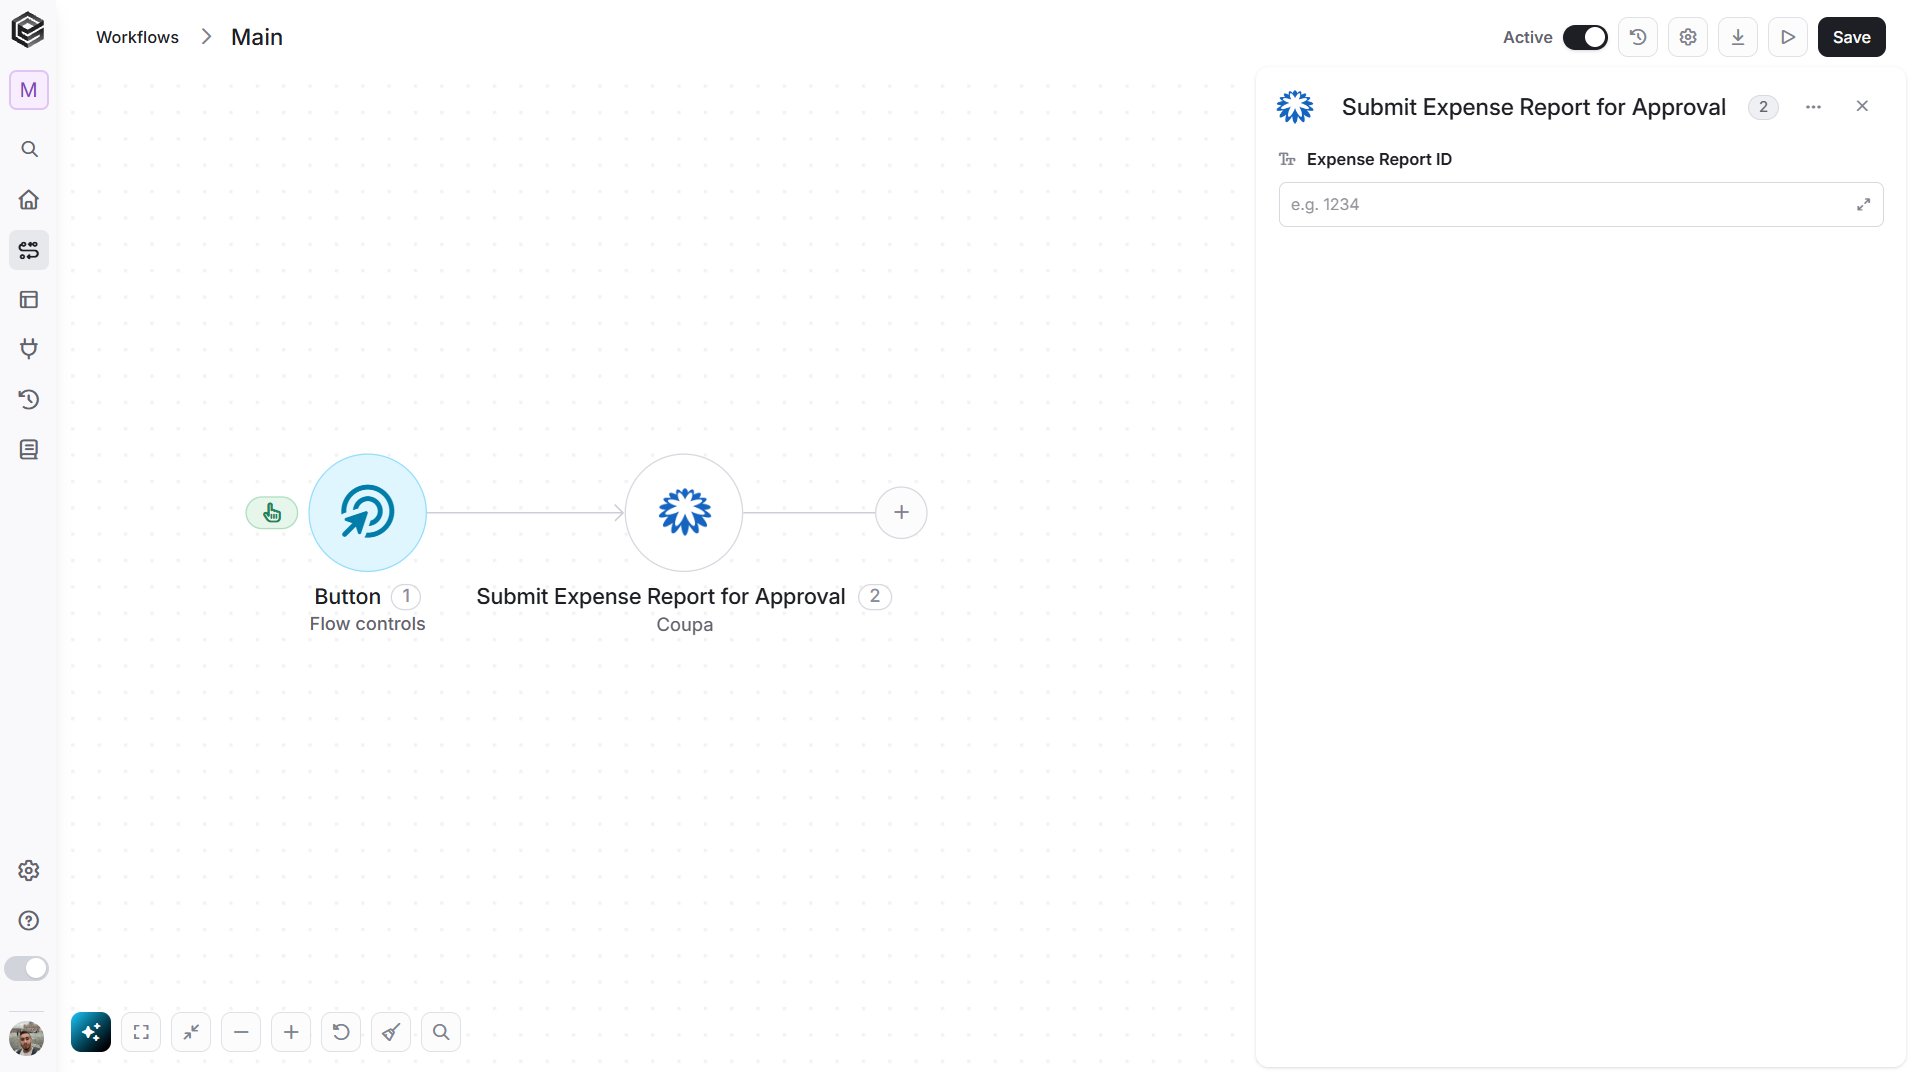
Set Integration Run Status
Sets the status of an integration run in Coupa.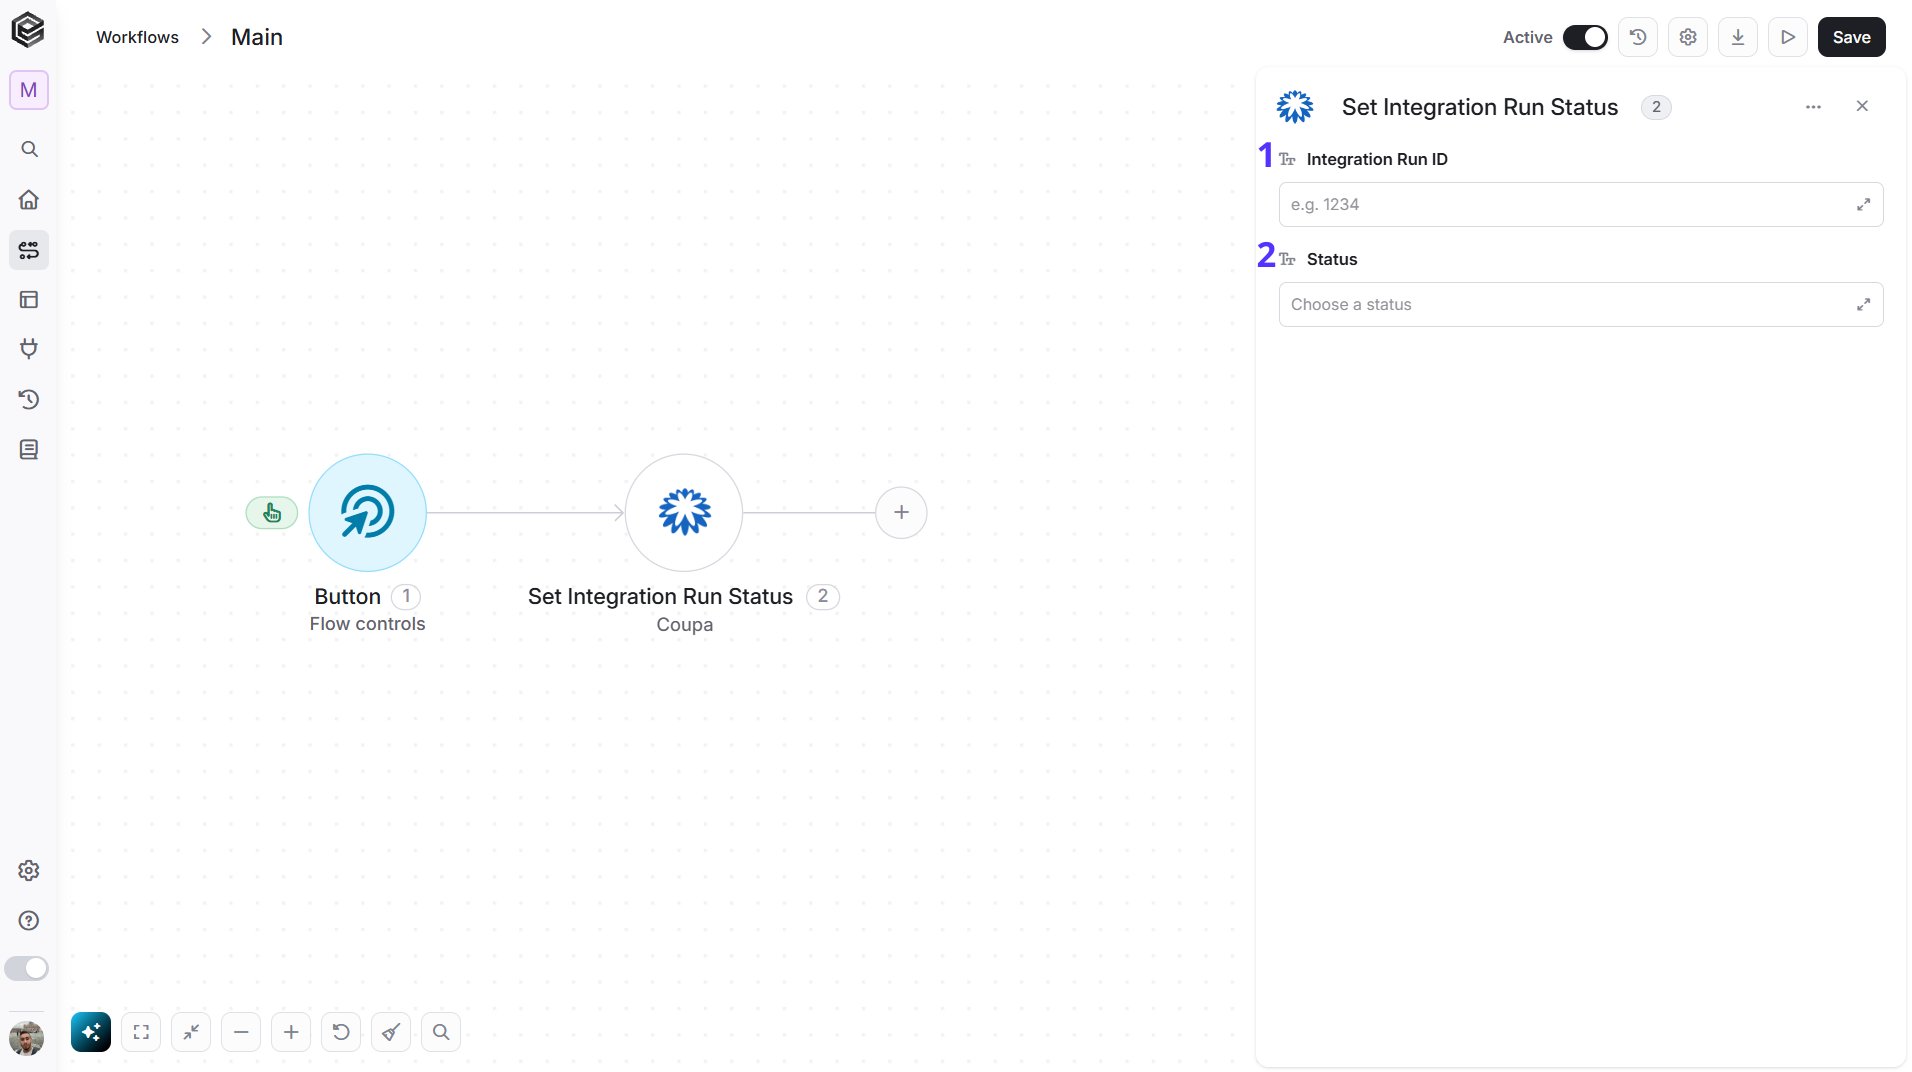
- Integration Run ID - Select the integration run from the list, or map its ID from a previous step in your workflow.
- Status - Select the status to set: Running, Successful, Failed, Paused or Pending.
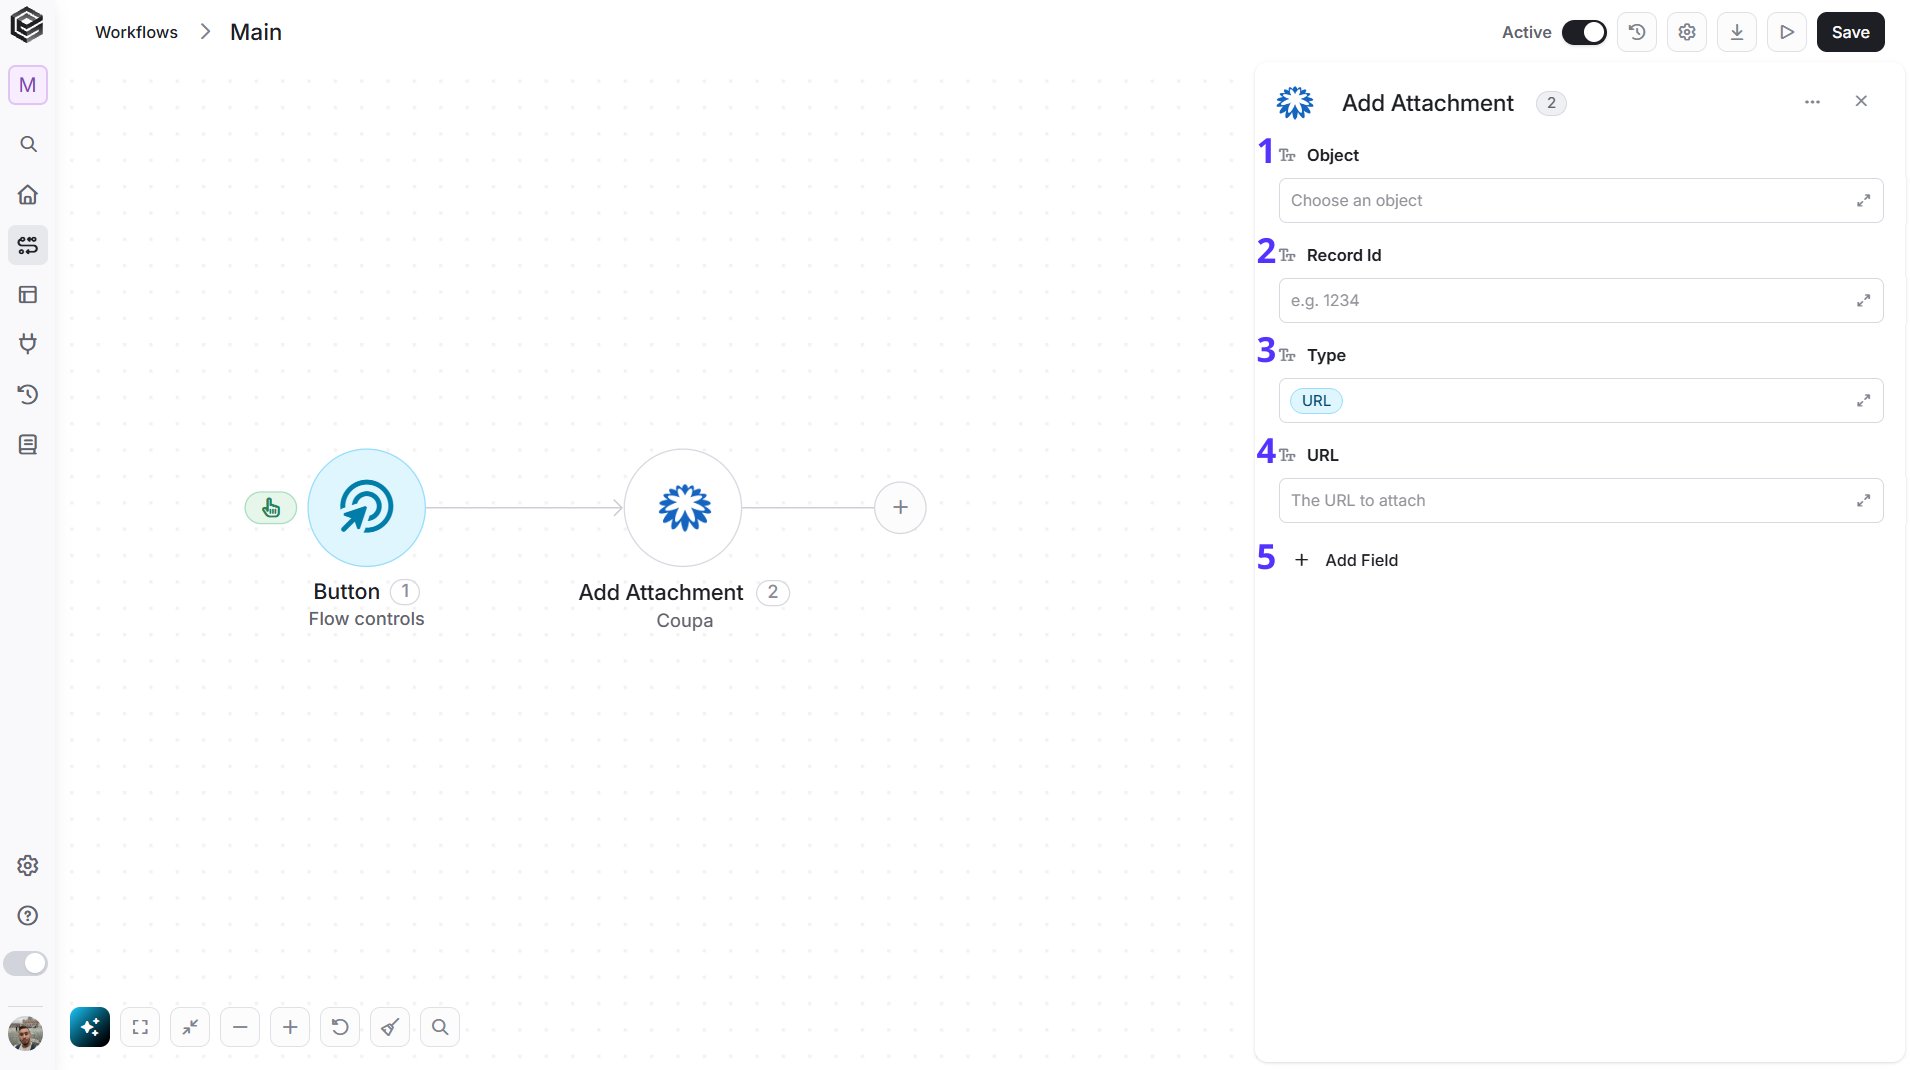
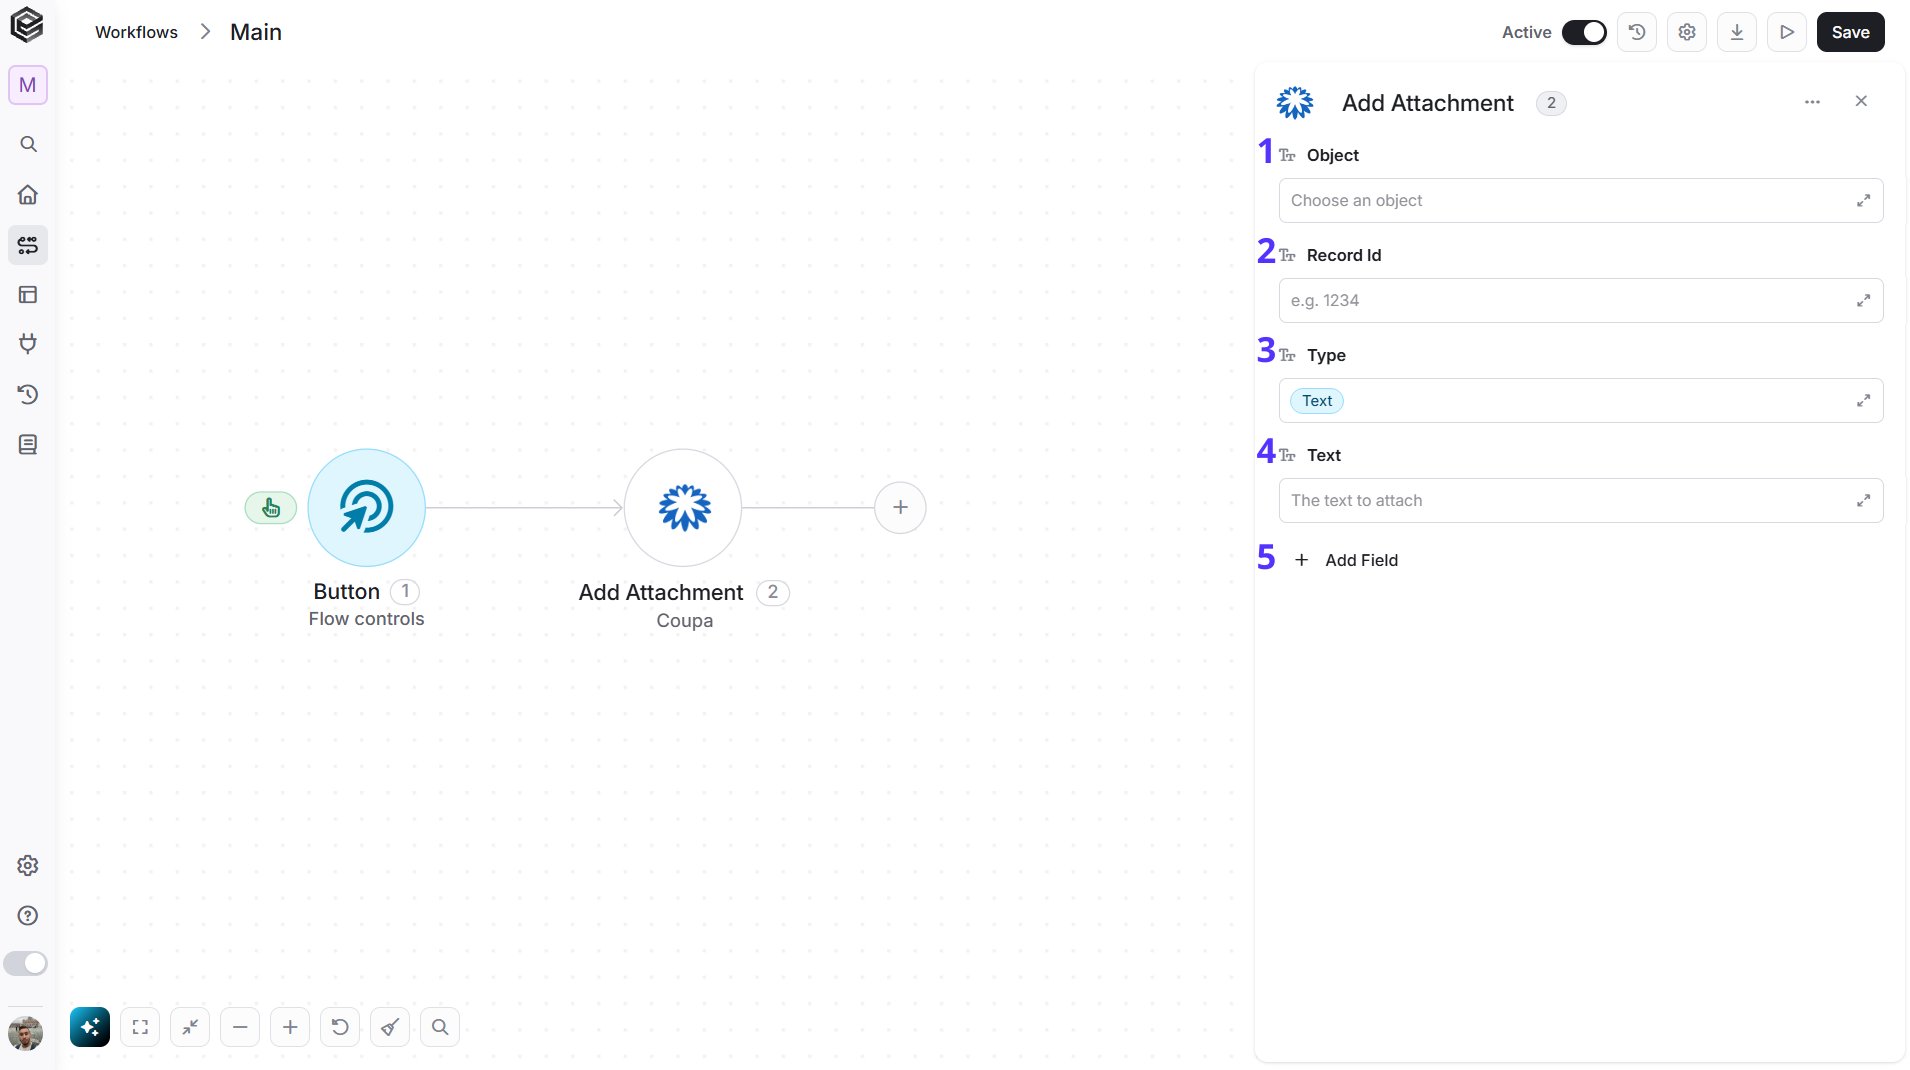
Add Attachment
Attaches a file, a link or a text note to a record in Coupa.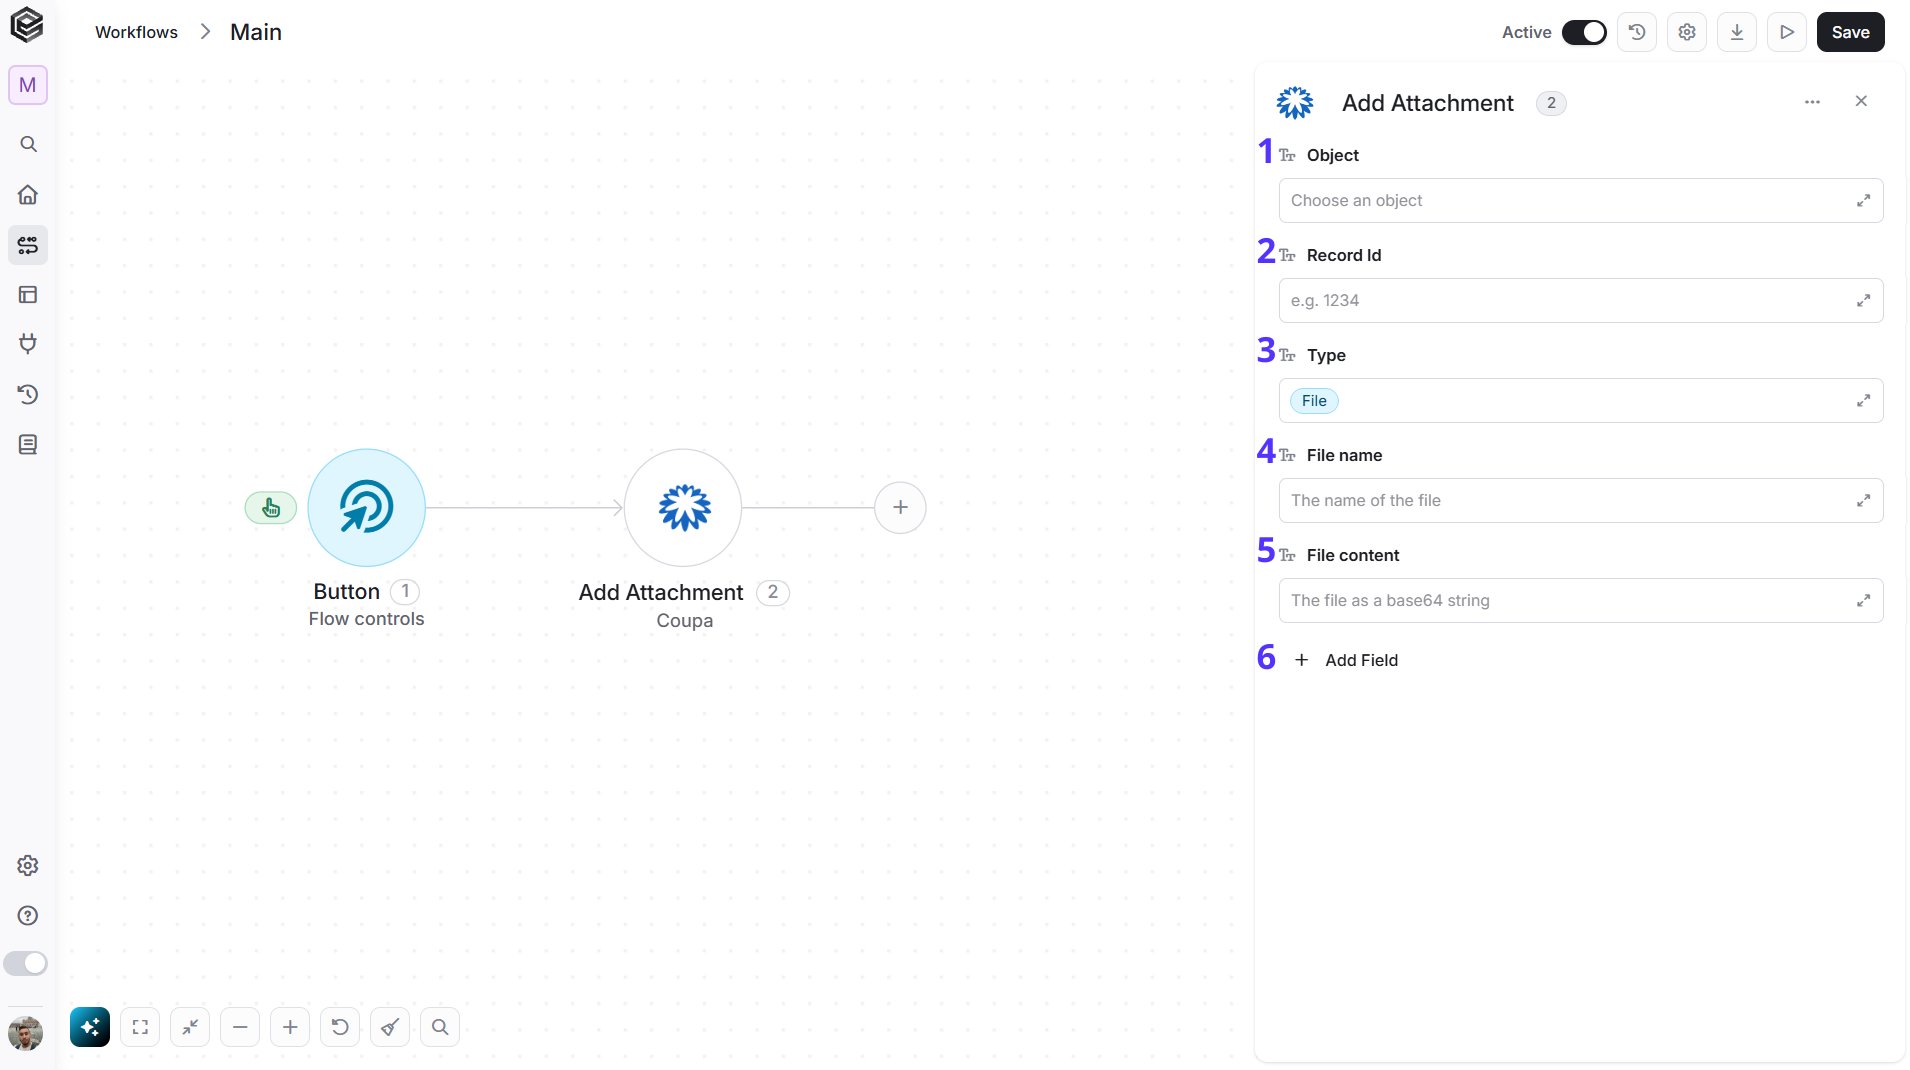
- Object - Select the type of record to attach to: Contracts, Invoices, Expense Reports, Purchase Orders, Users or Requisitions.
- Record Id - Enter the ID of the record to attach to, or map it from a previous step in your workflow.
- Type - Select what you are attaching. The default is File. The fields below the Type depend on it, and only the matching ones are shown.
- File name - Shown when Type is File. Enter the name of the file, including its extension, for example
invoice.pdf. - File content - Shown when Type is File. Enter the content of the file as a base64 string, or map it from a previous step in your workflow.
- Add Field - Click Add Field to add and populate additional fields for the selected activity. To learn more about managing activity data, click here.
Send API Request
This activity allows you to send a custom API request directly to Coupa’s API.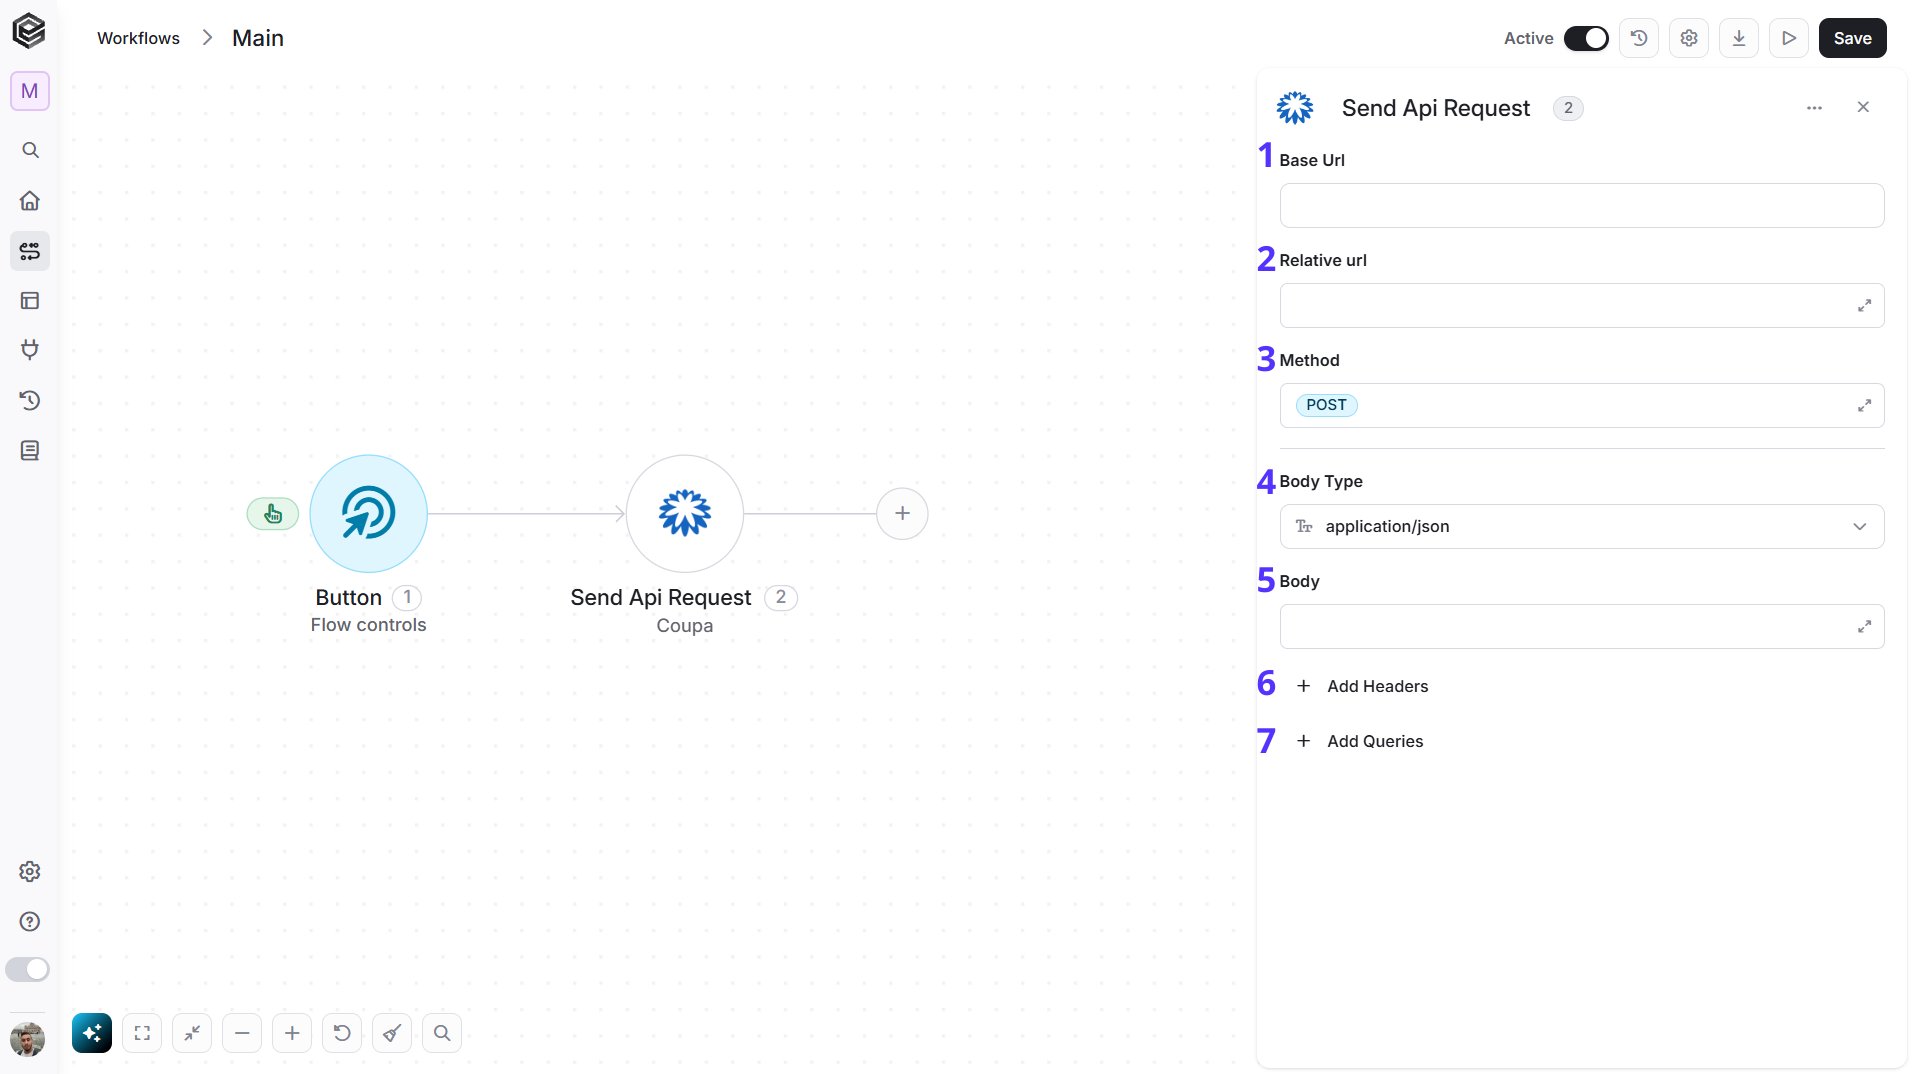
- Base Url - The root URL of the Coupa API. It is filled in from your Coupa connection and can’t be edited here.
- Relative url - You can specify additional path segments or parameters that need to be added to the end of the Base Url. This allows you to customize the specific request you want to perform.
- Method - Select the HTTP method (e.g., Get, Post, Put, Delete, Patch). The default is POST.
- Body Type - Defines the format of the data in the body of your request. The default, application/json, means the body contains a JSON-formatted payload.
- Body - Contains any data that is being sent to the server.
- Add Headers - Additional metadata about the request, such as the type of data Engini can accept, the length of the request body, and authentication information.
- Add Queries - The query refers to the parameters or data that are included in the URL of an HTTP request to provide additional information or instructions to the server.