

Add a Connection to Power BI in Engini
Prerequisites
- A Power BI account with a Power BI Pro license.
- Access to the Power BI workspaces you want to use in your workflows. Note: Actions that work with a workspace need you to pick one. Your personal “My workspace” is not supported.
Connecting Engini to Power BI
- Enter your Engini account at https://app.engini.io.
-
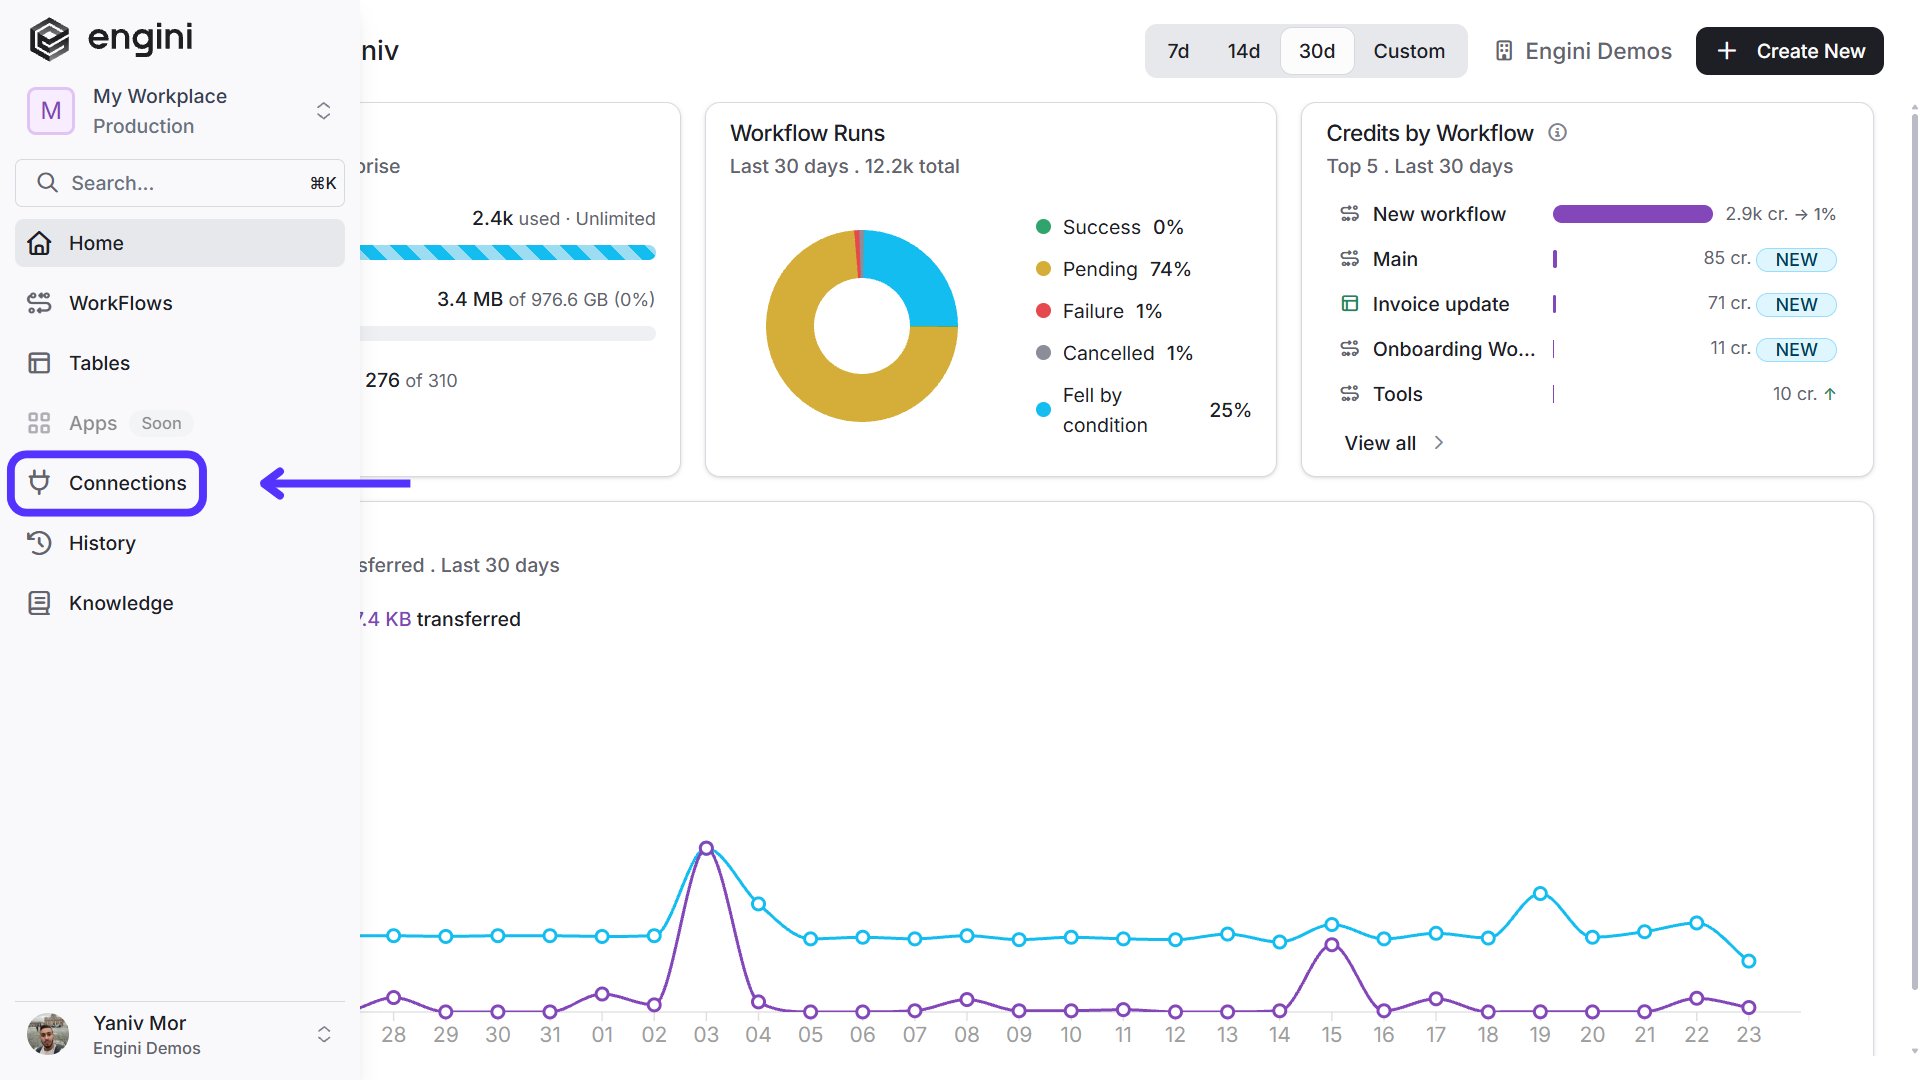
Navigate to the Connections page by clicking on Connections in the left sidebar or by clicking here.
-
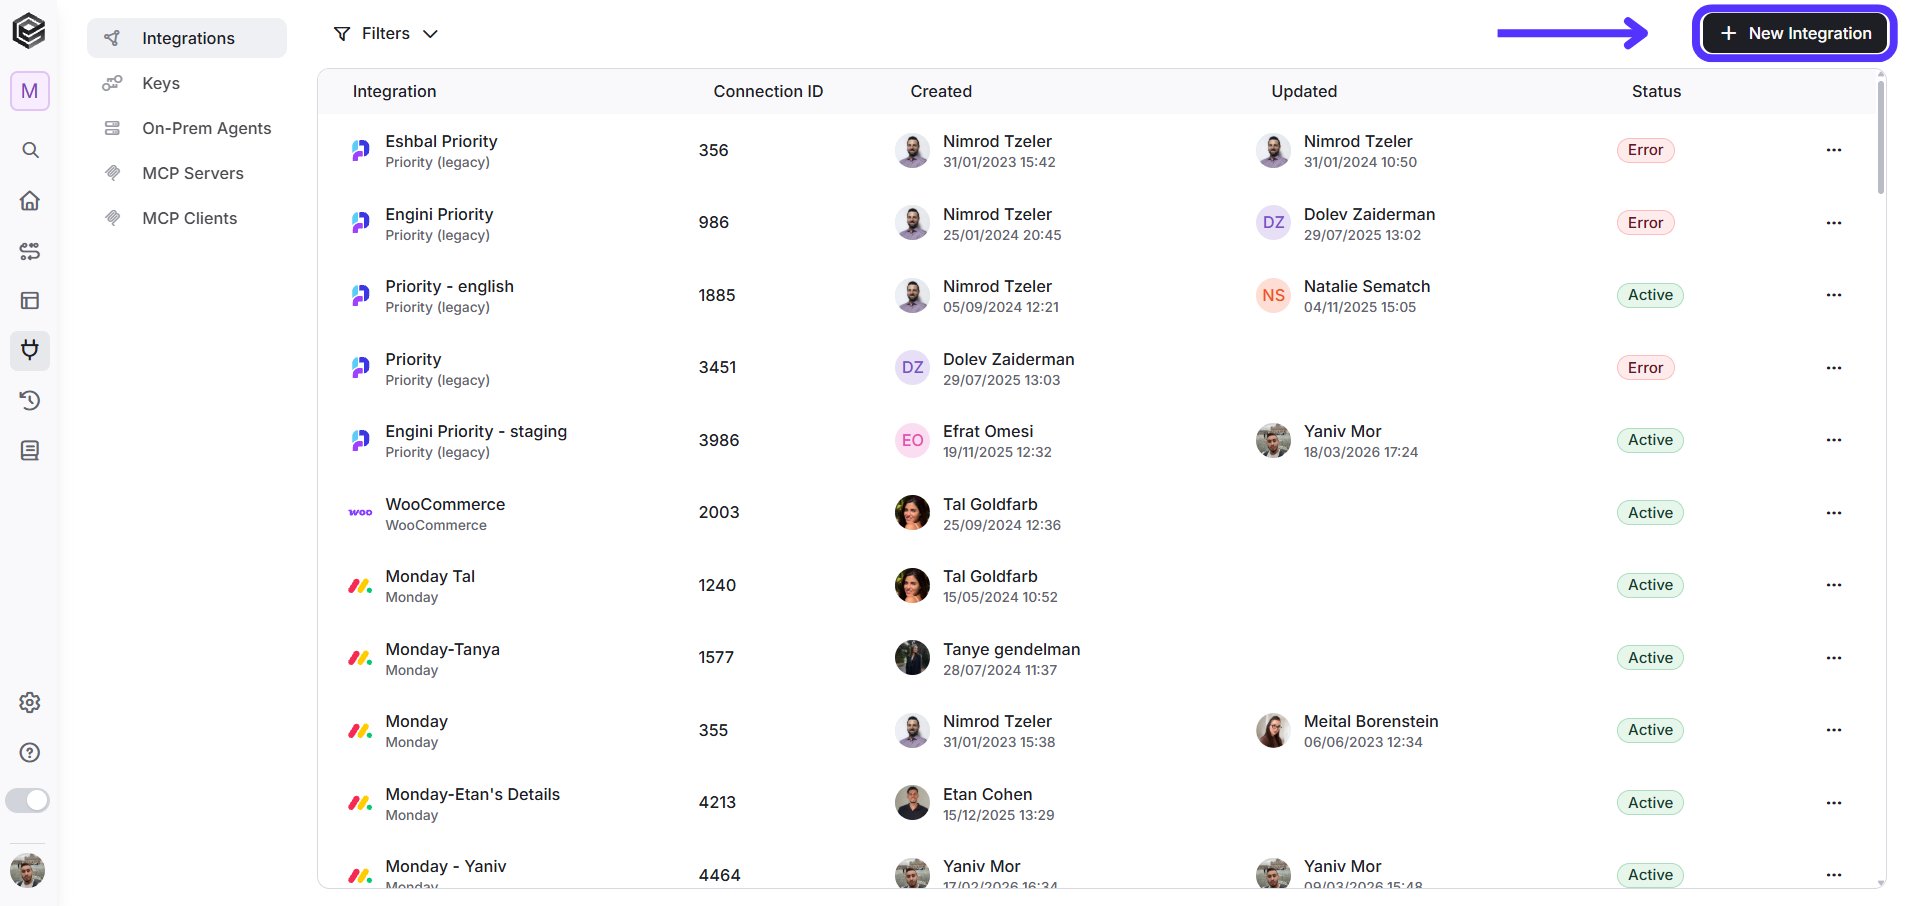
Click on the “New Integration” option located at the top bar.
-
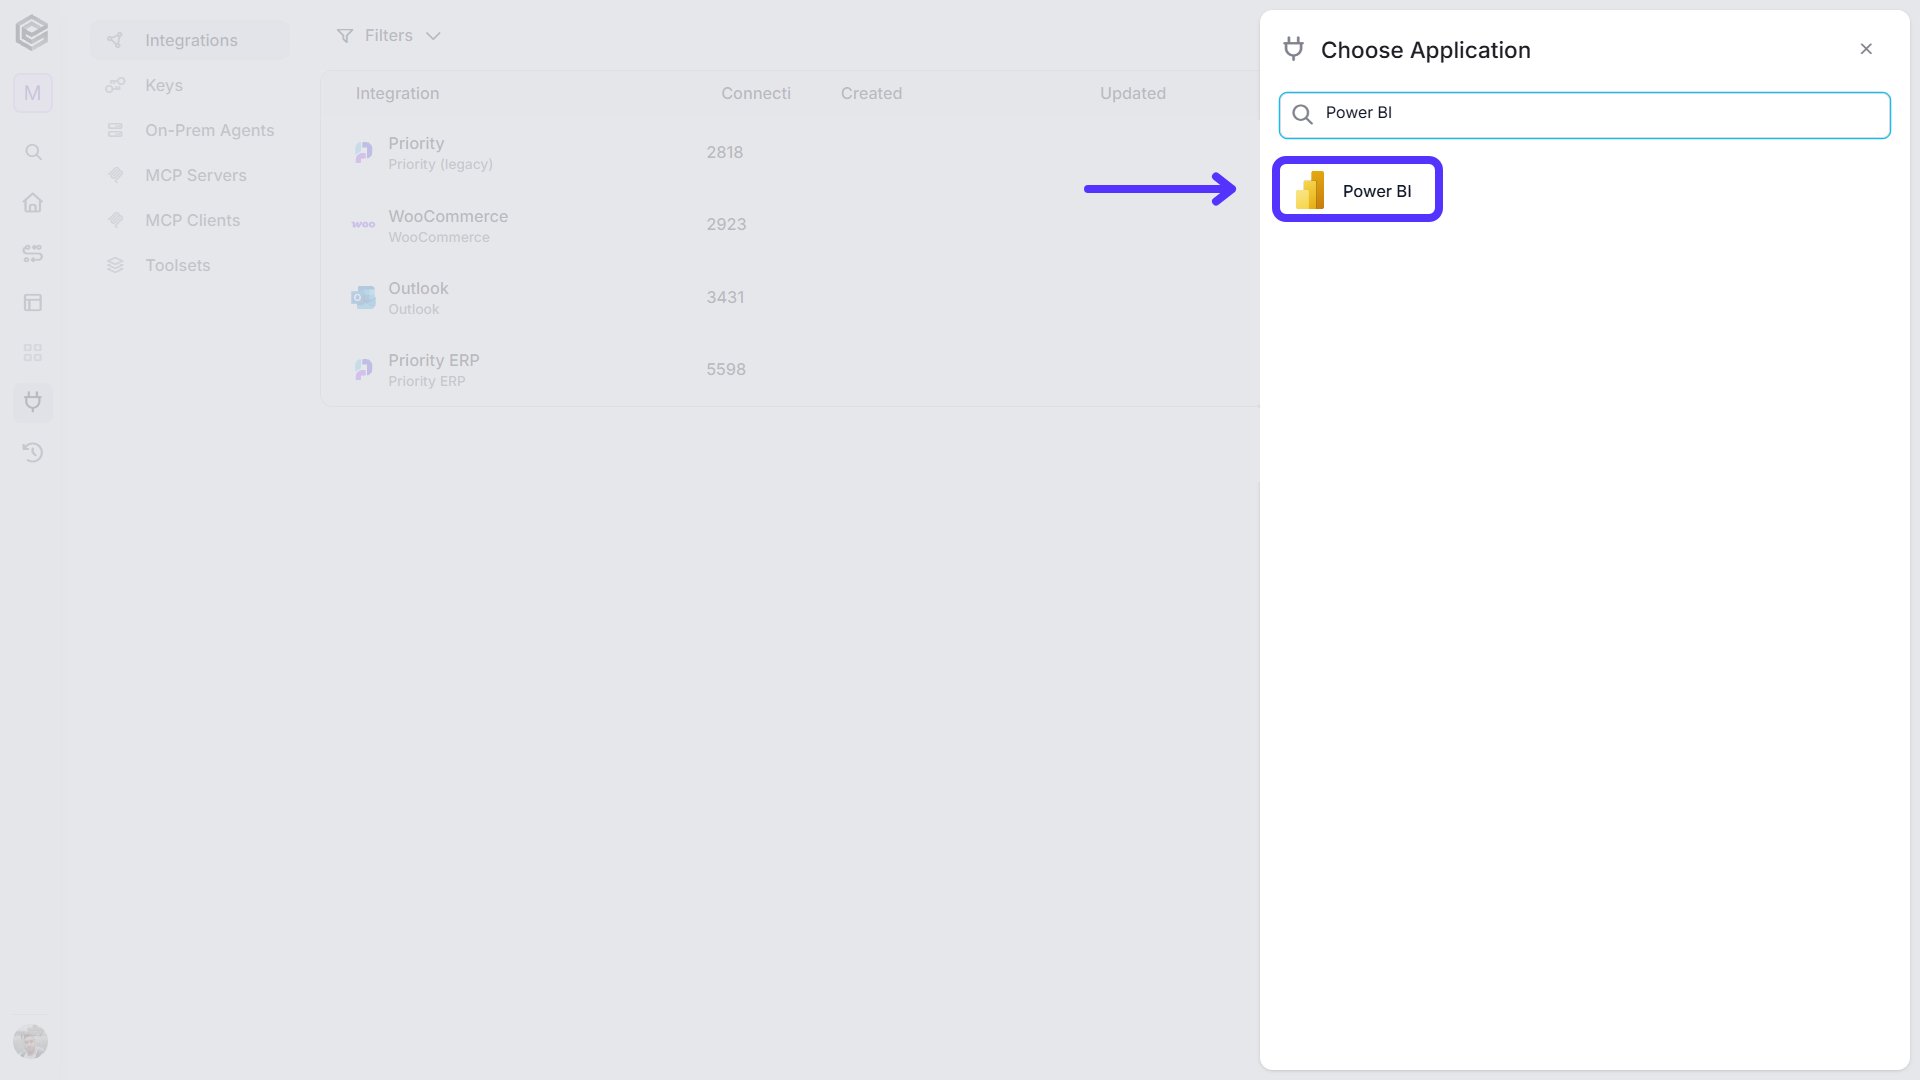
Choose the Power BI option from the available applications.
- Fill in the “New Integration” form and press Save: Note: There are two different authentication methods available, and the required fields differ depending on the option you choose. Please follow the relevant instructions based on your selected method.
OAuth2
This is the default method. You sign in with your Microsoft account, so you don’t need to provide a Client Id or Client Secret.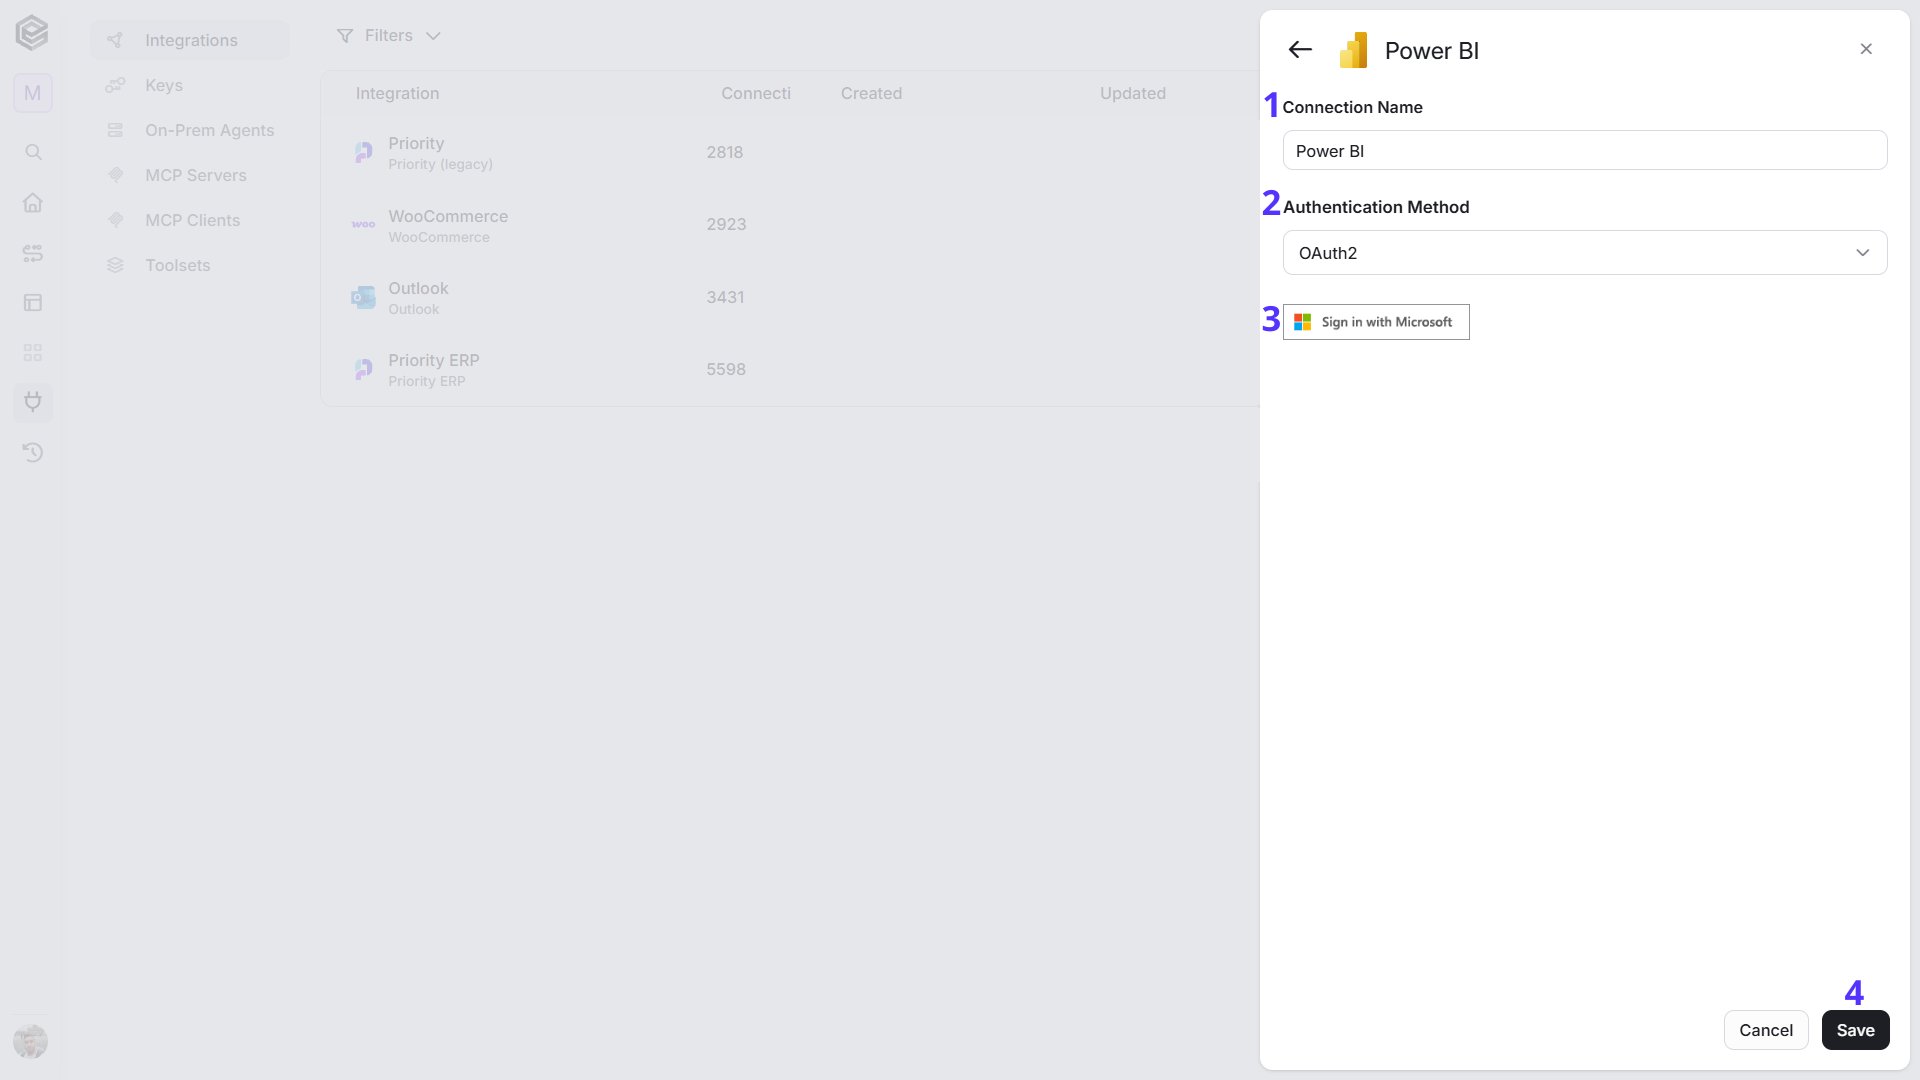
- Connection Name - Enter a name that helps identify the Power BI connection.
- Authentication Method - Select OAuth2.
- Sign in with Microsoft - Click Sign in with Microsoft and sign in to the Microsoft account that has your Power BI license. Review the permissions Engini asks for and click Allow.
- Save - Click Save to create the connection.
Custom OAuth 2.0
Choose this method if you want Engini to connect through an app that you registered yourself in Microsoft Azure, instead of the default Microsoft sign-in. Create the app registration first, in the Azure portal, with these settings:- Redirect URI: add a Web platform redirect URI, exactly
https://webhooks.engini.io/api/auth/OAuthRedirectUrl. - API permissions: add these delegated permissions from Power BI Service:
Workspace.Read.All,Dataset.ReadWrite.All,Report.ReadWrite.All,Dashboard.ReadWrite.All,Content.CreateandDataflow.Read.All. Also addoffline_access. - Client secret: create a client secret and copy its Value (not the Secret ID).
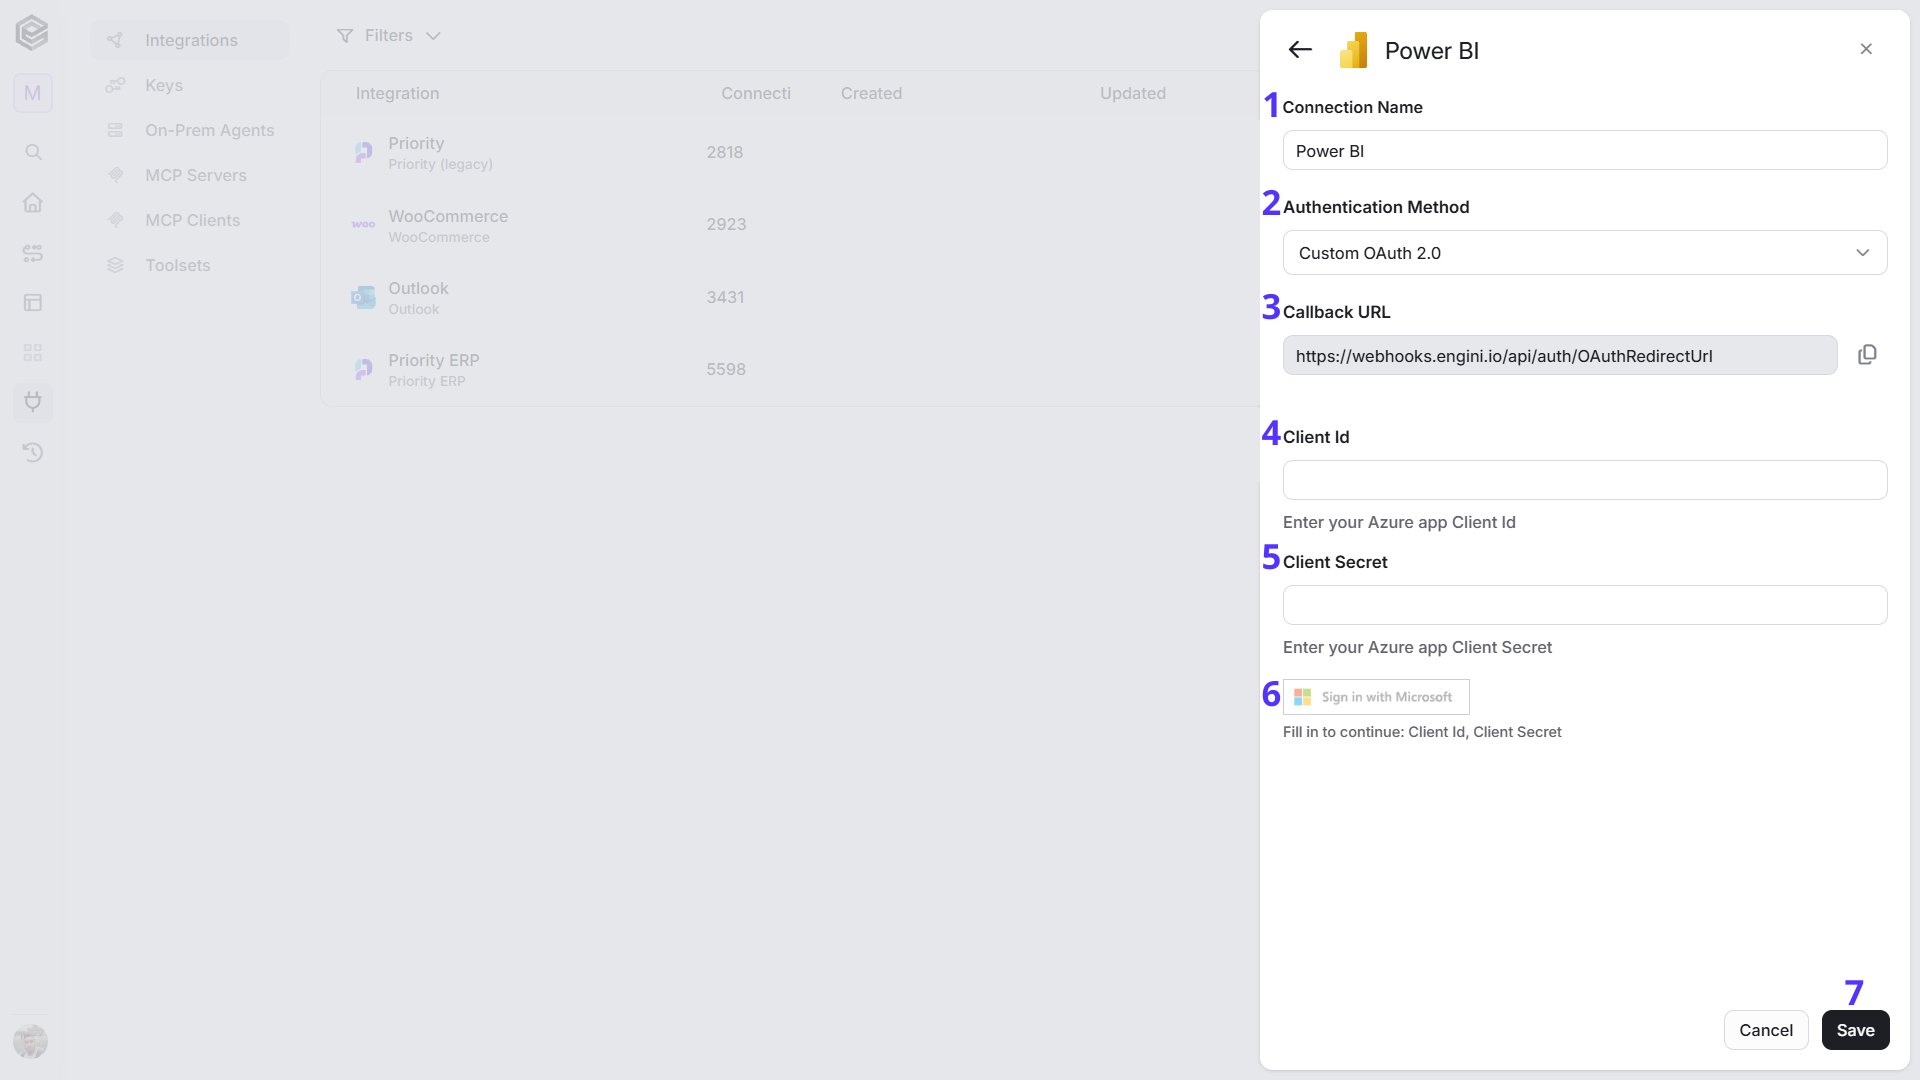
- Connection Name - Enter a name that helps identify the Power BI connection.
- Authentication Method - Select Custom OAuth 2.0.
-
Callback URL - A read-only field that shows the address Microsoft sends you back to after you sign in (
https://webhooks.engini.io/api/auth/OAuthRedirectUrl). Click the copy button next to it, then add this address as a Web redirect URI in the app registration you create in the Azure portal. Do this before you enter the Client Id and Client Secret, so that the sign-in works. - Client Id - The Application (client) ID of your Azure app registration.
- Client Secret - The client secret Value created for your Azure app registration.
- Sign in with Microsoft - This button stays greyed out (“Fill in to continue: Client Id, Client Secret”) until you fill in the Client Id and Client Secret. Then click it and sign in to the Microsoft account that has your Power BI license.
- Save - Click Save to create the connection.
Triggers
Power BI triggers need no setup in Power BI. Add the trigger in Engini and make sure your Power BI user can access the workspace (and dataset) you choose. A refresh appears in Check for New Dataset Refreshes only when the dataset actually refreshes in Power BI, by a refresh schedule or a manual refresh, and an app appears in Check for Updated Apps only when it is updated in Power BI. These two triggers look back 25 minutes on every check, so keep Recur every between 15 and 25 minutes. A longer interval can miss changes. Check for Reports returns all reports of the workspace on every check.Check for New Dataset Refreshes
Starts the workflow on a schedule and returns the refreshes of a dataset that started in the last 25 minutes. Engini checks Power BI on the schedule you set.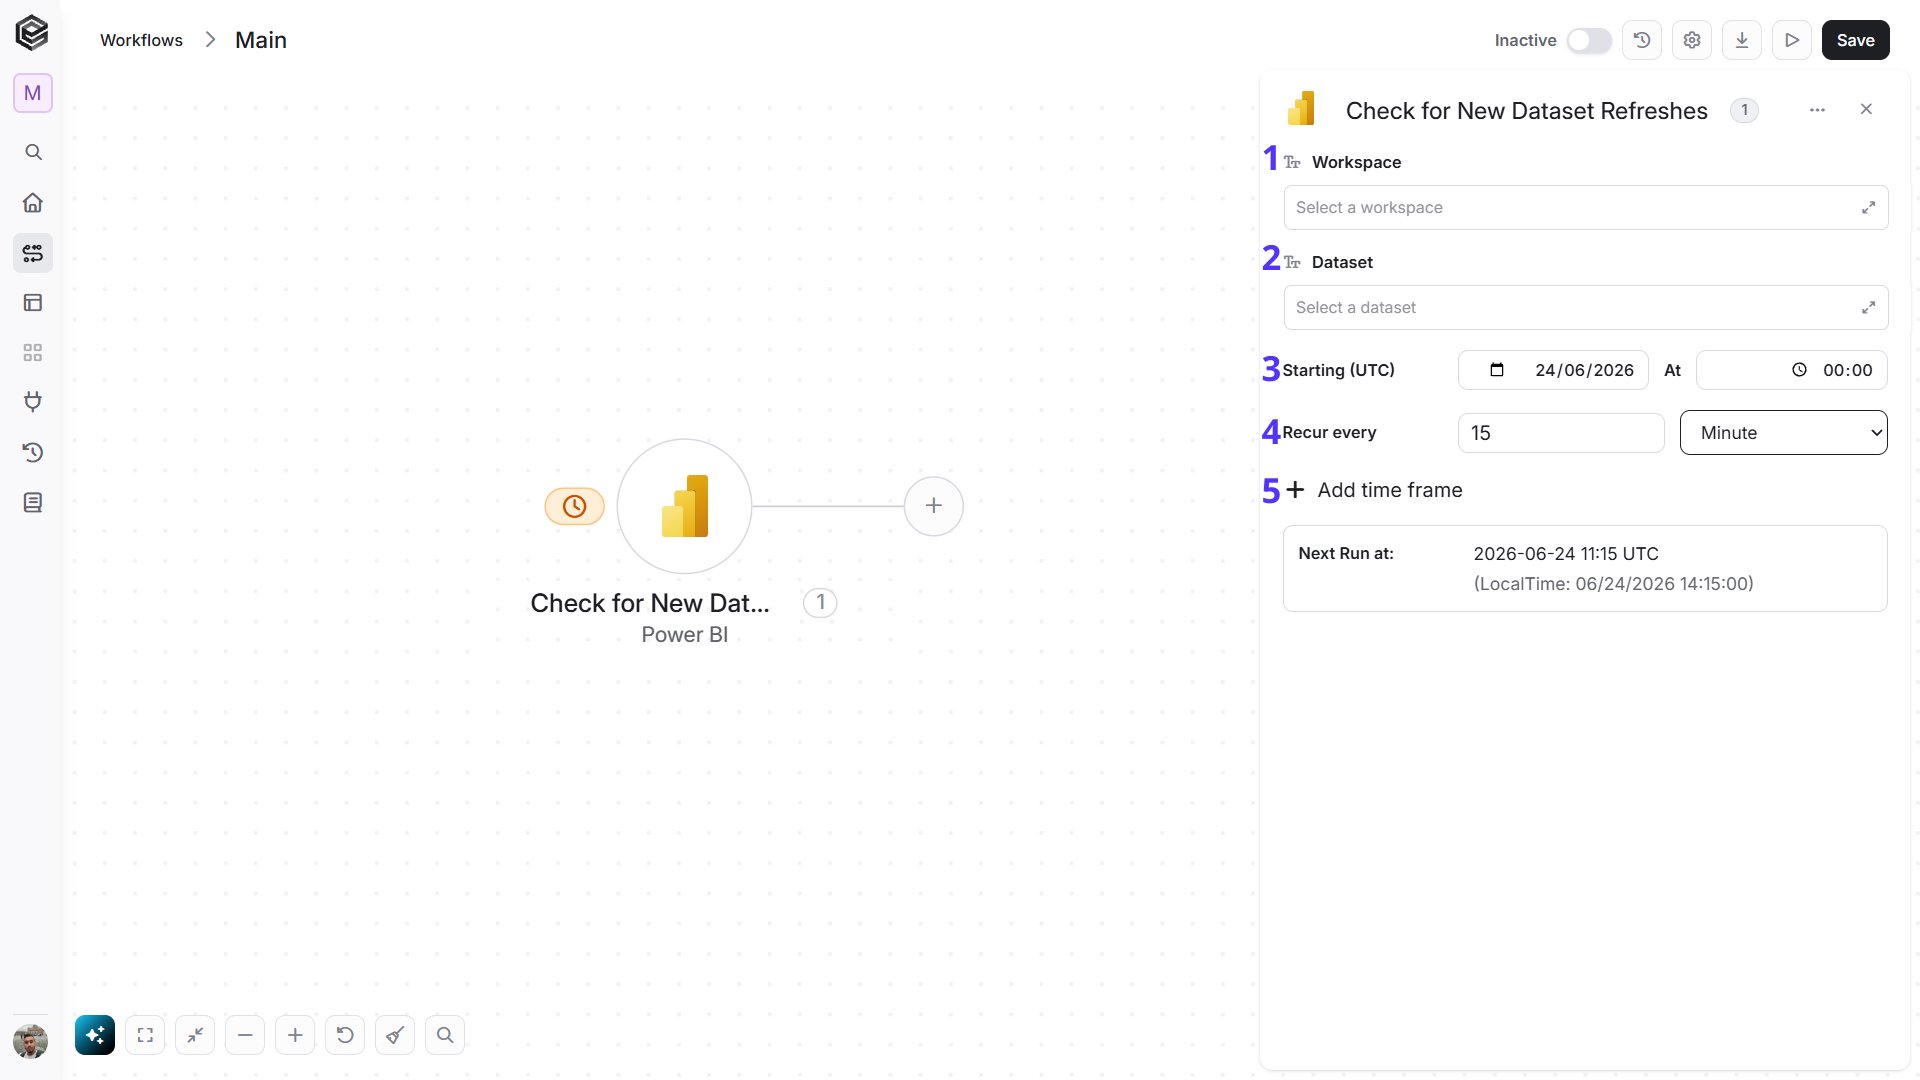
- Workspace - The workspace that holds the dataset. Click the empty field to open the tooltip, then choose a workspace, or map one from a previous step.
- Dataset - The dataset to check. Choose a workspace first, then click the empty field to open the tooltip and choose from that workspace’s datasets.
- Starting (UTC) - Select the start date and time for the scheduled trigger.
- Recur every - Choose the time interval for triggering and checking refreshes. The minimum time interval is 15 minutes. Keep it between 15 and 25 minutes, because a longer interval can miss refreshes.
- Add time frame - You can specify a time frame during which the trigger will operate.
- Request Id - The unique identifier of the refresh.
- Refresh Type - The type of the refresh.
- Status - The status of the refresh.
- Start Time - The date and time the refresh started.
- End Time - The date and time the refresh ended.
- Error (JSON) - The error details, when the refresh failed.
Check for Reports
Starts the workflow on a schedule and returns the reports of a workspace. Engini checks Power BI on the schedule you set.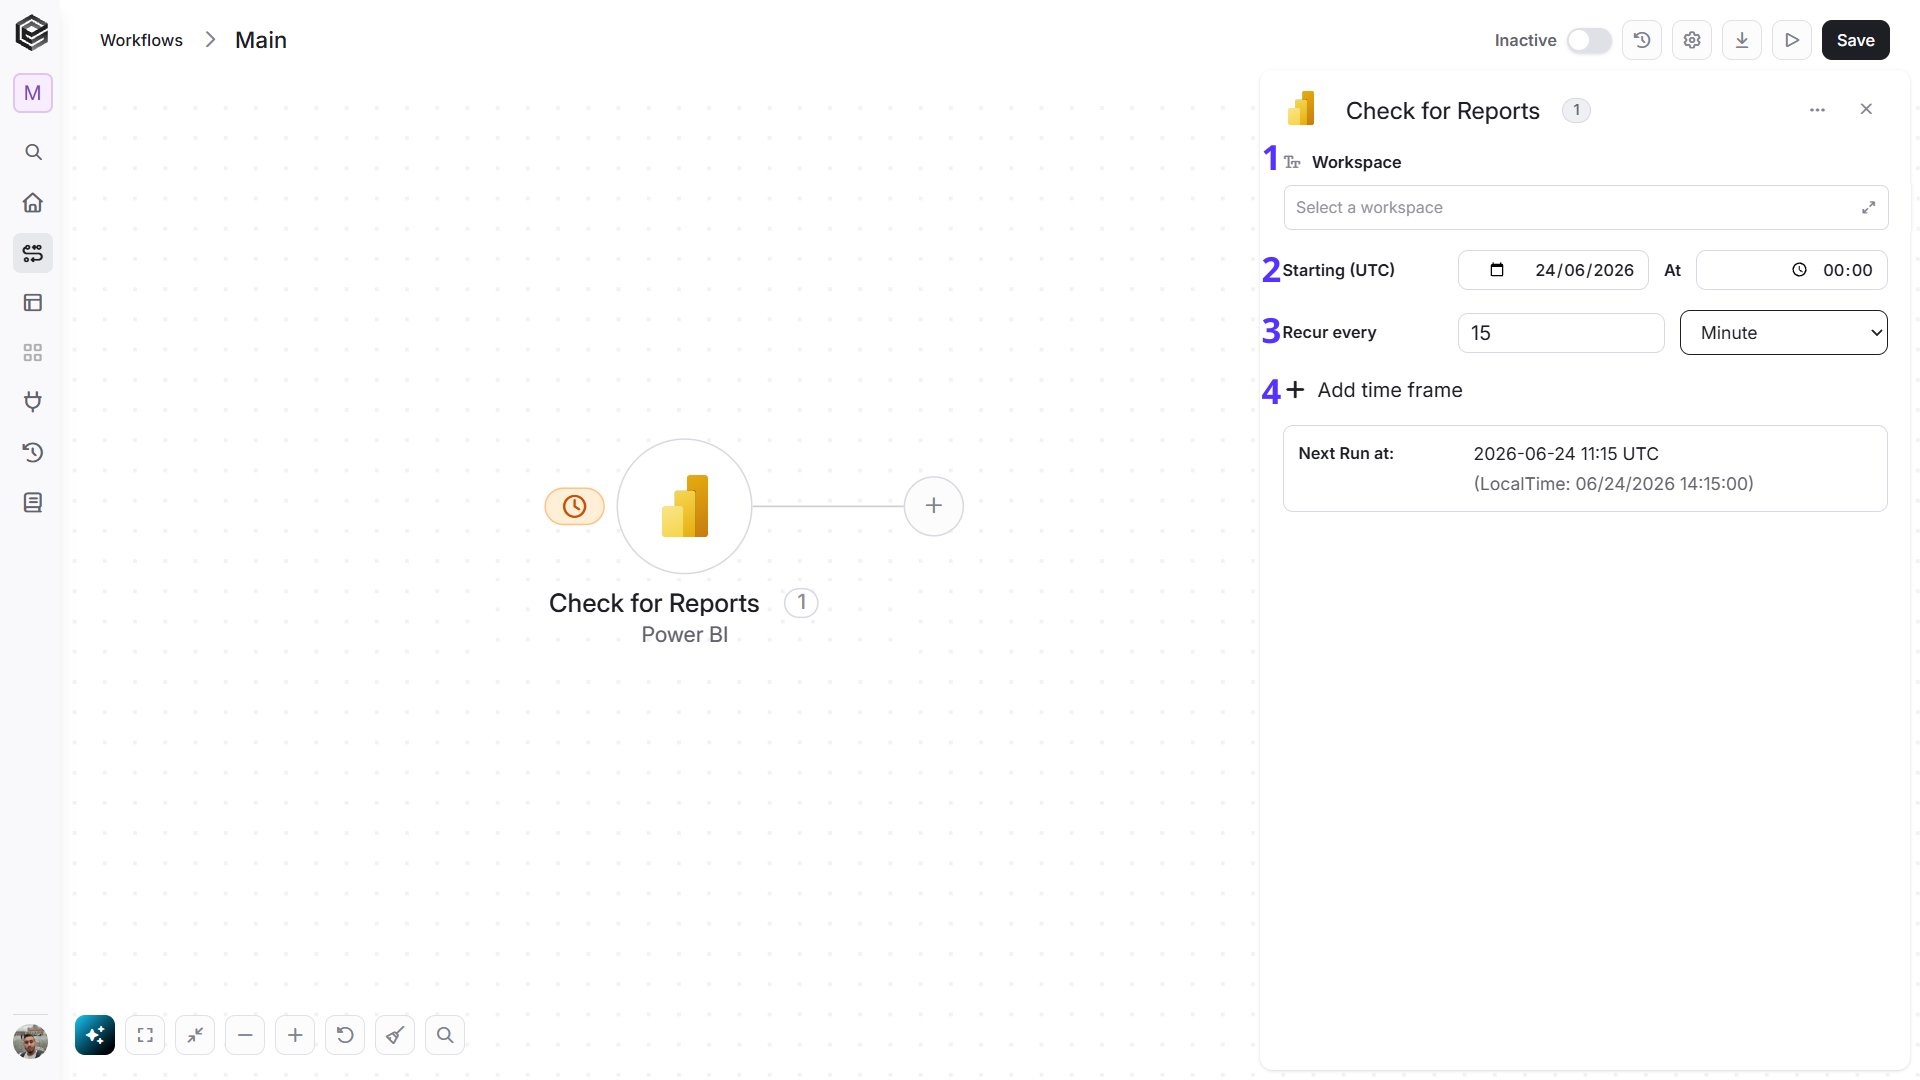
- Workspace - The workspace whose reports you want to check. Click the empty field to open the tooltip, then choose a workspace, or map one from a previous step.
- Starting (UTC) - Select the start date and time for the scheduled trigger.
- Recur every - Choose the time interval for triggering and checking reports. The minimum time interval is 15 minutes.
- Add time frame - You can specify a time frame during which the trigger will operate.
- Report Id - The unique identifier of the report.
- Report Name - The name of the report.
- Description - The description of the report.
- Dataset Id - The dataset the report is based on.
- Web Url - A link that opens the report in Power BI.
- Embed Url - The URL used to embed the report.
- Report Type - The type of the report.
- Format - The format of the report.
- Is Owned By Me - Whether the connected account owns the report.
- App Id - The app the report belongs to, if any.
- Original Report Id - The report this one was copied from, if any.
Check for Updated Apps
Starts the workflow on a schedule and returns the Power BI apps you can access that were updated in the last 25 minutes. Engini checks Power BI on the schedule you set.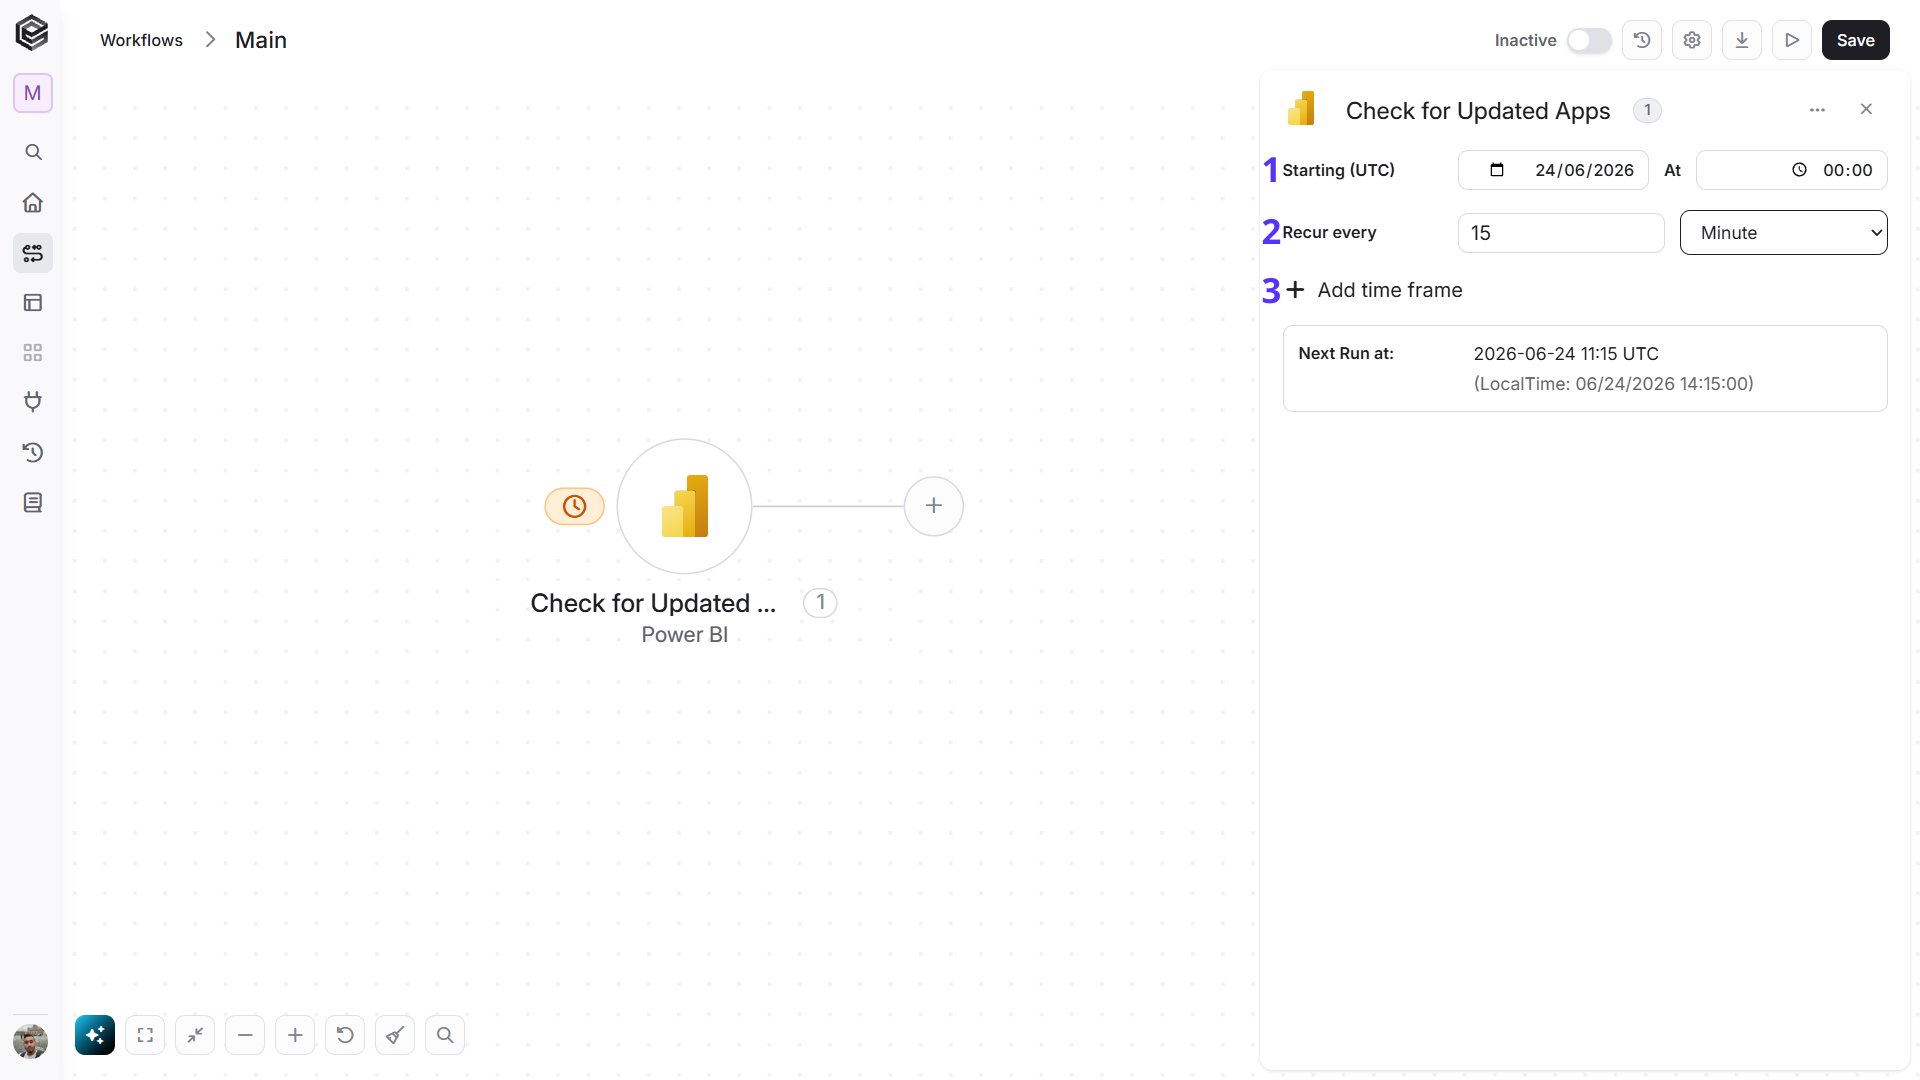
- Starting (UTC) - Select the start date and time for the scheduled trigger.
- Recur every - Choose the time interval for triggering and checking apps. The minimum time interval is 15 minutes. Keep it between 15 and 25 minutes, because a longer interval can miss updates.
- Add time frame - You can specify a time frame during which the trigger will operate.
- App Id - The unique identifier of the app.
- Name - The name of the app.
- Description - The description of the app.
- Published By - Who published the app.
- Last Update - The date and time the app was last updated.
Actions
Most actions start with the workspace that holds your Power BI items. Choose the Workspace first: the Dataset, Report and Dashboard fields then offer only the items of that workspace. These fields are text fields: click the empty field to open the tooltip and choose an item, or map the value from a previous step in your workflow.Get Workspaces
Retrieves the Power BI workspaces you have access to.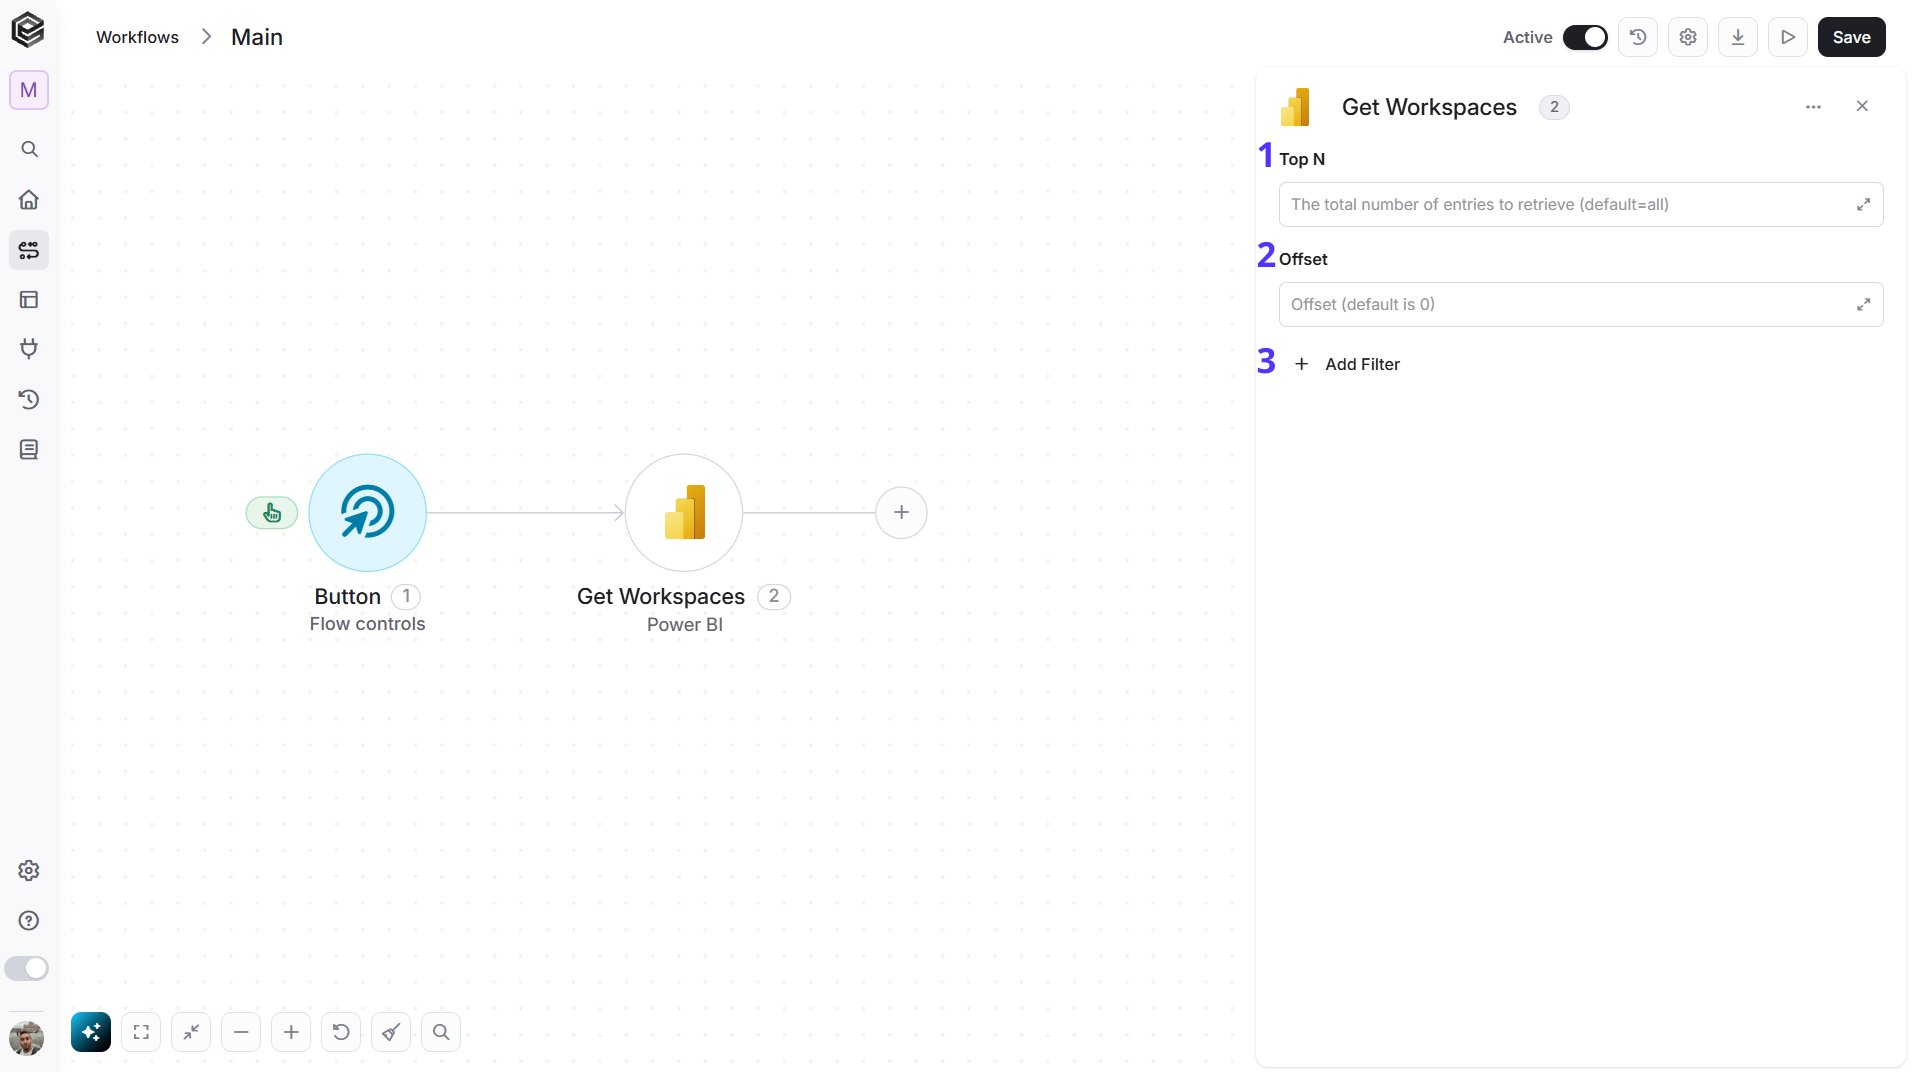
- Top N - You can set the maximum number of records Engini will return for the object you chose (default = all records).
- Offset - The offset parameter allows you to skip a certain number of records from the beginning of the result set (default = 0 records).
- Add Filter - Click Add Filter to define conditions that narrow down the data list and return only the relevant items. To learn more about using filters, click here.
Get Datasets
Retrieves the datasets (also called semantic models) of a workspace.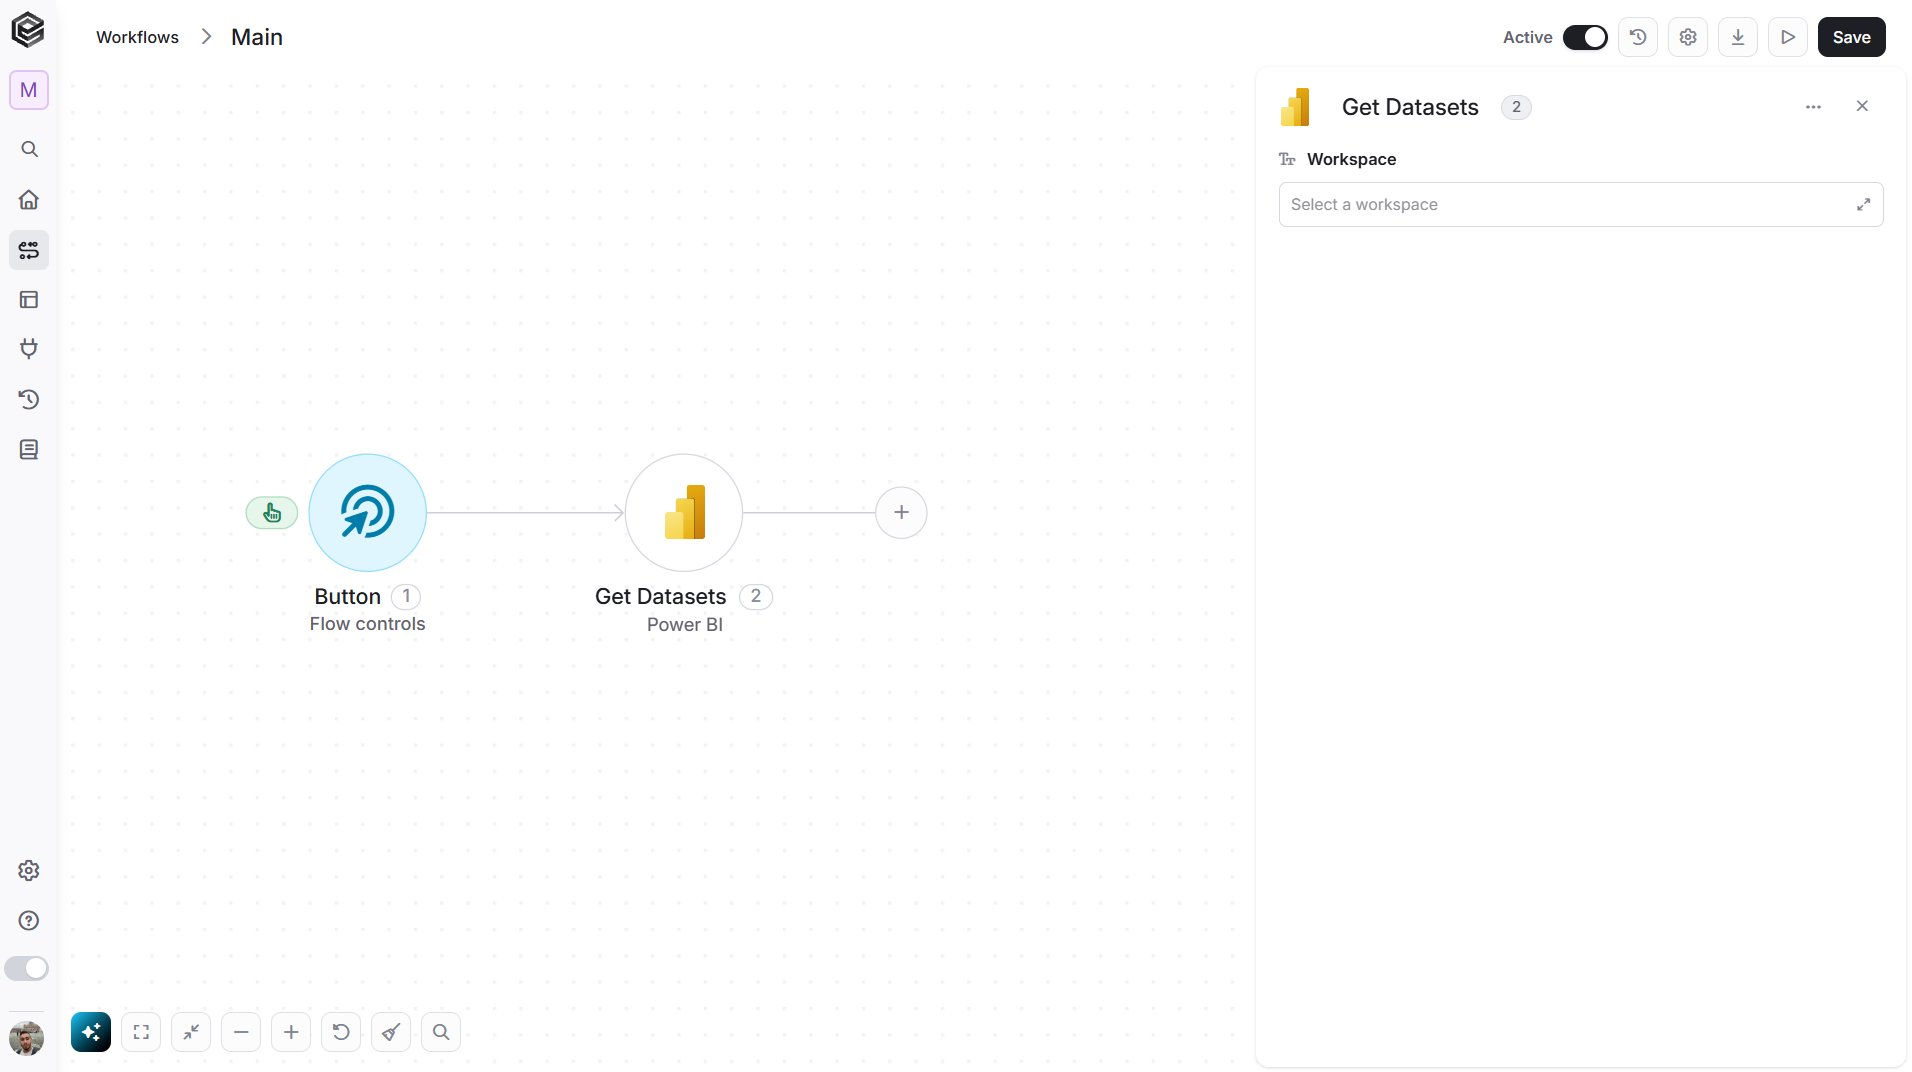
- Workspace - The workspace whose datasets you want to retrieve. Click the empty field to open the tooltip, then choose it, or map it from a previous step such as Get Workspaces.
Get Dataset
Retrieves the details of one dataset.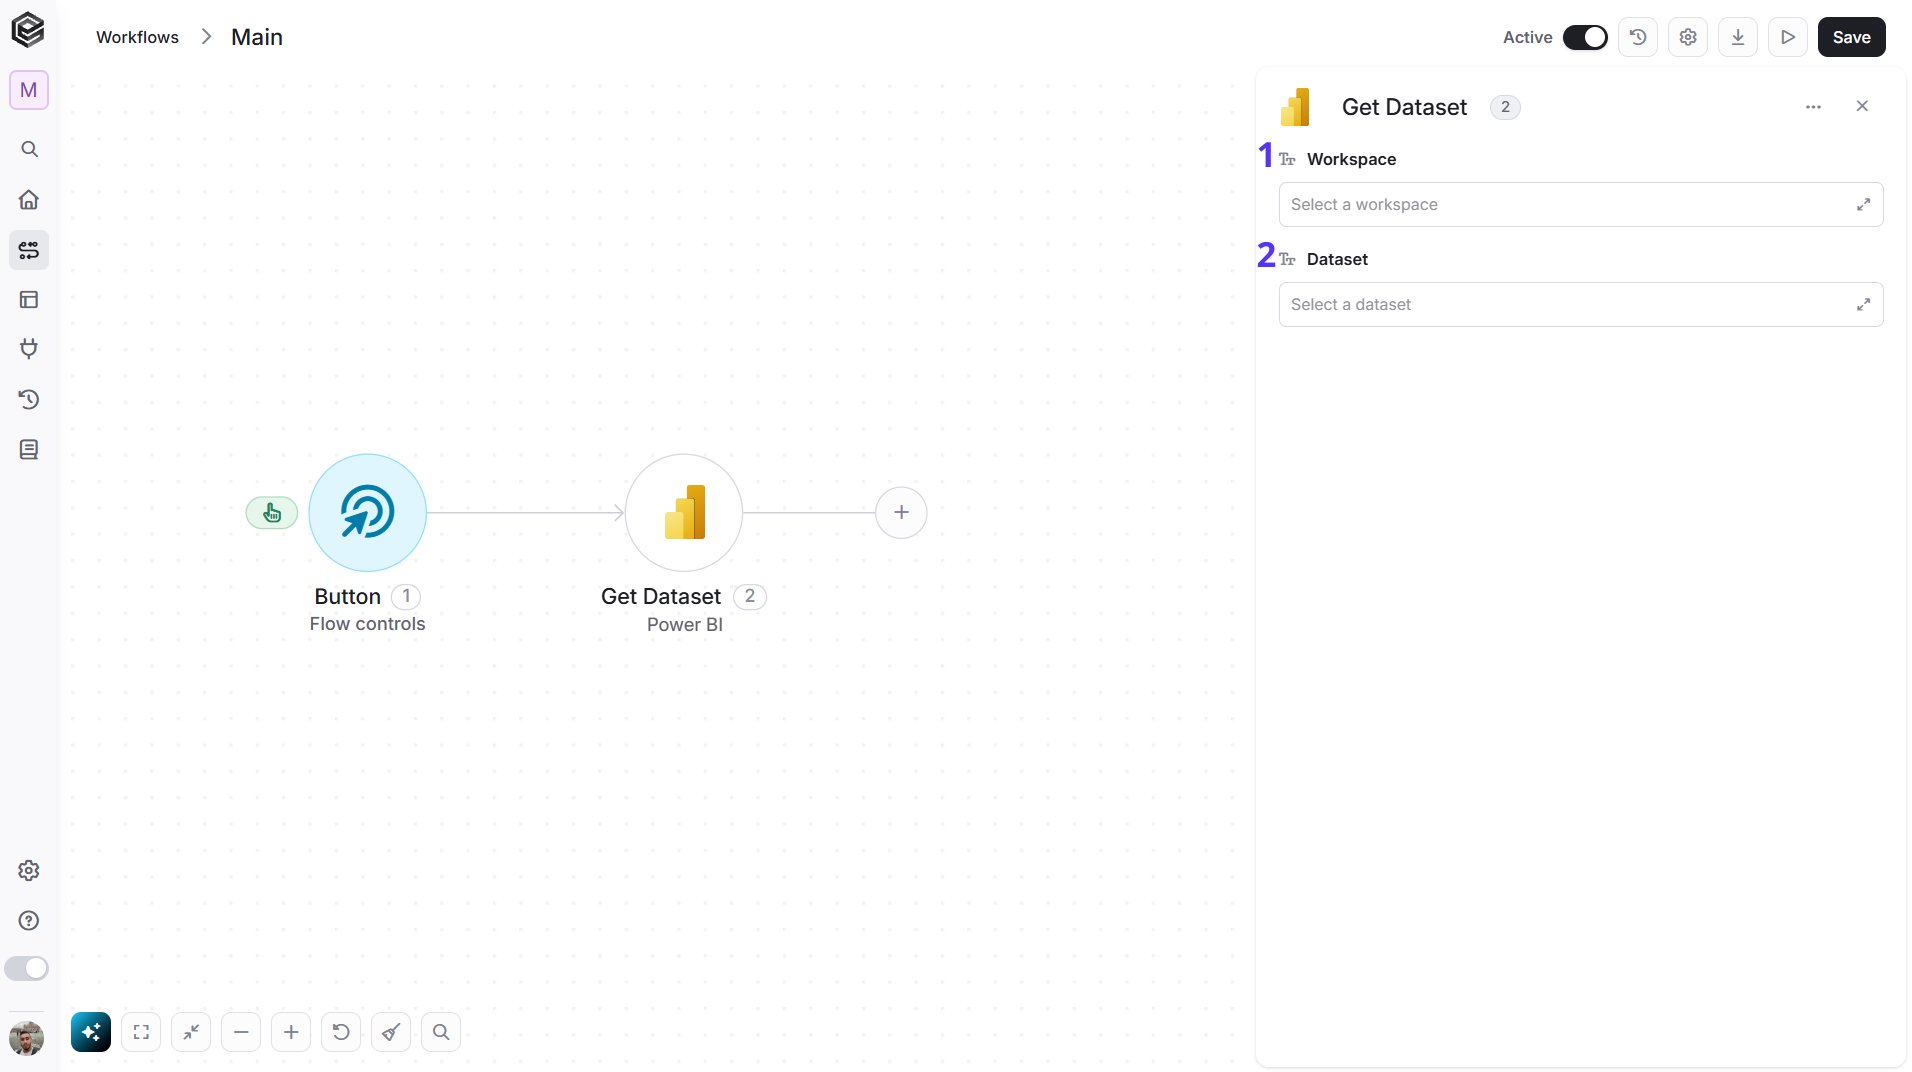
- Workspace - The workspace that holds the dataset. Click the empty field to open the tooltip, then choose it, or map it from a previous step such as Get Workspaces.
- Dataset - The dataset to retrieve. Choose a workspace first, then click the empty field to open the tooltip and choose from that workspace’s datasets, or map the value from a previous step such as Get Datasets.
Get Dataset Users
Retrieves the users who have access to a dataset.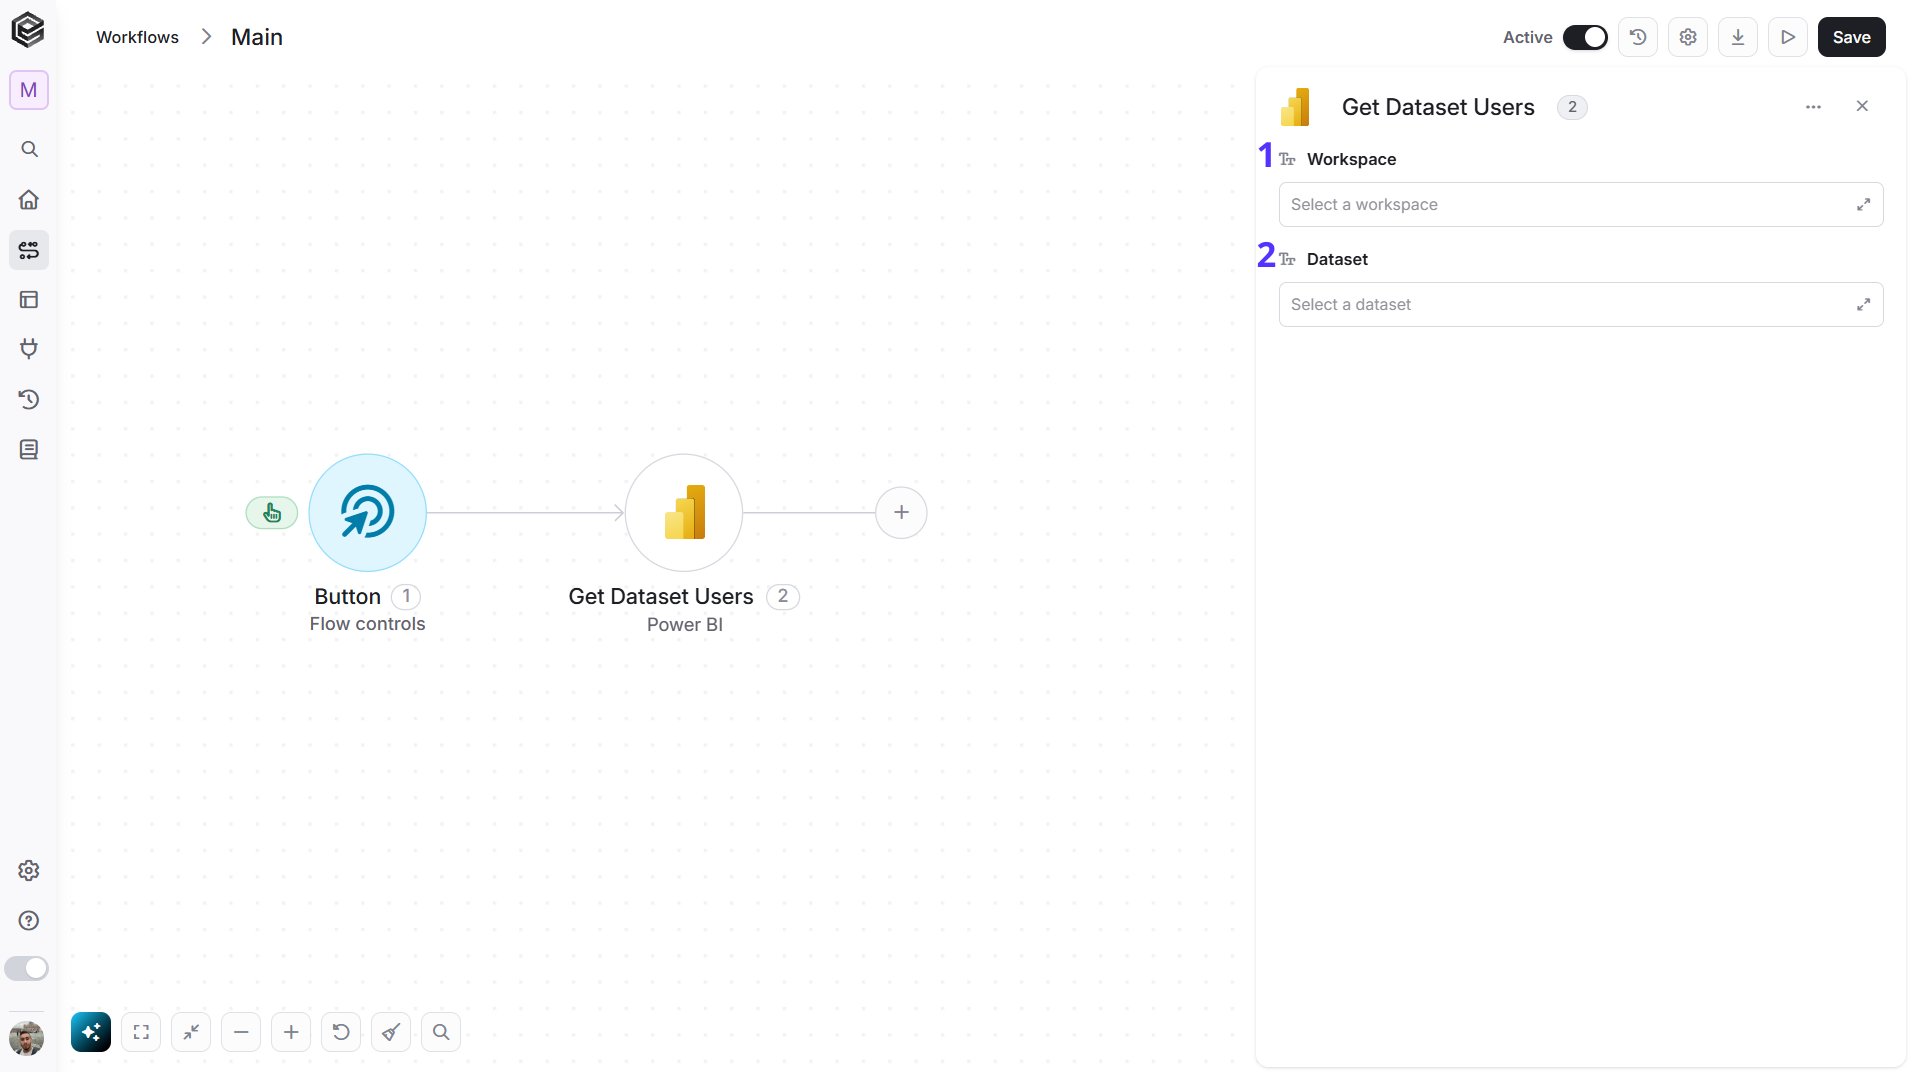
- Workspace - The workspace that holds the dataset. Click the empty field to open the tooltip, then choose it, or map it from a previous step such as Get Workspaces.
- Dataset - The dataset whose users you want to retrieve. Choose a workspace first, then click the empty field to open the tooltip and choose from that workspace’s datasets, or map the value from a previous step such as Get Datasets.
Get Reports
Retrieves the reports of a workspace.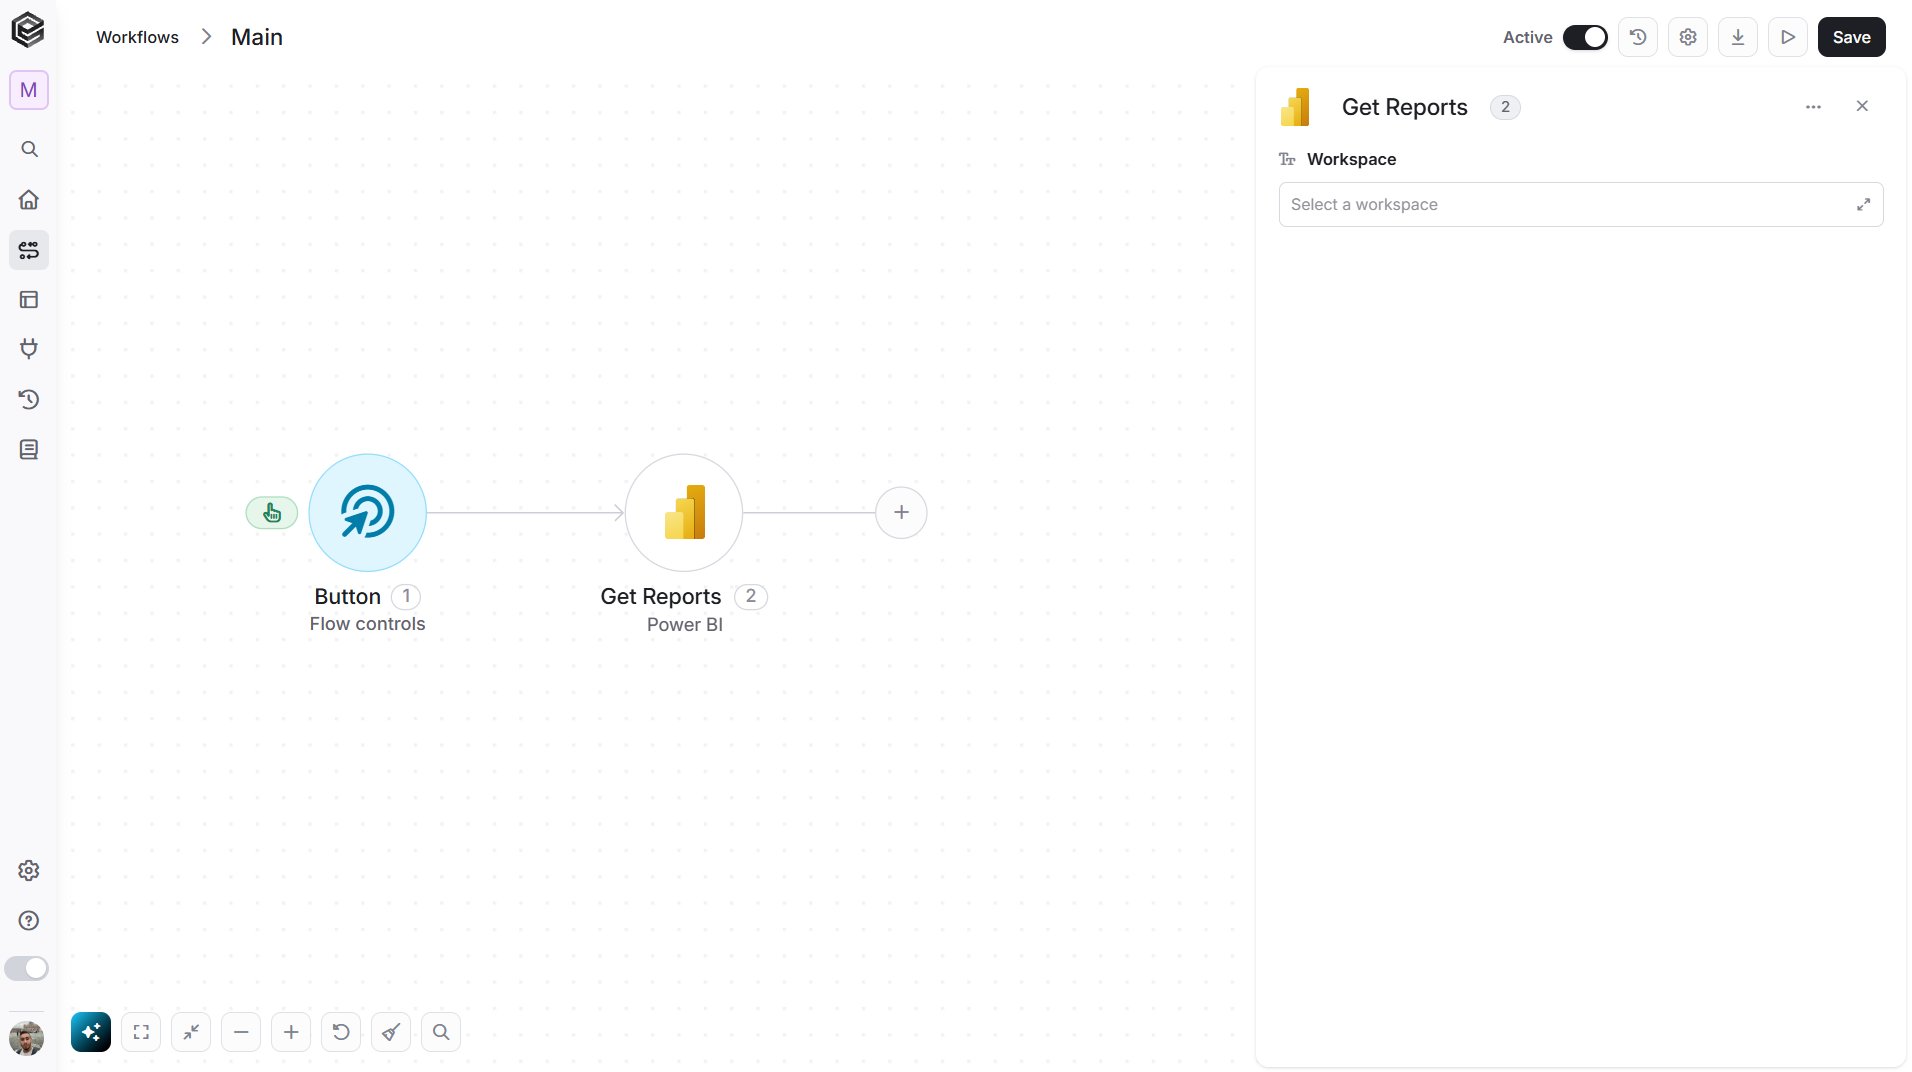
- Workspace - The workspace whose reports you want to retrieve. Click the empty field to open the tooltip, then choose it, or map it from a previous step such as Get Workspaces.
Get Report
Retrieves the details of one report.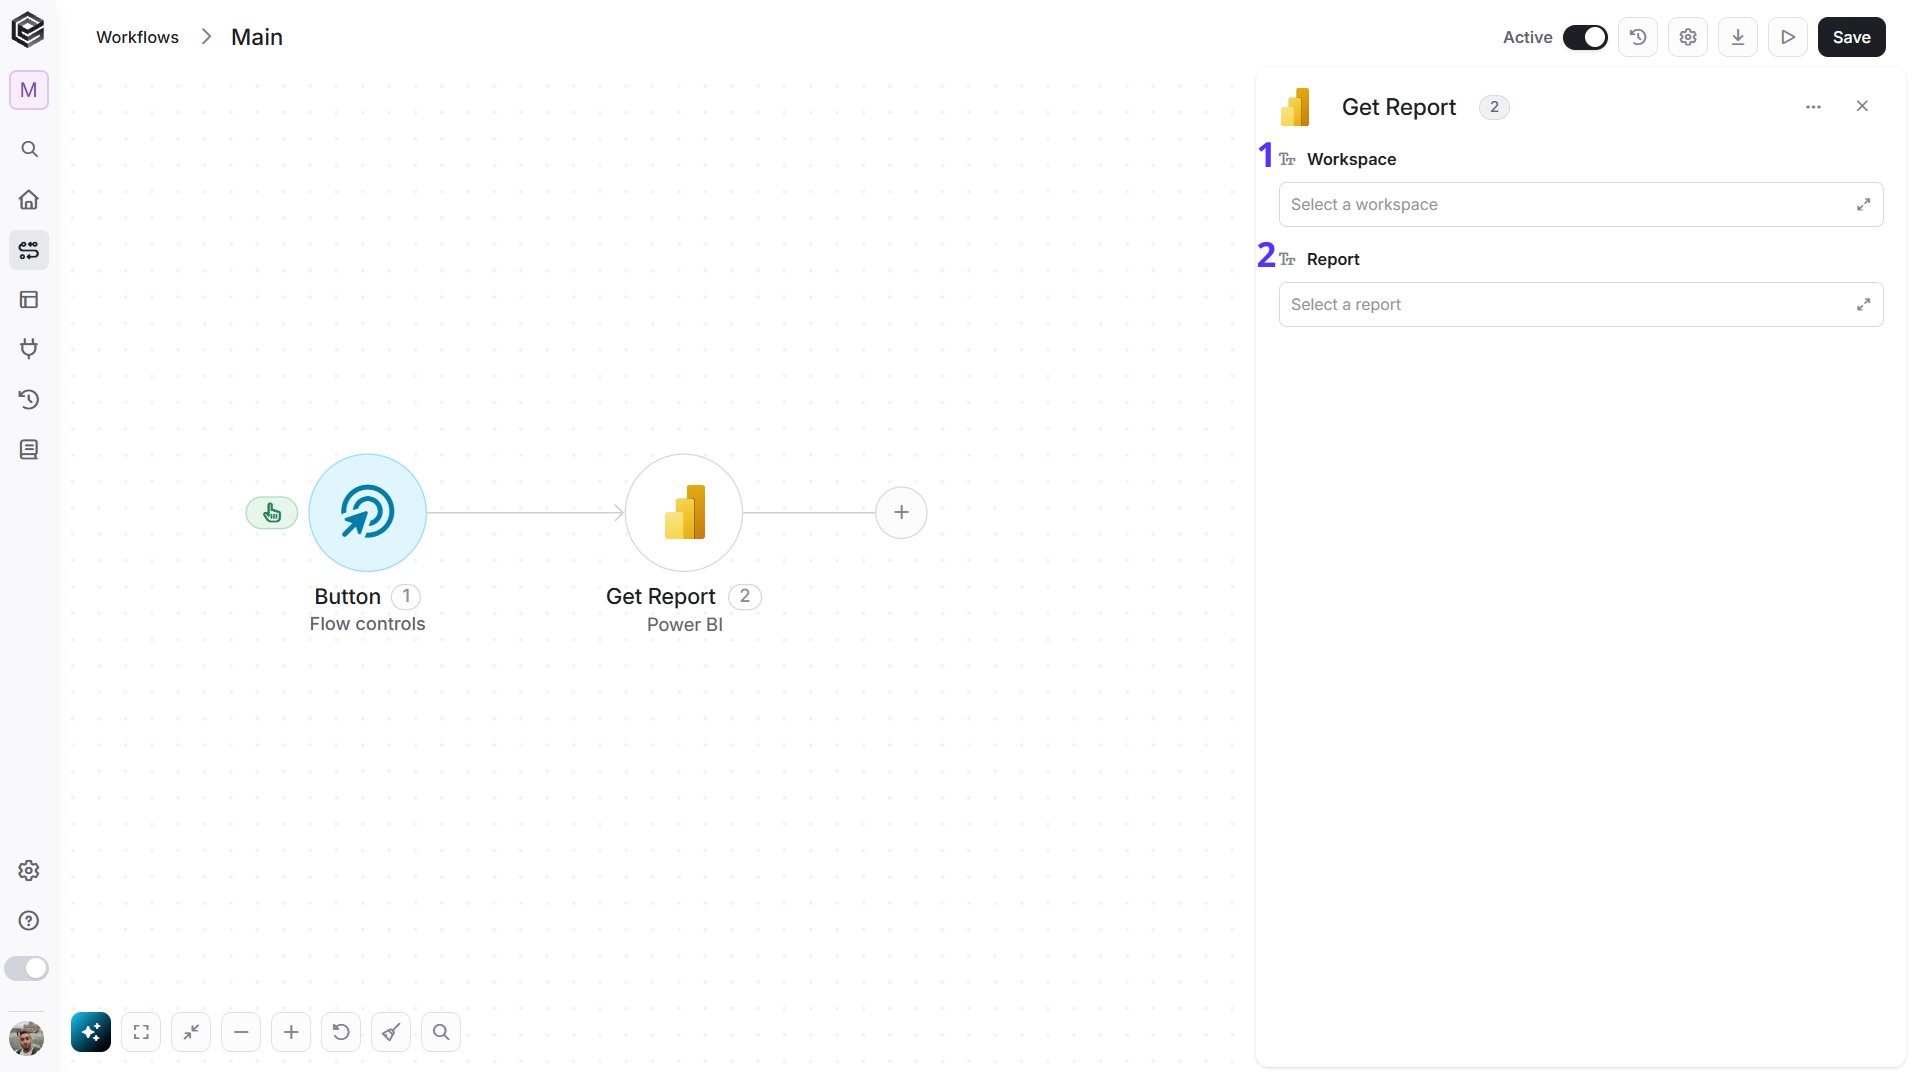
- Workspace - The workspace that holds the report. Click the empty field to open the tooltip, then choose it, or map it from a previous step such as Get Workspaces.
- Report - The report to retrieve. Choose a workspace first, then click the empty field to open the tooltip and choose from that workspace’s reports, or map the value from a previous step such as Get Reports.
Get Report Pages
Retrieves the pages of a report.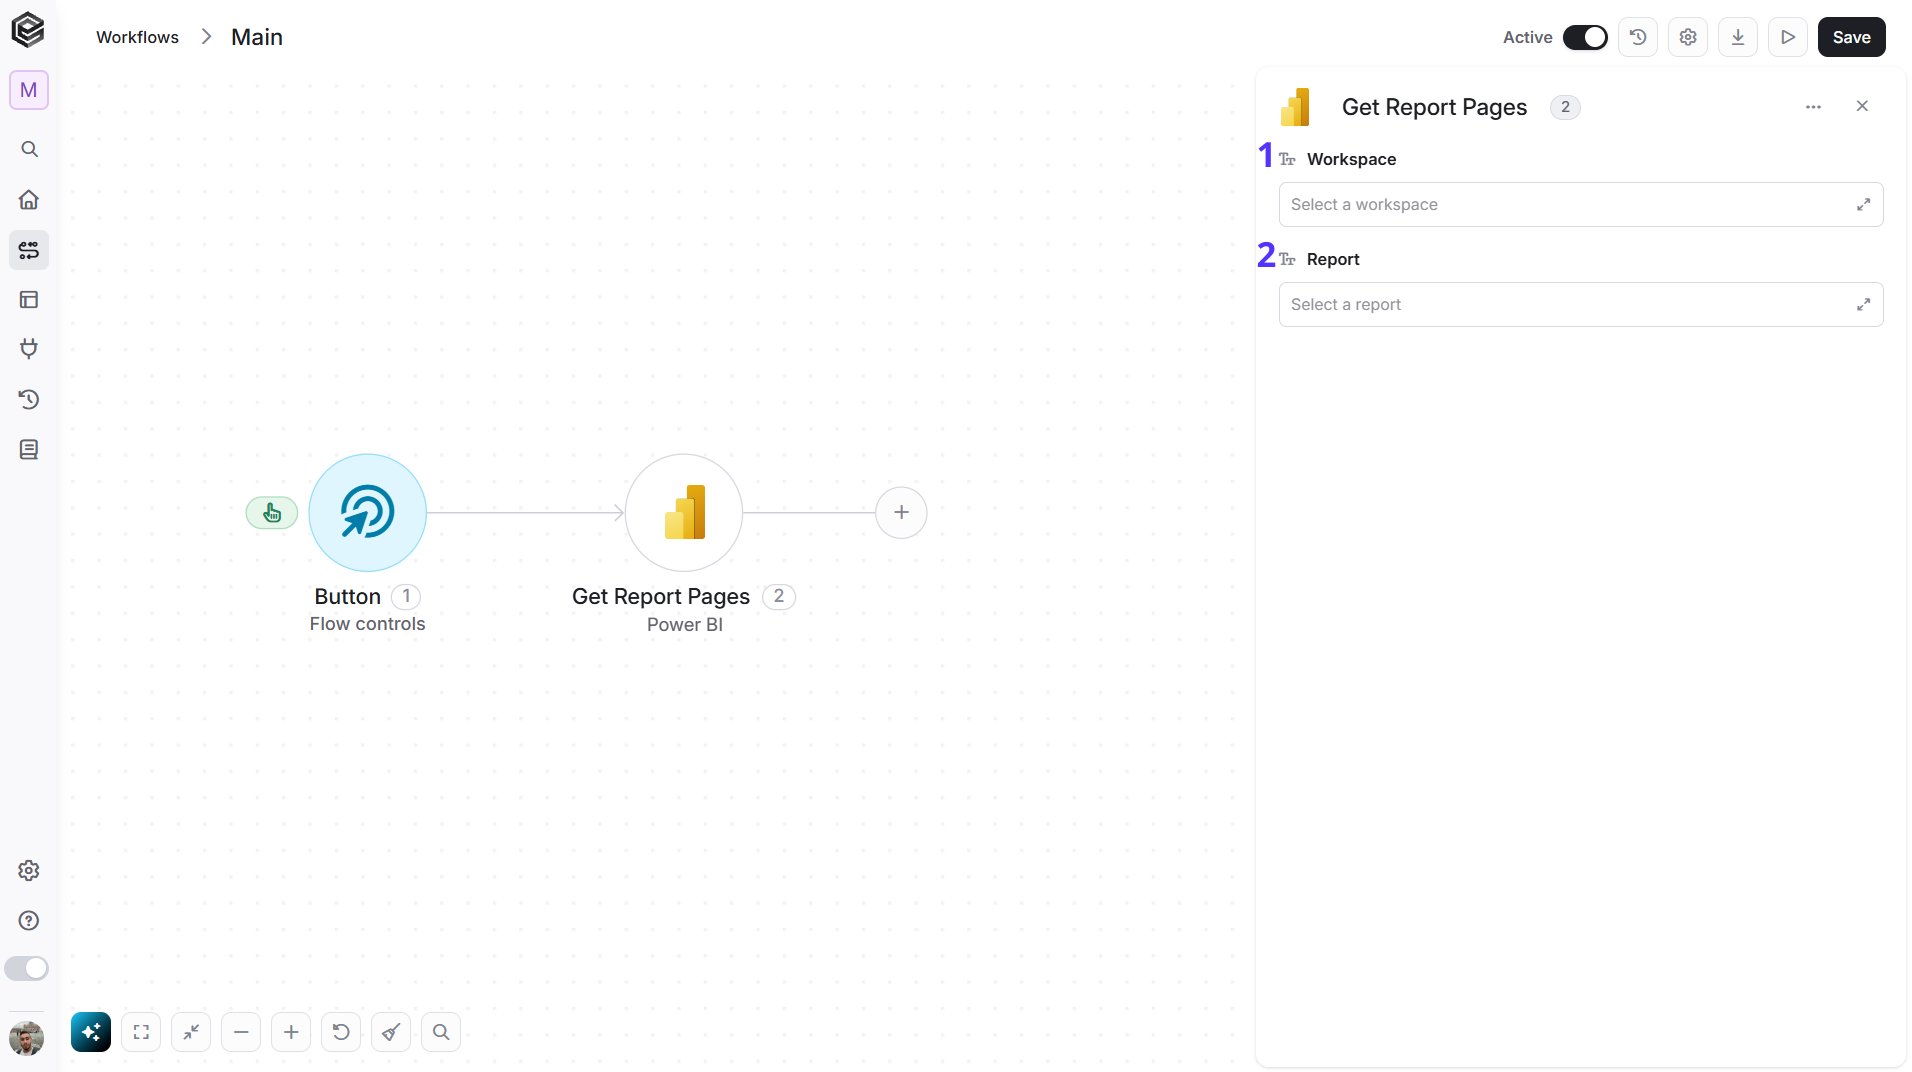
- Workspace - The workspace that holds the report. Click the empty field to open the tooltip, then choose it, or map it from a previous step such as Get Workspaces.
- Report - The report whose pages you want to retrieve. Choose a workspace first, then click the empty field to open the tooltip and choose from that workspace’s reports, or map the value from a previous step such as Get Reports.
Download Report
Downloads a report as a Power BI file (PBIX).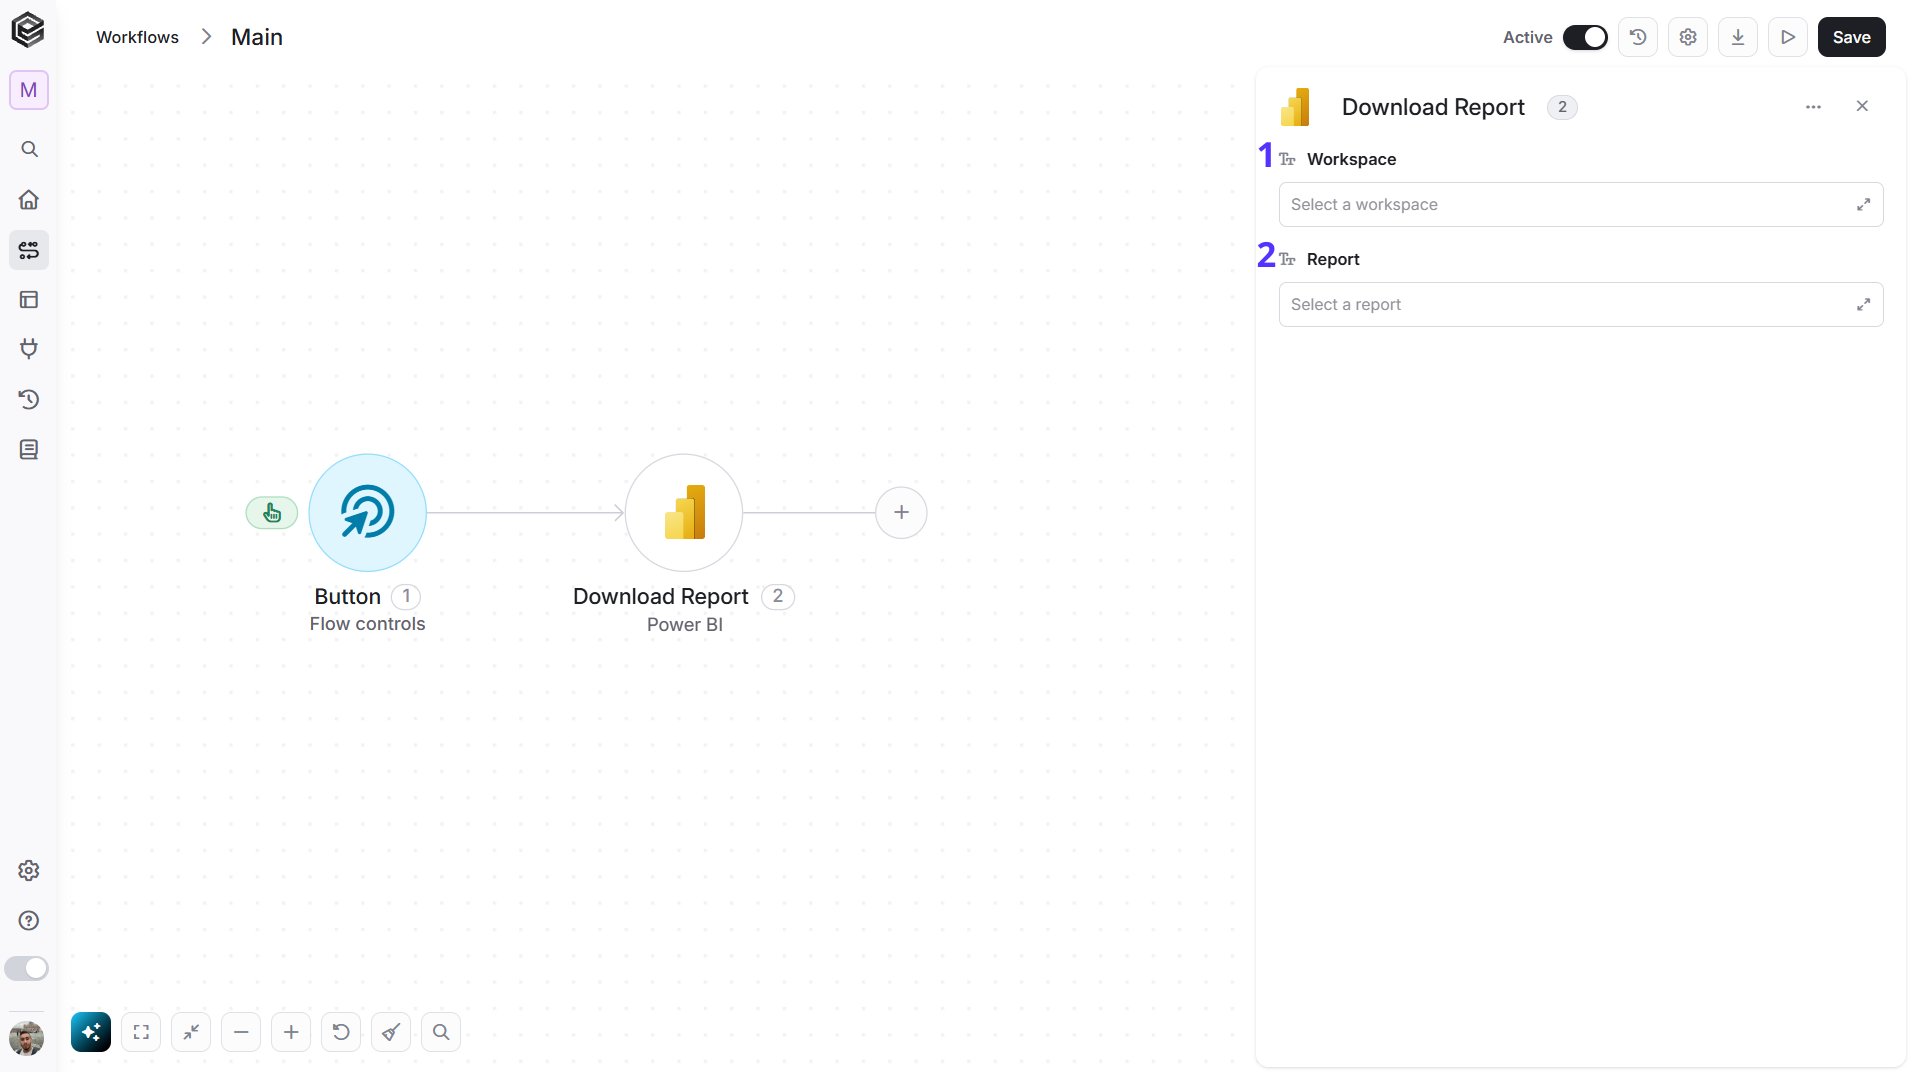
- Workspace - The workspace that holds the report. Click the empty field to open the tooltip, then choose it, or map it from a previous step such as Get Workspaces.
- Report - The report to download. Choose a workspace first, then click the empty field to open the tooltip and choose from that workspace’s reports, or map the value from a previous step such as Get Reports.
Get Dashboards
Retrieves the dashboards of a workspace.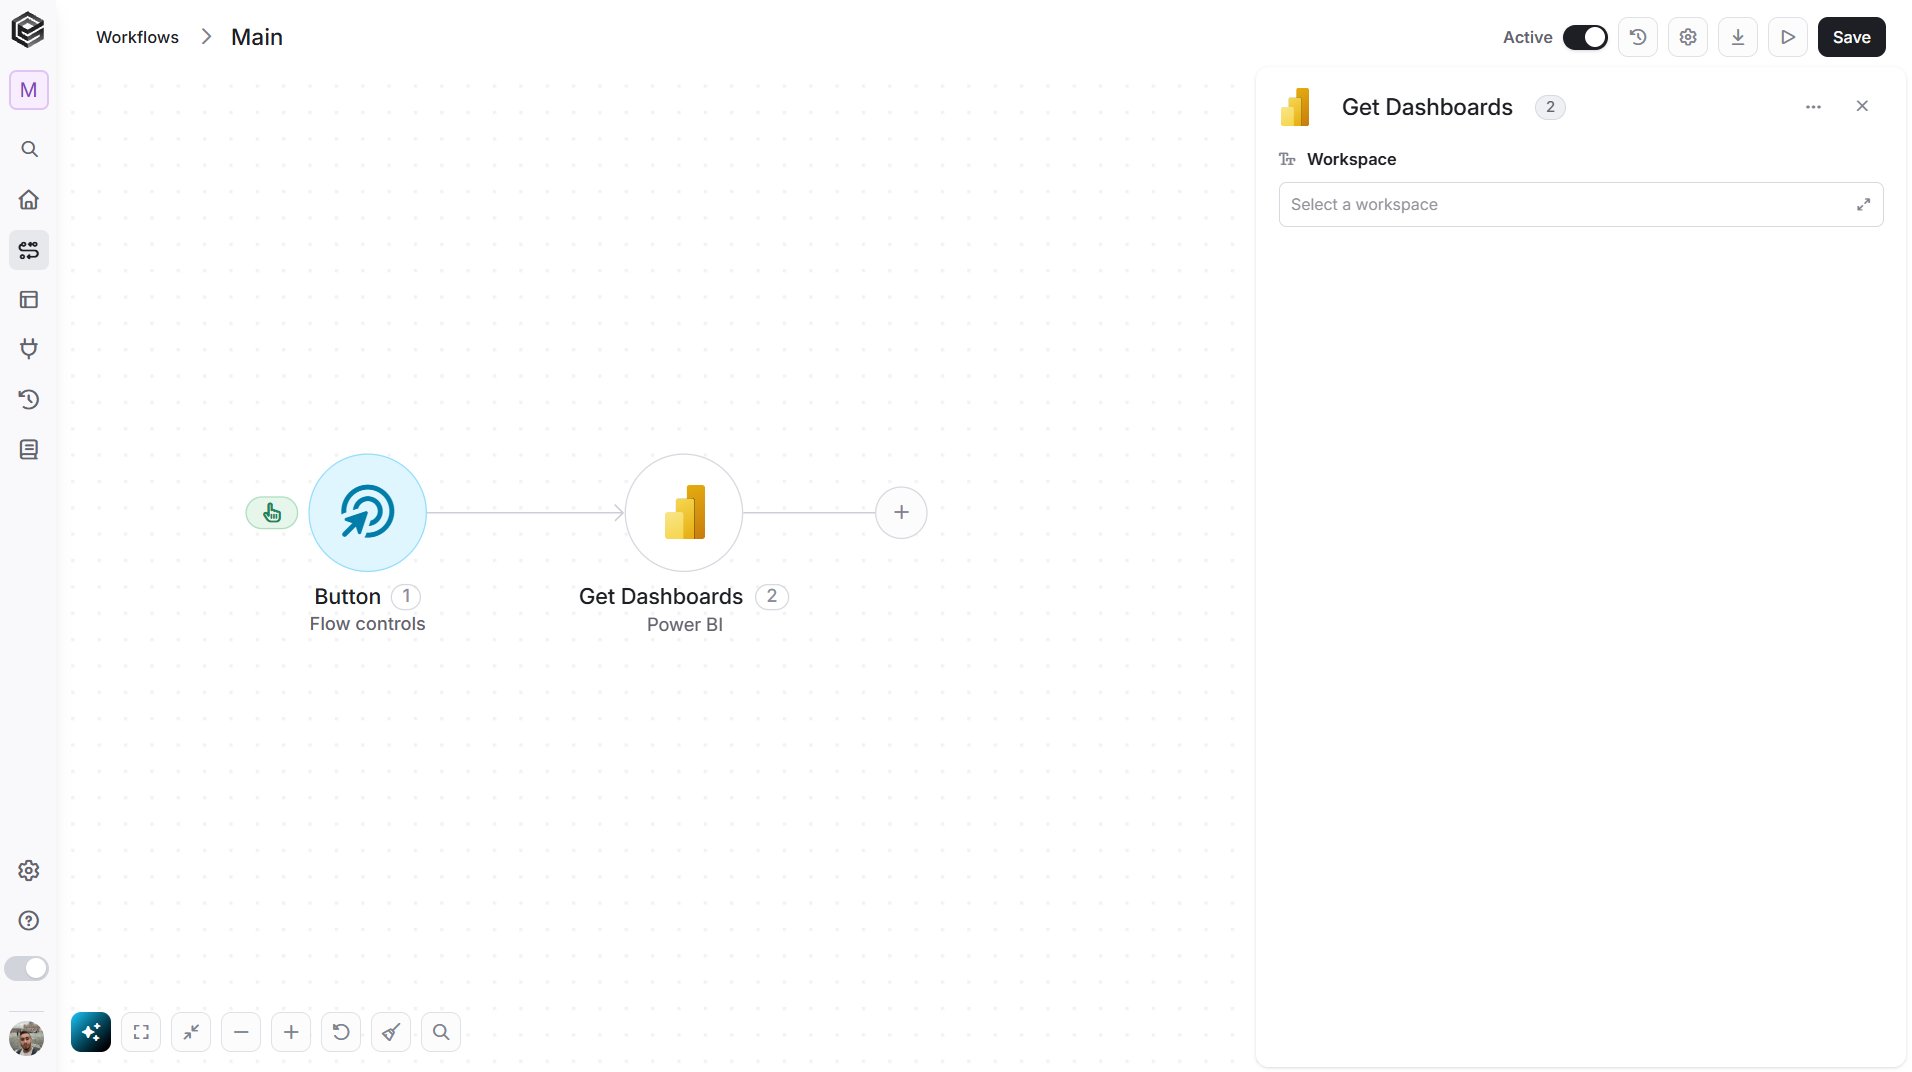
- Workspace - The workspace whose dashboards you want to retrieve. Click the empty field to open the tooltip, then choose it, or map it from a previous step such as Get Workspaces.
Get Dashboard
Retrieves the details of one dashboard.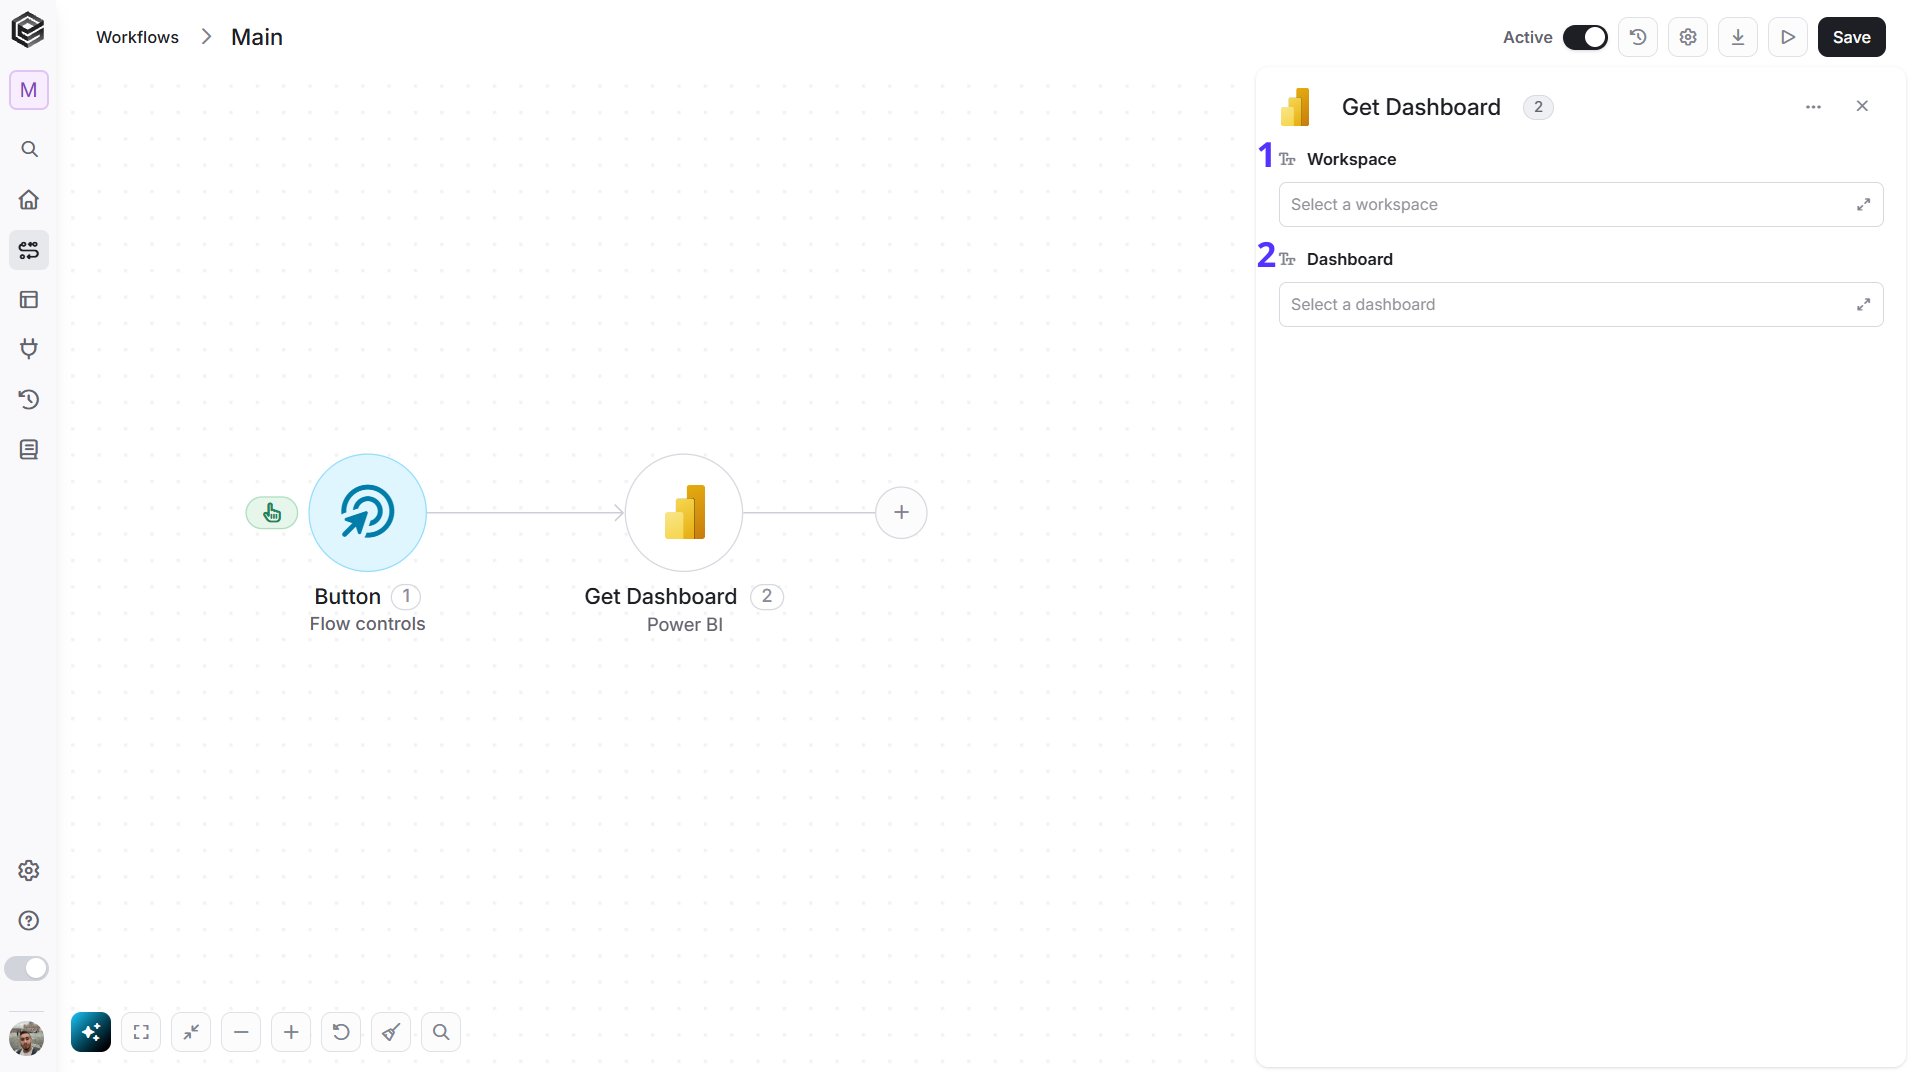
- Workspace - The workspace that holds the dashboard. Click the empty field to open the tooltip, then choose it, or map it from a previous step such as Get Workspaces.
- Dashboard - The dashboard to retrieve. Choose a workspace first, then click the empty field to open the tooltip and choose from that workspace’s dashboards, or map the value from a previous step such as Get Dashboards.
Get Dashboard Tiles
Retrieves the tiles of a dashboard.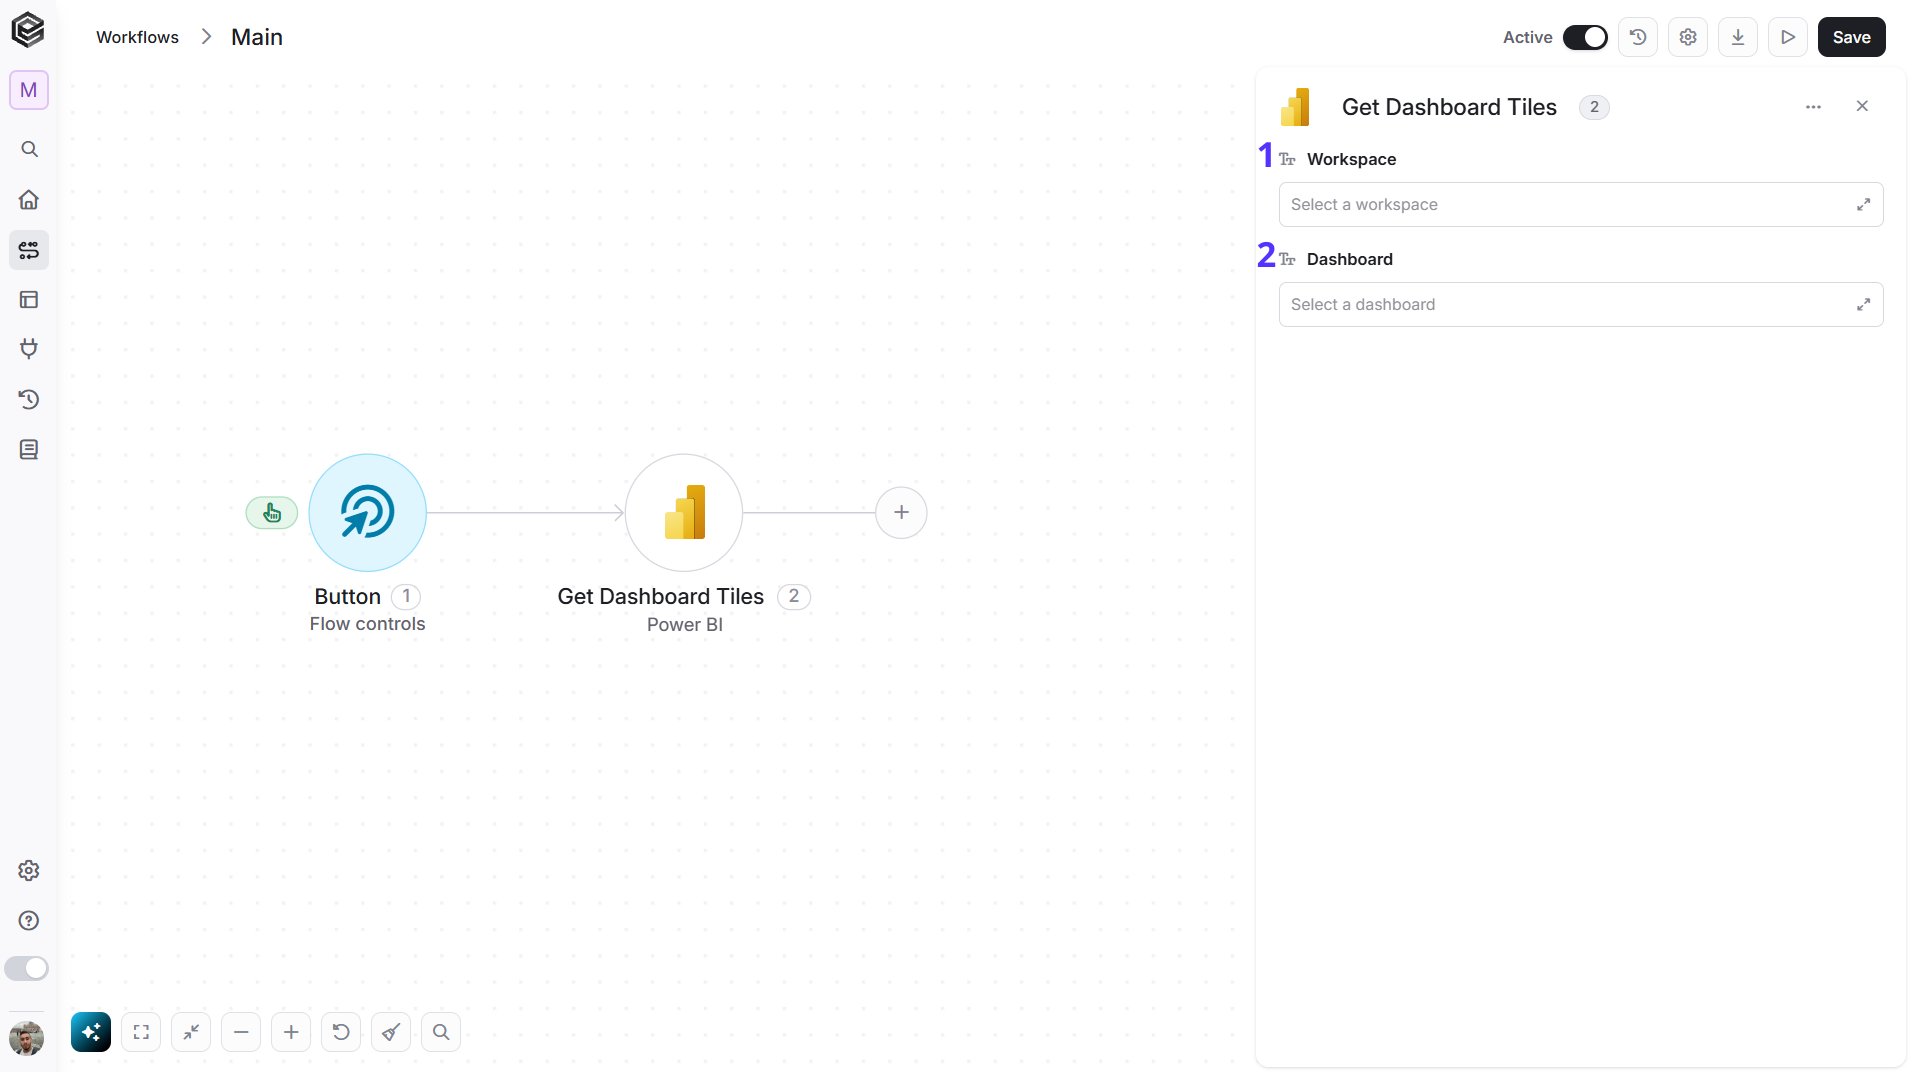
- Workspace - The workspace that holds the dashboard. Click the empty field to open the tooltip, then choose it, or map it from a previous step such as Get Workspaces.
- Dashboard - The dashboard whose tiles you want to retrieve. Choose a workspace first, then click the empty field to open the tooltip and choose from that workspace’s dashboards, or map the value from a previous step such as Get Dashboards.
Get Dashboard Tile
Retrieves the details of one tile of a dashboard.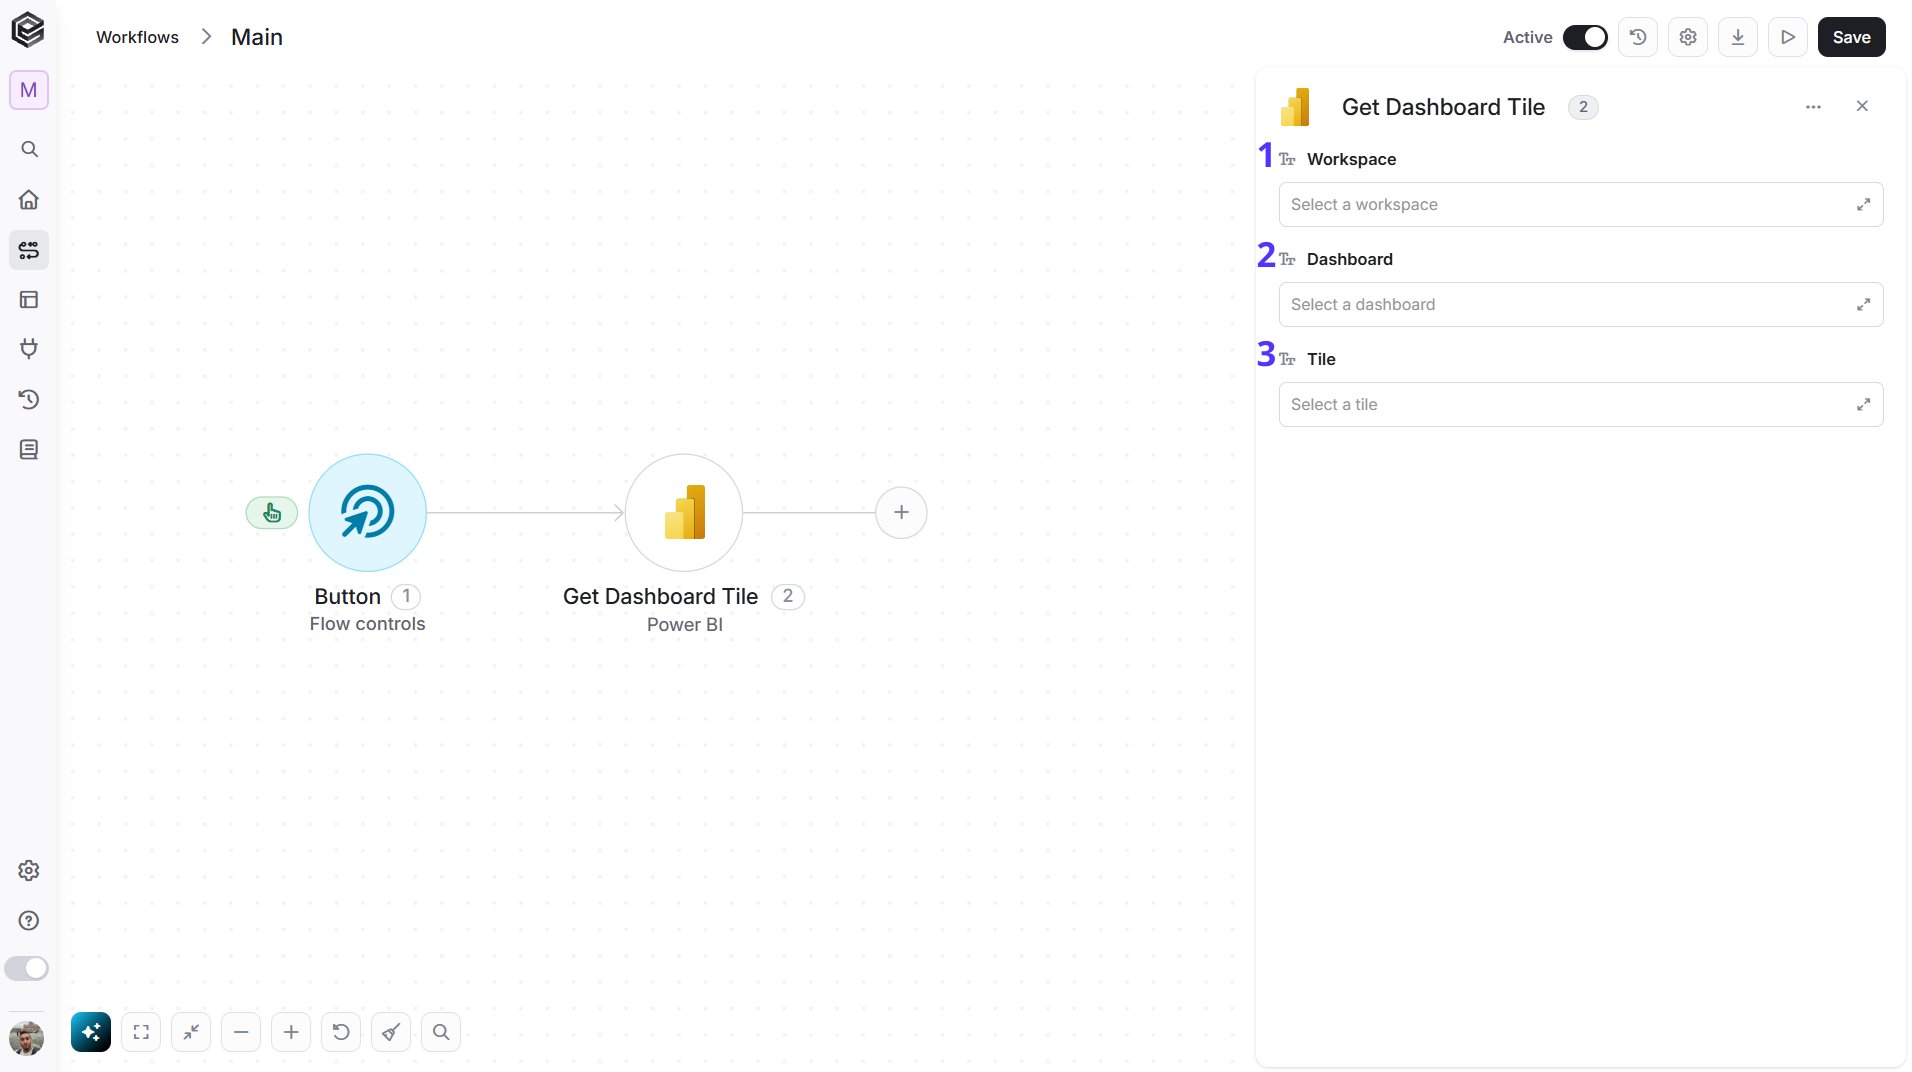
- Workspace - The workspace that holds the dashboard. Click the empty field to open the tooltip, then choose it, or map it from a previous step such as Get Workspaces.
- Dashboard - The dashboard that holds the tile. Choose a workspace first, then click the empty field to open the tooltip and choose from that workspace’s dashboards, or map the value from a previous step such as Get Dashboards.
- Tile - The tile to retrieve. Choose a workspace first, then click the empty field to open the tooltip and choose from that workspace’s tiles, or map the value from a previous step such as Get Dashboard Tiles.
Get Dataset Tables
Retrieves the tables of a push dataset.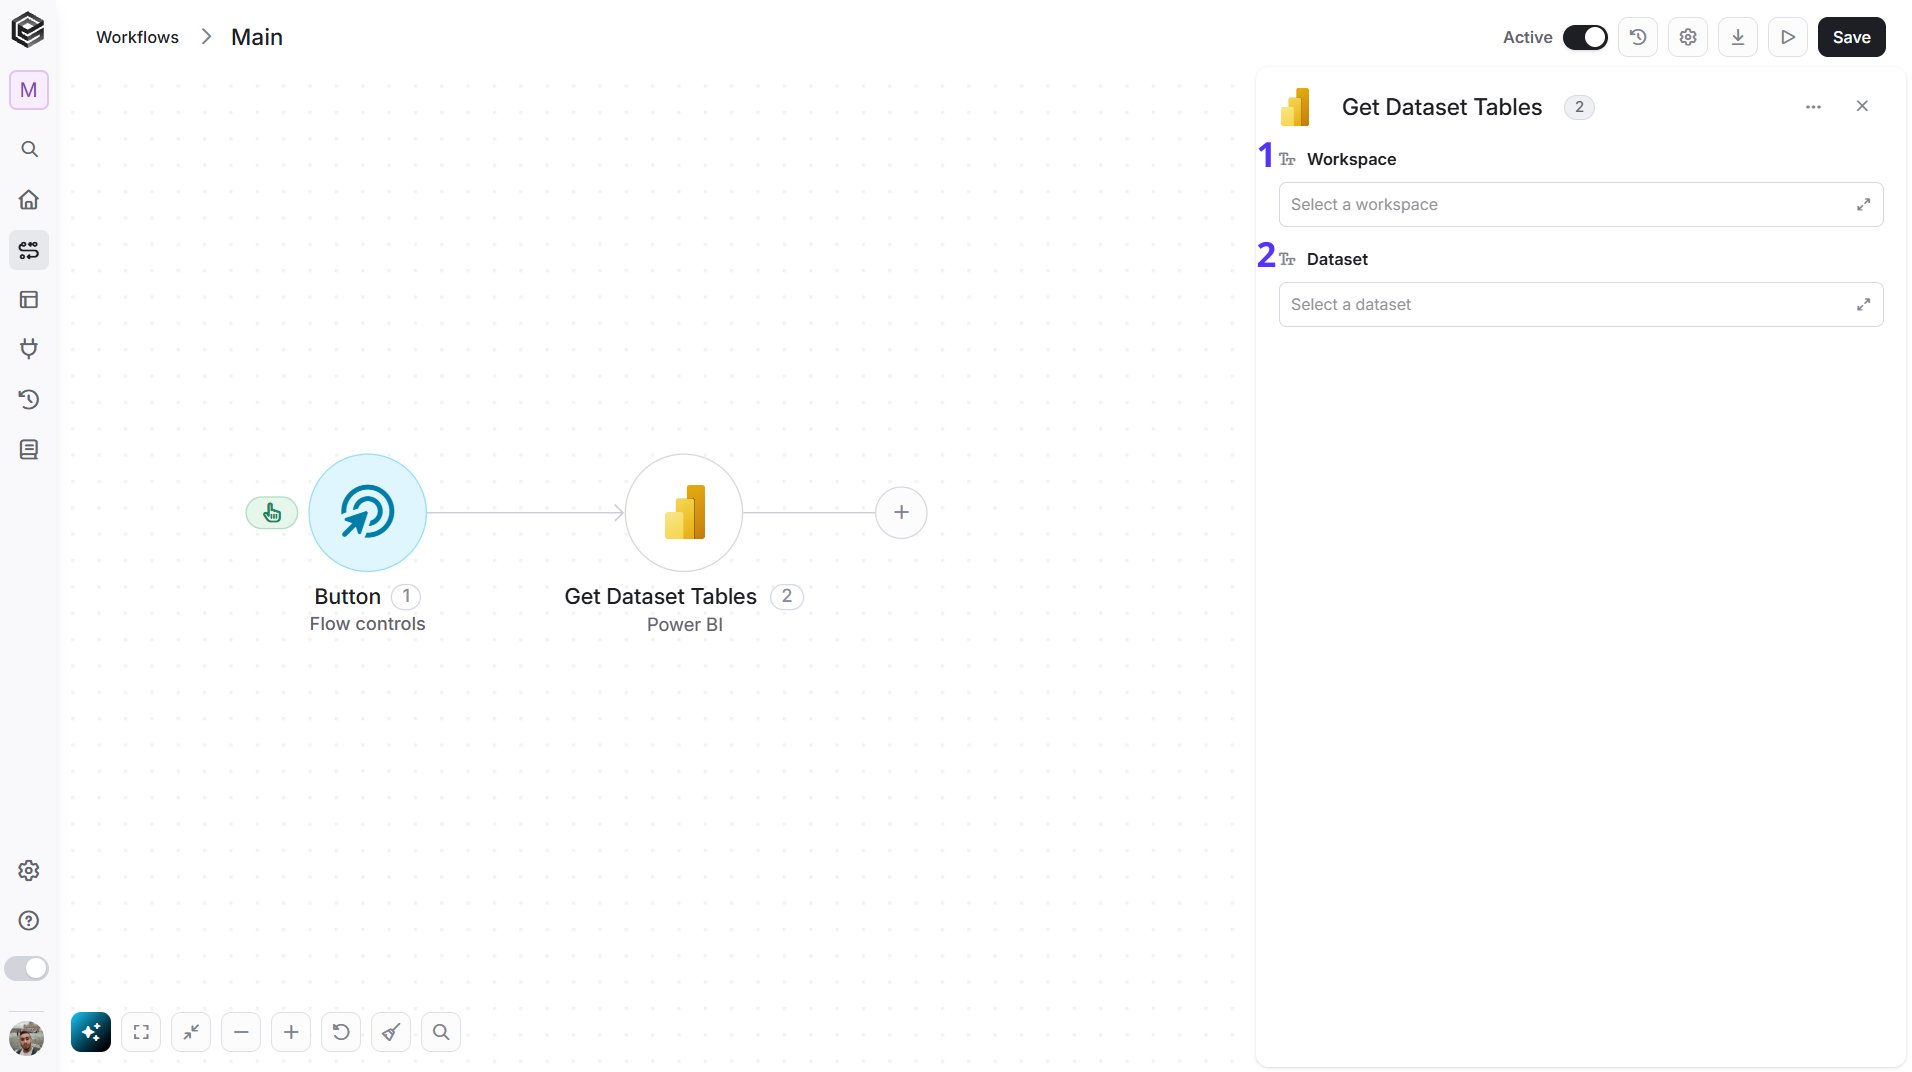
- Workspace - The workspace that holds the dataset. Click the empty field to open the tooltip, then choose it, or map it from a previous step such as Get Workspaces.
- Dataset - The push dataset whose tables you want to retrieve. Choose a workspace first, then click the empty field to open the tooltip and choose from that workspace’s datasets.
Add Rows to Dataset Table
Adds rows to a table of a push dataset.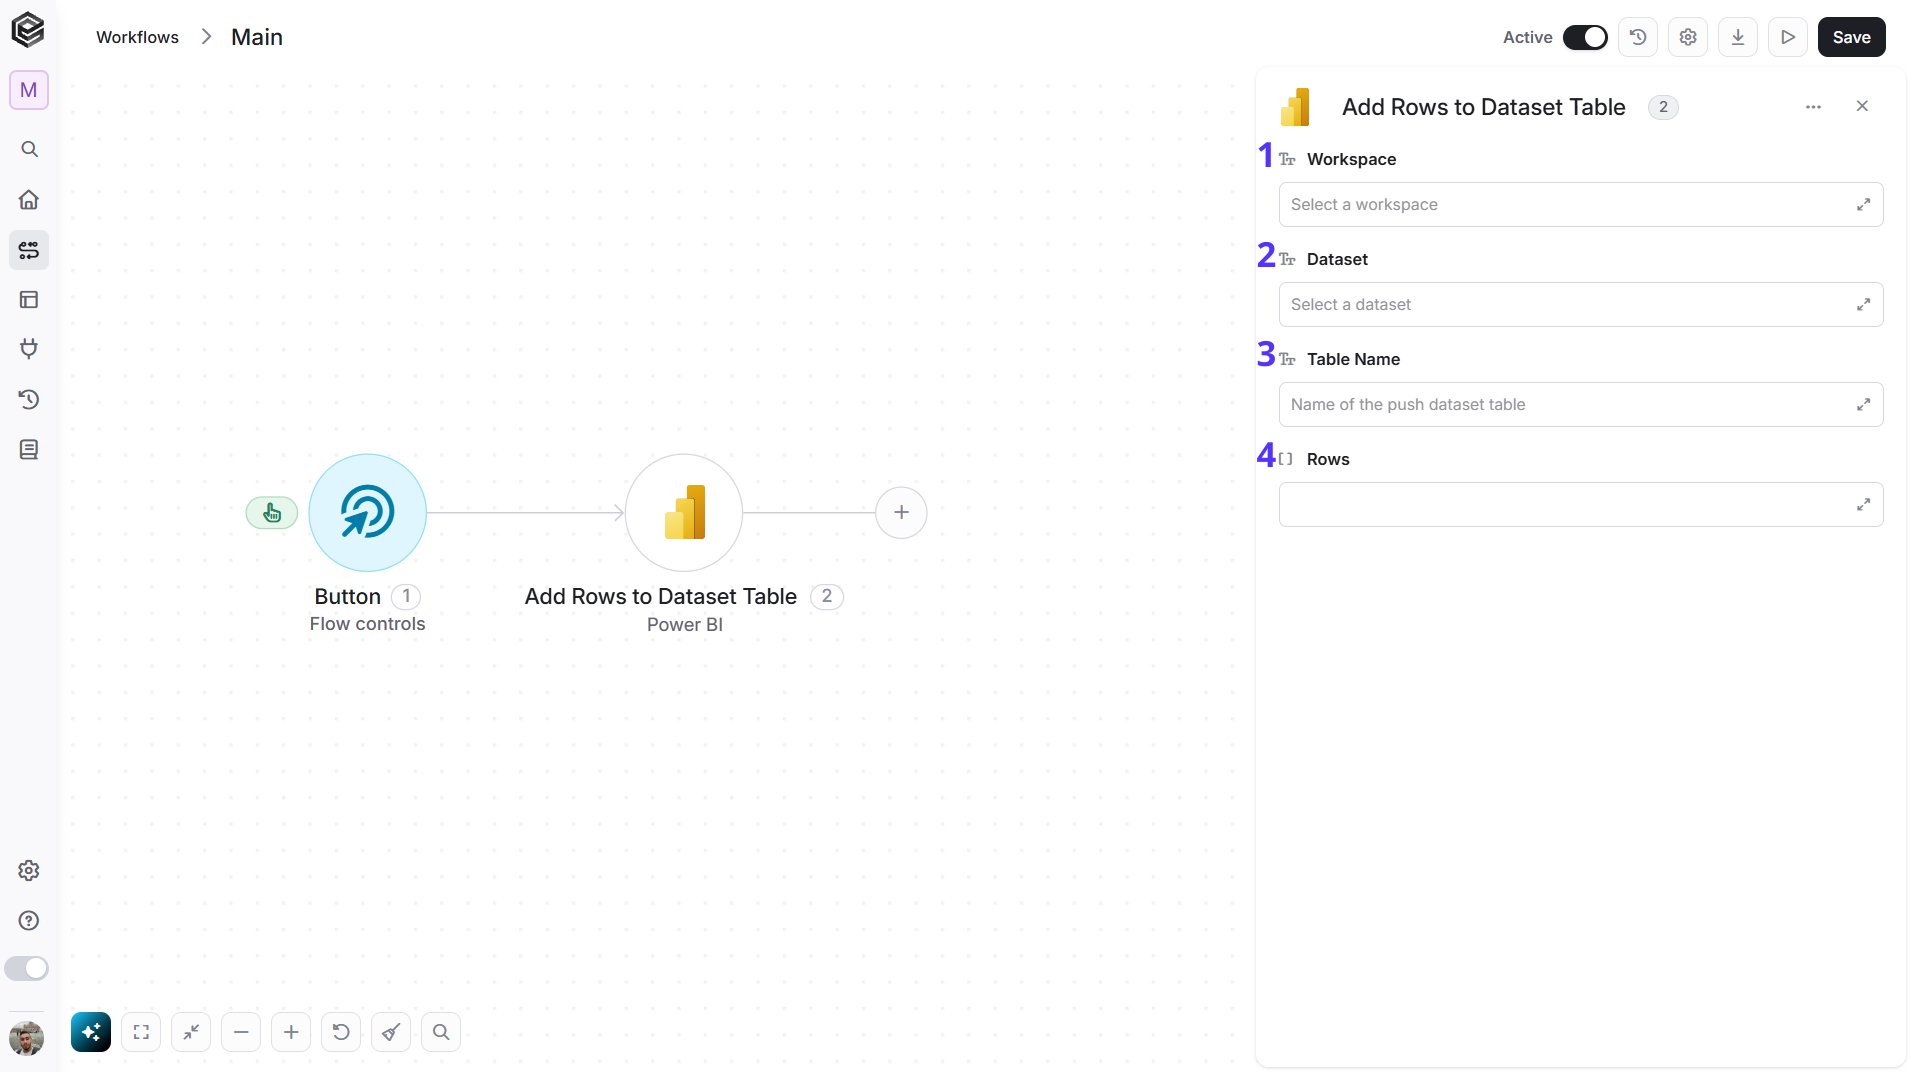
- Workspace - The workspace that holds the dataset. Click the empty field to open the tooltip, then choose it, or map it from a previous step such as Get Workspaces.
- Dataset - The push dataset that holds the table. Choose a workspace first, then click the empty field to open the tooltip and choose from that workspace’s datasets.
- Table Name - The name of the table to add the rows to, for example
Sales. - Rows - The rows to add, as a list of objects. Each object is one row, and its keys are the column names of the table. Build the list with Initialize Object Array and Append to Object Array: add one object for each row and fill in a value for each column.
Delete Rows from Dataset Table
Deletes all the rows of a table in a push dataset.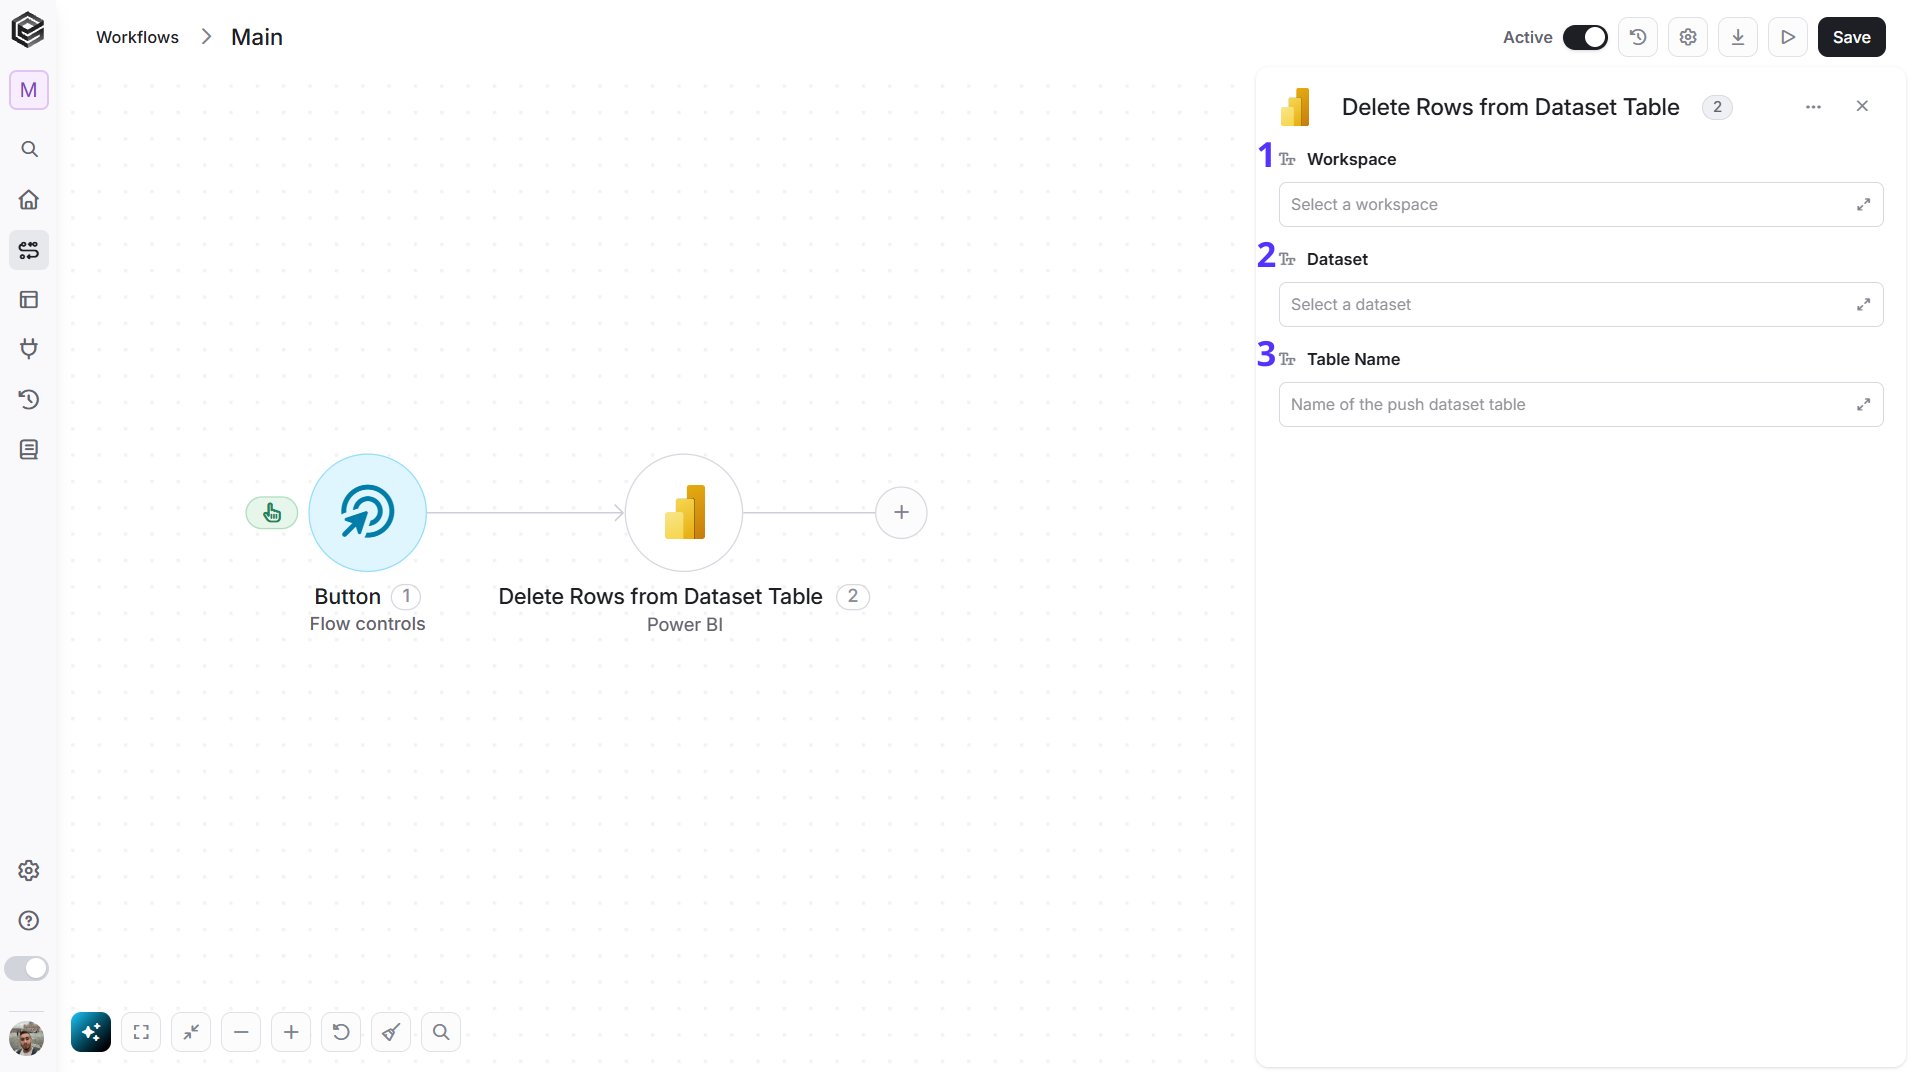
- Workspace - The workspace that holds the dataset. Click the empty field to open the tooltip, then choose it, or map it from a previous step such as Get Workspaces.
- Dataset - The push dataset that holds the table. Choose a workspace first, then click the empty field to open the tooltip and choose from that workspace’s datasets.
- Table Name - The name of the table to empty, for example
Sales.
Refresh Dataset
Starts a refresh of a dataset so it loads the latest data from its sources.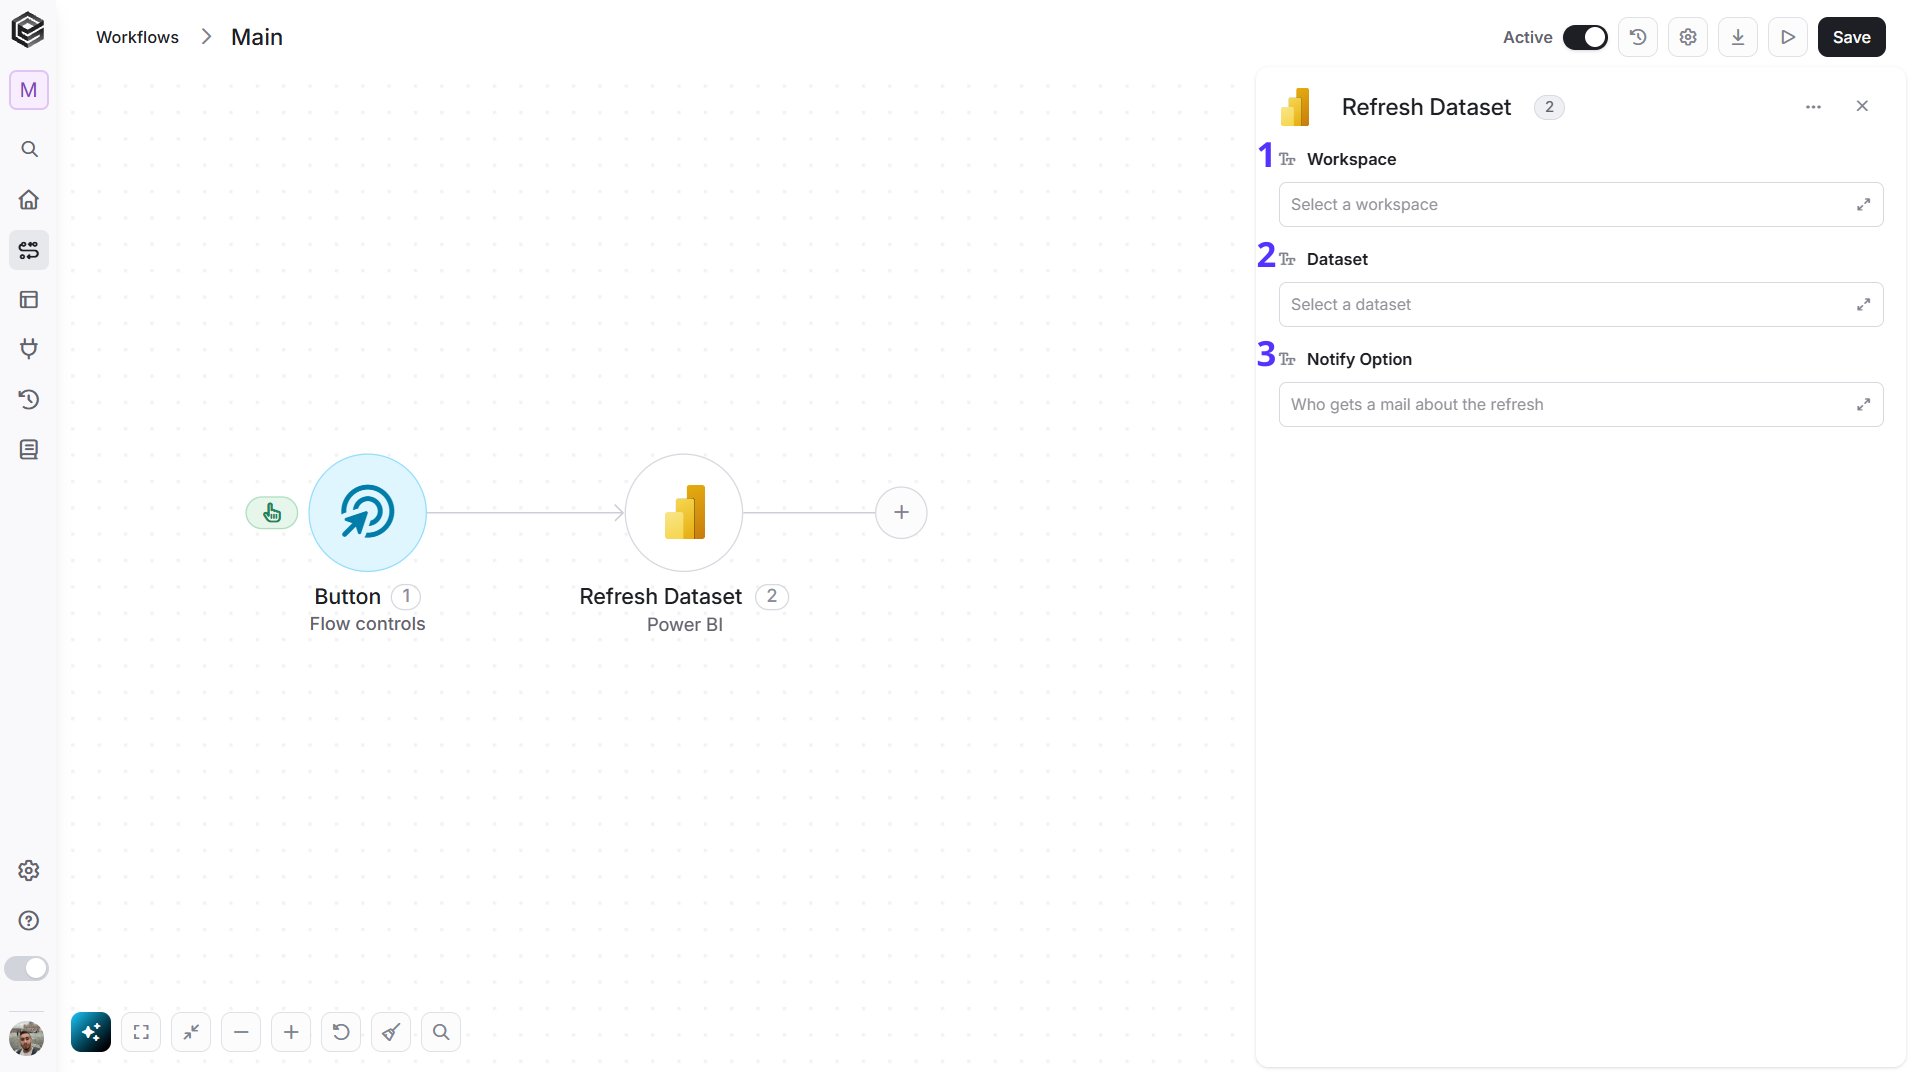
- Workspace - The workspace that holds the dataset. Click the empty field to open the tooltip, then choose it, or map it from a previous step such as Get Workspaces.
- Dataset - The dataset to refresh. Choose a workspace first, then click the empty field to open the tooltip and choose from that workspace’s datasets.
- Notify Option - Who gets an email about the refresh. Click the empty field to open the tooltip and choose one: No notification, Mail on failure or Mail on completion. The default is No notification.
Get Dataset Refresh History
Retrieves the refresh history of a dataset, including the status of each refresh.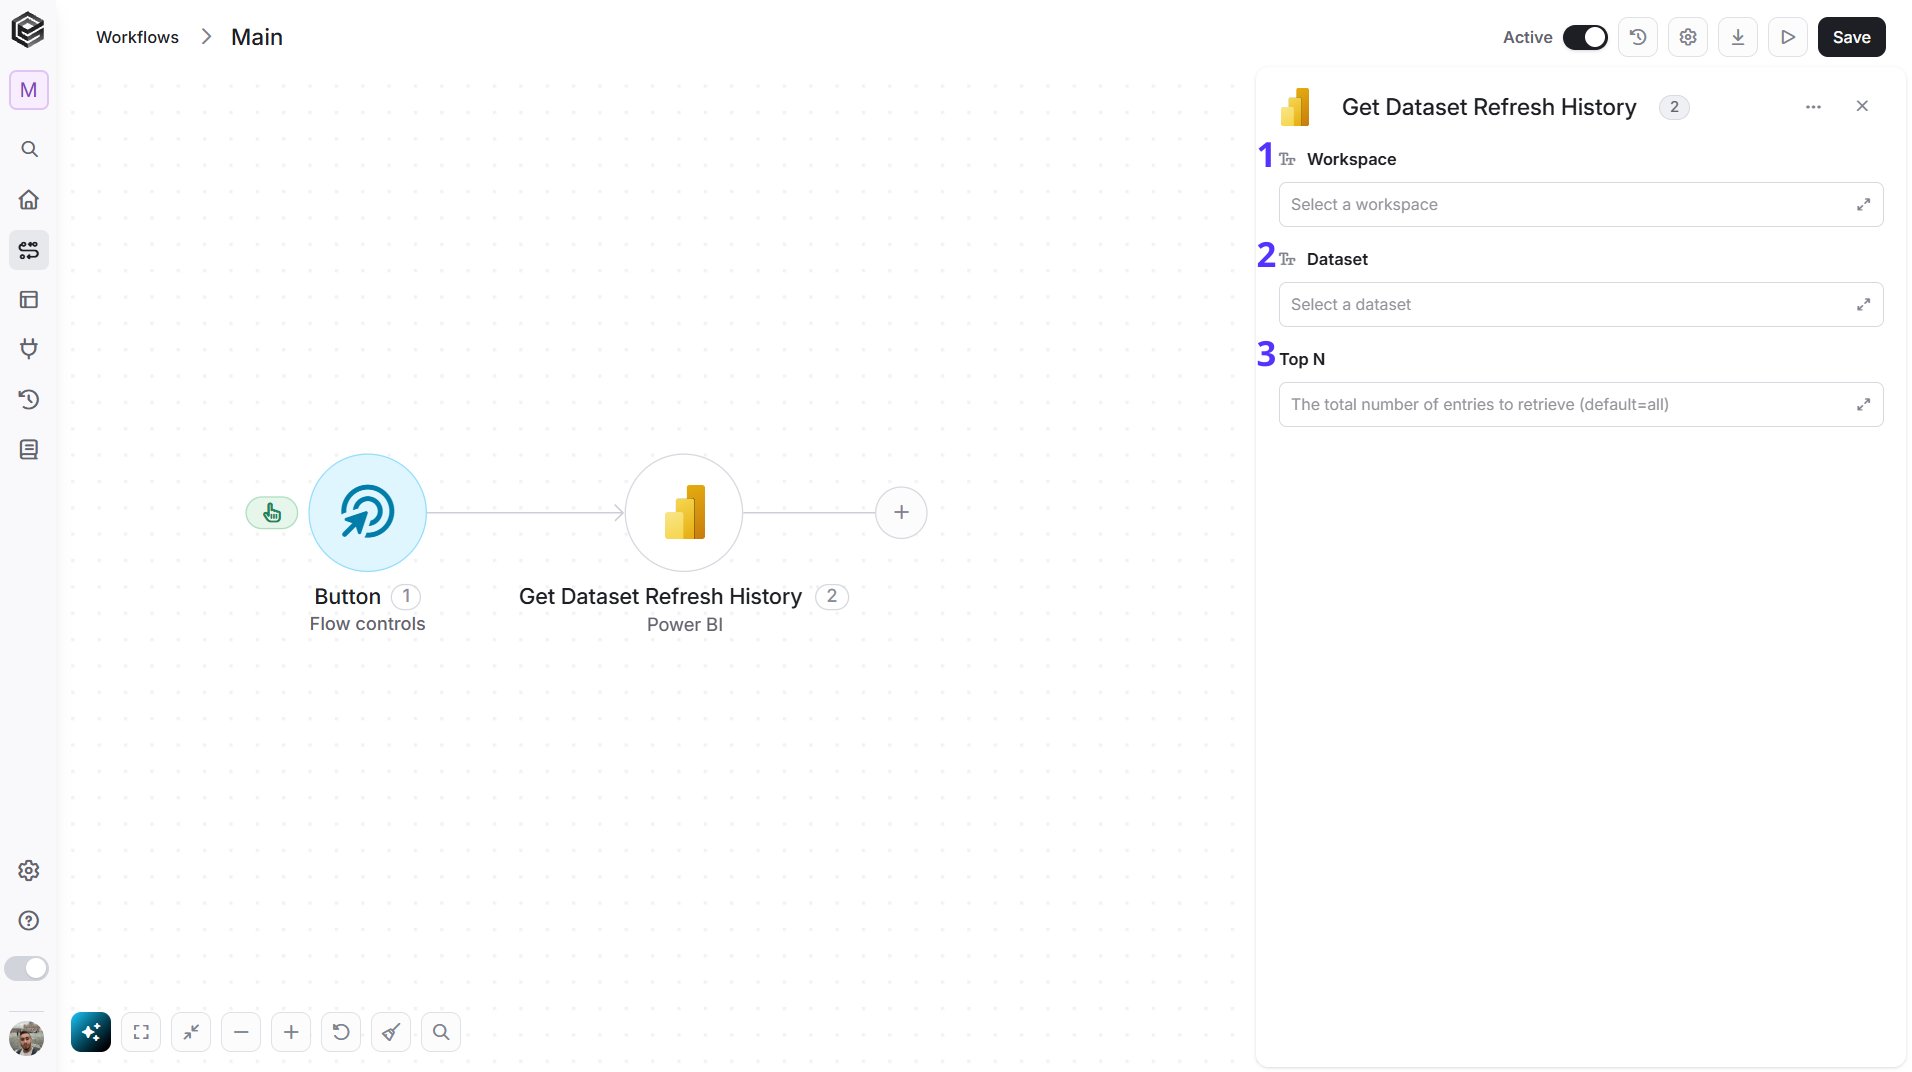
- Workspace - The workspace that holds the dataset. Click the empty field to open the tooltip, then choose it, or map it from a previous step such as Get Workspaces.
- Dataset - The dataset whose refresh history you want. Choose a workspace first, then click the empty field to open the tooltip and choose from that workspace’s datasets.
- Top N - You can set the maximum number of records Engini will return for the object you chose (default = all records).
Execute DAX Query
Runs a DAX query against a dataset and returns the resulting rows.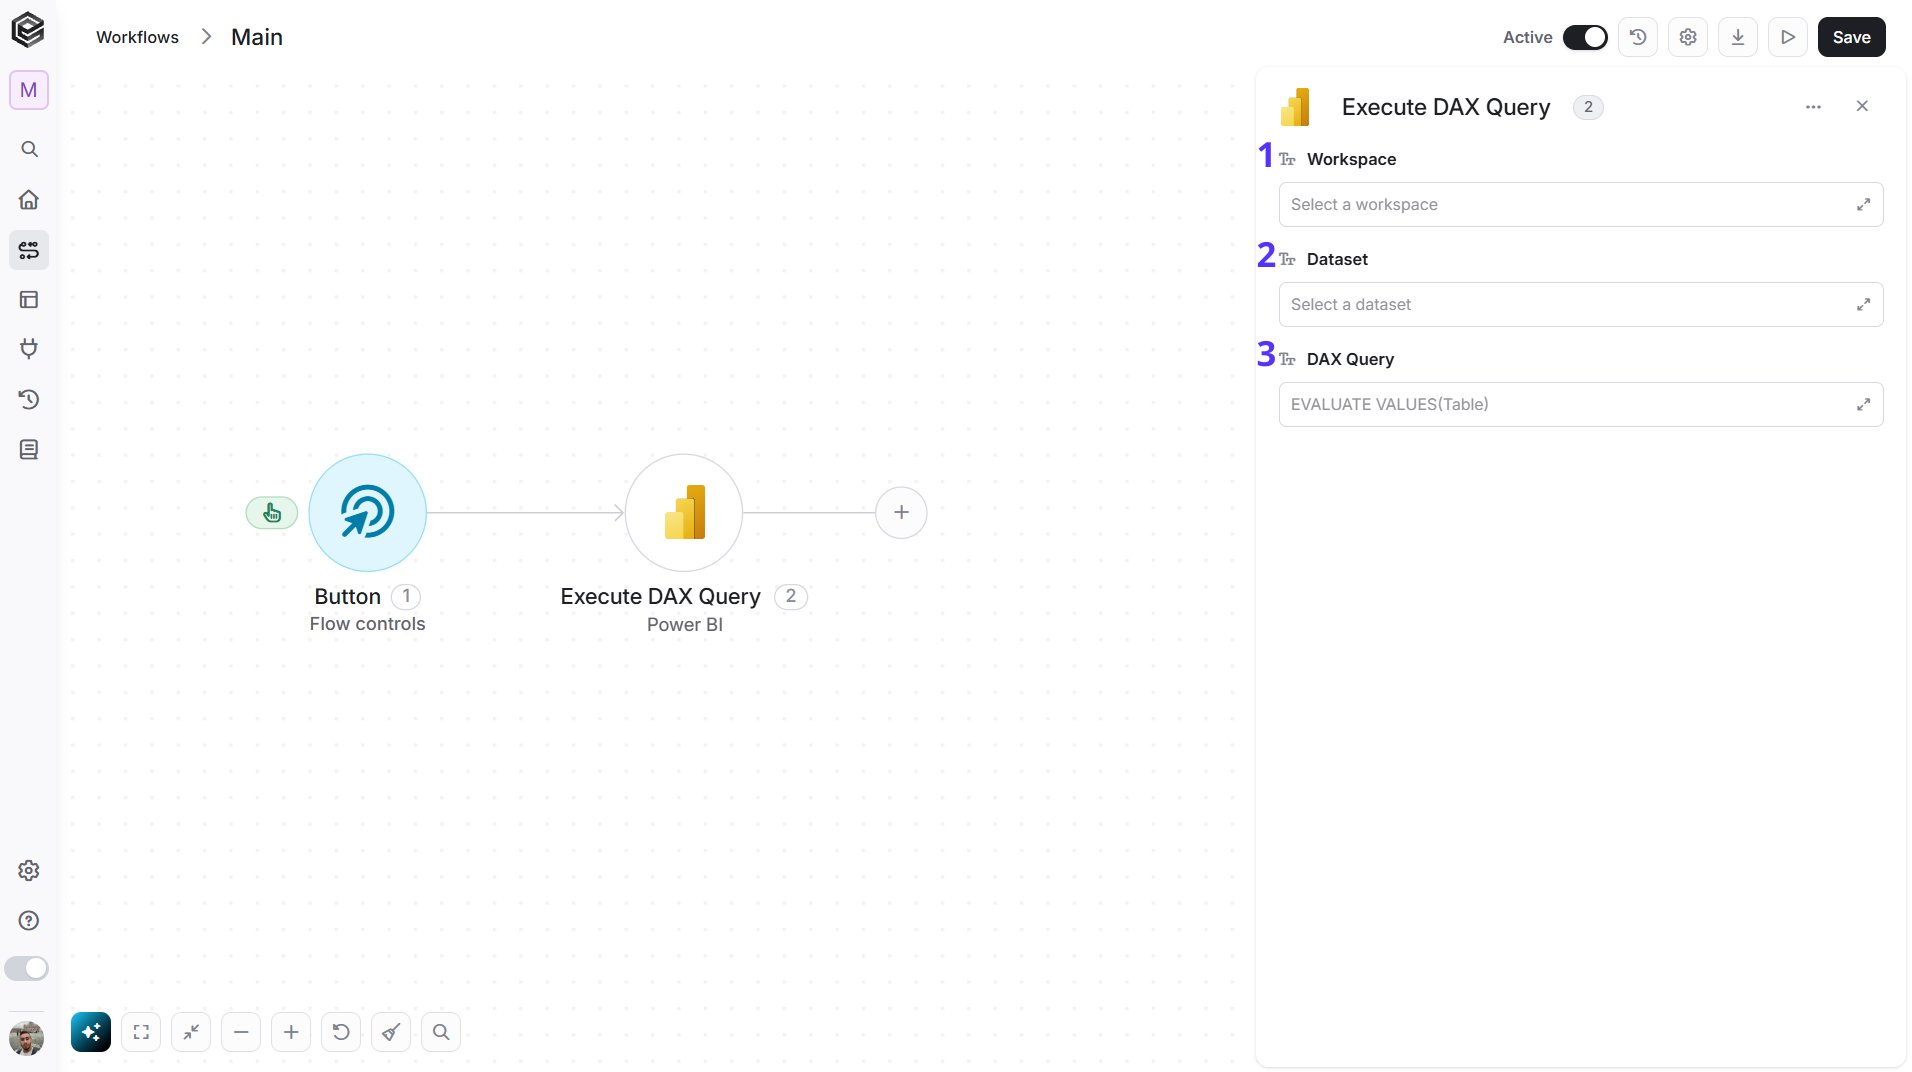
- Workspace - The workspace that holds the dataset. Click the empty field to open the tooltip, then choose it, or map it from a previous step such as Get Workspaces.
- Dataset - The dataset to query. Choose a workspace first, then click the empty field to open the tooltip and choose from that workspace’s datasets.
- DAX Query - The DAX query to run, for example
EVALUATE VALUES(Sales).
Create Dataset
Creates a push dataset, with its tables and columns, in a workspace.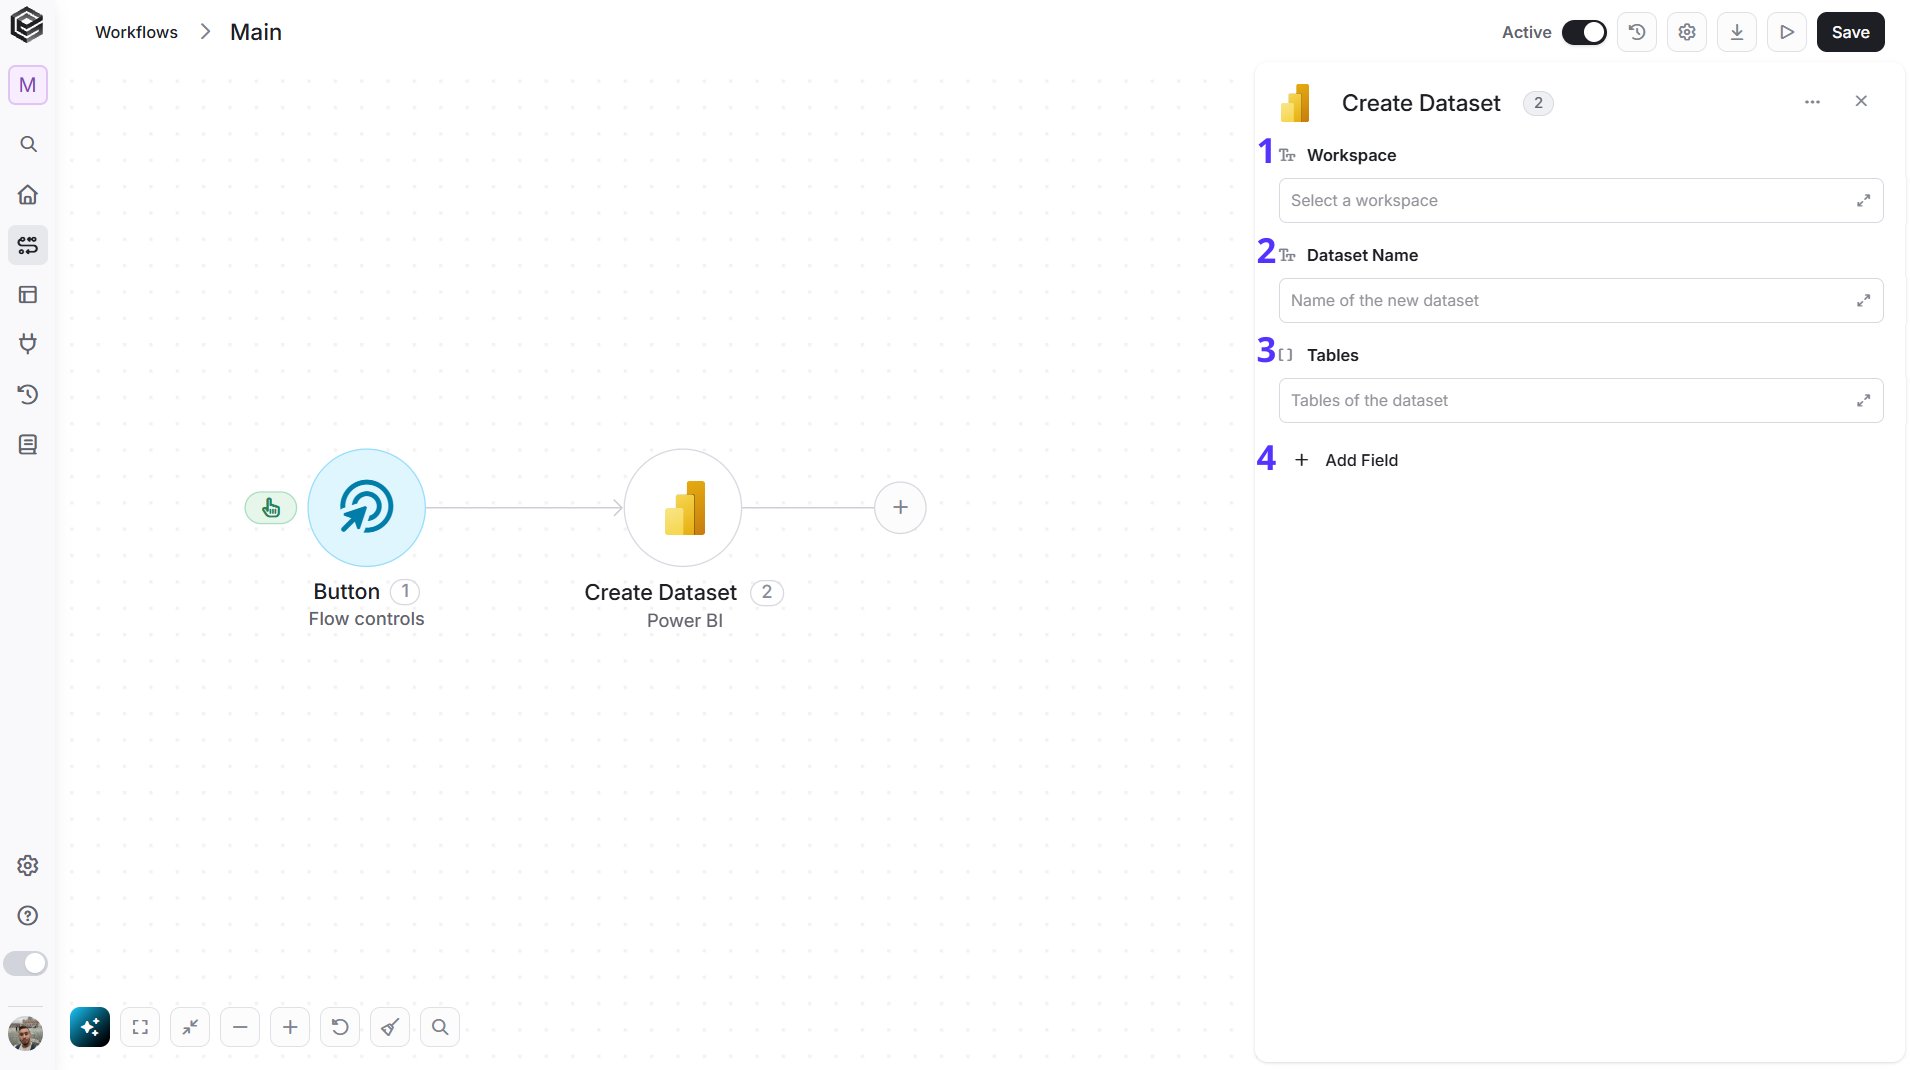
- Workspace - The workspace to create the dataset in. Click the empty field to open the tooltip, then choose it, or map it from a previous step such as Get Workspaces.
- Dataset Name - The name of the new dataset, for example
Sales Data. - Tables - The tables of the new dataset. Each table has a Table Name and a list of Columns, and each column has a Column Name, a Data Type (
Int64,Double,Boolean,DateTimeorString) and an optional Format String such asCurrency. Build the list with Initialize Object Array and Append to Object Array. - Add Field - Click Add Field to add and populate additional fields for the selected activity. To learn more about managing activity data, click here.
- Dataset Mode - The kind of dataset to create: Push, Push and streaming or Streaming. The default is Push.
- Retention Policy - Choose None to keep all rows, or Basic FIFO to keep only the most recent rows.
Delete Dataset
Deletes a dataset from a workspace.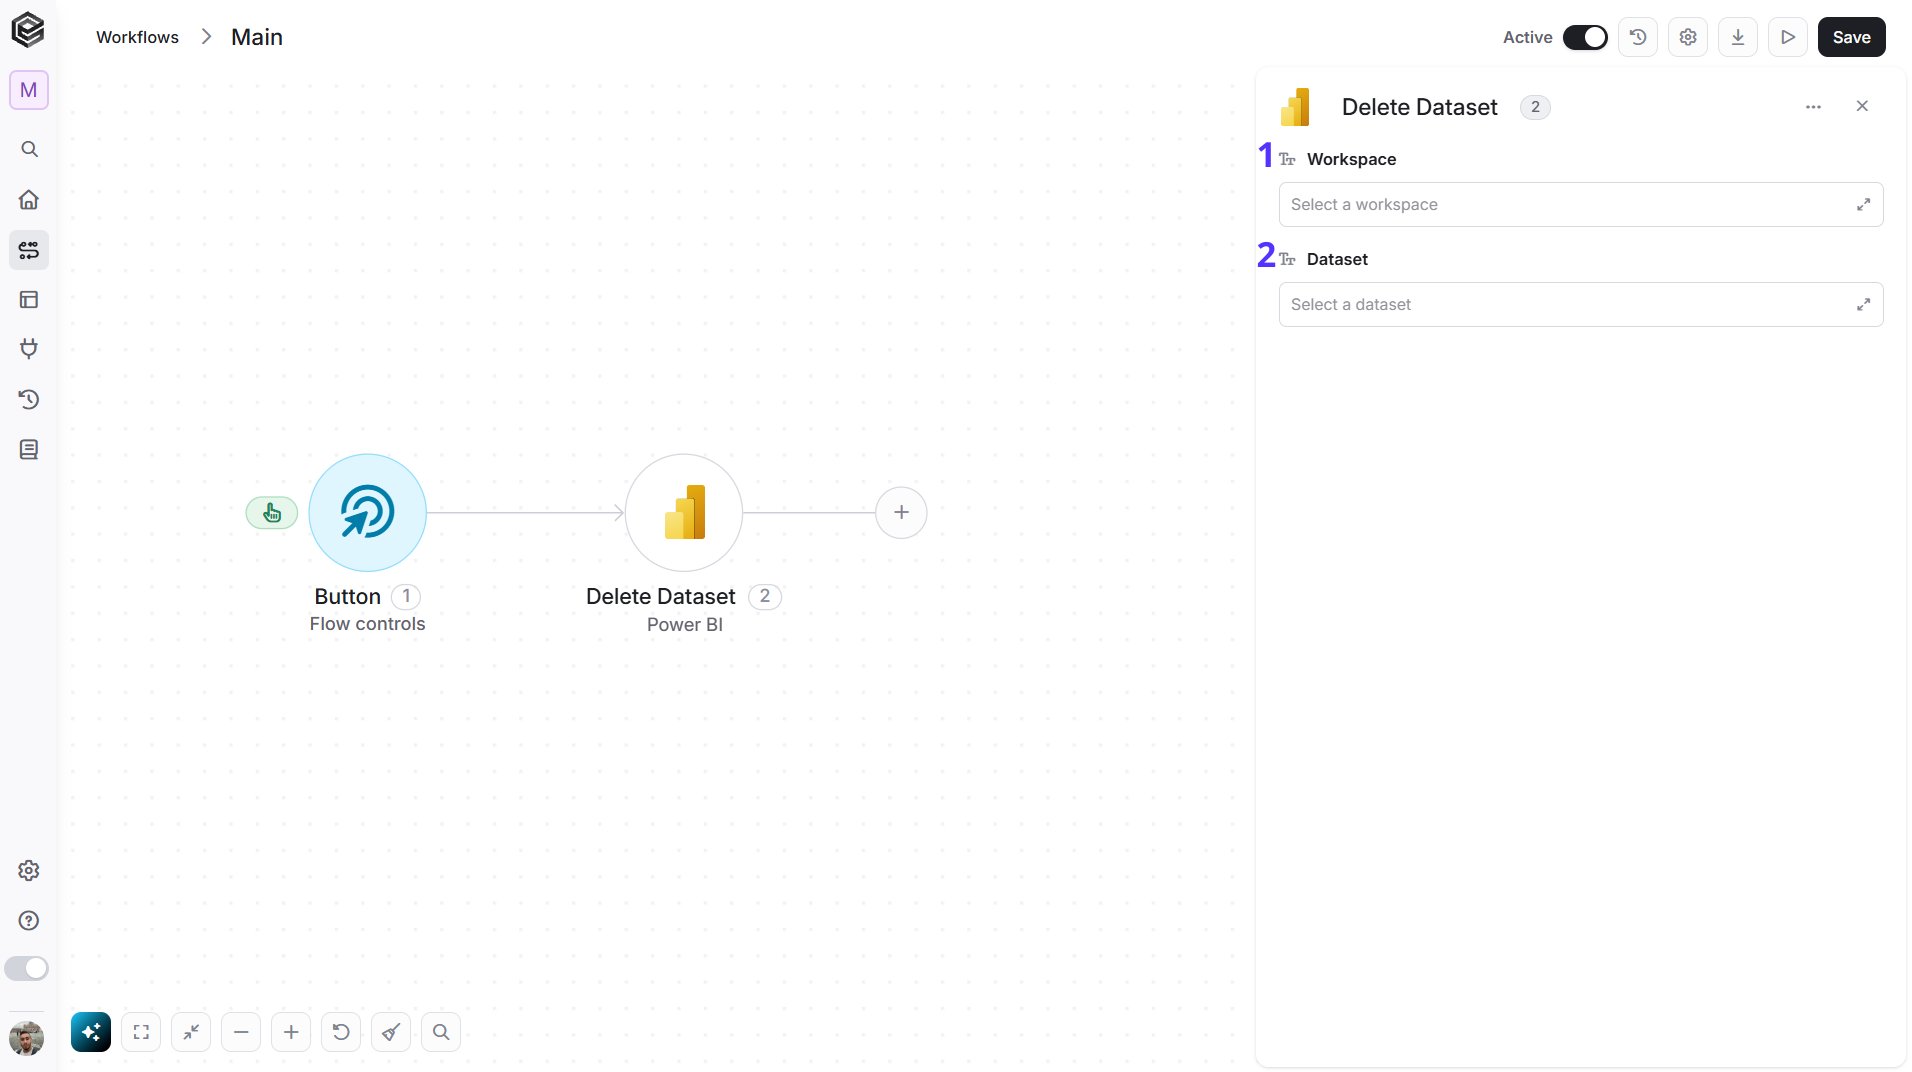
- Workspace - The workspace that holds the dataset. Click the empty field to open the tooltip, then choose it, or map it from a previous step such as Get Workspaces.
- Dataset - The dataset to delete. Choose a workspace first, then click the empty field to open the tooltip and choose from that workspace’s datasets.
Delete Report
Deletes a report from a workspace.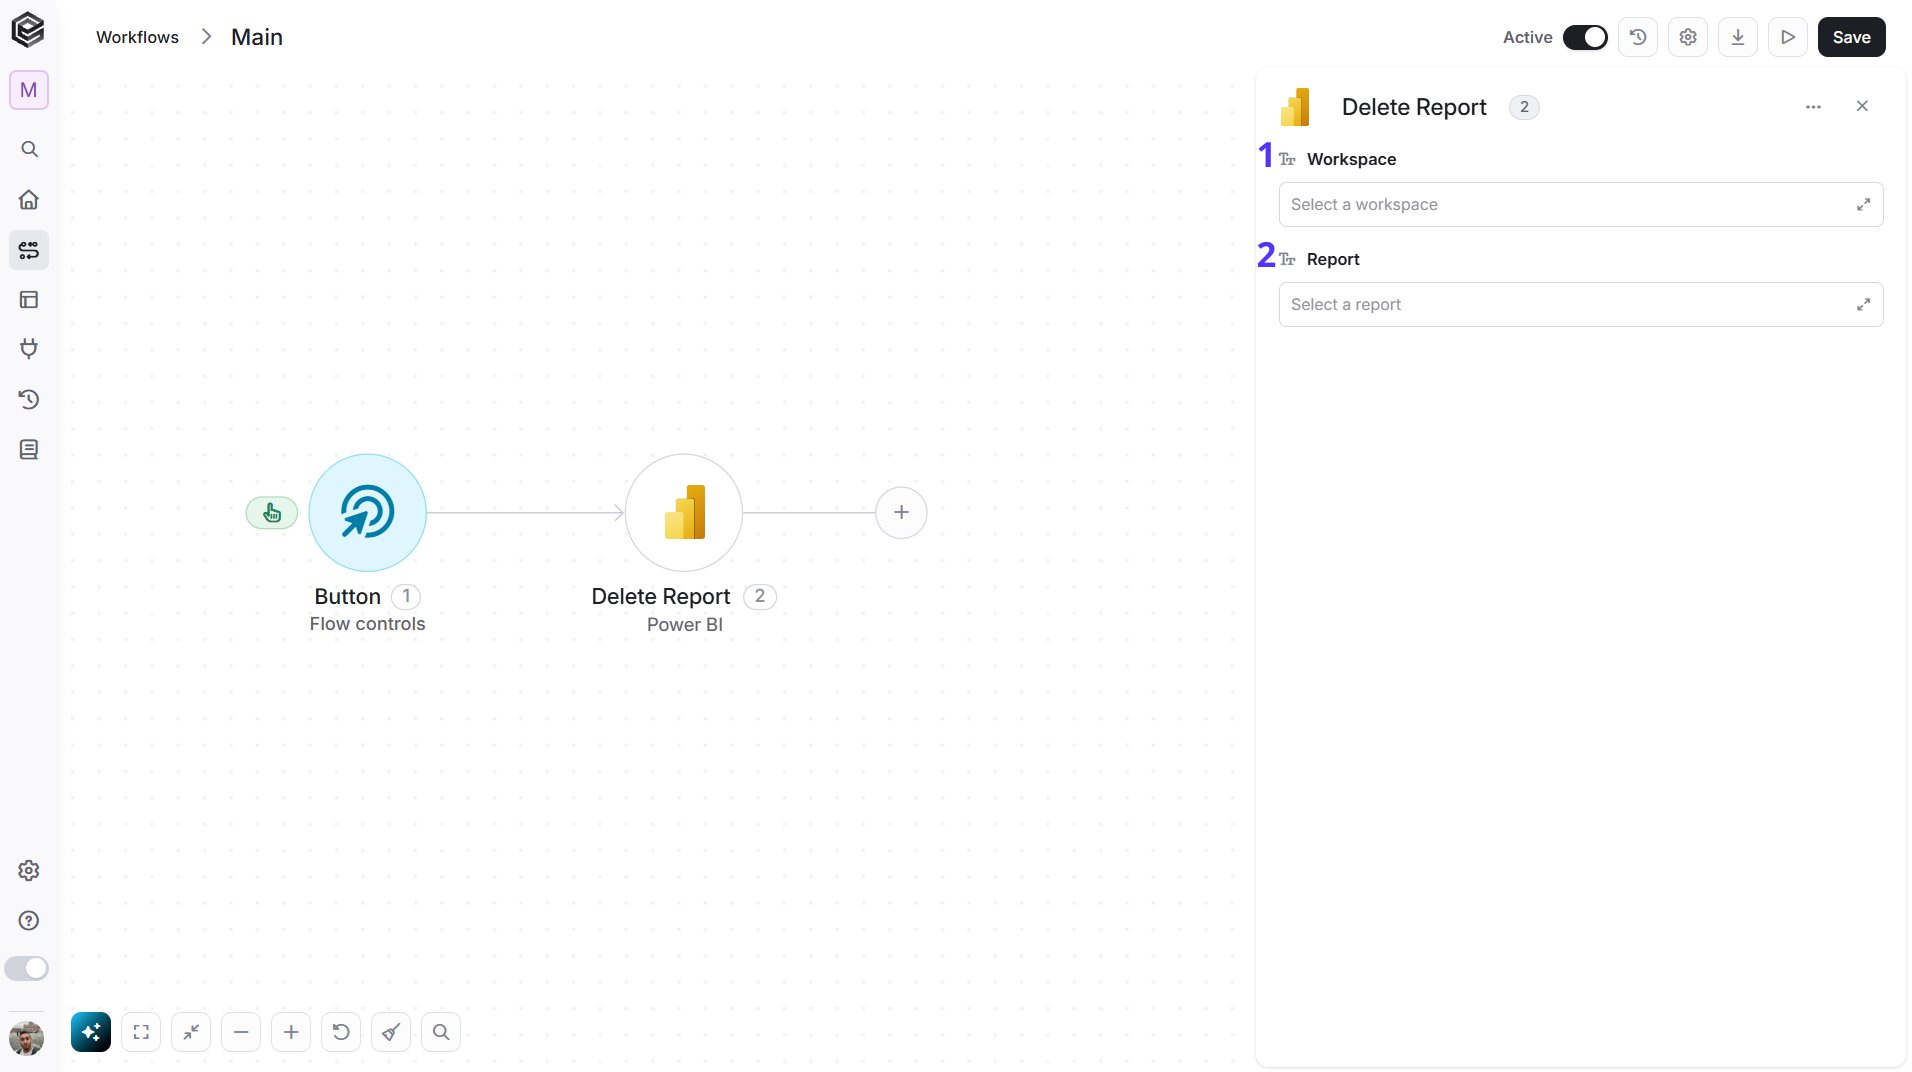
- Workspace - The workspace that holds the report. Click the empty field to open the tooltip, then choose it, or map it from a previous step such as Get Workspaces.
- Report - The report to delete. Choose a workspace first, then click the empty field to open the tooltip and choose from that workspace’s reports.
Clone Report
Creates a copy of a report, optionally in another workspace or connected to another dataset.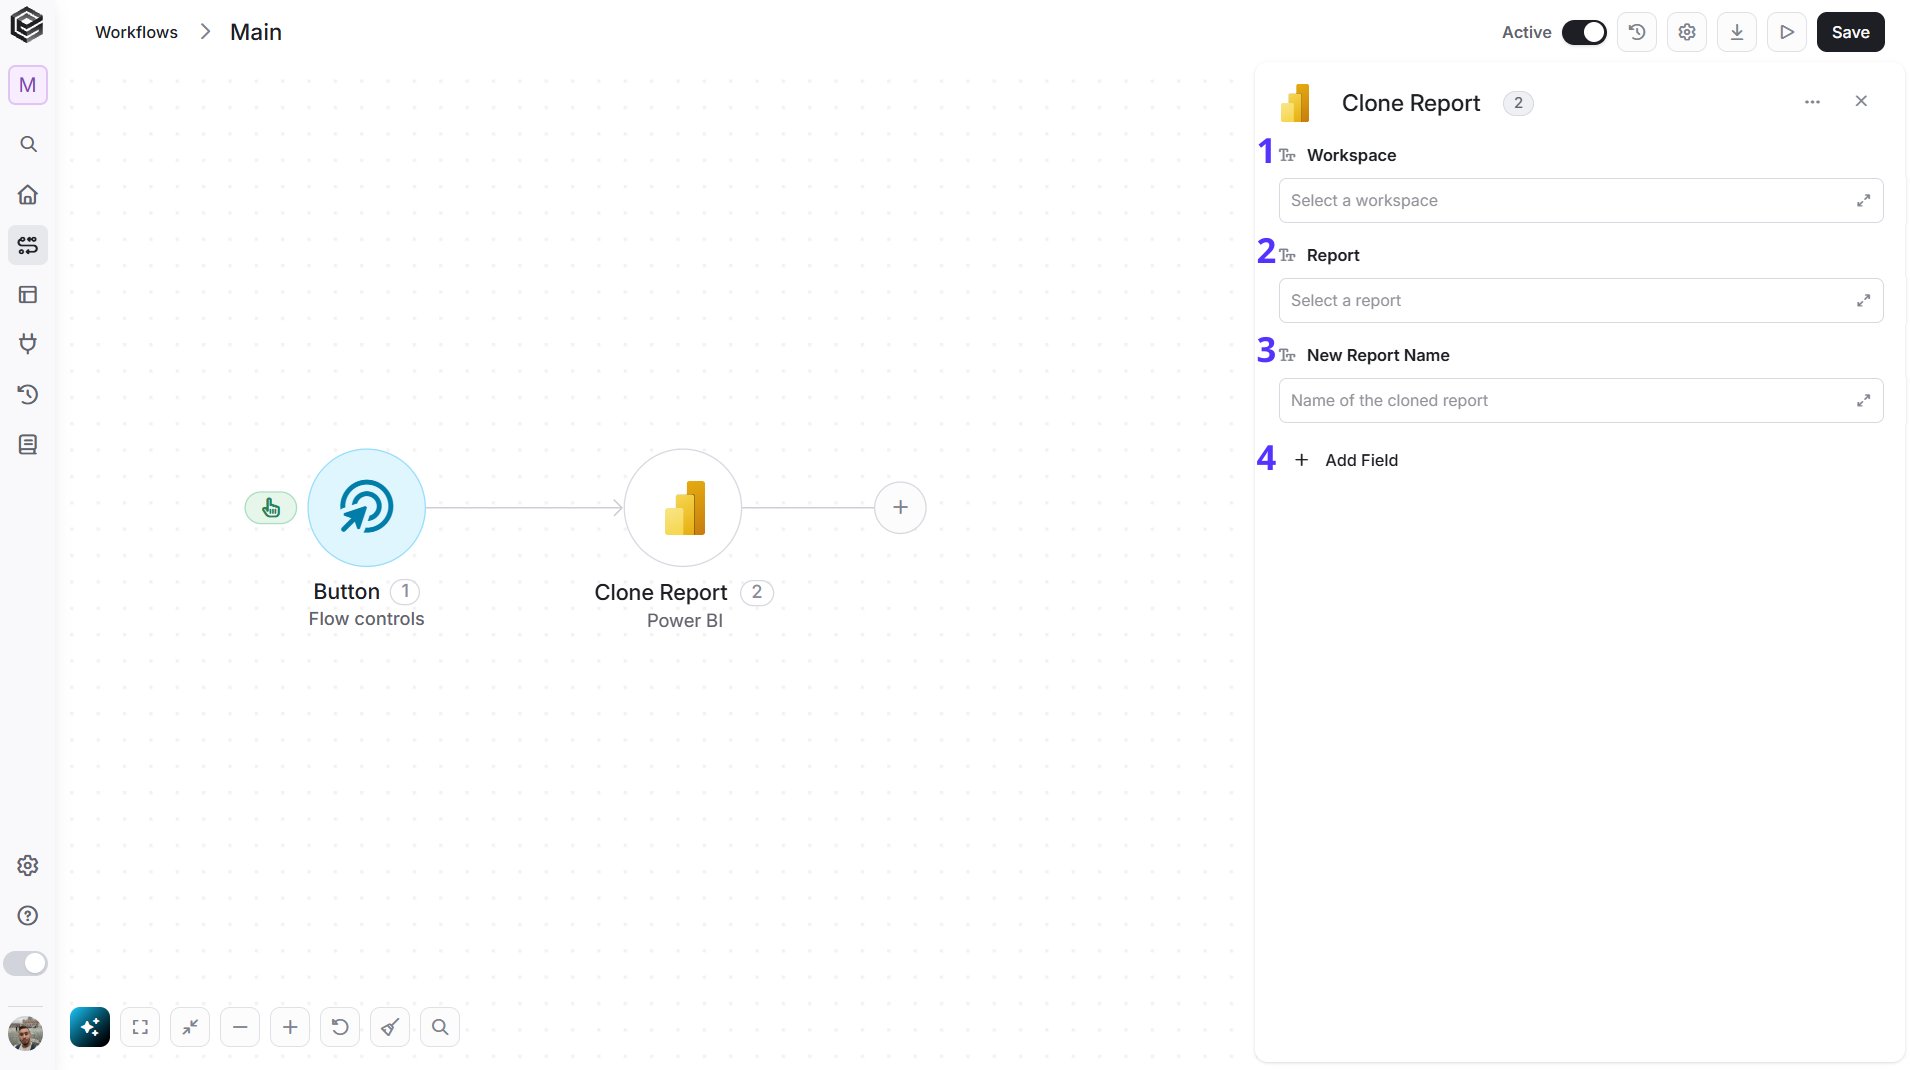
- Workspace - The workspace that holds the report to copy. Click the empty field to open the tooltip, then choose it, or map it from a previous step such as Get Workspaces.
- Report - The report to copy. Choose a workspace first, then click the empty field to open the tooltip and choose from that workspace’s reports.
- New Report Name - The name of the copy, for example
Sales Report - Copy. - Add Field - Click Add Field to add and populate additional fields for the selected activity. To learn more about managing activity data, click here.
- Target Workspace - The workspace to create the copy in. If you leave it empty, the copy is created in the workspace of the original report.
- Target Dataset Id - The Id of the dataset the copy should use. If you leave it empty, the copy uses the dataset of the original report.
Create Dashboard
Creates a new, empty dashboard in a workspace.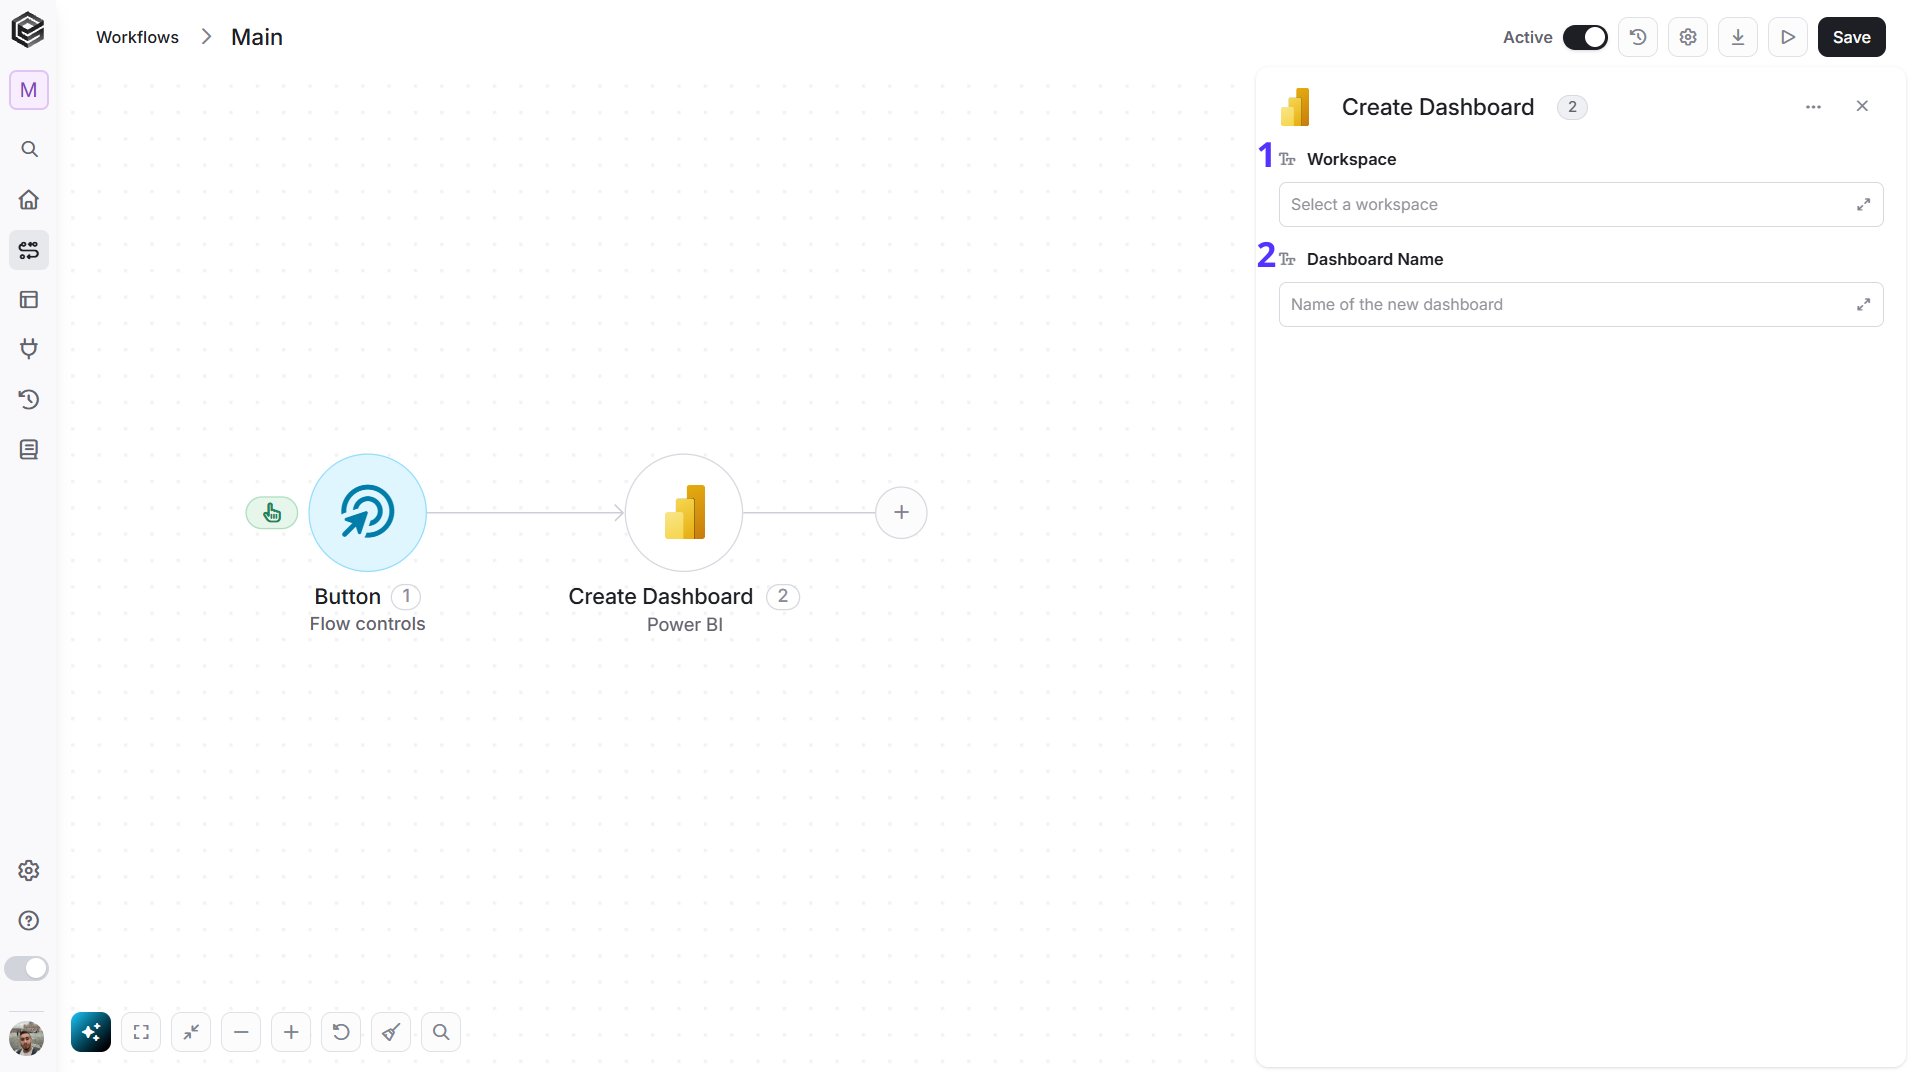
- Workspace - The workspace to create the dashboard in. Click the empty field to open the tooltip, then choose it, or map it from a previous step such as Get Workspaces.
- Dashboard Name - The name of the new dashboard, for example
Sales Overview.
Export Report to File
Starts exporting a report to a file.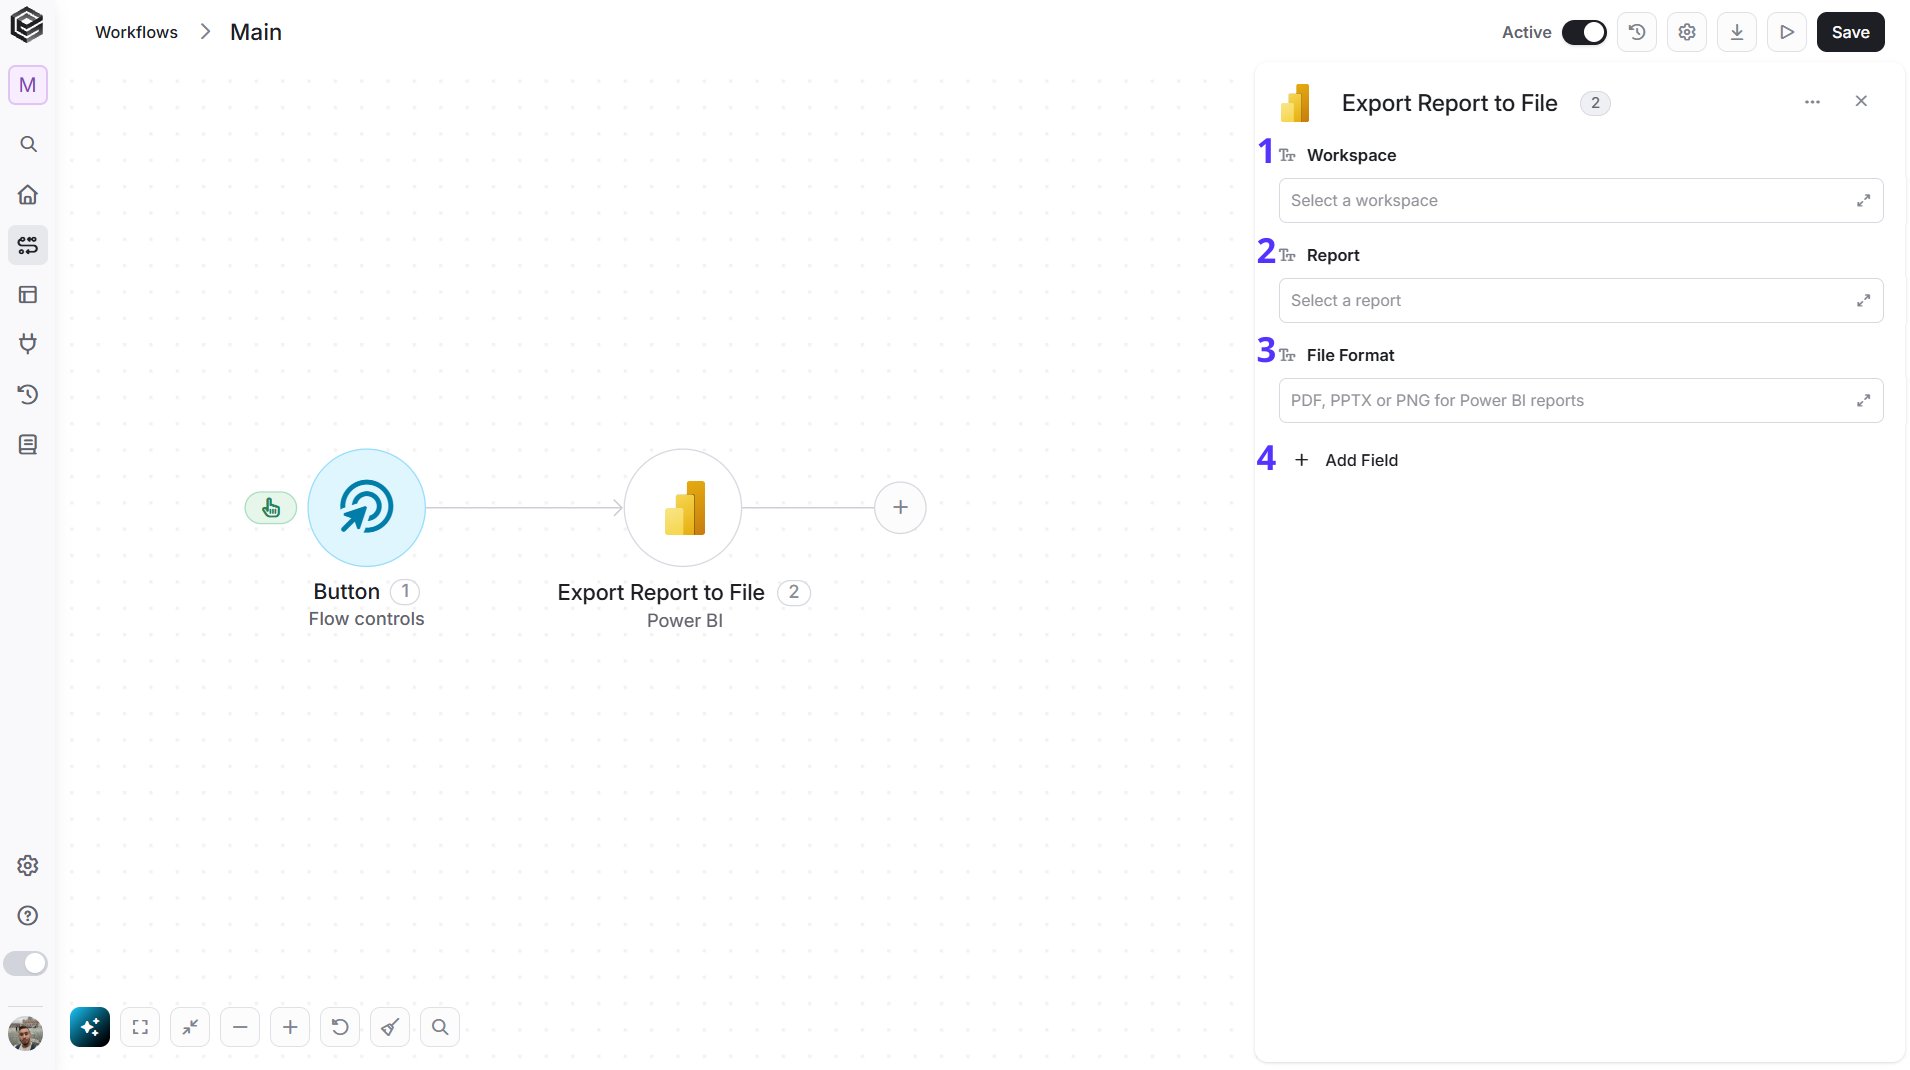
- Workspace - The workspace that holds the report. Click the empty field to open the tooltip, then choose it, or map it from a previous step such as Get Workspaces.
- Report - The report to export. Choose a workspace first, then click the empty field to open the tooltip and choose from that workspace’s reports.
- File Format - The format of the exported file. Click the empty field to open the tooltip and choose a format. For Power BI reports choose PDF, PowerPoint (PPTX) or PNG image. For paginated reports you can also choose Image, Excel, Word, CSV, XML, MHTML or Accessible PDF.
- Add Field - Click Add Field to add and populate additional fields for the selected activity. To learn more about managing activity data, click here.
- Include Hidden Pages - Choose whether hidden report pages are included in the file. The default is No. This applies to Power BI reports only.
- Locale - The language and region used to format the report, for example
en-US.
Get Export Status
Retrieves the status of a report export that you started with Export Report to File.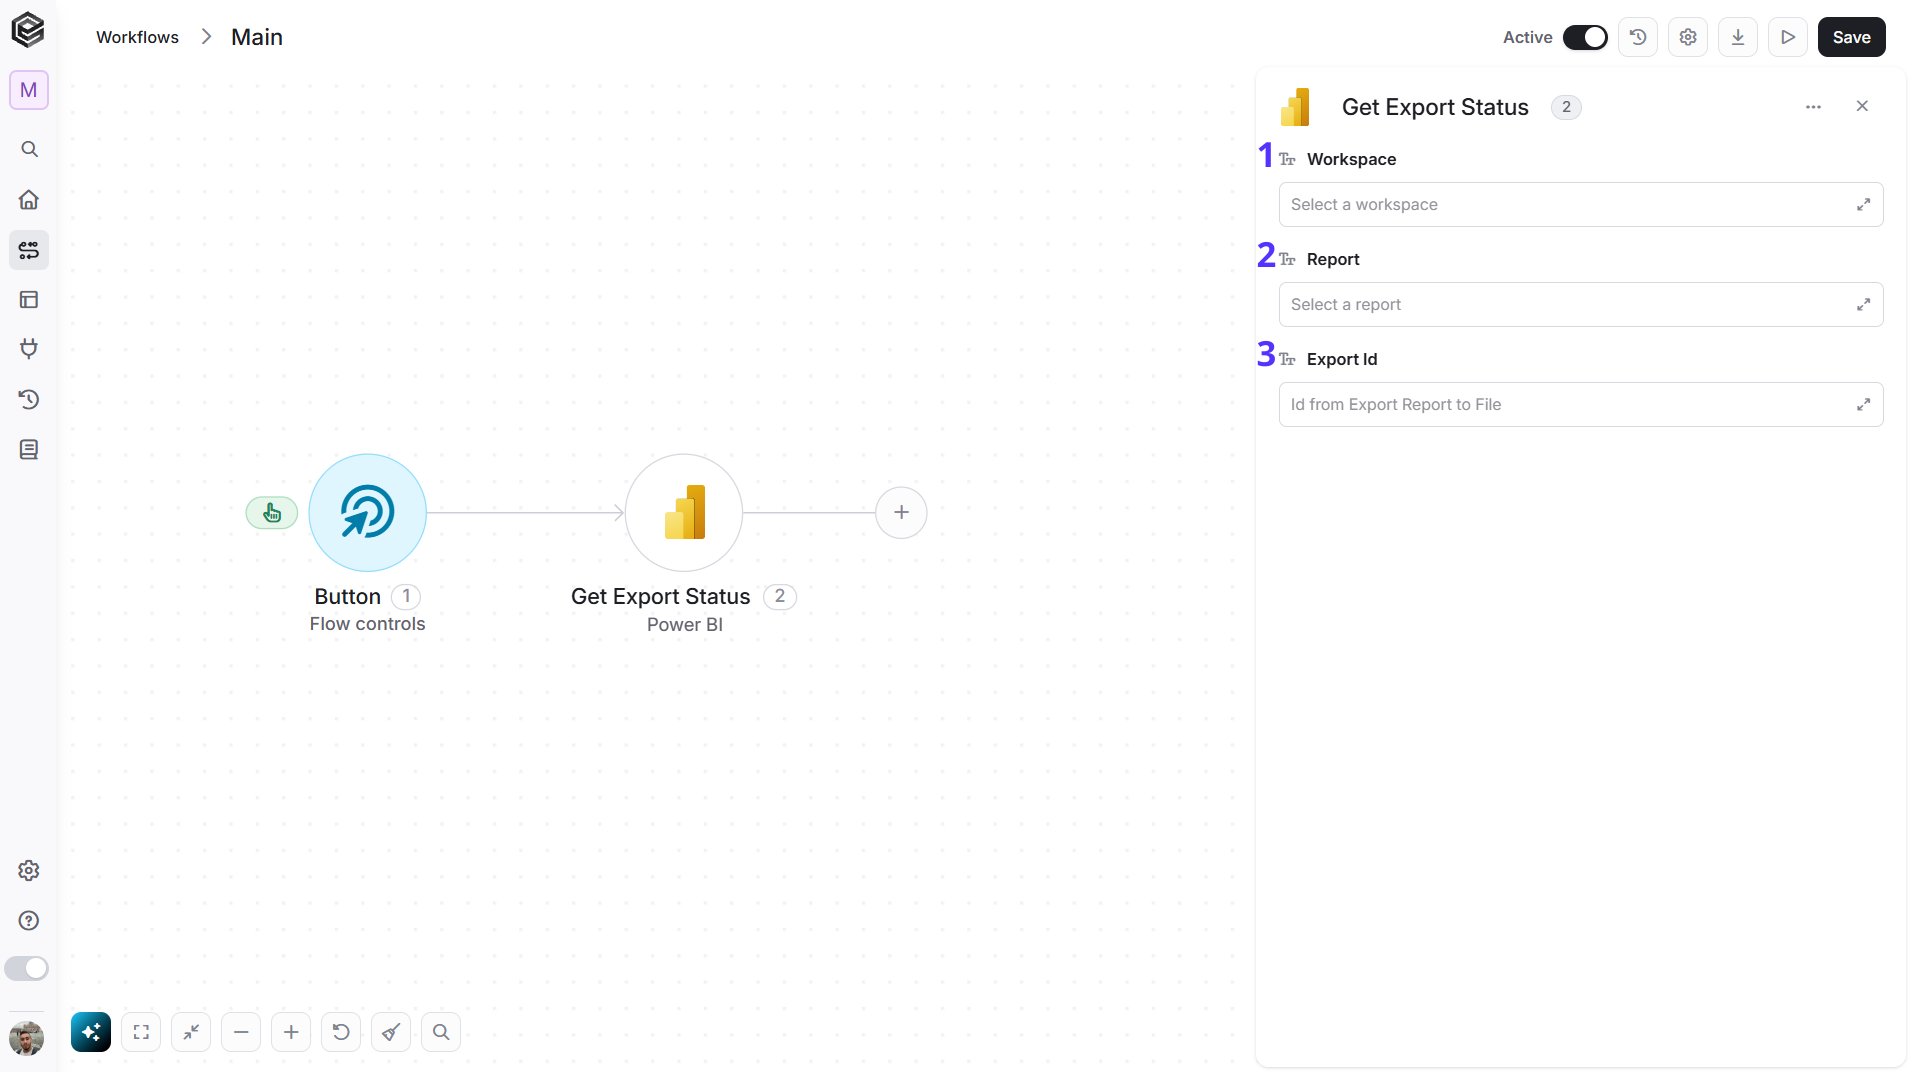
- Workspace - The workspace that holds the report. Click the empty field to open the tooltip, then choose it, or map it from a previous step such as Get Workspaces.
- Report - The report that was exported. Choose a workspace first, then click the empty field to open the tooltip and choose from that workspace’s reports.
- Export Id - The Id returned by Export Report to File. Map it from that step.
Download Export File
Downloads the file of a finished report export.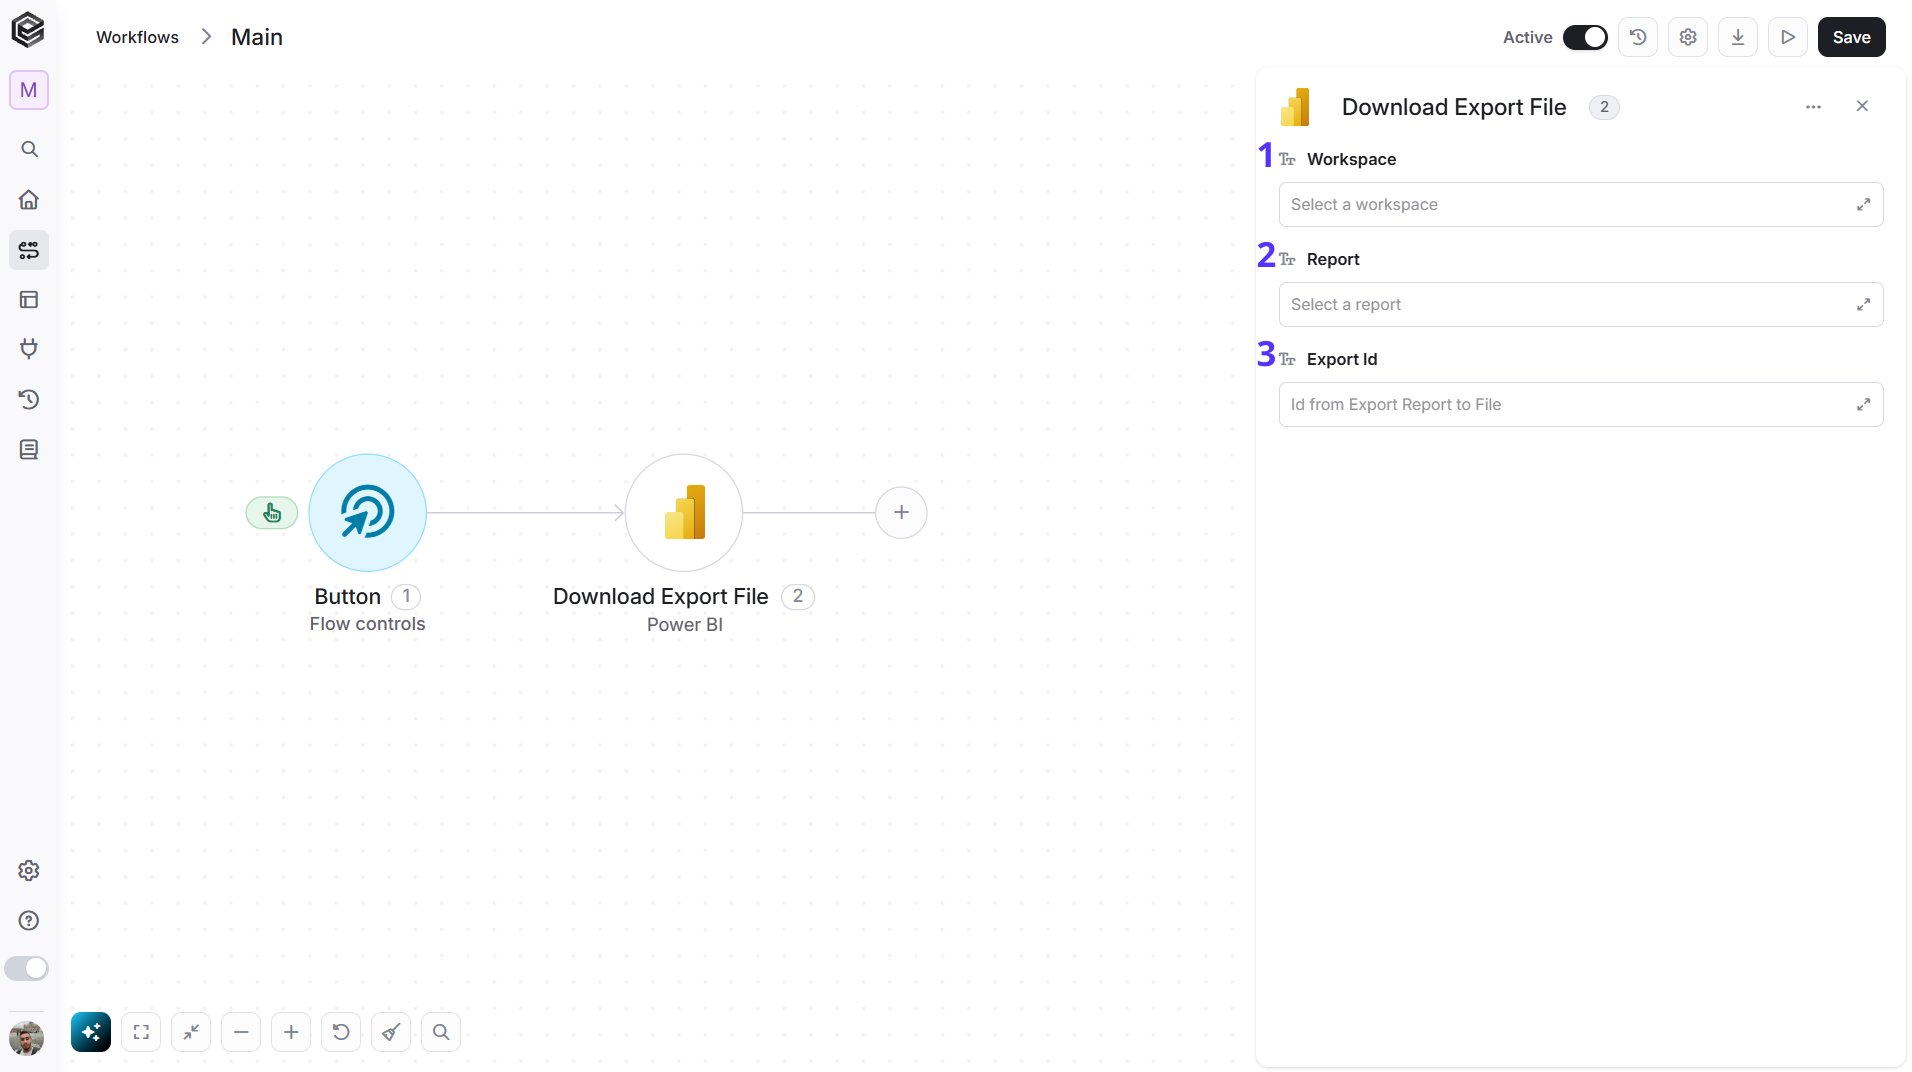
- Workspace - The workspace that holds the report. Click the empty field to open the tooltip, then choose it, or map it from a previous step such as Get Workspaces.
- Report - The report that was exported. Choose a workspace first, then click the empty field to open the tooltip and choose from that workspace’s reports.
- Export Id - The Id returned by Export Report to File. Map it from that step.
Get Gateways
Retrieves the on-premises data gateways that you administer.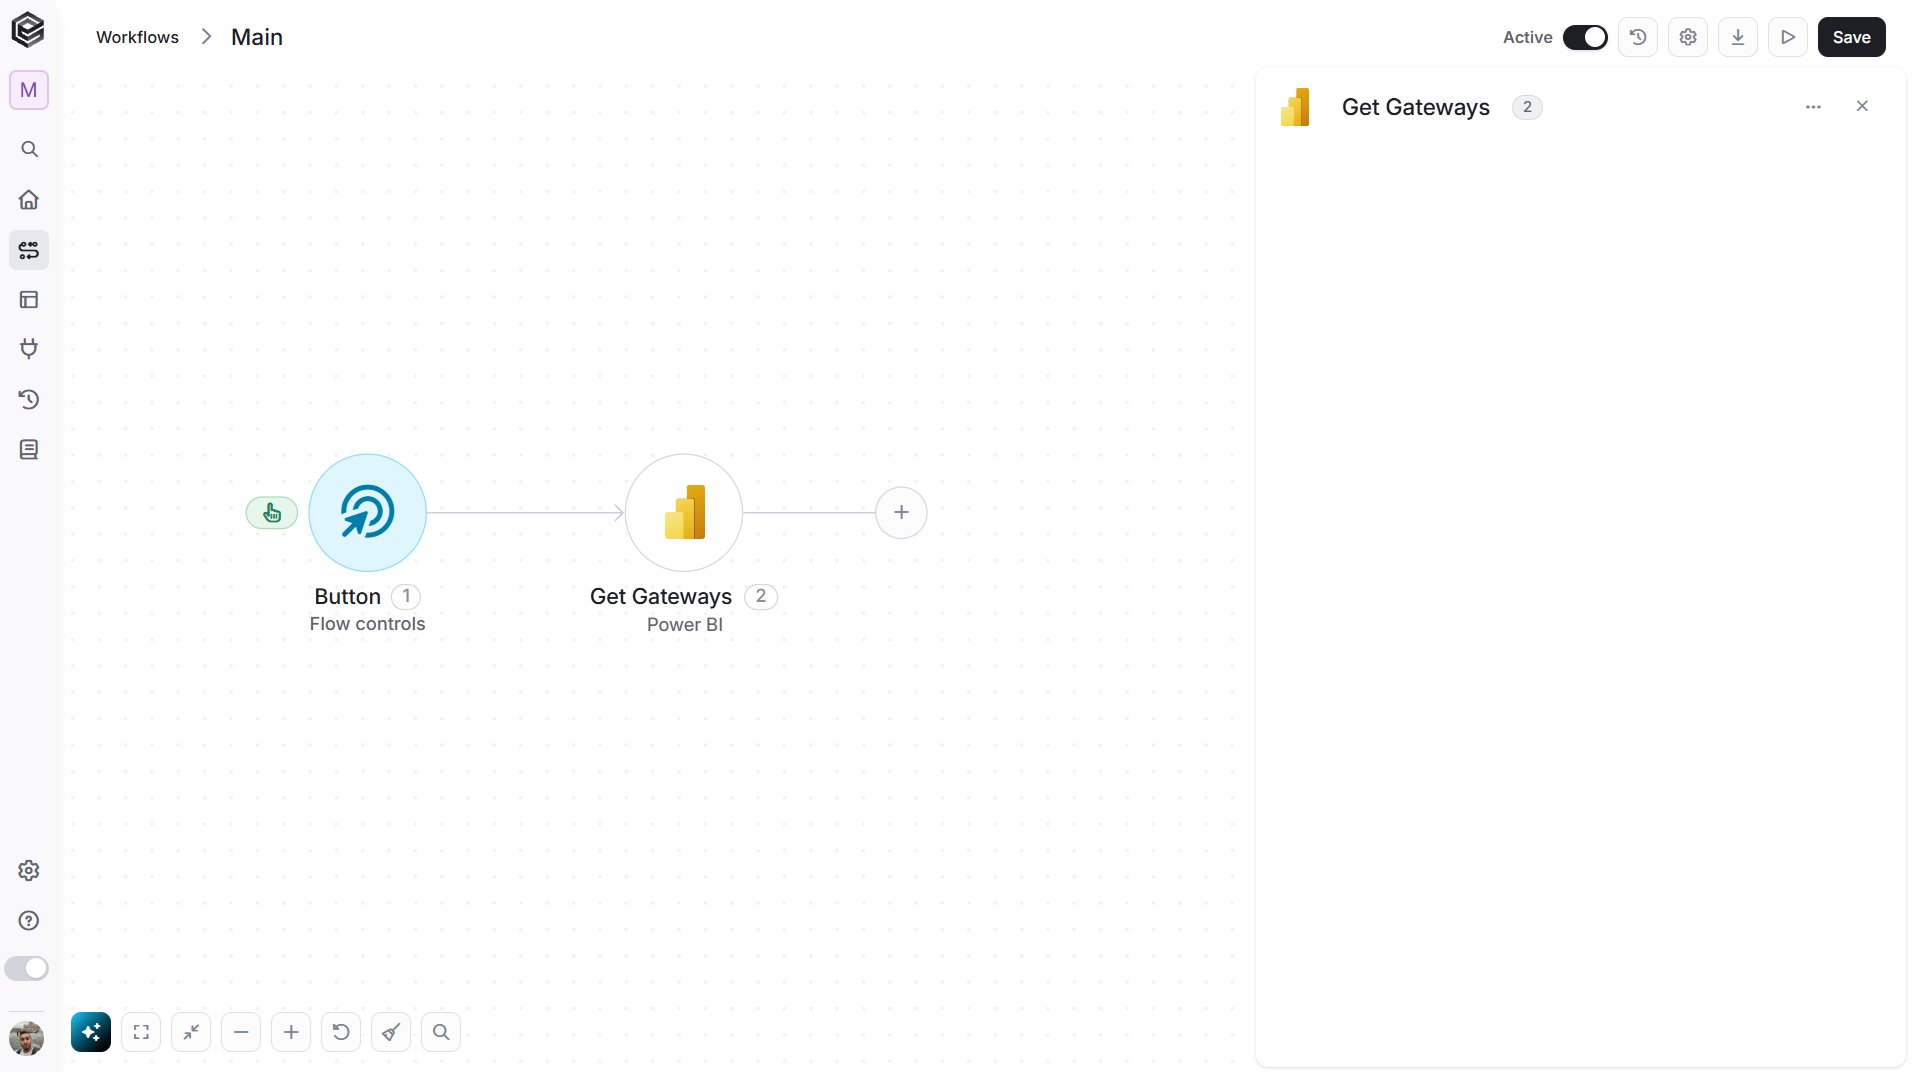
Get Gateway
Retrieves the details of one on-premises data gateway.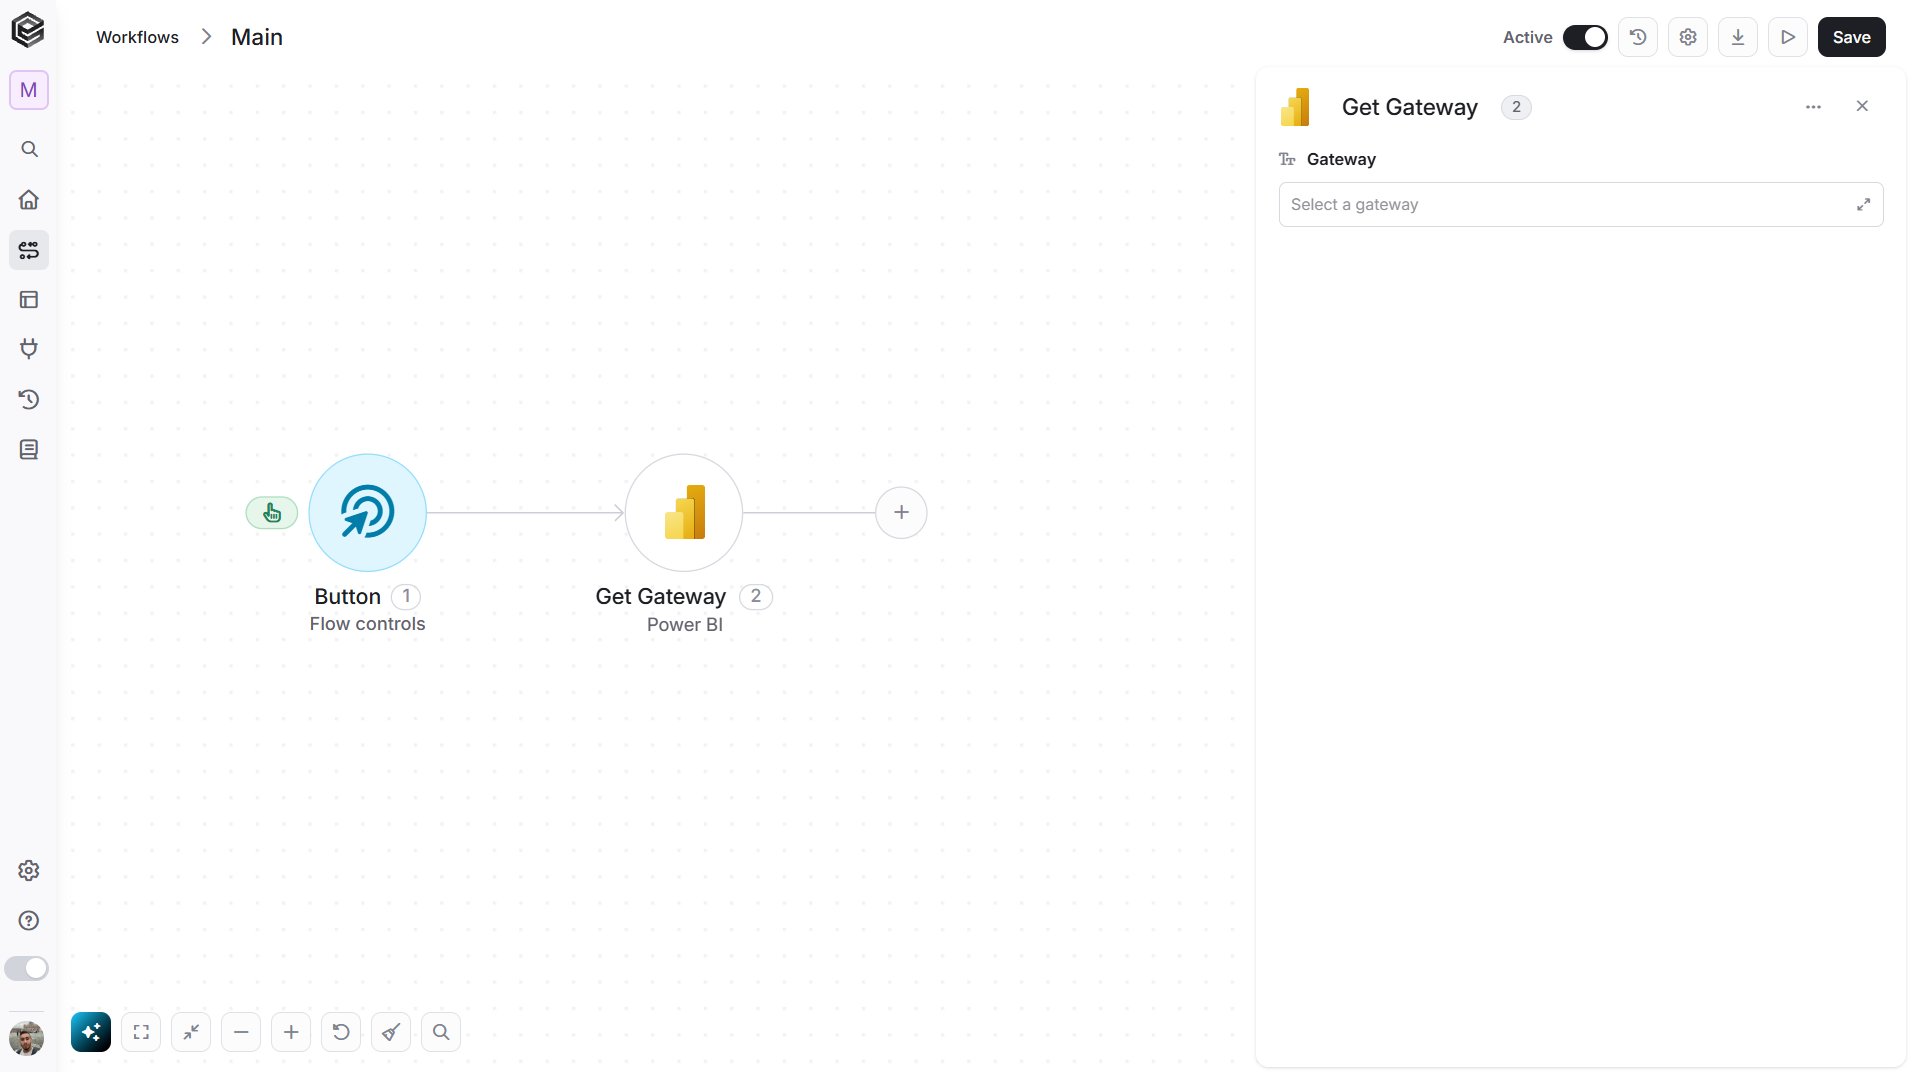
- Gateway - The gateway to use. Click the empty field to open the tooltip, then choose it, or map it from a previous step such as Get Gateways.
Get Gateway Data Sources
Retrieves the data sources of an on-premises data gateway.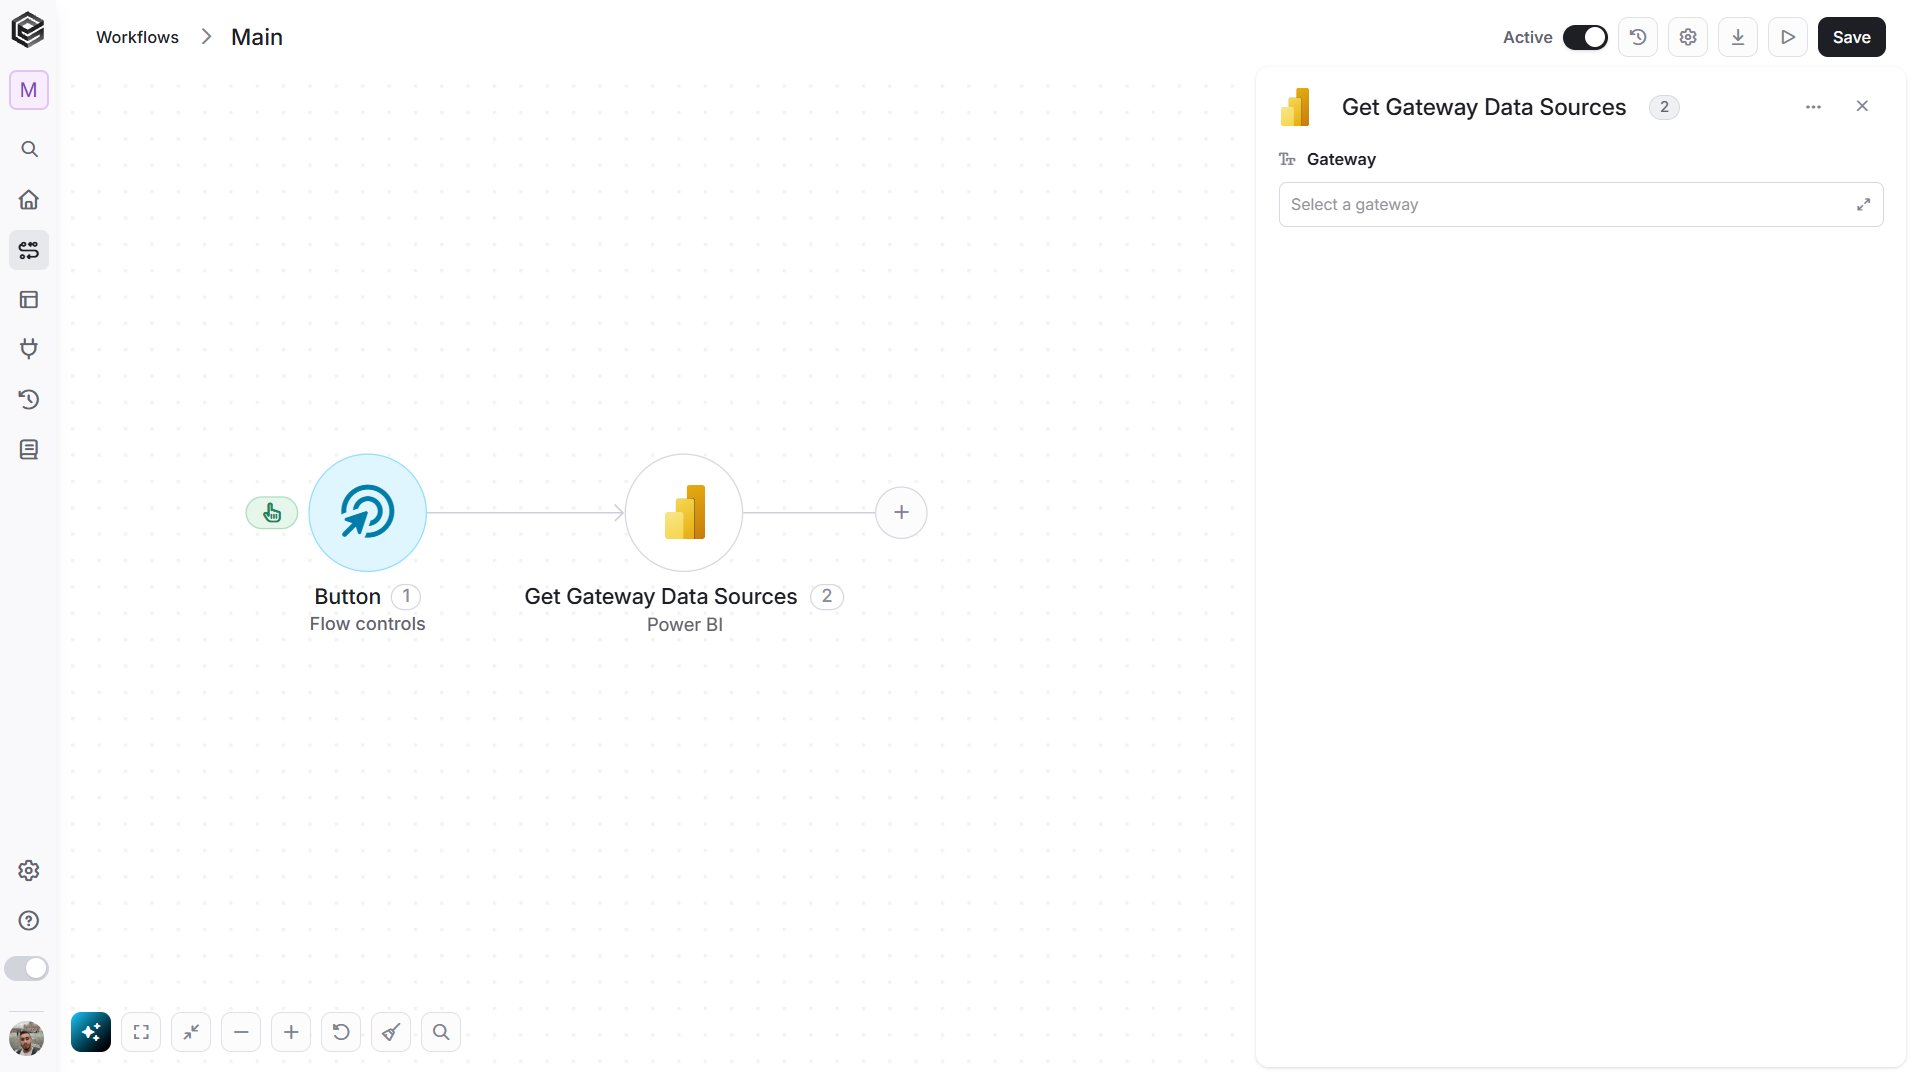
- Gateway - The gateway whose data sources you want to retrieve. Click the empty field to open the tooltip, then choose it, or map it from a previous step such as Get Gateways.
Get Gateway Data Source
Retrieves the details of one data source of an on-premises data gateway.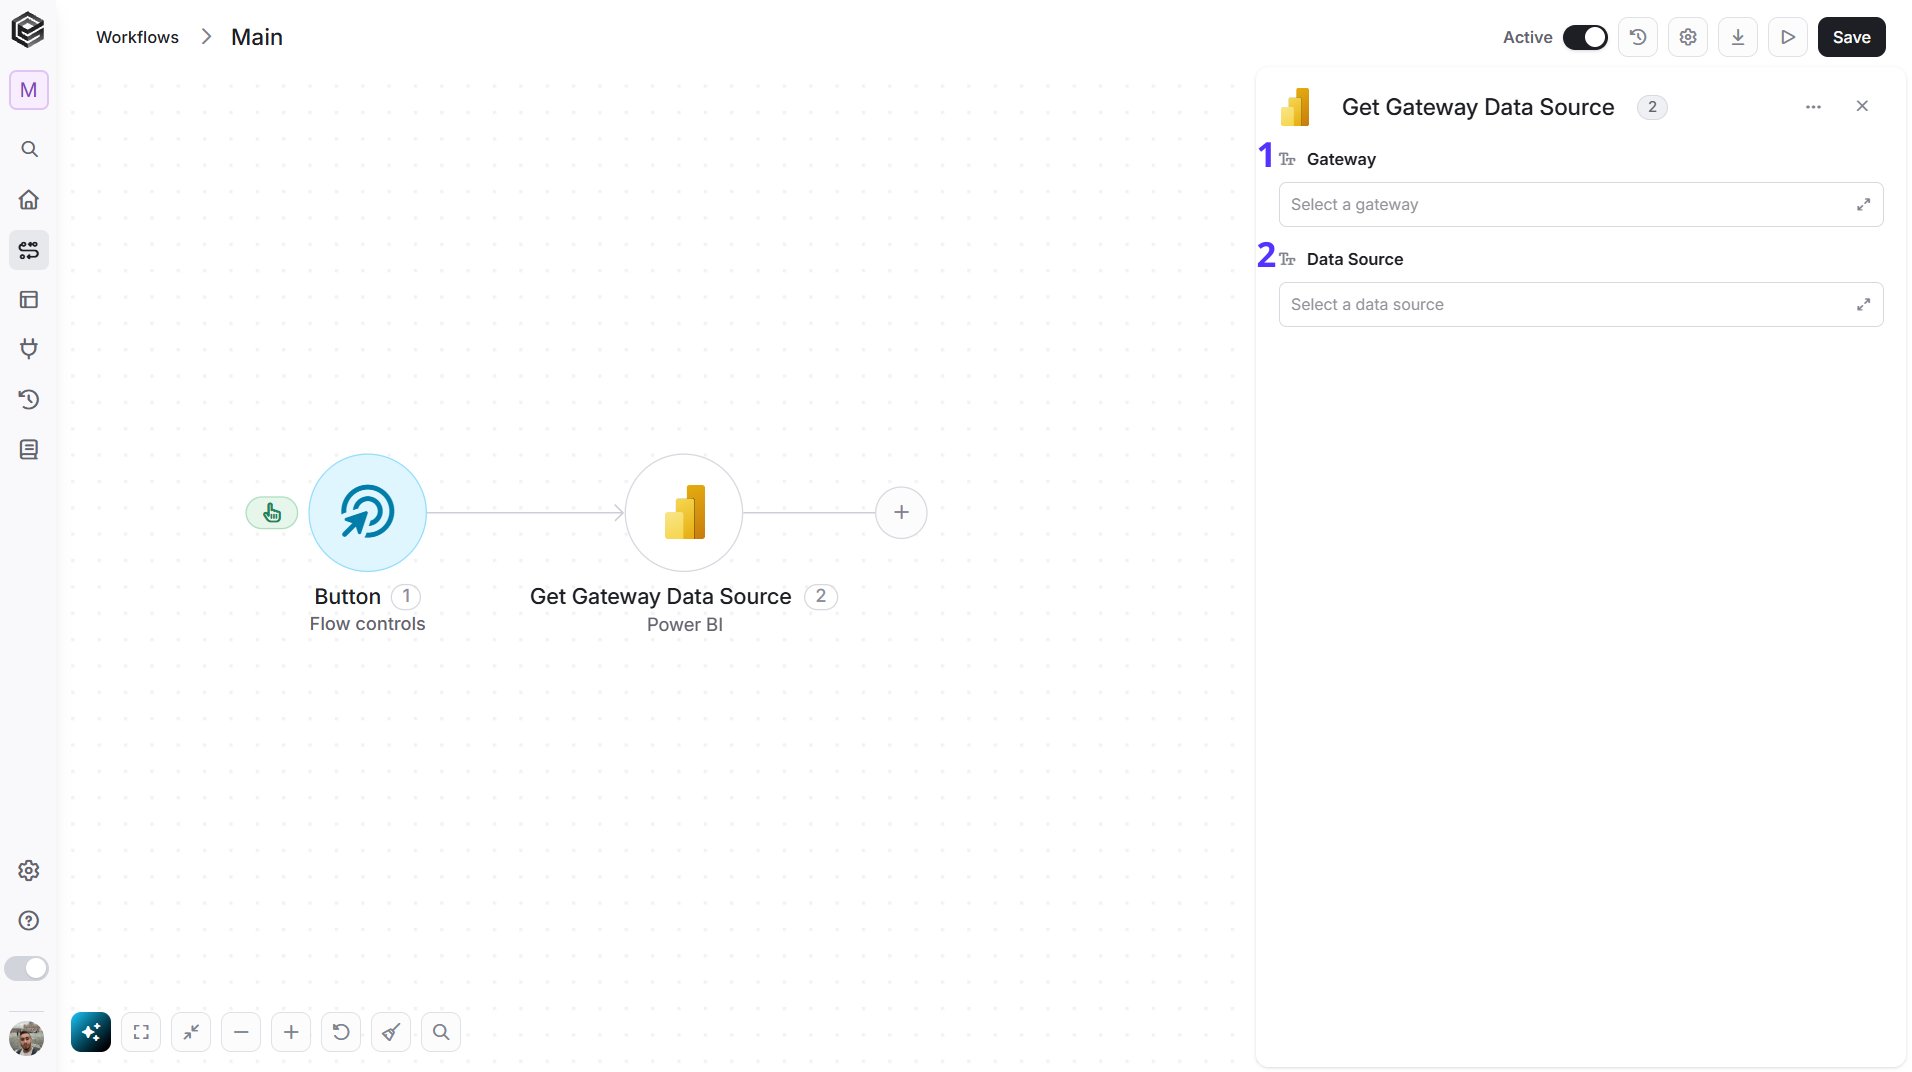
- Gateway - The gateway to use. Click the empty field to open the tooltip, then choose it, or map it from a previous step such as Get Gateways.
- Data Source - The data source to retrieve. Choose an app first, then click the empty field to open the tooltip and choose from that gateway’s data sources, or map the value from a previous step such as Get Gateway Data Sources.
Get Gateway Data Source Users
Retrieves the users who have access to a data source of an on-premises data gateway.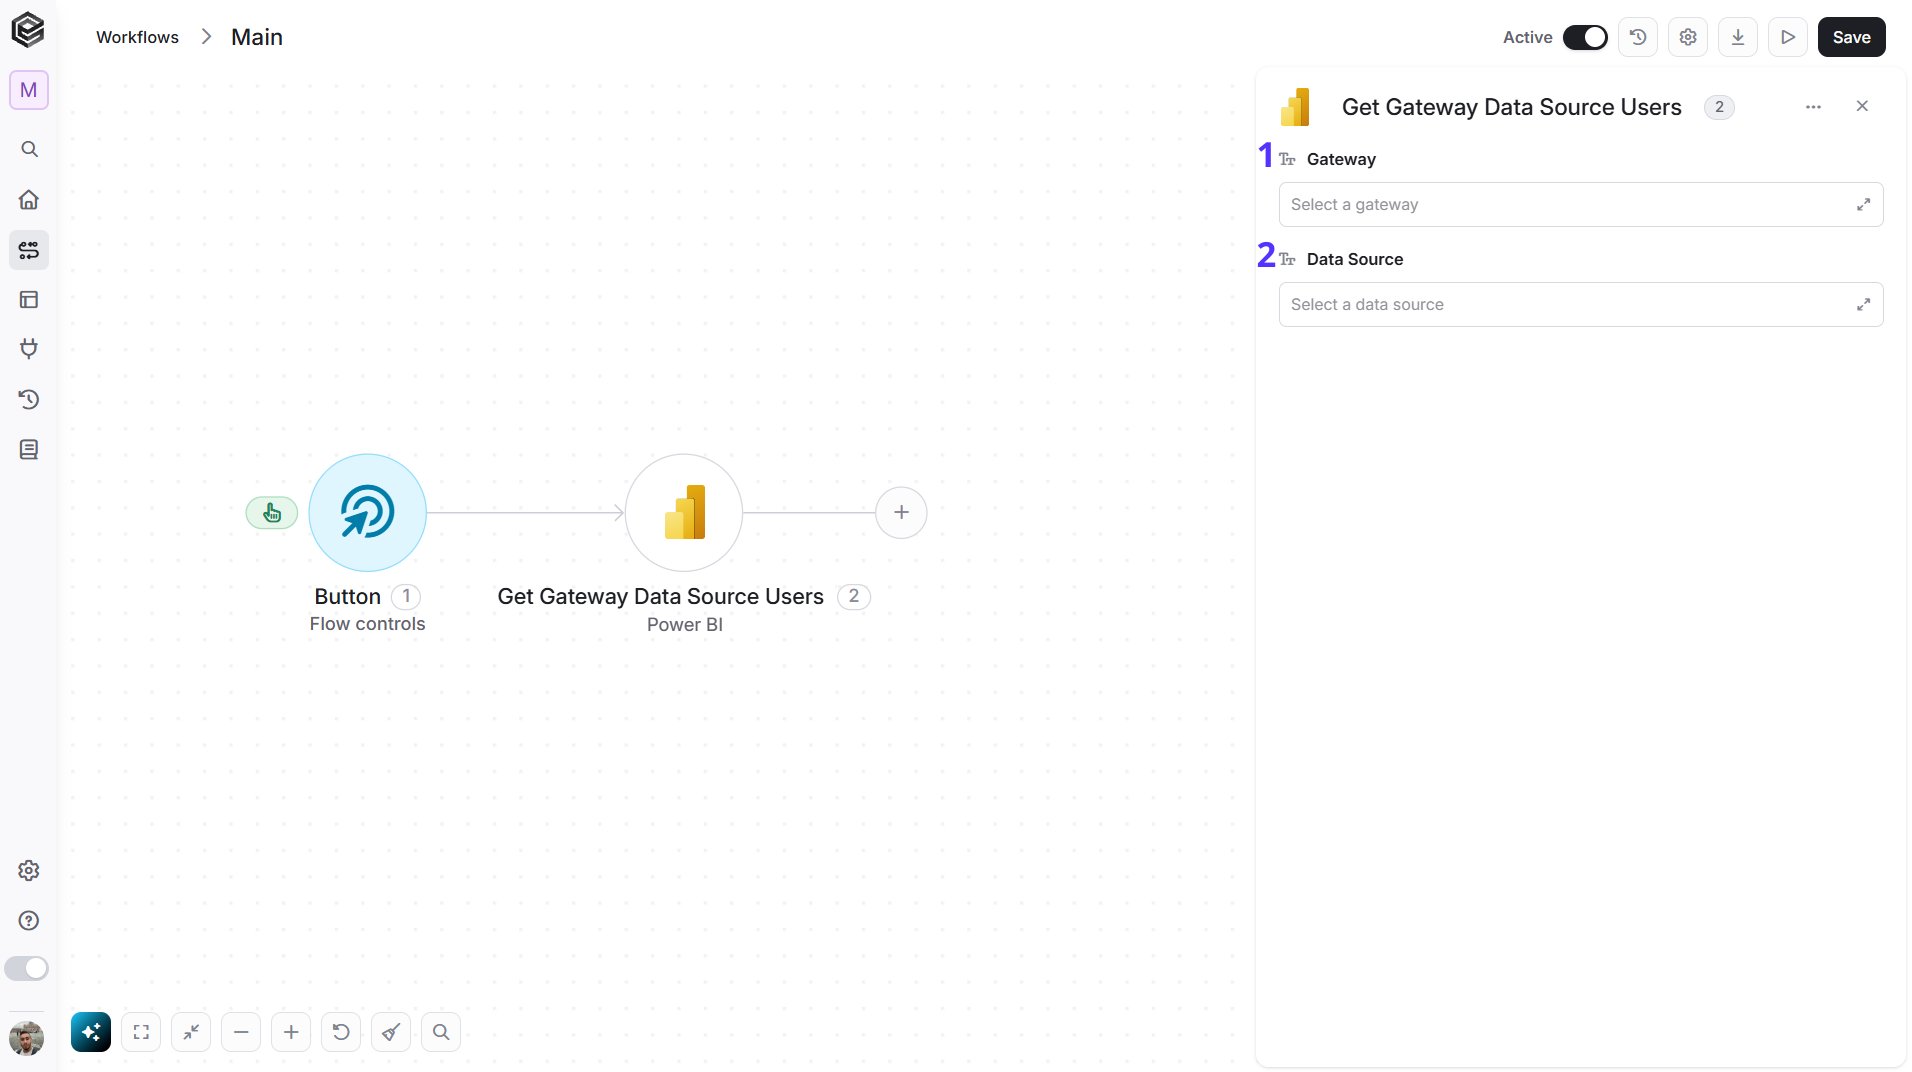
- Gateway - The gateway to use. Click the empty field to open the tooltip, then choose it, or map it from a previous step such as Get Gateways.
- Data Source - The data source whose users you want to retrieve. Choose an app first, then click the empty field to open the tooltip and choose from that gateway’s data sources, or map the value from a previous step such as Get Gateway Data Sources.
Get Dataflows
Retrieves the dataflows of a workspace.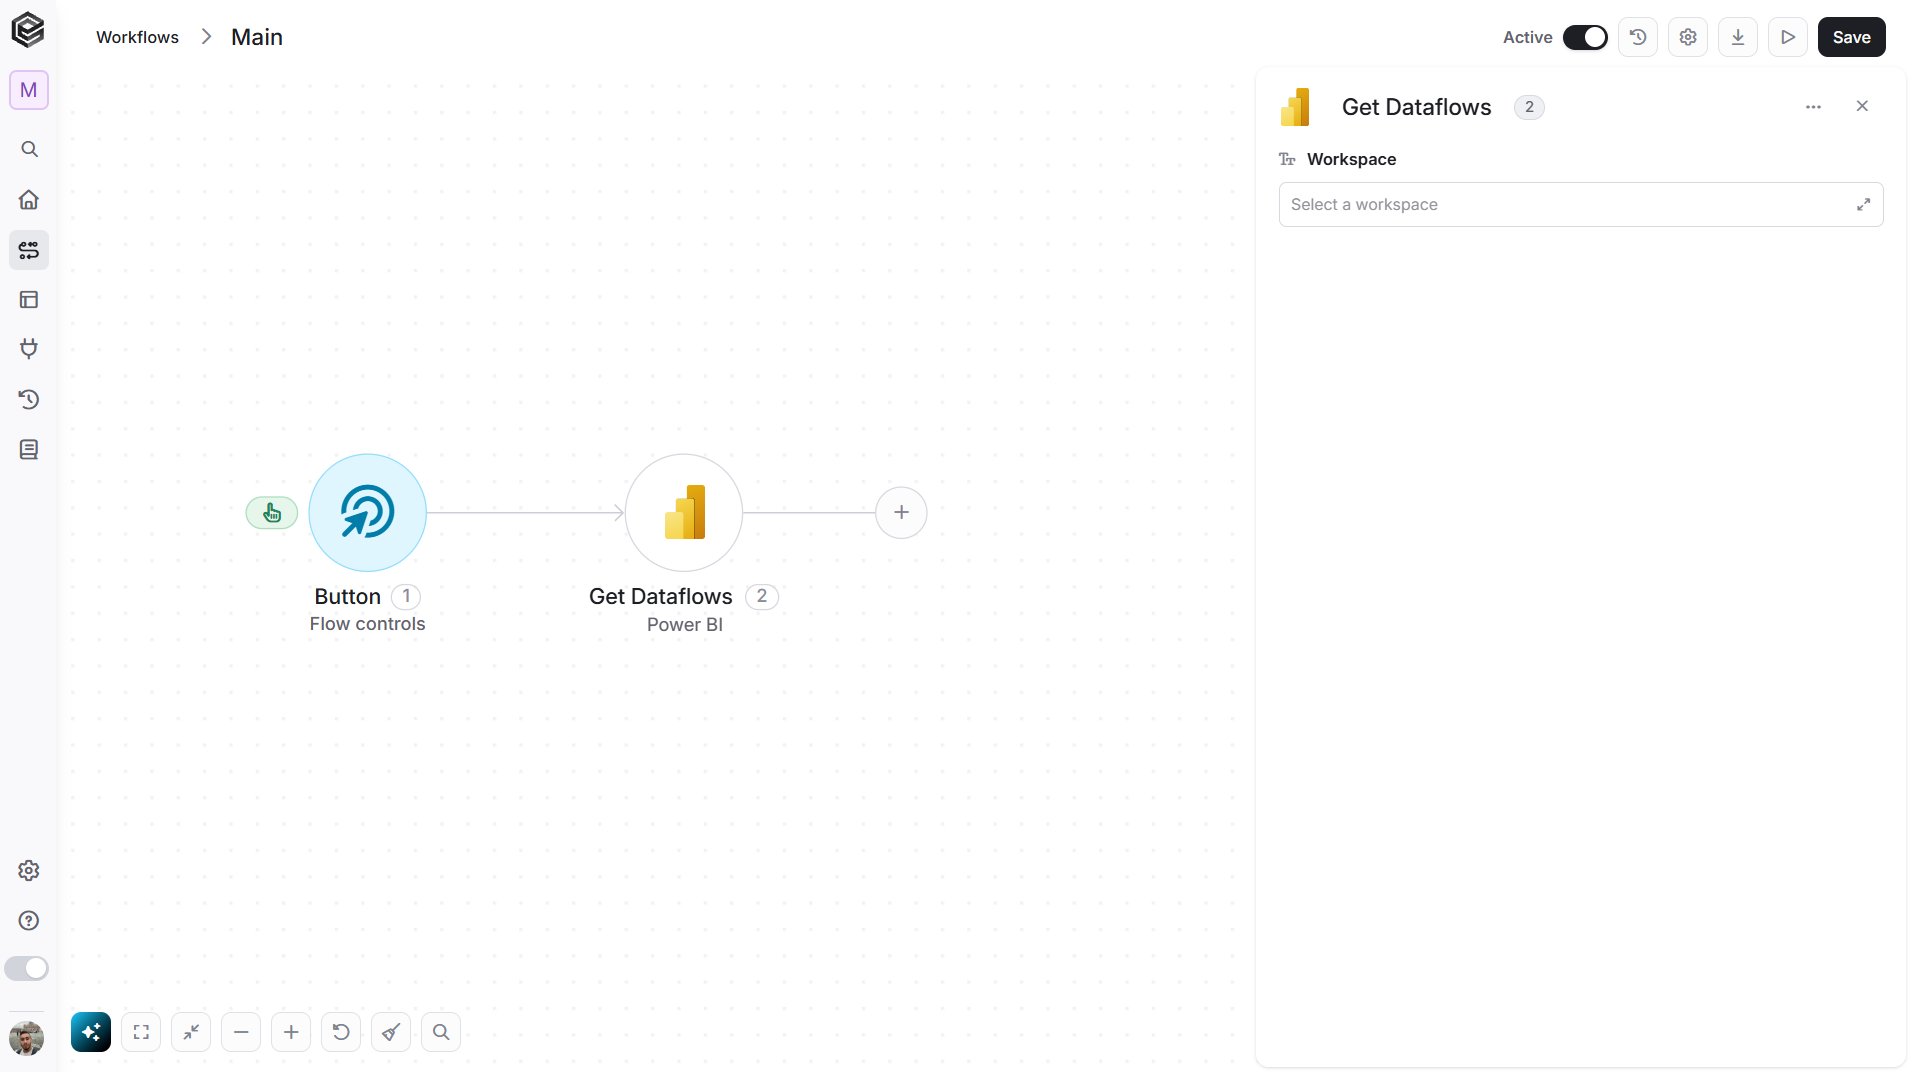
- Workspace - The workspace whose dataflows you want to retrieve. Click the empty field to open the tooltip, then choose it, or map it from a previous step such as Get Workspaces.
Get Imports
Retrieves the imports of a workspace, such as uploaded Power BI files.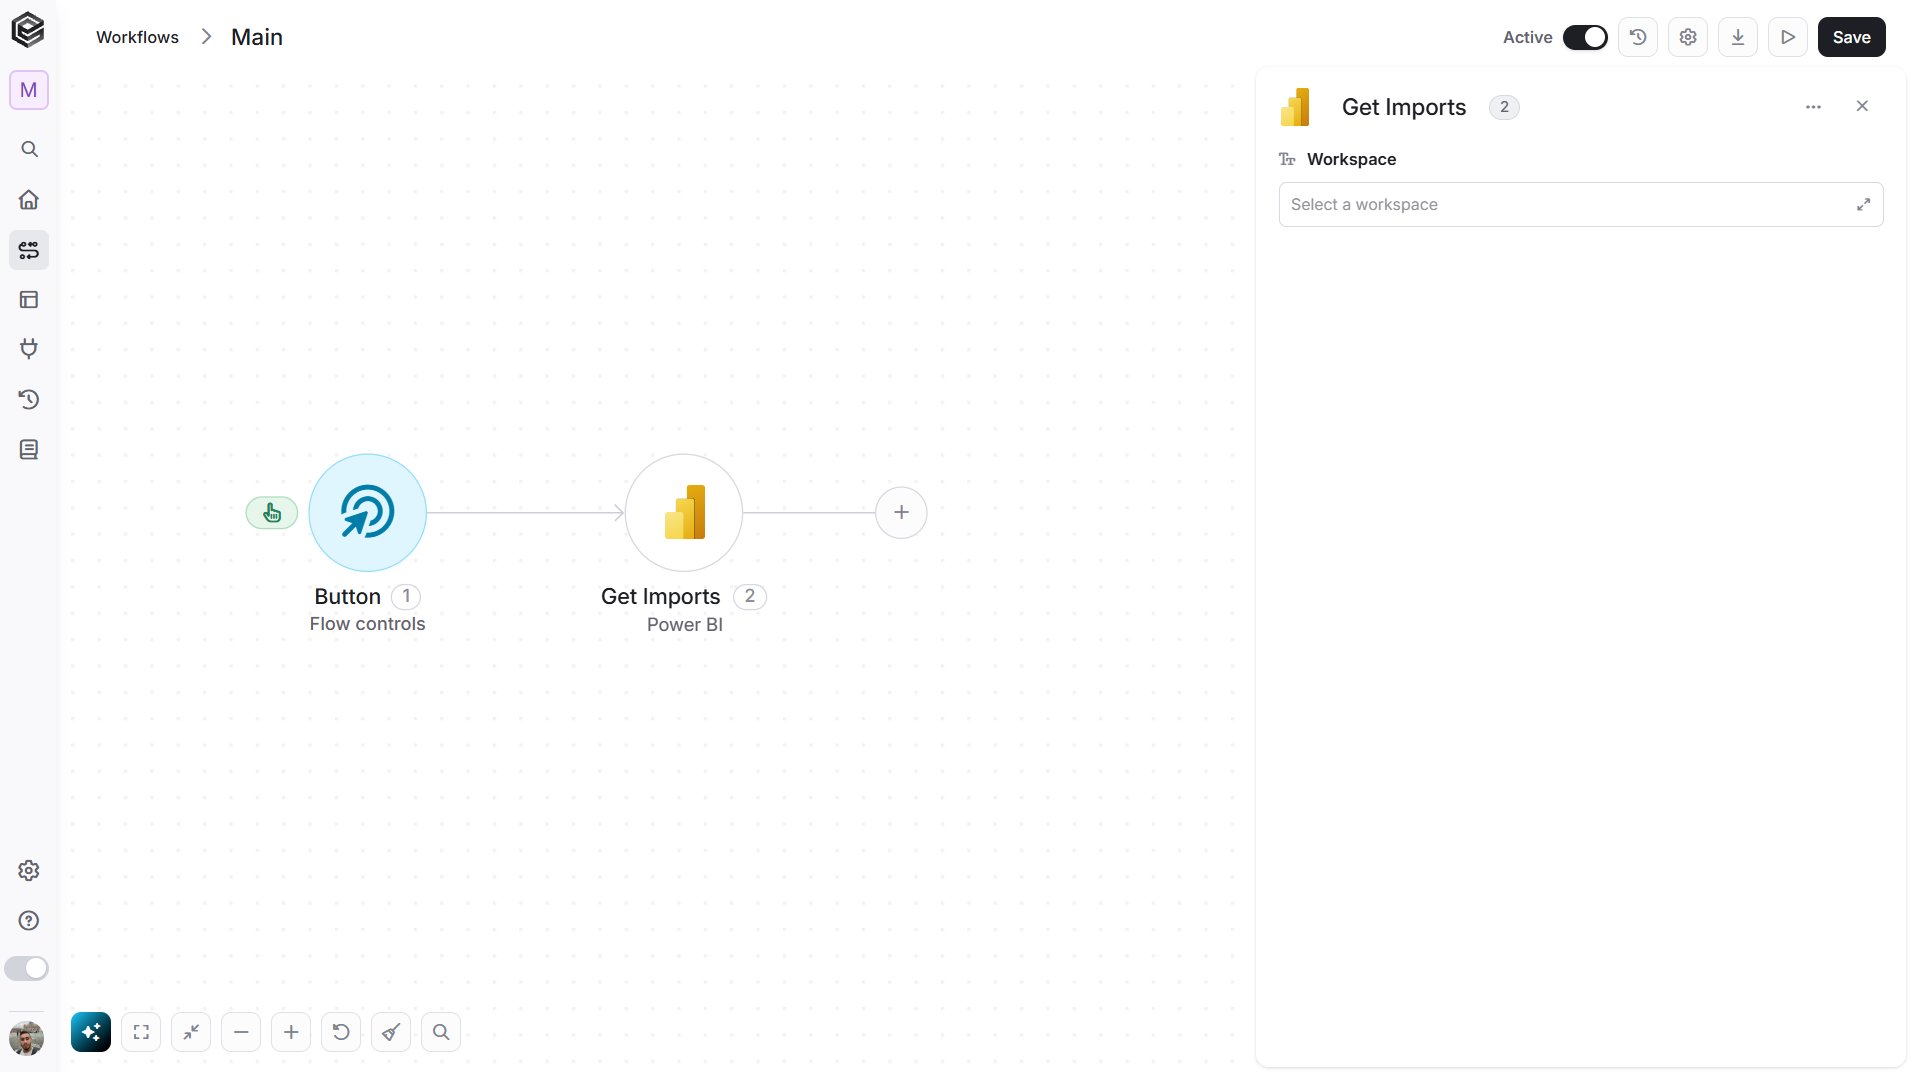
- Workspace - The workspace whose imports you want to retrieve. Click the empty field to open the tooltip, then choose it, or map it from a previous step such as Get Workspaces.
Get Apps
Retrieves the Power BI apps you can access.
Get App
Retrieves the details of one app.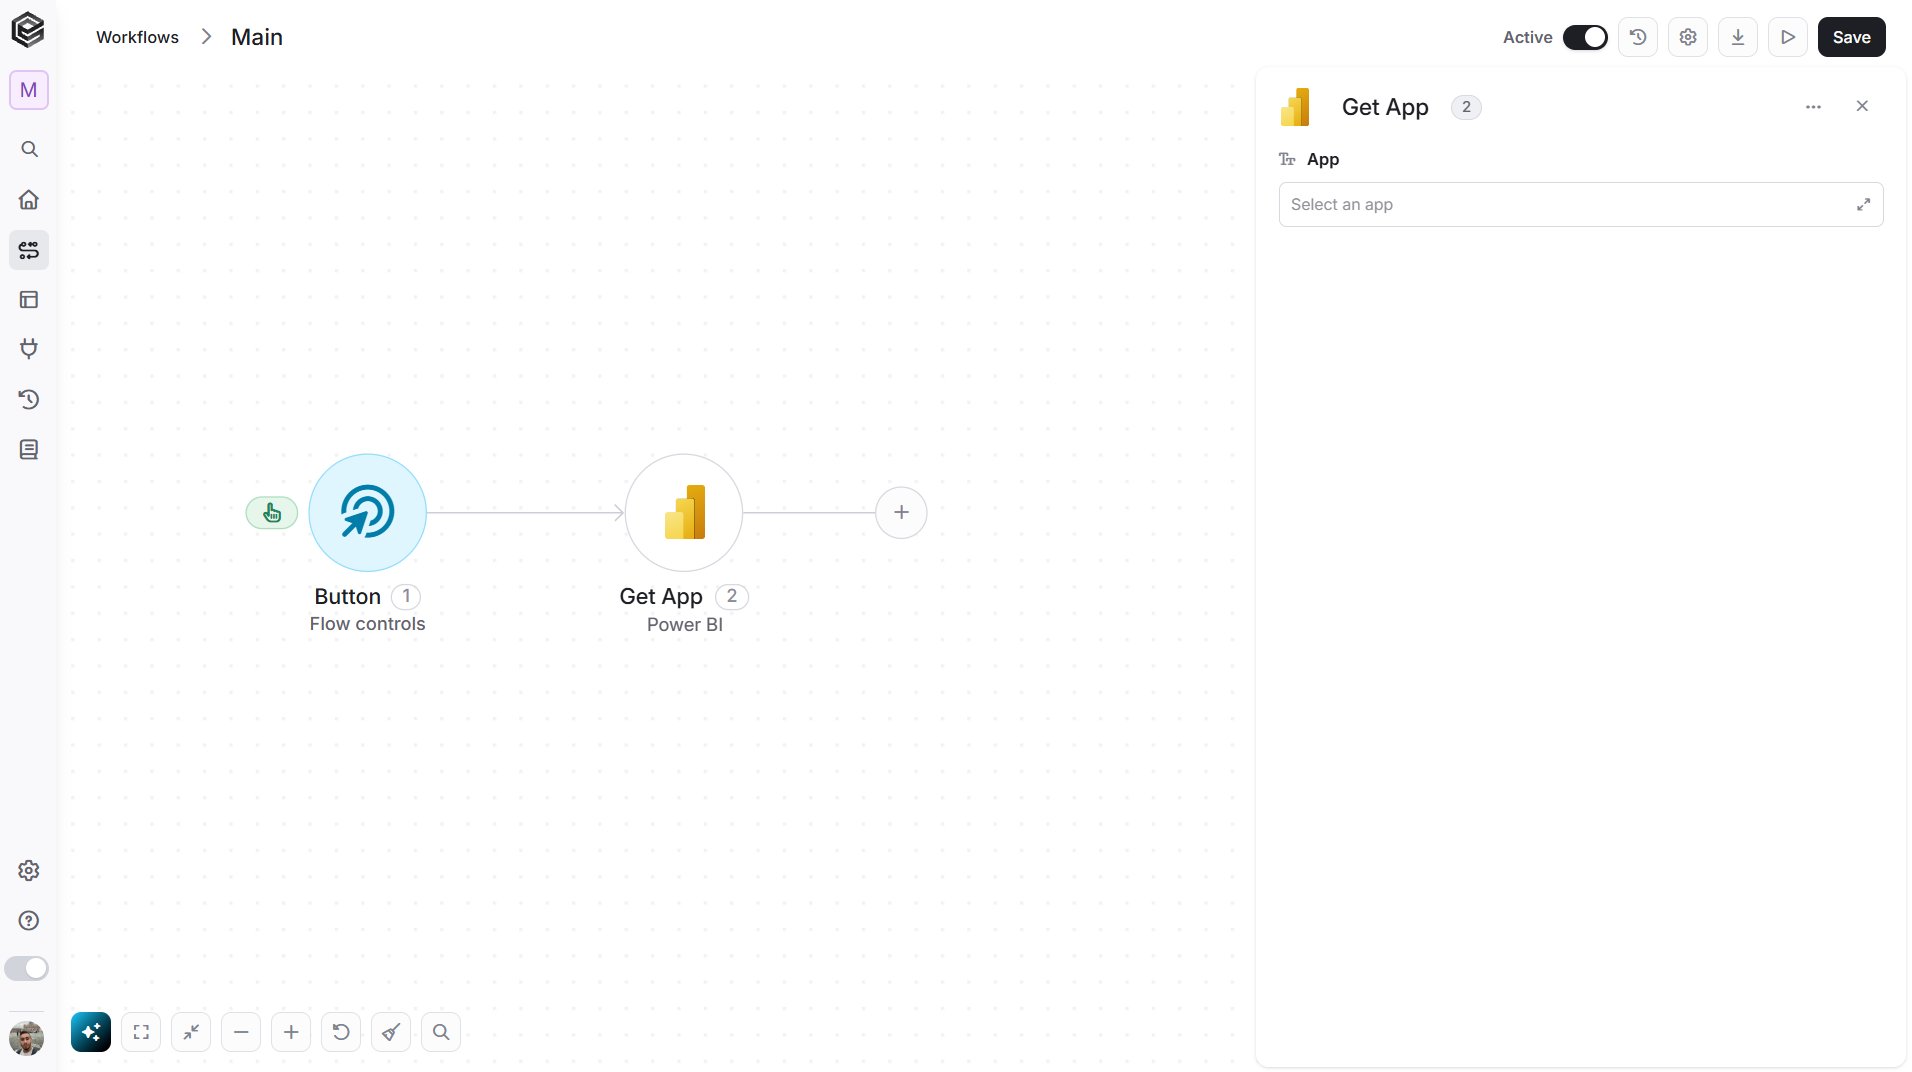
- App - The app to use. Click the empty field to open the tooltip, then choose it, or map it from a previous step such as Get Apps.
Get App Dashboards
Retrieves the dashboards of an app.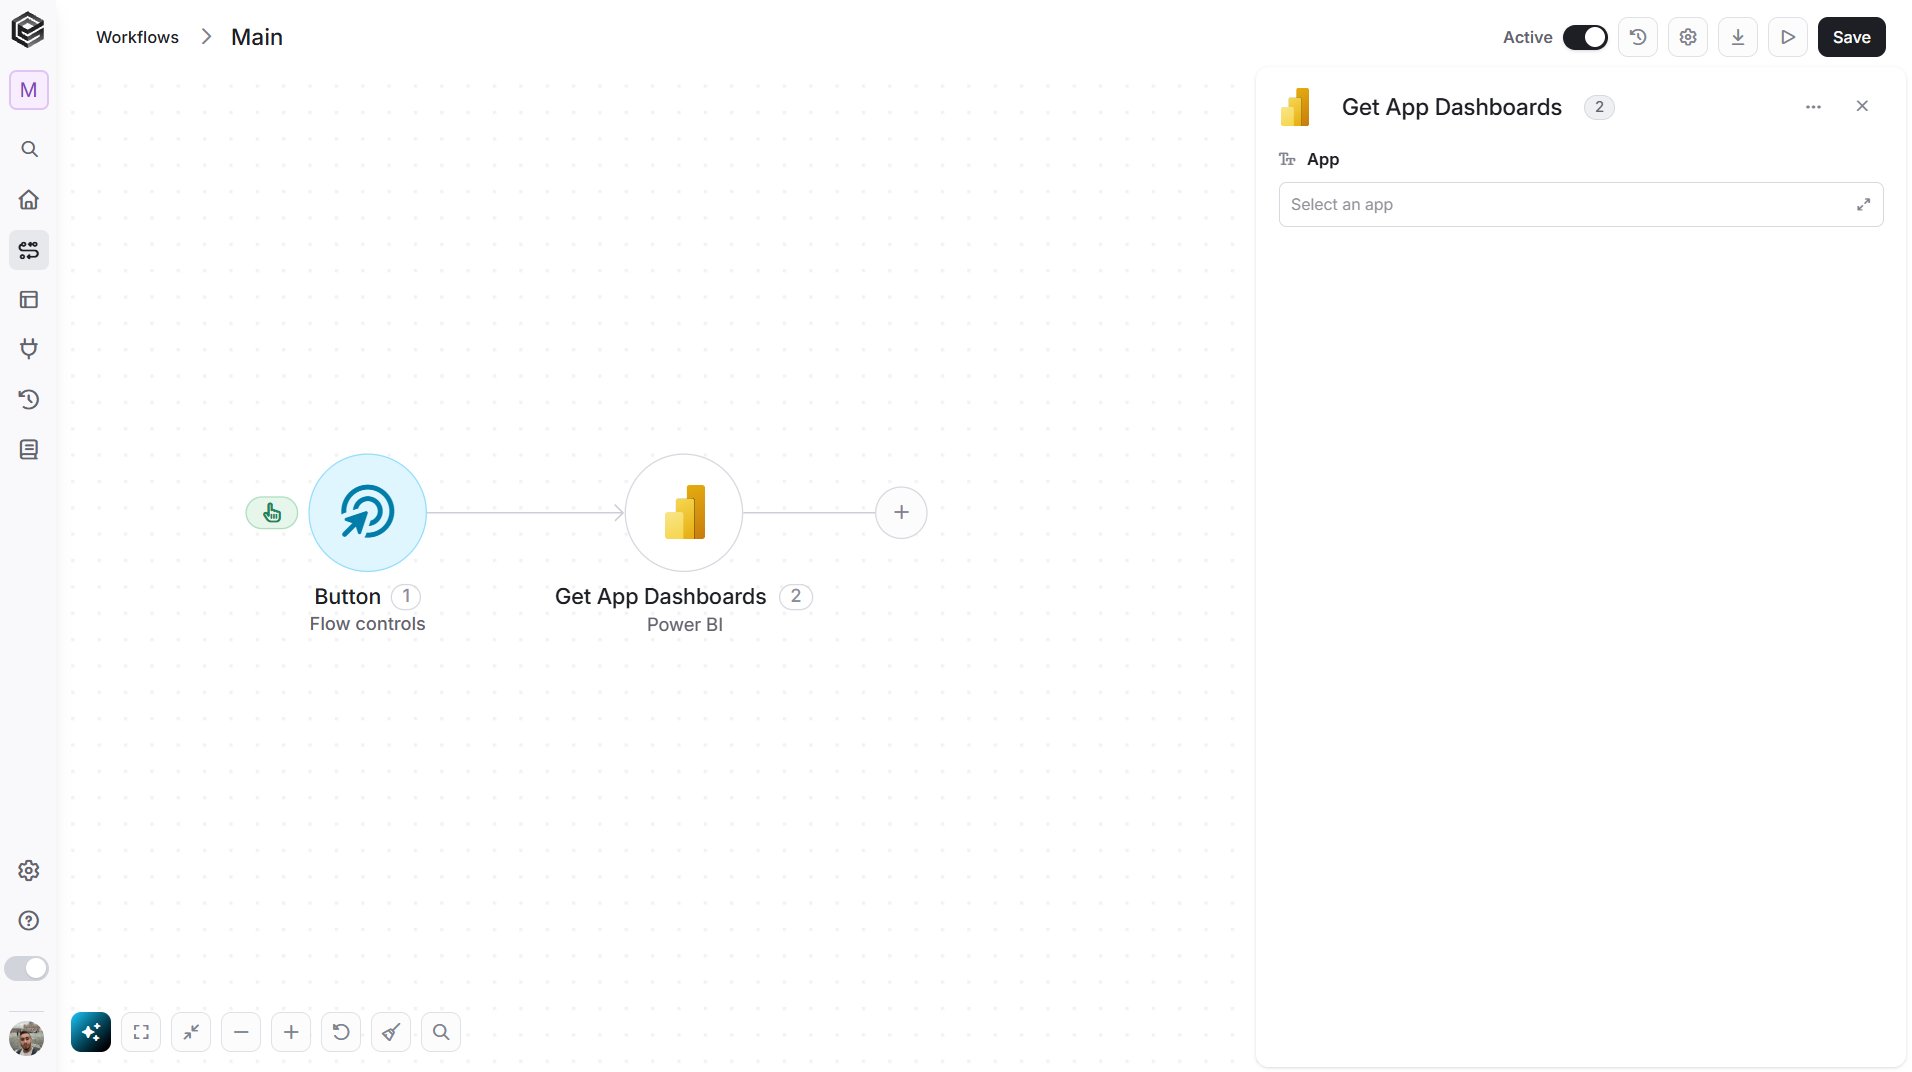
- App - The app to use. Click the empty field to open the tooltip, then choose it, or map it from a previous step such as Get Apps.
Get App Dashboard
Retrieves the details of one dashboard of an app.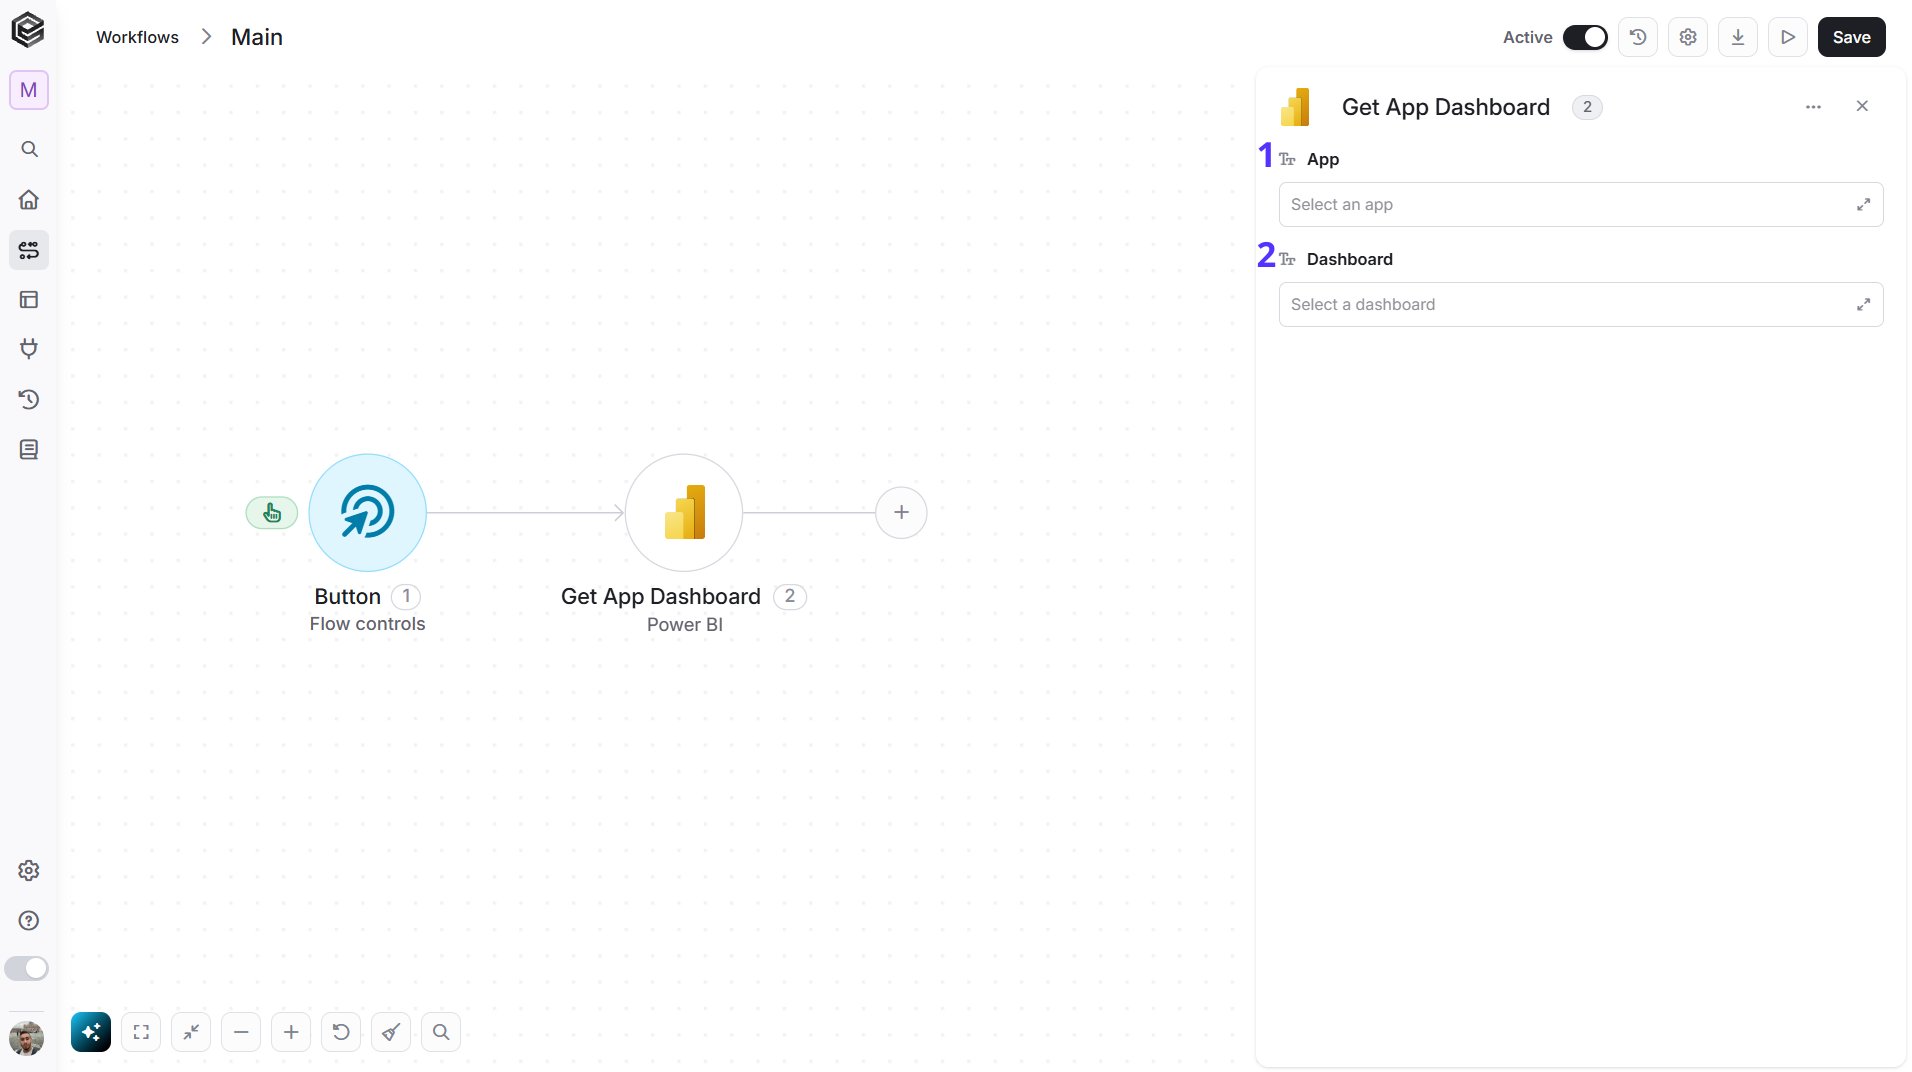
- App - The app to use. Click the empty field to open the tooltip, then choose it, or map it from a previous step such as Get Apps.
- Dashboard - The dashboard to use. Choose an app first, then click the empty field to open the tooltip and choose from that app’s dashboards, or map the value from a previous step such as Get App Dashboards.
Get App Reports
Retrieves the reports of an app.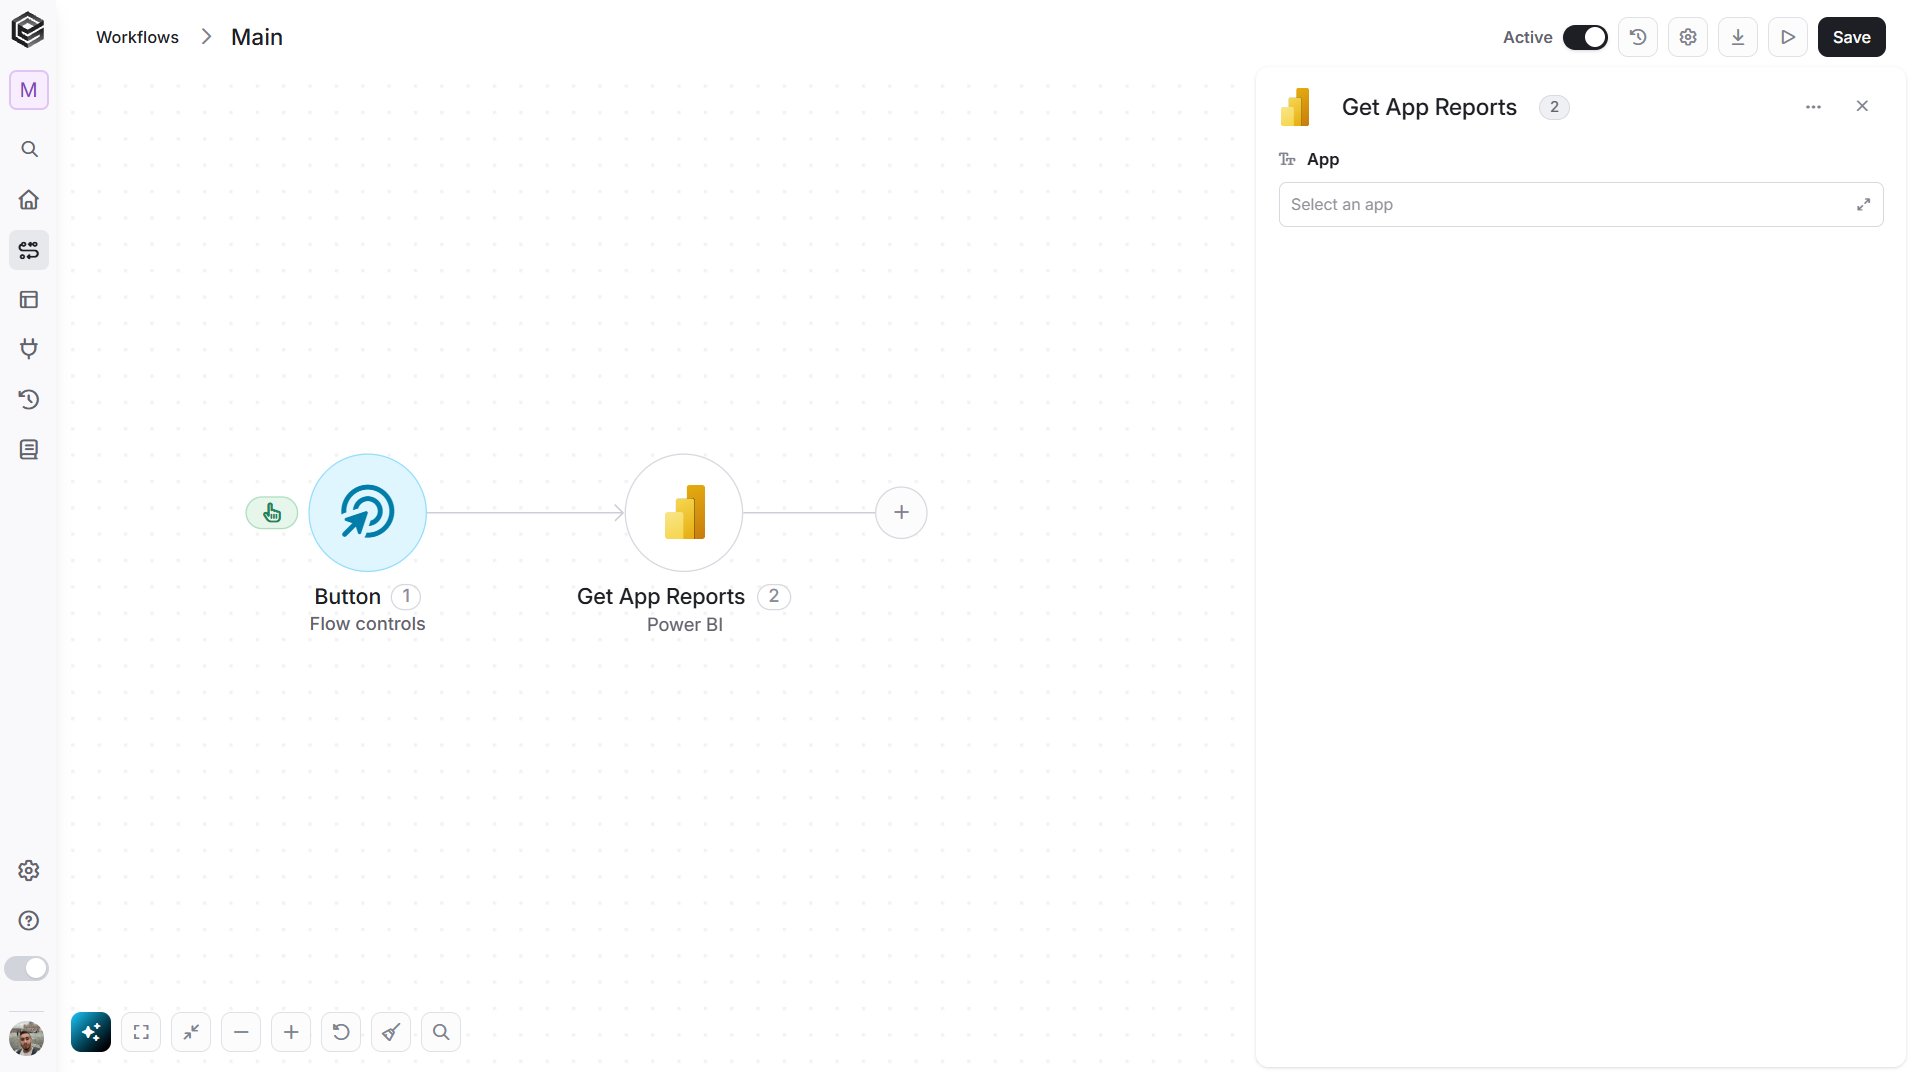
- App - The app to use. Click the empty field to open the tooltip, then choose it, or map it from a previous step such as Get Apps.
Get App Report
Retrieves the details of one report of an app.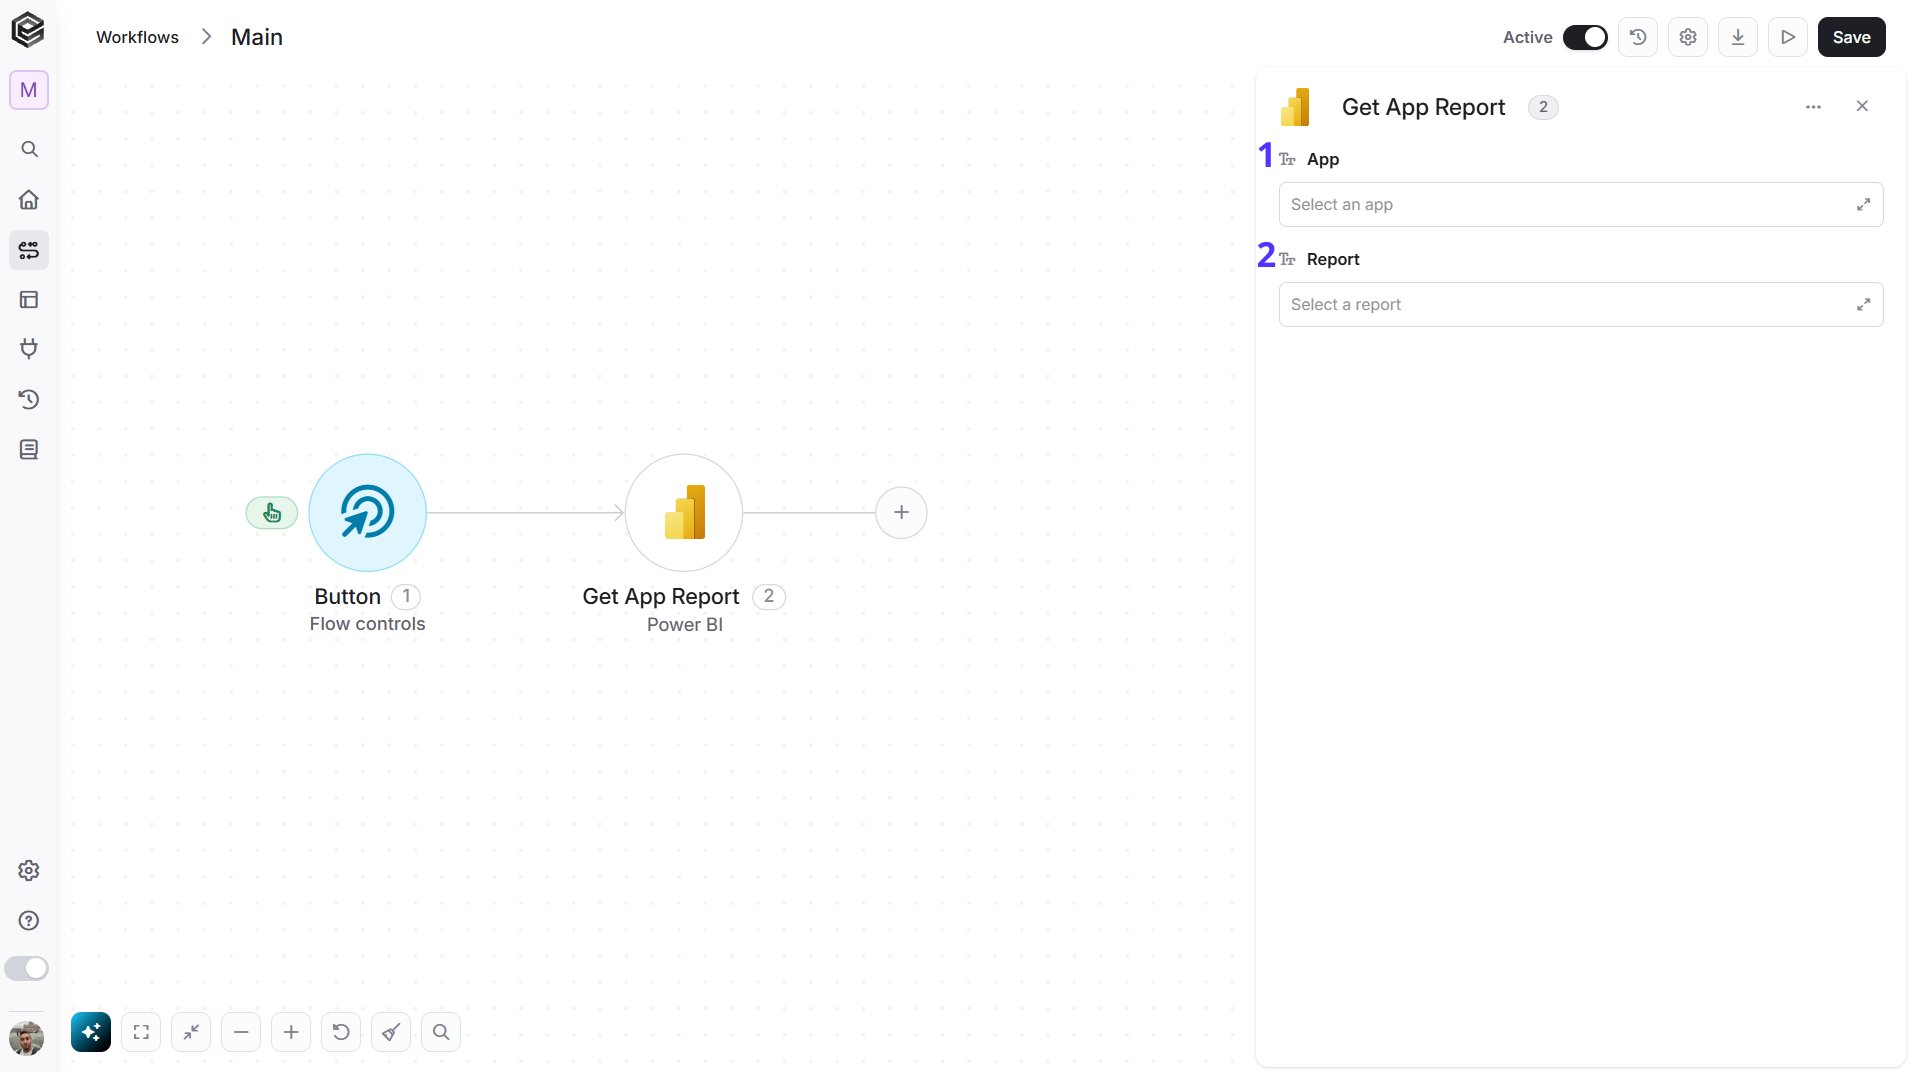
- App - The app to use. Click the empty field to open the tooltip, then choose it, or map it from a previous step such as Get Apps.
- Report - The report to retrieve. Choose an app first, then click the empty field to open the tooltip and choose from that app’s reports, or map the value from a previous step such as Get App Reports.
Get App Dashboard Tiles
Retrieves the tiles of a dashboard of an app.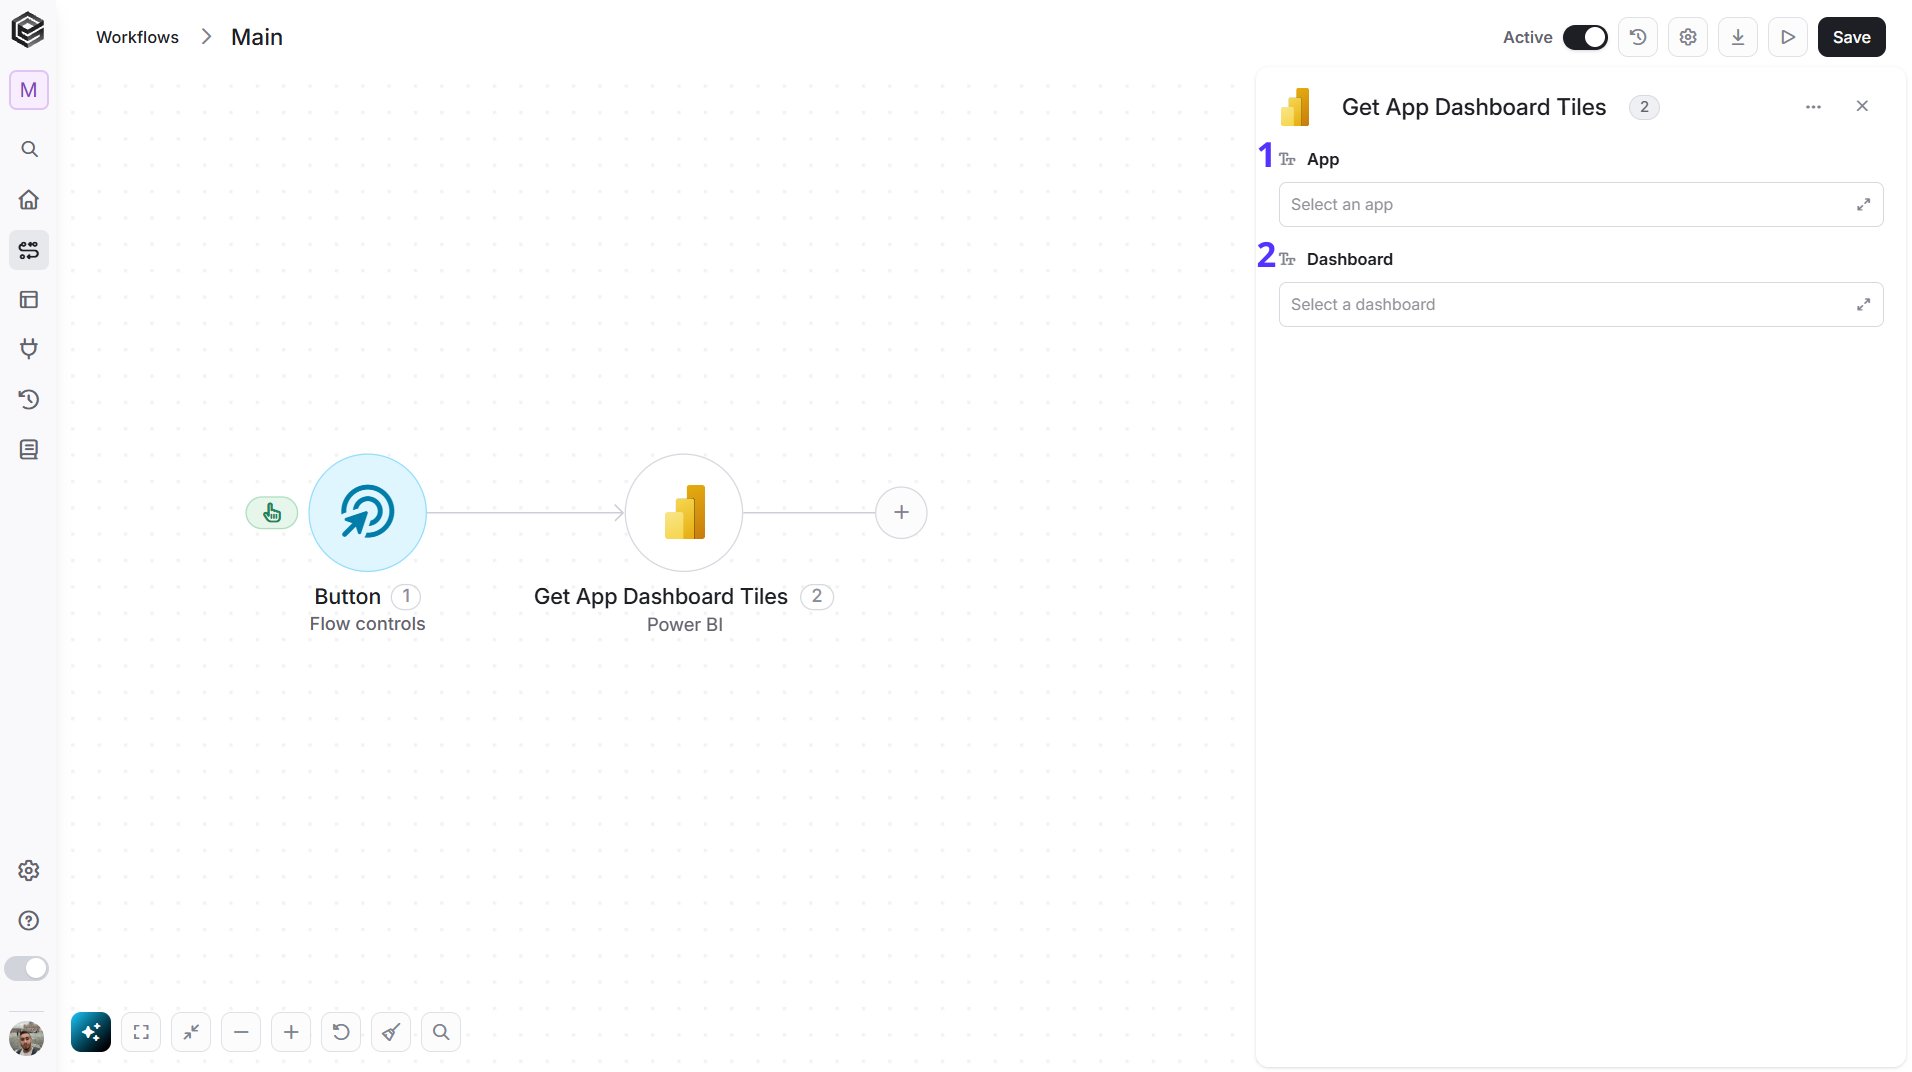
- App - The app to use. Click the empty field to open the tooltip, then choose it, or map it from a previous step such as Get Apps.
- Dashboard - The dashboard to use. Choose an app first, then click the empty field to open the tooltip and choose from that app’s dashboards, or map the value from a previous step such as Get App Dashboards.
Get App Dashboard Tile
Retrieves the details of one tile of a dashboard of an app.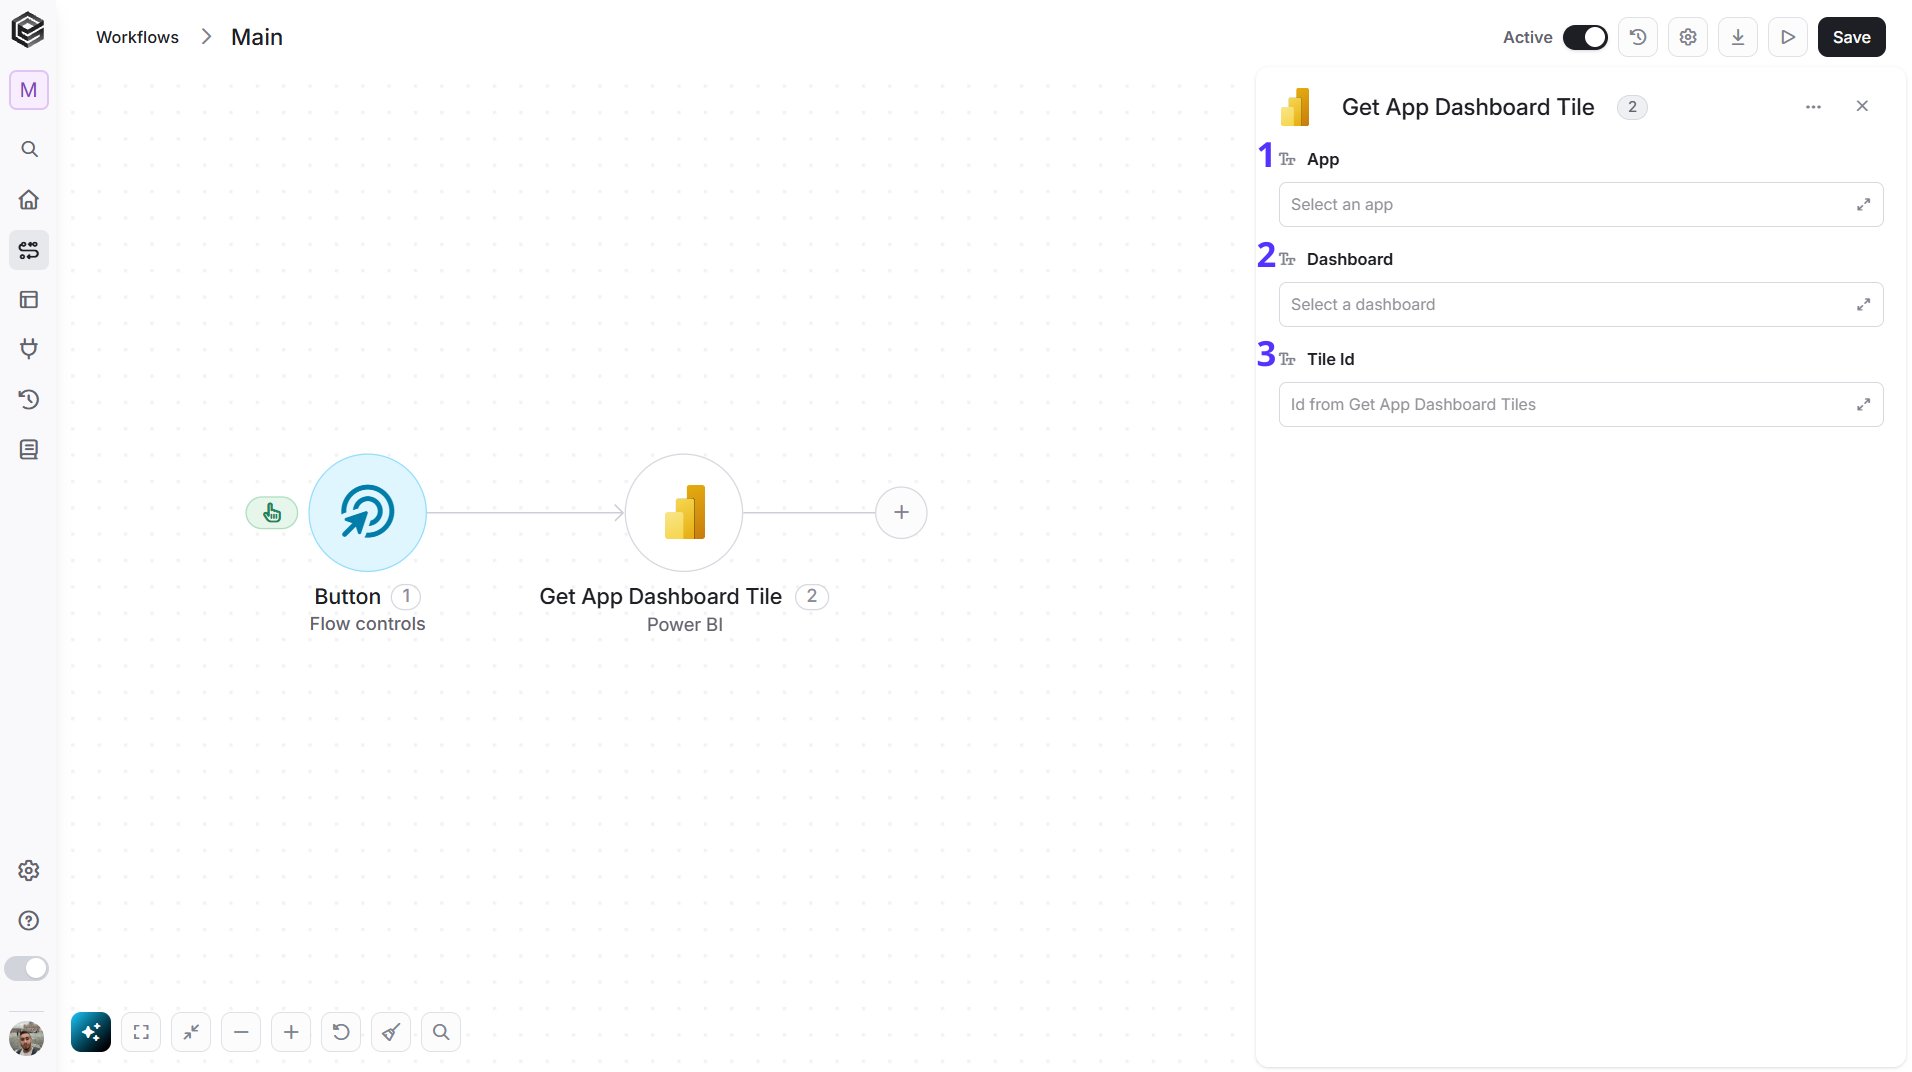
- App - The app to use. Click the empty field to open the tooltip, then choose it, or map it from a previous step such as Get Apps.
- Dashboard - The dashboard to use. Choose an app first, then click the empty field to open the tooltip and choose from that app’s dashboards, or map the value from a previous step such as Get App Dashboards.
- Tile Id - The Id of the tile to retrieve. Map it from a previous step such as Get App Dashboard Tiles.
Initialize Object Array
Creates a new object array variable in your workflow to store structured Power BI data for use in later steps.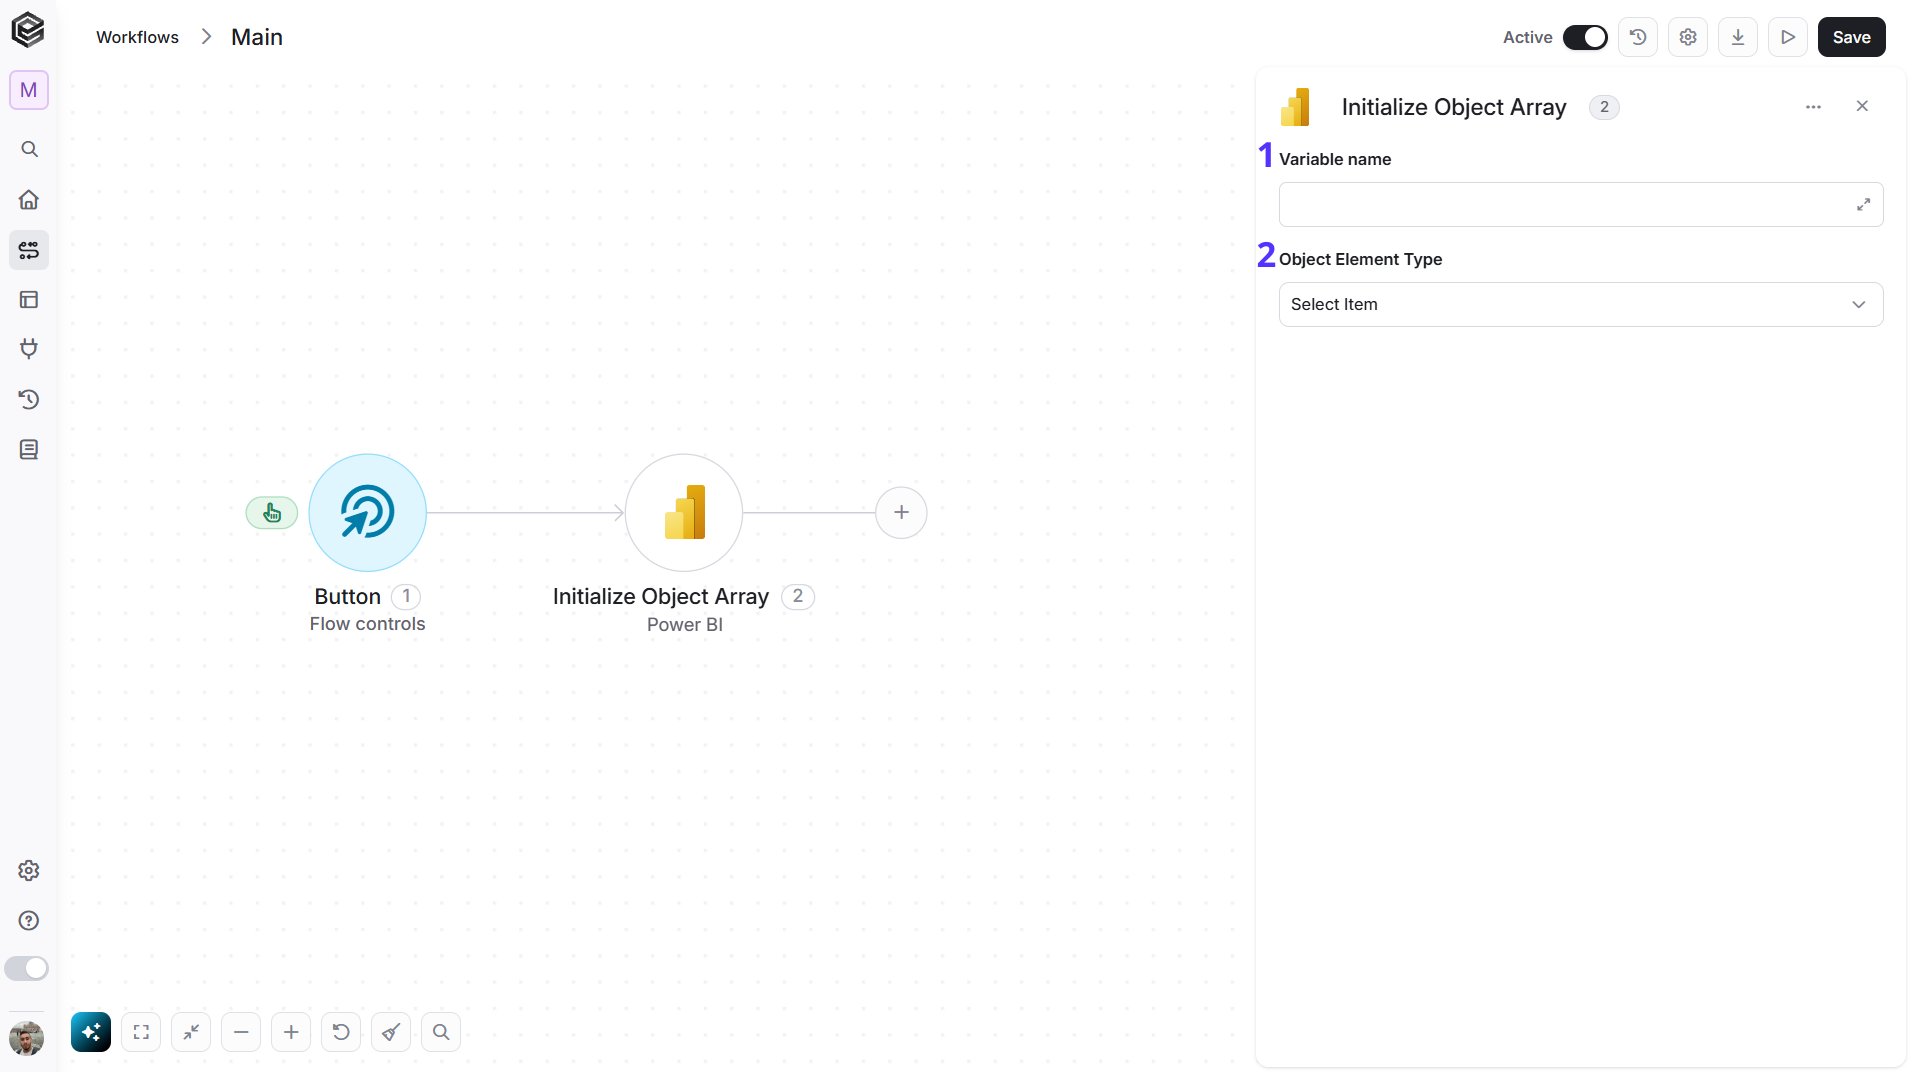
- Variable name - Enter the name of the variable that will hold the object array. This name will be used throughout the workflow whenever you refer to this object array.
- Object Element Type - Select the type of object the array will store. The selected type determines the structure of the array and opens its fields so you can fill in the values for the first entry.
Append to Object Array
Adds a new entry to an existing object array variable in your workflow.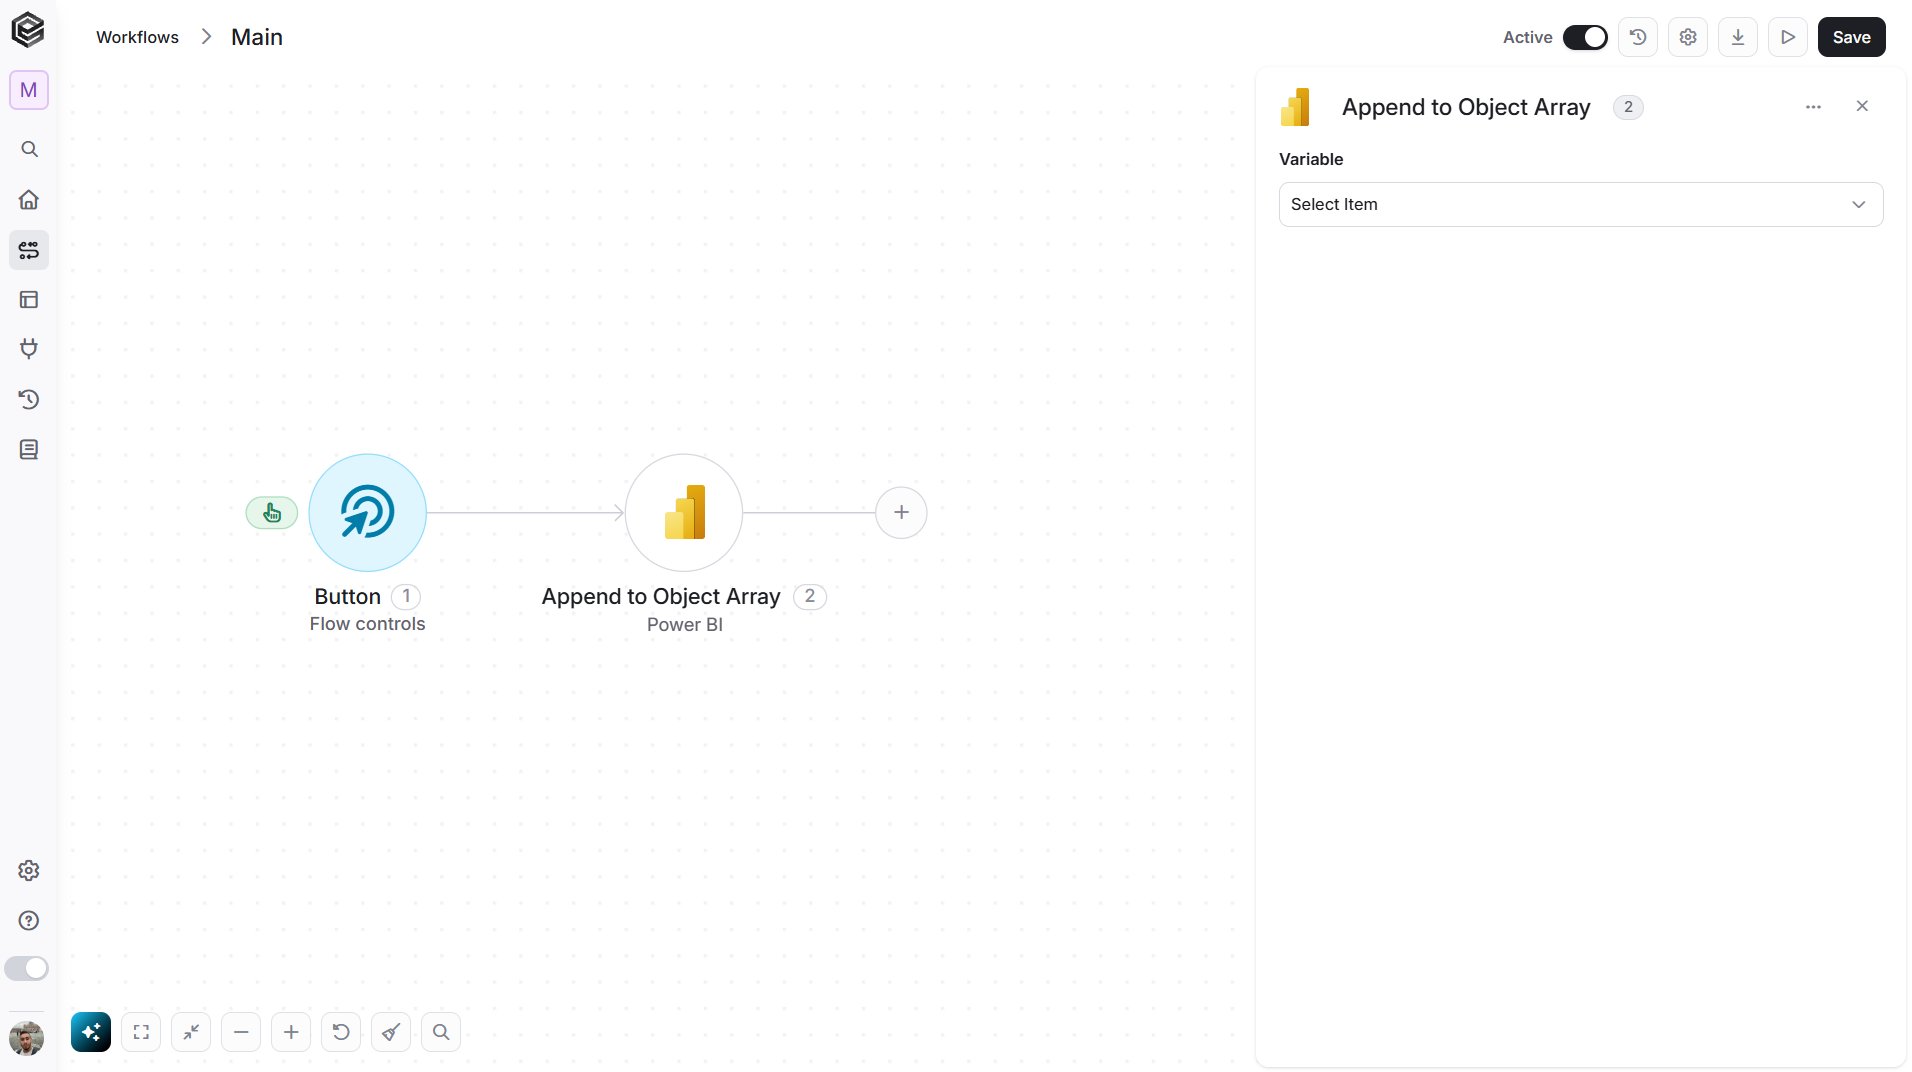
- Variable - Select the object array variable you want to append to. This must be an already initialized object array.
Map Object Array
Transforms a list of data into a structured object array that can be used later in the workflow. It iterates over each item in the selected data list and maps it into a structured entry.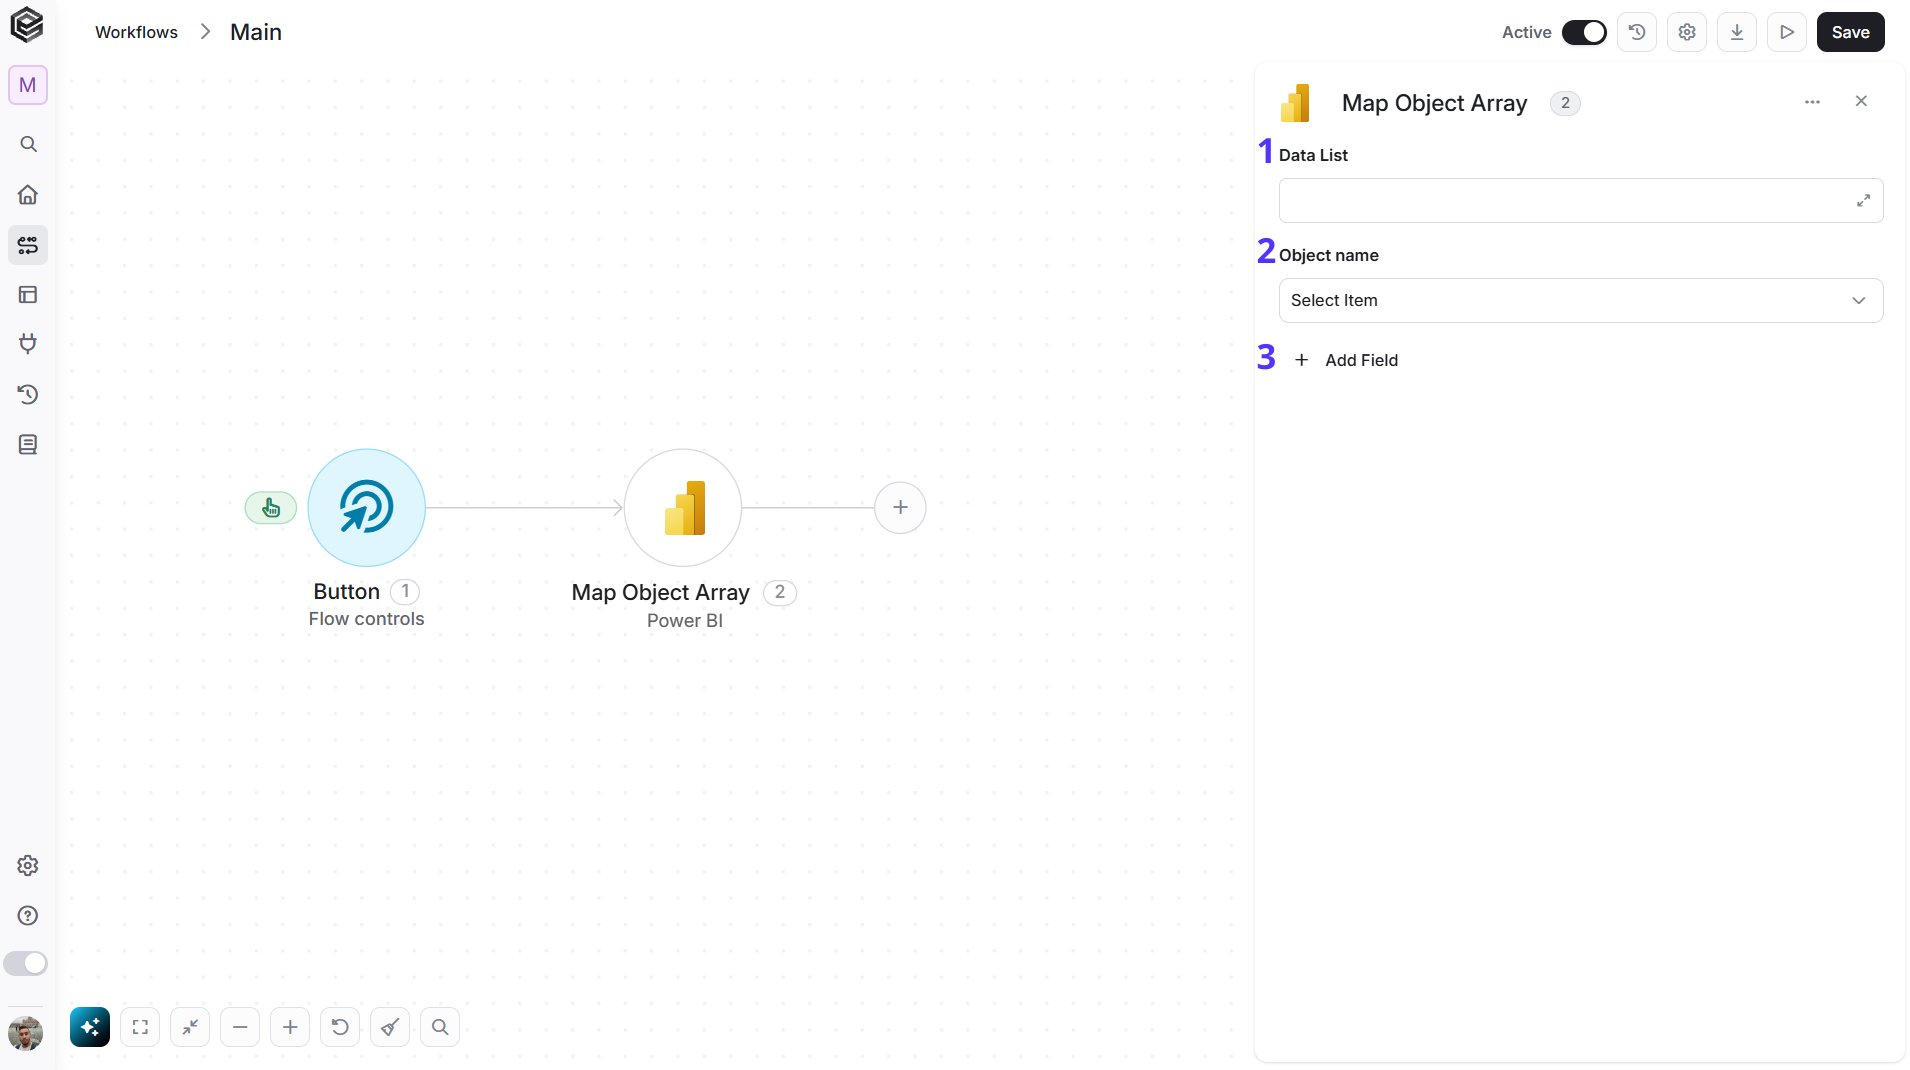
- Data List - Select or map the array or list of data you want to iterate over and transform.
- Object name - Define the name of the temporary object that represents each item during the mapping. You will use this name when referencing fields from the current item.
- Add Field - Click Add Field to add and populate additional fields for the selected activity. To learn more about managing activity data, click here.
Send API Request
Sends a custom API request to Power BI by specifying the endpoint, HTTP method, headers, and query parameters.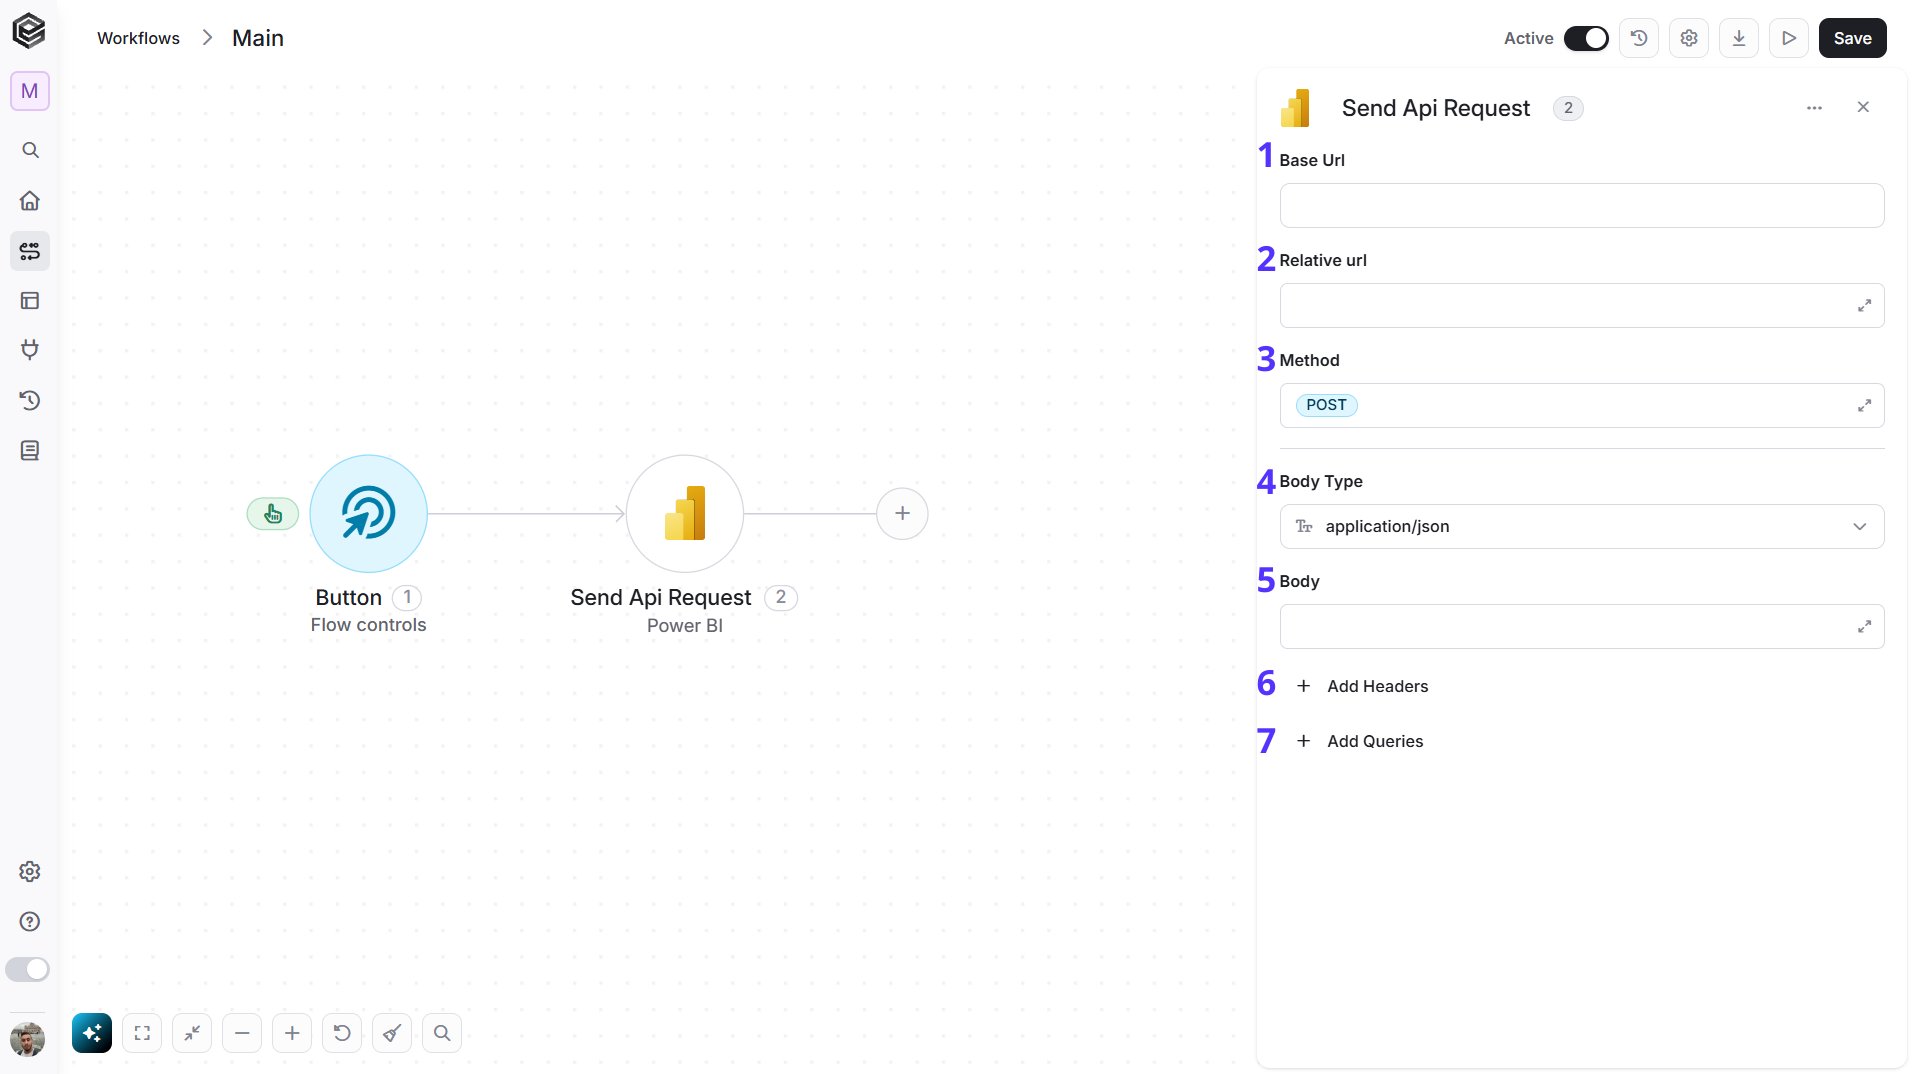
- Base URL - The main endpoint of the API you want to call (e.g., the server or service URL). For Power BI:
https://api.powerbi.com/v1.0/myorg. - Relative URL - The specific path or resource you want to access, appended to the Base URL (e.g.,
/groupslists your workspaces). - Method - Defines the HTTP method used for the request (e.g., GET, POST, PUT, DELETE).
- Body Type - Specifies the format of the request body (e.g., JSON, form-data).
- application/json - Sends the request body in JSON format. Commonly used by REST APIs.
- Custom (use Content-Type header) - Allows you to define a custom body format by manually setting the Content-Type header.
- application/x-www-form-urlencoded - Sends the body as URL-encoded key-value pairs, commonly used in form submissions.
- file - Sends a file as the request body.
- multipart/form-data - Sends form data that may include both text fields and files.
- text/html - Sends the request body as HTML content.
- text/plain - Sends the request body as plain text.
- text/xml - Sends the request body in XML format.
- Body - The payload sent with the request, usually required for methods like POST or PUT.
- Add Headers - Allows you to include additional headers (e.g., Authorization, Content-Type) required by the API.
- Add Queries - Allows you to add query parameters to the request URL (e.g., filters, pagination).