

Getting Started with Workday
Prerequisites
- A Workday account.
- An API client registered in Workday, with its Client ID and Client Secret.
Add a connection to Workday in Engini
- Enter your Engini account at https://app.engini.io.
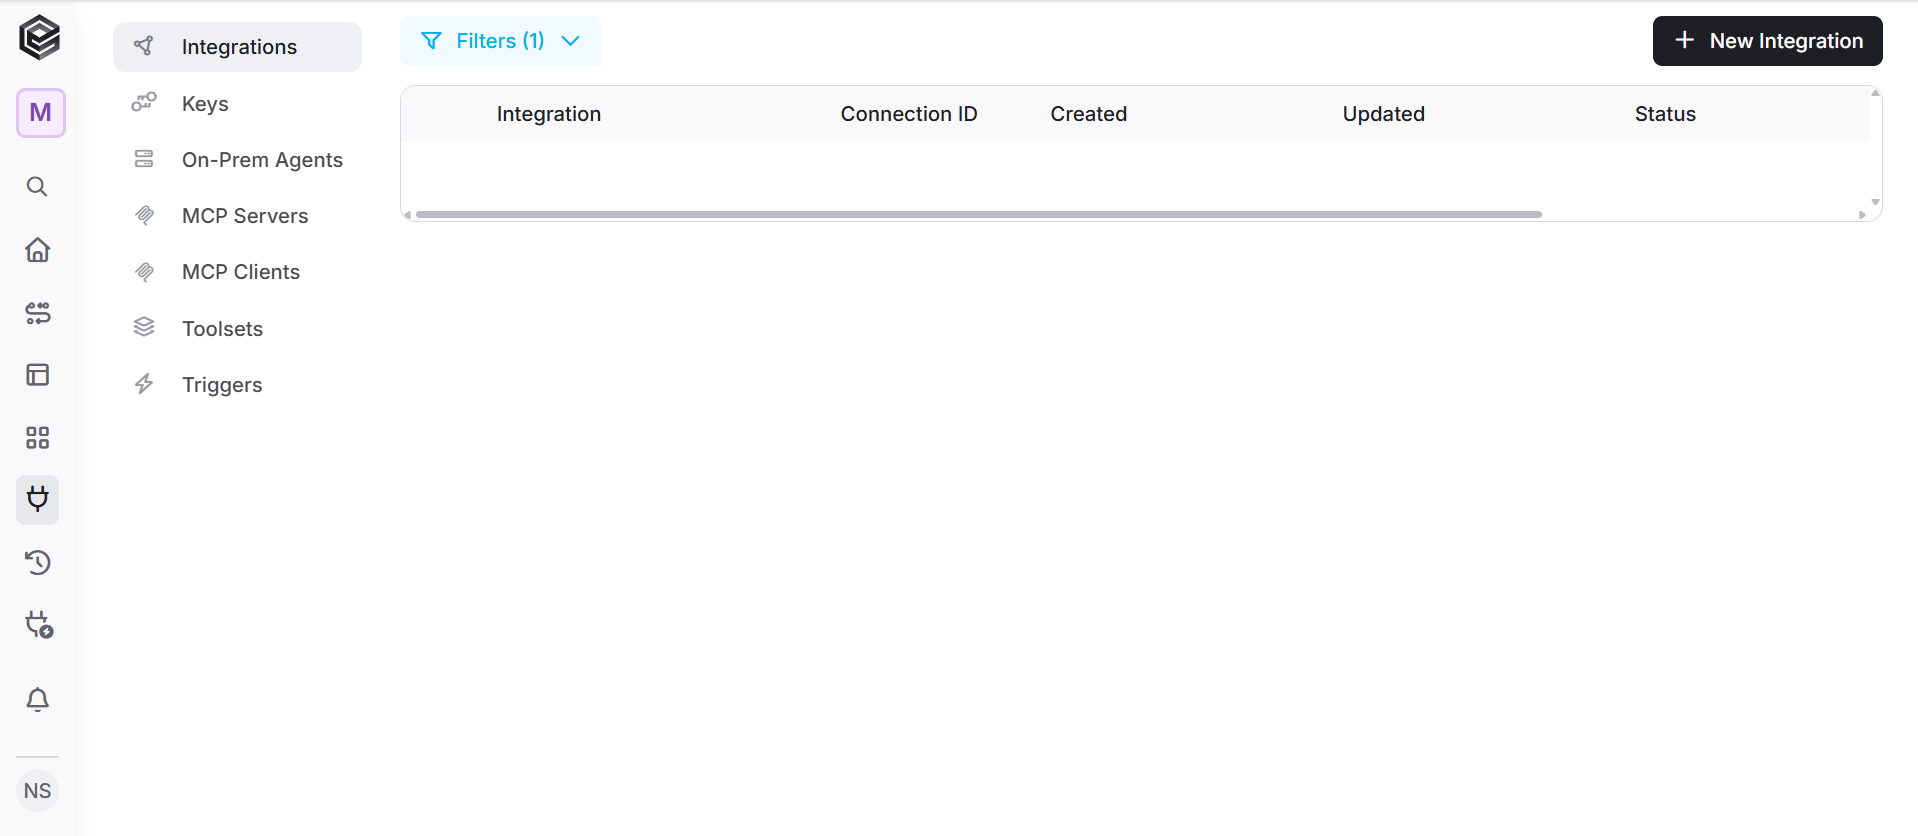
- Navigate to Connections page by clicking on the Connections on the left sidebar or by clicking here.
-
Click on the “New Integration” option located at the top bar.
-
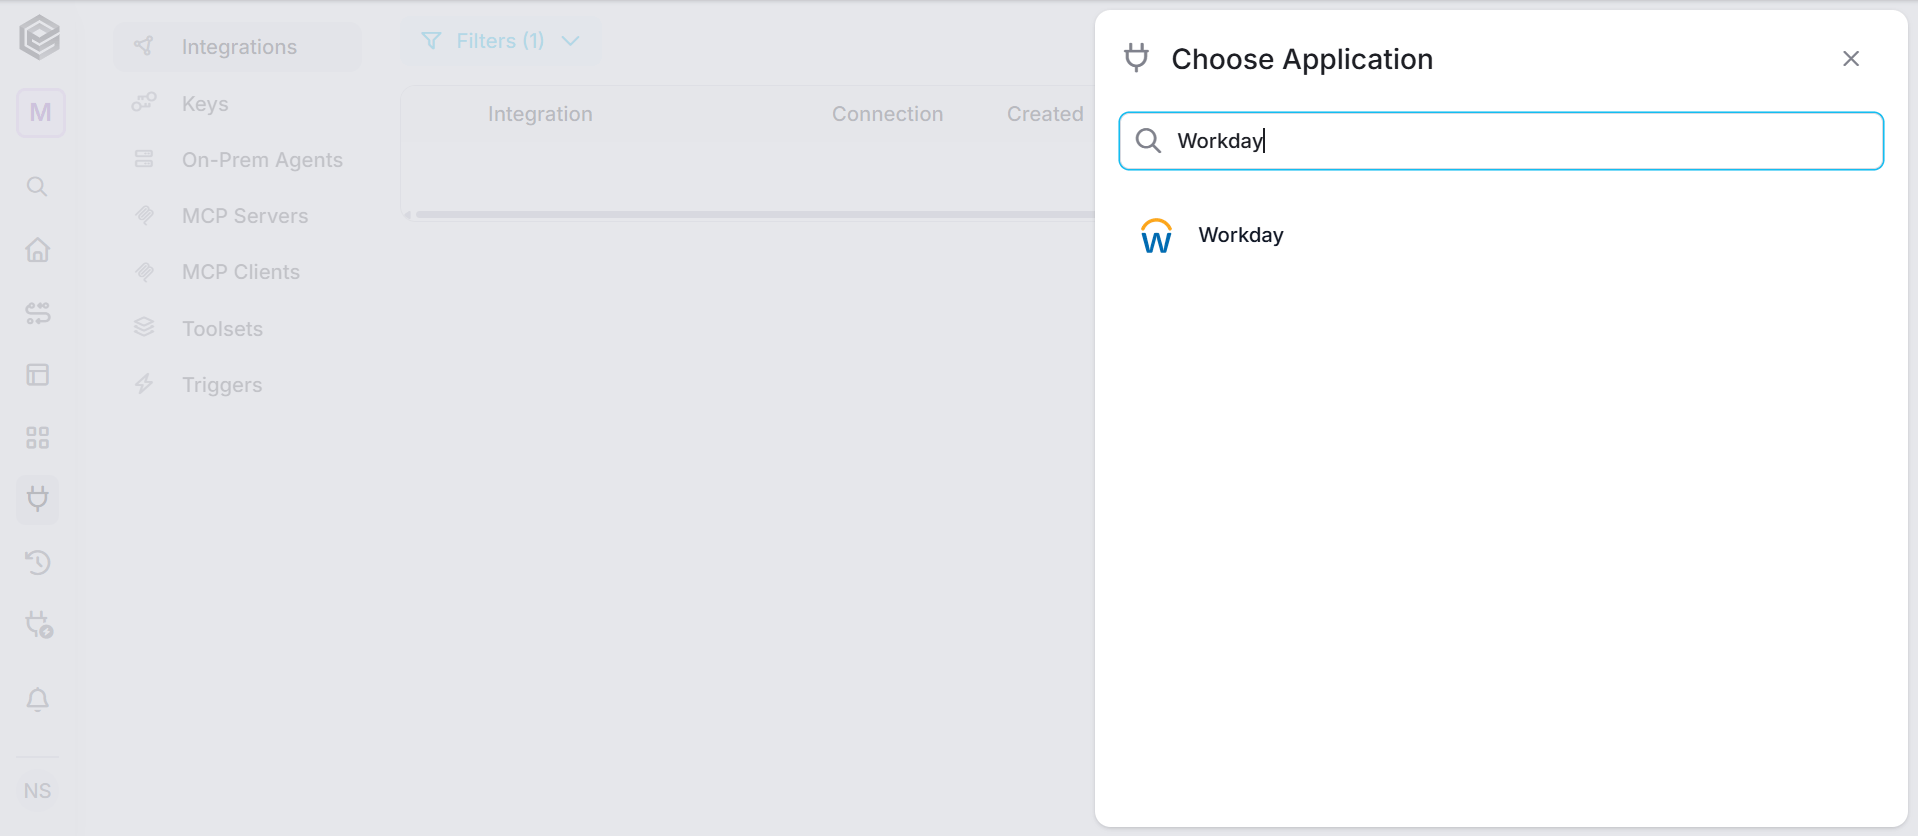
Search for “Workday” and choose it from the available applications.
- Enter the following details in the “New Integration” form and press Save:
OAuth 2.0 (sign in)
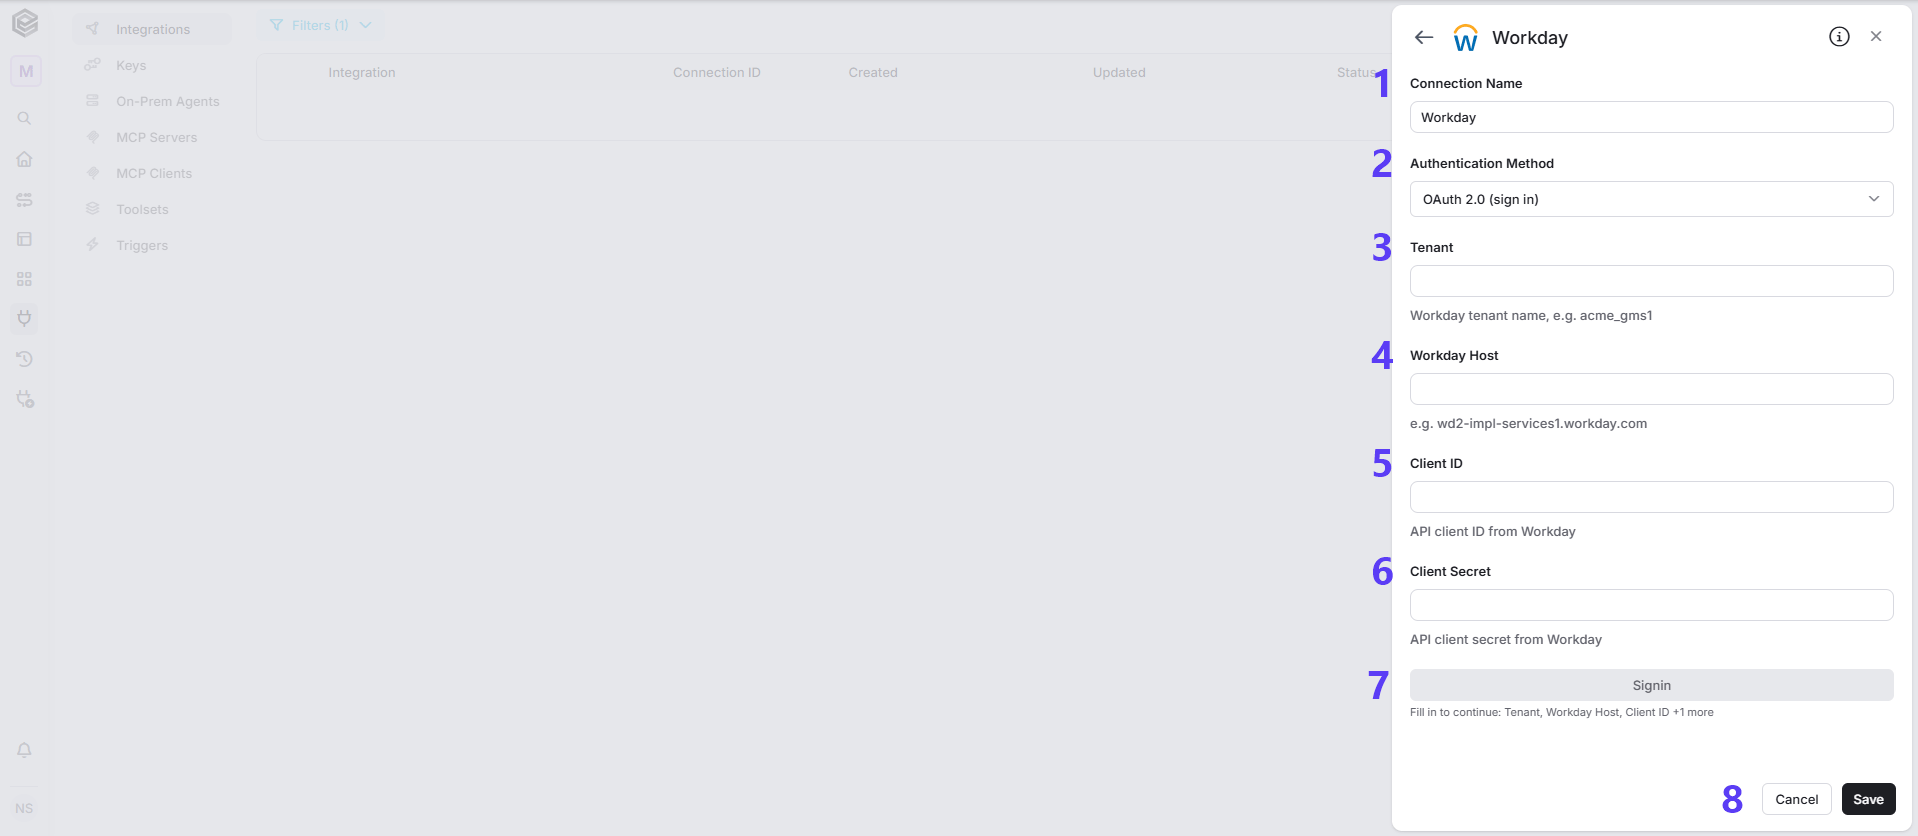
- Connection Name - Enter unique identifier for the connection within Engini.
- Authentication Method - Leave the default OAuth 2.0 (sign in).
- Tenant - Enter your Workday tenant name, e.g. acme_gms1.
- Workday Host - Enter the API hostname provided by Workday, e.g. wd2-impl-services1.workday.com.
- Client ID - Enter the API client ID generated in Workday.
- Client Secret - Enter the API client secret generated in Workday.
- Signin - Click Signin and log in with your Workday credentials.
- Click on the Save button to save the connection.
OAuth 2.0 refresh token (no sign-in)

- Connection Name - Enter unique identifier for the connection within Engini.
- Authentication Method - Select OAuth 2.0 refresh token (no sign-in).
- Tenant - Enter your Workday tenant name, e.g. acme_gms1.
- Workday Host - Enter the API hostname provided by Workday, e.g. wd2-impl-services1.workday.com.
- Client ID - Enter the API client ID generated in Workday.
- Client Secret - Enter the API client secret generated in Workday.
- Refresh Token - Enter the refresh token issued to the API client in Workday.
- Click on the Save button to save the connection. No sign-in is needed with this method.
Actions
List Workers
Retrieves a paginated list of workers (employees and contingent workers) from Workday, with optional free-text search across worker names and IDs.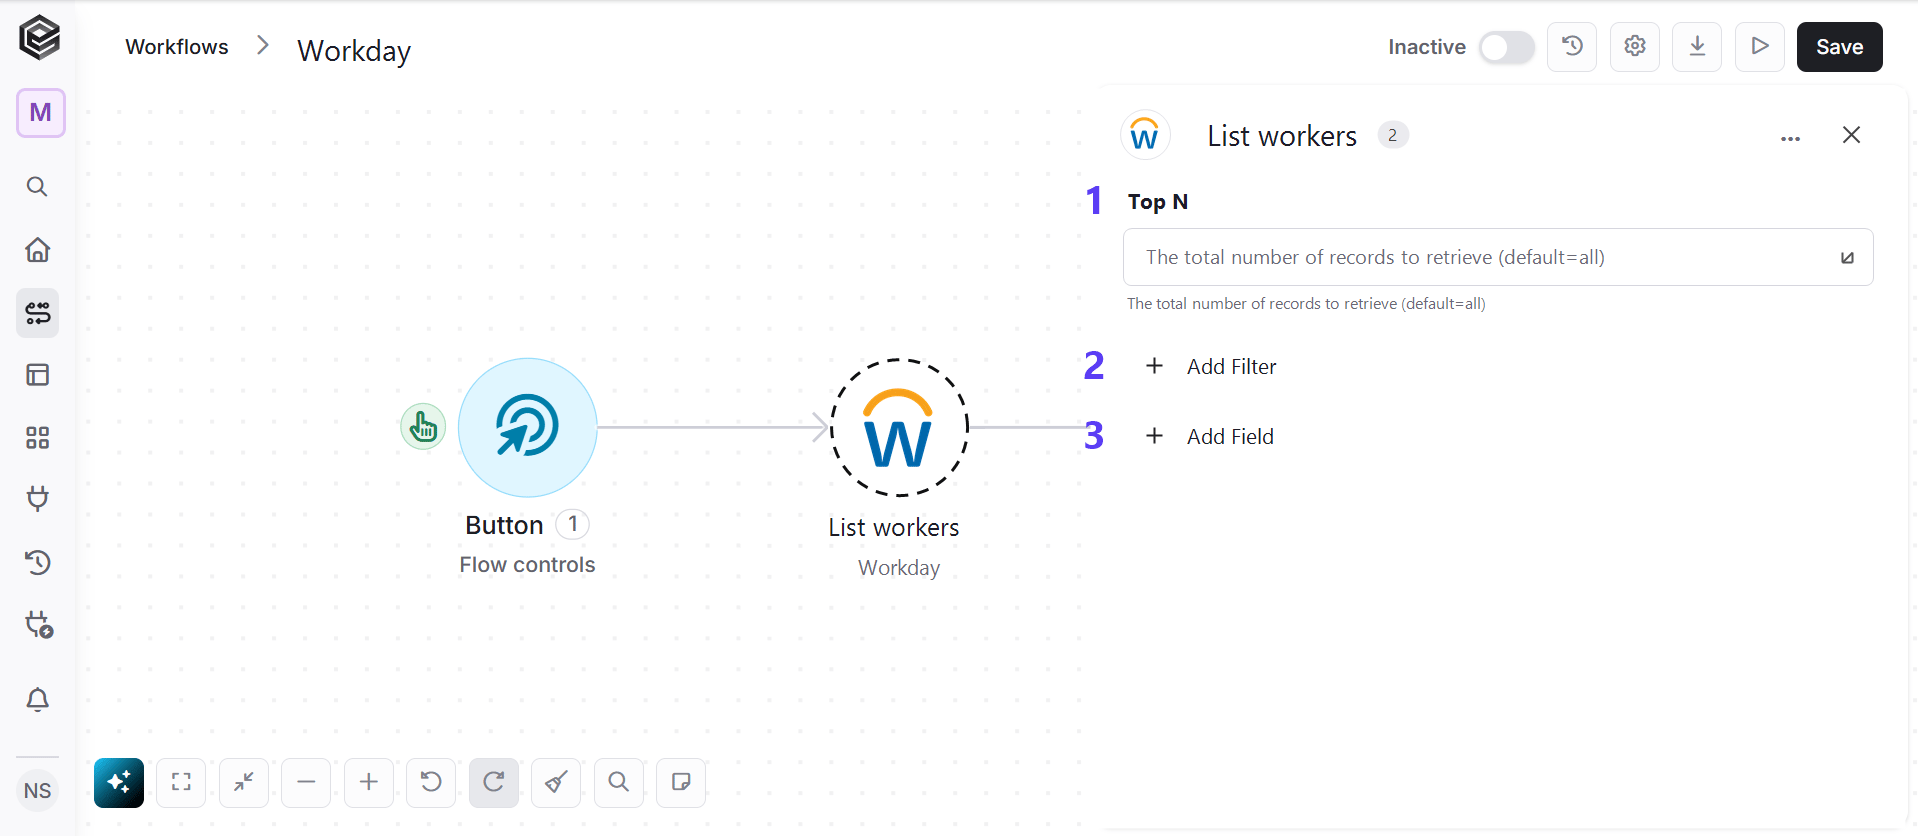
- Top N - You can set the maximum number of records Engini will return for the object you chose (default = all records).
- Add Filter - Click Add Filter to define conditions that narrow down the data list and return only the relevant items. To learn more about using filters, click here.
- Add Field - Click Add Field to add and populate additional fields for the selected activity. To learn more about managing activity data, click here.
Get Worker
Retrieves full profile details for a single Workday worker by their unique Workday ID (WID).
- Worker ID - The unique Workday ID (WID) of the worker.
List Worker Direct Reports
Retrieves a list of workers reporting directly to a specified manager, allowing you to walk through the organizational reporting structure level by level.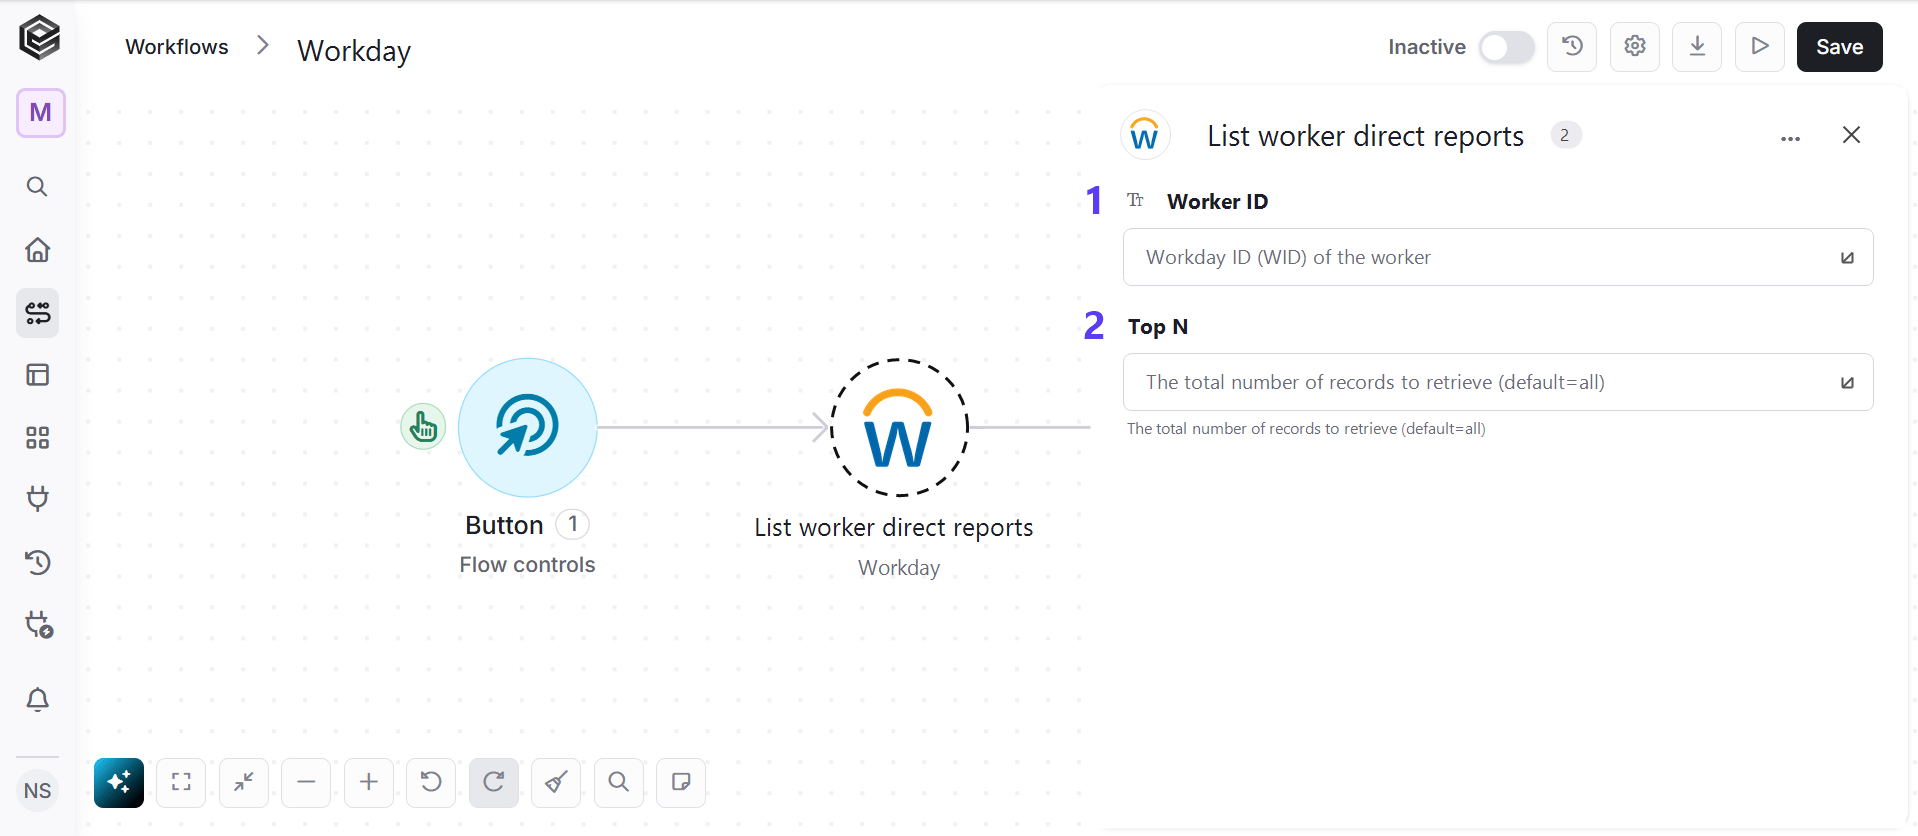
- Worker ID - The unique Workday ID (WID) of the worker.
- Top N - You can set the maximum number of records Engini will return for the object you chose (default = all records).
List Supervisory Organizations
Retrieves supervisory organizations representing the organizational hierarchy structure within Workday.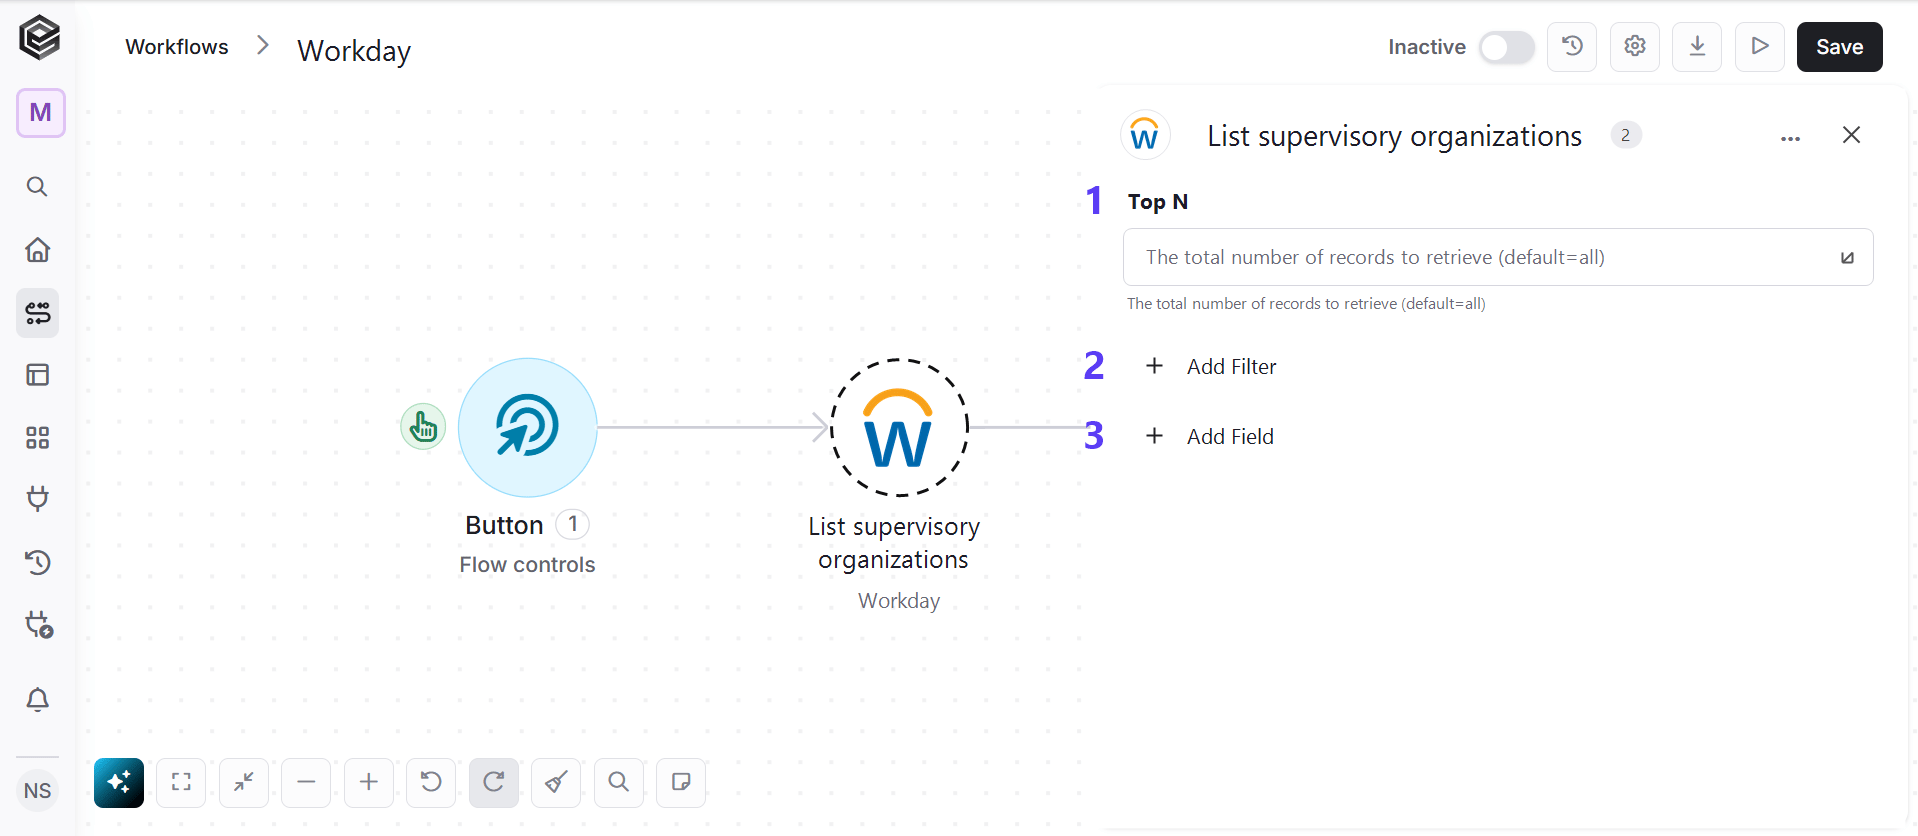
- Top N - You can set the maximum number of records Engini will return for the object you chose (default = all records).
- Add Filter - Click Add Filter to define conditions that narrow down the data list and return only the relevant items. To learn more about using filters, click here.
- Add Field - Click Add Field to add and populate additional fields for the selected activity. To learn more about managing activity data, click here.
List Eligible Absence Types
Lists the absence or time off types that a specific worker is eligible to request. Note: It is recommended to execute this action before submitting a time off request to retrieve a valid time off type ID.
- Worker ID - The unique Workday ID (WID) of the worker.
- Top N - You can set the maximum number of records Engini will return for the object you chose (default = all records).
- Add Filter - Click Add Filter to define conditions that narrow down the data list and return only the relevant items. To learn more about using filters, click here.
- Add Field - Click Add Field to add and populate additional fields for the selected activity. To learn more about managing activity data, click here.
List Absence Balances
Retrieves time off plan balances across the tenant, showing remaining time off units.
- Top N - You can set the maximum number of records Engini will return for the object you chose (default = all records).
- Add Filter - Click Add Filter to define conditions that narrow down the data list and return only the relevant items. To learn more about using filters, click here.
- Add Field - Click Add Field to add and populate additional fields for the selected activity. To learn more about managing activity data, click here.
Request Time Off
Submits a new time off or absence request for a specified worker.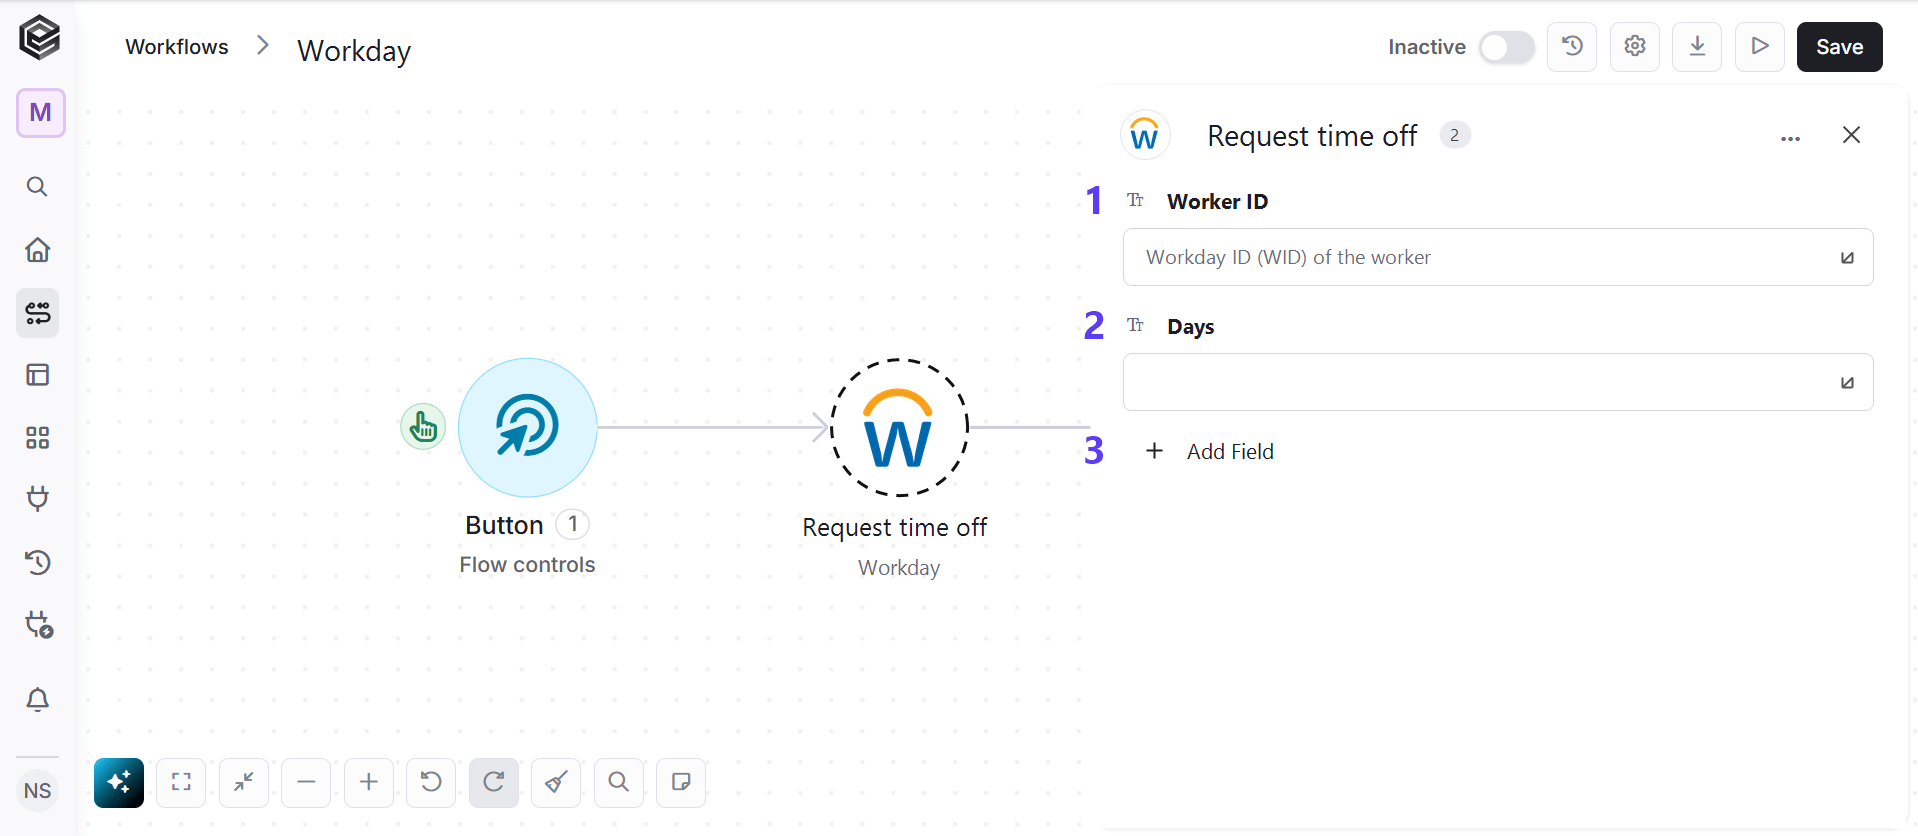
- Worker ID - The unique Workday ID (WID) of the worker.
- Days - The days to request, each with the date, daily quantity and time off type ID.
- Add Field - Click Add Field to add and populate additional fields for the selected activity. To learn more about managing activity data, click here.
List Job Postings
Retrieves a list of job postings in Workday with search and job site filtering capabilities.
- Top N - You can set the maximum number of records Engini will return for the object you chose (default = all records).
- Add Filter - Click Add Filter to define conditions that narrow down the data list and return only the relevant items. To learn more about using filters, click here.
- Add Field - Click Add Field to add and populate additional fields for the selected activity. To learn more about managing activity data, click here.
Create Prospect
Adds a new candidate prospect to Workday Recruiting with candidate details and source information.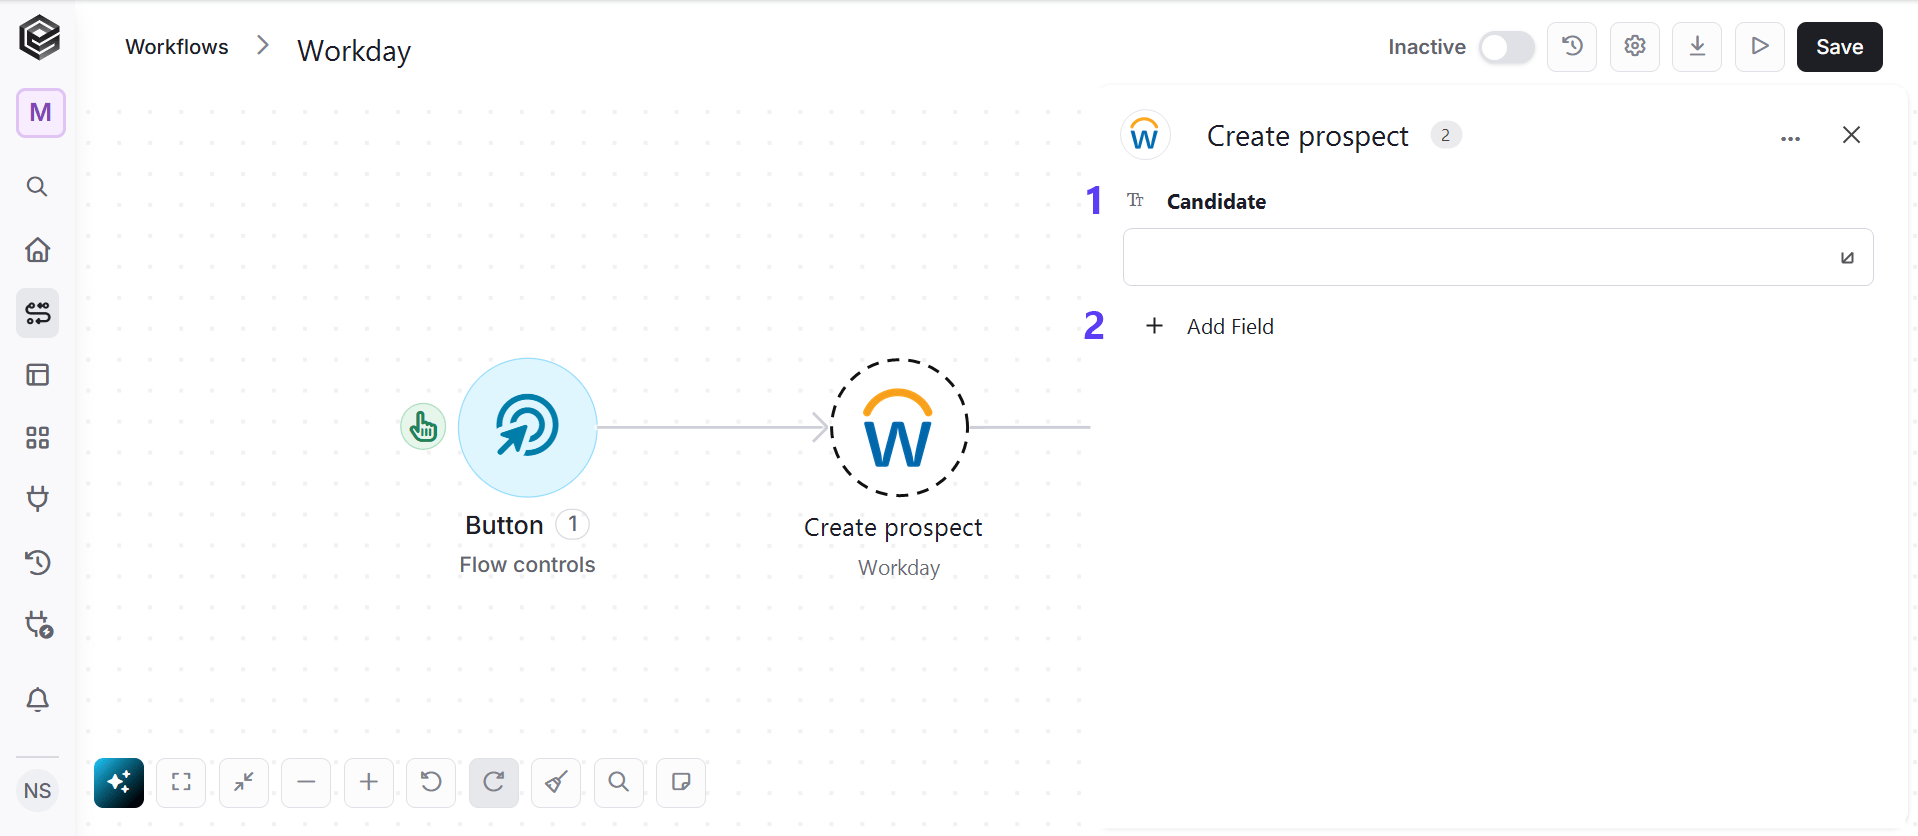
- Candidate - The candidate details of the prospect.
- Add Field - Click Add Field to add and populate additional fields for the selected activity. To learn more about managing activity data, click here.
Run WQL Query
Executes a custom Workday Query Language (WQL) query to fetch structured data across defined Workday data sources.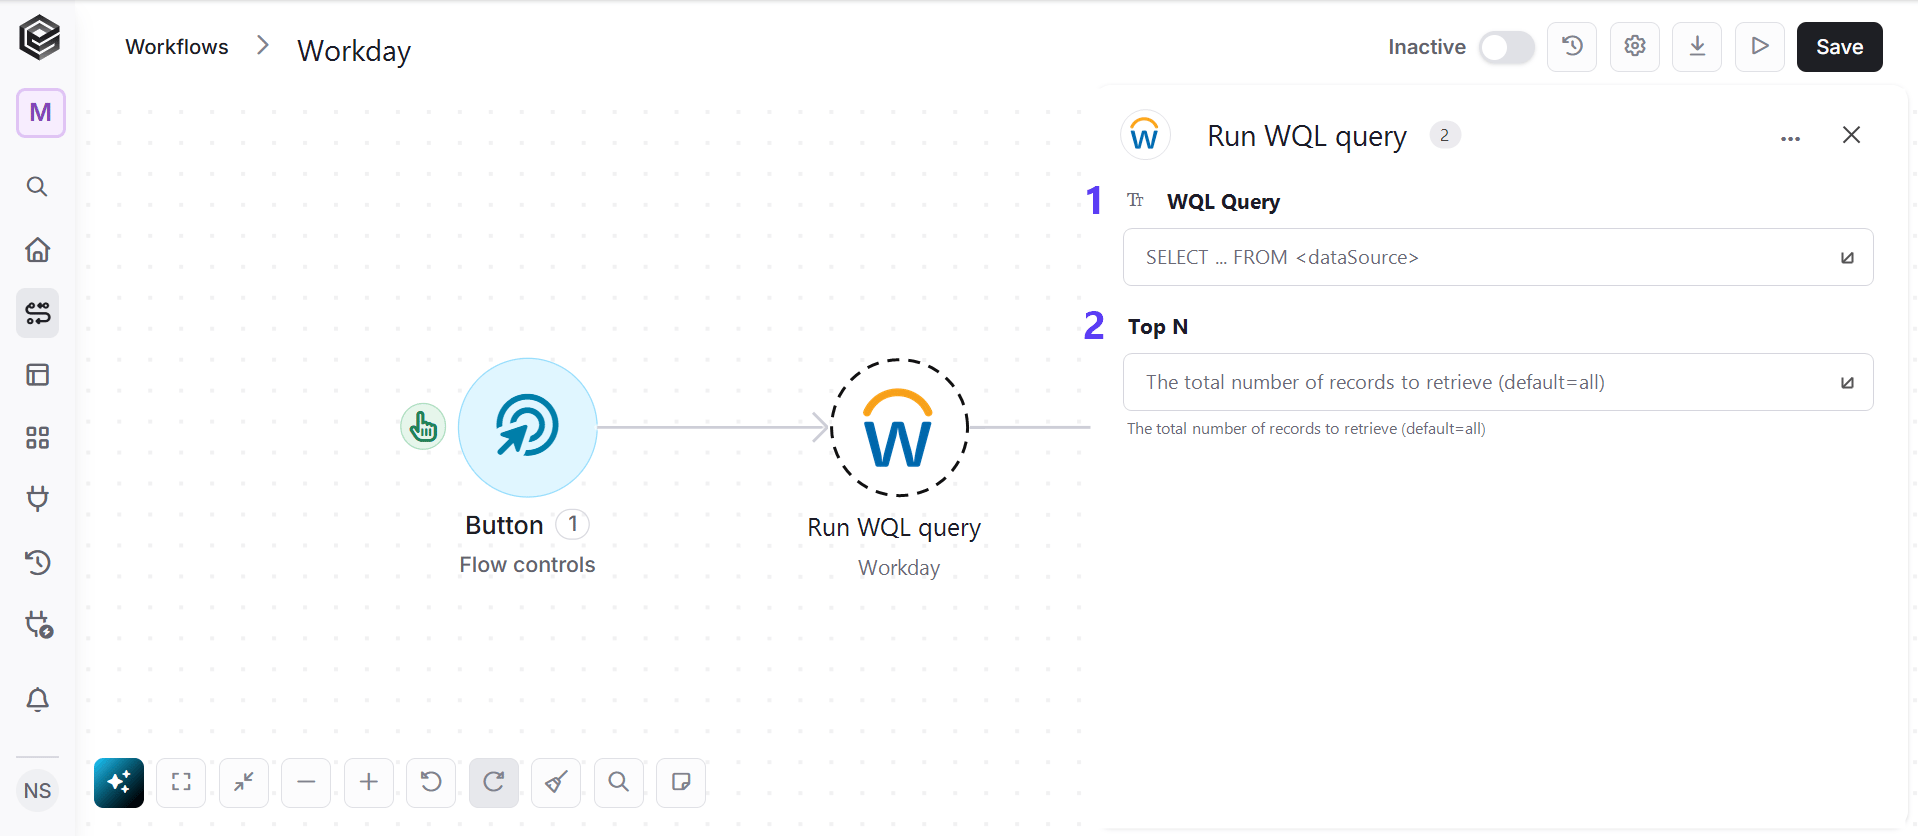
- WQL Query - The Workday Query Language (WQL) statement to run, for example SELECT … FROM a data source.
- Top N - You can set the maximum number of records Engini will return for the object you chose (default = all records).
Initialize Object Array
Creates a new object array in your workflow to store structured data for use in subsequent steps.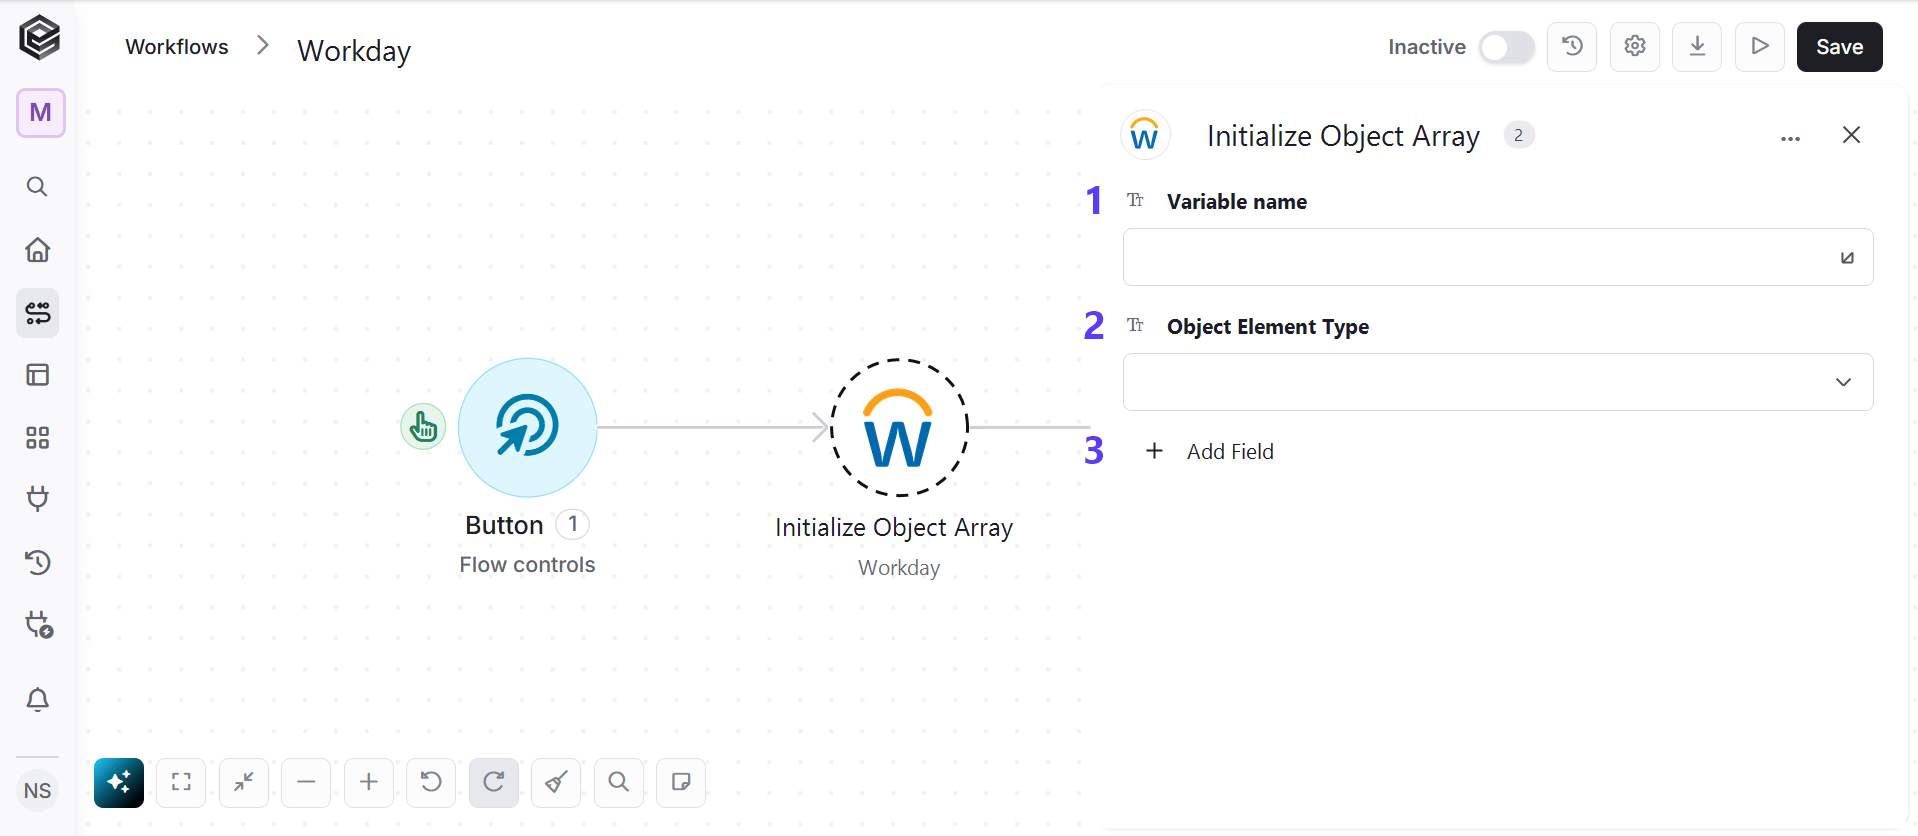
- Variable name - Enter a name for the new object variable you’re creating. This name will be used to reference this object in other workflow steps.
- Object Element Type- Select the type of data structure you want to initialize from the dropdown options. This action prepares an empty object of the specified type that you can then populate with data in later workflow steps.
- Add Field - Click Add Field to add and populate additional fields for the selected activity. To learn more about managing activity data, click here.
Append to Object Array
Adds new data elements to an existing array of objects in your workflow.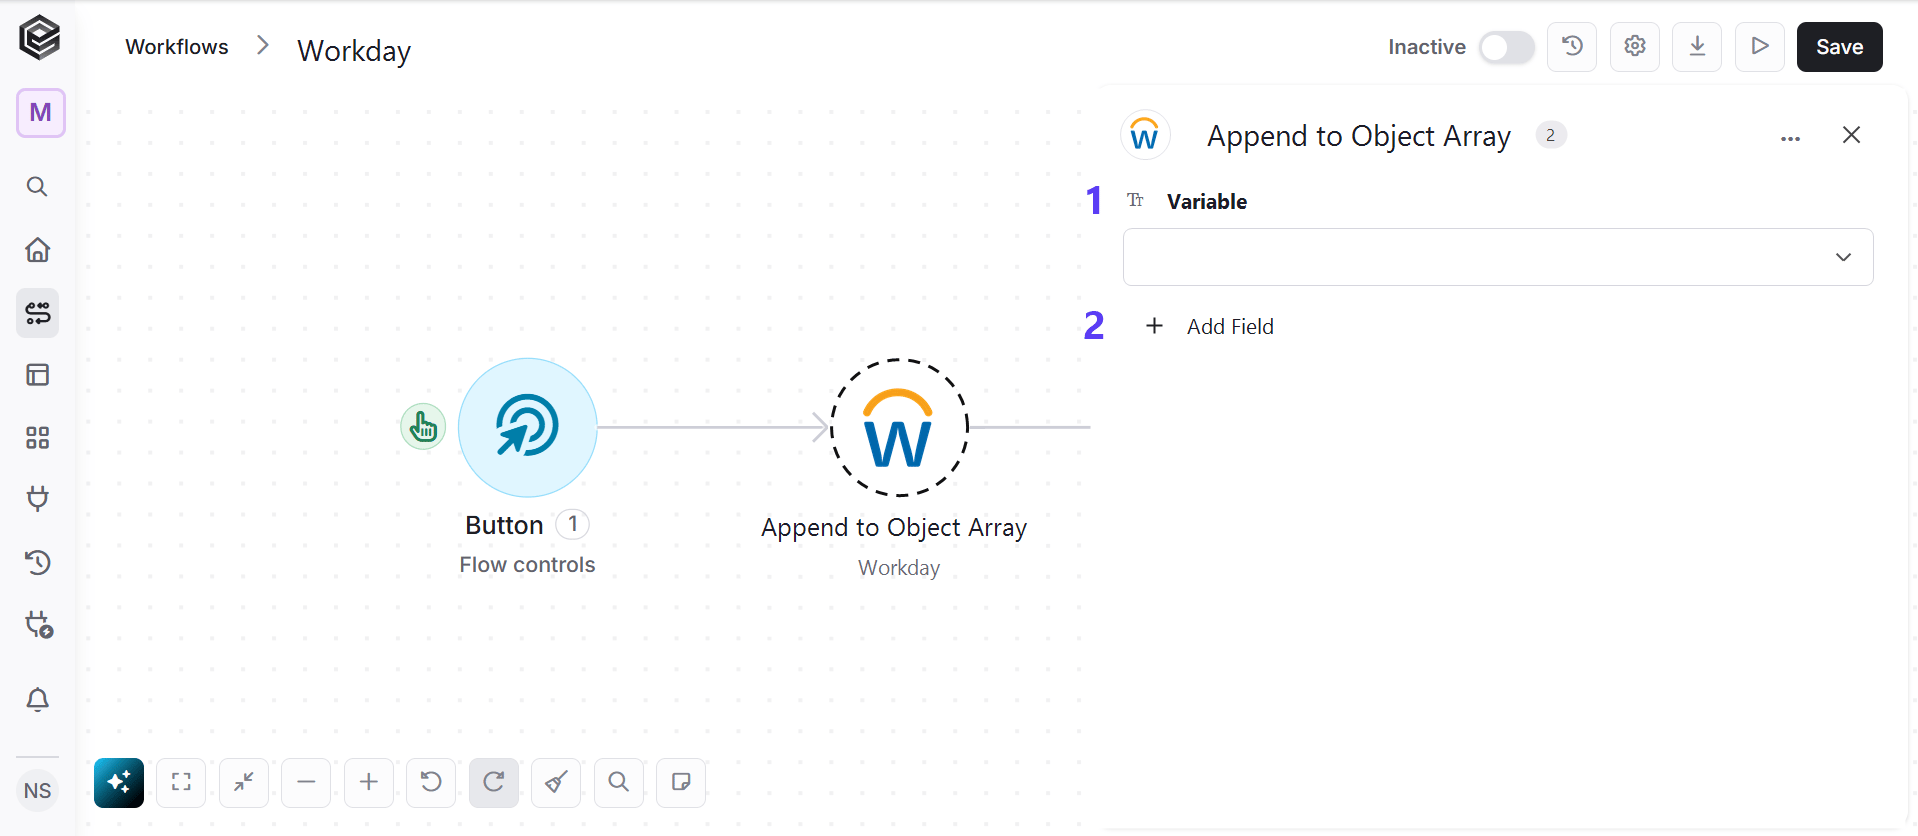
- Variable - Select the array variable from your workflow that you want to append new objects to. This dropdown shows all available array variables that you initialized from previous steps in your automation.
- Add Field - Click Add Field to add and populate additional fields for the selected activity. To learn more about managing activity data, click here.
Map Object Array
This activity is particularly useful when there is an array of data that needs to be translated into another structure.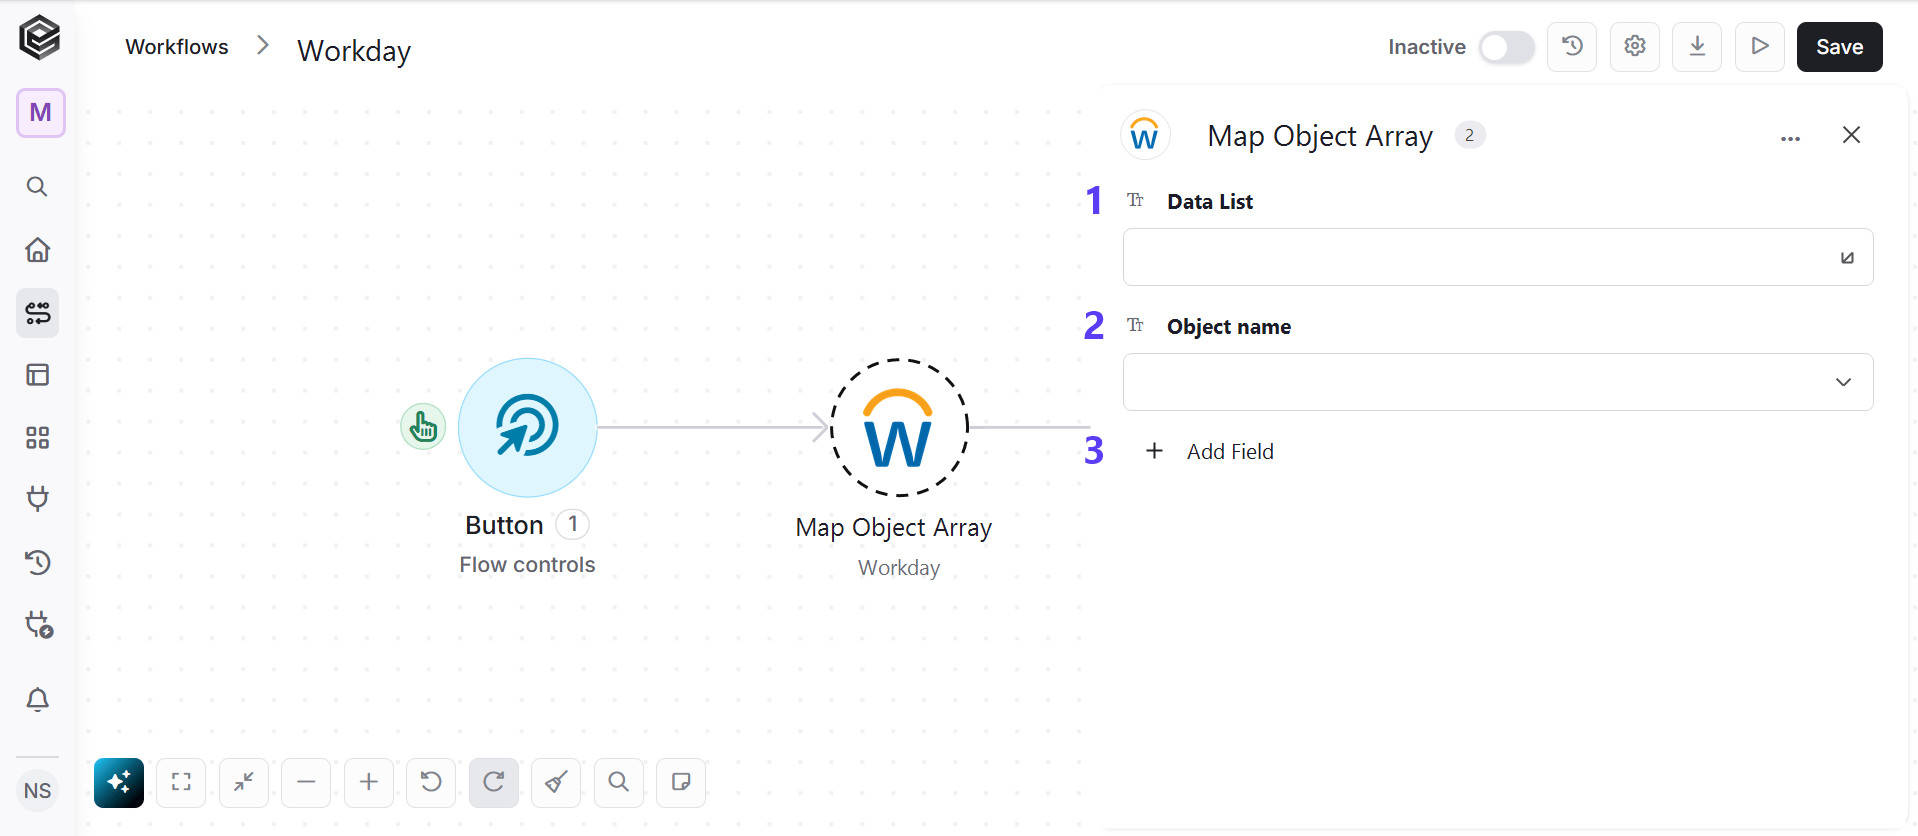
- Data List - Choose a data list that you’ve obtained from previous activities in your workflow. This data list typically contains an array of objects that you want to process and transform.
- Object name - You need to define the type of objects from the drop down that will be stored within the array.
- Add Field - Click Add Field to add and populate additional fields for the selected activity. To learn more about managing activity data, click here.
List WQL Data Sources
Retrieves a list of available Workday Query Language (WQL) data sources.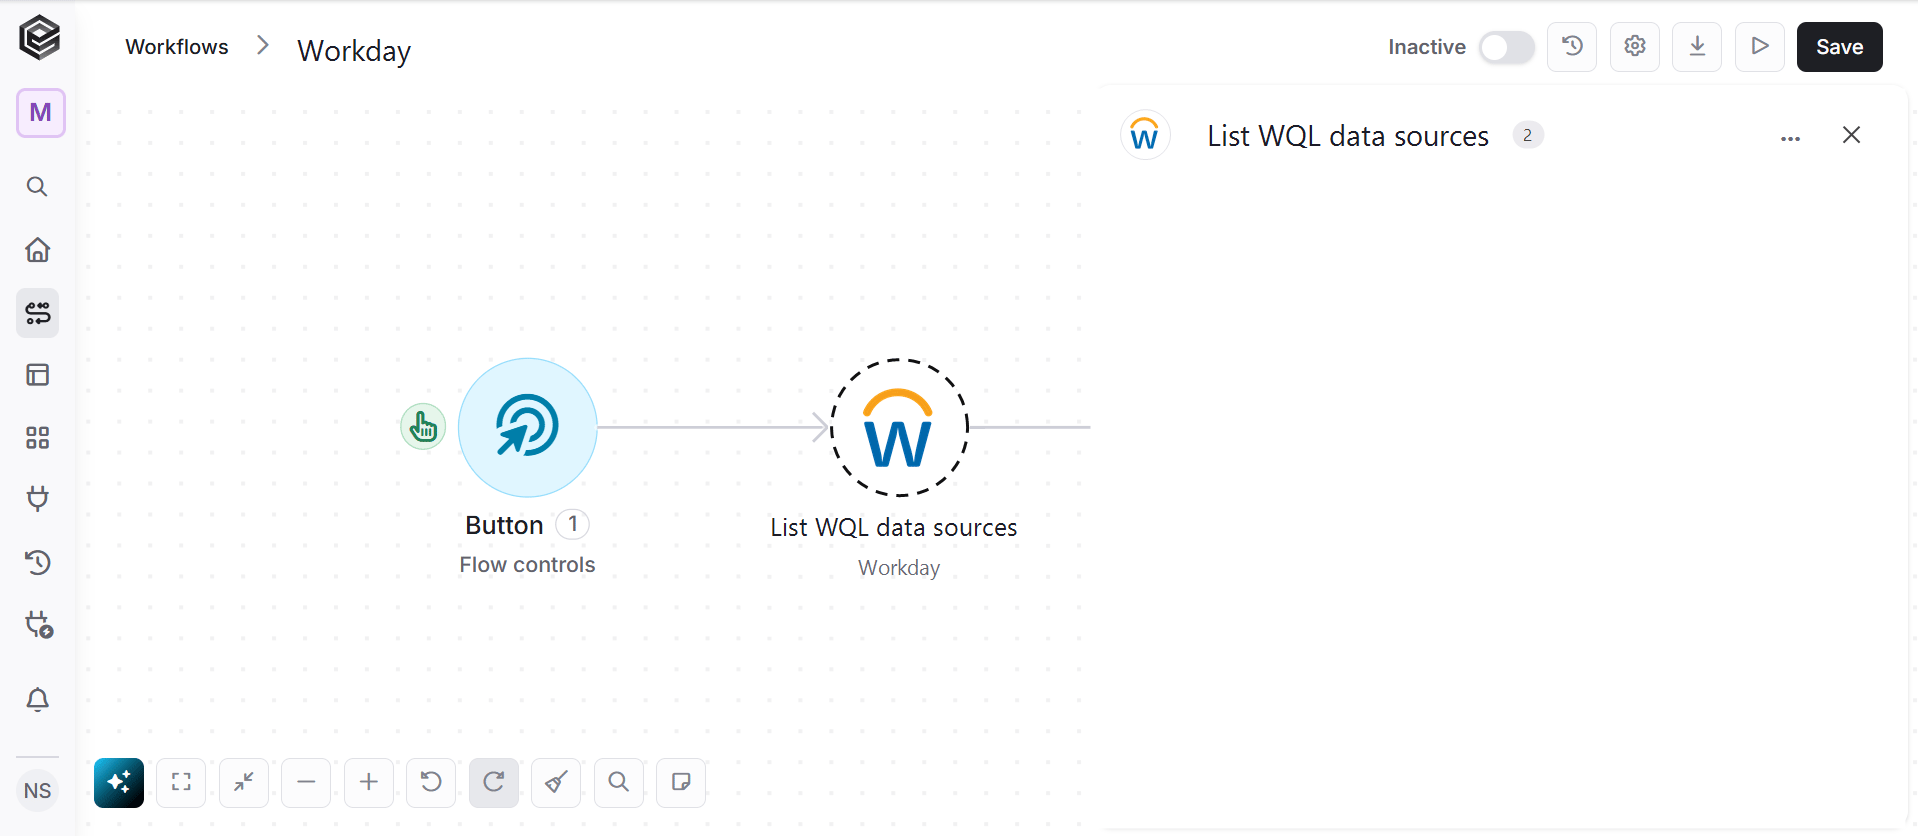
Get WQL Data Source
Fetches metadata for a specific Workday Query Language (WQL) data source.
- Data source ID - The ID or alias of the WQL data source.
List WQL Data Source Fields
Lists all available fields and data types for a specified Workday Query Language (WQL) data source.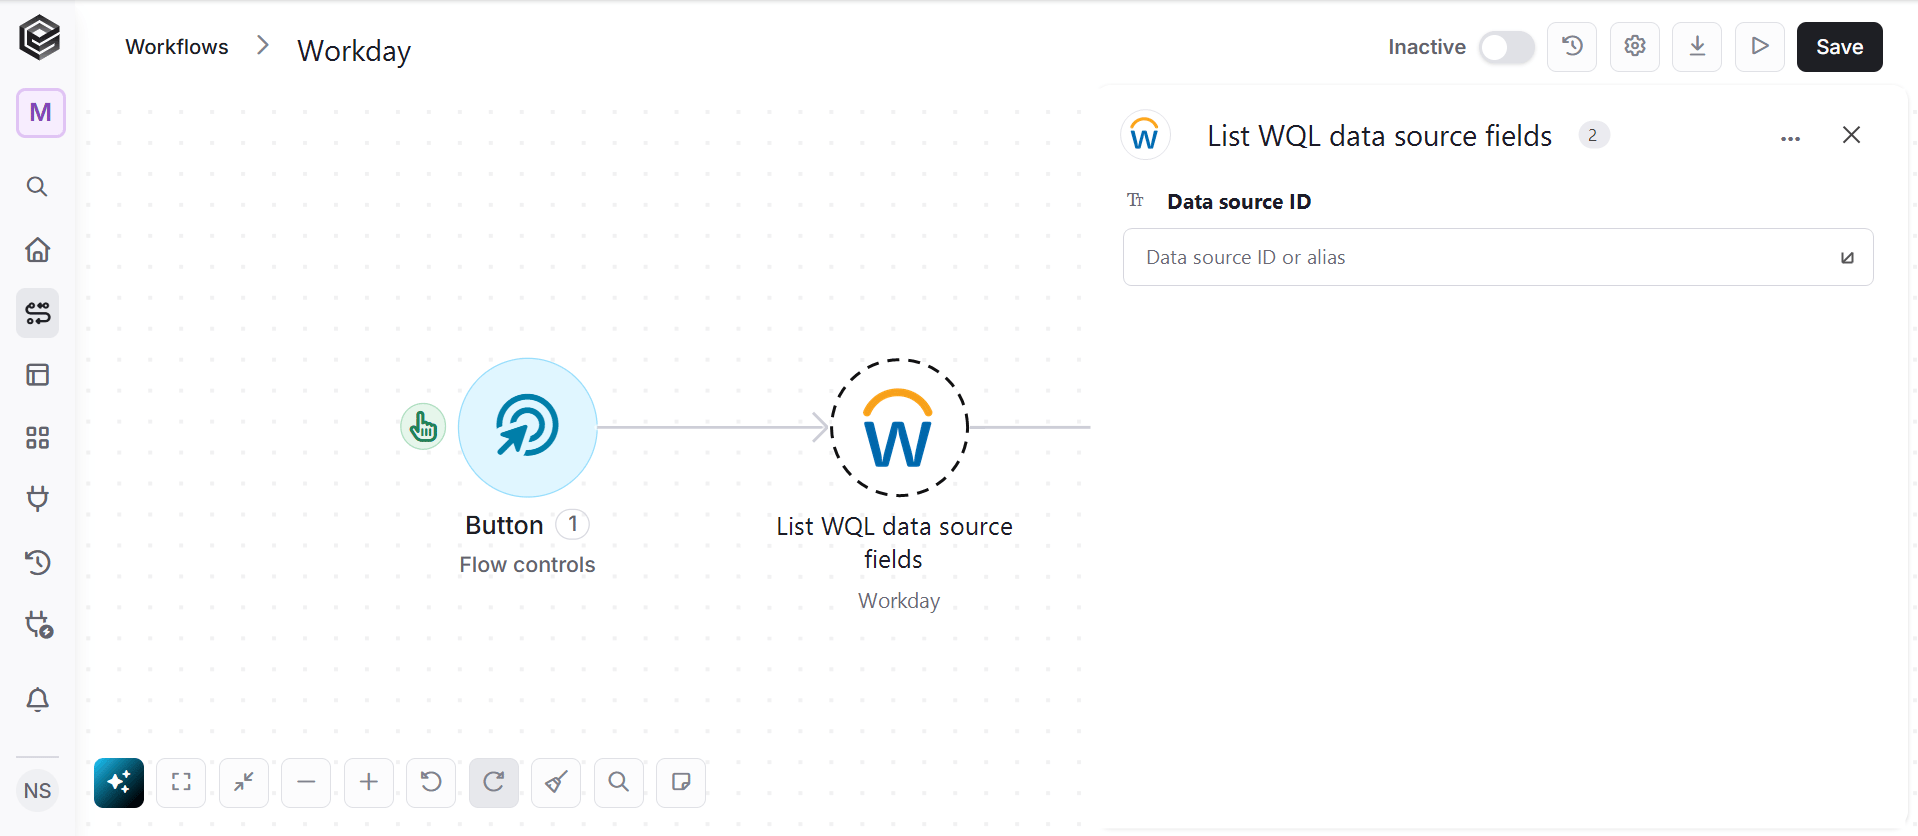
- Data source ID - The ID or alias of the WQL data source.
Get WQL Data Source Field
Retrieves field-level definitions and data types for a specific WQL data source field.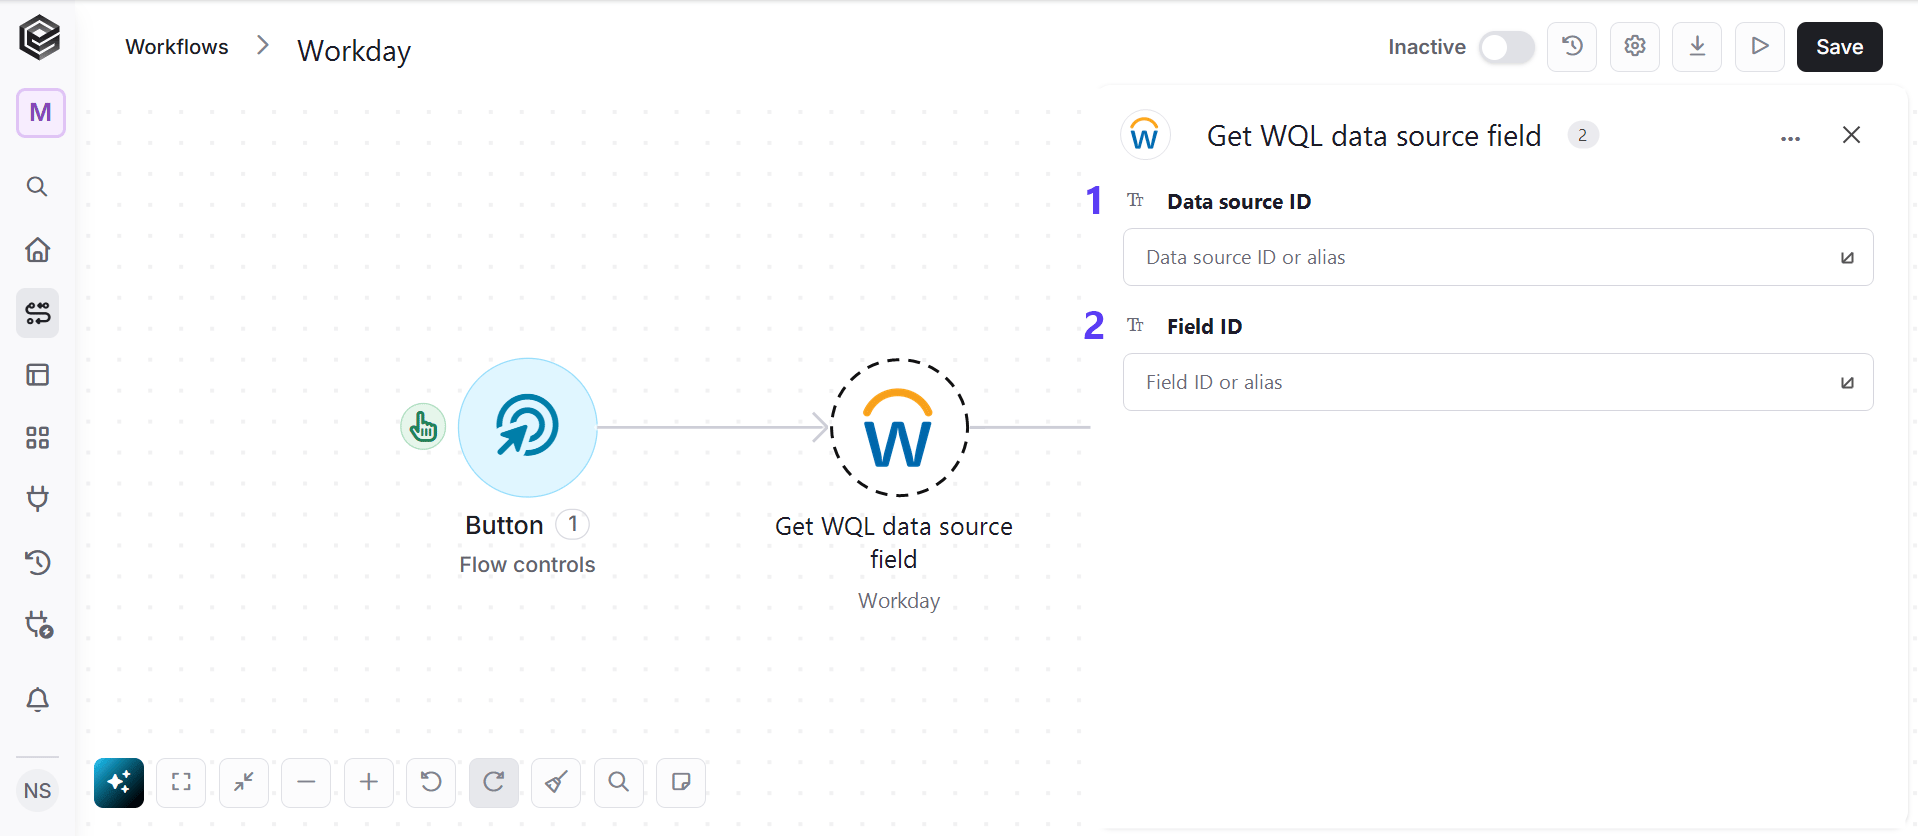
- Data source ID - The ID or alias of the WQL data source.
- Field ID - The ID or alias of the WQL data source field.
List WQL Data Source Filters
Lists all available filters for a specified Workday Query Language (WQL) data source.
- Data source ID - The ID or alias of the WQL data source.
Get WQL Data Source Filter
Retrieves filter definitions and capabilities for a specified WQL data source.
- Data source ID - The ID or alias of the WQL data source.
- Filter ID - The ID or alias of the WQL data source filter.
List Custom Object Definitions
Retrieves a list of custom object definitions configured within the Workday tenant.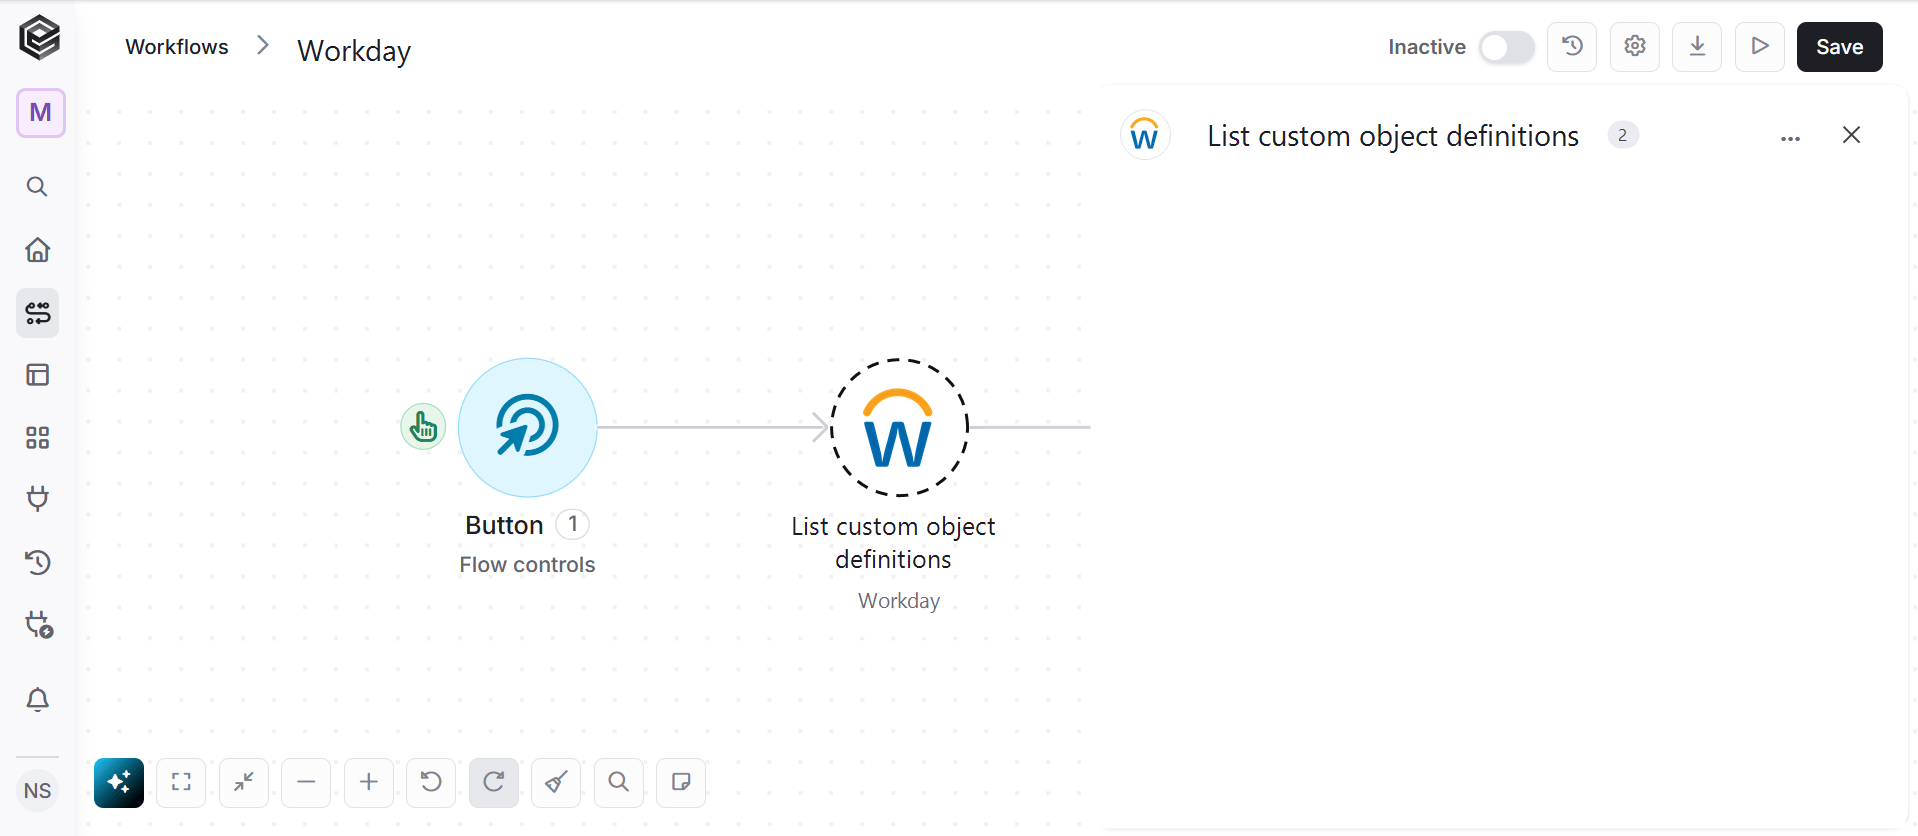
Get Custom Object Definition
Retrieves the metadata definition and schema for a specified custom object in Workday.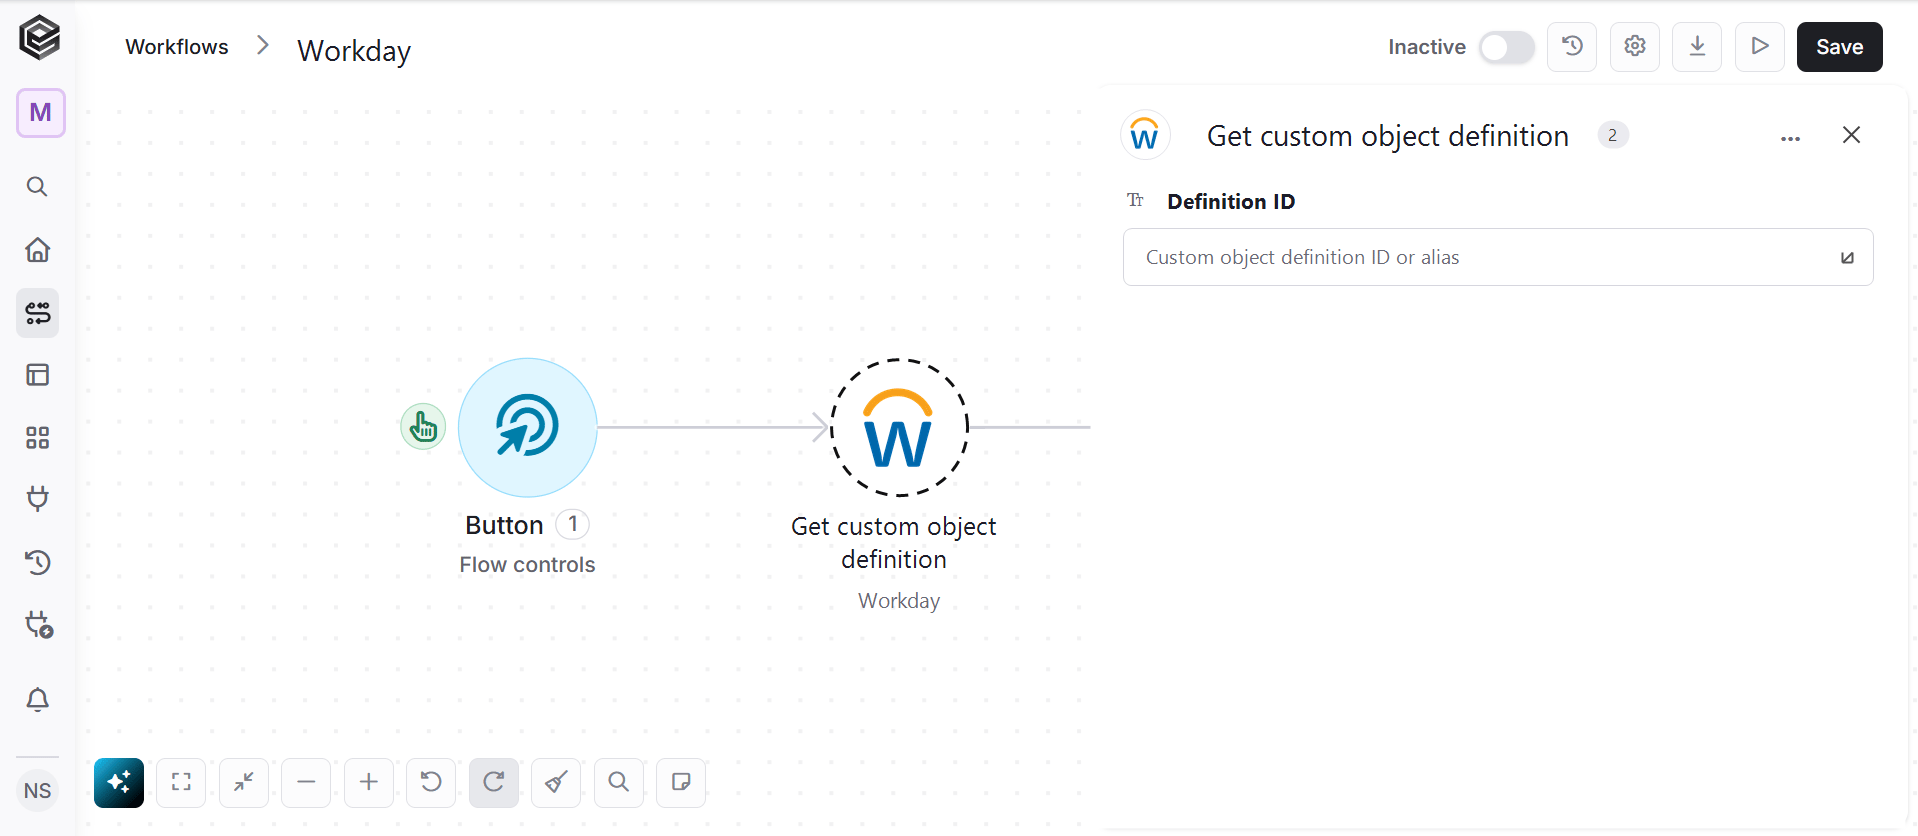
- Definition ID - The ID or alias of the custom object definition.
List Custom Object Definition Fields
Retrieves a list of defined fields and their data types for a specific custom object definition in Workday.
- Definition ID - The ID or alias of the custom object definition.
List Custom Object Instances
Retrieves a list of data instances recorded for a specified custom object in Workday.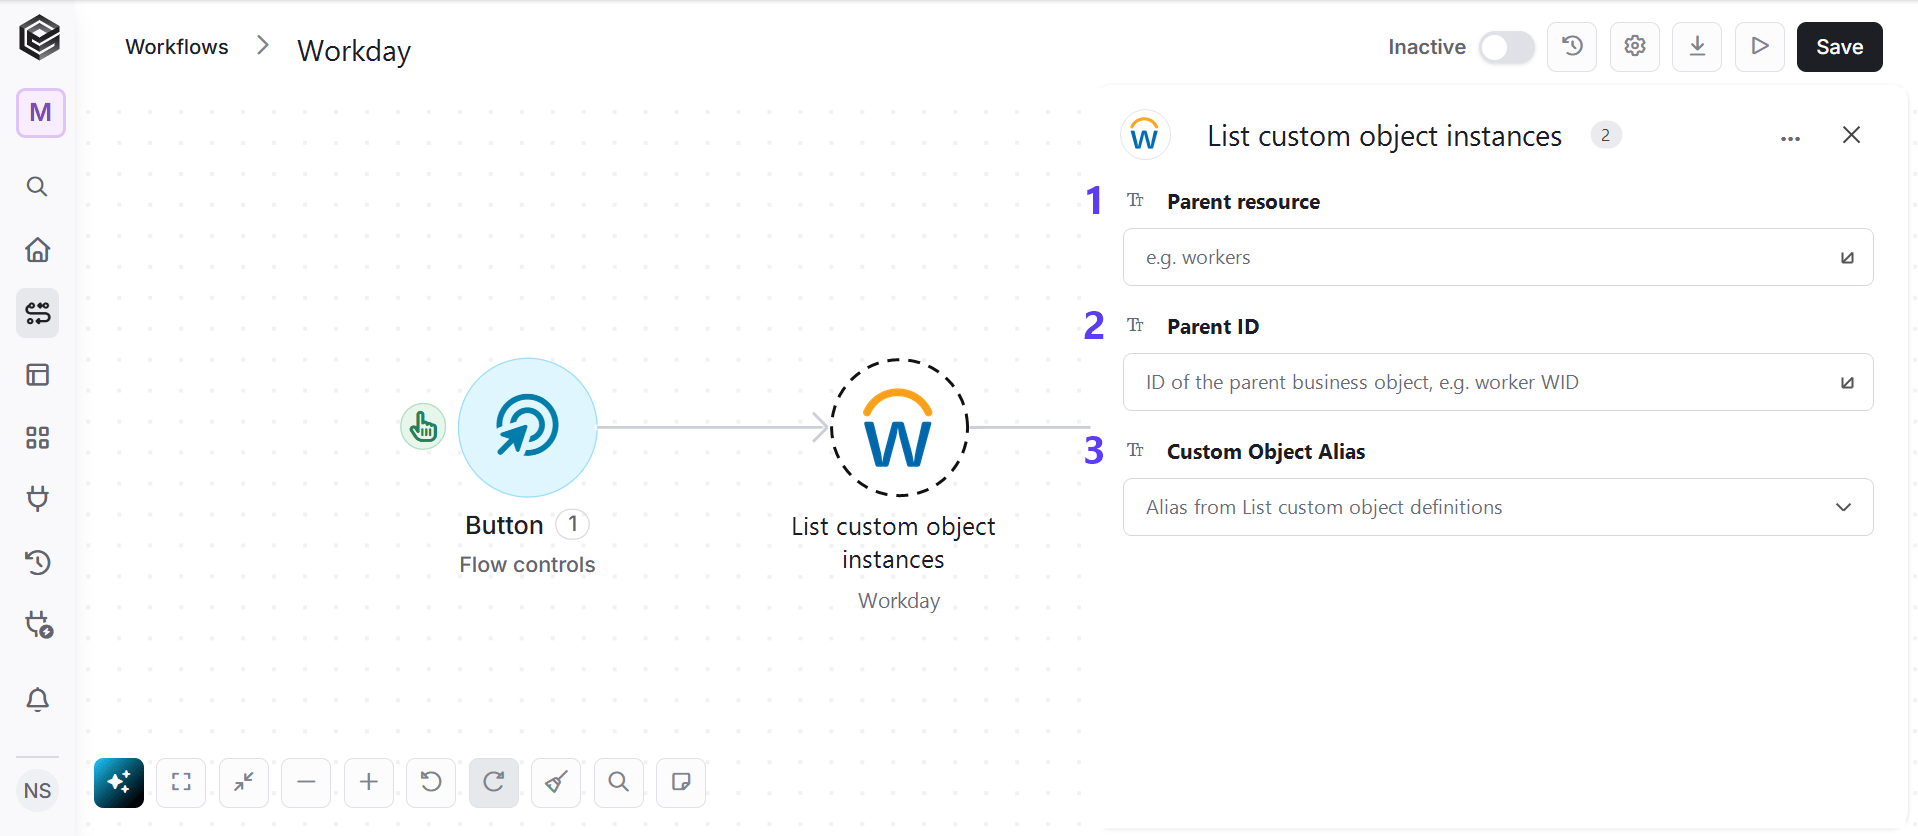
- Parent resource - The type of Workday business object that owns the custom object instances, for example workers.
- Parent ID - The ID of the parent business object, for example the worker WID.
- Custom Object Alias - Select the alias of the custom object. The list is loaded from your Workday custom object definitions.
Get Custom Object Instance
Fetches data for a specific instance of a custom object record in Workday.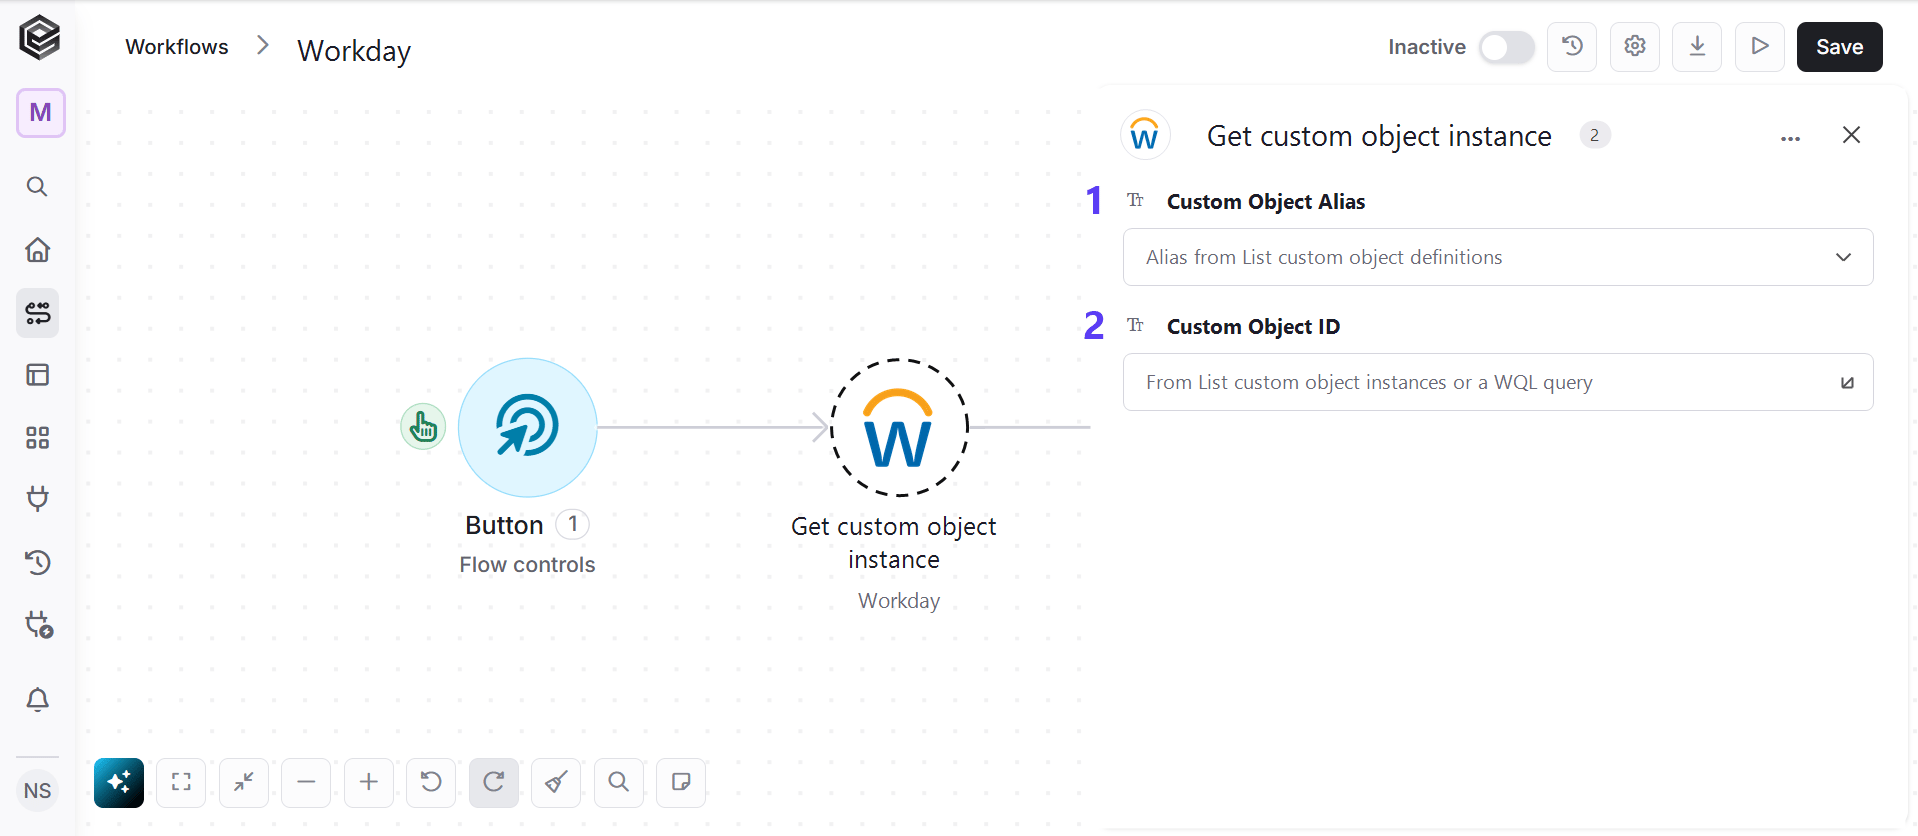
- Custom Object Alias - Select the alias of the custom object. The list is loaded from your Workday custom object definitions.
- Custom Object ID - The ID of the custom object instance. You can get it from List Custom Object Instances or a WQL query.
Create Custom Object Instance
Creates a new data record (instance) for a specified custom object definition in Workday.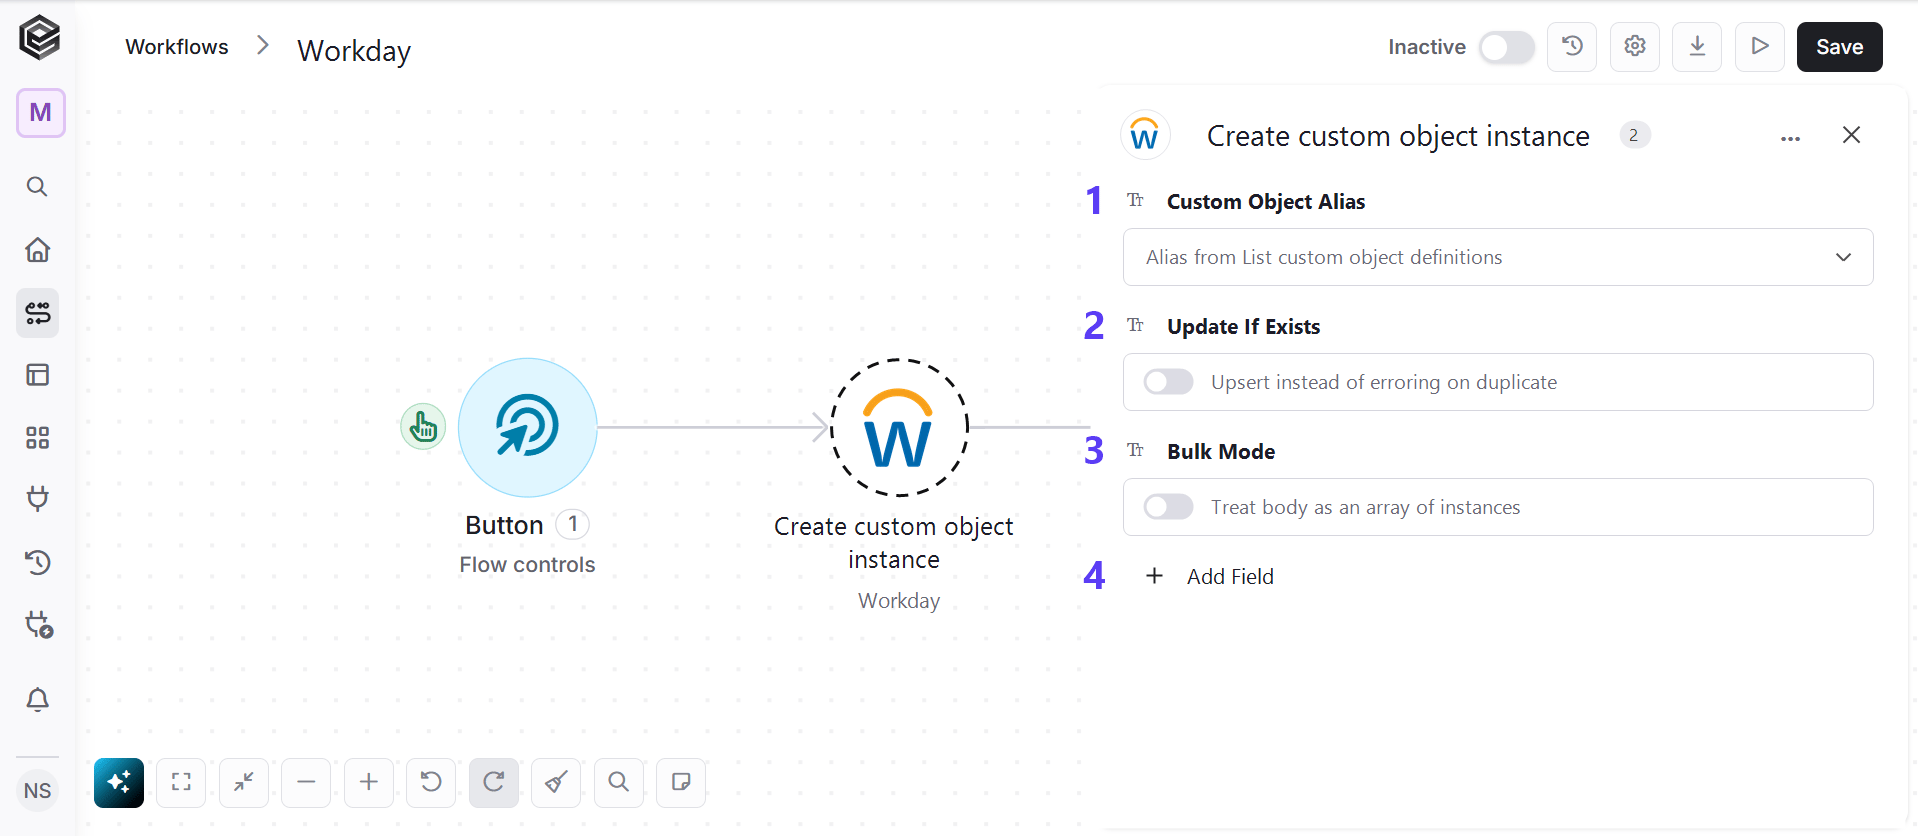
- Custom Object Alias - Select the alias of the custom object. The list is loaded from your Workday custom object definitions.
- Update If Exists - Turn on to update the record instead of returning an error when it already exists.
- Bulk Mode - Turn on to send the body as an array of instances.
- Add Field - Click Add Field to add and populate additional fields for the selected activity. To learn more about managing activity data, click here.
Update Custom Object Instance
Updates field values for an existing data instance of a custom object in Workday.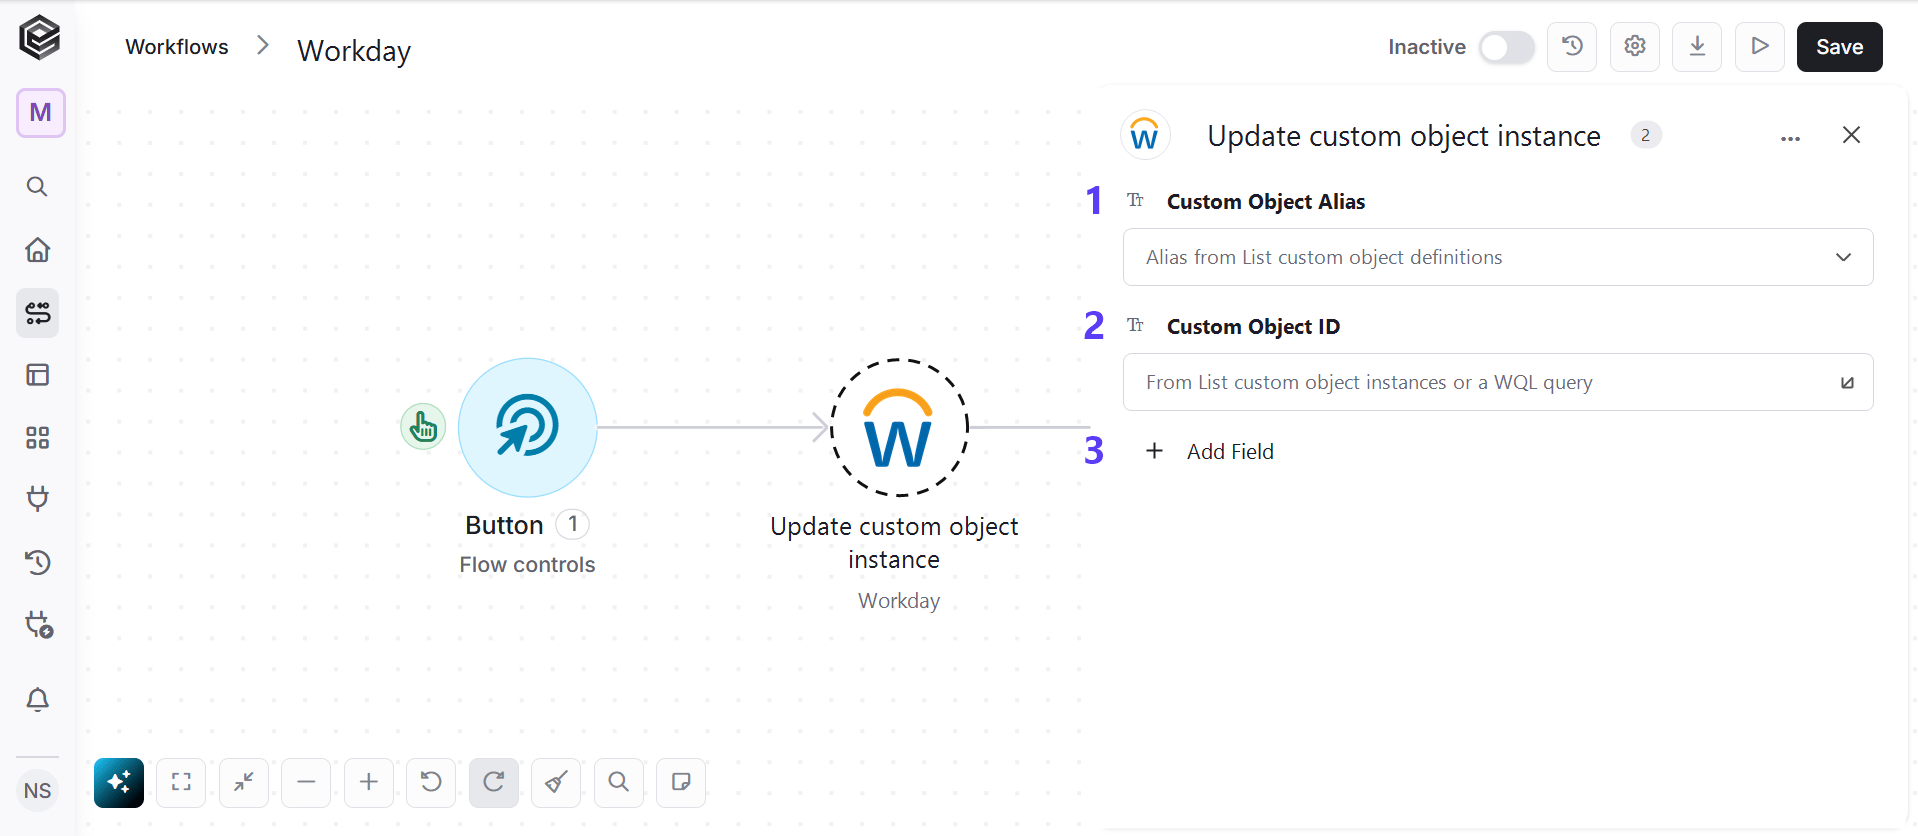
- Custom Object Alias - Select the alias of the custom object. The list is loaded from your Workday custom object definitions.
- Custom Object ID - The ID of the custom object instance. You can get it from List Custom Object Instances or a WQL query.
- Add Field - Click Add Field to add and populate additional fields for the selected activity. To learn more about managing activity data, click here.
Delete Custom Object Instance
Deletes a specific data instance of a custom object from Workday.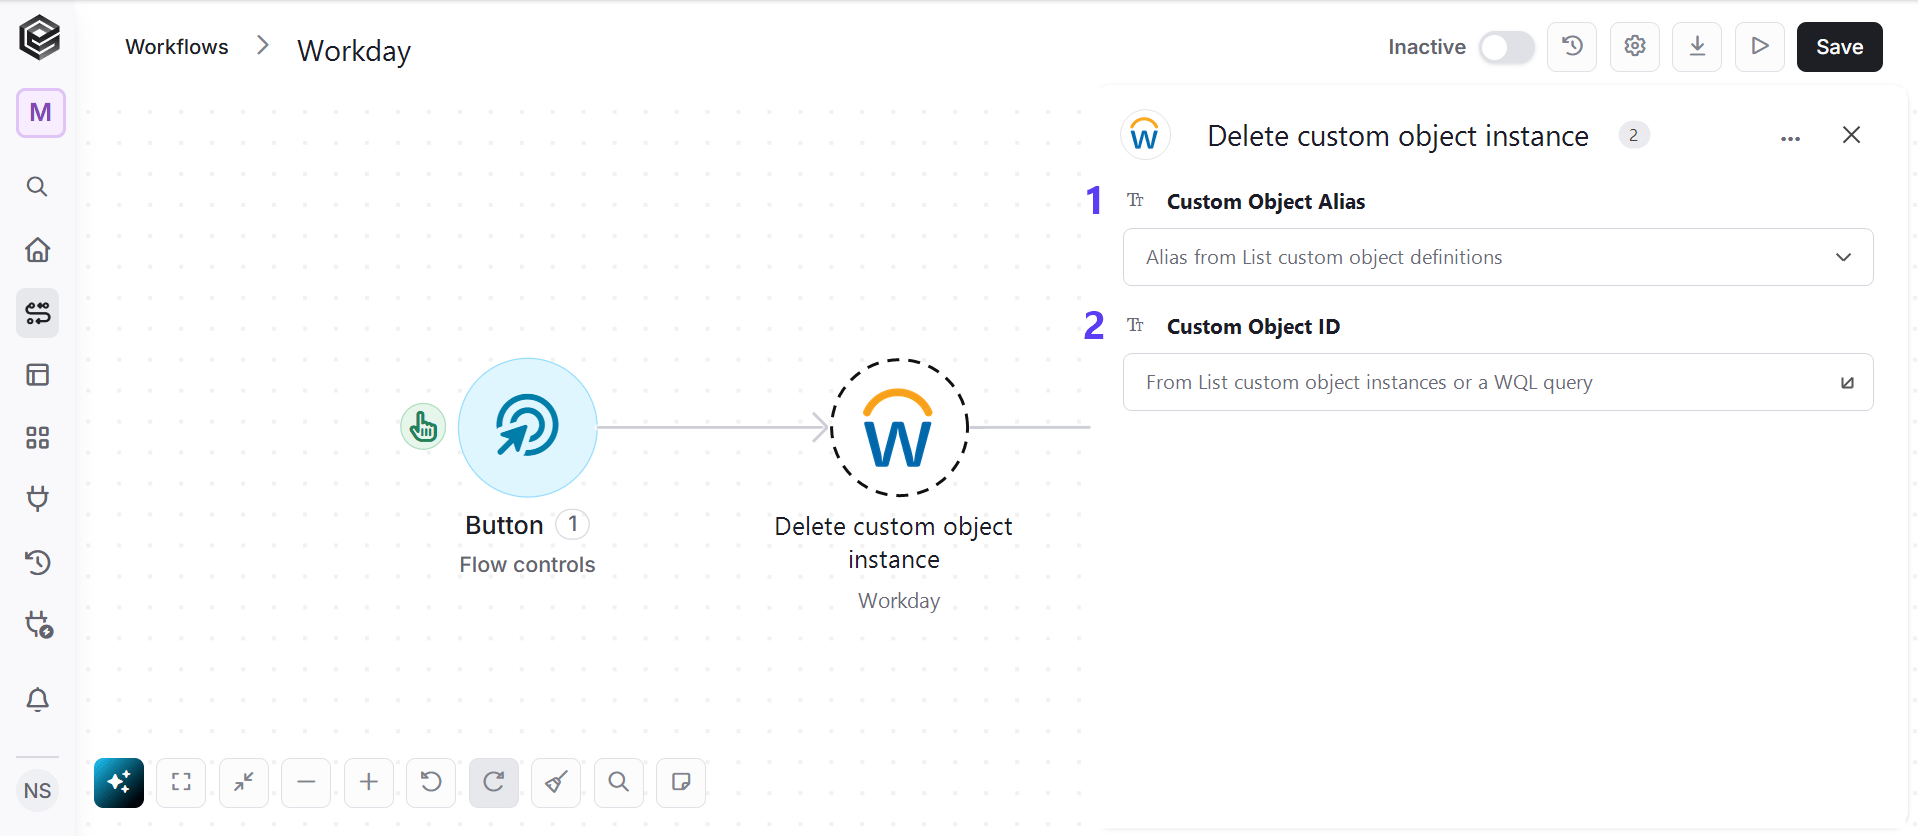
- Custom Object Alias - Select the alias of the custom object. The list is loaded from your Workday custom object definitions.
- Custom Object ID - The ID of the custom object instance. You can get it from List Custom Object Instances or a WQL query.
Create or Update Custom Object Singleton
Creates or updates the single-instance data record for a custom object designated as a singleton.
- Custom Object Alias - Select the alias of the custom object. The list is loaded from your Workday custom object definitions.
- Update If Exists - Turn on to update the record instead of returning an error when it already exists.
- Bulk Mode - Turn on to send the body as an array of instances.
- Add Field - Click Add Field to add and populate additional fields for the selected activity. To learn more about managing activity data, click here.
Get Custom Object Singleton
Retrieves the single-instance data record for a custom object designated as a singleton.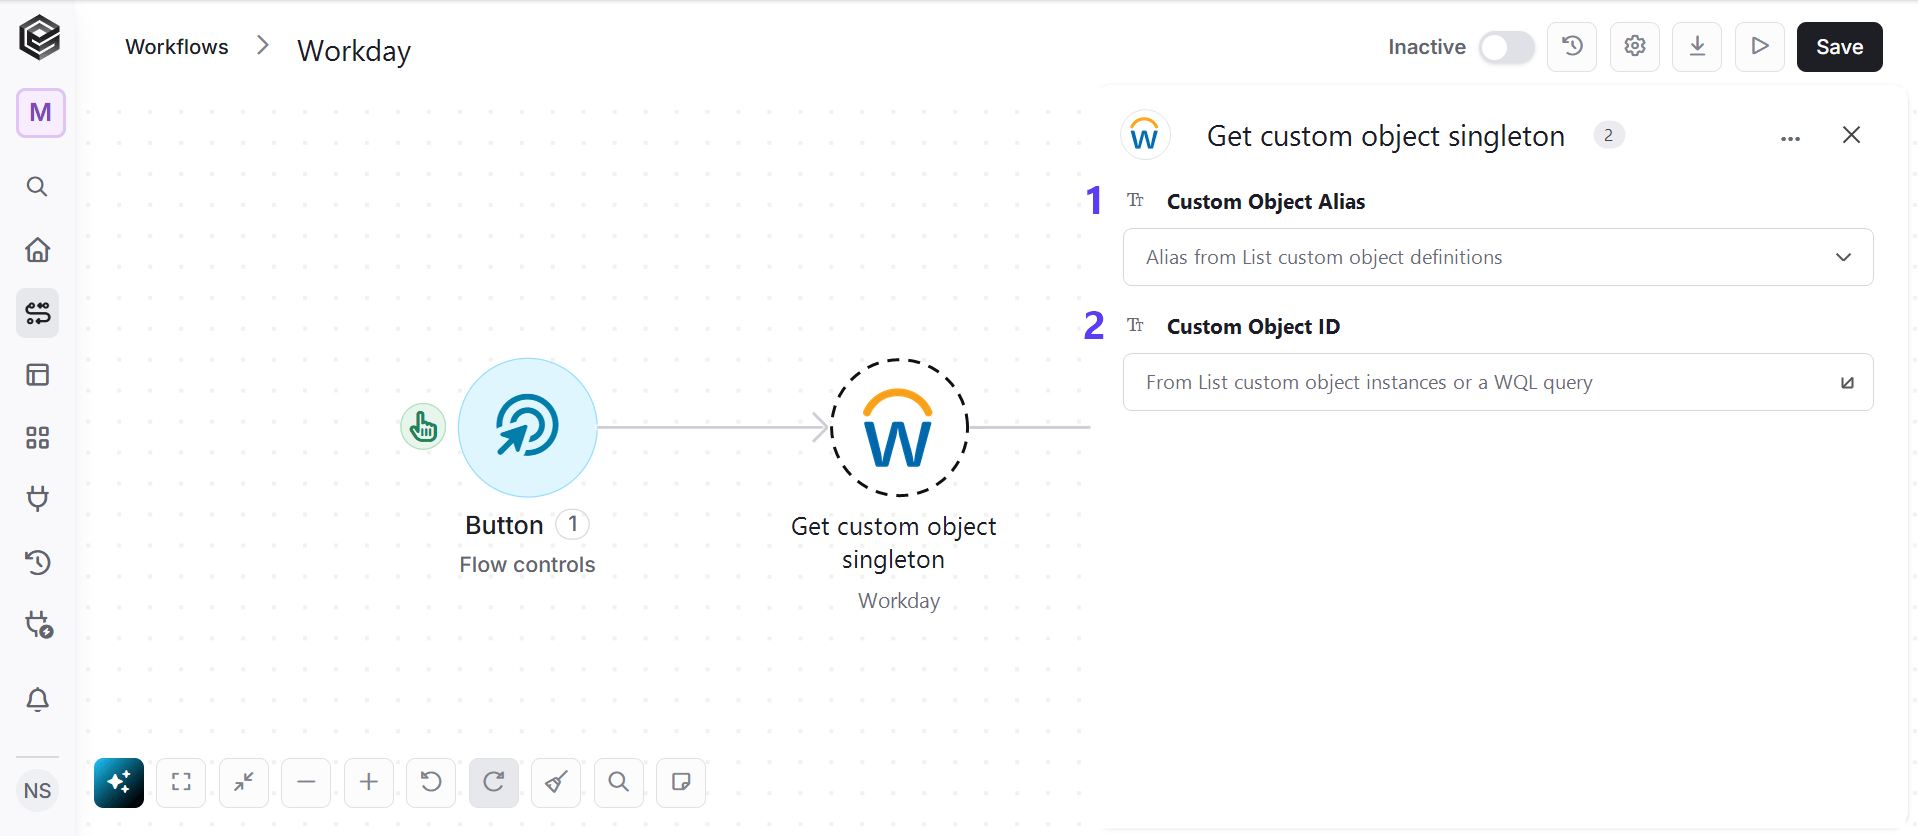
- Custom Object Alias - Select the alias of the custom object. The list is loaded from your Workday custom object definitions.
- Custom Object ID - The ID of the custom object instance. You can get it from List Custom Object Instances or a WQL query.
Update Custom Object Singleton
Updates field values for an existing single-instance data record of a custom object designated as a singleton.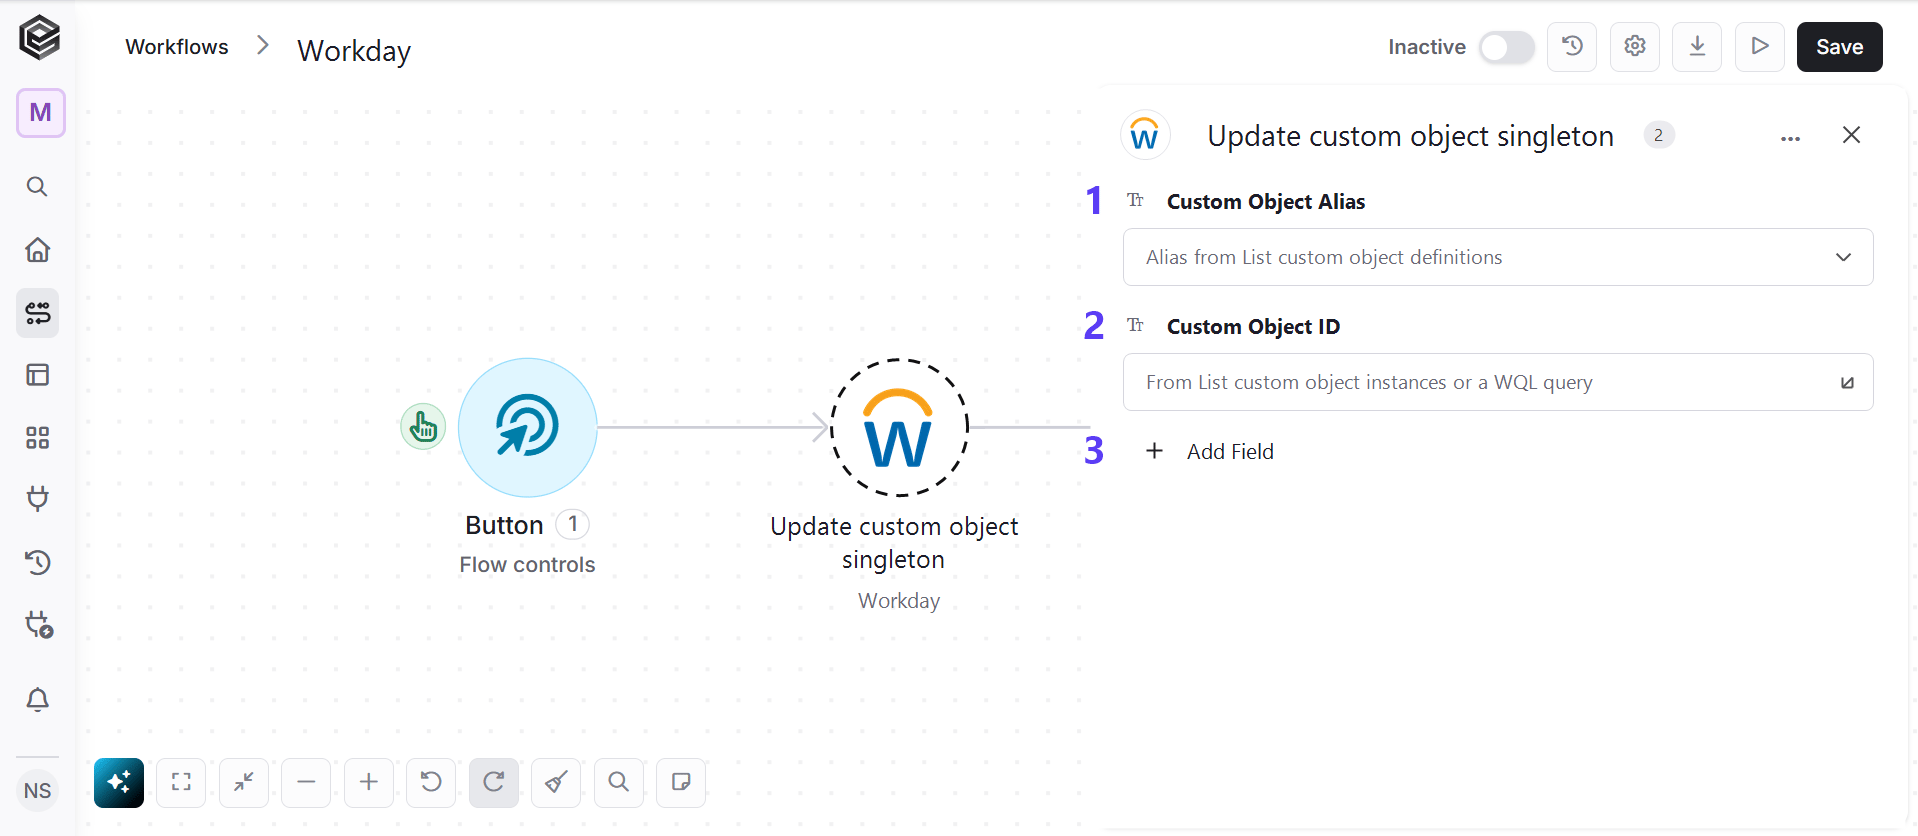
- Custom Object Alias - Select the alias of the custom object. The list is loaded from your Workday custom object definitions.
- Custom Object ID - The ID of the custom object instance. You can get it from List Custom Object Instances or a WQL query.
- Add Field - Click Add Field to add and populate additional fields for the selected activity. To learn more about managing activity data, click here.
Delete Custom Object Singleton
Deletes the single-instance data record of a custom object designated as a singleton.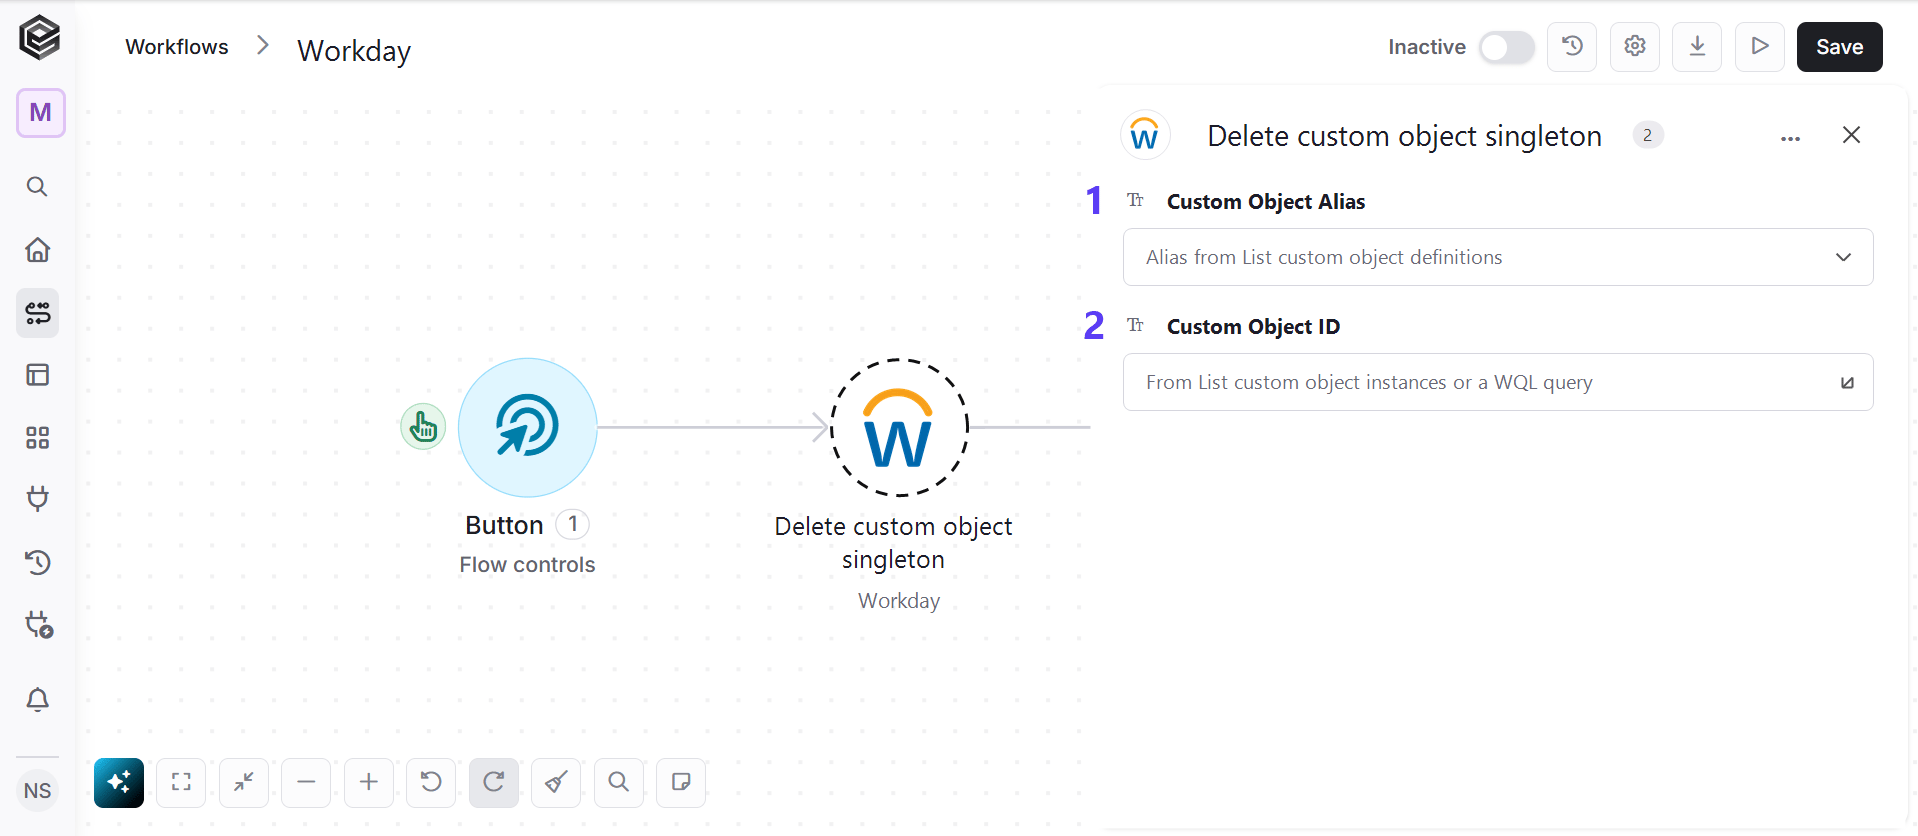
- Custom Object Alias - Select the alias of the custom object. The list is loaded from your Workday custom object definitions.
- Custom Object ID - The ID of the custom object instance. You can get it from List Custom Object Instances or a WQL query.
List Job Profiles
Retrieves a list of job profiles defined in Workday.
Get Job Profile
Retrieves profile definitions for a job role, including job title, description, and responsibilities.
- Job profile ID - The unique Workday ID (WID) of the job profile.
List Job Families
Retrieves a list of job families available in the job classification hierarchy.
Get Job Family
Retrieves details of a specific job family within the job classification structure.
- Job family ID - The unique Workday ID (WID) of the job family.
Get Supervisory Organization
Retrieves details for a specific supervisory organization, including its code, management level, and parent organization.
- Supervisory org ID - The unique Workday ID (WID) of the supervisory organization.
List Workers in Supervisory Organization
Retrieves the list of workers assigned to a specific supervisory organization.
- Supervisory org ID - The unique Workday ID (WID) of the supervisory organization.
Create Job Change
Initiates a job change process for a worker in Workday (such as a position or transfer request).
- Worker ID - The unique Workday ID (WID) of the worker.
- Add Field - Click Add Field to add and populate additional fields for the selected activity. To learn more about managing activity data, click here.
List Organizations
Retrieves a list of organization records configured within the Workday tenant.
Get Organization
Fetches details of an organization record in Workday, including its code and descriptor.
- Organization ID - The unique Workday ID (WID) of the organization.
Create Business Title Change
Submits a request to update or change the business title for a specified worker in Workday.
- Worker ID - The unique Workday ID (WID) of the worker.
- New Title - The new business title to assign to the worker.
List People
Retrieves a list of core personal records in Workday.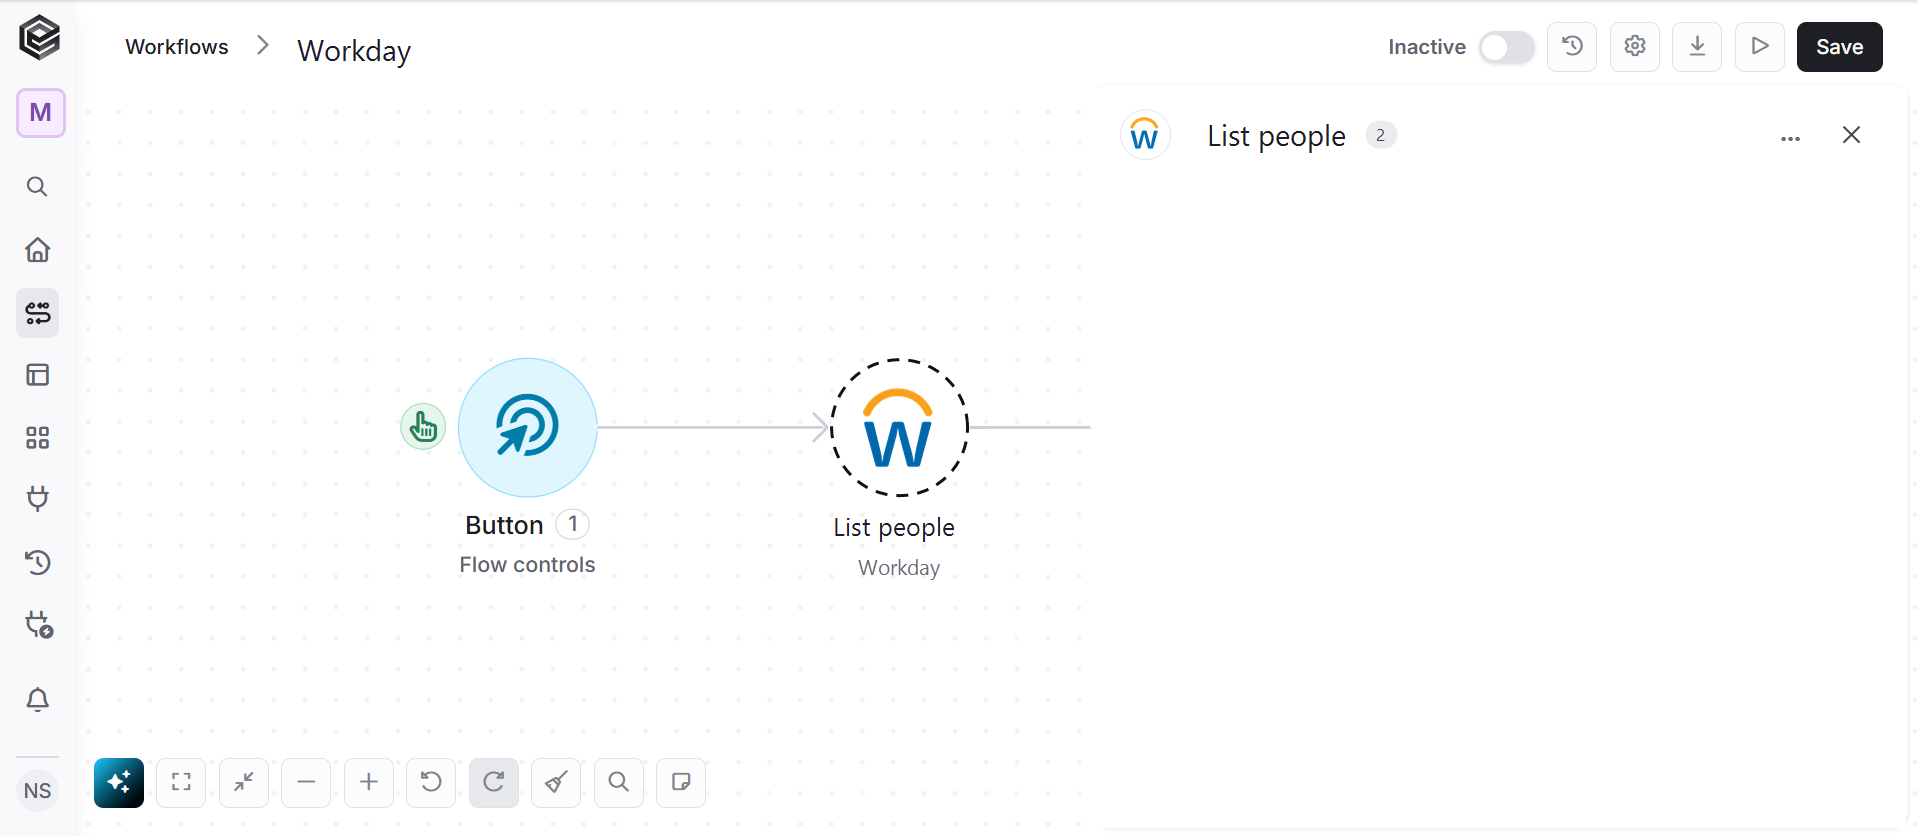
Get Person
Retrieves core personal record details associated with an individual in Workday.
- Person ID - The unique Workday ID (WID) of the person.
Get Legal Name
Retrieves the official legal name records associated with a specific person or worker in Workday.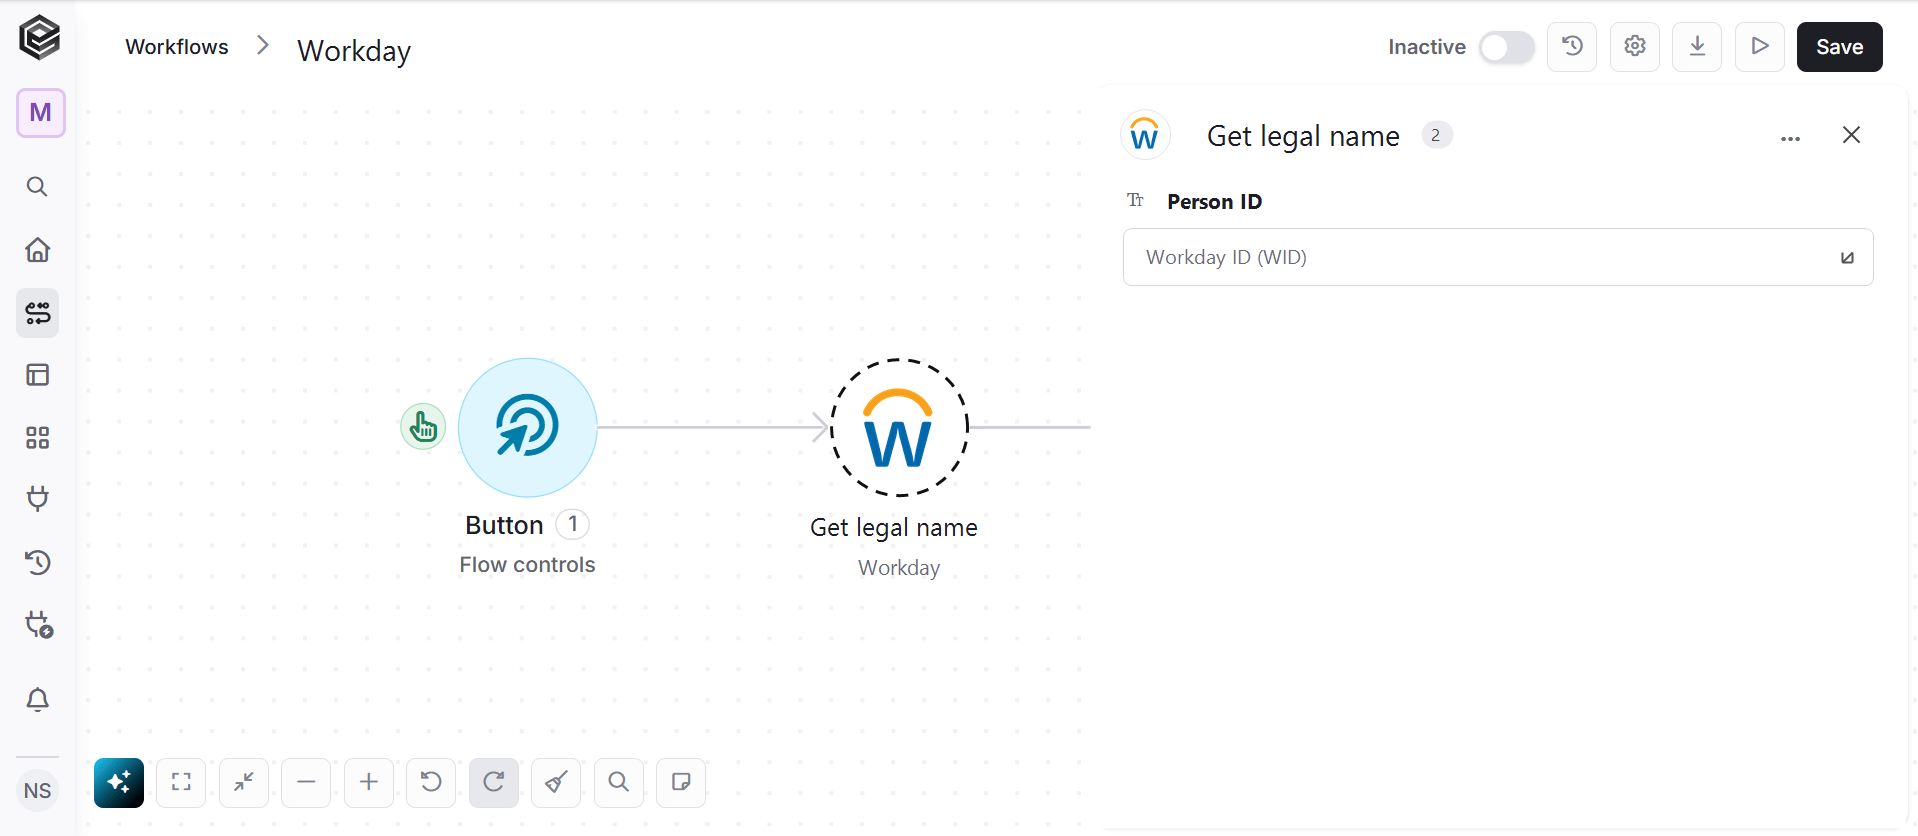
- Person ID - The unique Workday ID (WID) of the person.
List Work Emails
Retrieves primary work email address records for workers across the tenant.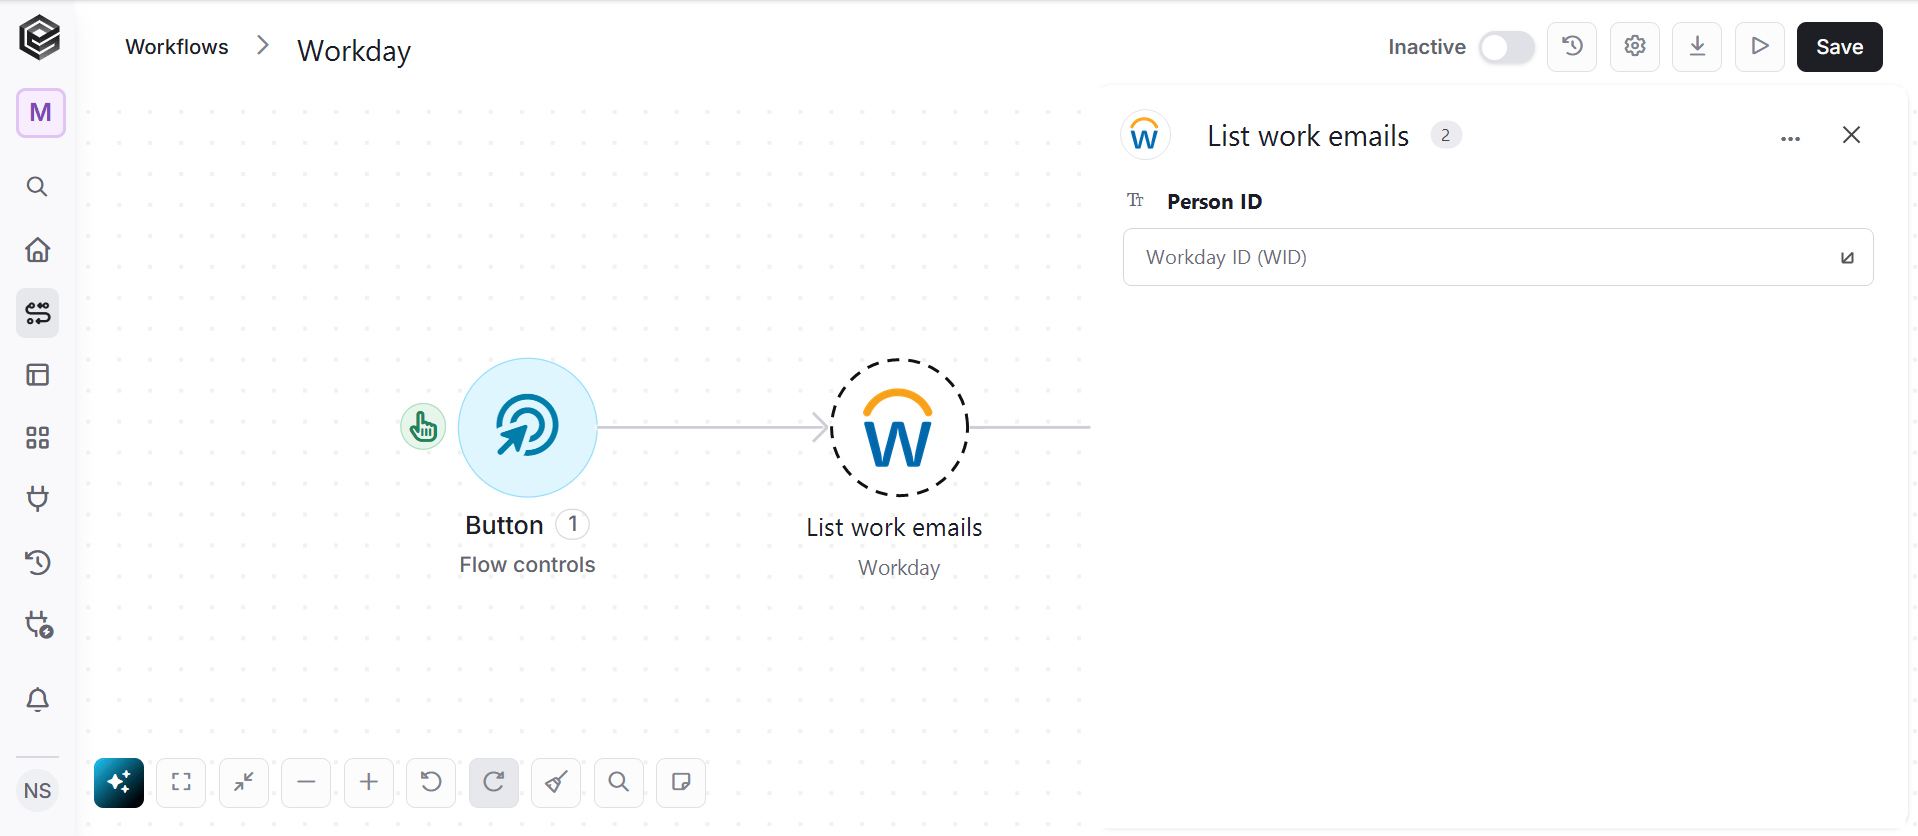
- Person ID - The unique Workday ID (WID) of the person.
List Home Addresses
Retrieves home address records associated with workers across the tenant.
- Person ID - The unique Workday ID (WID) of the person.
Request One-Time Payment
Submits a request for a one-time bonus or additional payment for a specified worker.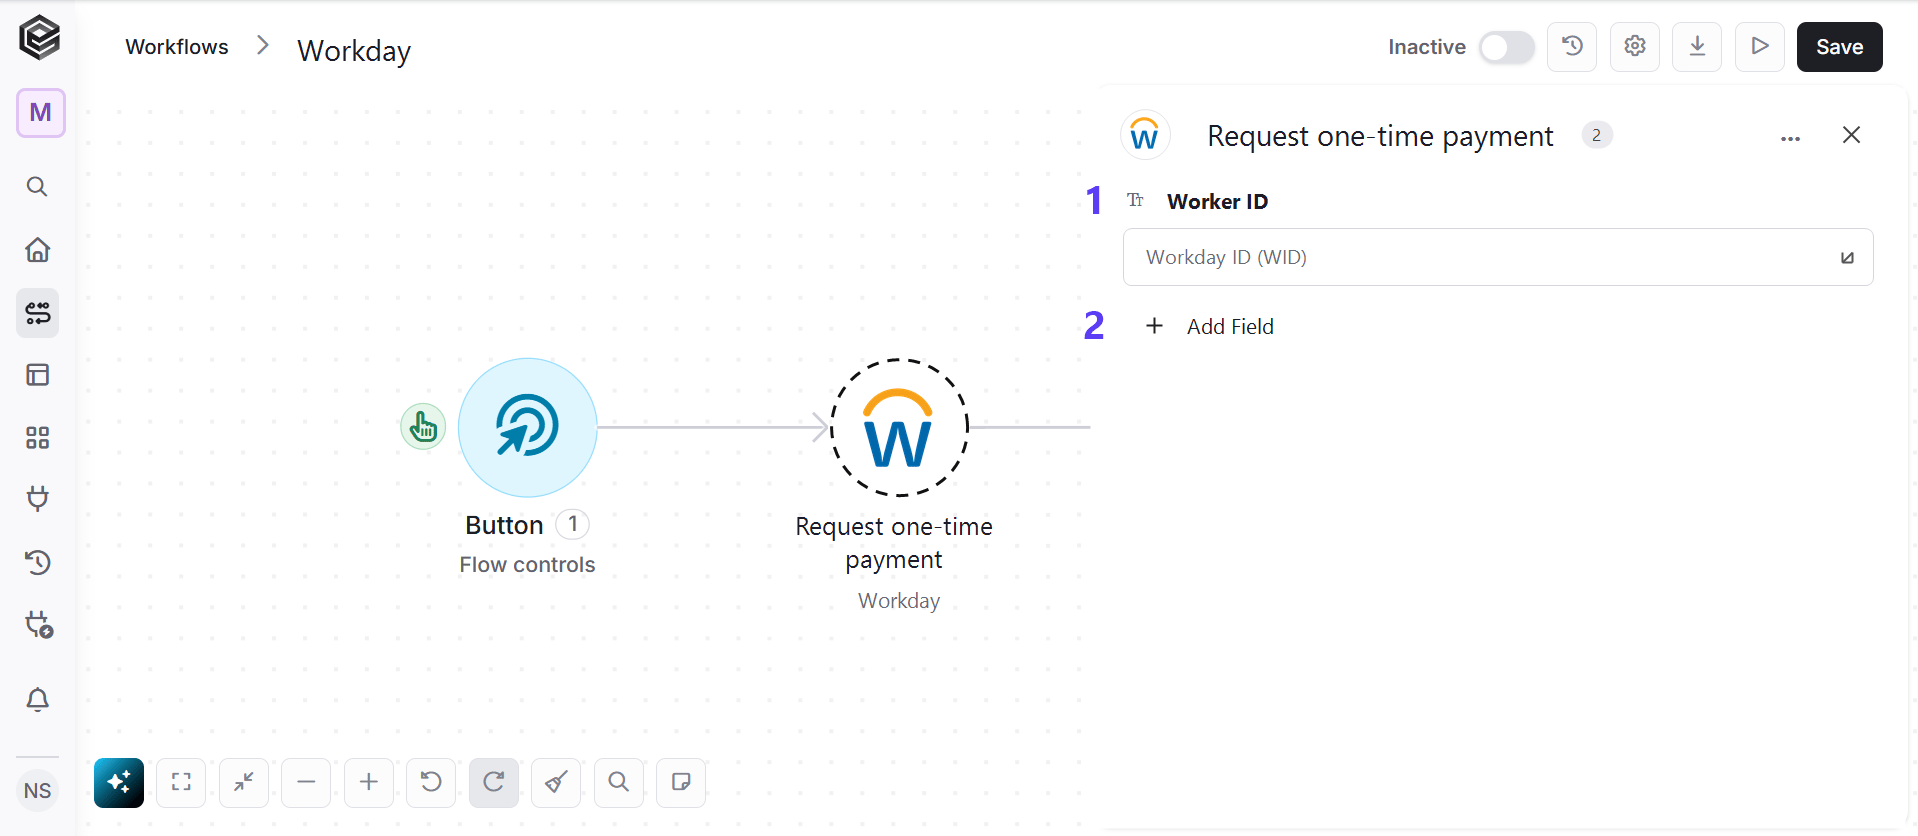
- Worker ID - The unique Workday ID (WID) of the worker.
- Add Field - Click Add Field to add and populate additional fields for the selected activity. To learn more about managing activity data, click here.
Get Job Posting
Fetches full details of a specific job posting, including title, description, start/end dates, and primary location.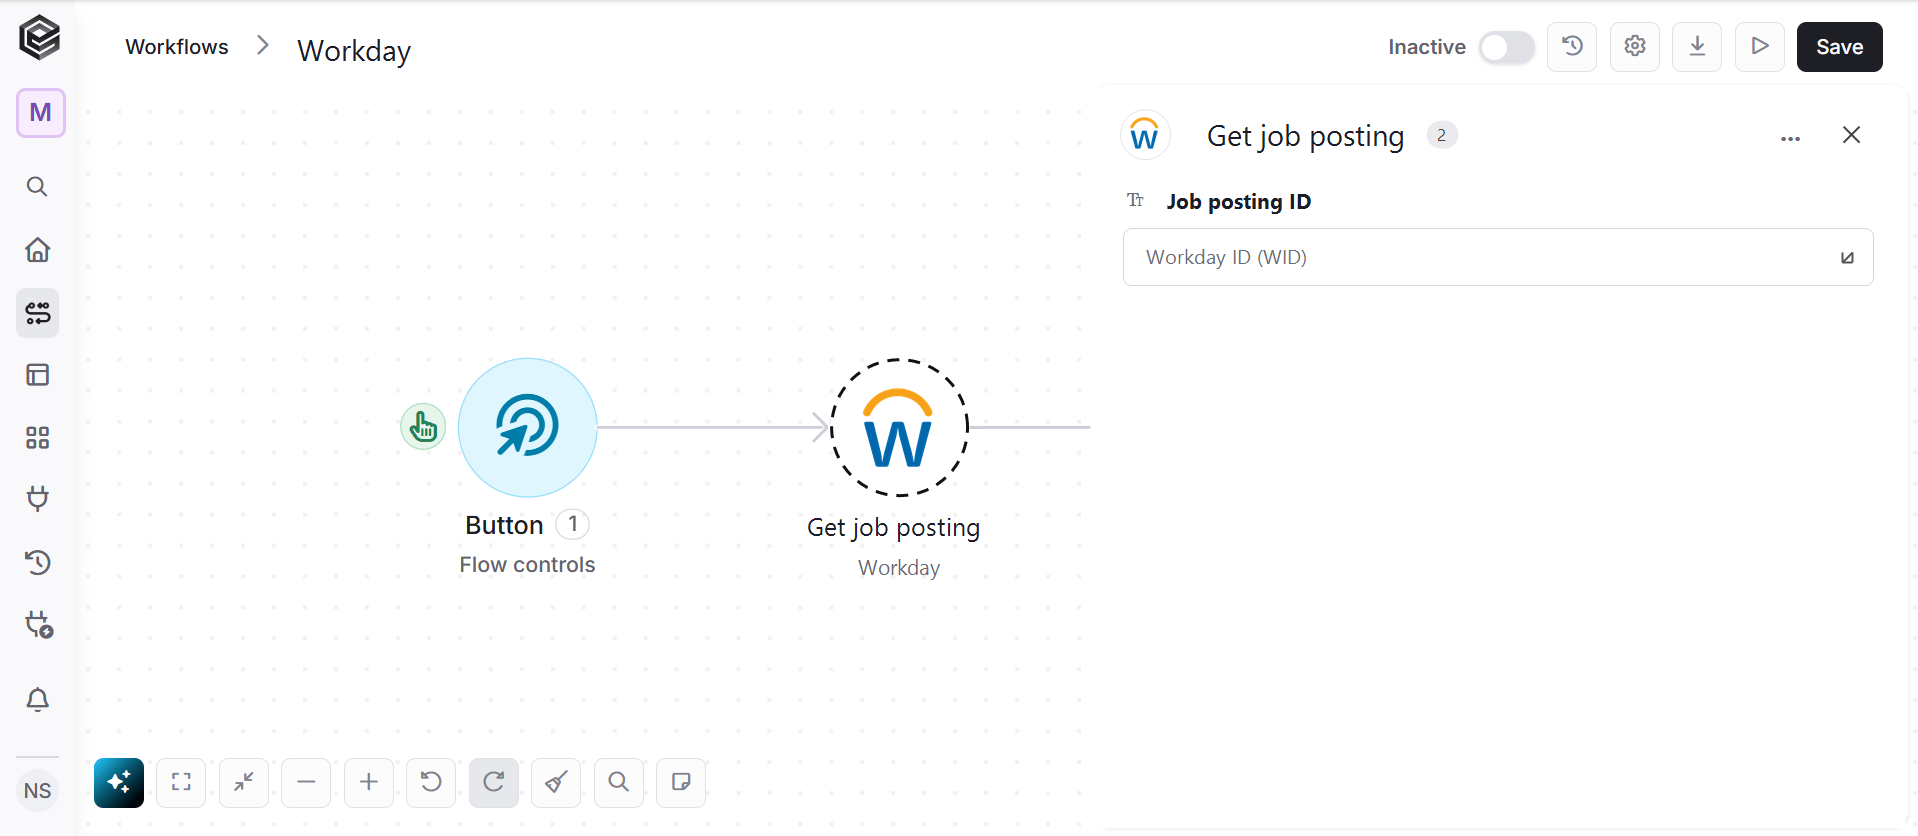
- Job posting ID - The unique Workday ID (WID) of the job posting.
List Prospects
Retrieves recruiting prospects created in Workday Recruiting.
List Learning Content
Retrieves a list of available learning content items and courses configured in Workday Learning.
Enroll in Learning Content
Enrolls a specified worker in a course or learning content item within Workday Learning.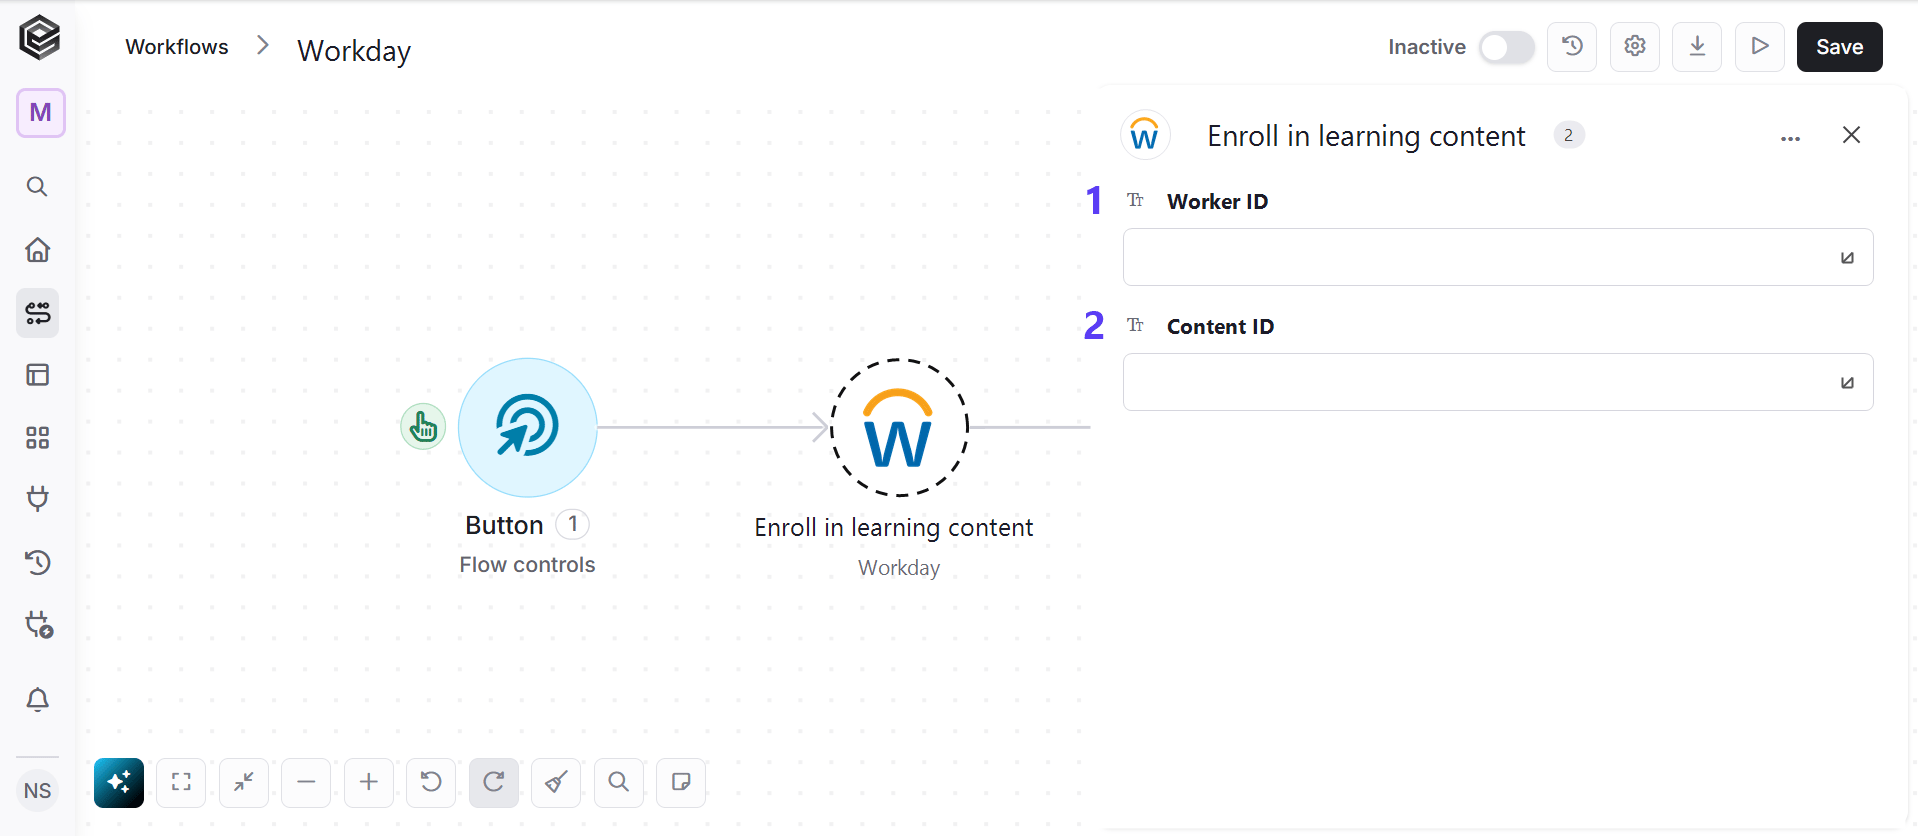
- Worker ID - The unique Workday ID (WID) of the worker.
- Content ID - The unique identifier of the learning content or course.
List Leaves of Absence
Retrieves recorded leave of absence requests and records for workers in Workday.
- Worker ID - The unique Workday ID (WID) of the worker.
Get Worker Time Totals
Retrieves the recorded time totals and total worked hours for a specified Workday worker.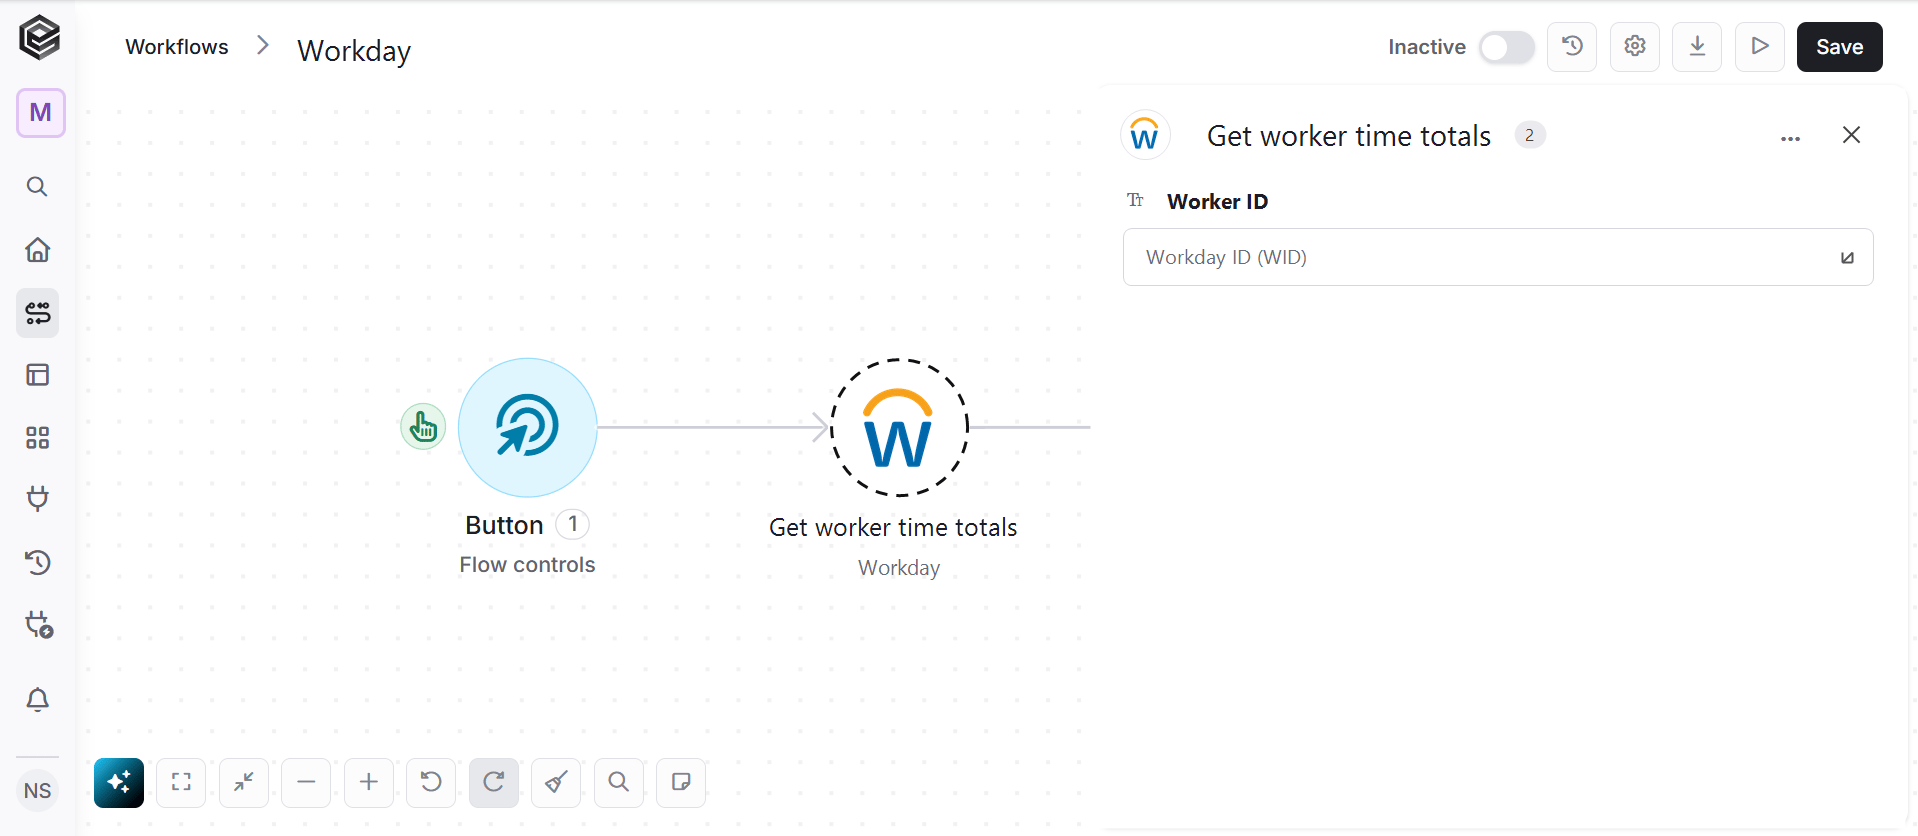
- Worker ID - The unique Workday ID (WID) of the worker.
Create Worker Time Block
Records a block of worked hours or time entry for a specific worker on a given date.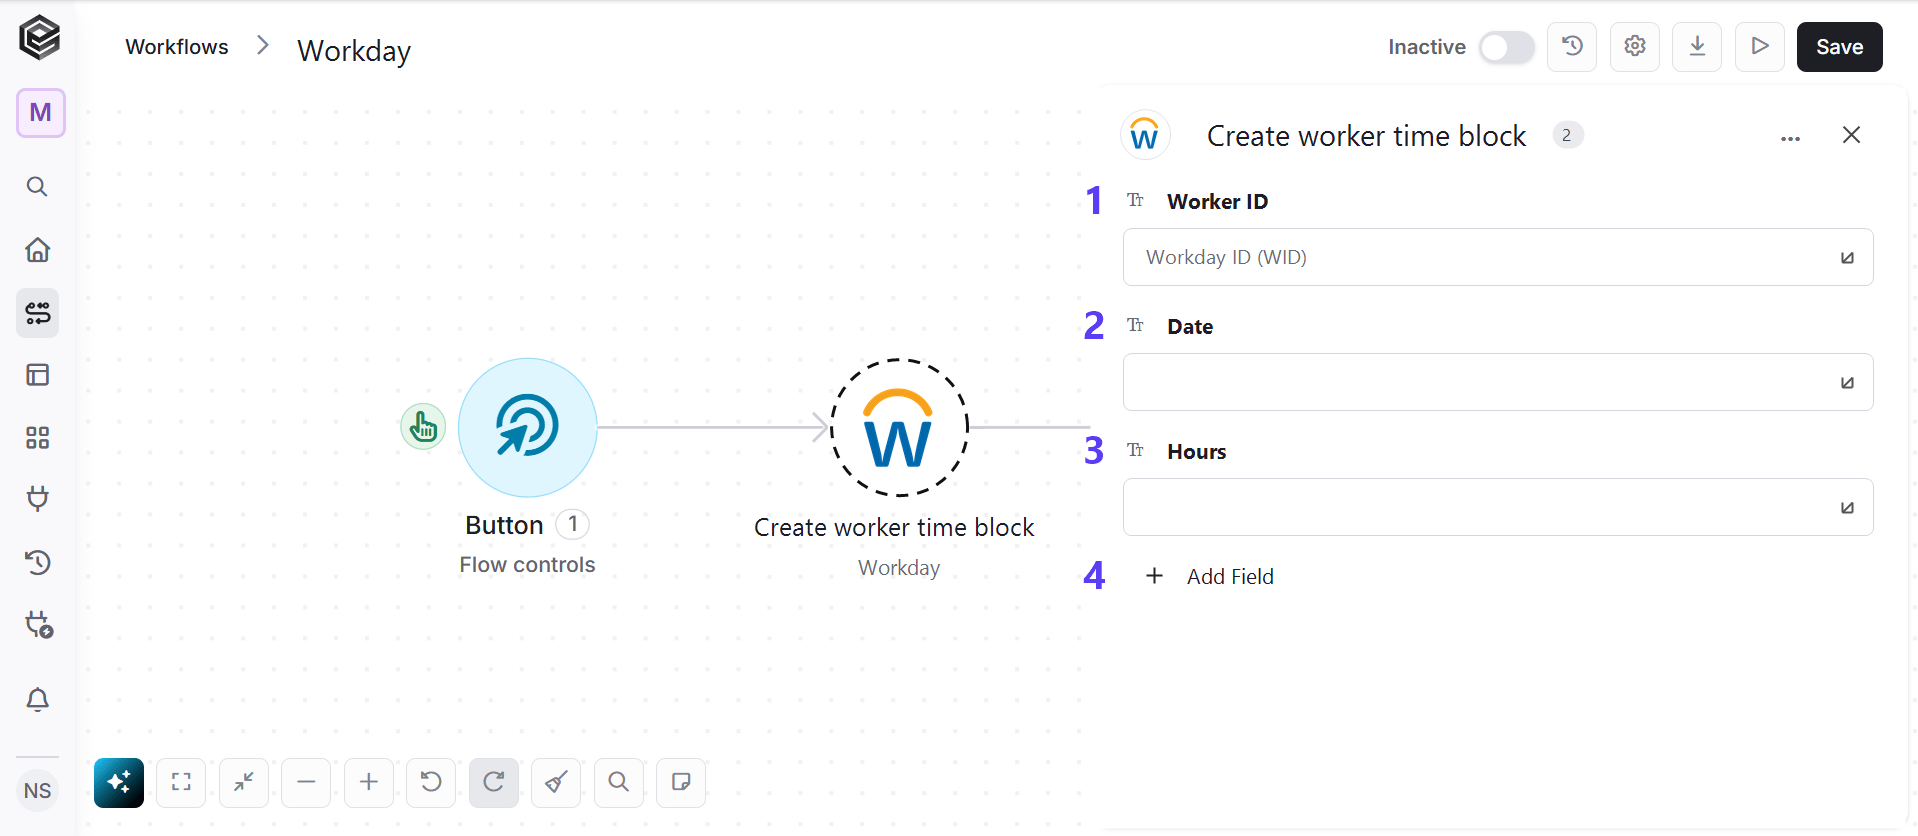
- Worker ID - The unique Workday ID (WID) of the worker.
- Date - The date of the time block.
- Hours - The number of hours worked in the time block.
- Add Field - Click Add Field to add and populate additional fields for the selected activity. To learn more about managing activity data, click here.
Get Report
Executes and retrieves output from a Workday RaaS (Report-as-a-Service) custom report in JSON format.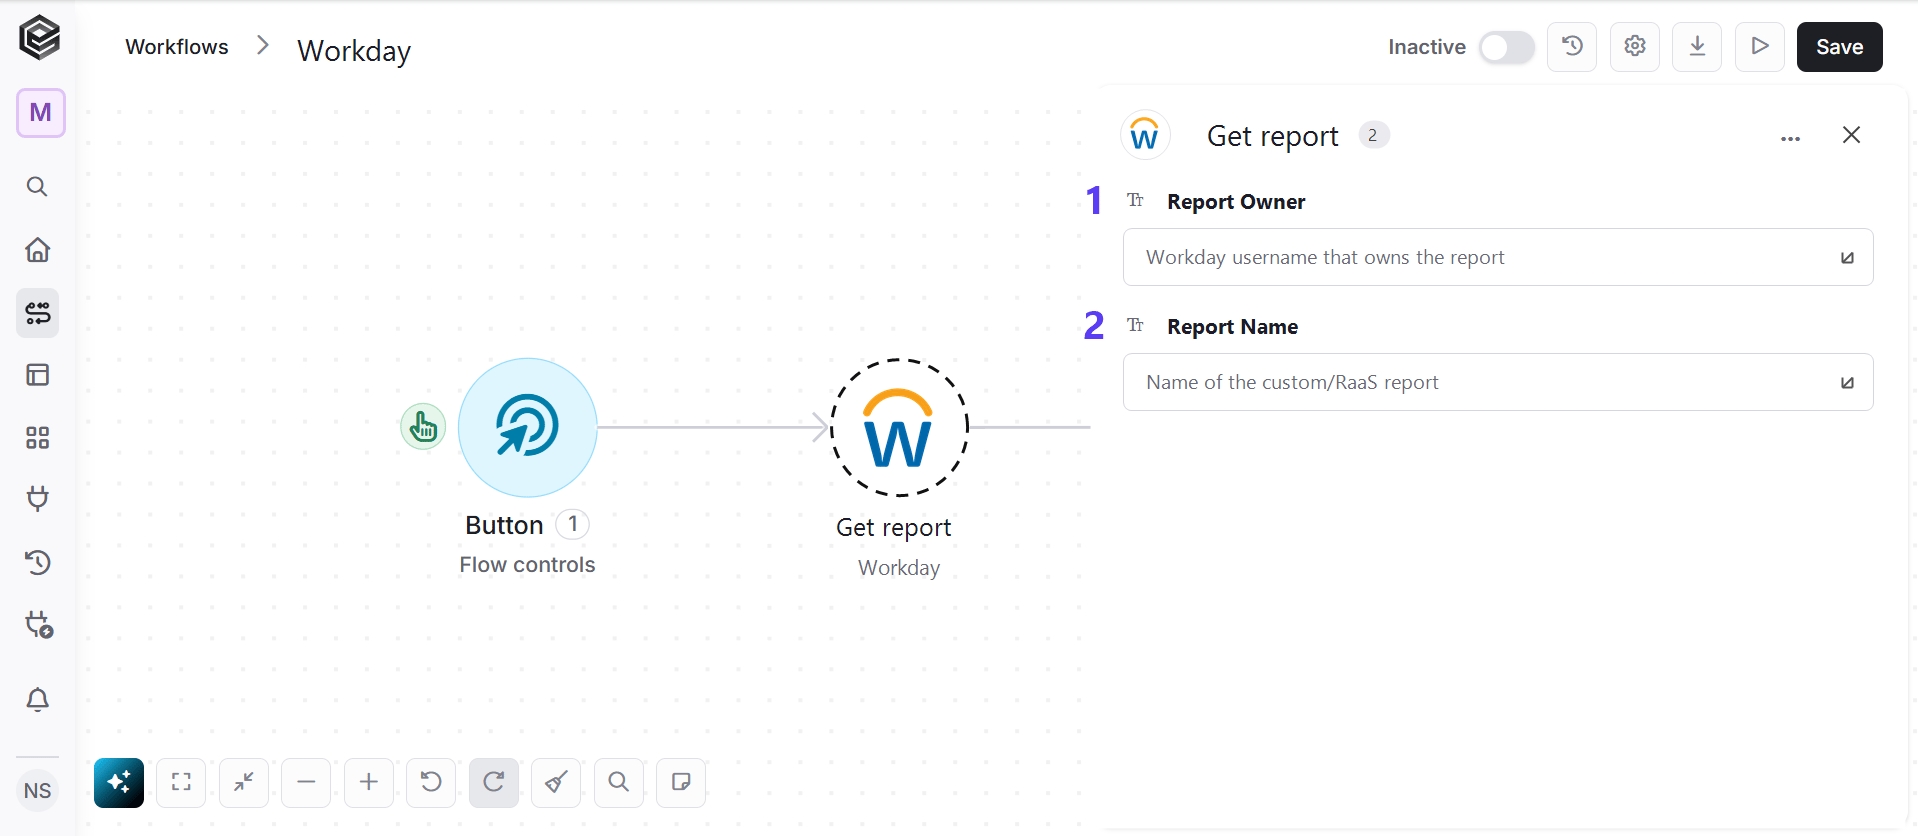
- Report Owner - The Workday username that owns the report.
- Report Name - The name of the custom report (RaaS) to run.
Send API Request
This activity allows you to send a custom API request directly to Workday.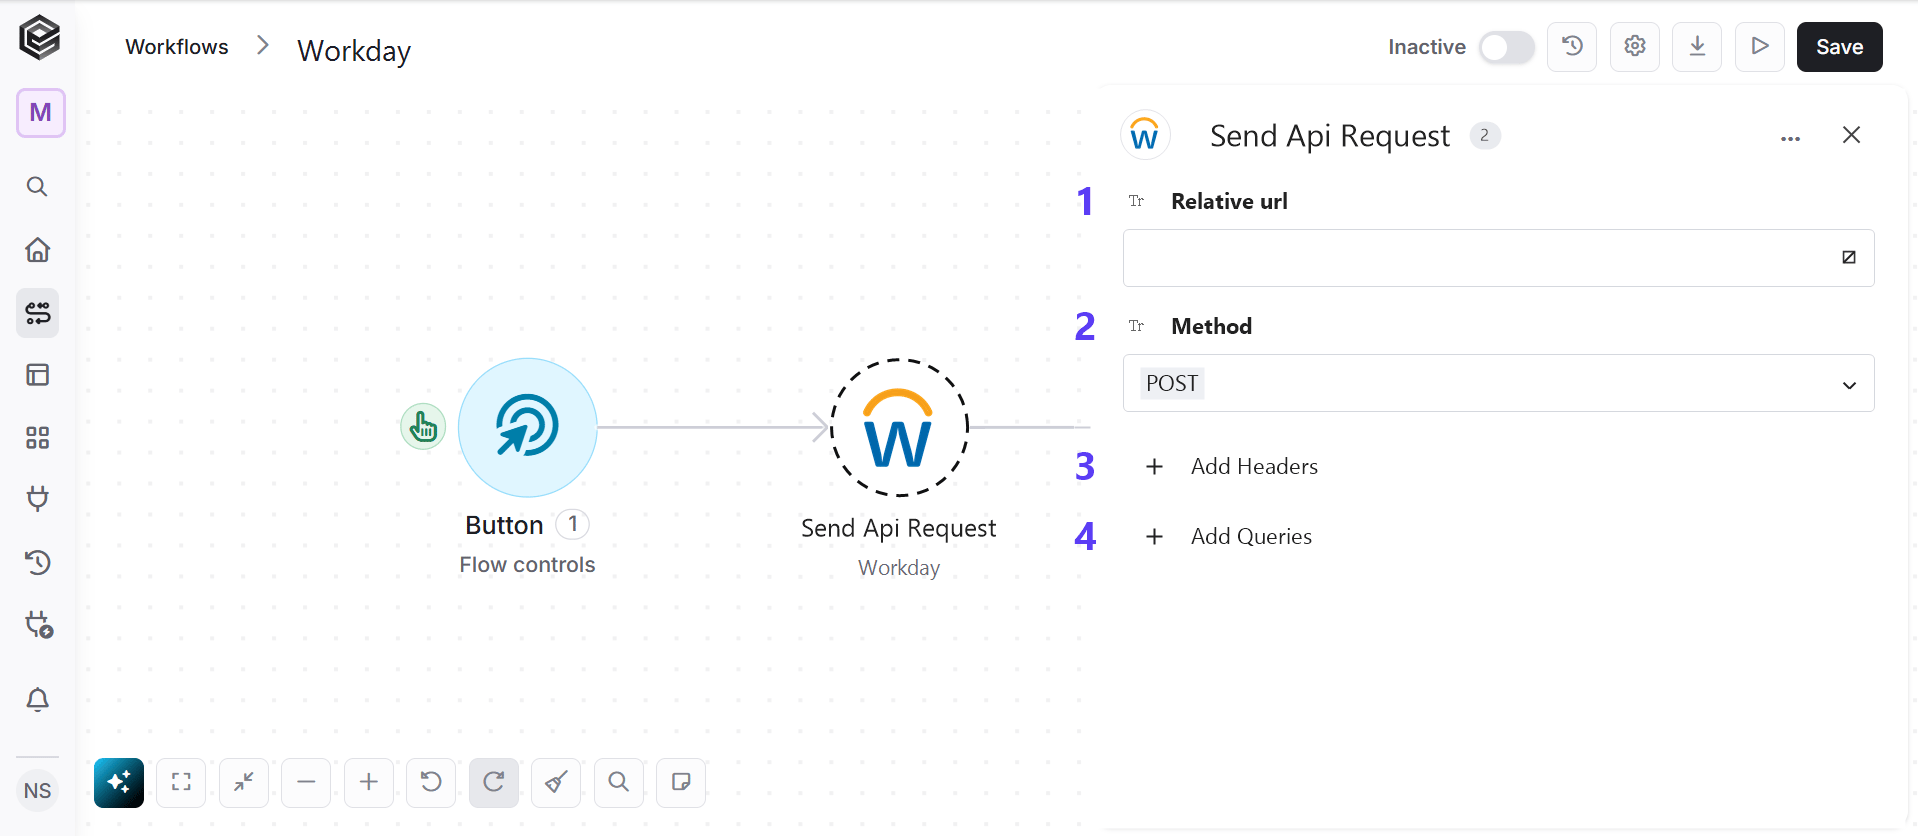
- Relative url - You can specify additional path segments or parameters that need to be added to the end of the automatically generated URL. This allows you to customize the specific request you want to perform.
- Method - Select the HTTP method (e.g., Get, Post, Put, Delete, Patch).
- Add Headers - Additional metadata about the request, such as the type of data Engini can accept, the length of the request body, and authentication information.
- Add Queries - The query refers to the parameters or data that are included in the URL of an HTTP request to provide additional information or instructions to the server.