

Getting Started with MySQL
Prerequisites
- A MySQL account: This includes the username and password to access the database.
Connecting Engini to MySQL
- Enter your Engini account at https://app.engini.io.
-
Navigate to Connections page by clicking on the Connections on the left side bar or by clicking here.

-
Click on the “New Integration” option located at the top bar.

-
Choose MySQL option from available applications
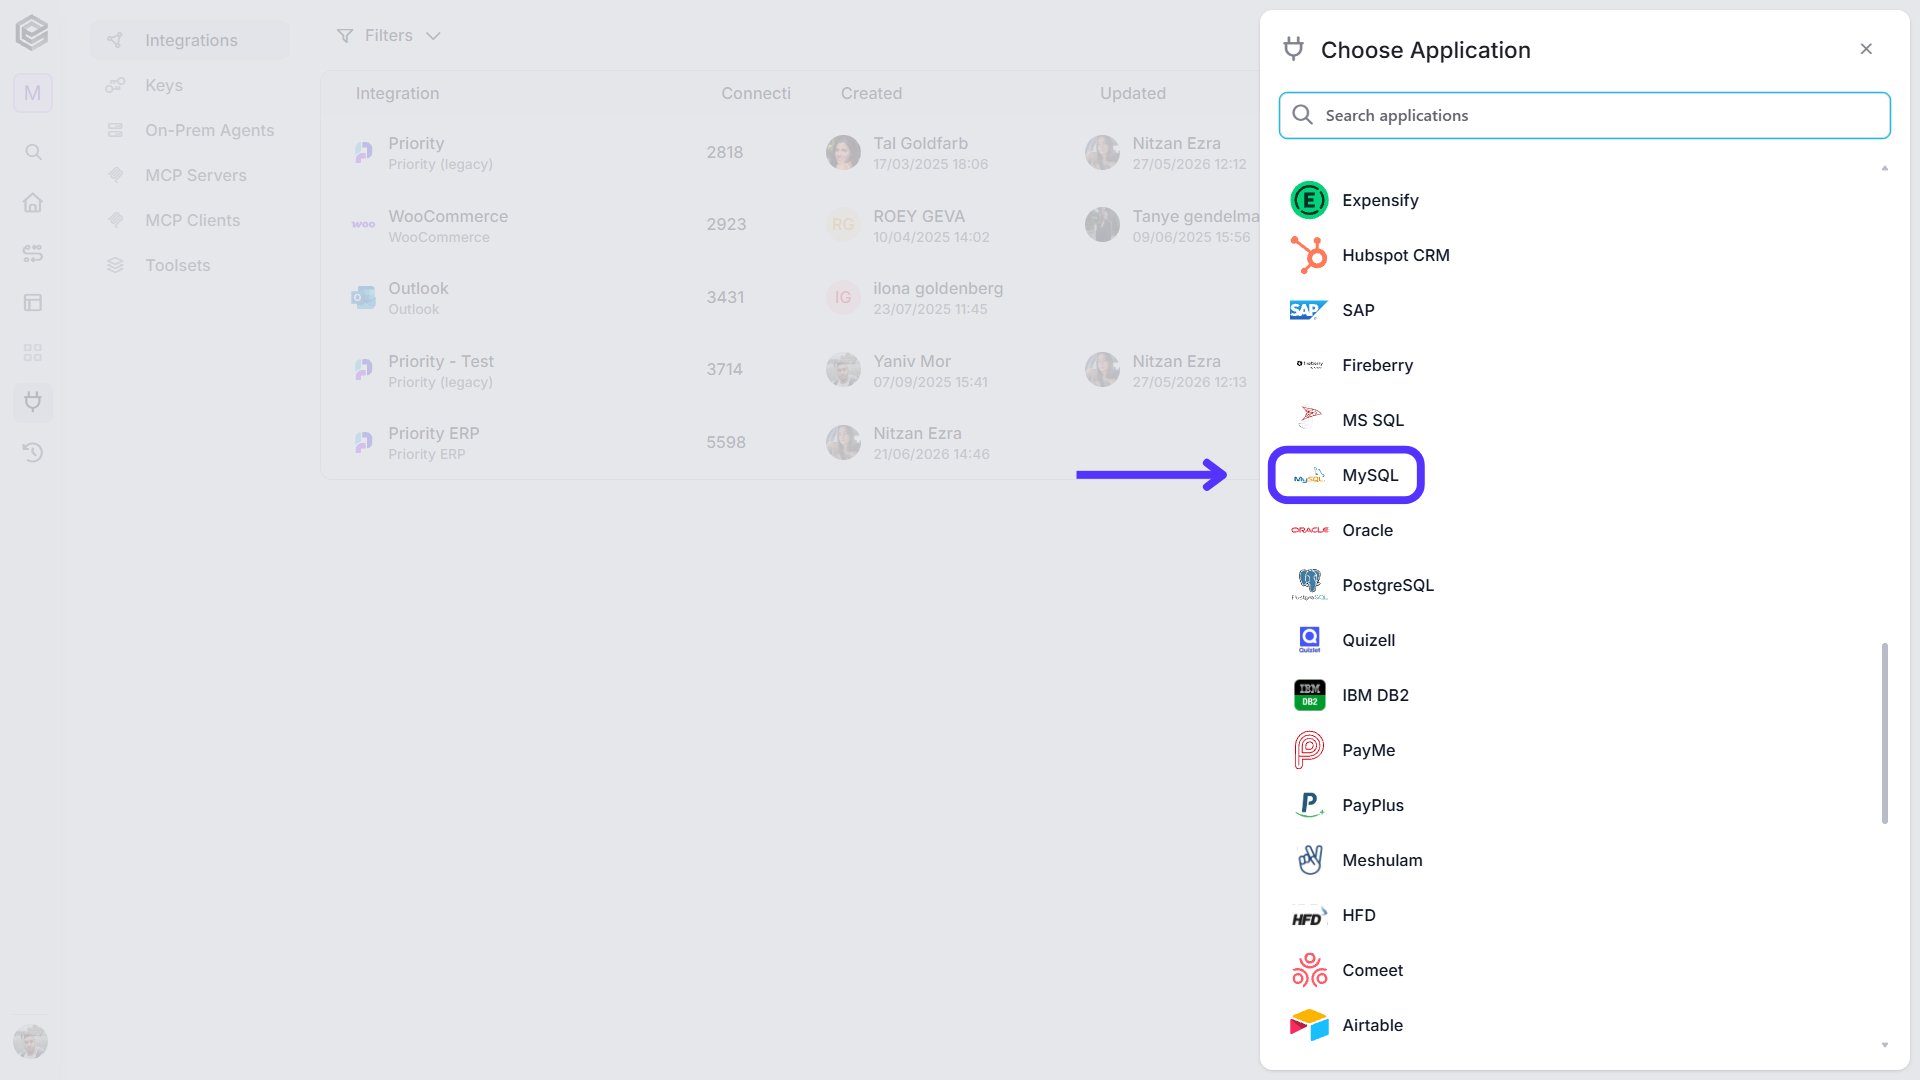
-
Enter the following details in the “New Integration” form and press Save:

- Connection Name - Choose a name for easy reference to this connection.
- Server Address - The IP address or domain where the MySQL server is hosted.
- Database Name - The name of the specific MySQL database you want to connect to.
- Username - The MySQL username with sufficient access rights.
- Password - The corresponding password for the MySQL username.
- Communication Channel - Ensure the communication channel (likely Cloud) is accessible for remote connection.
- Save Settings - Click on the Save button located at the bottom of the form.
Actions

Create Record
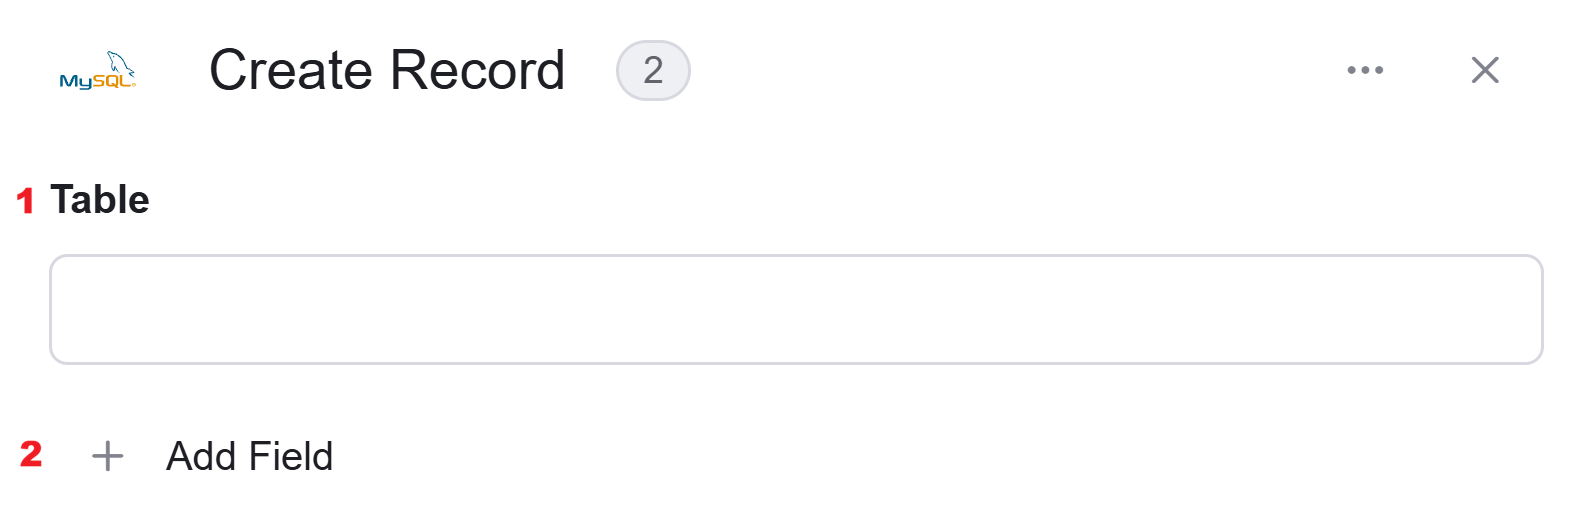
- Table - Choose the table where the new record will be inserted. Make sure to select the correct table from your database.
- Add Field - Click Add Field to add and populate additional fields for the selected activity. To learn more about managing activity data, click here.
Get Records

- Table/View - Choose the table or view from which you want to retrieve records.
- Top - Specify the total number of rows to retrieve (default is 100).
- Offset - Define the number of rows to skip before retrieving records (default is 0).
- Add Filter - Click Add Filter to define conditions that narrow down the data list and return only the relevant items. To learn more about using filters, click here.
- Add Sort - Click Add Sort to organize the data list by a selected field in ascending or descending order. To learn more about sorting data, click here.
Update Record
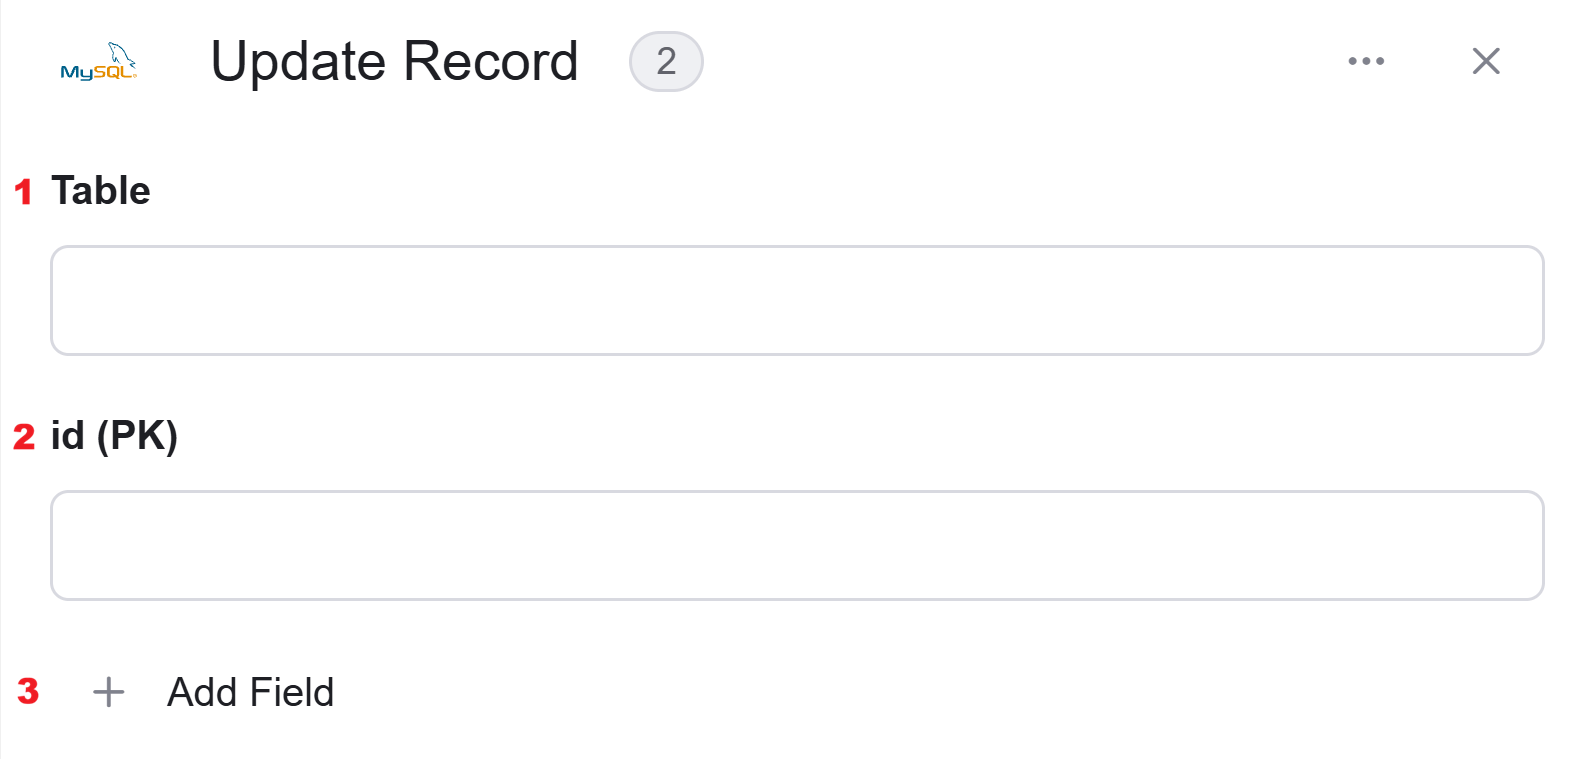
- Table - Choose the table where the record to be updated is located.
- AccountId (PK) - Input the primary key (AccountId) for identifying the specific record to be updated.
- Add Field - Click Add Field to add and populate additional fields for the selected activity. To learn more about managing activity data, click here.
Update Records

- Table - Choose the table where the records to be updated are located.
- Add Filter - Click Add Filter to define conditions that narrow down the data list and return only the relevant items. To learn more about using filters, click here.
- Add Field - Click Add Field to add and populate additional fields for the selected activity. To learn more about managing activity data, click here.
Delete Records

- Table - Choose the table from which records will be deleted.
- Add Filter - Click Add Filter to define conditions that narrow down the data list and return only the relevant items. To learn more about using filters, click here.
Create Batch of Records
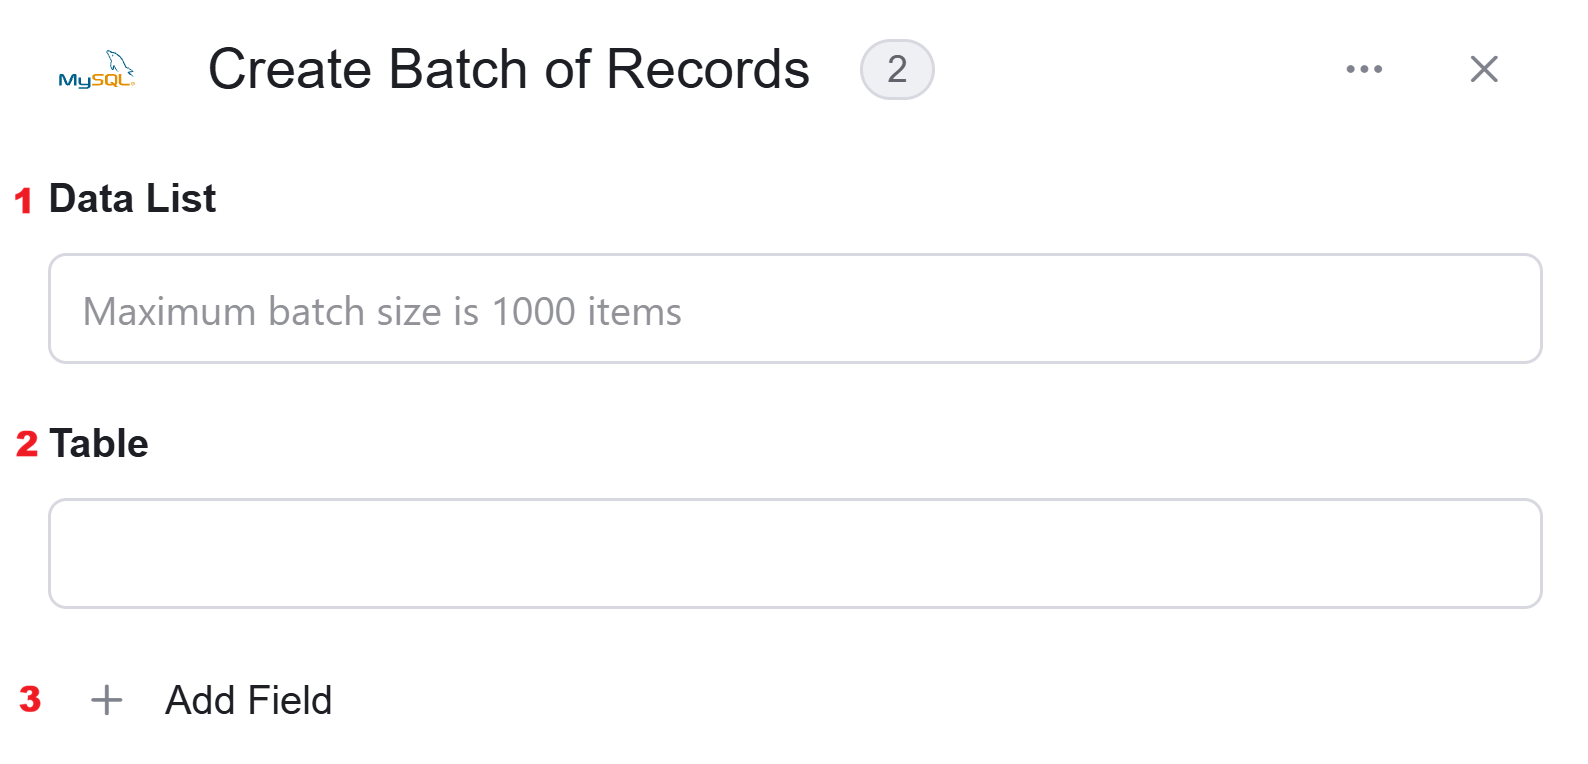
- Data List - Specifies the list of records you want to insert. The batch can handle up to 1000 items.
- Table - The name of the table where the records will be inserted.
- Add Field - Click Add Field to add and populate additional fields for the selected activity. To learn more about managing activity data, click here.
Get Records Batch
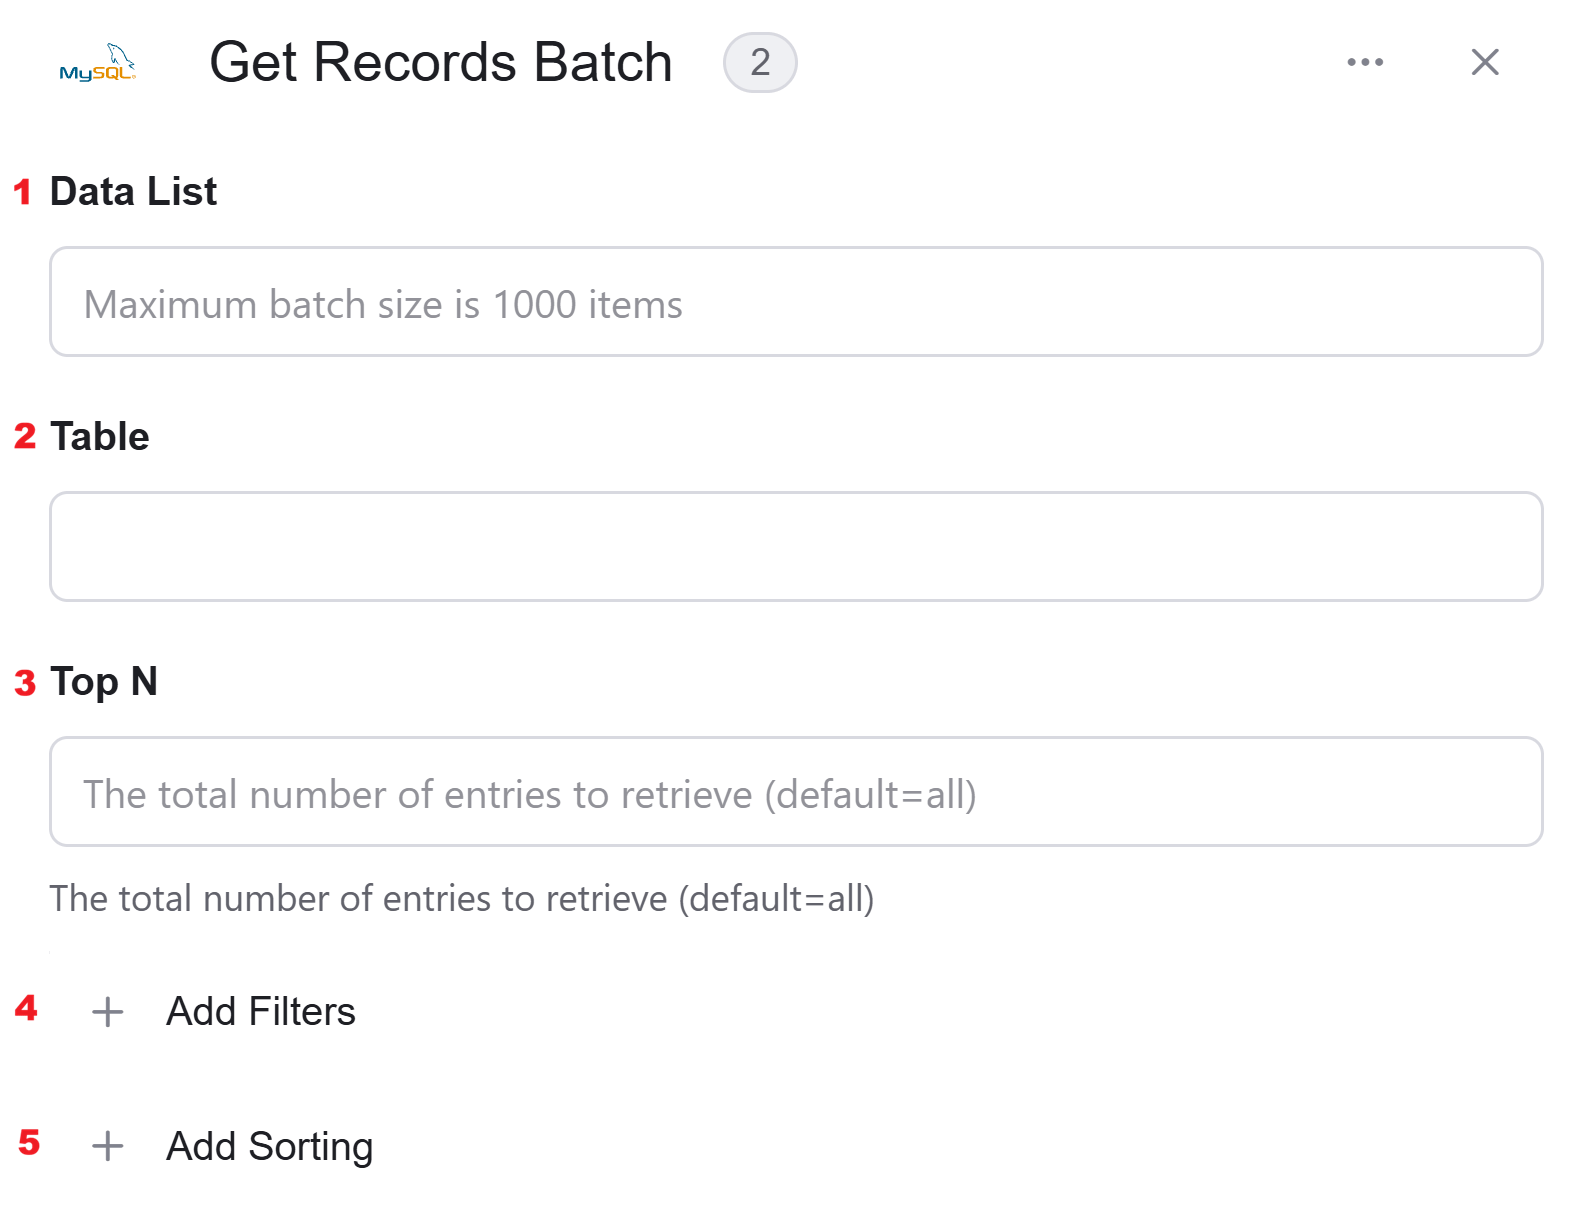
- Data List - Provide the data list for the batch operation (maximum batch size is 1000 items).
- Table - Choose the table from which to retrieve the batch of records.
- Top - Specify the number of rows to retrieve (default is 100).
- Add Filter - Click Add Filter to define conditions that narrow down the data list and return only the relevant items. To learn more about using filters, click here.
- Add Sort - Click Add Sort to organize the data list by a selected field in ascending or descending order. To learn more about sorting data, click here.
Update Batch of Records

- Data List - Provide the list of records to be updated in the batch (maximum size is 1000 items).
- Table - Choose the table where the records will be updated.
- Add Filter - Click Add Filter to define conditions that narrow down the data list and return only the relevant items. To learn more about using filters, click here.
- Add Field - Click Add Field to add and populate additional fields for the selected activity. To learn more about managing activity data, click here.
Execute Customized SQL

- SQL - Input your custom SQL query to be executed on the connected MySQL database. You can use this action to run any valid SQL command (e.g., SELECT, UPDATE, DELETE).
Execute Procedure

- Procedure Name - Input the name of the stored procedure you want to execute on the MySQL database. This action allows you to run predefined procedures that handle specific tasks or logic within your database.