Having a streamlined workflow can save you time and increase productivity. In this guide, we’ll walk you through the essential steps for creating a workflow that works for you.
There are 3 steps to creating a workflow:
- Build your workflow
- Test your workflow
- Activate your workflow.
Step 1: Build your workflow
Create a workflow
-
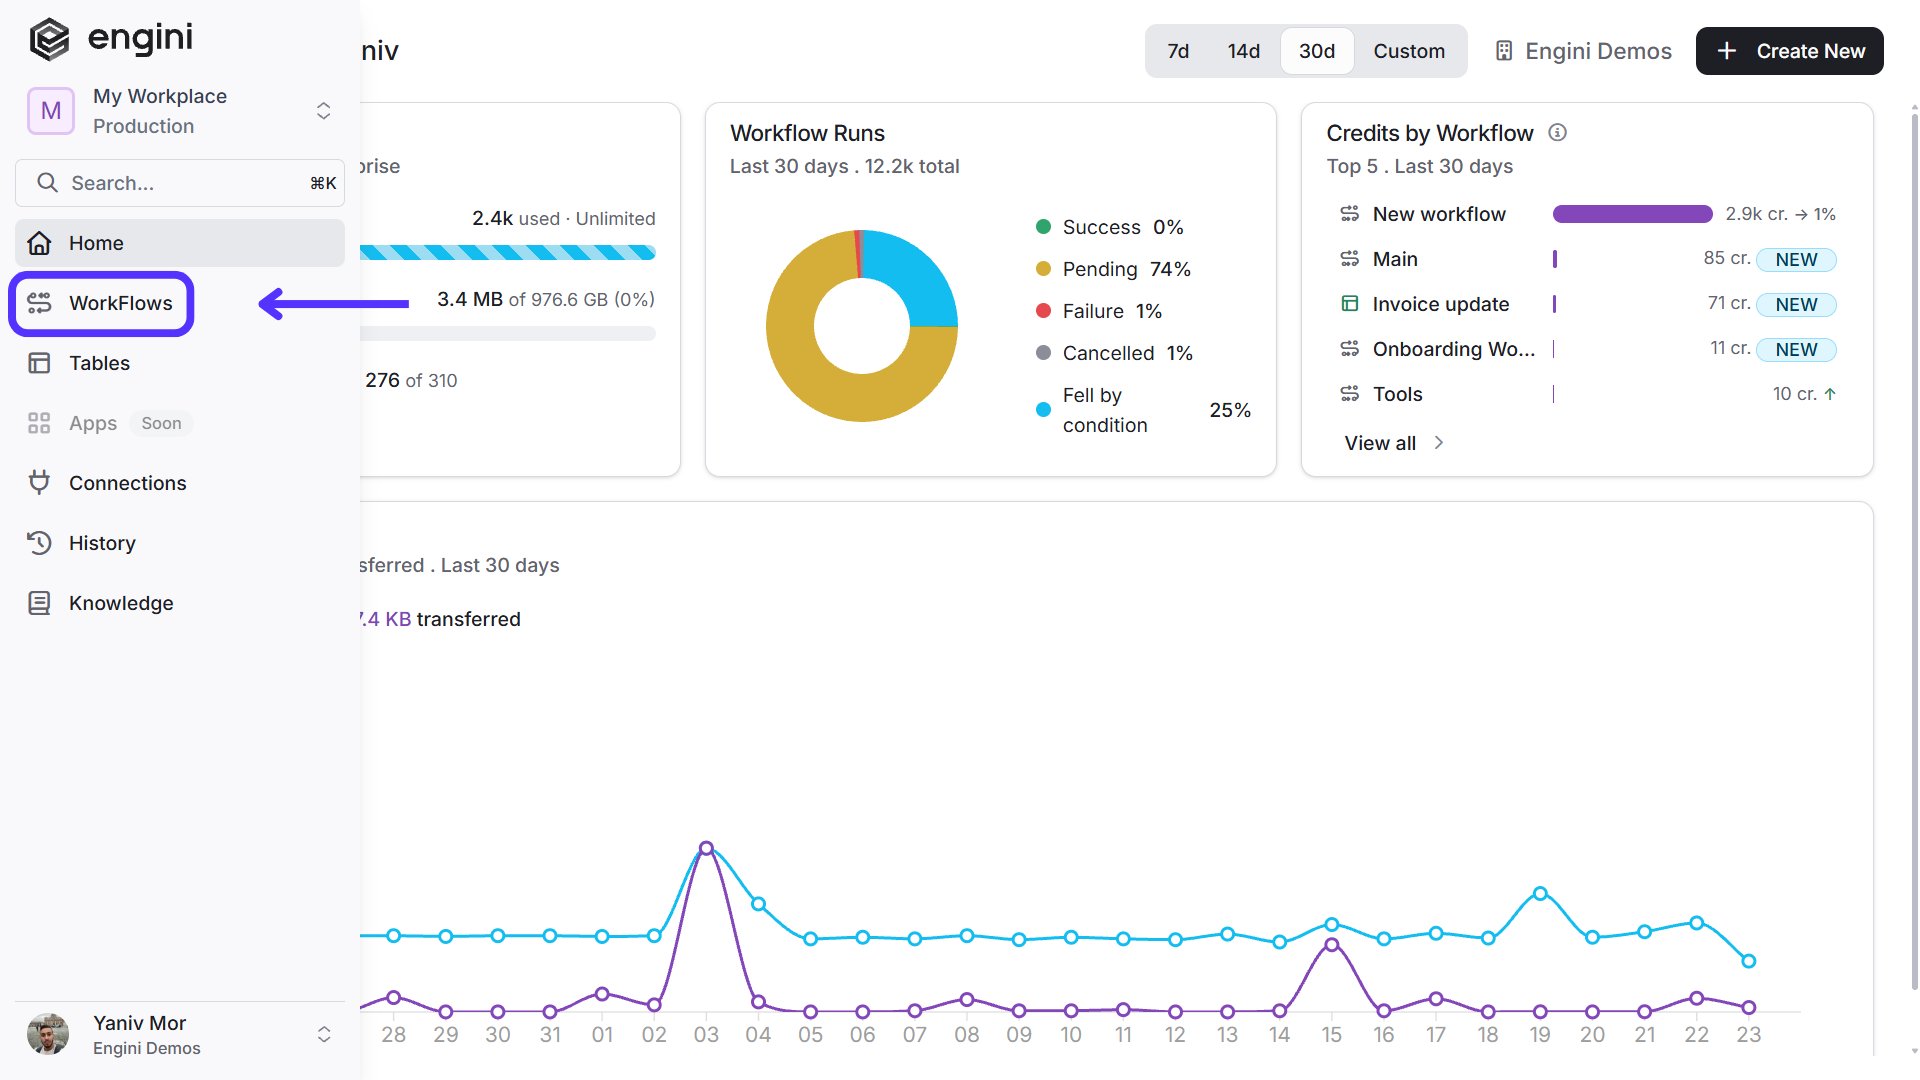
On the sidebar, click on the “WorkFlows” option.
-
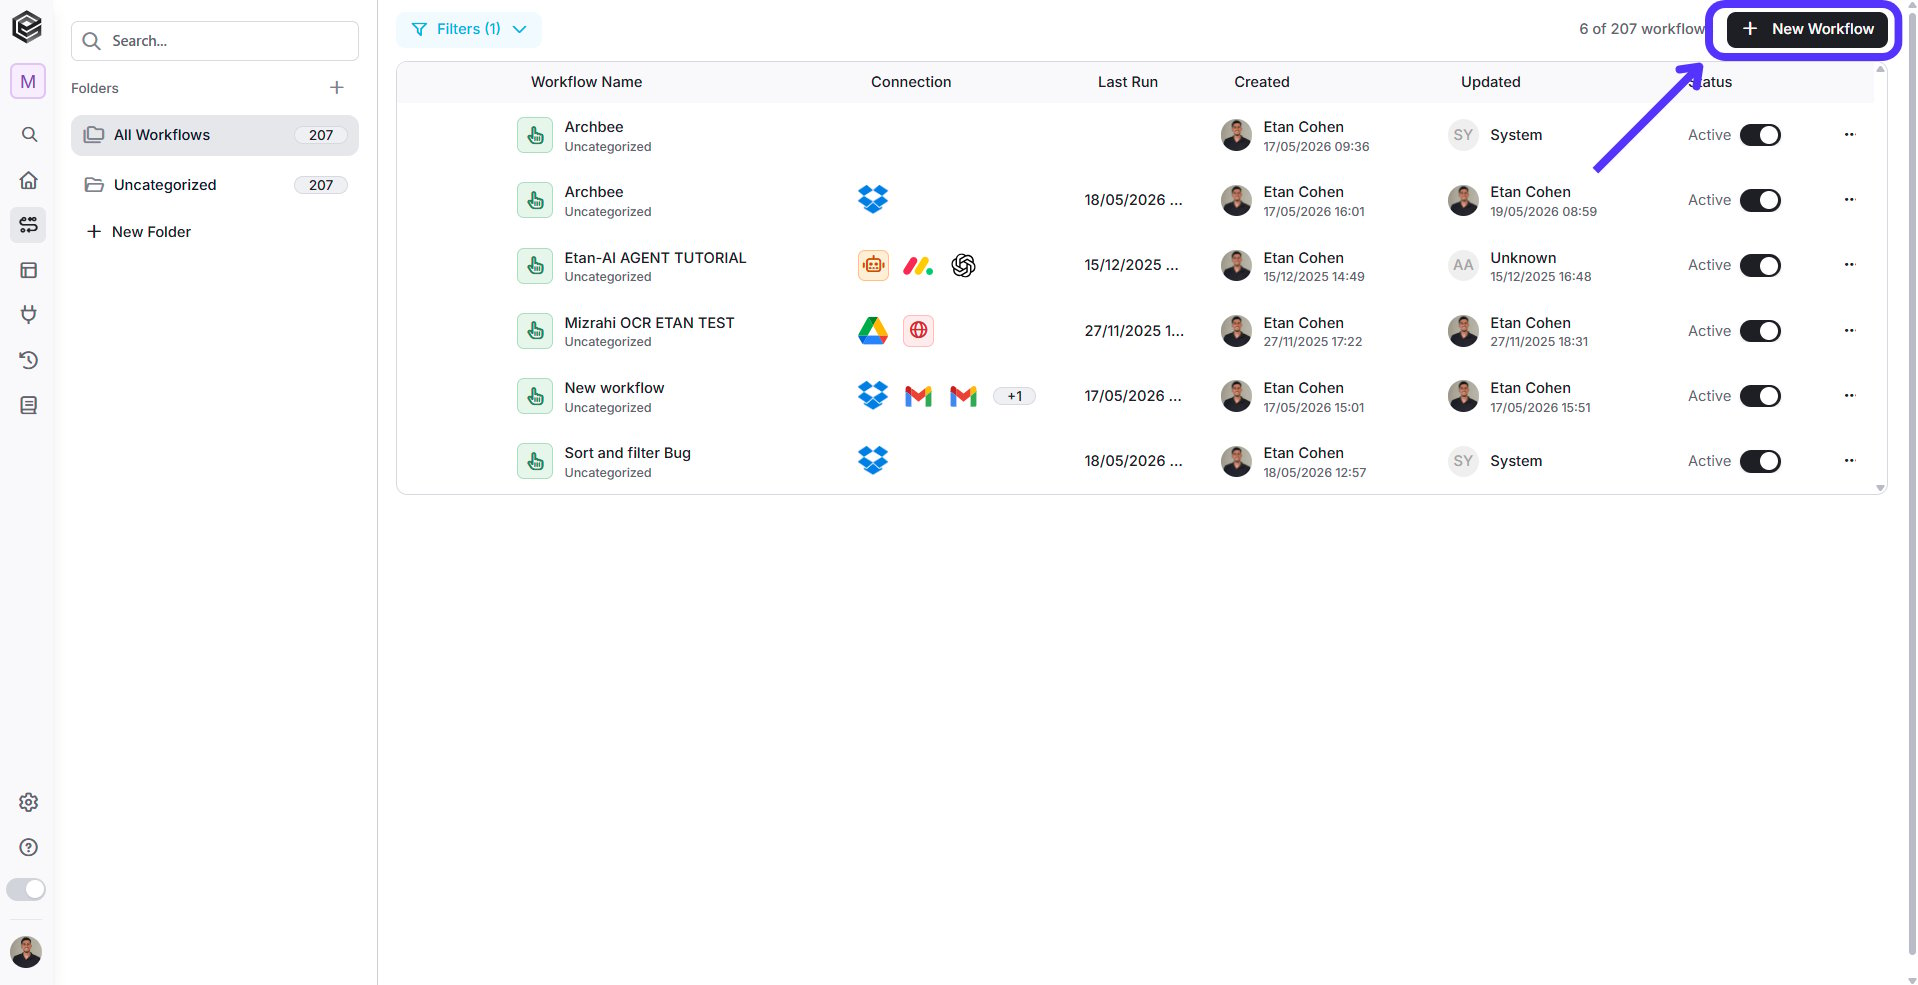
Press on the “New Workflow” button located at the top bar.
-
After clicking “New Workflow”, choose one of those two options:
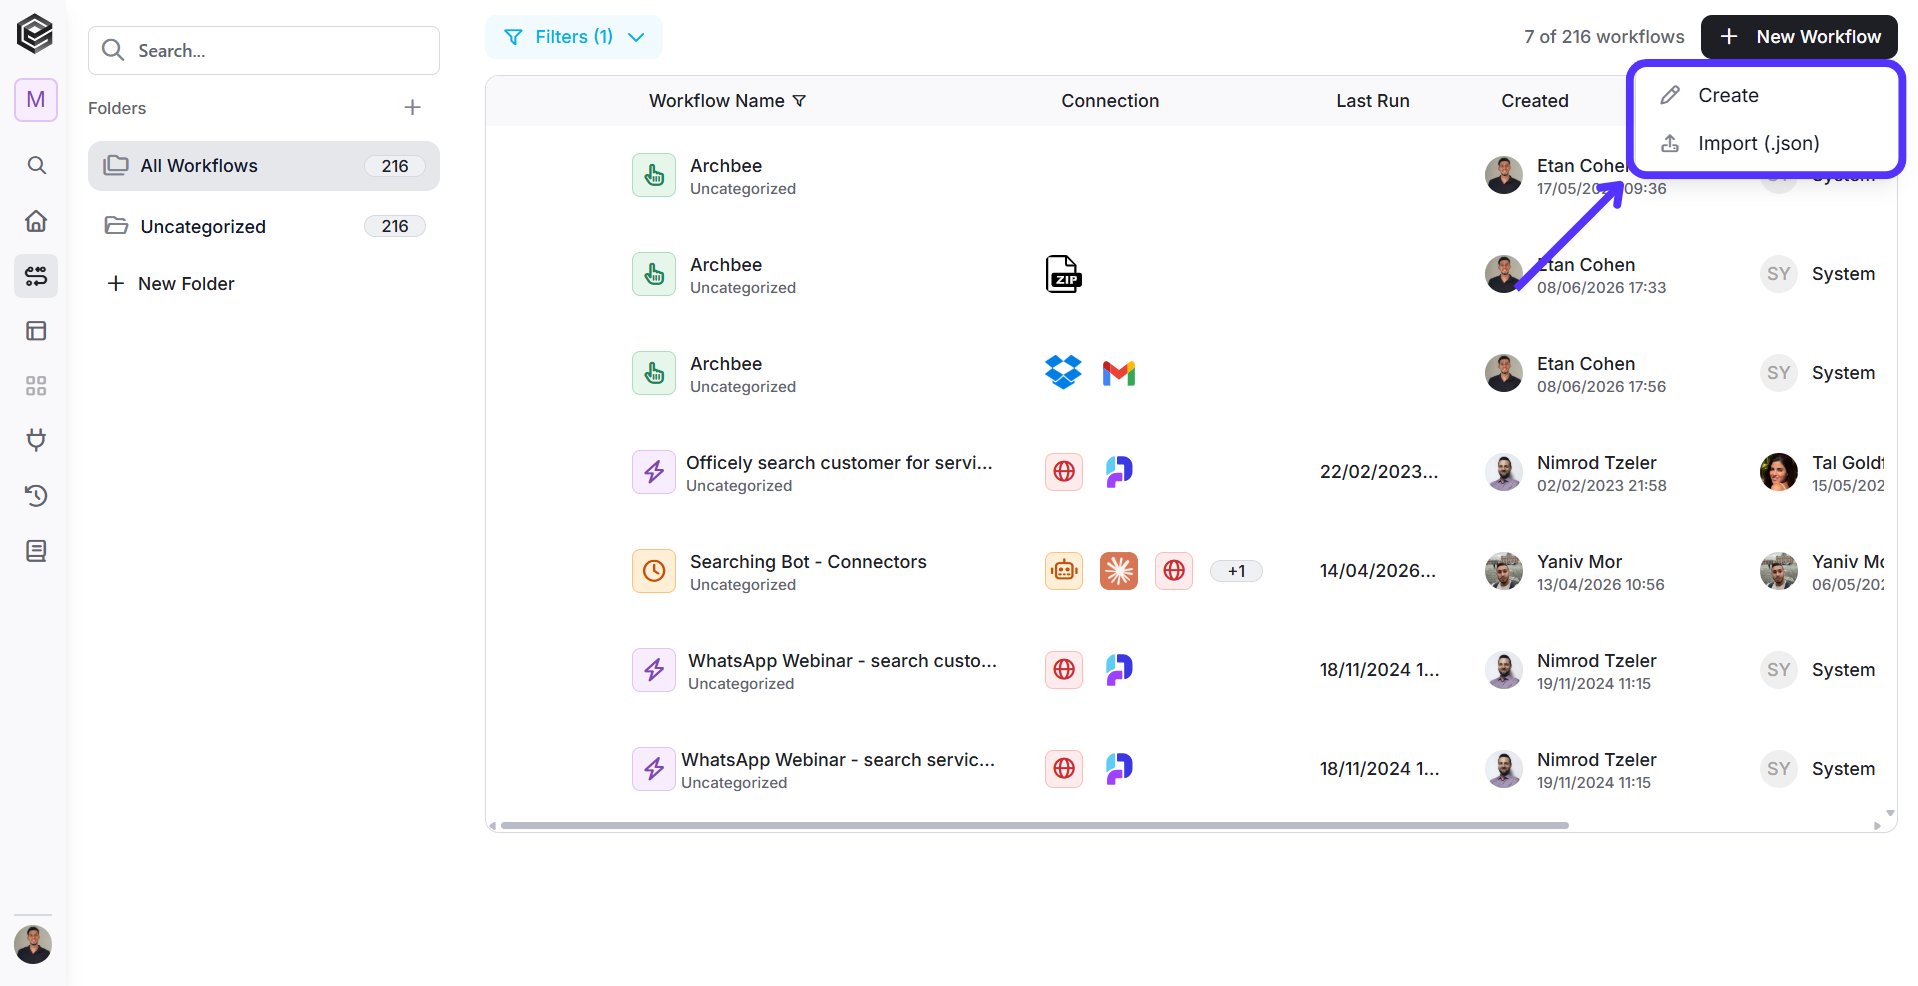
- Create- create a workflow manually.
- Import- import an existing workflow saved as a JSON file.
Choose a Trigger
- Follow the instructions above to create a new workflow.
-
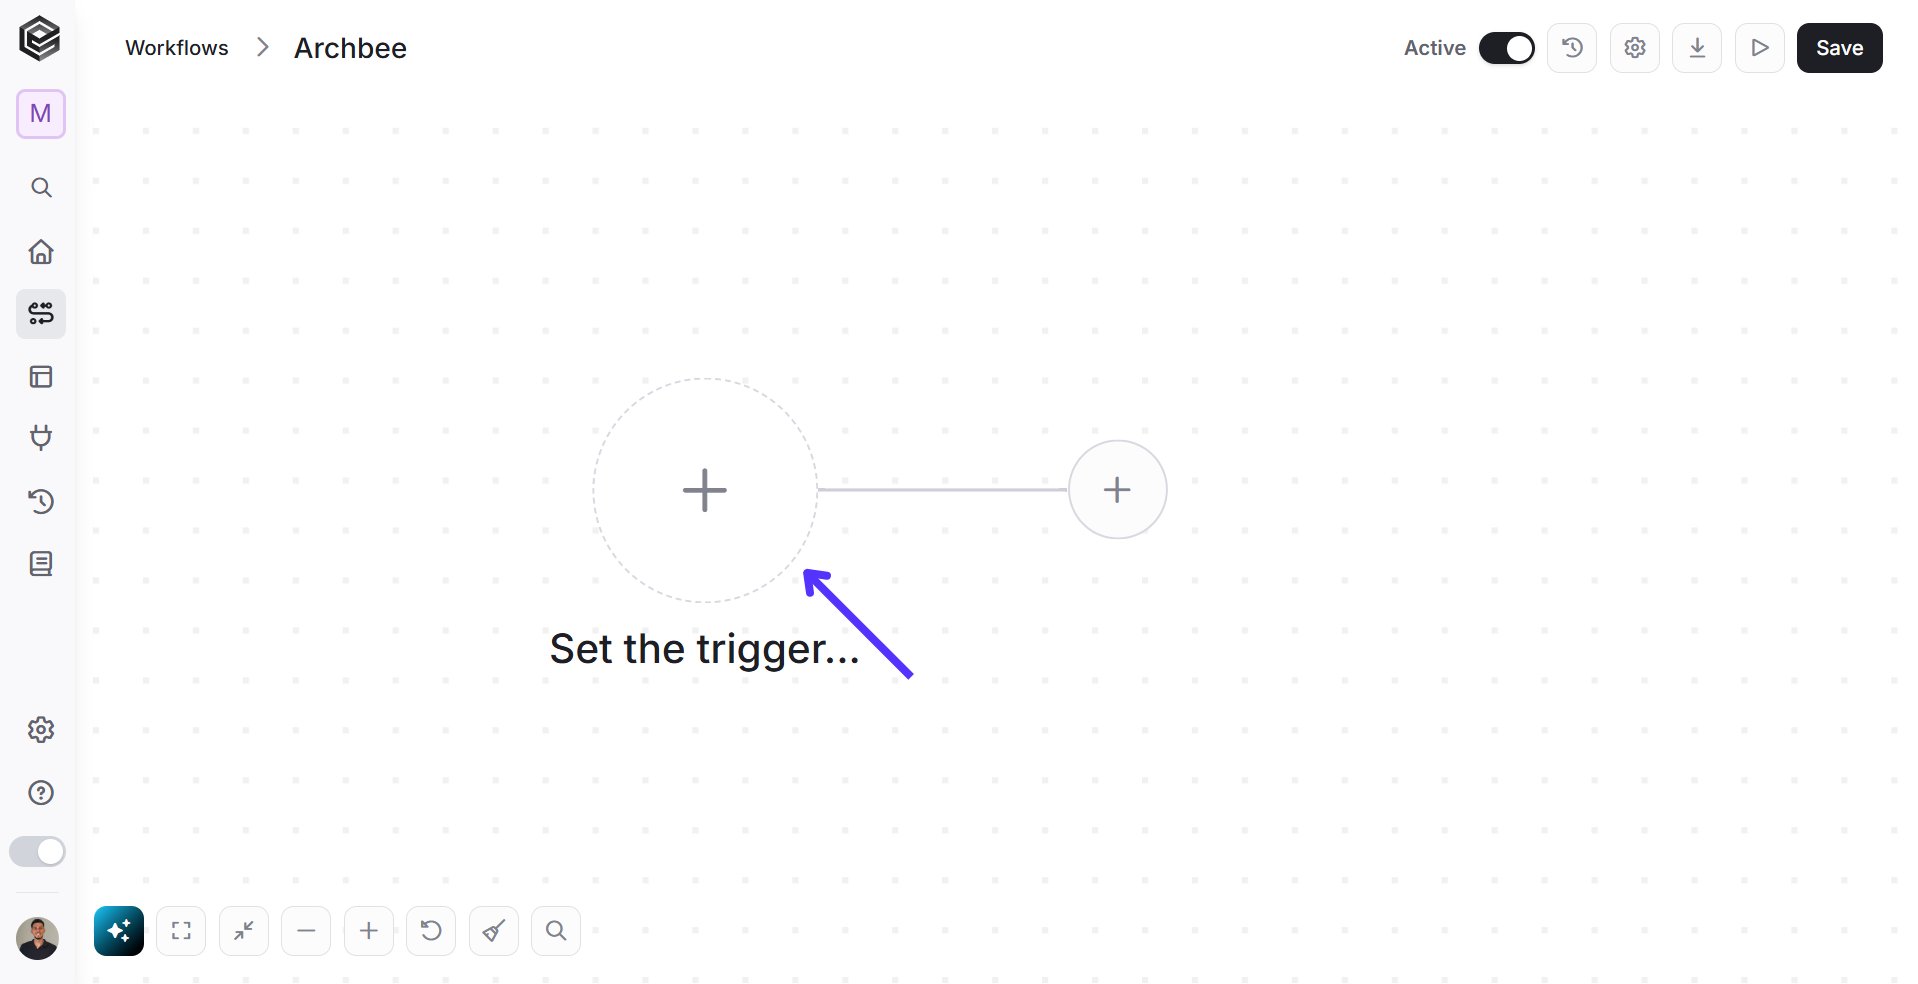
Click “Add first step…” to choose a trigger that will start the process.
-
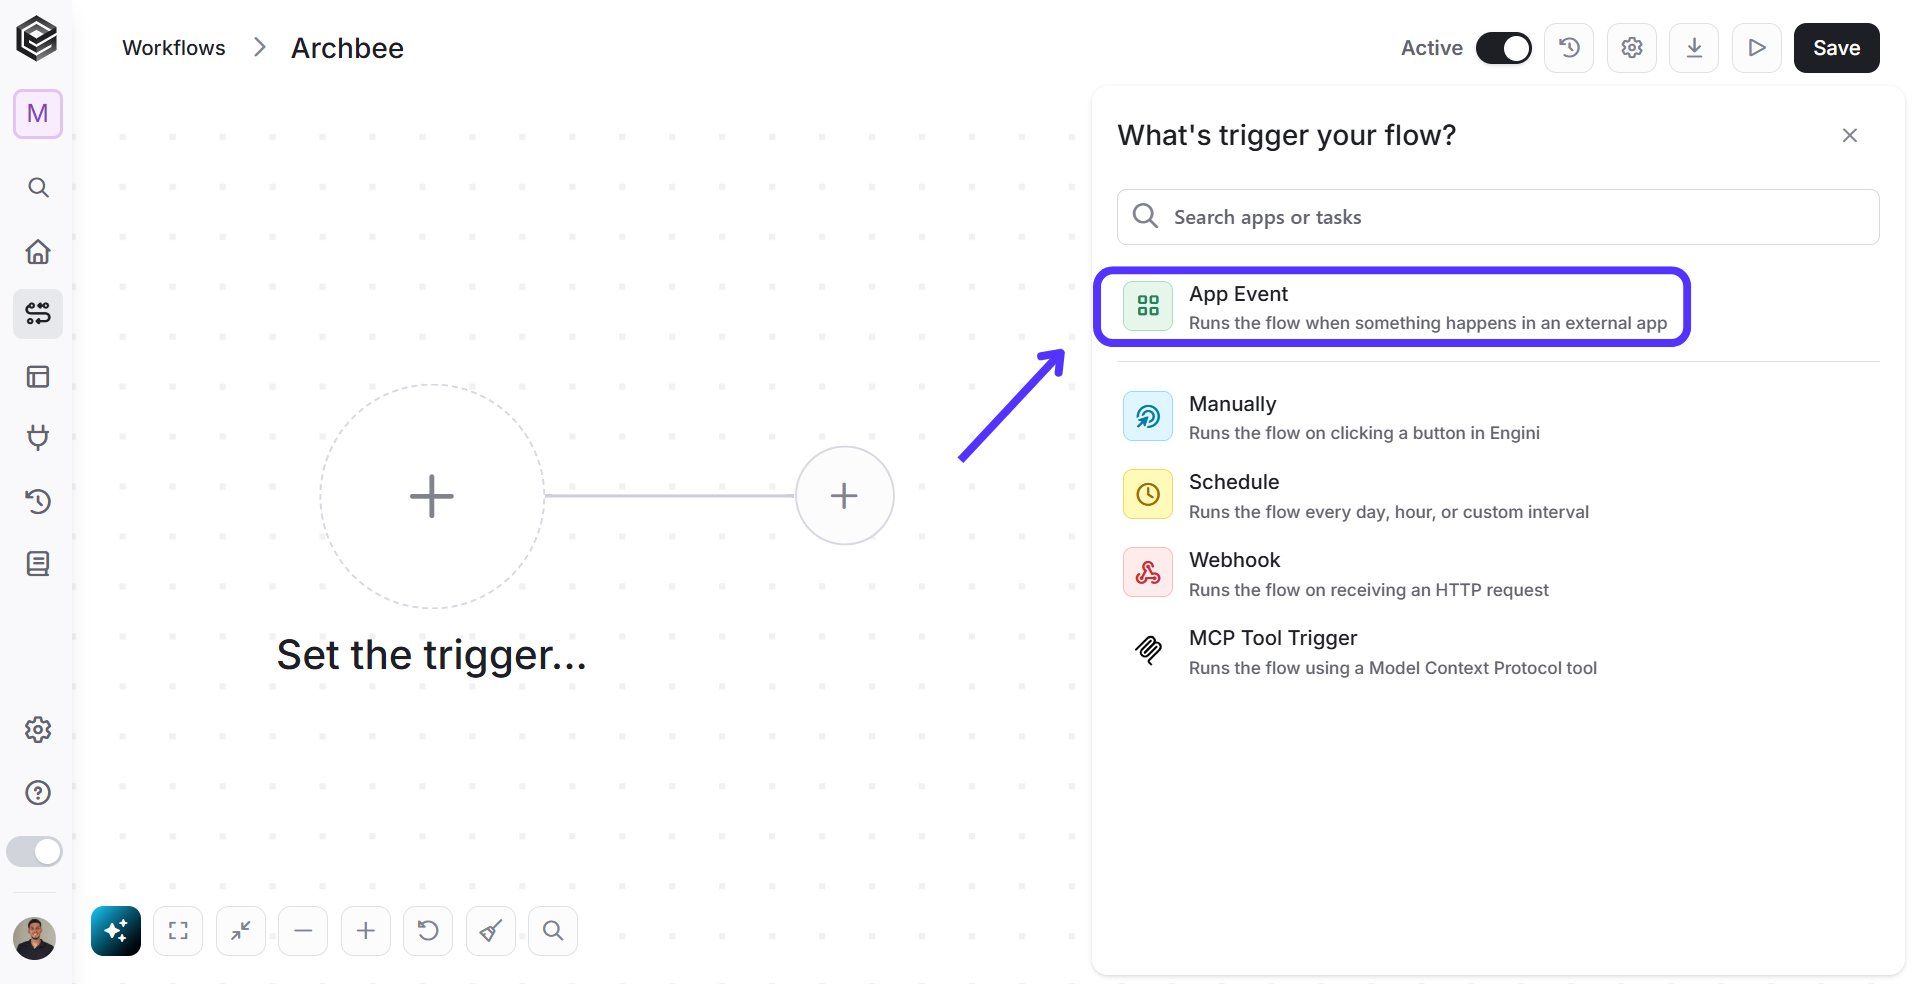
App Event - In the what’s trigger your flow activity block presented to you, select the software you want to use for your trigger. You can select the software by either clicking on one of the icons presented to you, or by filtering the requested software and selecting the requested option. You can also filter the trigger activities directly.
-
You can choose the trigger activity from other available options
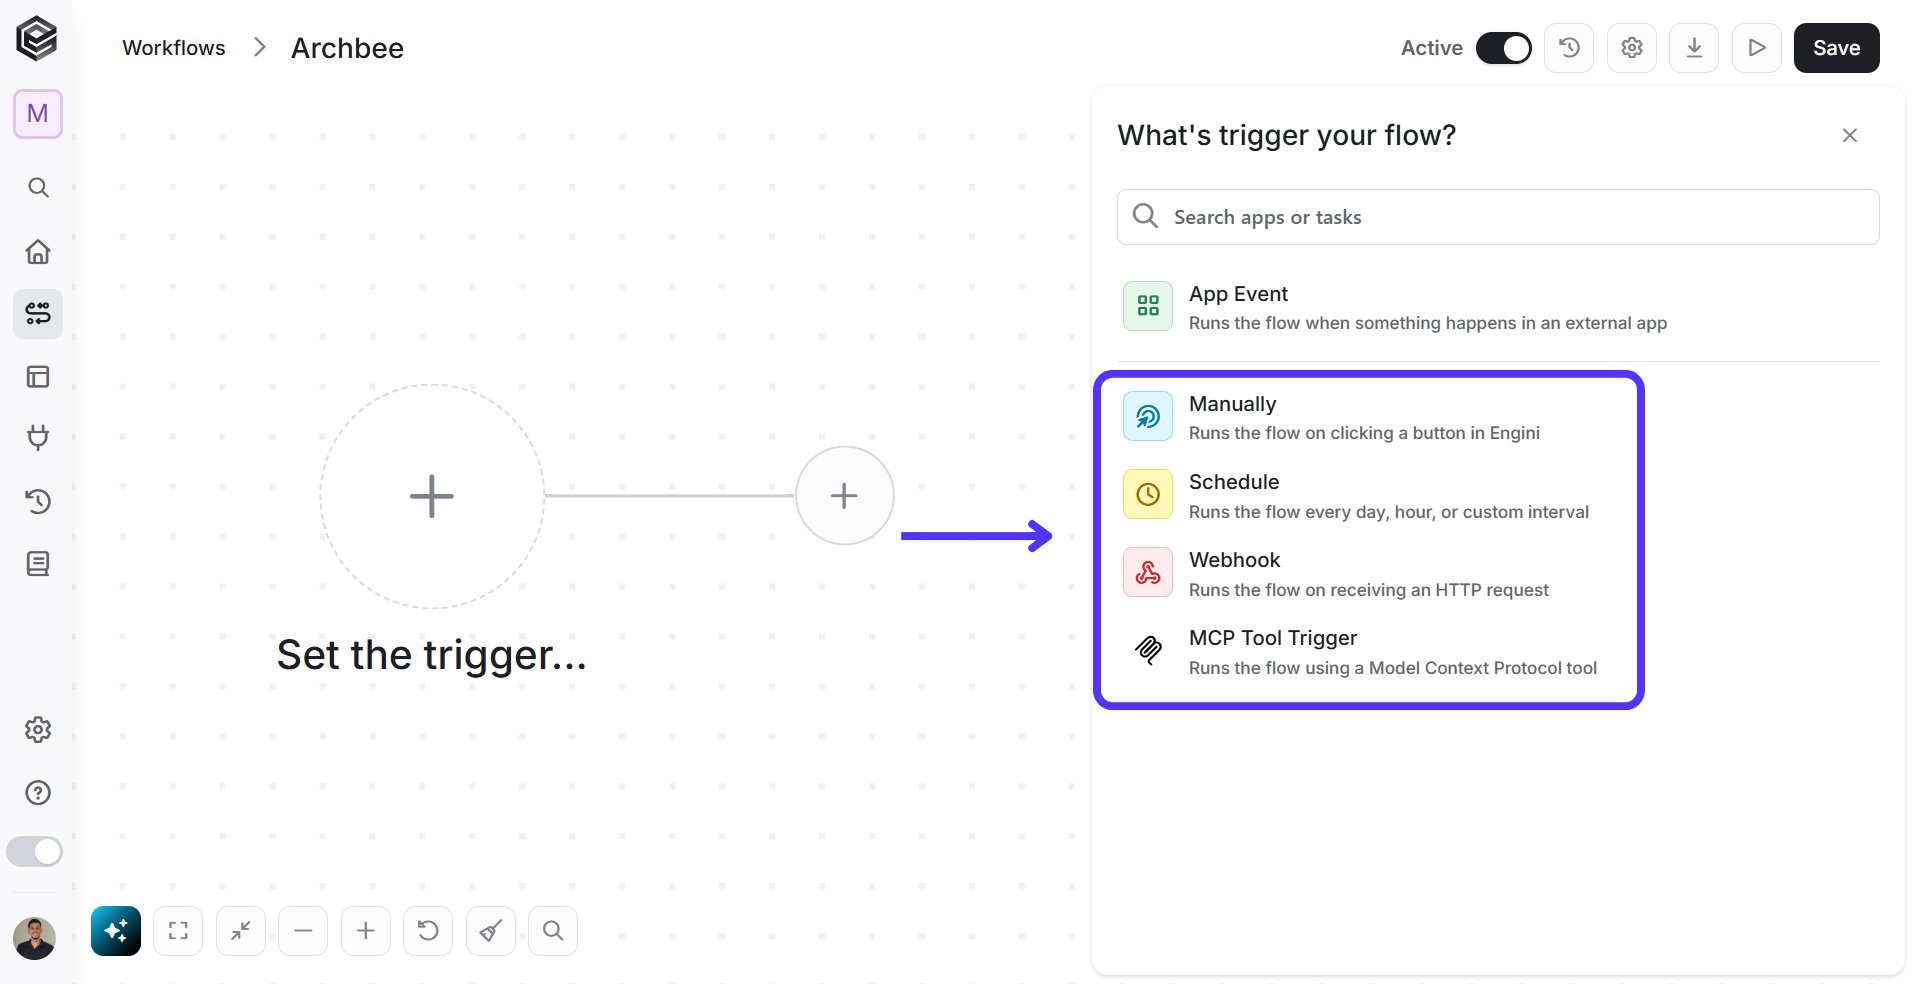
- Manually - This trigger allows actions that are initiated directly by a user clicking a button.
- Schedule - This trigger supports actions that run automatically based on time.
- Webhook - This trigger enables actions that are executed when an external system sends an HTTP request. For more information about Webhooks
- MCP Tool Trigger- Allows you to initiate an automated workflow by passing structured data into your system. It functions as the starting point (or entry node) for complex data integrations, letting you define exactly what information the workflow expects to receive. Learn more about the MCP Tool Trigger.
-
App Event - In the what’s trigger your flow activity block presented to you, select the software you want to use for your trigger. You can select the software by either clicking on one of the icons presented to you, or by filtering the requested software and selecting the requested option. You can also filter the trigger activities directly.
Add your Actions
-
Click on the “+” button to add an action activity block.

-
Select the type of activity you want to use for your action.
You can review the different options here

- App Action- In this case, it refers to using one of our existing connectors. You can find additional explanations for each one under the Apps section.
- AI Agents - Includes AI-powered actions that allow you to analyze text, extract information, generate responses, classify data, summarize content, or make intelligent decisions within the workflow. For more information click AI Agents
- Core - Provides fundamental system-level actions such as sending HTTP requests, handling data operations, interacting with internal services, or performing essential backend tasks needed to support integrations. For more information click on one of the next links:
- Flow Controls - Includes logic and control mechanisms inside workflows, such as conditions (if/else), loops, delays, branching, and error handling. These actions help manage how and when different parts of the flow execute. For more information click Flow Control
- Transform & Format - Contains tools for data manipulation, including parsing, formatting, mapping, converting data types, restructuring JSON, and preparing data before sending it to another system. For more information click Transform & Format
- Add Another Trigger - Allows you to add an additional trigger to the same flow, enabling the workflow to start from multiple different events or entry points. For more information click Triggers
Name your Workflow

- Click the “New Workflow” phrase located in the top left of the page.
- Remove the current name and enter the new name for the workflow. It is recommended to give a meaningful name to the workflow.
- Save the workflow.
Step 2: Test your workflow
Test your workflow to ensure that all components are functioning correctly.
Step 3: Activate your workflow
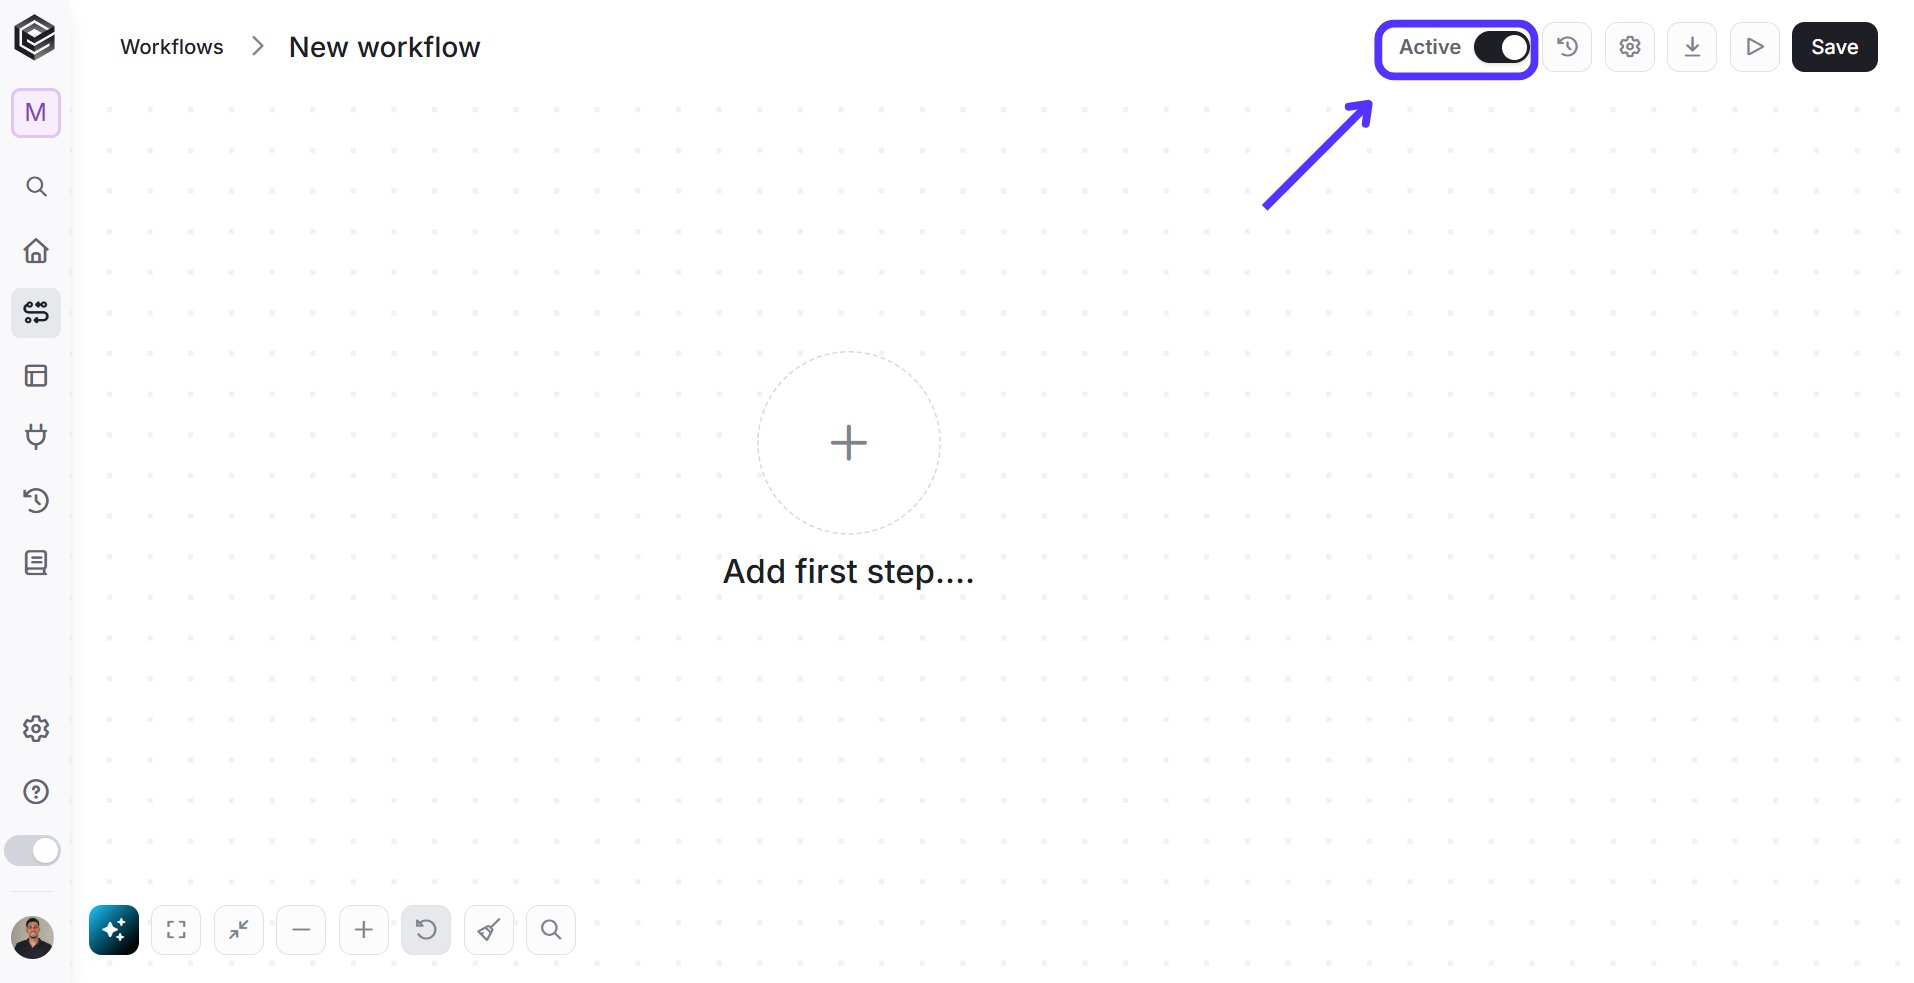
Your workflow is almost ready to go! Engini’s workflows are enabled by default. Make sure the on/off switch is activated.