

Step 1: Build your rule
Create business rule
Business Rules let you define automatic behavior in an app based on specific conditions or events. They can trigger actions such as updating records, opening or closing forms, displaying messages, showing a web page in a dialog, refreshing screens, or changing session variables. In the app editor, click the Business Rules tab in the properties panel located at the right side of the screen.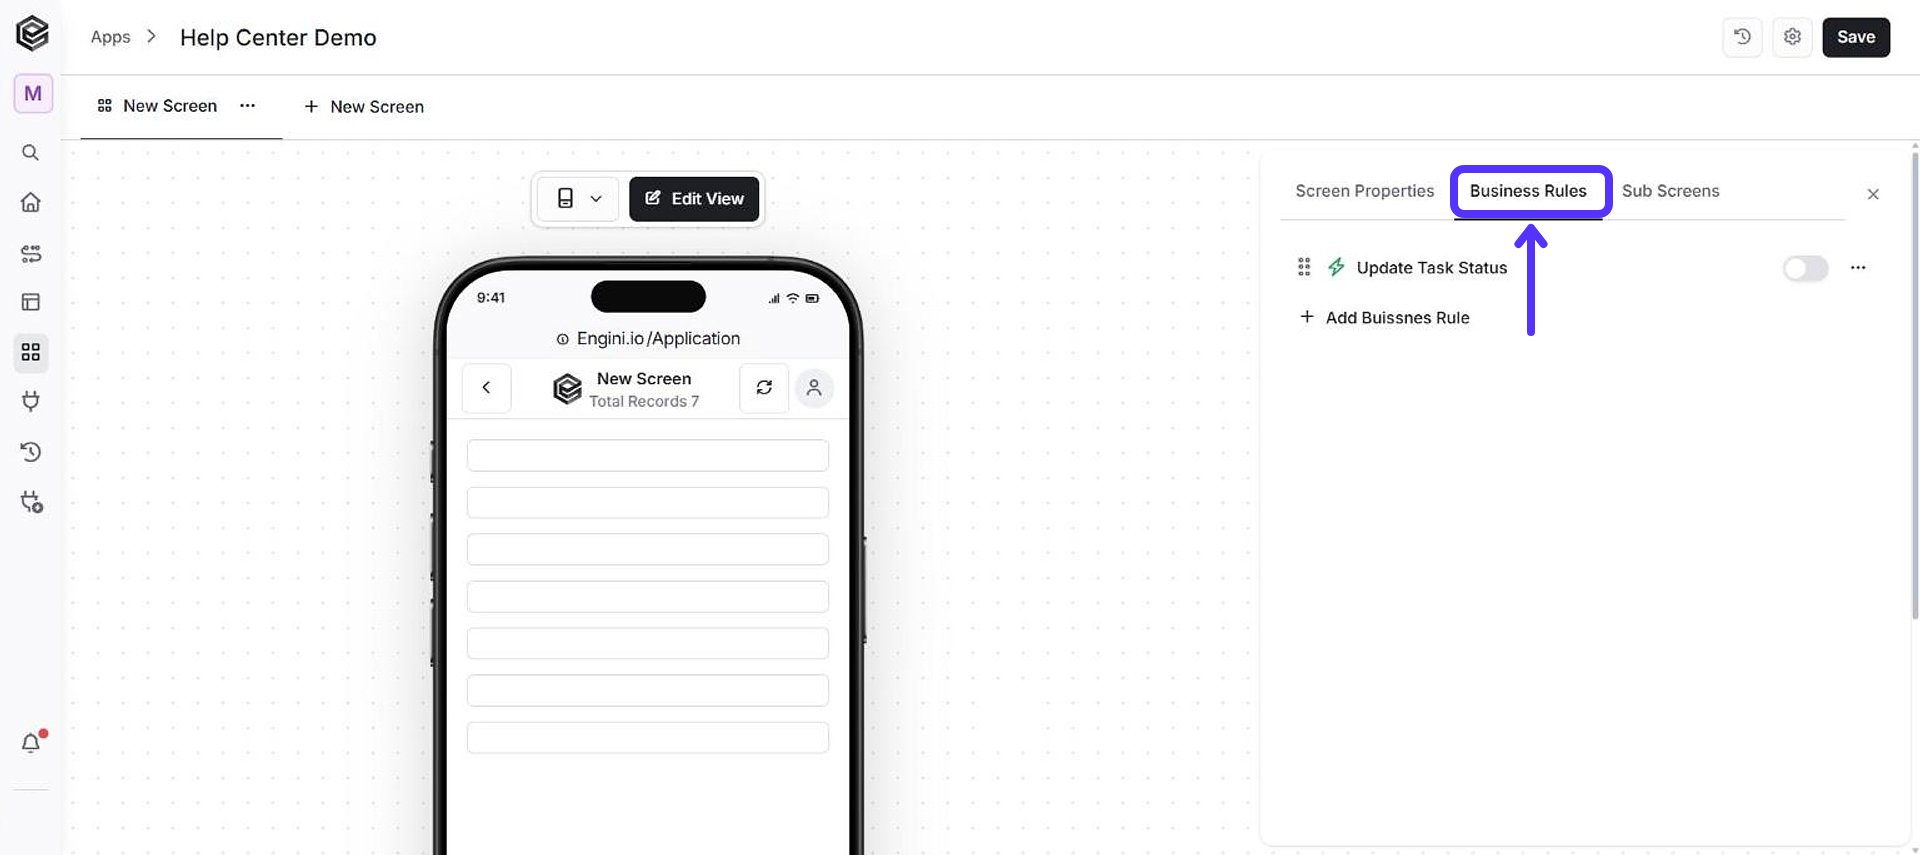
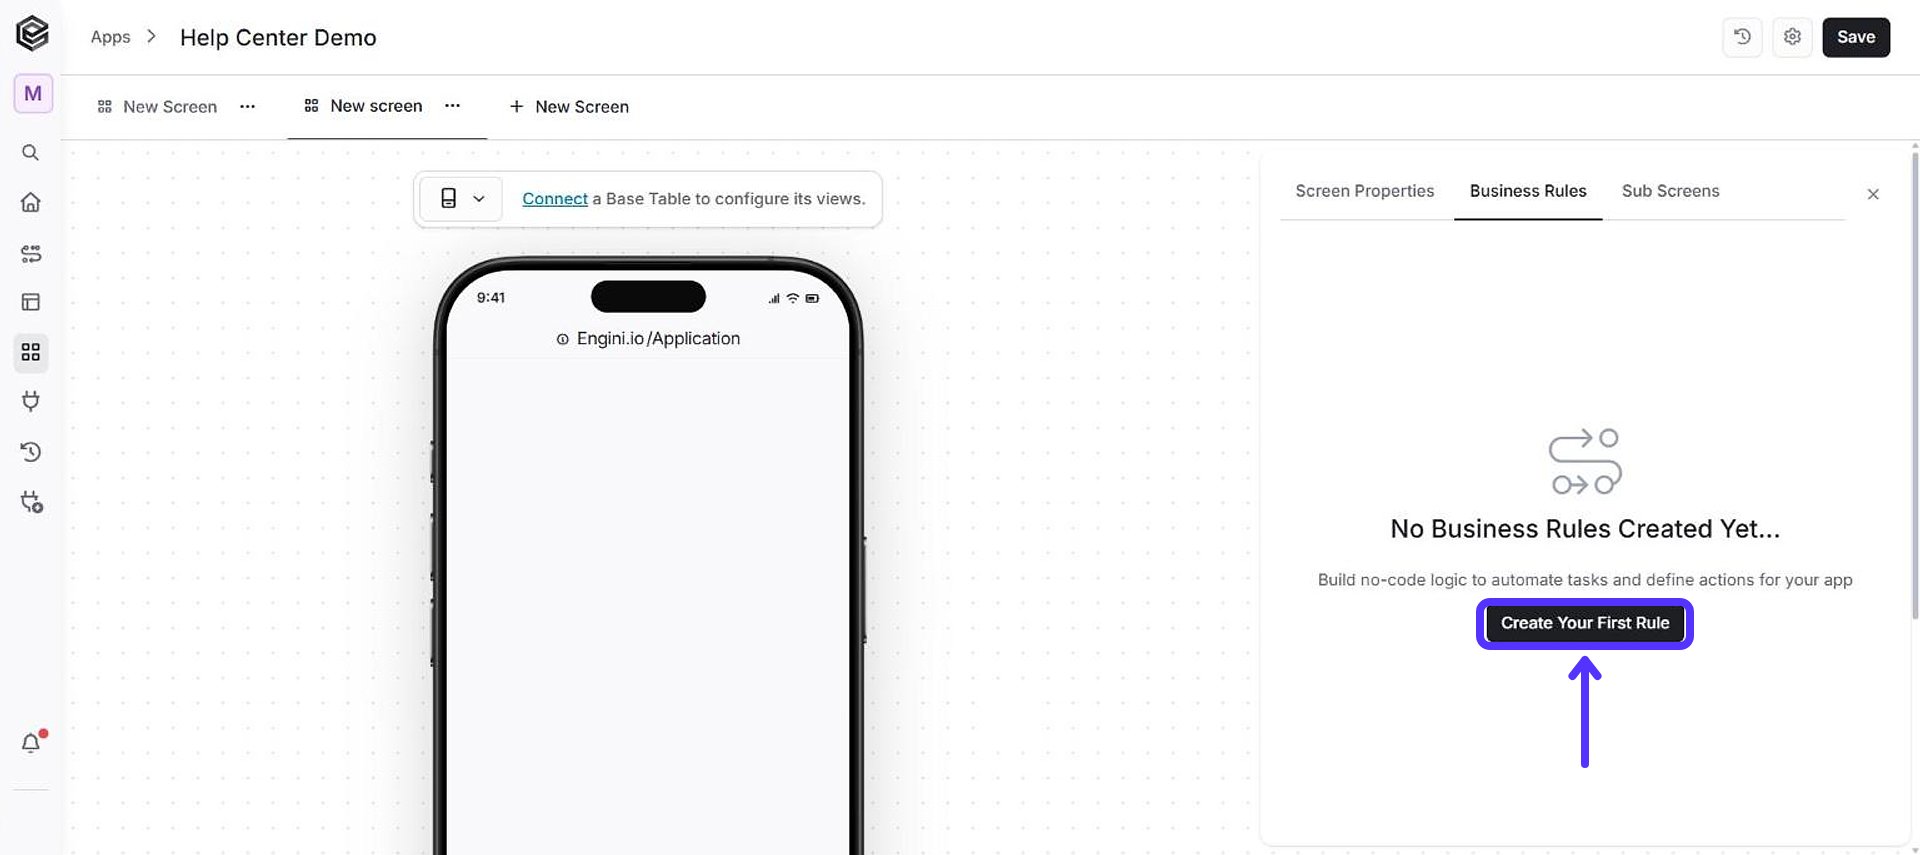
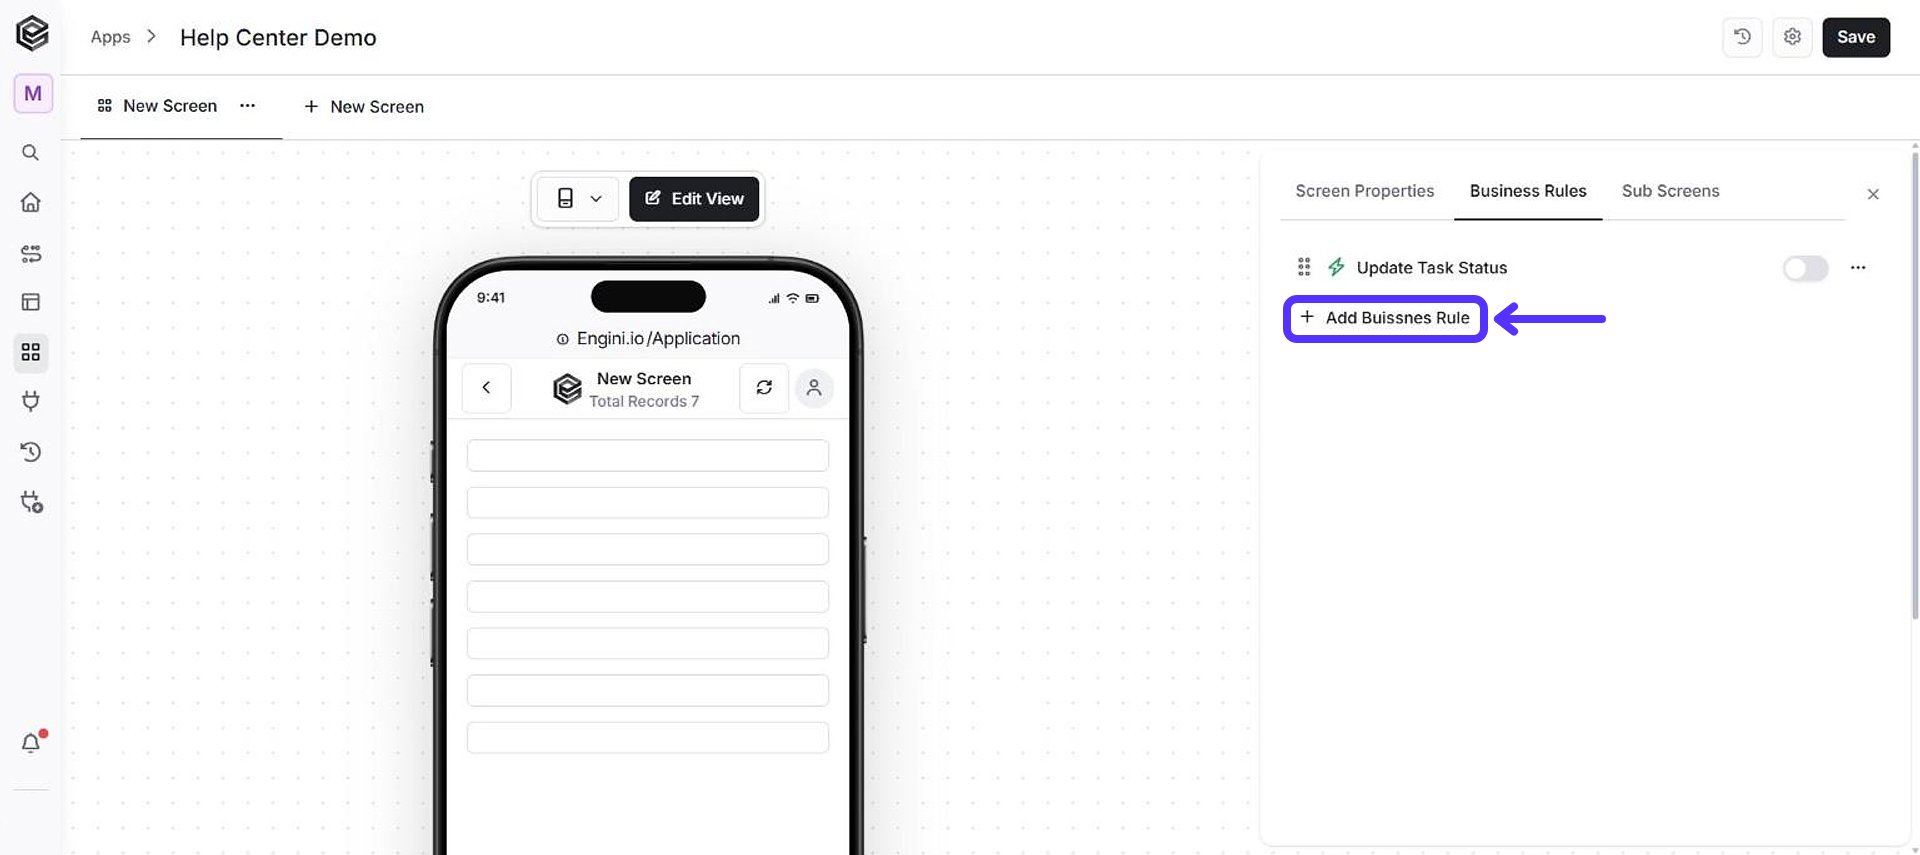
Name your business rule
By default, each new rule is assigned the name “New business rule”. This can be altered via a few simple steps:-
Click the “New business rule” name located at the top of the page.
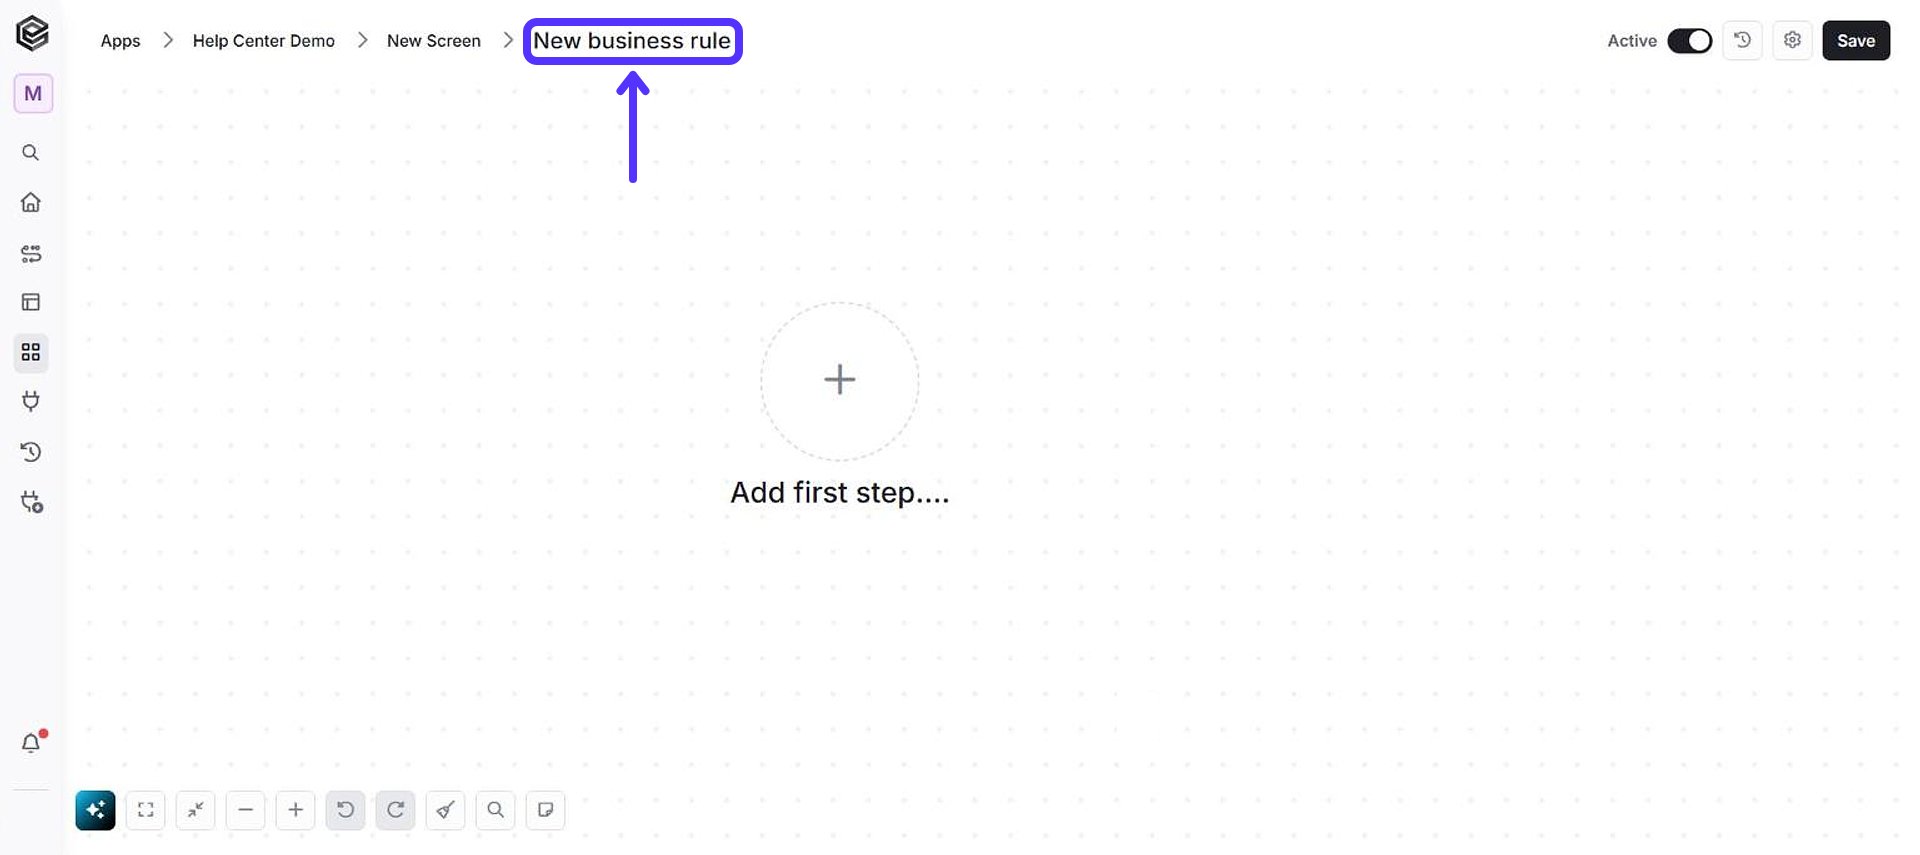
- Remove the current name, enter the new name and press Enter.
-
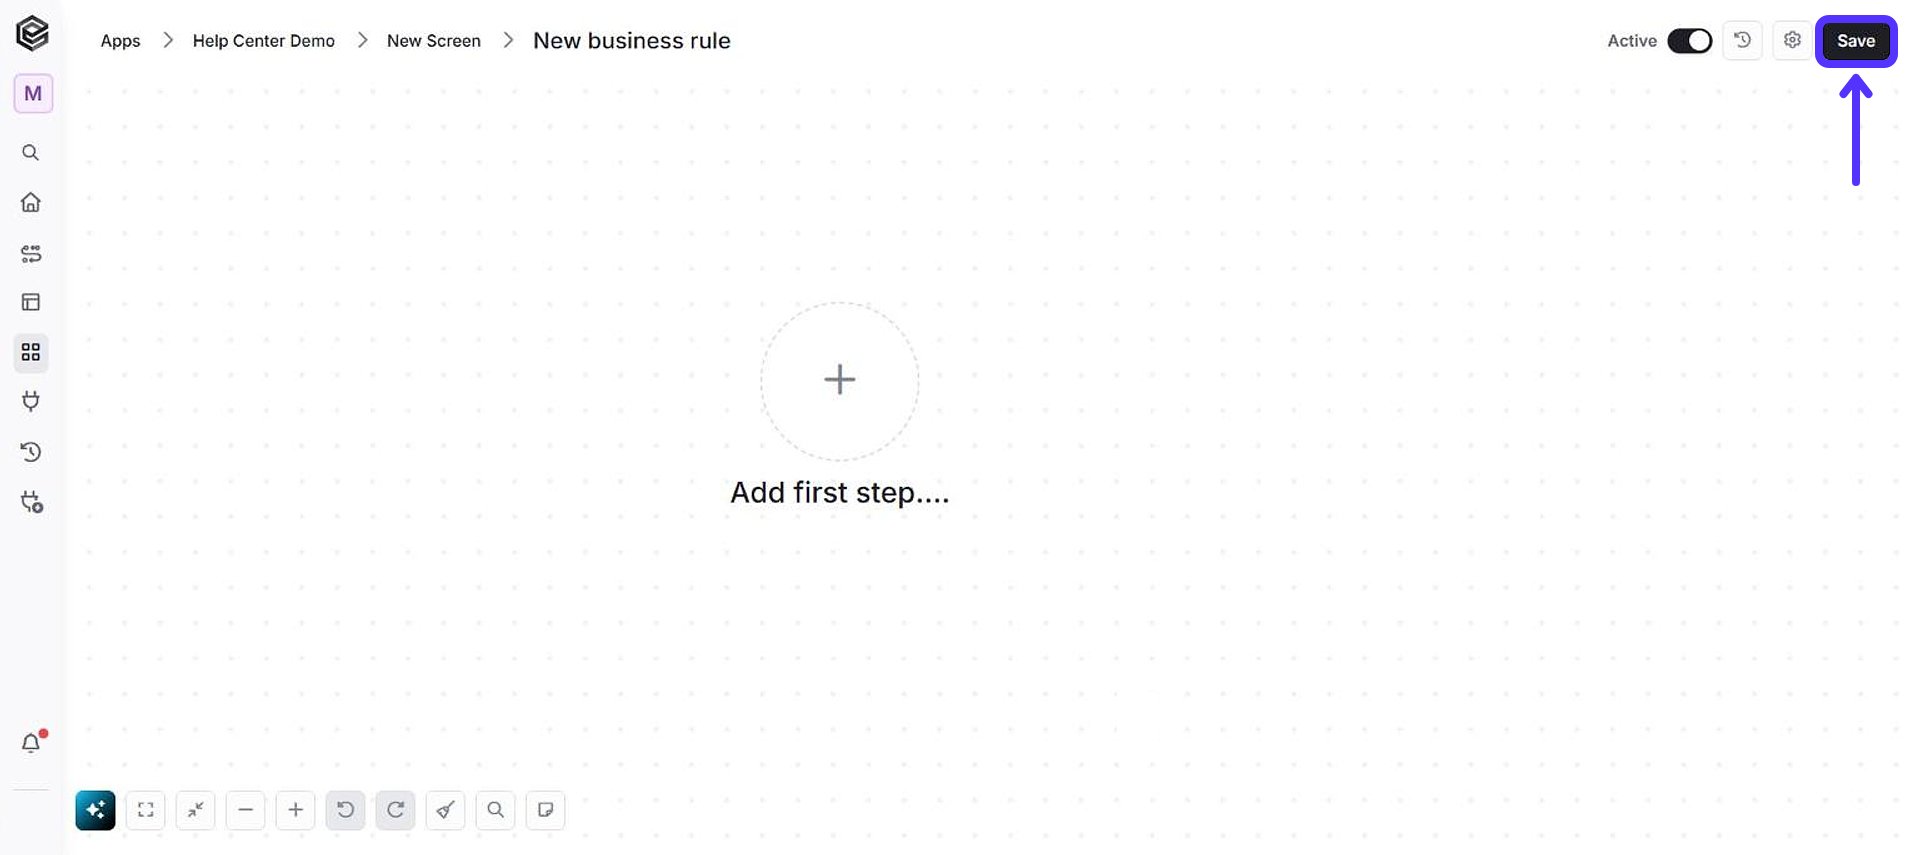
Click Save at the top right to save the rule.
Choose a trigger
Triggers define the event that starts a Business Rule. A Business Rule must have a trigger in order to run, because the trigger determines when the rule should be activated, for example when a button is clicked, a dropdown is opened, or another supported event occurs in the app. When several rules share the same trigger, they run one after another in the order of the Business Rules list.-
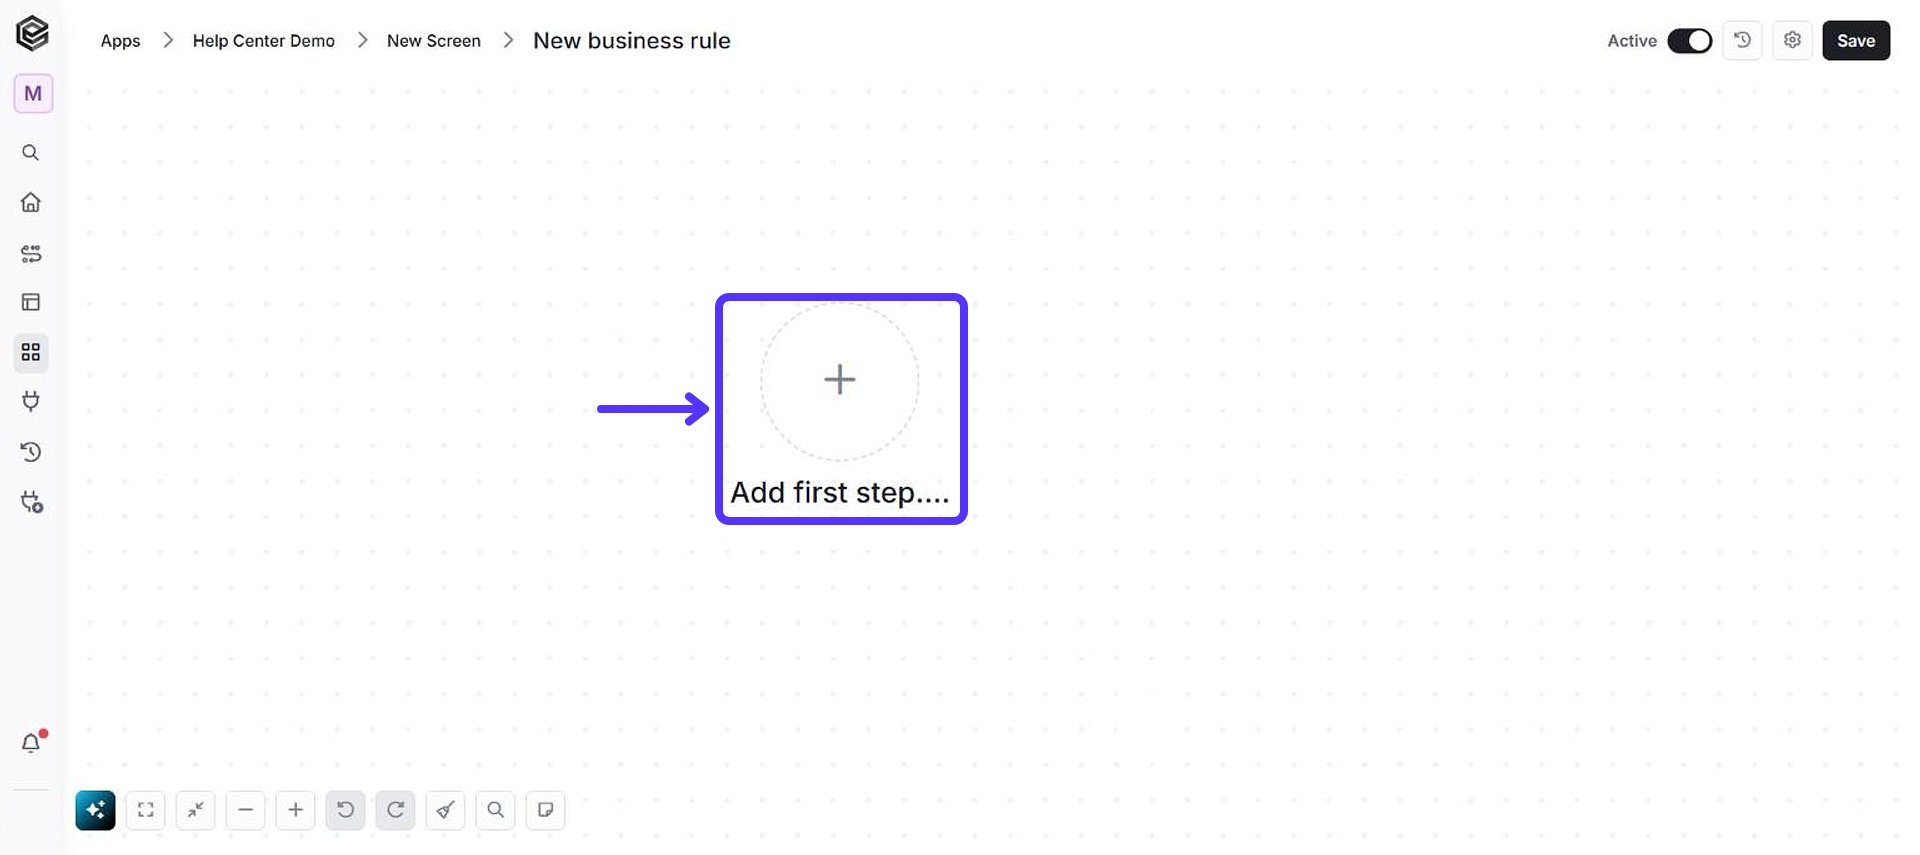
Click Add first step.
-
The “What’s trigger your flow?” panel opens. Choose the trigger from the list of available triggers.
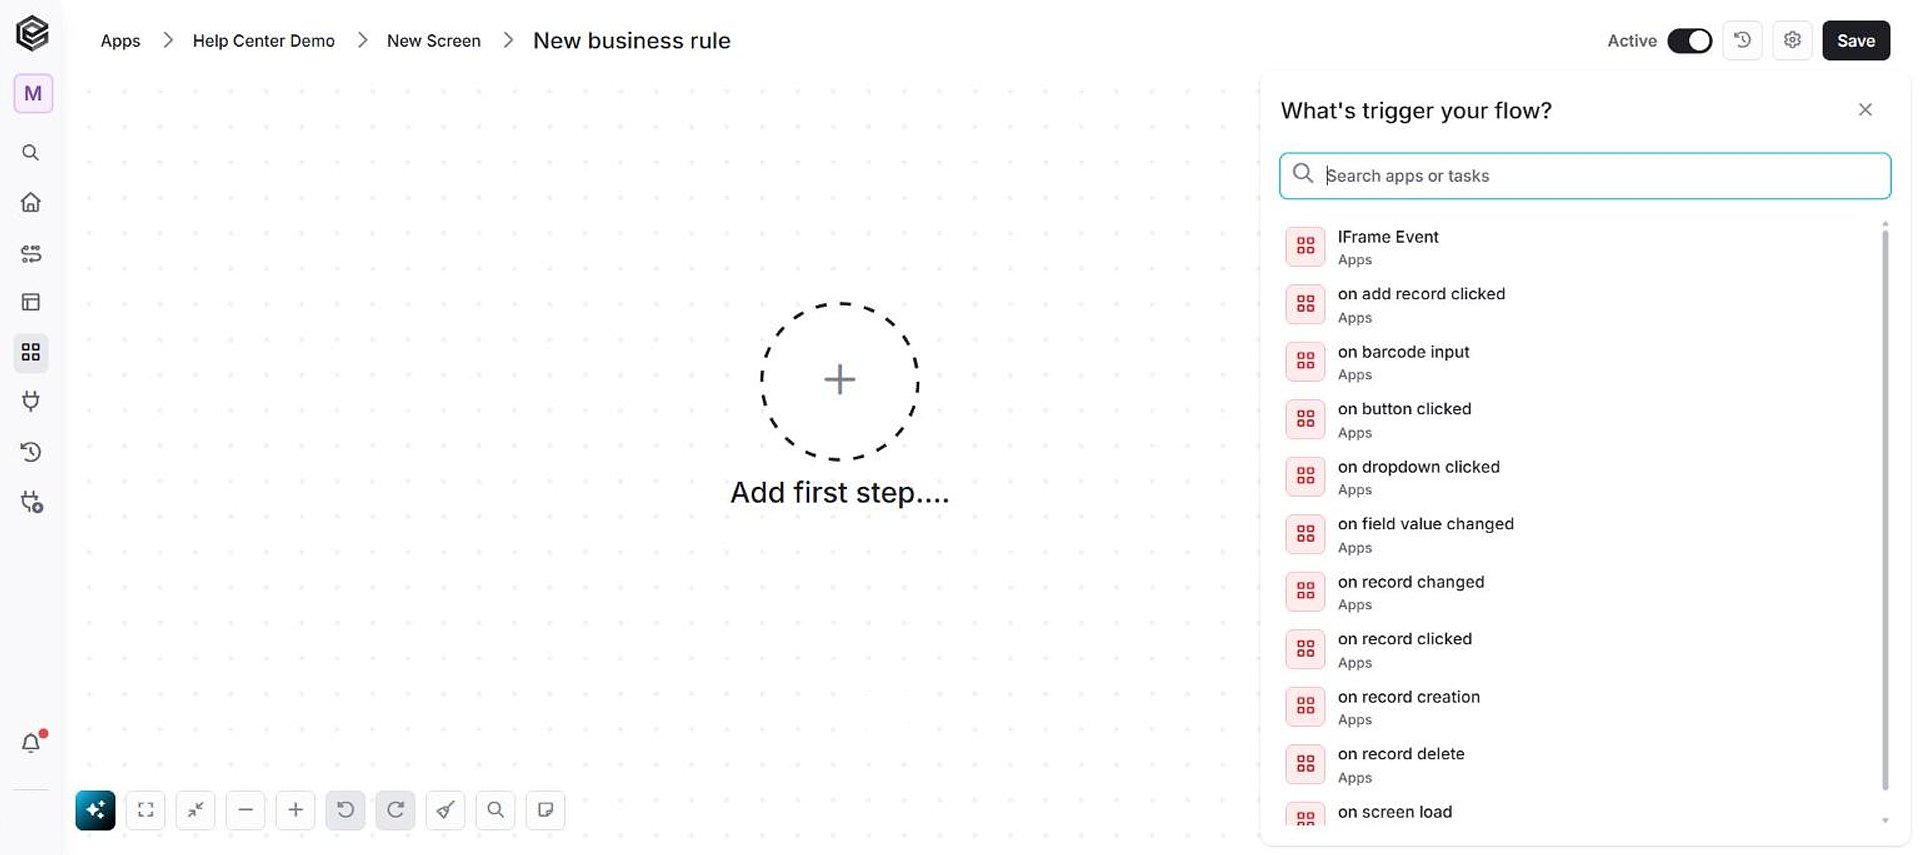
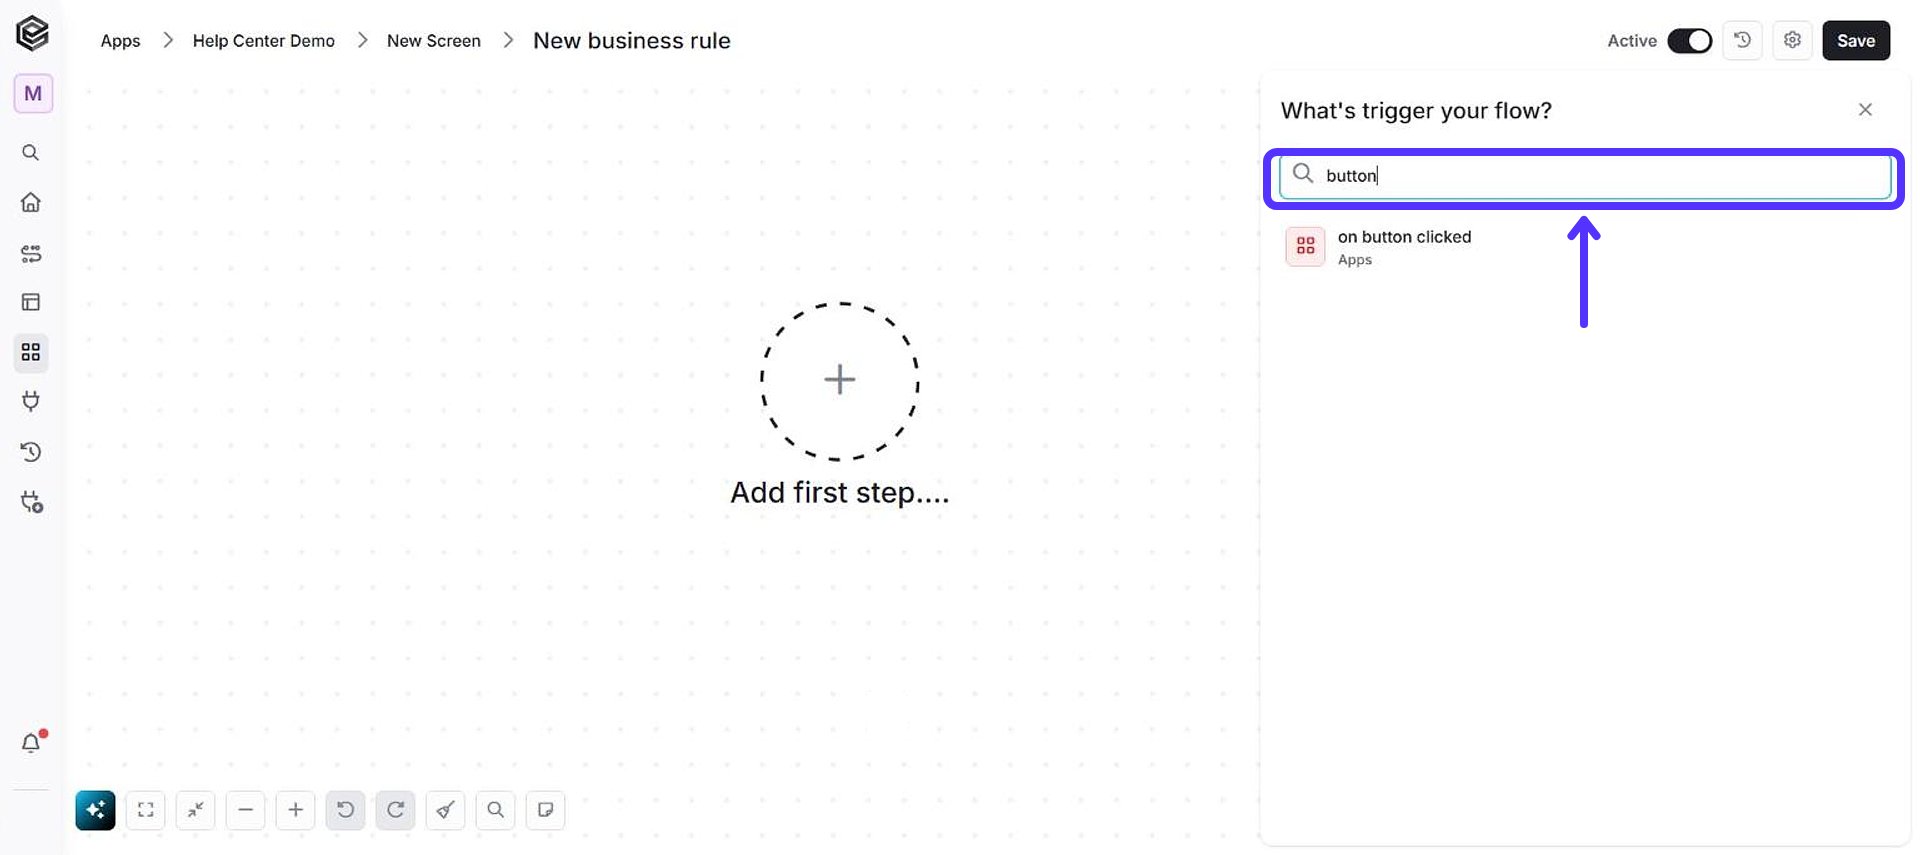
- Fill in the requested fields. The fields of each trigger are described below.
On field value changed
Runs right after a user changes the value of the chosen field in the record form. Click on the empty field “Choose Field”. A list opens showing the fields you’ve defined in your Screen Properties.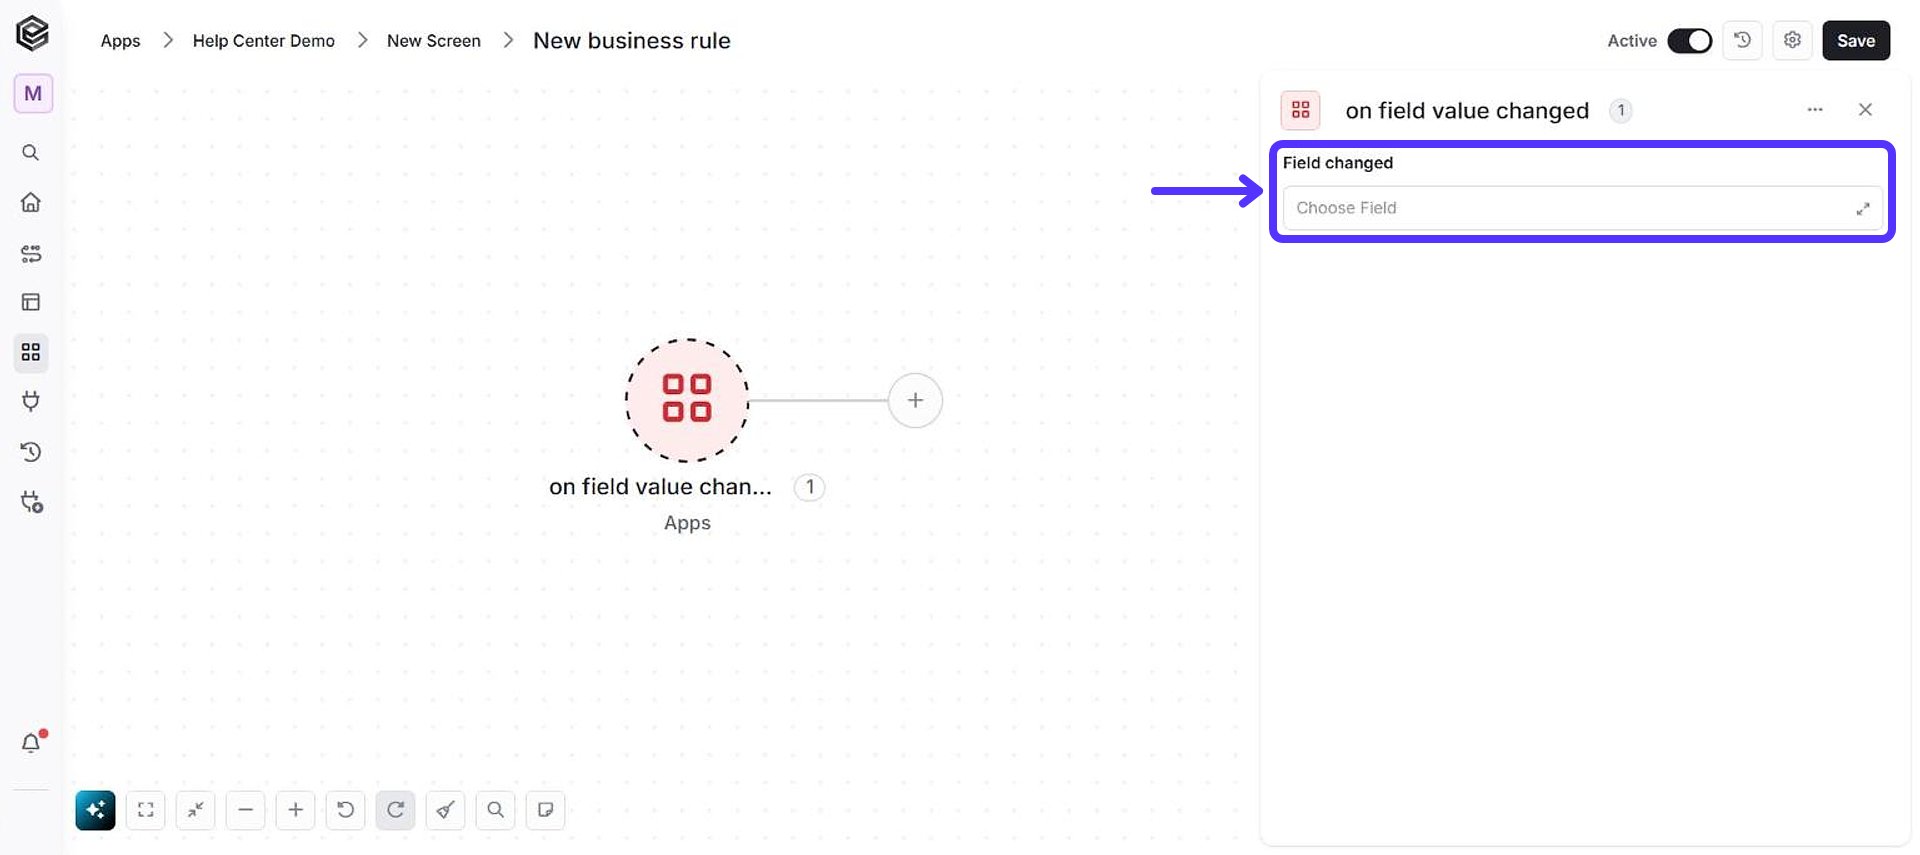
- Field changed - Choose the field you want from this list. The rule runs each time the user changes that field’s value; changes made by other rule actions do not start it.
On barcode input
Runs when a barcode is entered or scanned into the app’s barcode input. The scanned code is available to the next actions as barcode. It has no fields to fill in.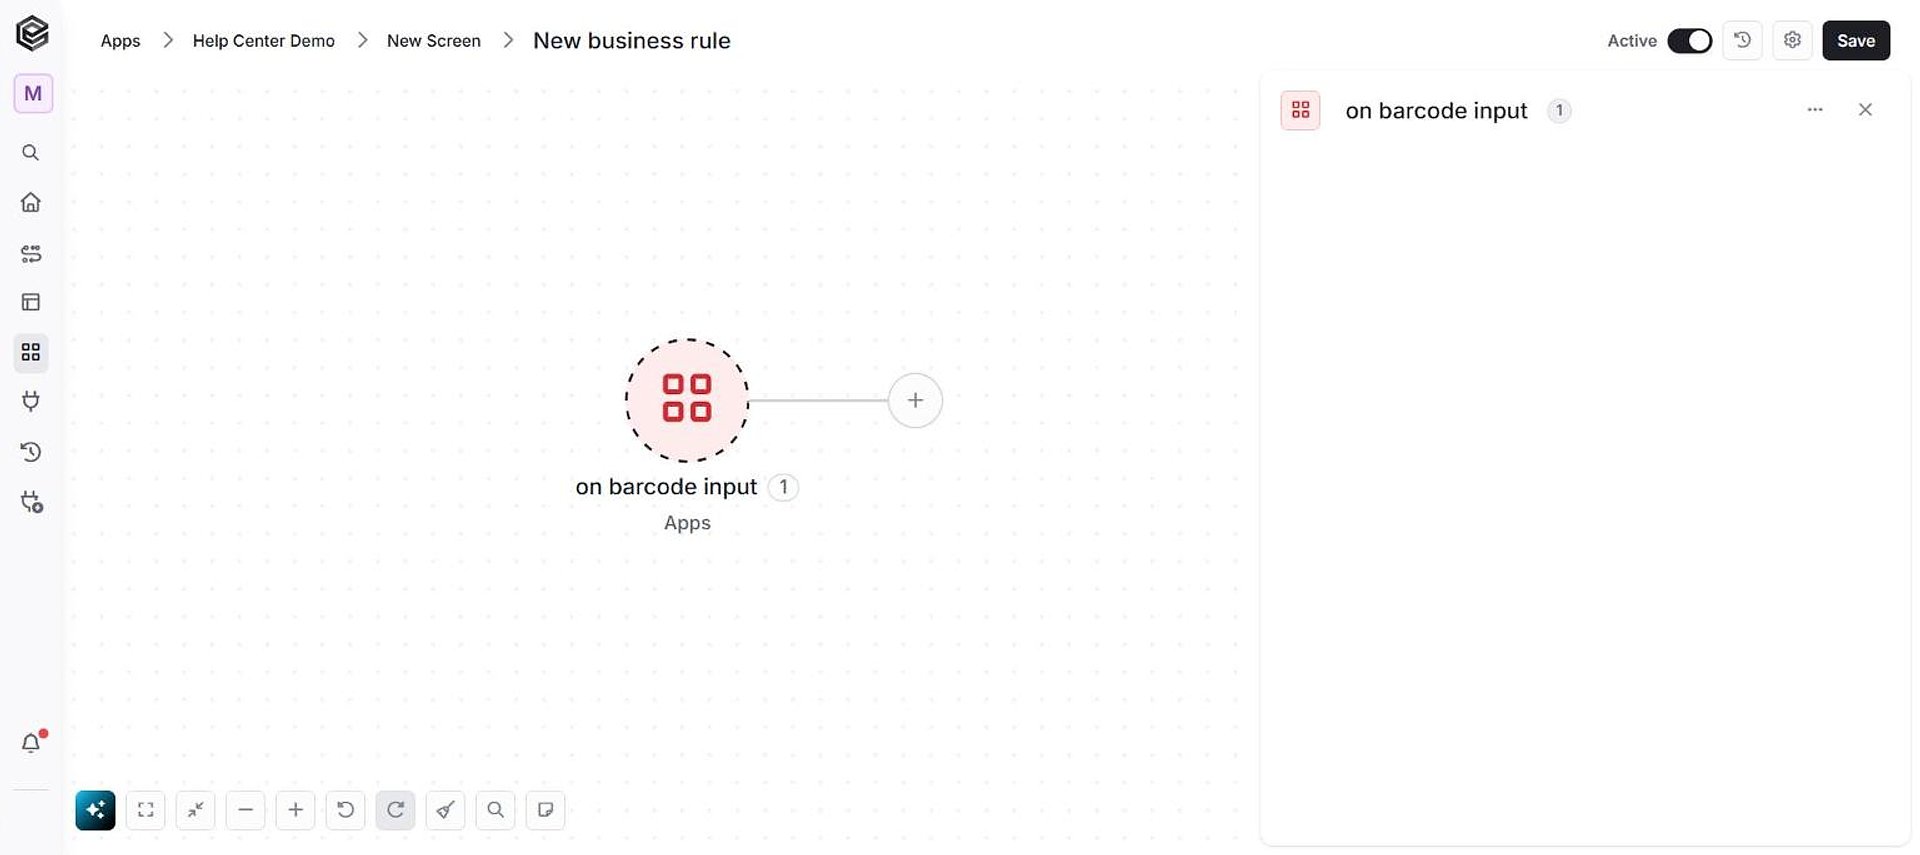
On record creation
Runs when a new record is saved, which happens when the user exits edit mode of a record that was added (for example by pressing the back button), before the record is written to the table. Required fields must be filled first, otherwise the user is asked to complete them and the rule does not run. If the rule stops with a Terminate step or the user clicks Cancel in a “Display warning message”, the record is not saved. It has no fields to fill in.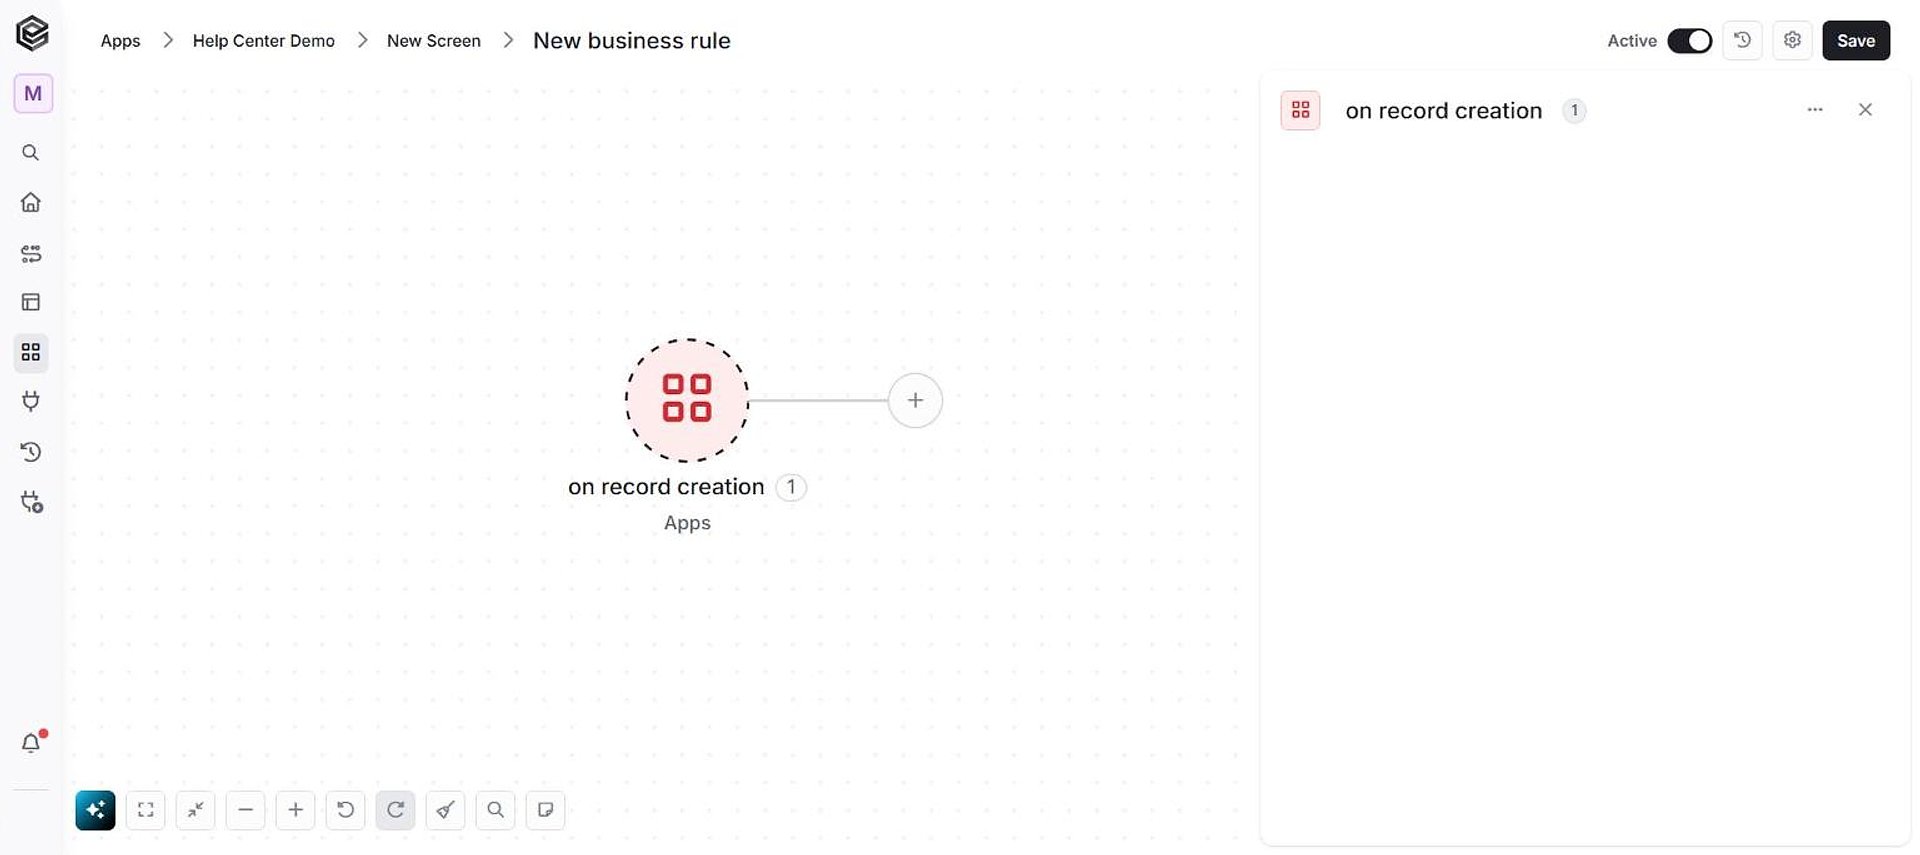
On record changed
Runs when an existing record that the user changed is saved, which happens when the user exits edit mode (for example by pressing the back button or moving to another record). The rule does not run if no value was changed. It runs before the record is written, so the old and new values are both available, and a cancelled rule (Terminate step, or Cancel in a “Display warning message”) stops the save. It has no fields to fill in.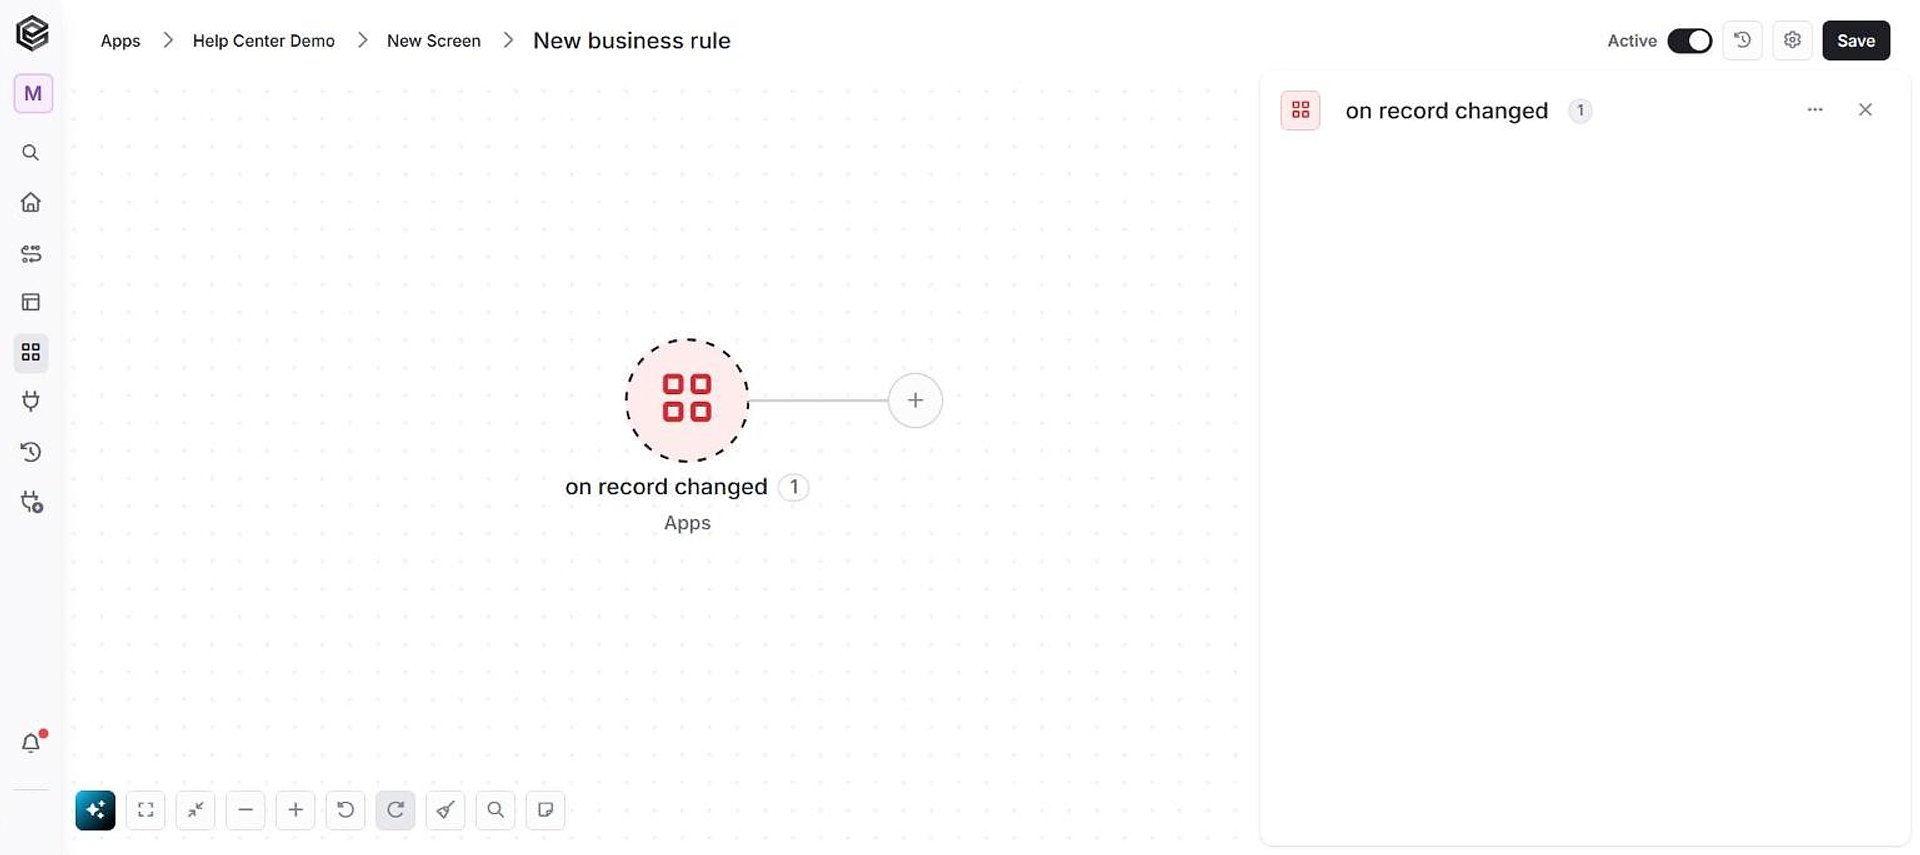
On record delete
Runs when a user deletes a record from the records list. While a rule with this trigger exists, Engini no longer deletes the record itself or asks for confirmation: the rule must contain a Delete record action to remove the record. It has no fields to fill in.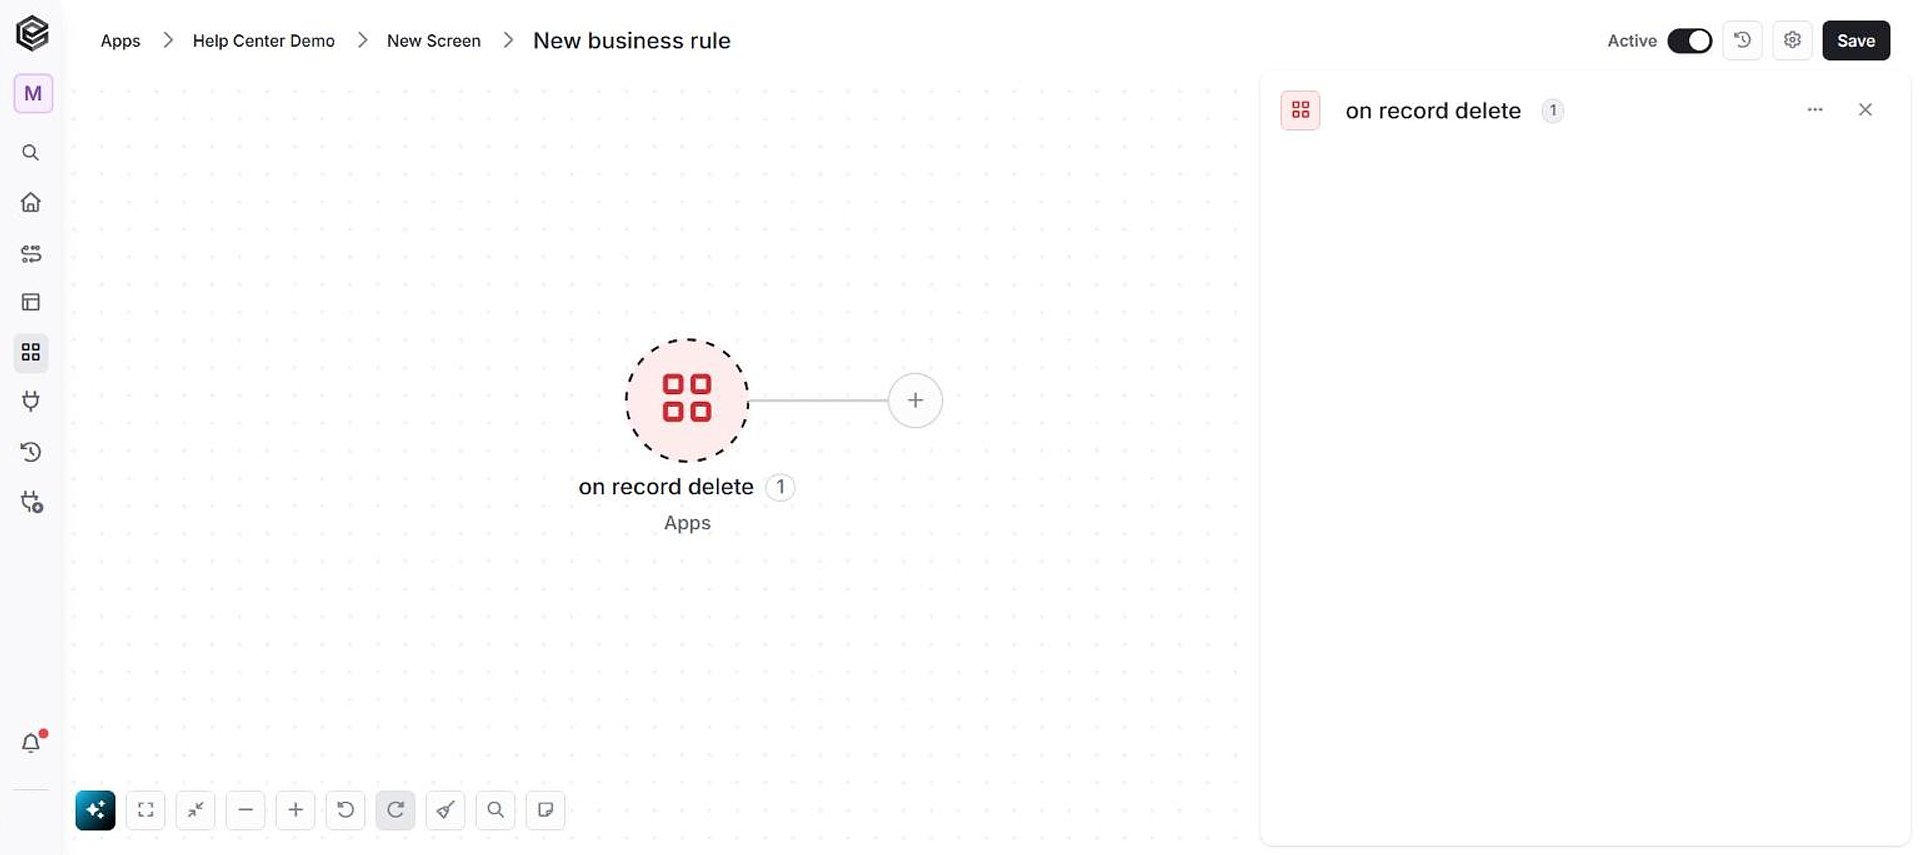
On record clicked
Runs when a user clicks a record in the list. While a rule with this trigger exists, the record is not opened automatically; add an Open form action to open it. It has no fields to fill in.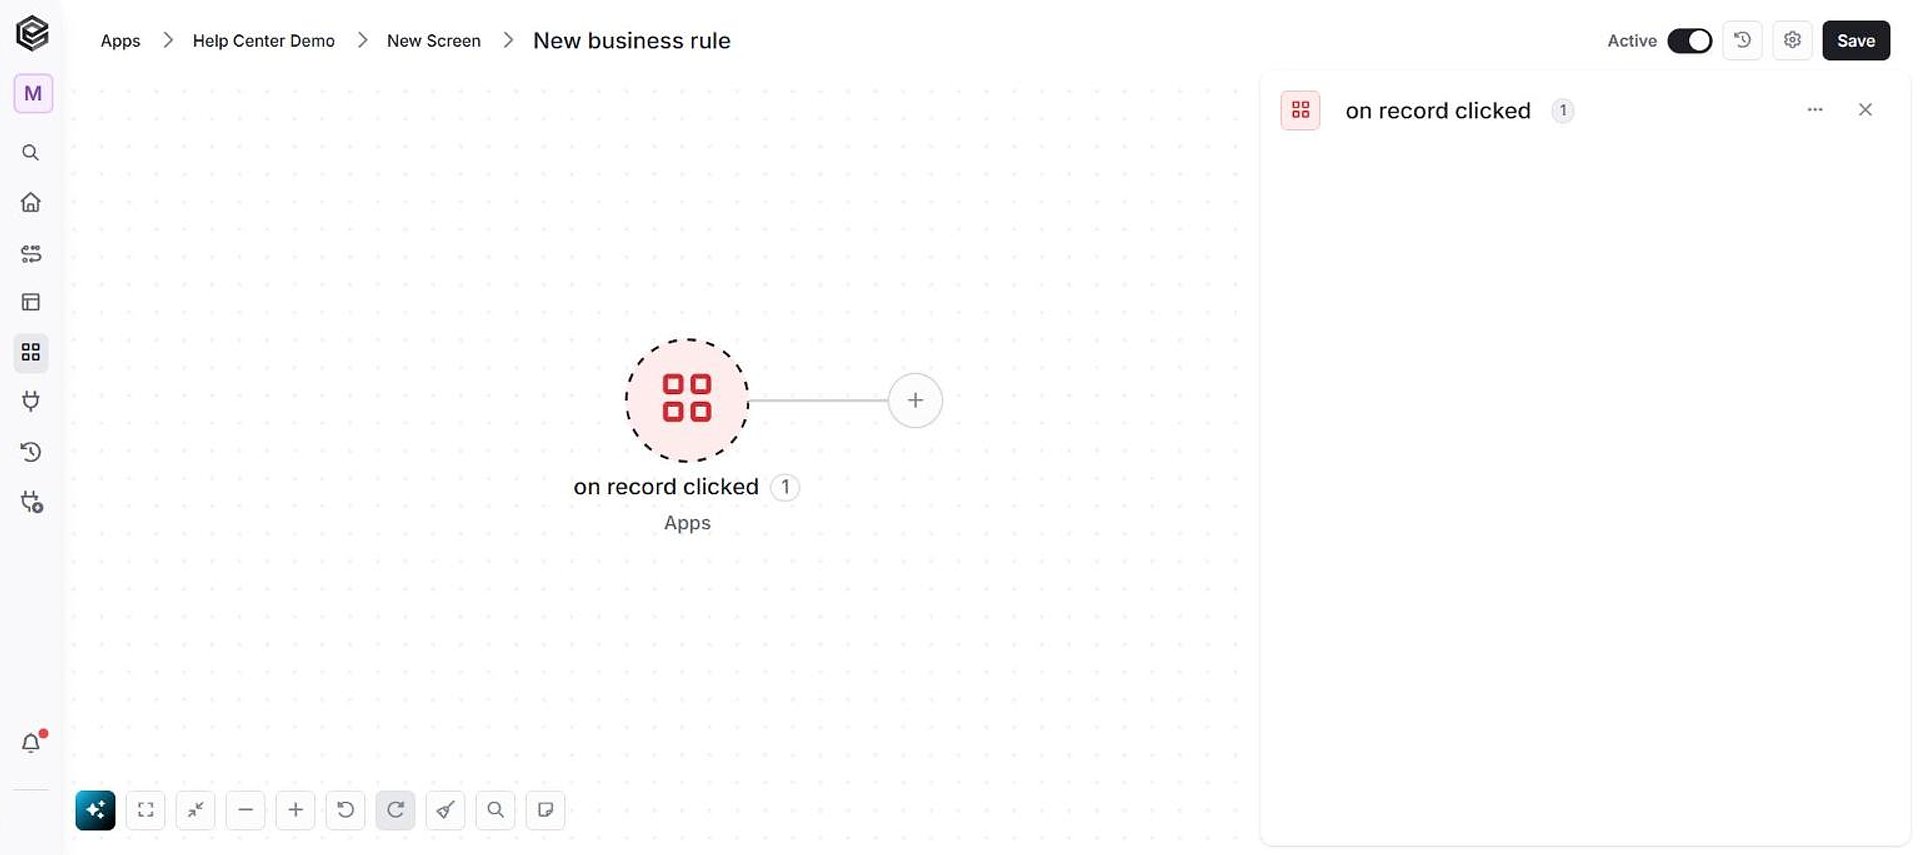
On add record clicked
Runs when a user clicks the “Add Record” button. While a rule with this trigger exists, no new record is created automatically; add an Add record or Open form and add record action to create it. It has no fields to fill in.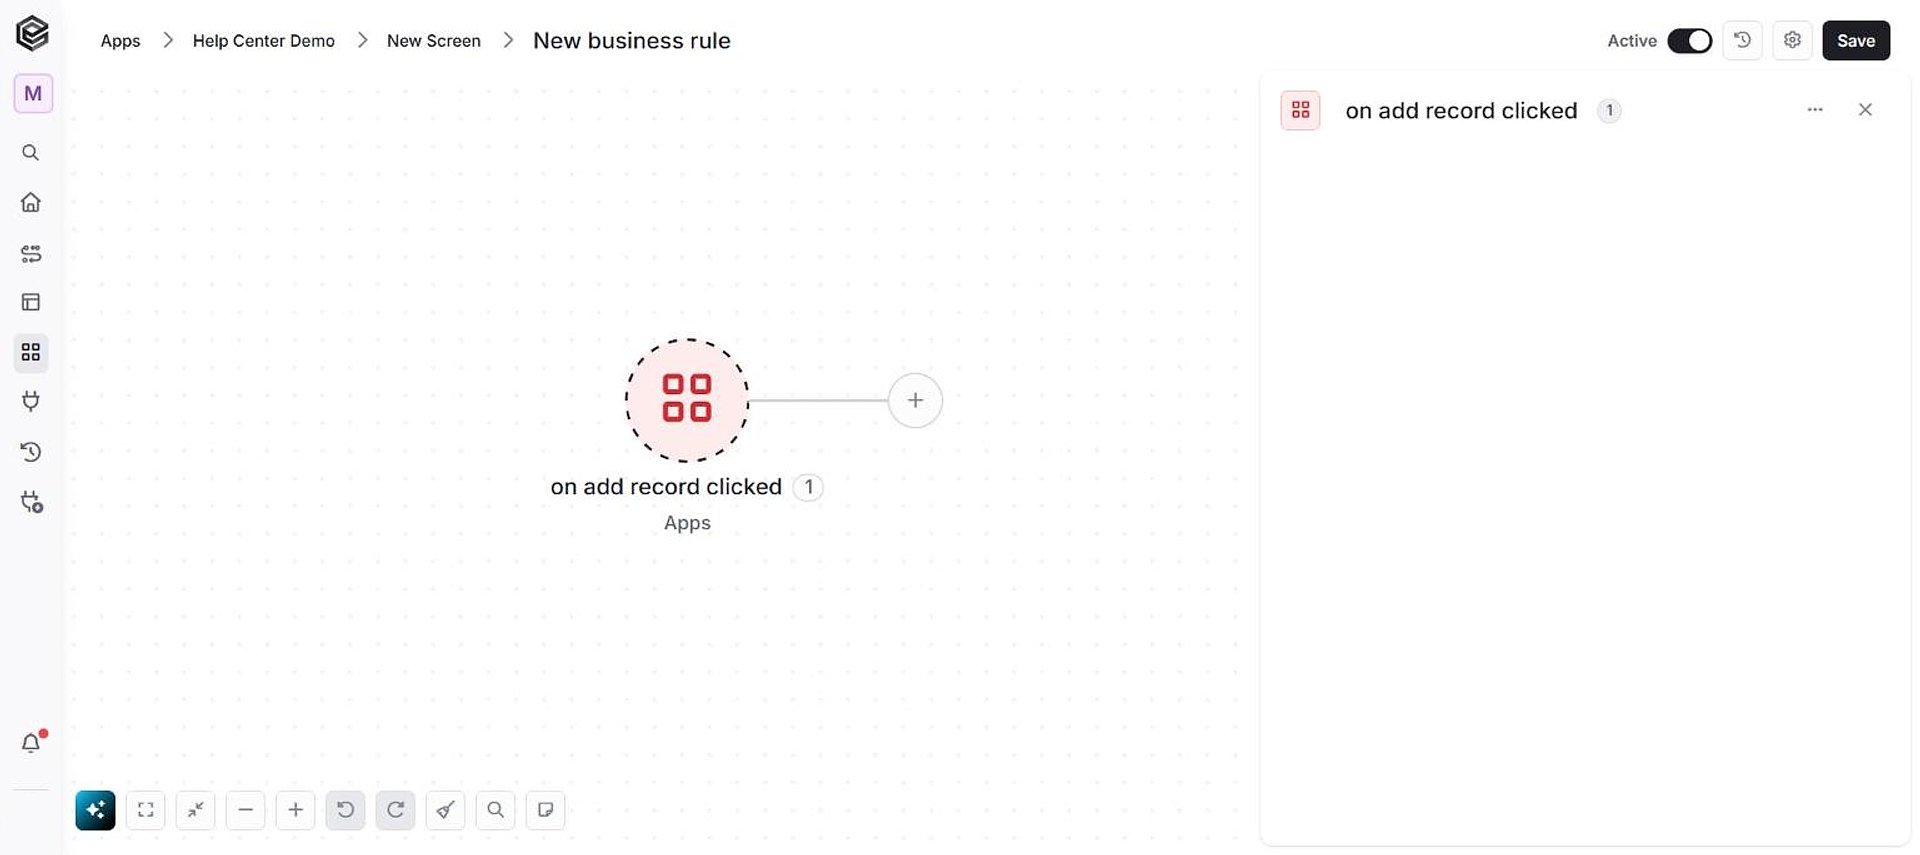
On screen load
Runs each time the screen the rule belongs to is loaded. It has no fields to fill in.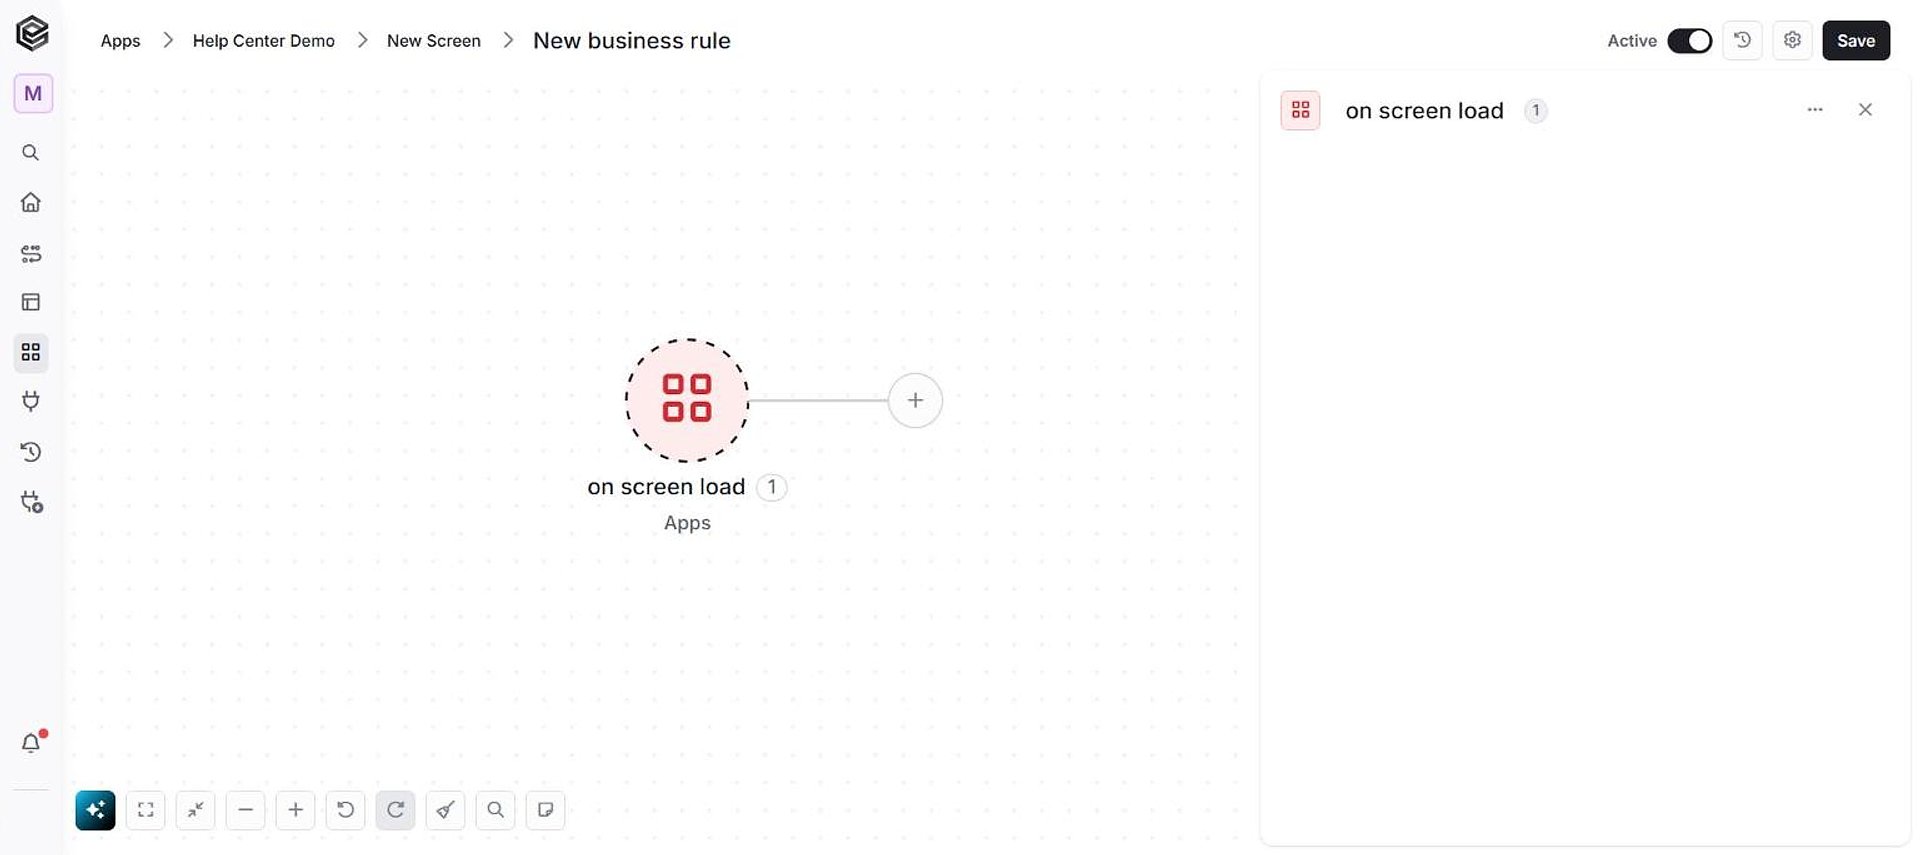
On button clicked
Runs when a user clicks the chosen button on the screen. Click on the empty field labeled “Choose button”. A list opens displaying the buttons you’ve defined in your properties.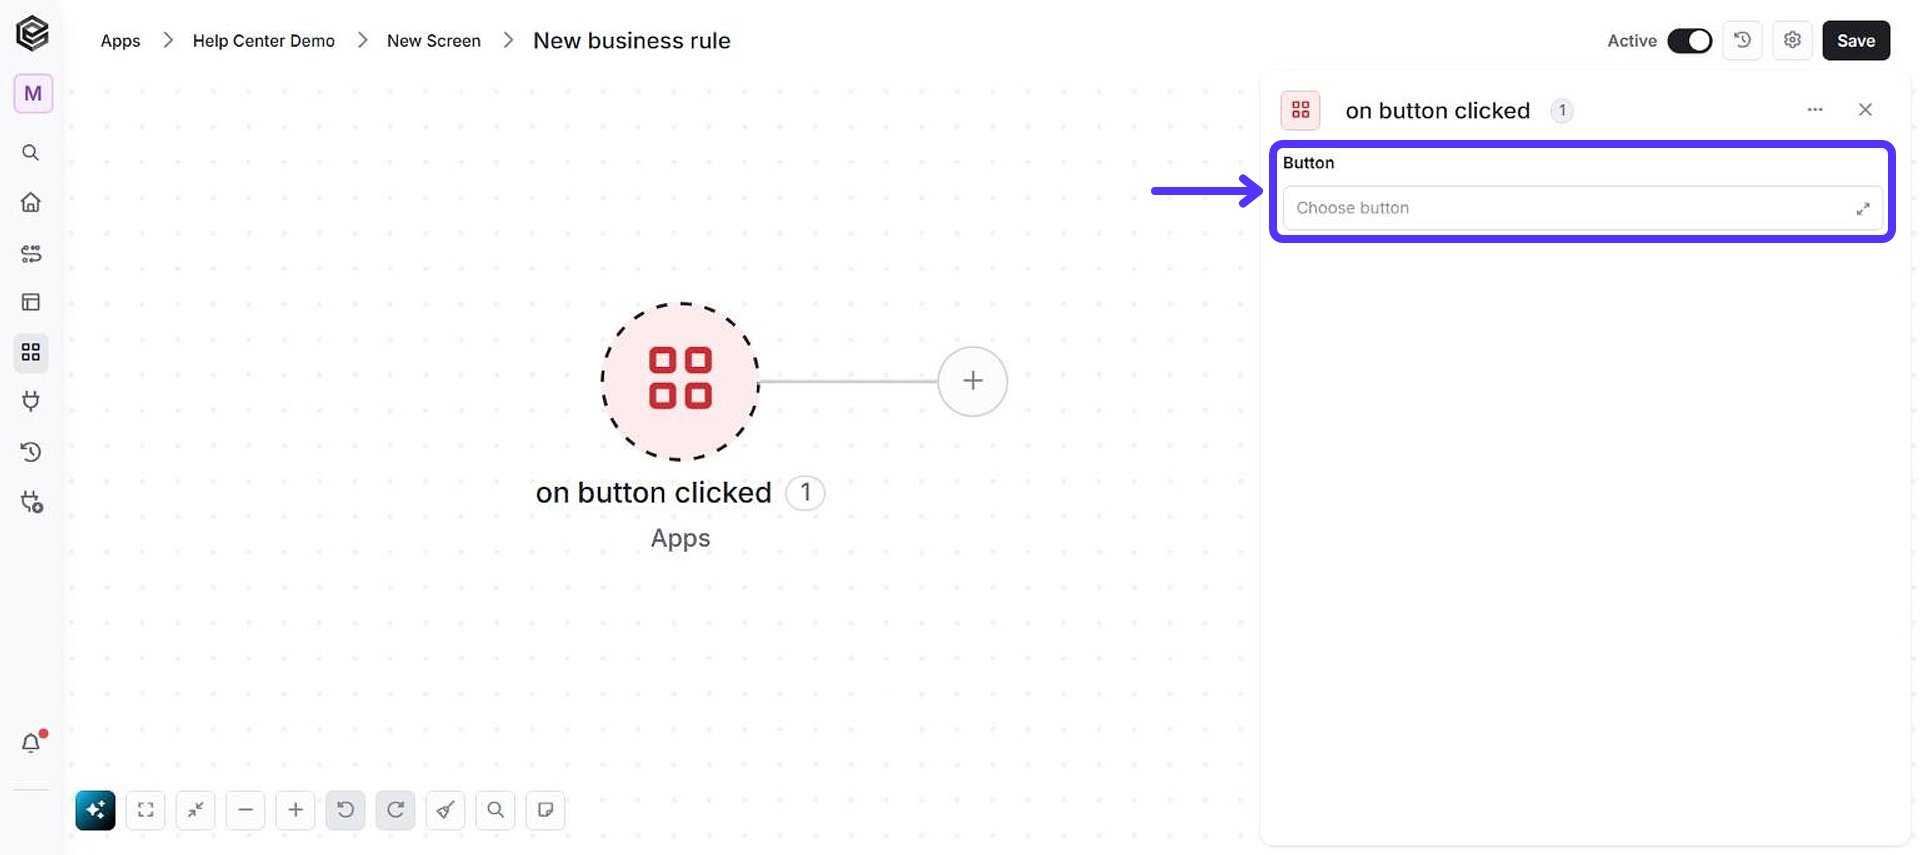
- Button - Select the wanted button from this list, initiating the trigger’s activation whenever that button is clicked.
On dropdown clicked
Runs when a dropdown field is loaded or opened, so the rule can fill the dropdown’s options with the Dropdown data action.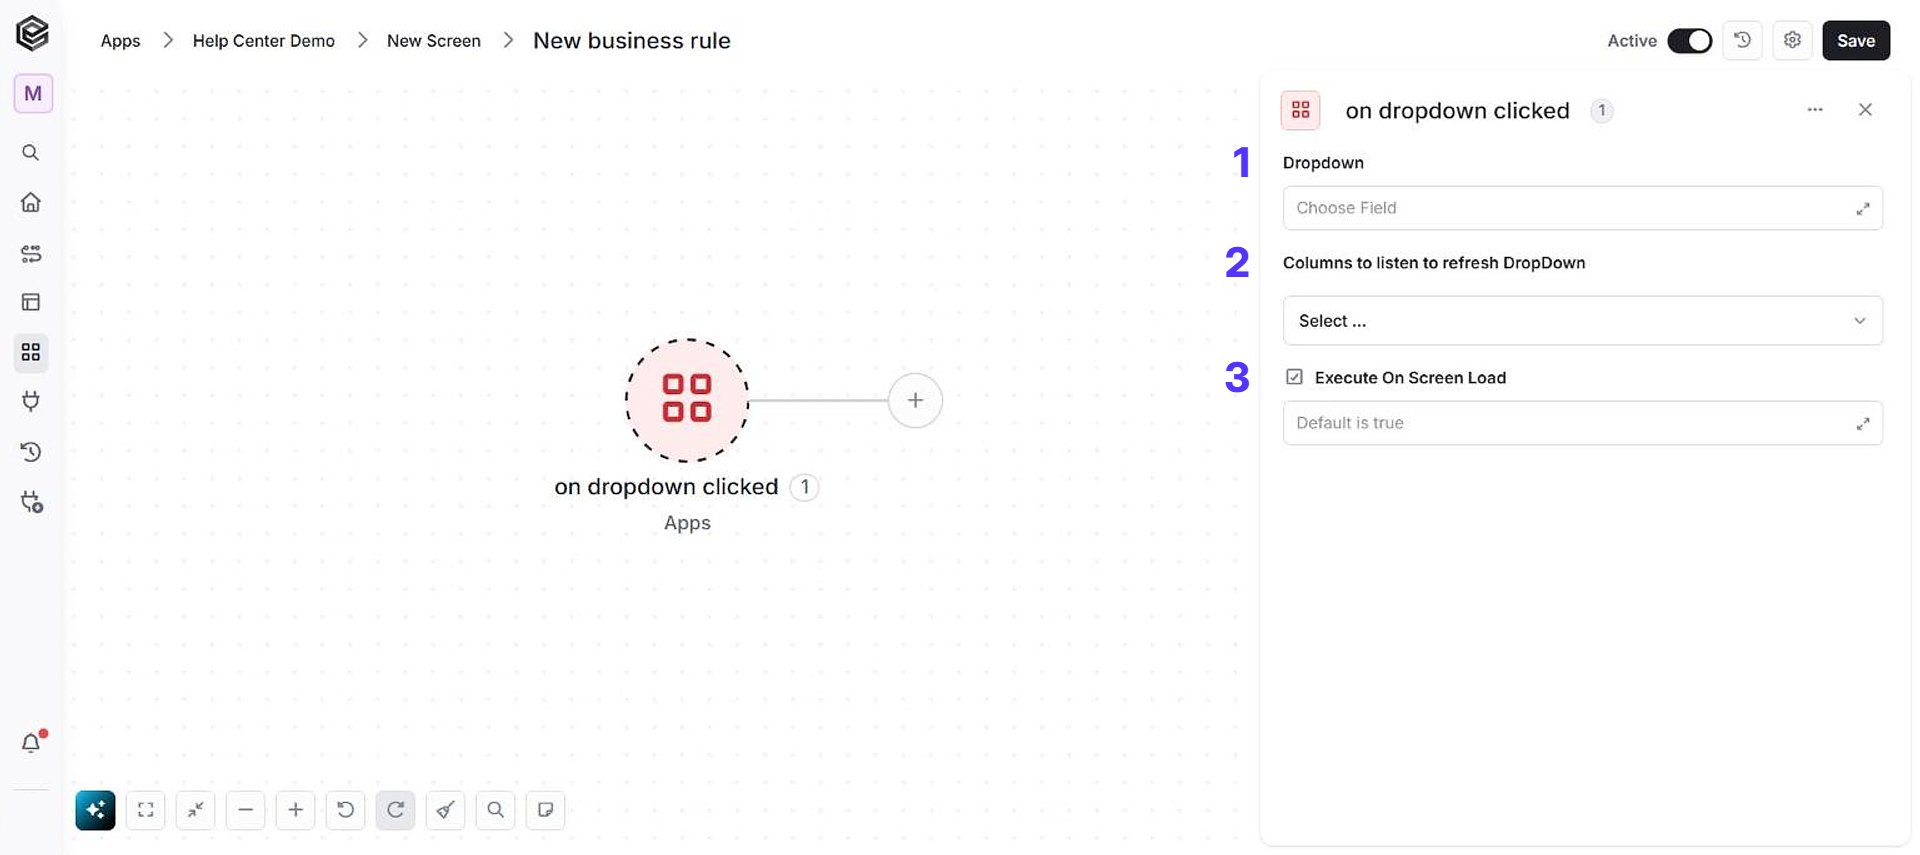
- Dropdown - Select the dropdown field that should trigger the Business Rule when the user interacts with it.
- Columns to listen to refresh DropDown - Select the columns whose value changes should refresh the dropdown. When the user opens the dropdown and one of the selected columns changed since the last run, the rule runs again so the options reflect the latest values. When no column is selected, the rule runs only if the dropdown has no options loaded yet.
- Execute On Screen Load - Enabled by default. When enabled, the rule also runs automatically when the screen is loaded. When disabled, the rule runs only when the user opens the dropdown.
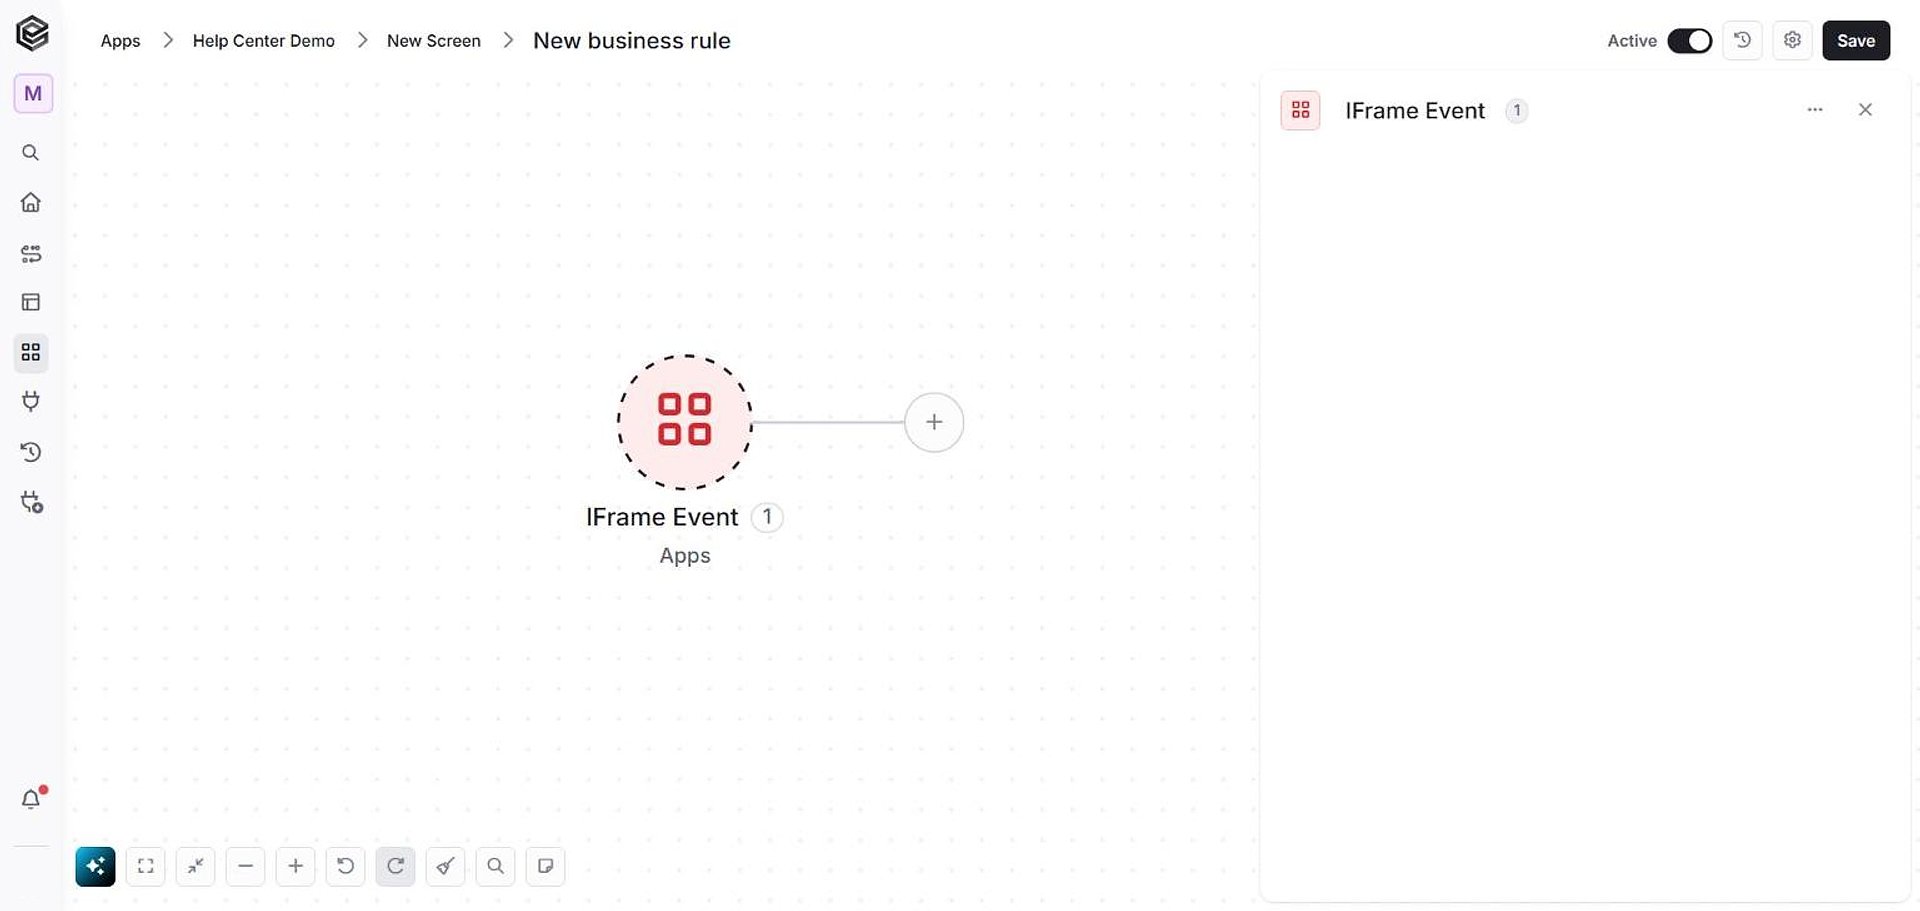
IFrame Event
The IFrame Event trigger runs when the web page shown in a Display IFrame dialog sends a message to Engini (a browserpostMessage event). The rule does not start by itself: it must be selected in the Display IFrame action, together with the origin (the address of the embedded page) that messages are accepted from. Messages from any other origin are ignored. It has no fields to fill in.
Add an Action
-
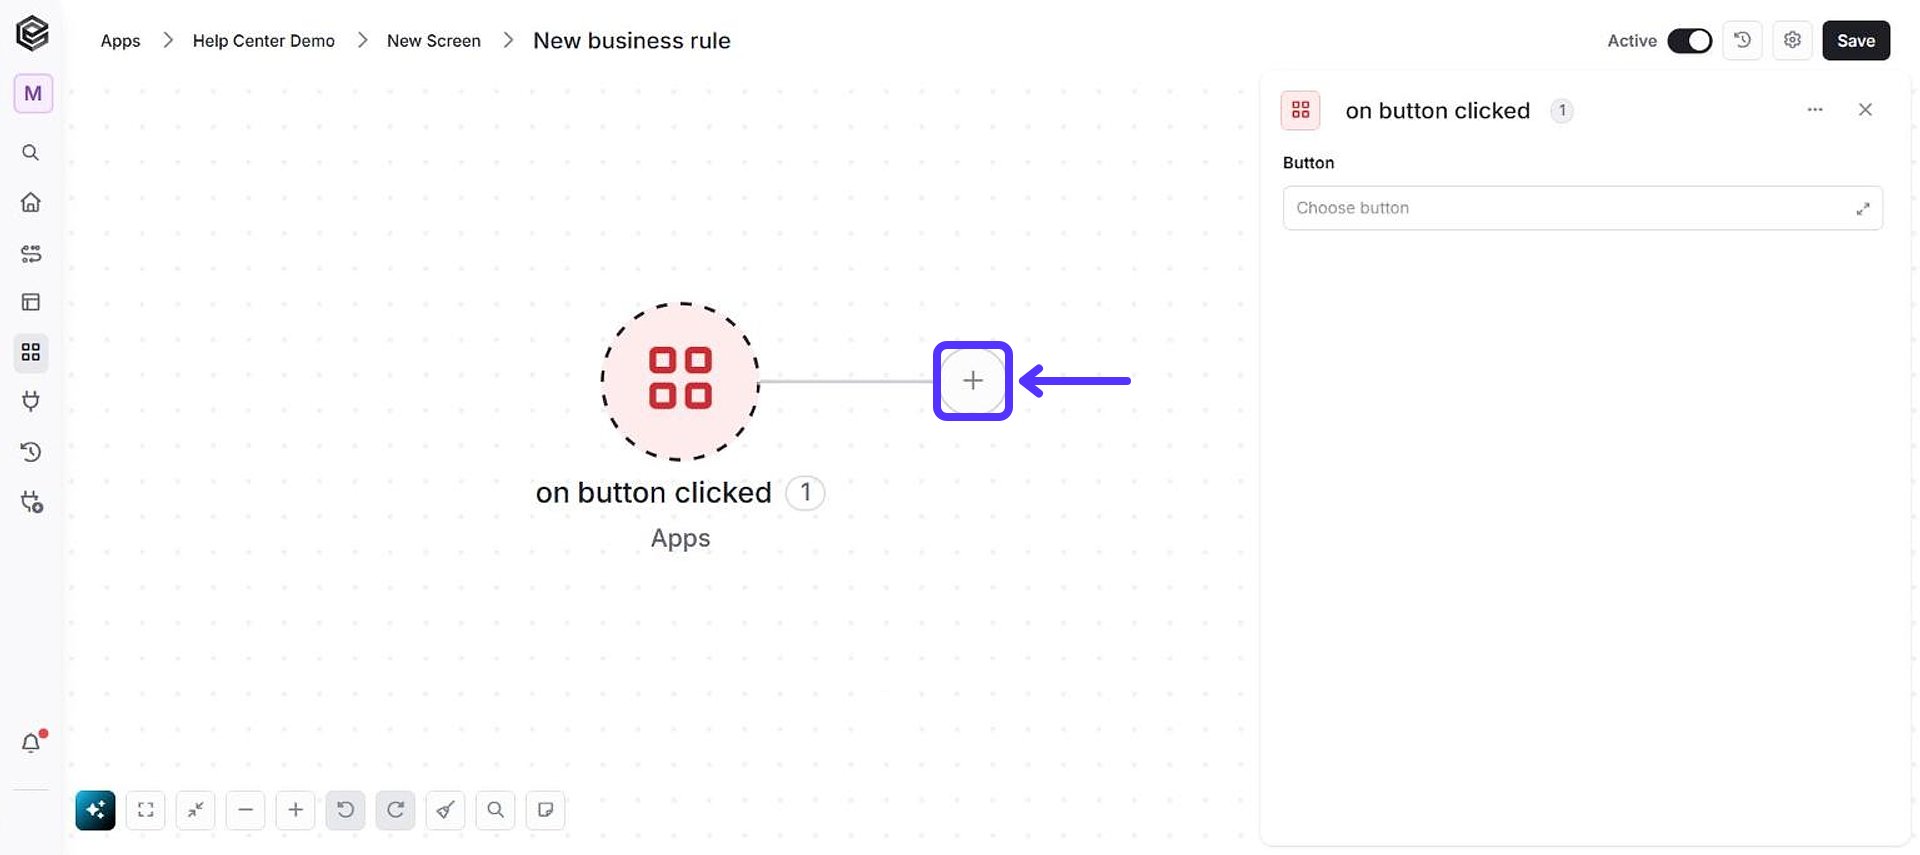
Click the ”+” button next to the last step to add an activity block.
-
In the “What’s Next?” panel, choose the action you want to run. The actions of your app are listed below the categories, each marked Apps. You can also type in the search box to filter the list.
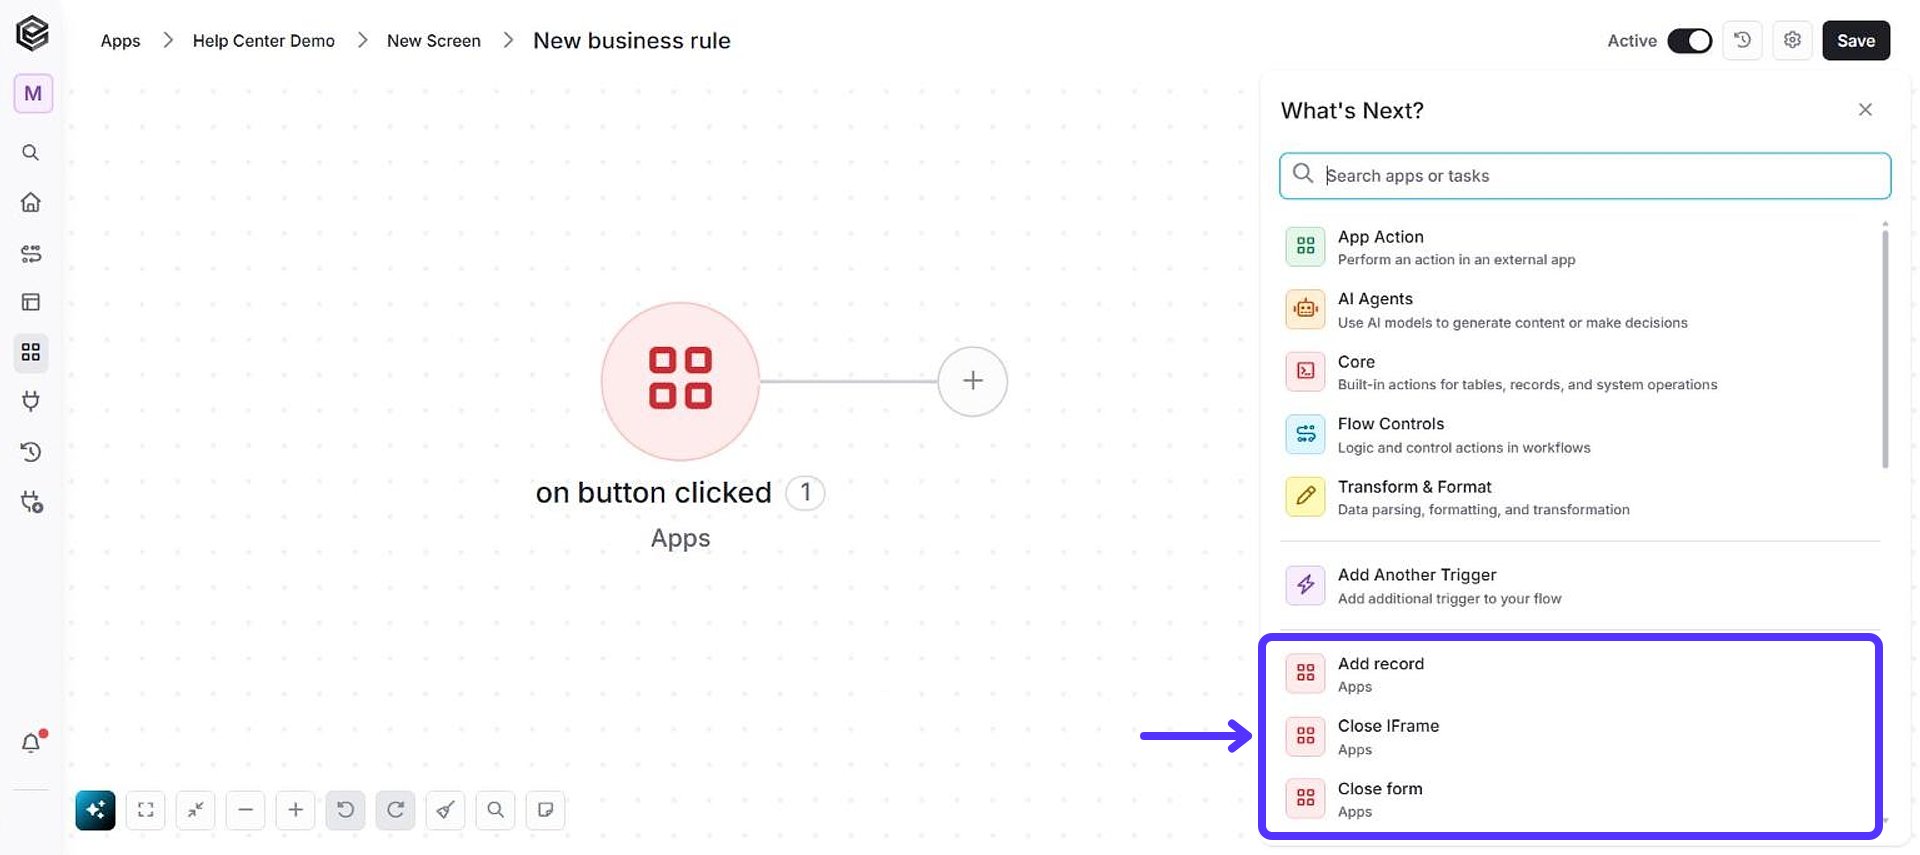
- Fill in the requested fields. The fields of each action are described below.
Sort & Filter records
Filters and sorts the records listed on the current screen and keeps only the first N. The list on the screen refreshes with the result. If Top N is 1 and no record matches, the step fails with “item not found”.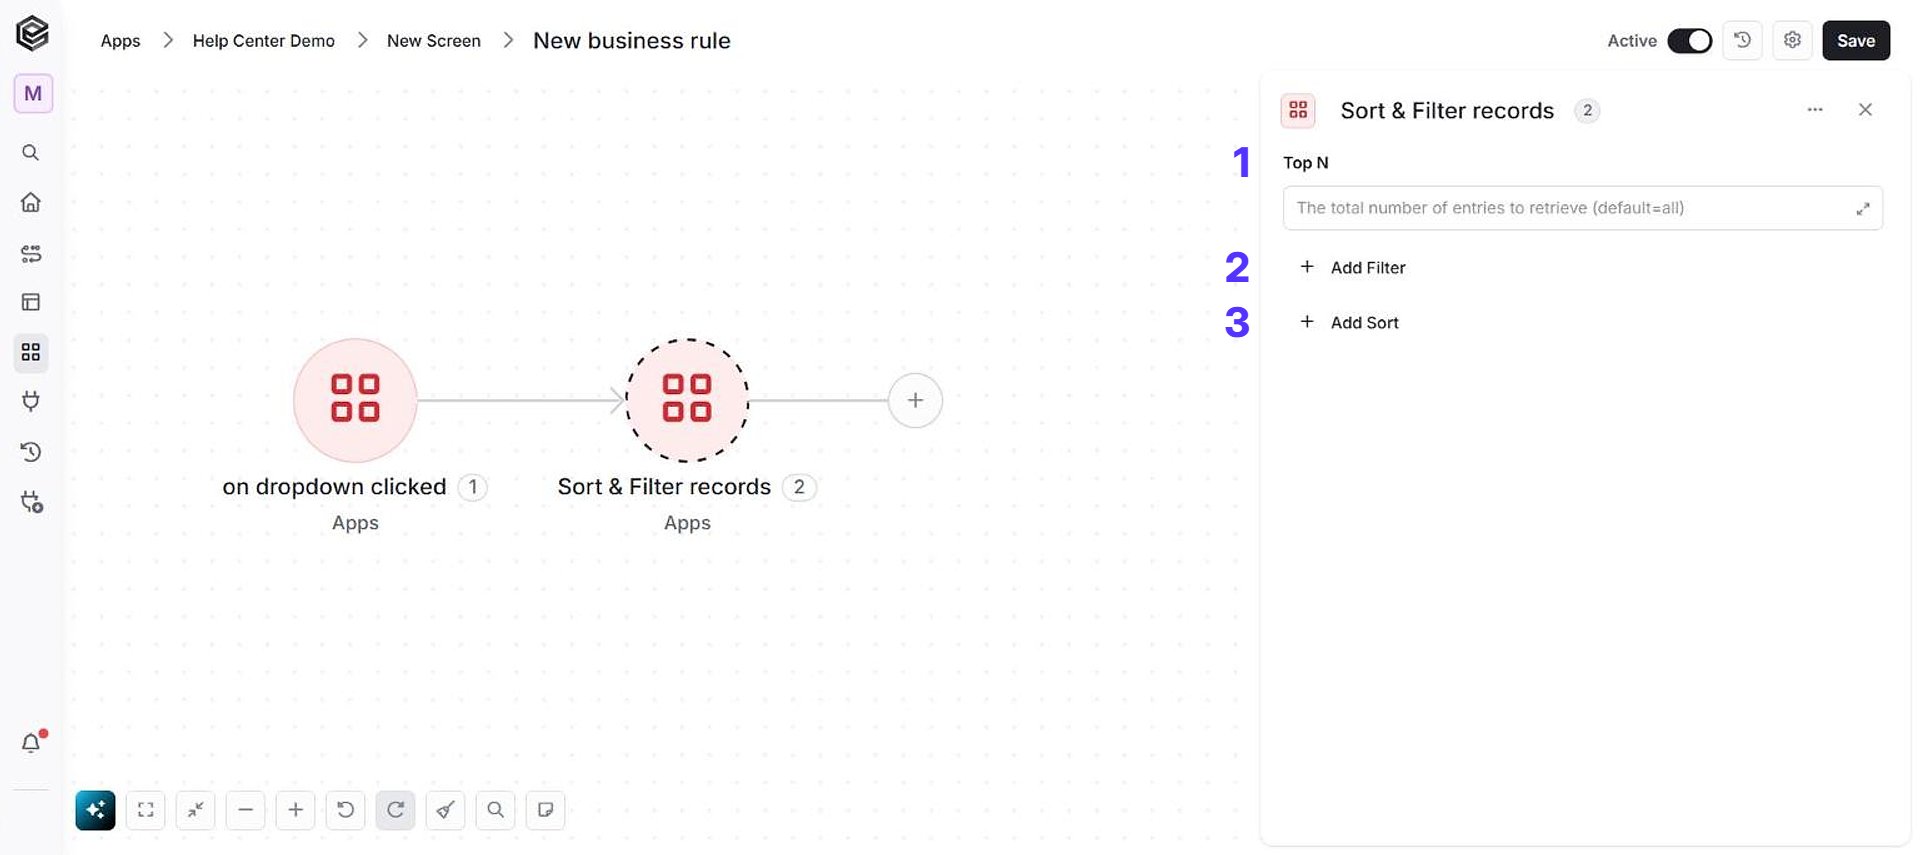
- Top N - In this field you can define the maximum number of values you want to retrieve. For example, by entering the value 1, the activity will return only the first record that meets the conditions setup (if filtering is defined).
- Add Filter - Click Add Filter to define conditions that narrow down the data list and return only the relevant items. To learn more about using filters, click here.
- Add Sort - Click Add Sort to organize the data list by a selected field in ascending or descending order. To learn more about sorting data, click here.
Open form
Navigates to the selected screen in the chosen display type. When it opens a record in the detailed view, the record is loaded by its Record Id and can be edited.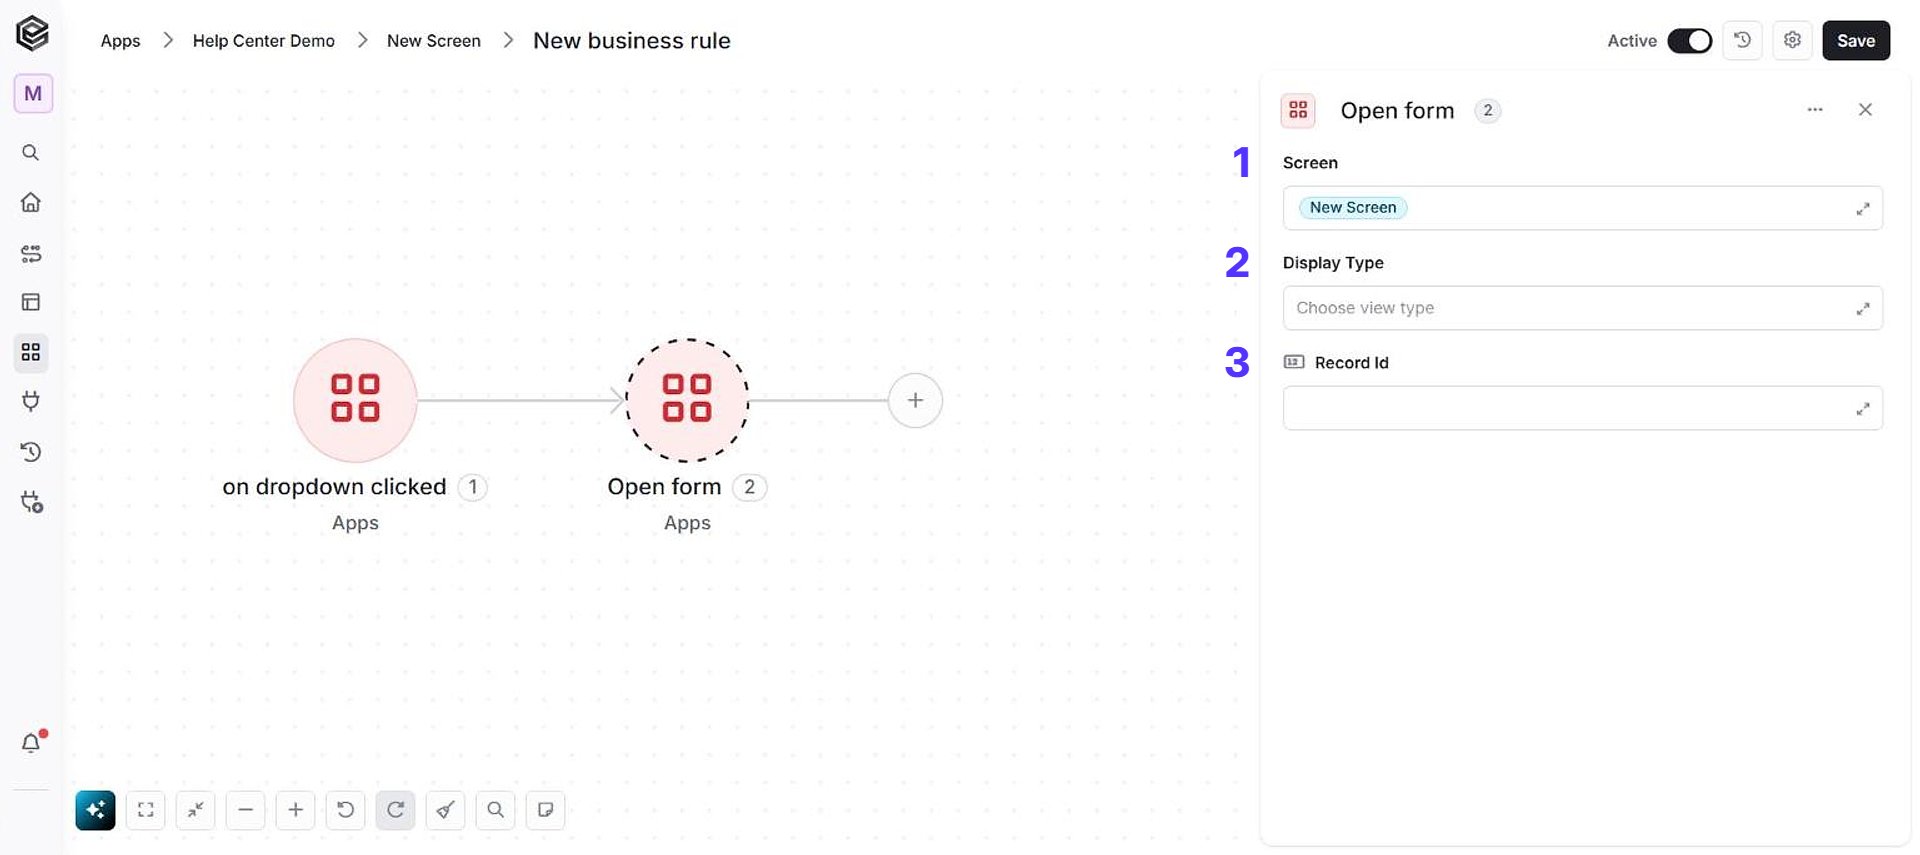
- Screen - Select the desired screen (defaulting to the current screen associated with the business rules) that you want to display or interact with when using this action.
- Display Type - Choose how you want the screen to be presented: either as a preview, or as a detailed view (this choice is influenced by the app’s initial settings and design preferences set during the app development phase).
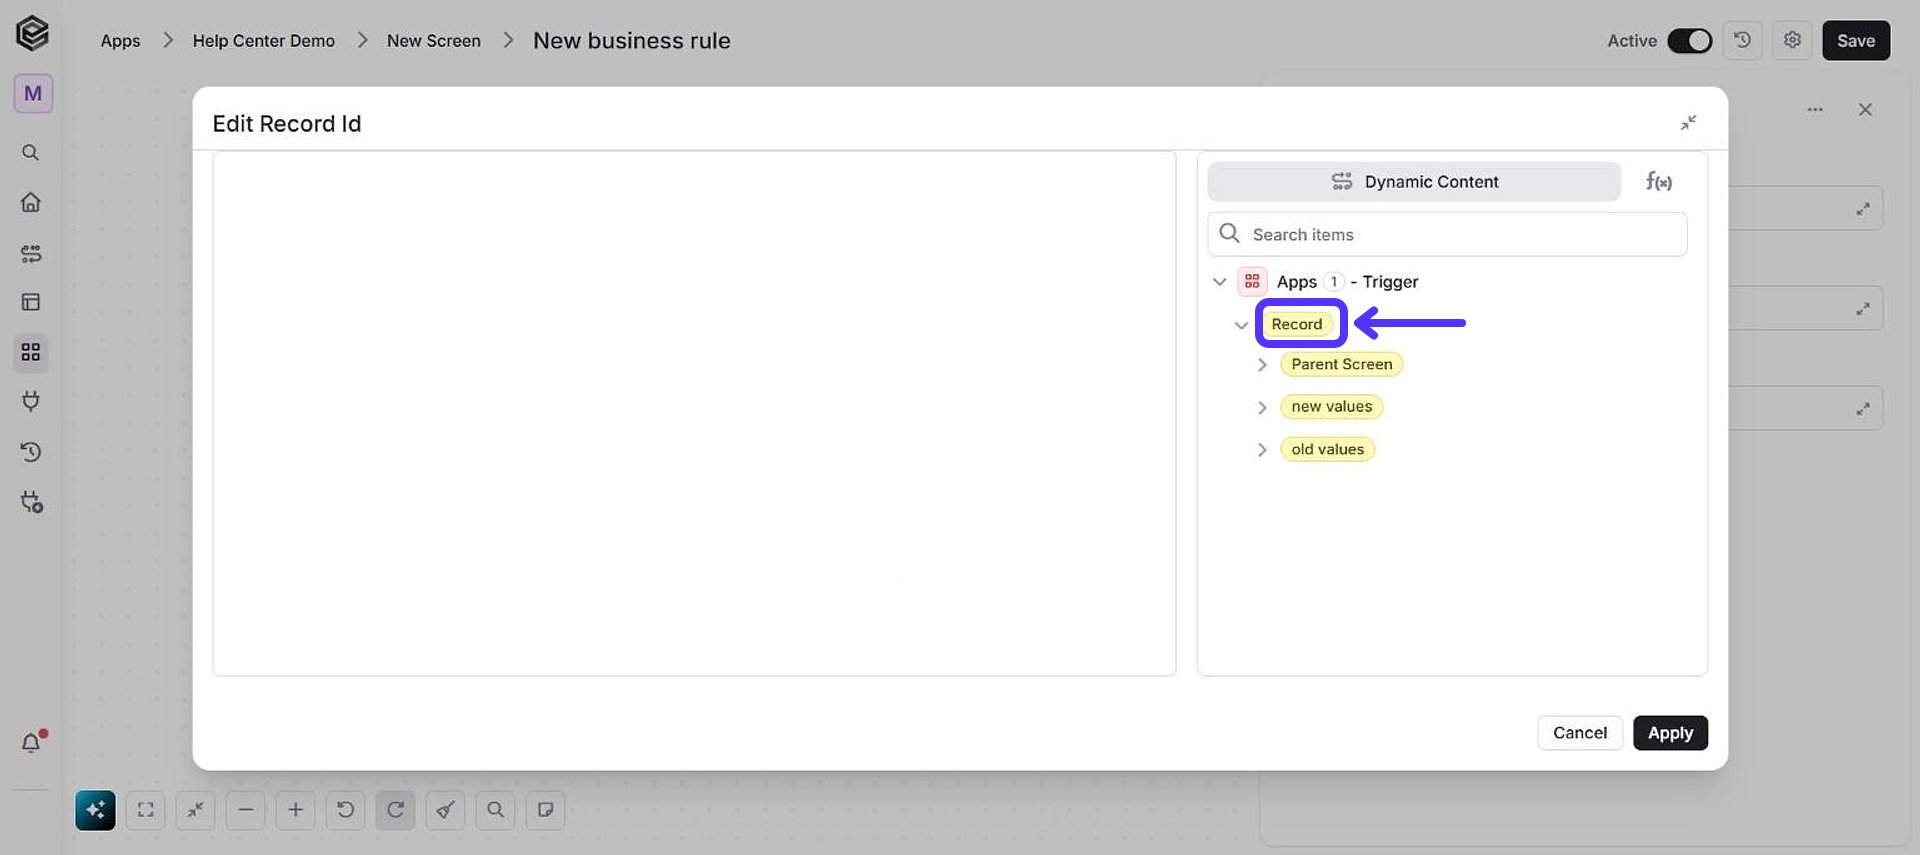
- Record Id - Select the unique identifier associated with the relevant record from previous activities, enabling interaction or display focused on the selected screen and display type. The identifiers of records in Engini tables are called “record id”.
Close form
Closes the currently open form and returns the user to the previous screen, without saving changes made in it. The form closes after all the rules of the same trigger have finished. It has no fields to fill in.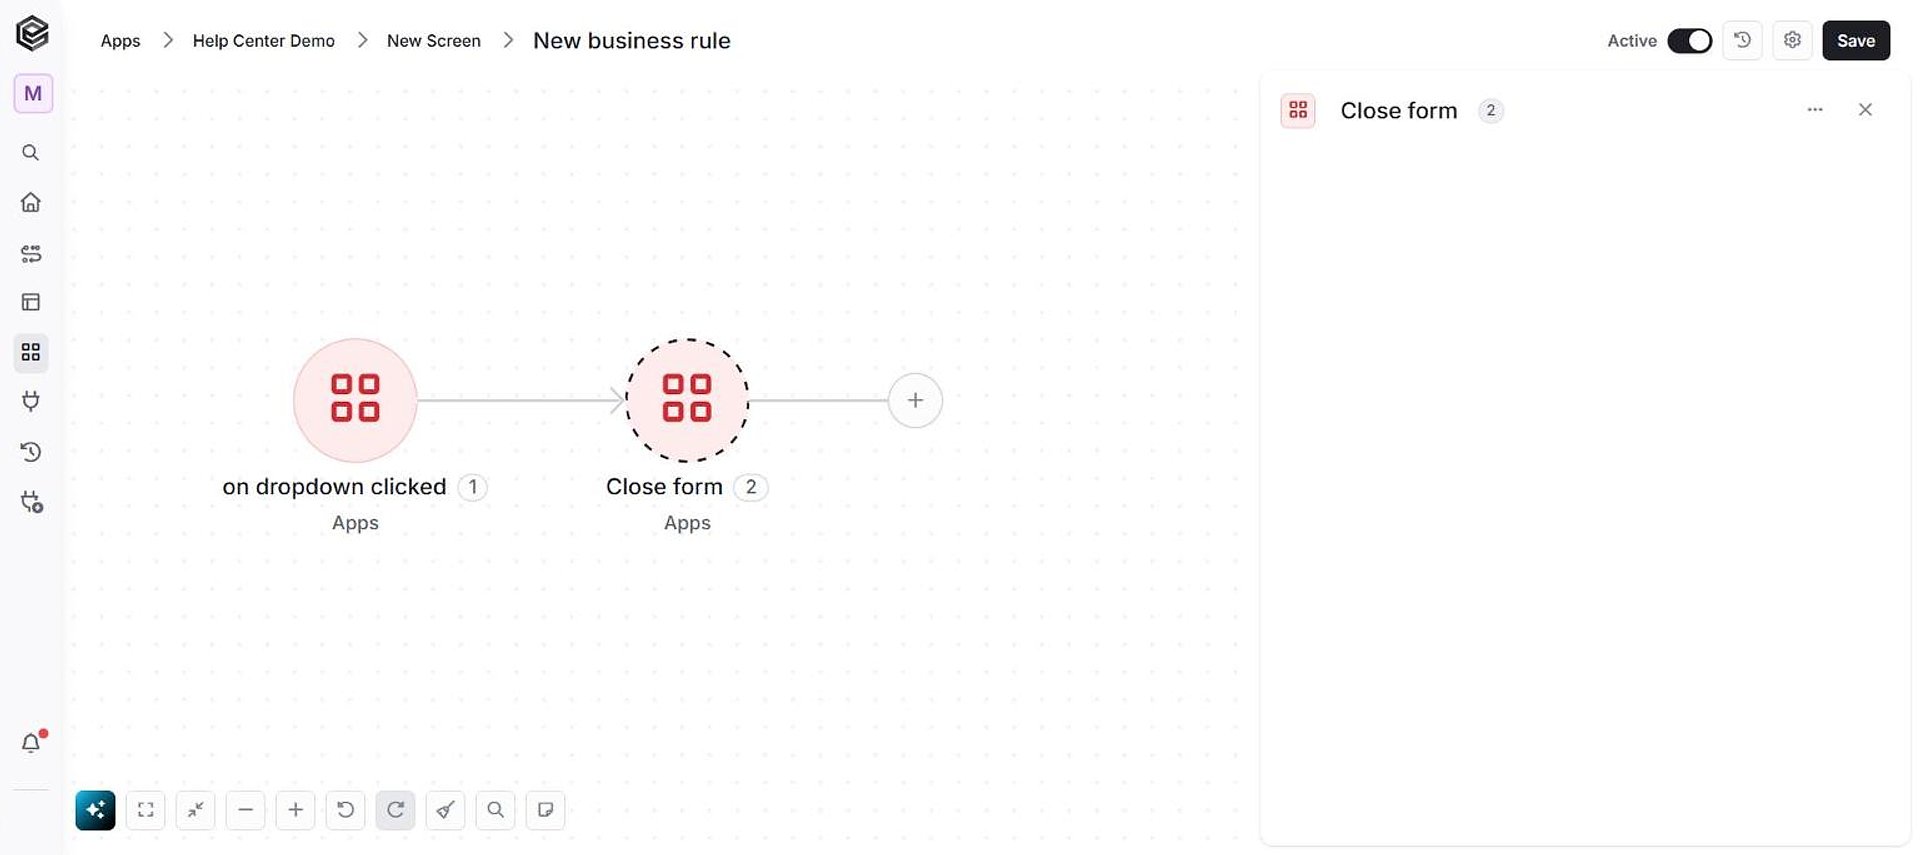
Dropdown data
Fills the options of the dropdown field chosen in the rule’s “on dropdown clicked” trigger, from a list of data (for example the result of an earlier step). Each item of the list becomes one option, and repeated values appear once.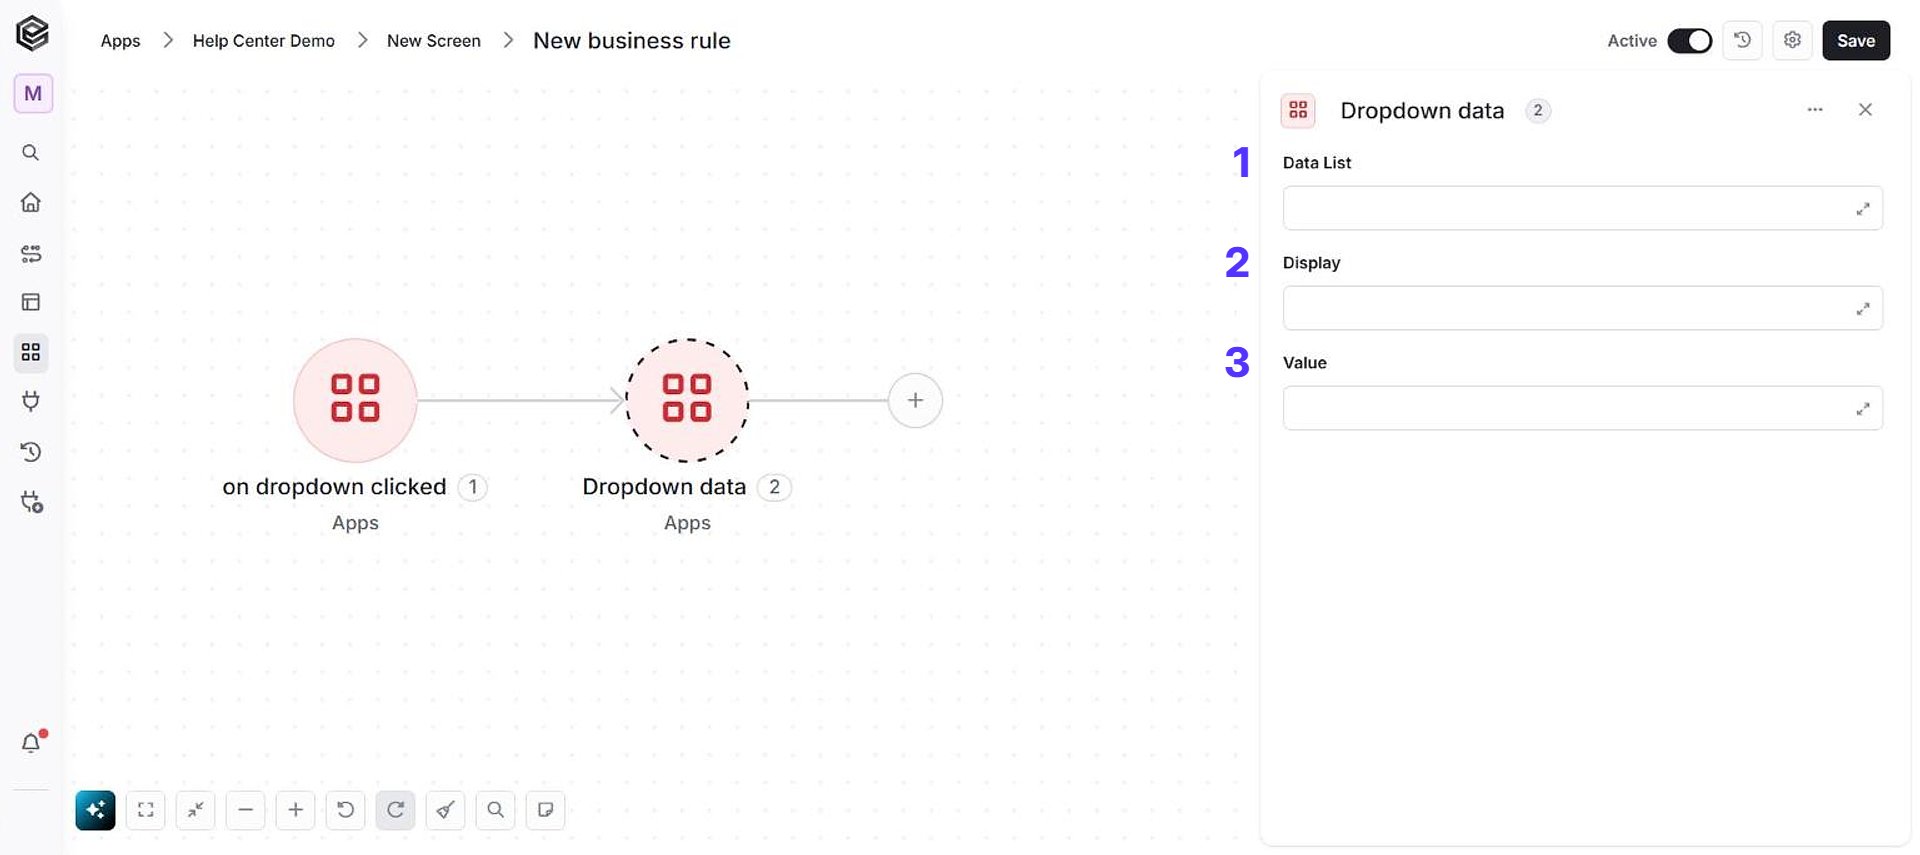
- Data List - Here, you define the set of options that will be presented in the dropdown menu. You input the list of data elements, and these will be displayed as selectable choices for the users.
- Display - Determines what will be visible to the users in the dropdown menu.
- Value - Underlying data associated with each option. When a user selects an option from the dropdown, the corresponding value is captured.
Save Changes
Saves the record open in the current form to the table right away, inside the rule, instead of waiting for the user to exit edit mode. When it runs inside a Record creation or Record changed rule, the record is saved once. It has no fields to fill in.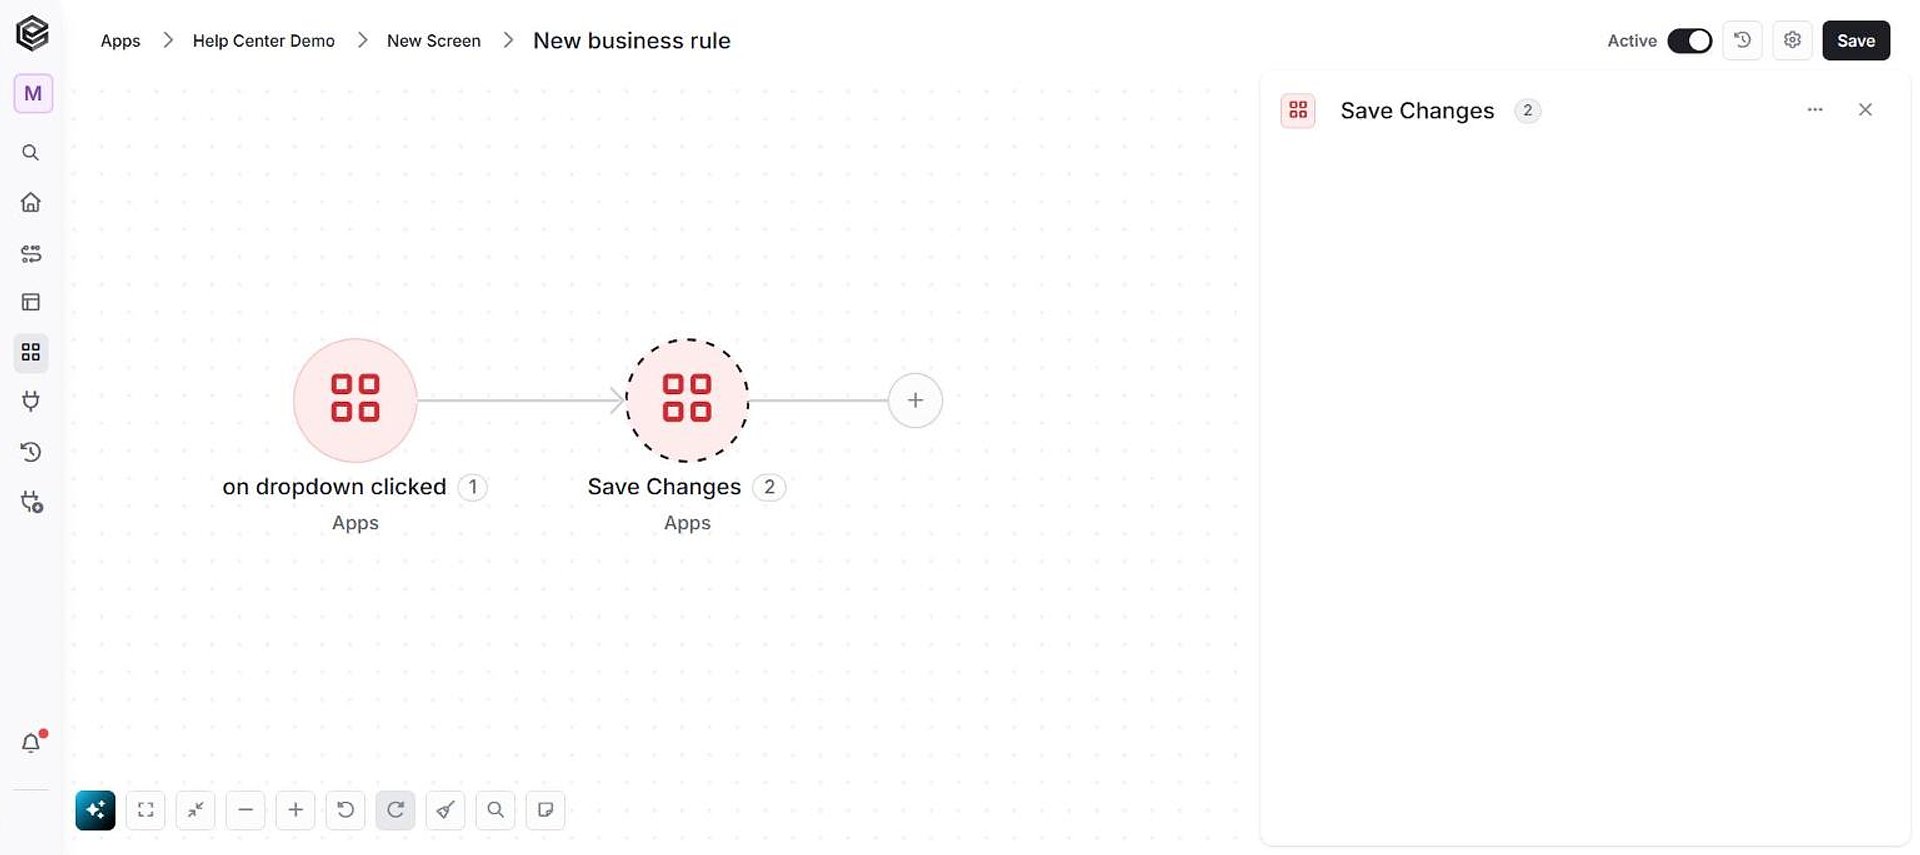
Set focus
Moves the cursor to the selected field of the record form so the user can type in it. It works only while a record is open in edit or add mode.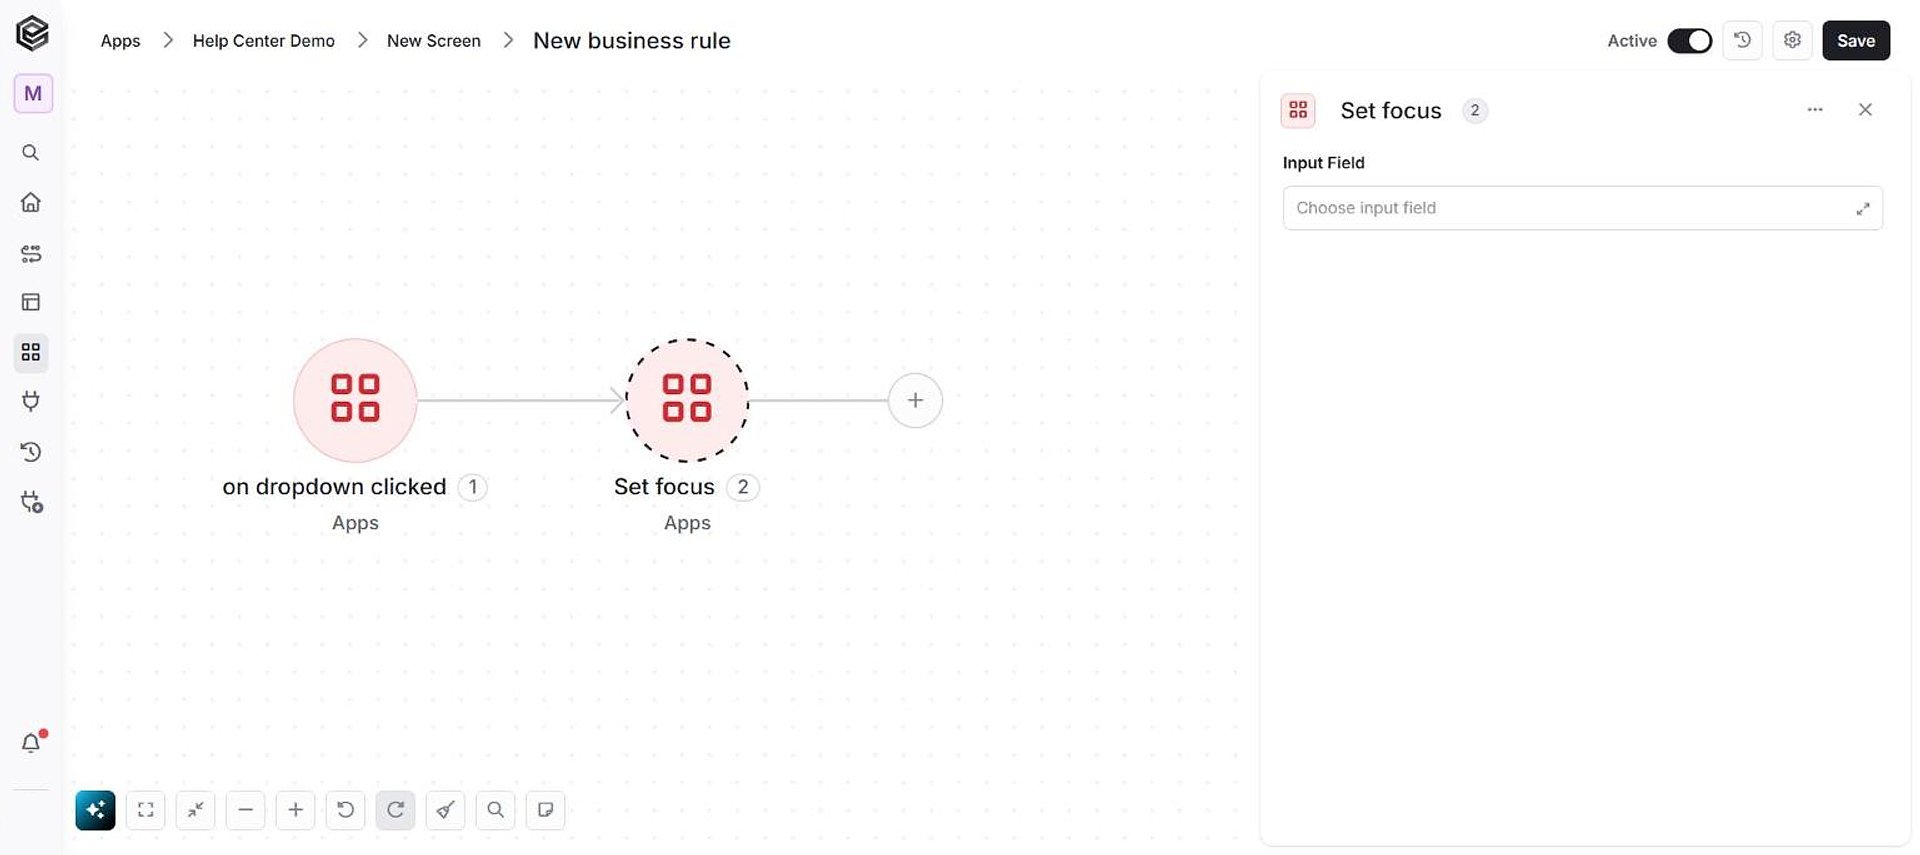
- Input Field - Select the input field that you want to bring into focus.
Display error message
Shows an error message dialog to the user. The next steps of the rule run after the user closes the dialog.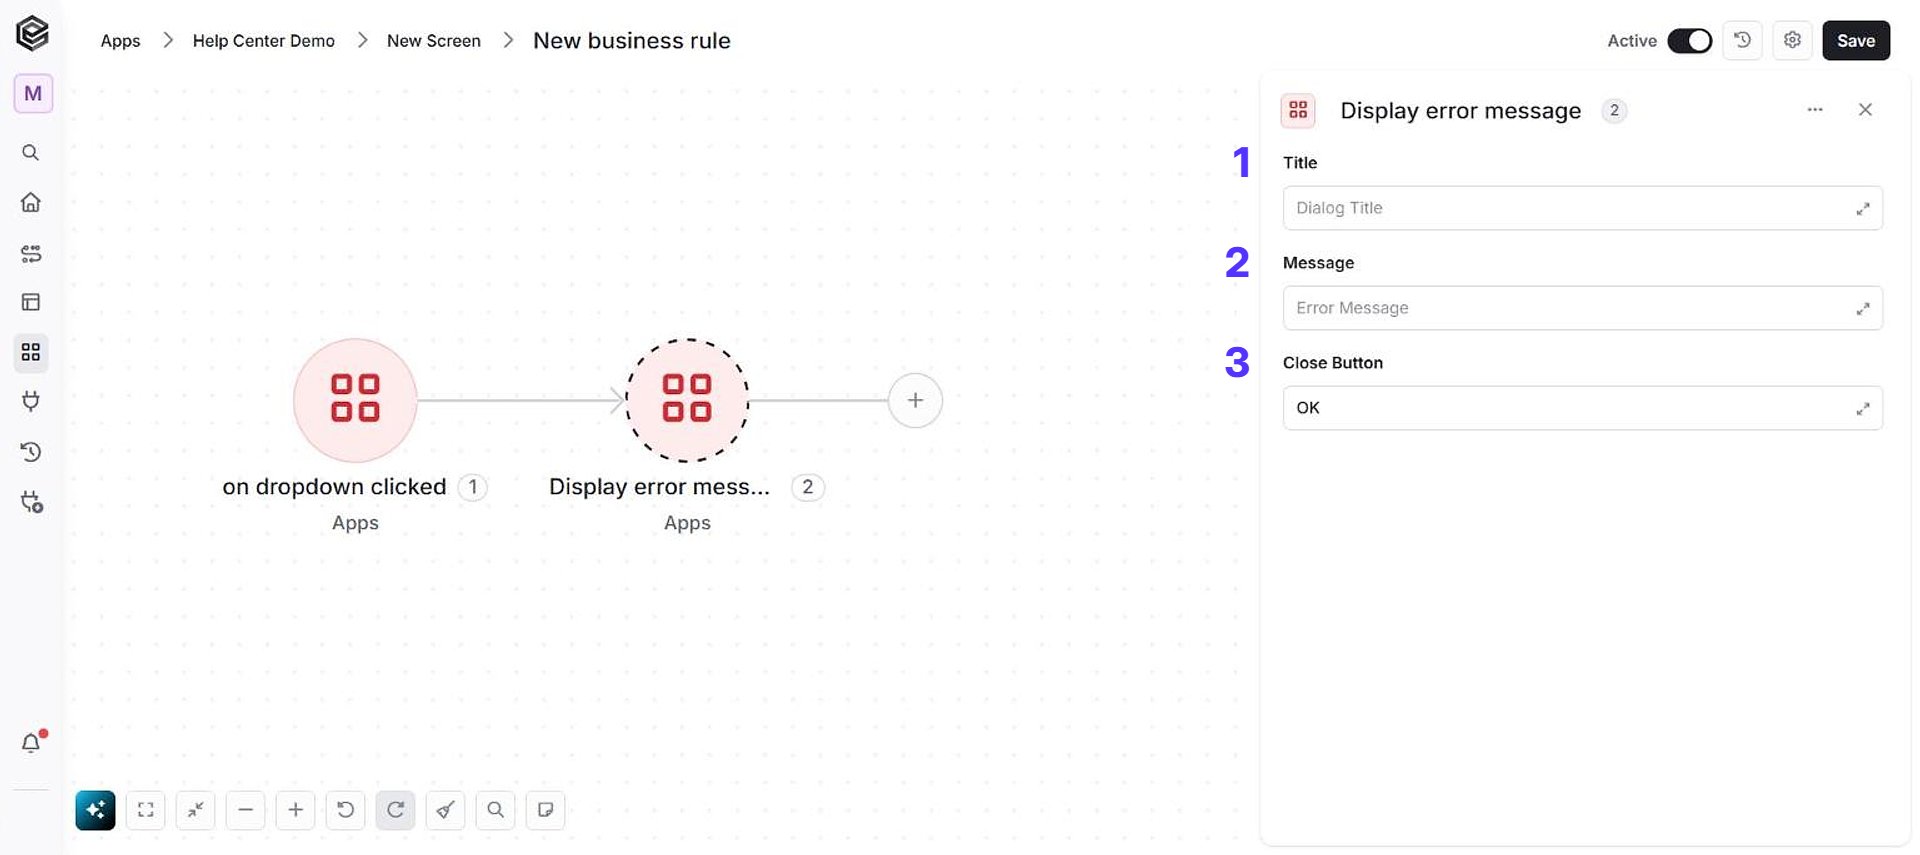
- Title - Enter the title that will appear at the top of the error dialog.
- Message - Enter the error message or detailed information that should be shown to the user.
- Close Button - Enter the text that should appear on the button that closes the dialog (the default is “Close”).
Display warning message
Shows a warning dialog with two buttons. If the user clicks OK, the rule continues. If the user clicks Cancel, the rule stops and its remaining steps do not run; in a Record creation or Record changed rule this also cancels the save.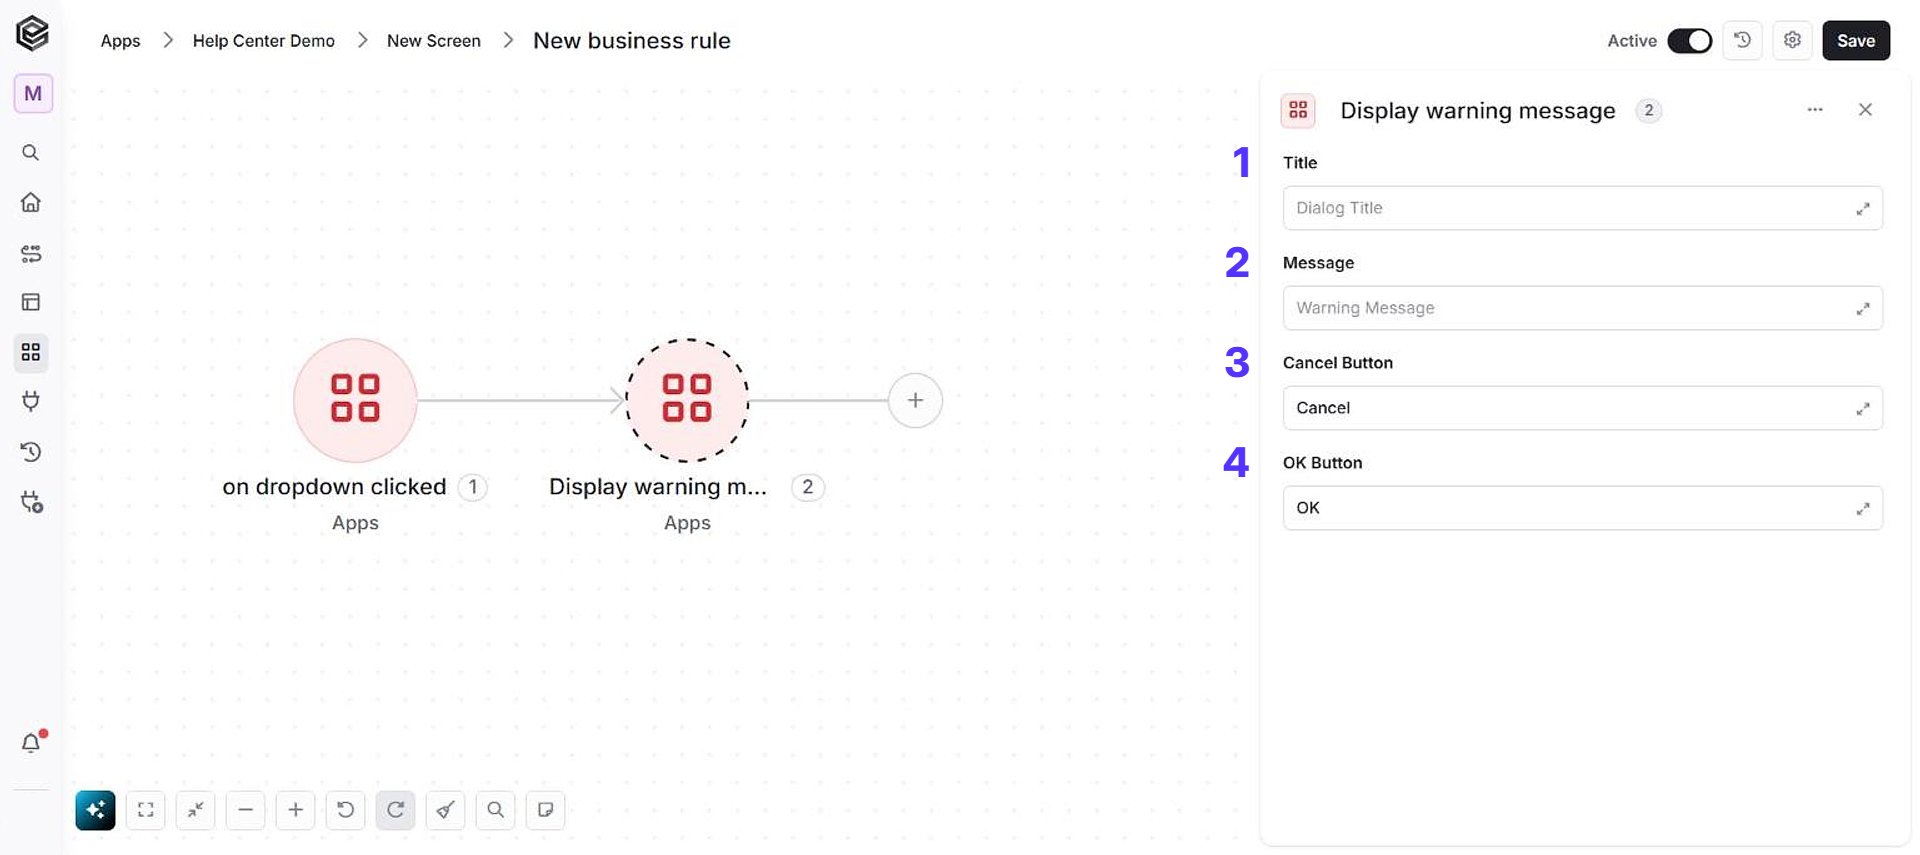
- Title - Enter the title that will appear at the top of the warning dialog.
- Message - Enter the warning message or detailed information that should be shown to the user.
- Cancel Button - Enter the text that should appear on the cancel button (the default is “Cancel”).
- OK Button - Enter the text that should appear on the confirmation button (the default is “OK”).
Add record
Starts a new record on the current screen, fills it with the values configured in the action and opens it in the detailed view. The record is saved when the user exits edit mode, or earlier with a Save Changes action.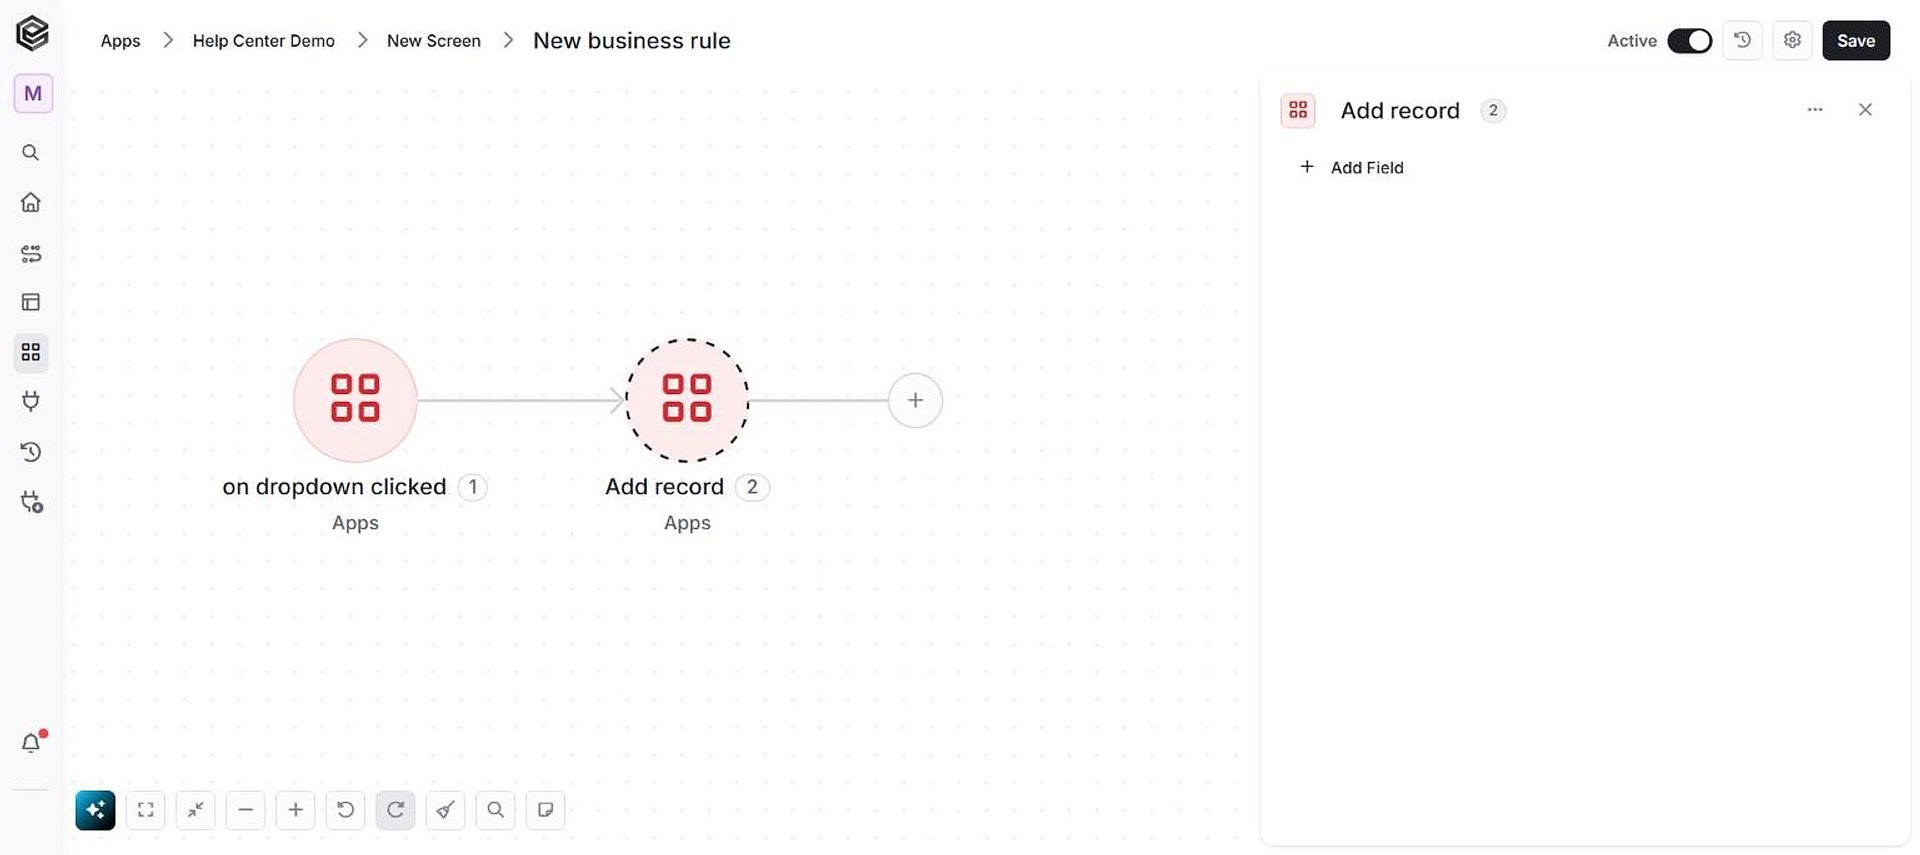
- Add Field - Click Add Field to add and populate additional fields for the selected activity. To learn more about managing activity data, click here.
Delete record
Deletes the record that is currently open or selected. If the record was just added and not yet saved, the new record is discarded and the user returns to the list. It has no fields to fill in.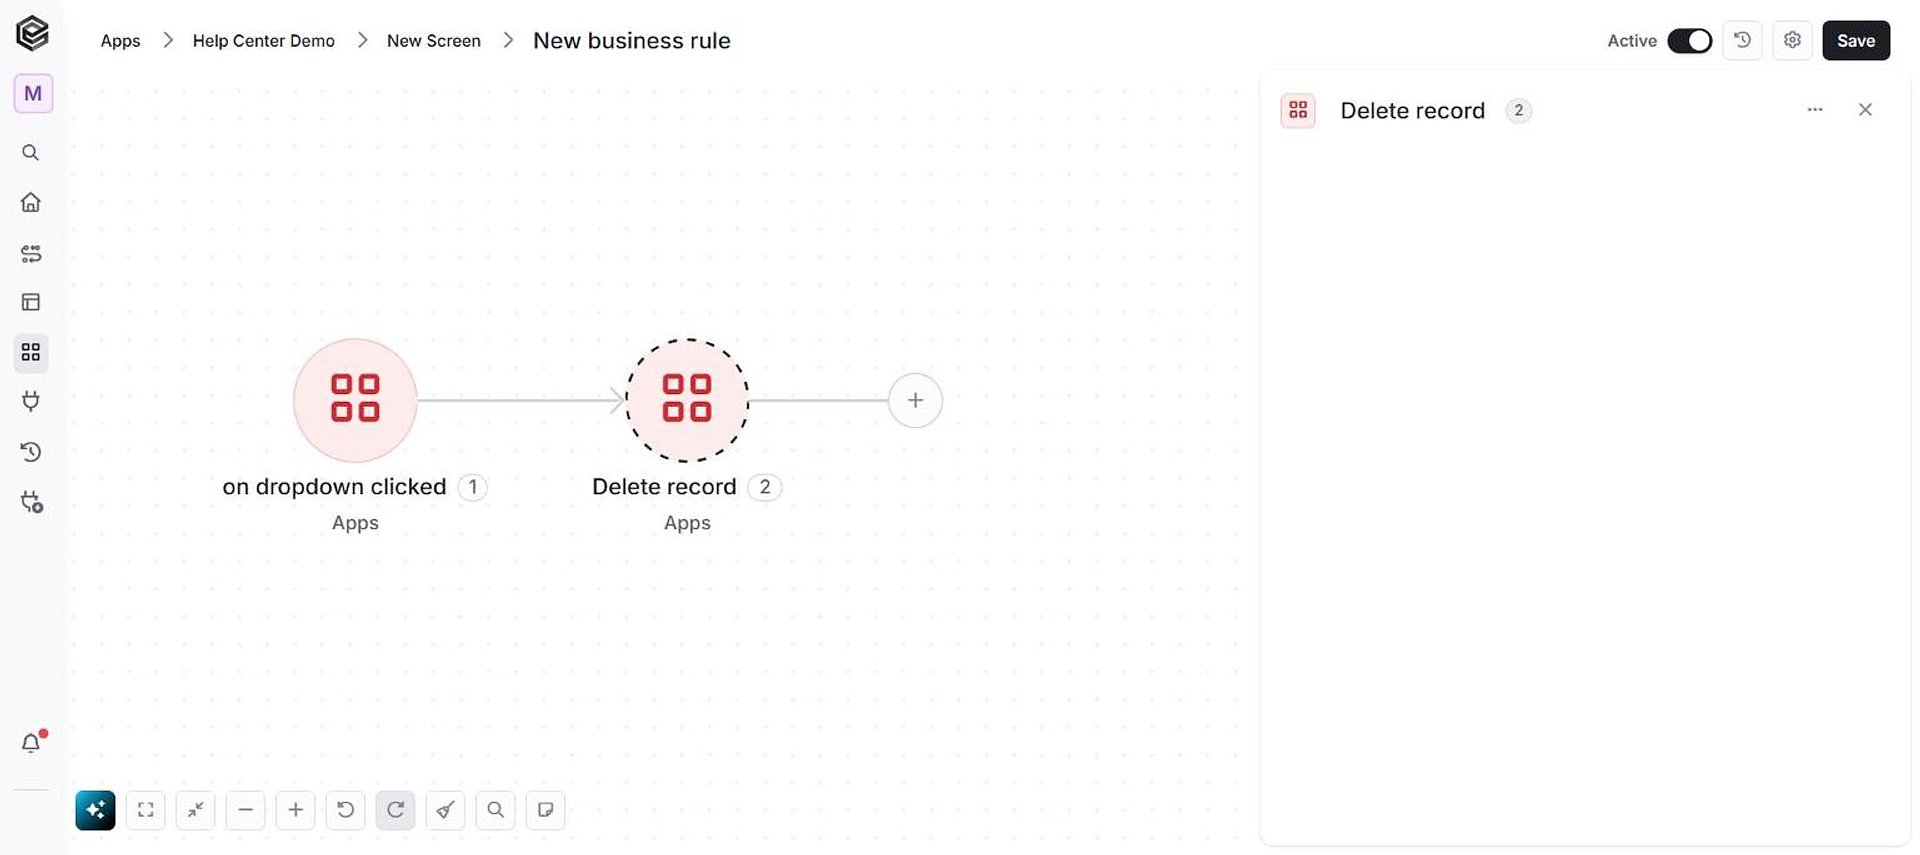
Open form and add record
Goes to the selected screen (it can also belong to another app), starts a new record there, fills it with the values configured in the action and opens it in the detailed view.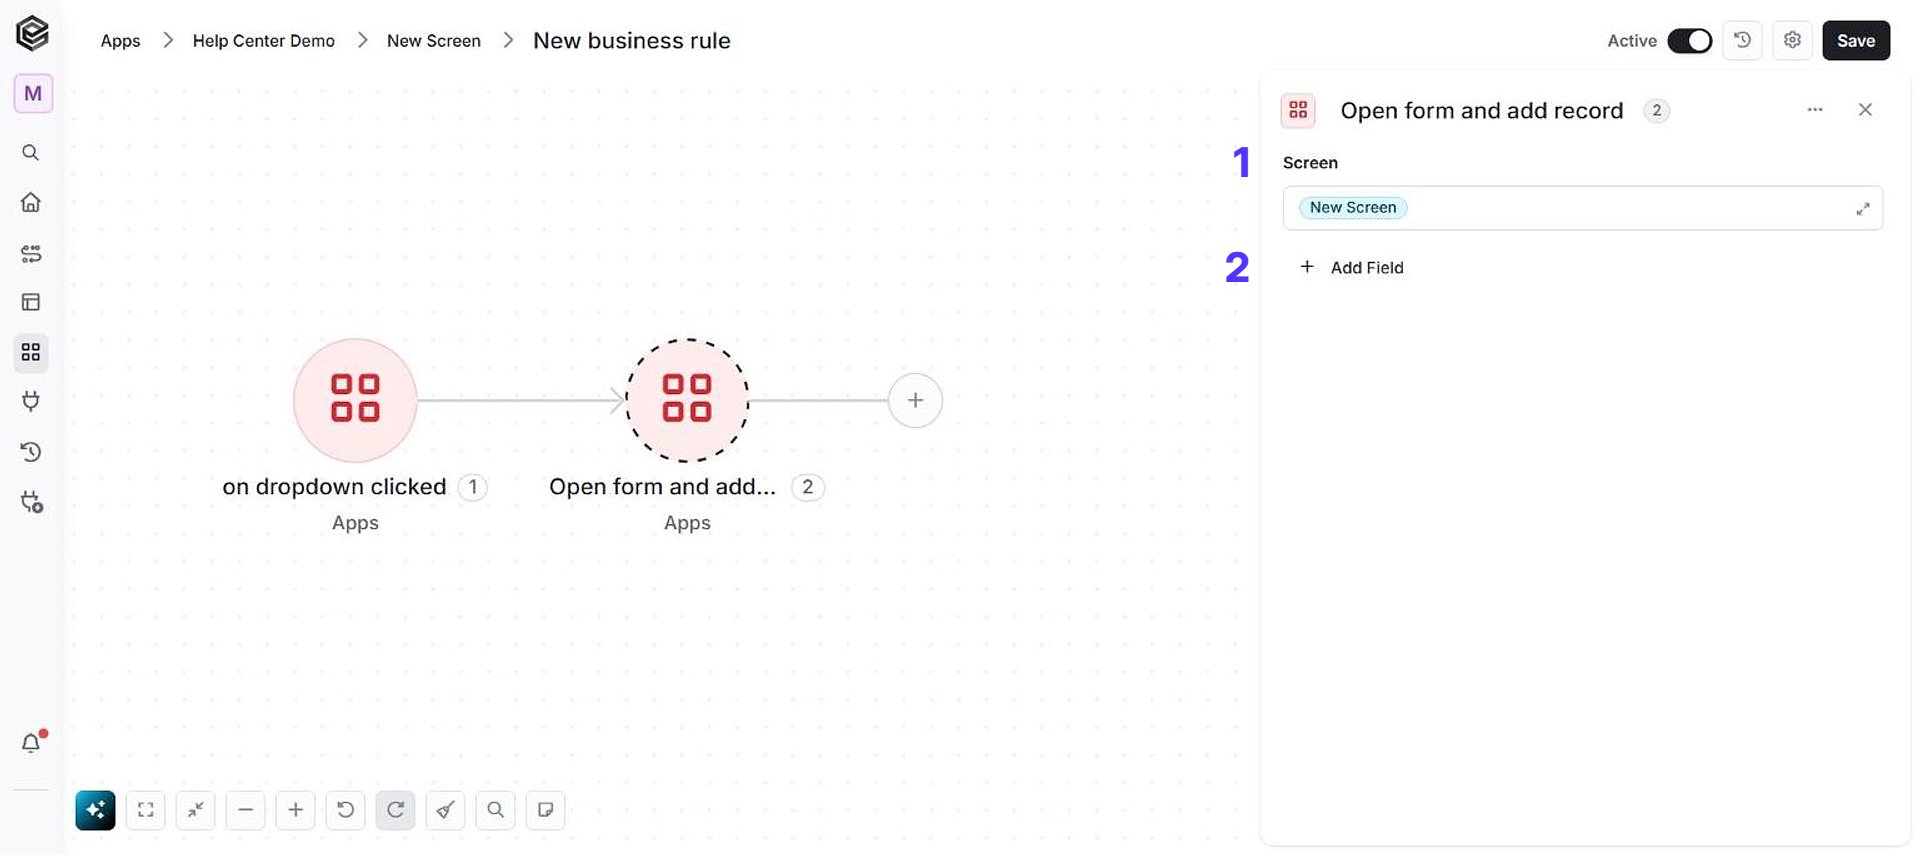
- Screen - Select the Screen where you want the record to be added.
- Add Field - Click Add Field to add and populate additional fields for the selected activity. To learn more about managing activity data, click here.
Undo changes
Reverts the values of the current record to the values it had when it was opened, discarding unsaved changes. It has no fields to fill in.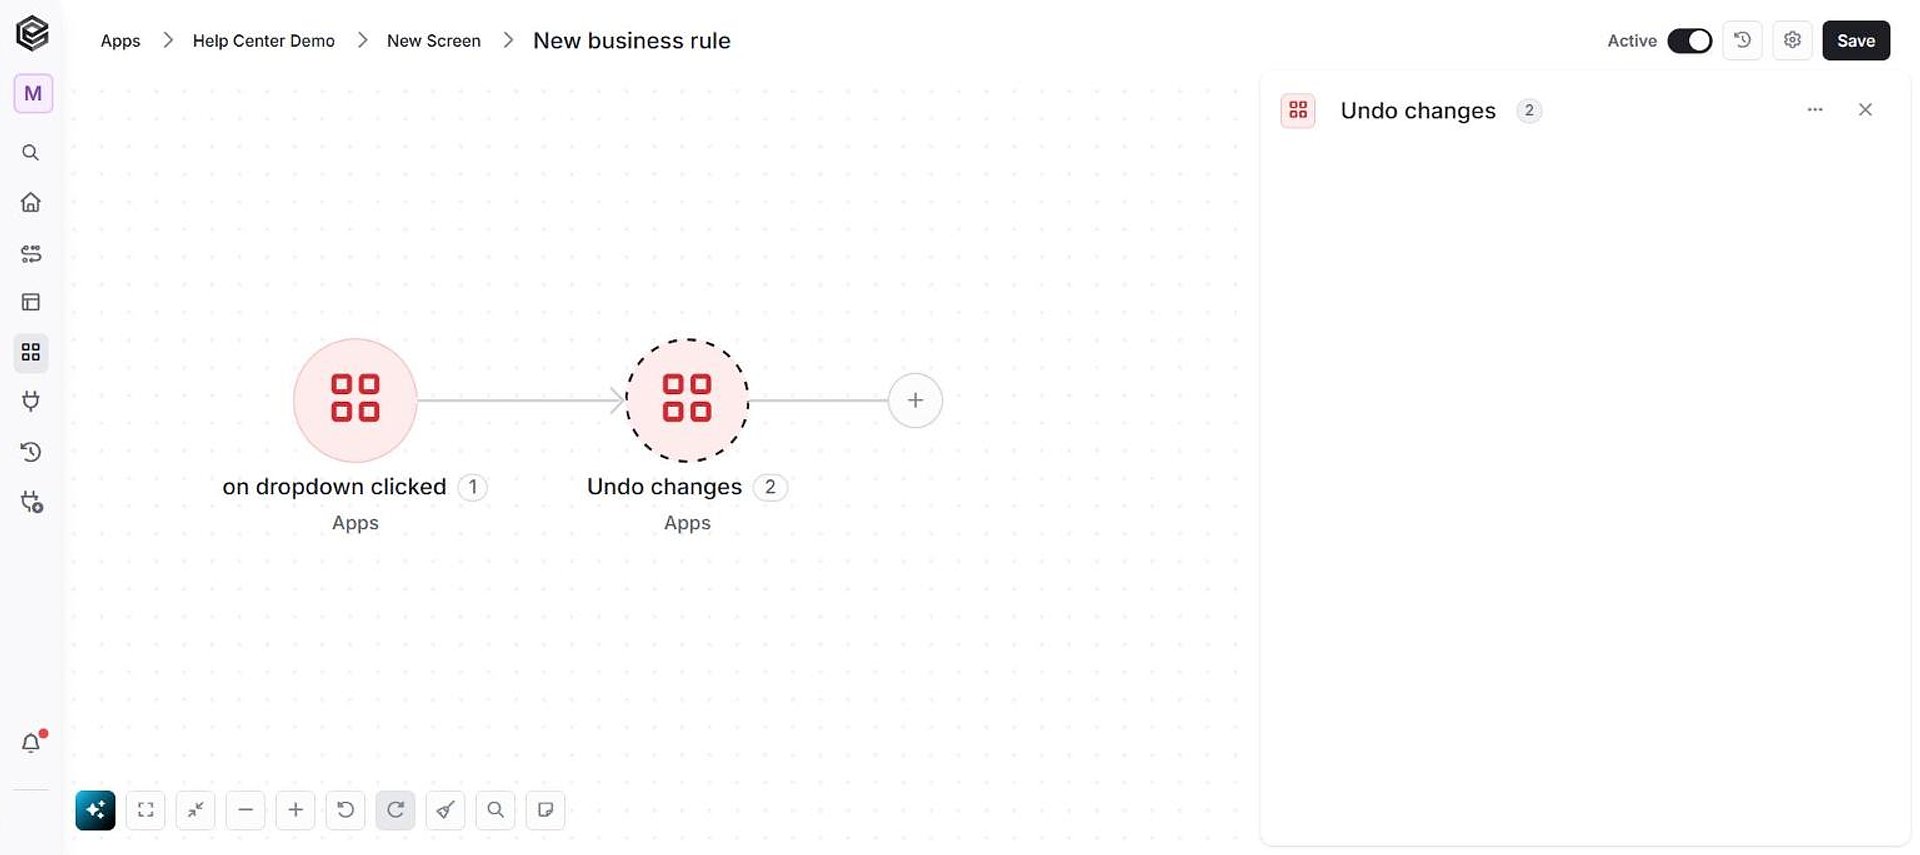
Update record
Sets the configured values on the record that is open in the current form. The change is shown on the screen and is written to the table when the record is saved (when the user exits edit mode, or with a Save Changes action). It fails if no record is open.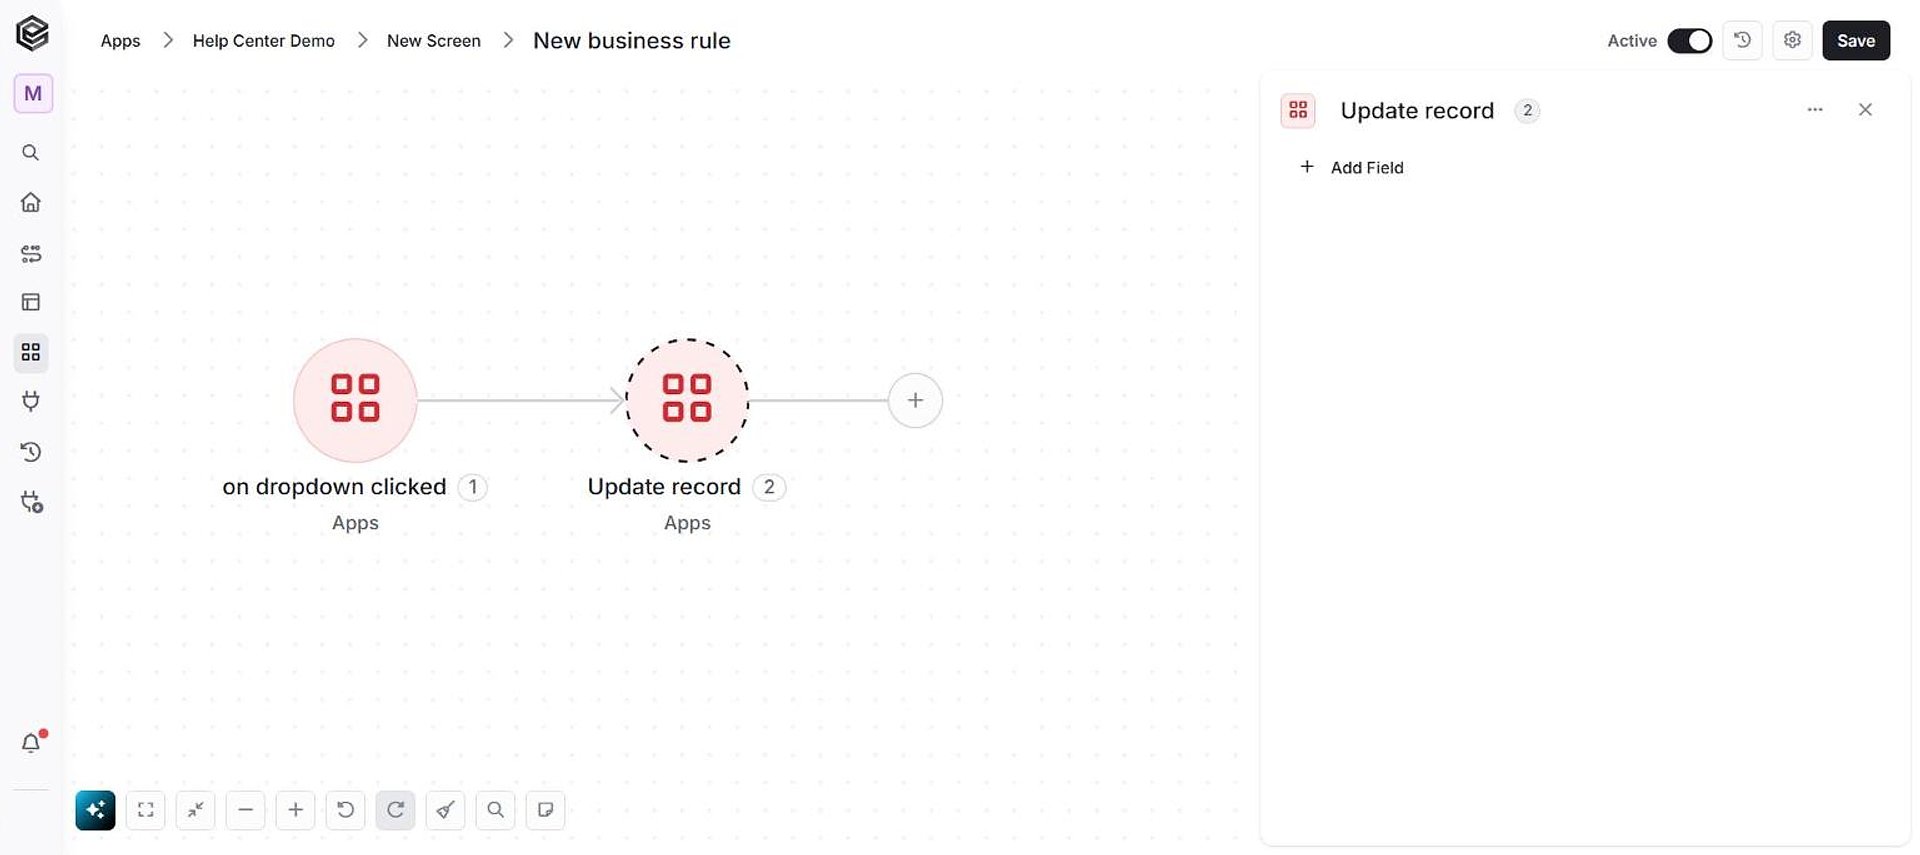
- Add Field - Click Add Field to add and populate additional fields for the selected activity. To learn more about managing activity data, click here.
Get Session Details
Returns the app’s session values (the session variables defined in App Settings) so later actions of the rule can use them. It has no fields to fill in.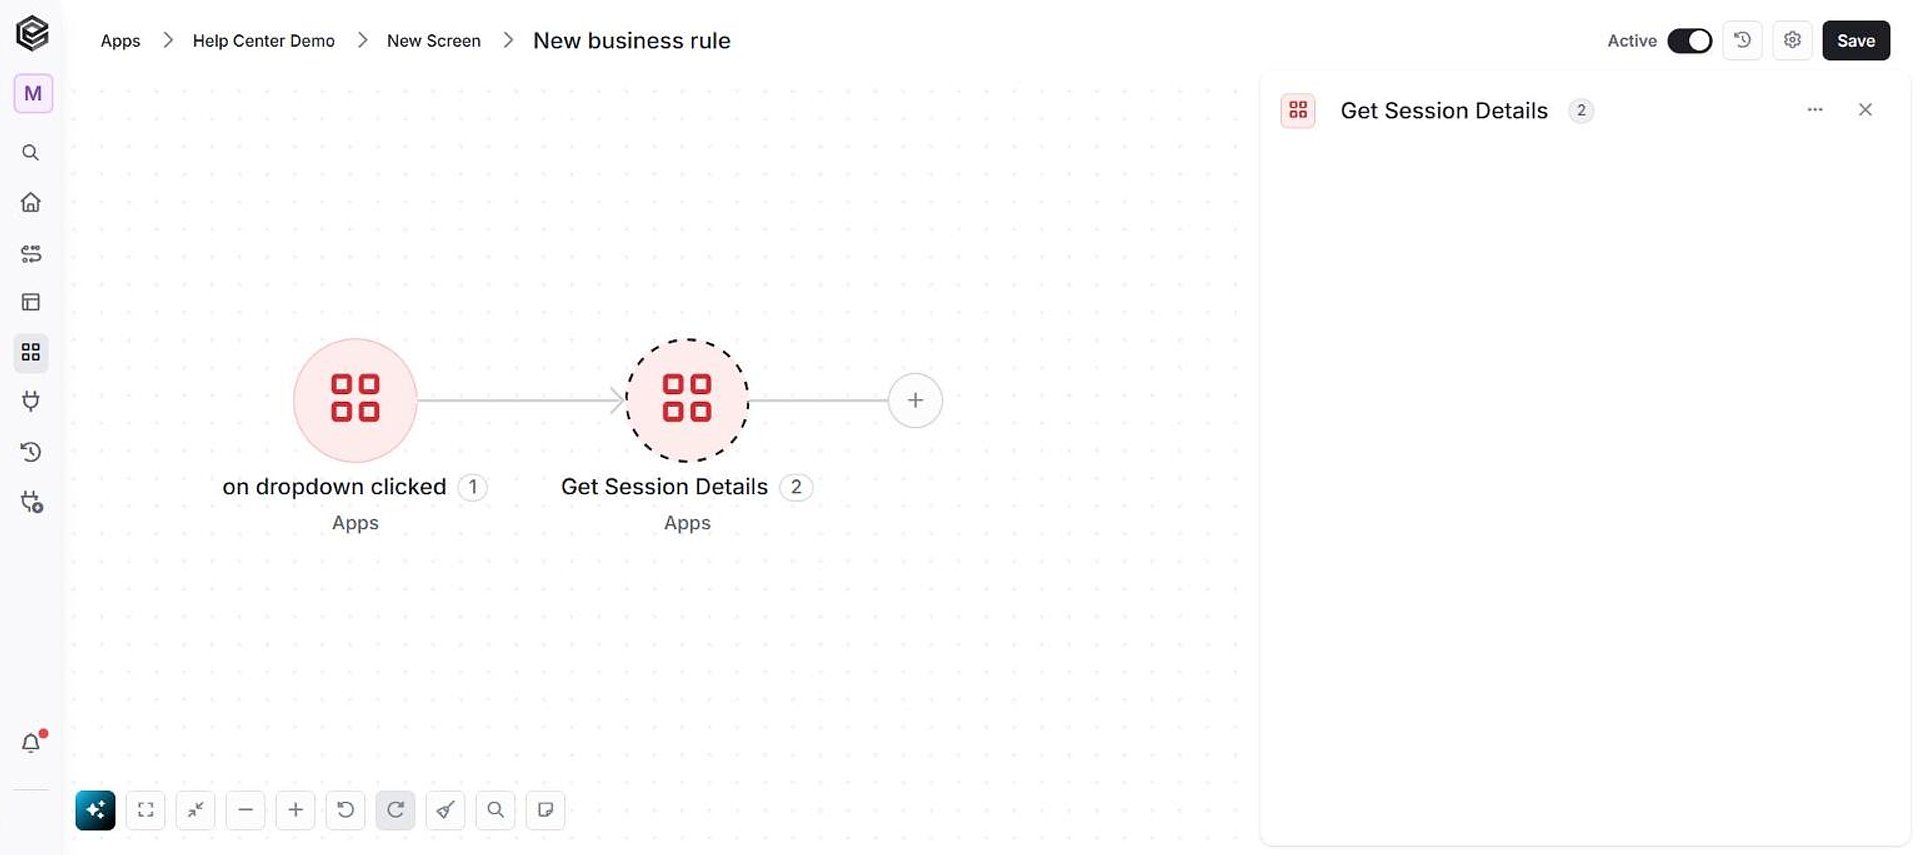
Update Session Variables
Sets the value of one or more of the app’s session variables (the variables defined in App Settings) for the current session. The panel lists one field for each session variable, named after the variable; fill in only the variables you want to change. Boolean variables offer a true / false list. Later actions of the rule can use the values that were set.Display IFrame
Opens a dialog that shows an external web page in an embedded frame, with a Close button. The rule waits until the dialog is closed, either by the user or by a Close IFrame action. The closing status is available to the next steps.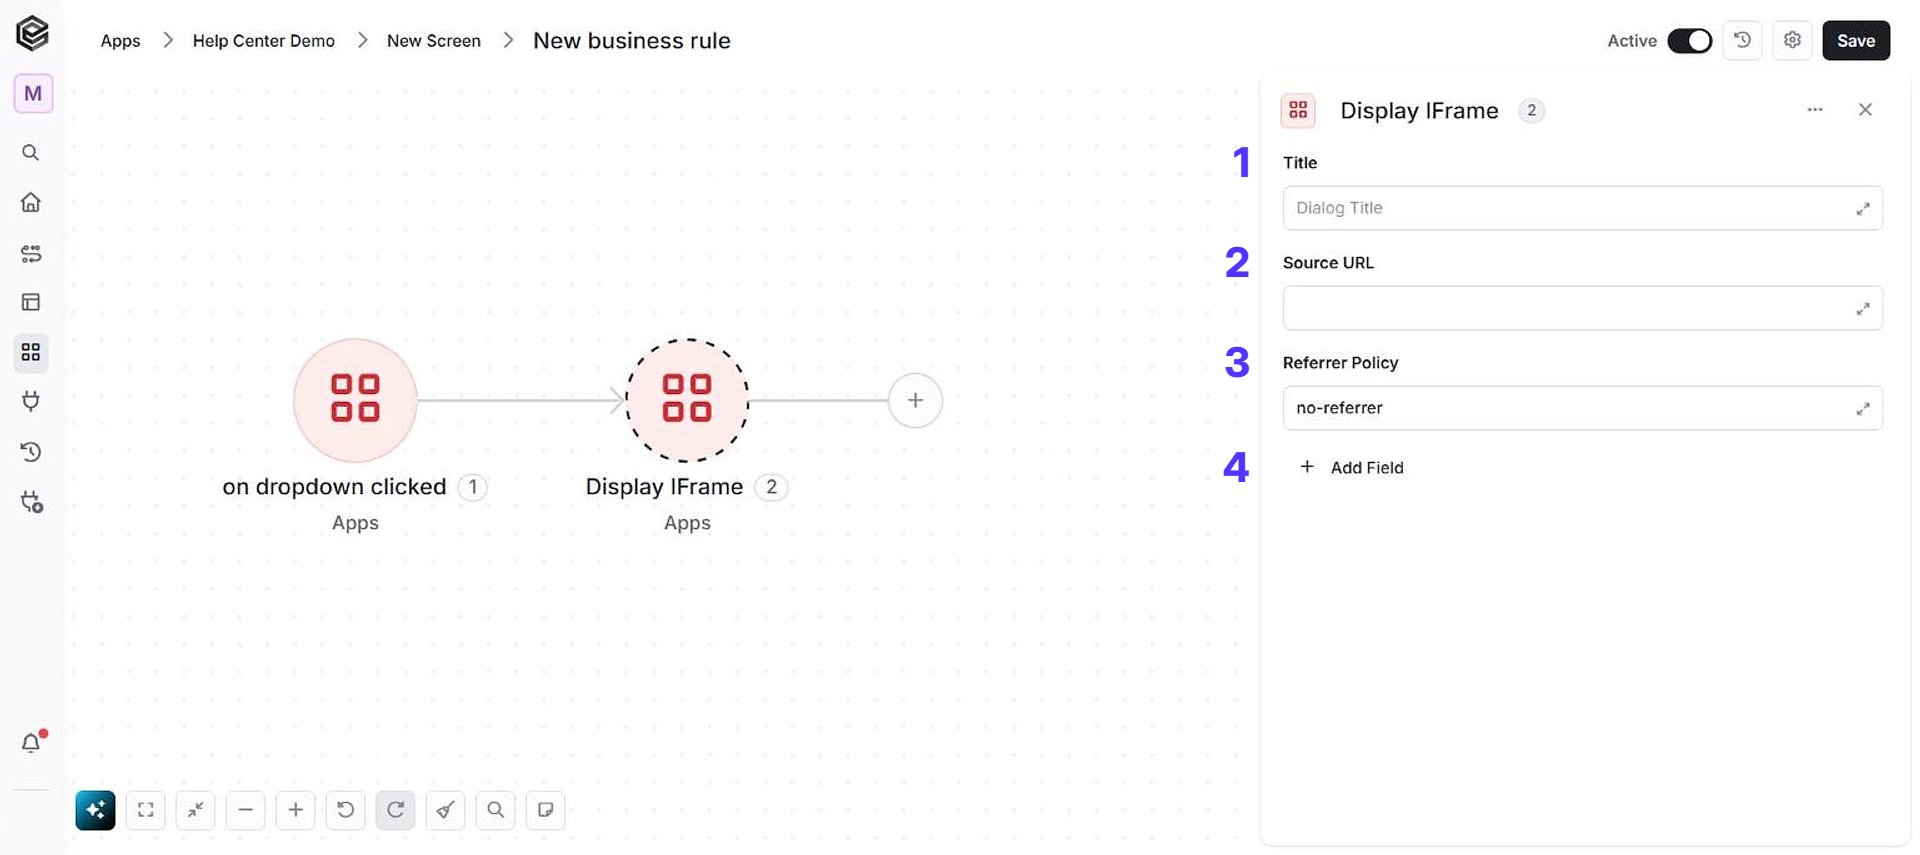
- Title - Defines the title of the iFrame dialog.
- Source URL - The web address (URL) of the page to be displayed.
- Referrer Policy - Determines how the browser handles referrer information when loading the iFrame.
- Add Field - Click Add Field to add more fields, such as the origin of the embedded page and the IFrame Event rule that handles its messages (see IFrame Event). To learn more about managing activity data, click here.
Close IFrame
Closes the dialog opened by a Display IFrame action, for example from an IFrame Event rule once the embedded page reports it is done.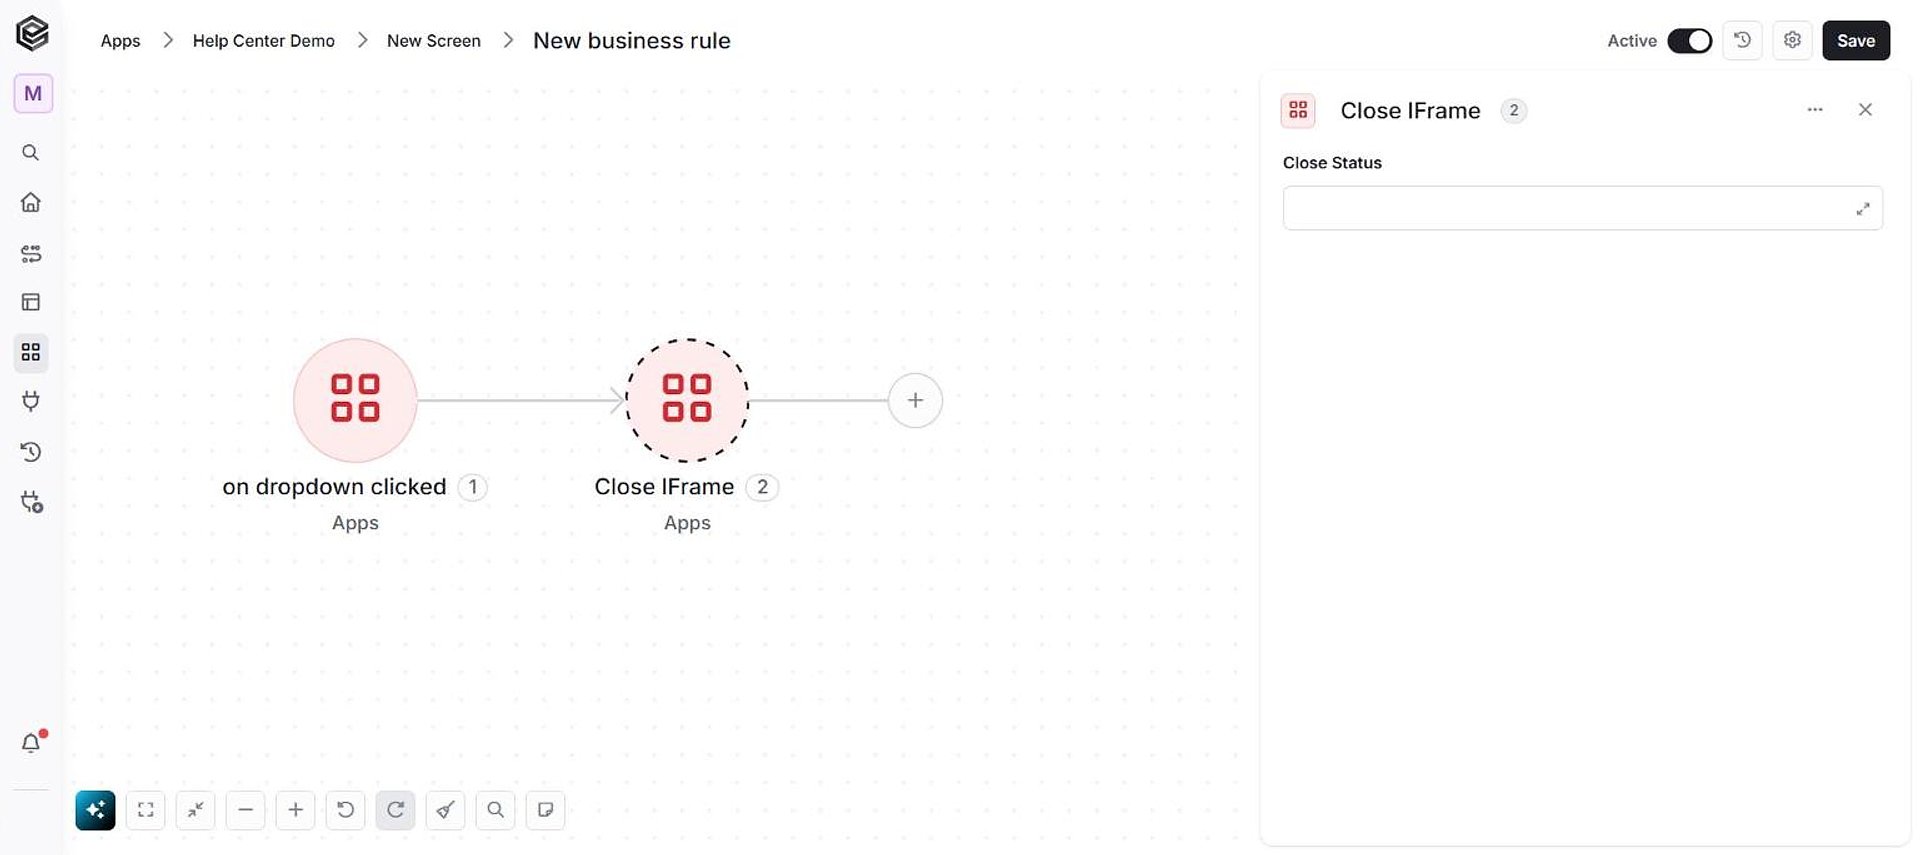
- Close Status - The status text to return. It becomes the closing status of the Display IFrame step; when the user closes the dialog with its Close button the status is “Manual”.
Refresh Screen
Reloads the selected screen so it shows the most up-to-date data after changes are made in a sub-screen. For example, when a user modifies information in a sub-screen (such as editing an item within an order), the updated data is saved to the relevant table. However, if the change also affects the parent record (e.g., updating an order total based on a modified item), the parent screen is not automatically refreshed. As a result, when the user returns to the main screen, the updated values may not be visible. Therefore, after updating the parent table with the necessary changes, the “Refresh Screen” action should be applied to ensure the main screen displays the latest data.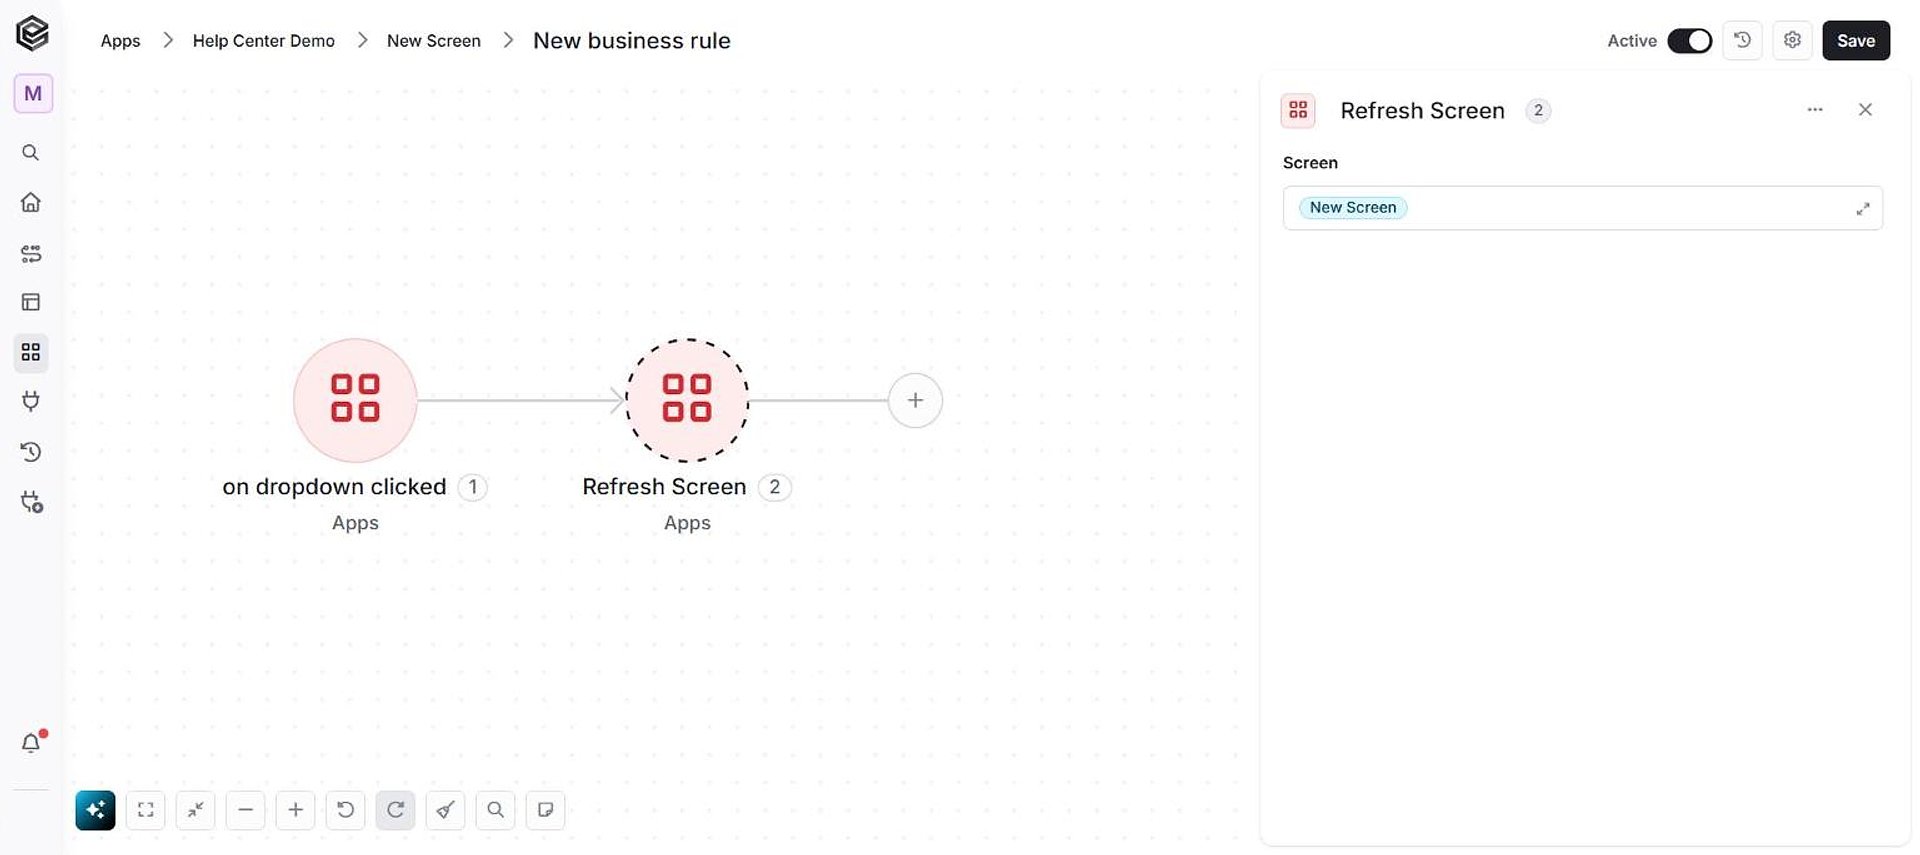
- Screen - Select the name of the screen you want to refresh.
Step 2: Activate your rule
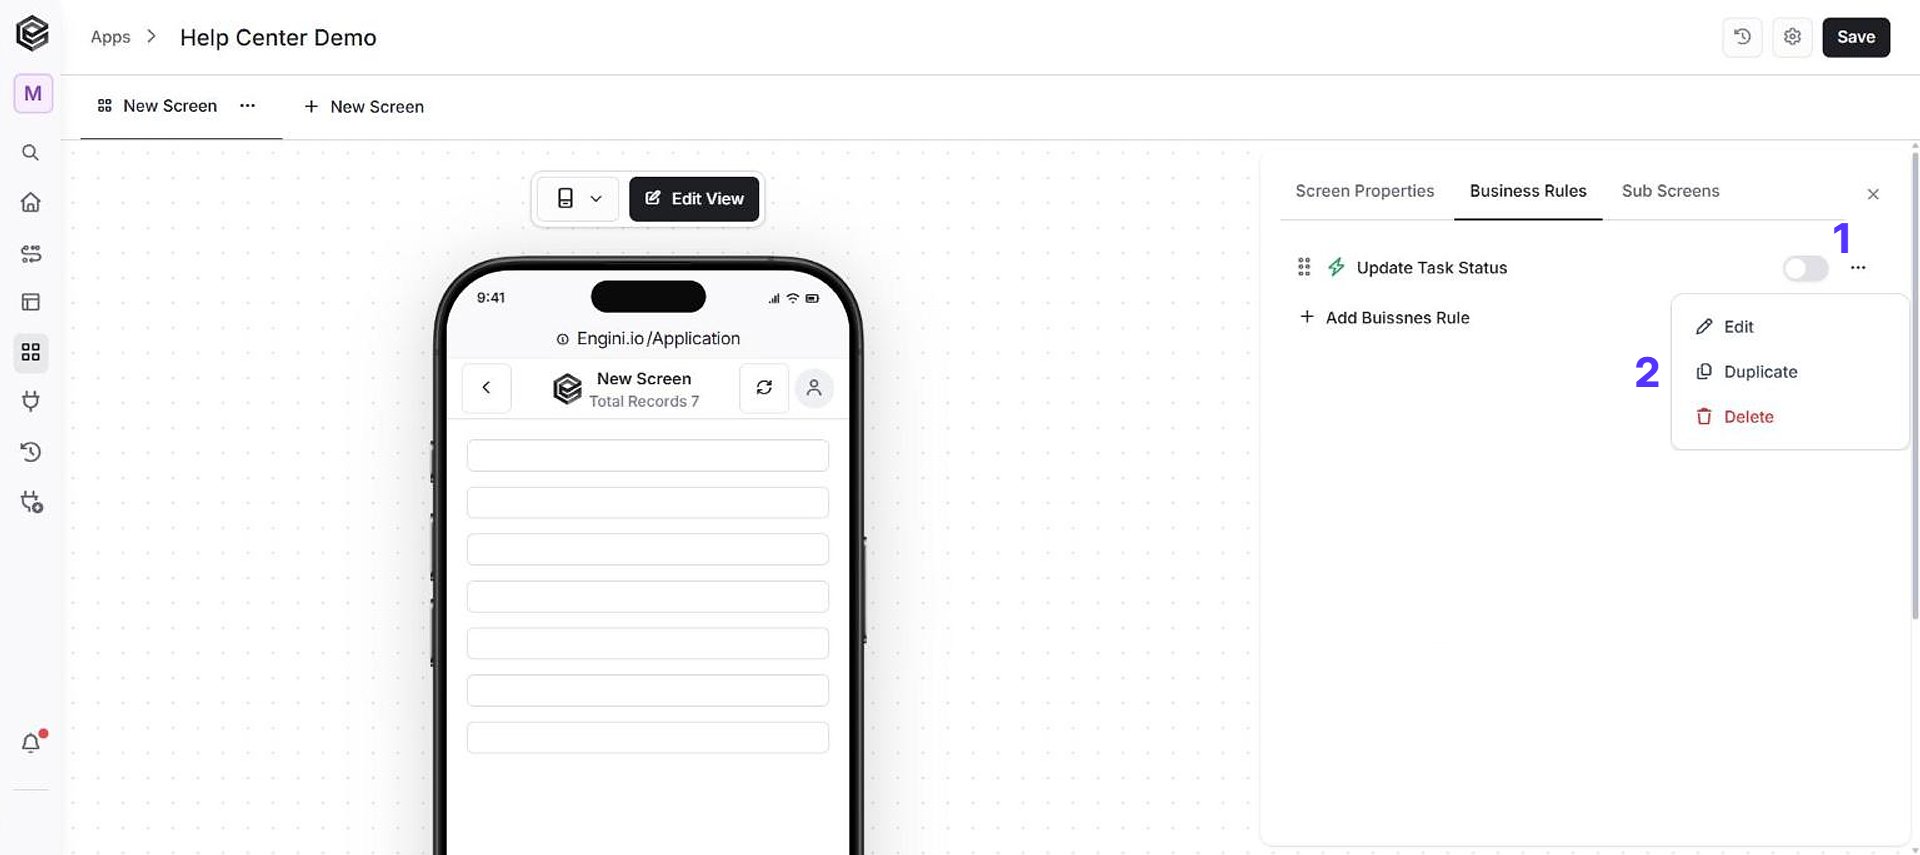
Your rule is almost ready to go! Engini’s rules are enabled by default. Make sure the on/off switch next to the rule in the Business Rules list is activated. In the picture below the switch is off; click it to turn the rule on.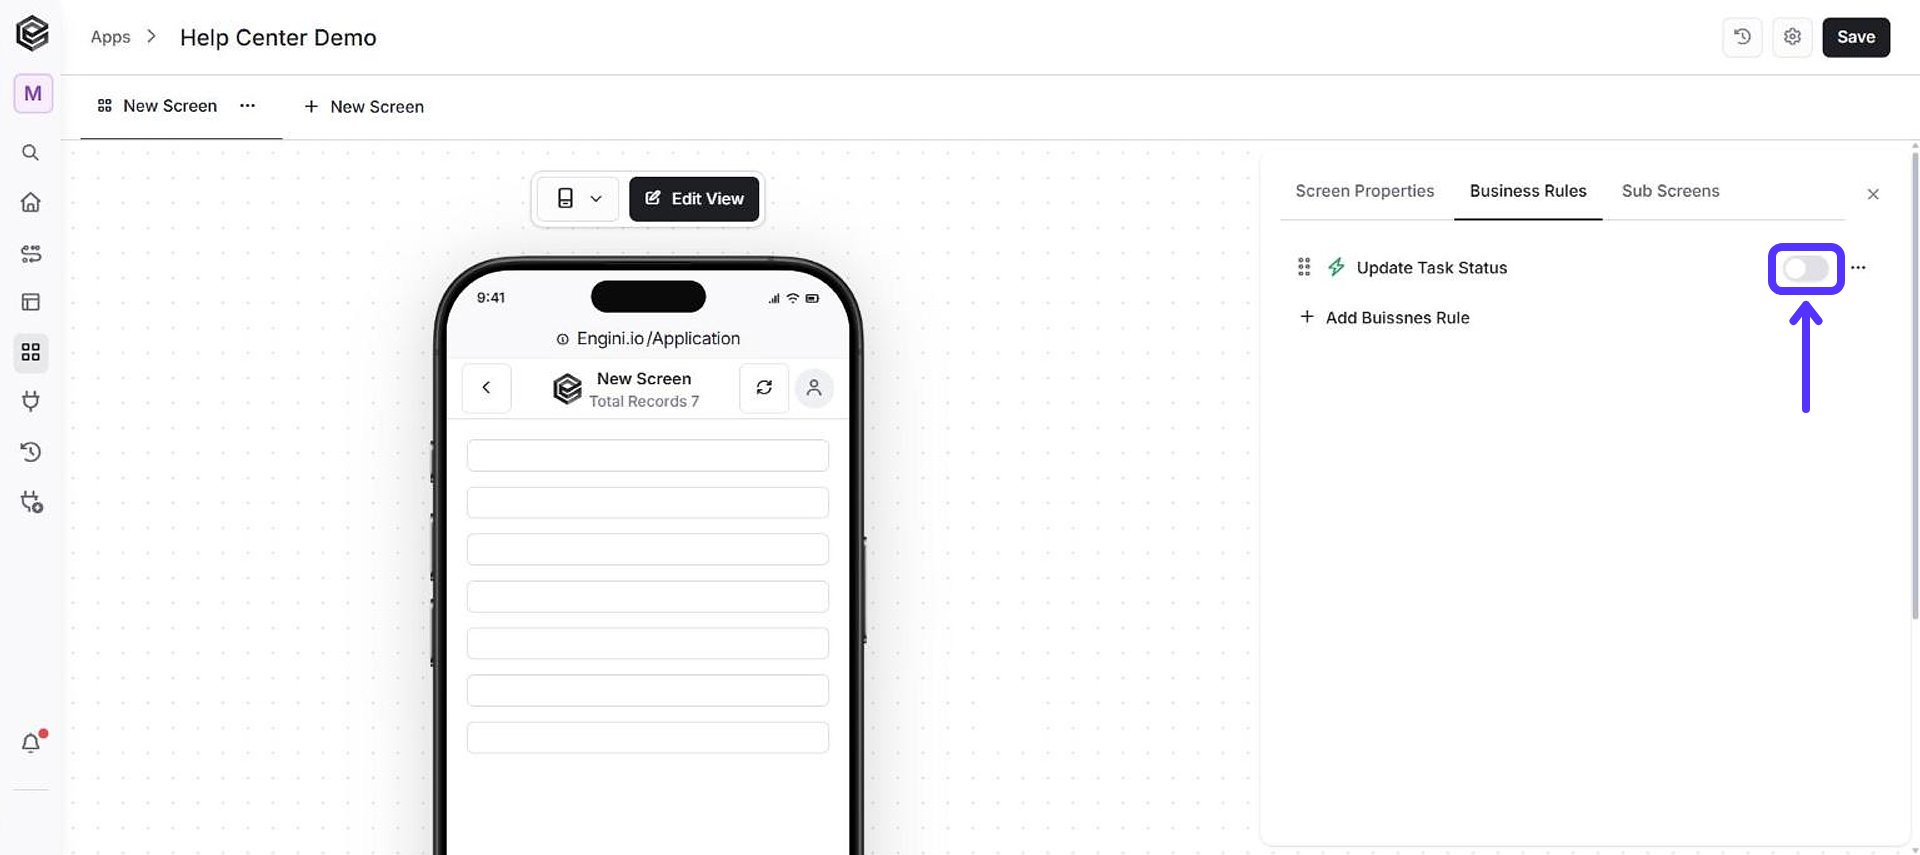
- Click on the three dots •••
- Select the action you wish to execute: Edit, Duplicate or Delete.
Step 3: Test your business rule
It’s time to test your business rule to ensure that all components are functioning correctly. To ensure they’re working as expected, follow these steps to test them thoroughly:-
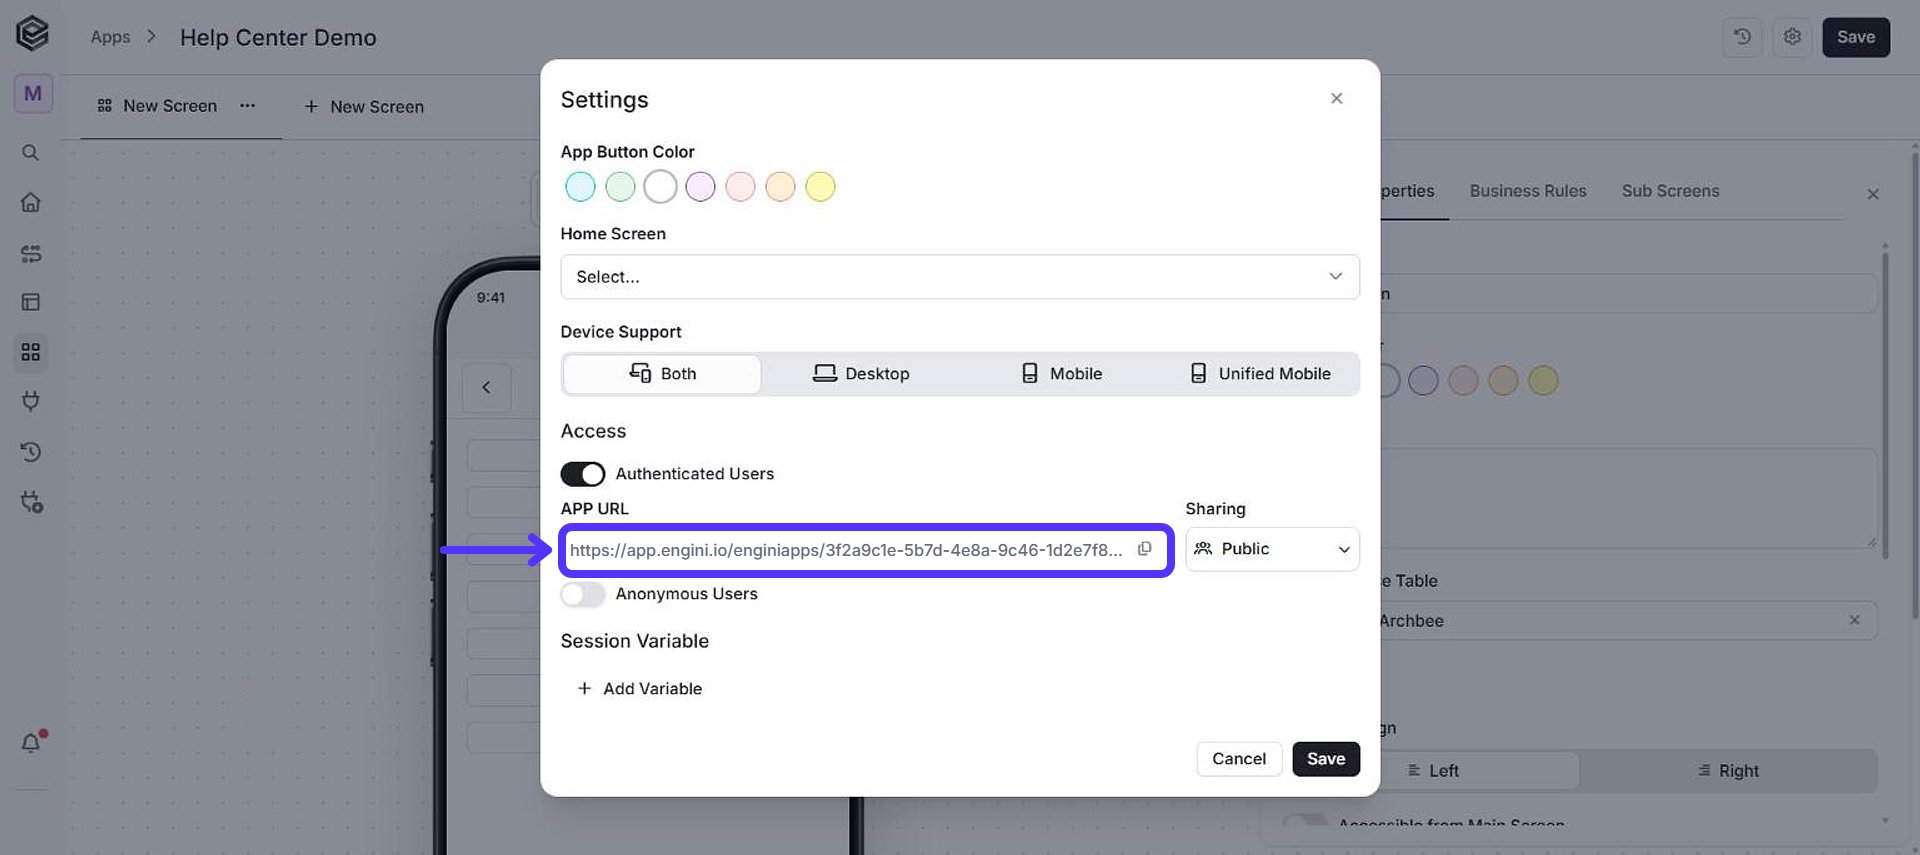
Open your app. Open it with its App URL: in the app editor, click Settings (the gear icon) and copy the APP URL with the copy button at the end of the field (see App Settings).
- Trigger the Business Rule Workflow Identify the action or event that you’ve configured as the trigger for your Business Rule. This could be a button click, a value change, or any other user interaction that initiates the workflow. Perform the action that corresponds to the trigger. For example, if your trigger is “On field value changed” on the Status field, change the status of a record. As you perform the trigger action, the Business Rule workflow will be automatically initiated in the background.
- Observe the Expected Outcome Once the Business Rule workflow is initiated, observe the outcome of the action that you wanted the workflow to perform. This could involve data updates, status changes, sending notifications, etc. Verify whether the action has been carried out exactly as you defined in the Business Rule.
-
Check Run History
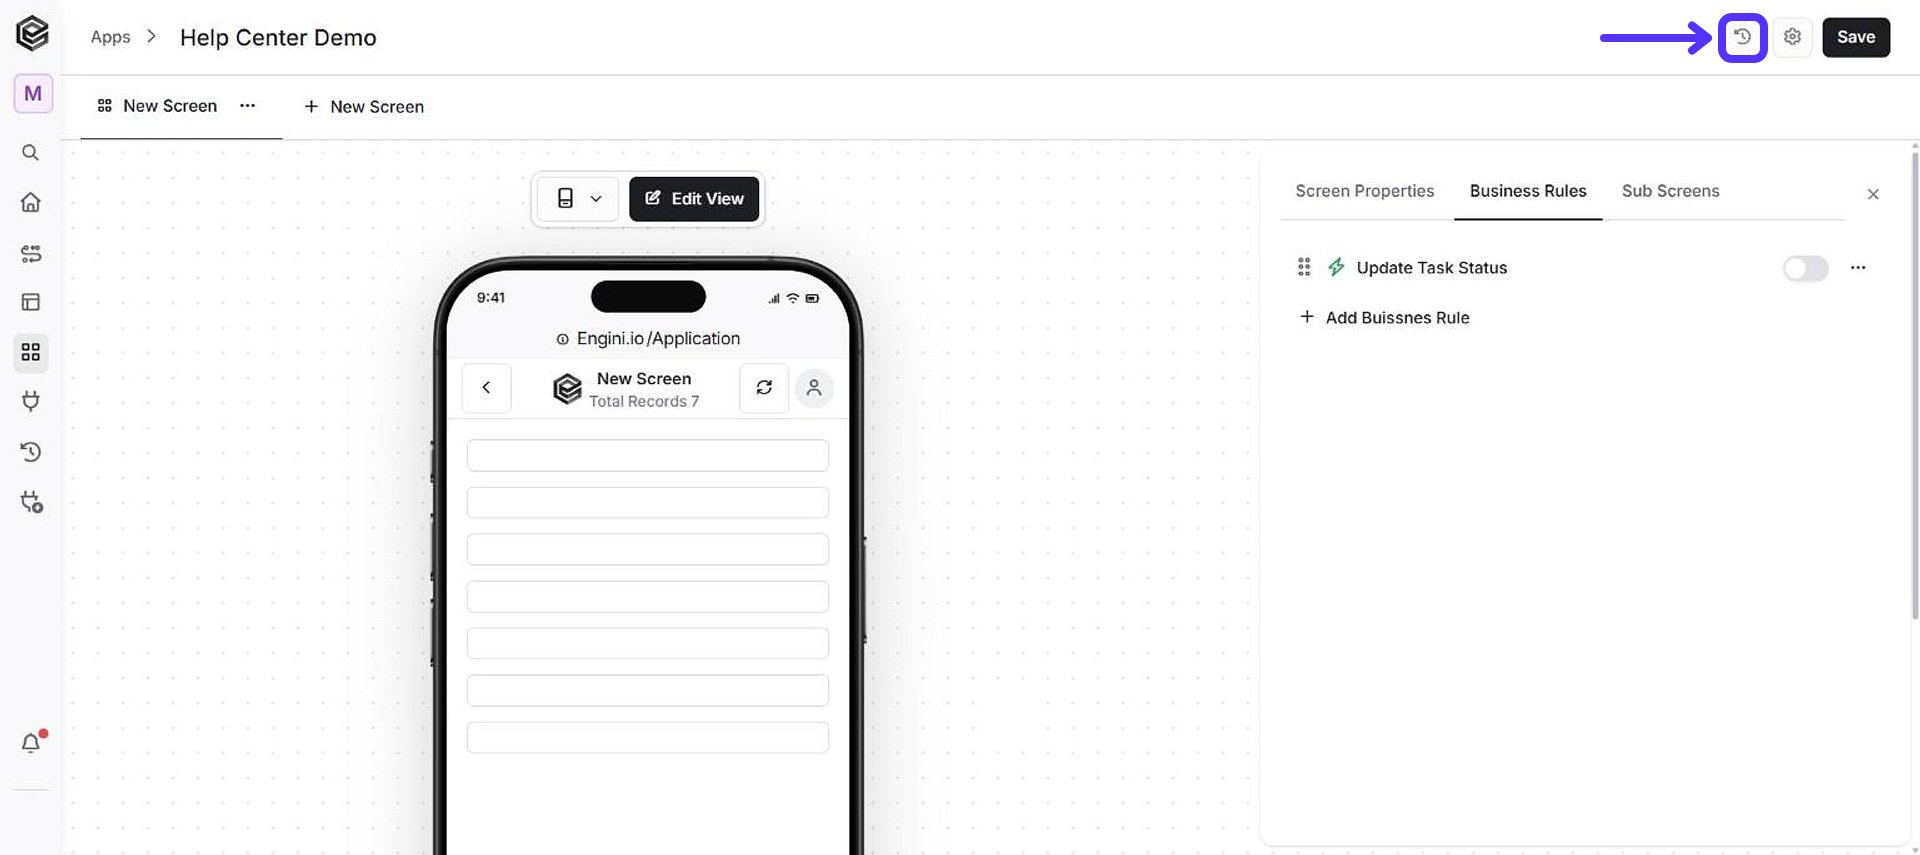
After triggering the Business Rule, click the History button (the clock icon) located at the top right of the page in the app editor.
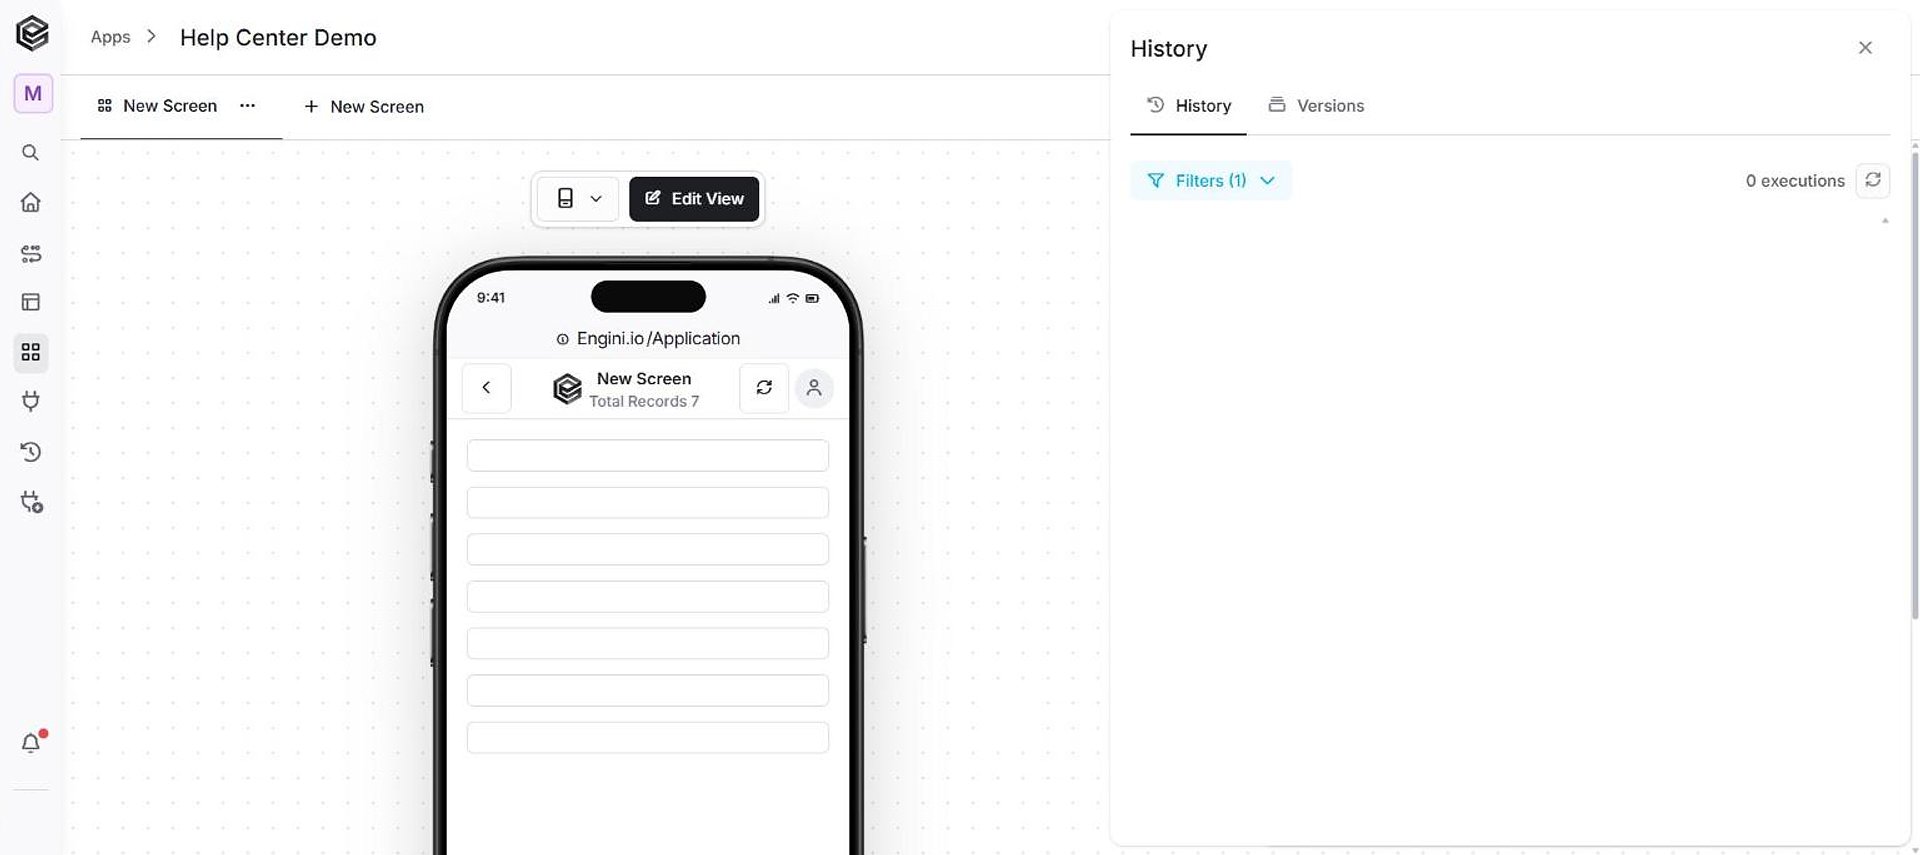
- Review Execution Details Open the execution entry to access detailed information about the Business Rule’s execution. Examine the execution logs, status updates, and any other relevant information to understand how the workflow progressed. If everything went as planned, you’ll see a clear record of the steps taken by the Business Rule. If there were any errors or unexpected behavior, this log will help you diagnose the issue.
- Troubleshoot Issues (If Necessary) If the Business Rule didn’t execute as expected, carefully review the execution details to identify where the issue occurred. Check for any error messages, unexpected conditions, or missing data that could have impacted the workflow’s behavior. Use the information from the logs to make adjustments to your Business Rule configuration.
- Iterate and Refine If adjustments are required, return to the Business Rule configuration and make the necessary changes based on your findings. Repeat the testing process by triggering the workflow again, and monitor the run history to ensure the adjustments have resolved the issue.
- Final Verification Continue testing the Business Rule in various scenarios to ensure it works consistently across different situations. Verify that the Business Rule reliably automates the desired actions without errors.