> ## Documentation Index
> Fetch the complete documentation index at: https://docs.engini.ai/llms.txt
> Use this file to discover all available pages before exploring further.
# ManyChat
Learn how to connect Engini to ManyChat.
Using Engini’s ManyChat activities, you can create, get and update a subscriber, add and remove tag, and send automation to subscriber effortlessly.
To get started, create an account at [manychat.com](https://manychat.com/).
## Add a connection to ManyChat in Engini
1. Enter your Engini account at [https://app.engini.io](https://app.engini.io/).
2. Navigate to Connections page by clicking on the Connections on the left sidebar or by clicking [here](https://app.engini.io/connections).
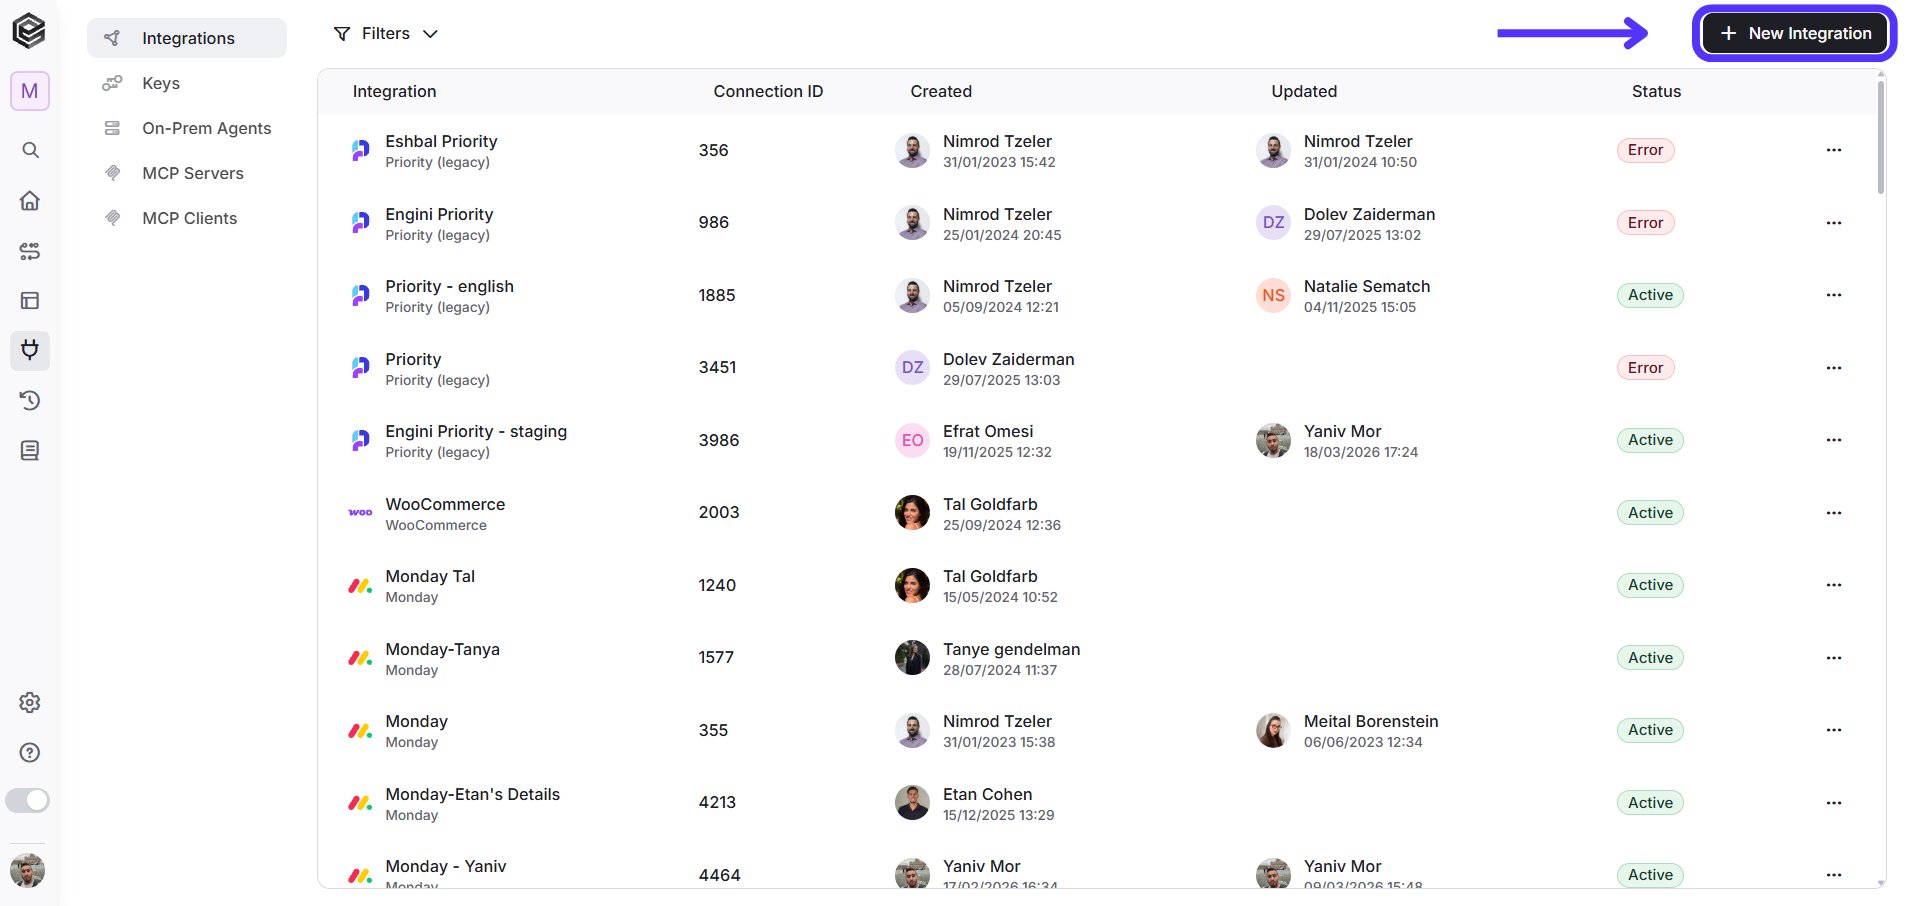
 3. Click on the Add connection option located at the topbar.Click on the "New Integration" option located at the top bar.
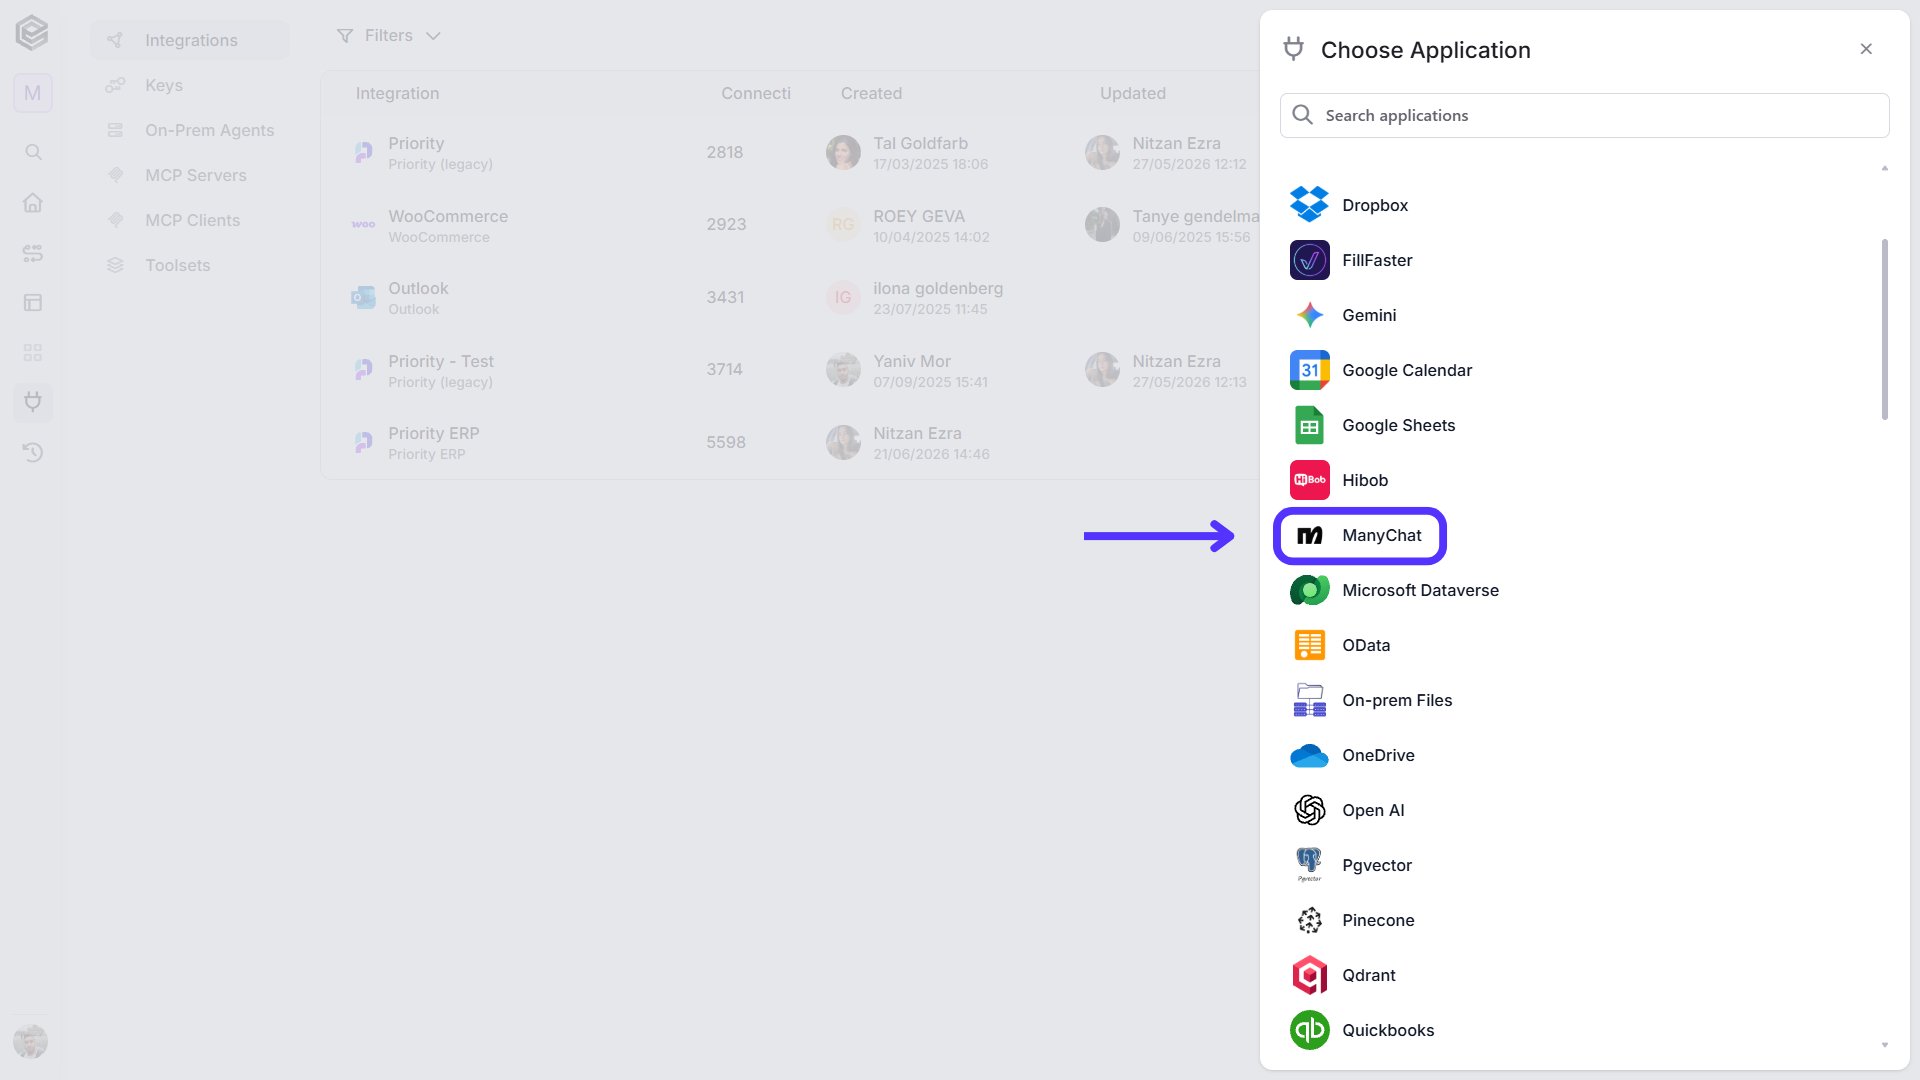
 4. Choose ManyChat option from the available applications.
 5. Enter the following details in the “New Integration” form and press Save:
 1. *Connection name -* Enter a unique and descriptive name for this connection. This name will help you easily identify and manage the ManyChat connection within your Engini account.
2. *API Key* – Enter the api key you obtained from ManyChat.
3. *Save Settings* - Click on the save button to save your connection.
### Add Tag to Subscriber
The Add Tag to Subscriber action allows you to label a subscriber in ManyChat using a specific tag. Tags help categorize users based on their behavior, interests, or actions enabling you to create targeted automations and.
1. *Connection name -* Enter a unique and descriptive name for this connection. This name will help you easily identify and manage the ManyChat connection within your Engini account.
2. *API Key* – Enter the api key you obtained from ManyChat.
3. *Save Settings* - Click on the save button to save your connection.
### Add Tag to Subscriber
The Add Tag to Subscriber action allows you to label a subscriber in ManyChat using a specific tag. Tags help categorize users based on their behavior, interests, or actions enabling you to create targeted automations and.
 1. *Subscriber id -* Enter the unique ID of the subscriber to whom you want to assign the tag.
2. *Tag id -* Enter the ID of the tag you want to assign to the subscriber.
### Create Subscriber
Creates a new subscriber in ManyChat.
1. *Subscriber id -* Enter the unique ID of the subscriber to whom you want to assign the tag.
2. *Tag id -* Enter the ID of the tag you want to assign to the subscriber.
### Create Subscriber
Creates a new subscriber in ManyChat.
 * *Add Field* - Click Add Field to add and populate additional fields for the selected activity. To learn more about managing activity data, [click here](/help/workflows/workflow-editor#add-fields).
### Get Subscriber by Id
Retrieves the full profile of a subscriber in ManyChat based on their unique subscriber ID.
* *Add Field* - Click Add Field to add and populate additional fields for the selected activity. To learn more about managing activity data, [click here](/help/workflows/workflow-editor#add-fields).
### Get Subscriber by Id
Retrieves the full profile of a subscriber in ManyChat based on their unique subscriber ID.
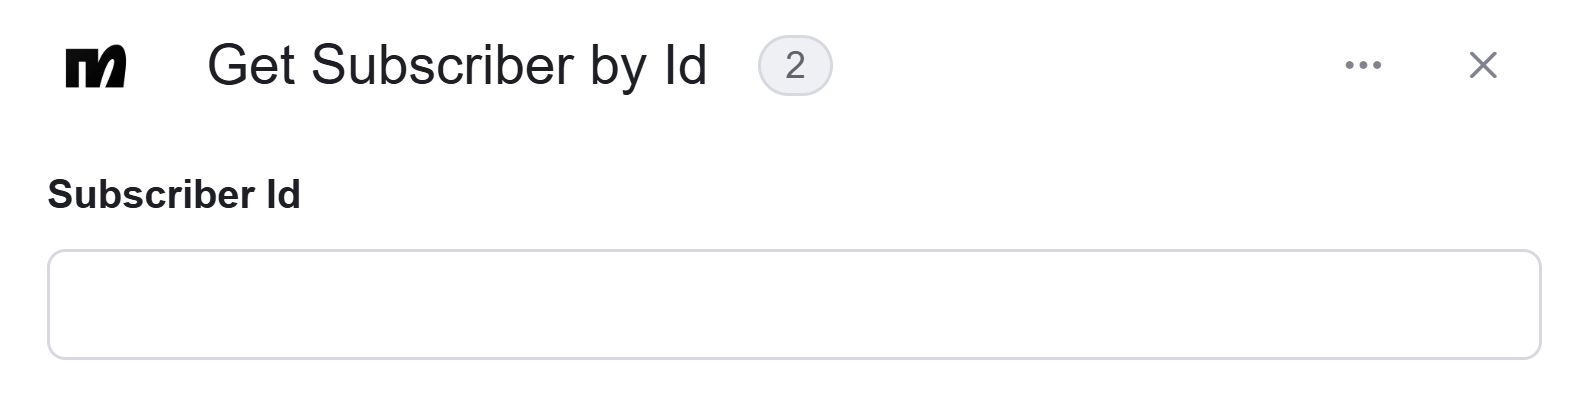 * *Subscriber Id -* Enter the unique identifier of the subscriber whose information you want to retrieve from ManyChat.
This ID is typically generated when the subscriber is created and can be retrieved from other actions.
### Get Subscribers by Custom Field
Retrieves one or more subscribers from ManyChat whose custom field value exactly matches the specified input.
* *Subscriber Id -* Enter the unique identifier of the subscriber whose information you want to retrieve from ManyChat.
This ID is typically generated when the subscriber is created and can be retrieved from other actions.
### Get Subscribers by Custom Field
Retrieves one or more subscribers from ManyChat whose custom field value exactly matches the specified input.
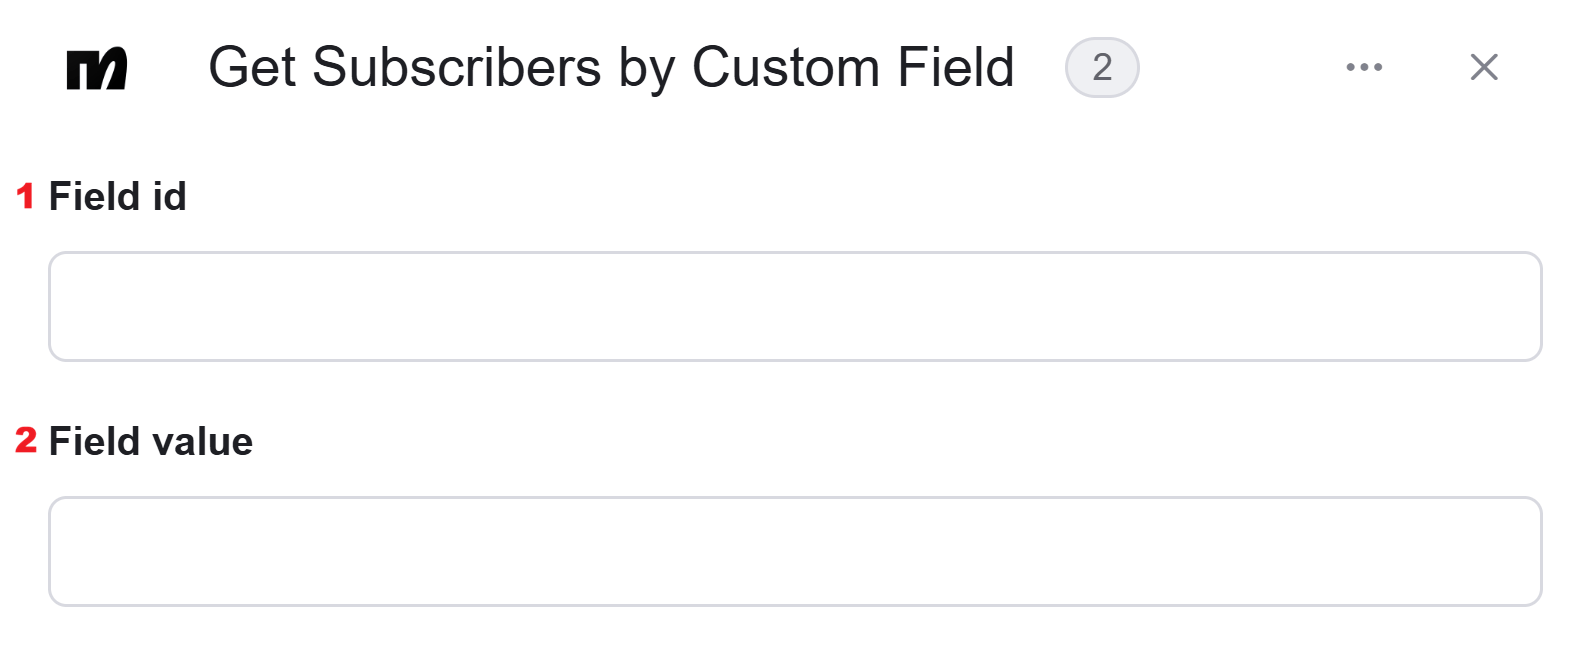 1. *Field id -* Enter the ID of the custom field you want to use to retrieve the subscribers. This must match the exact internal name of a custom field defined in your ManyChat workspace.
2. *Field value -* Enter the value you’re searching for within the selected custom field.
### Remove Tag from Subscriber
Removes a specific tag from a subscriber in ManyChat.
1. *Field id -* Enter the ID of the custom field you want to use to retrieve the subscribers. This must match the exact internal name of a custom field defined in your ManyChat workspace.
2. *Field value -* Enter the value you’re searching for within the selected custom field.
### Remove Tag from Subscriber
Removes a specific tag from a subscriber in ManyChat.
 1. *Subscriber id -* Enter the unique ID of the subscriber you want to update.
It can be obtained from actions like Create Subscriber or Get Subscriber by Id.
2. *Tag id -* Enter the ID of the tag you want to remove from the subscriber.
This tag must exist in your ManyChat account and match exactly the tag ID or name defined there.
### Send Automation to Subscriber
Sends an existing automation flow in ManyChat to a specific subscriber.
1. *Subscriber id -* Enter the unique ID of the subscriber you want to update.
It can be obtained from actions like Create Subscriber or Get Subscriber by Id.
2. *Tag id -* Enter the ID of the tag you want to remove from the subscriber.
This tag must exist in your ManyChat account and match exactly the tag ID or name defined there.
### Send Automation to Subscriber
Sends an existing automation flow in ManyChat to a specific subscriber.
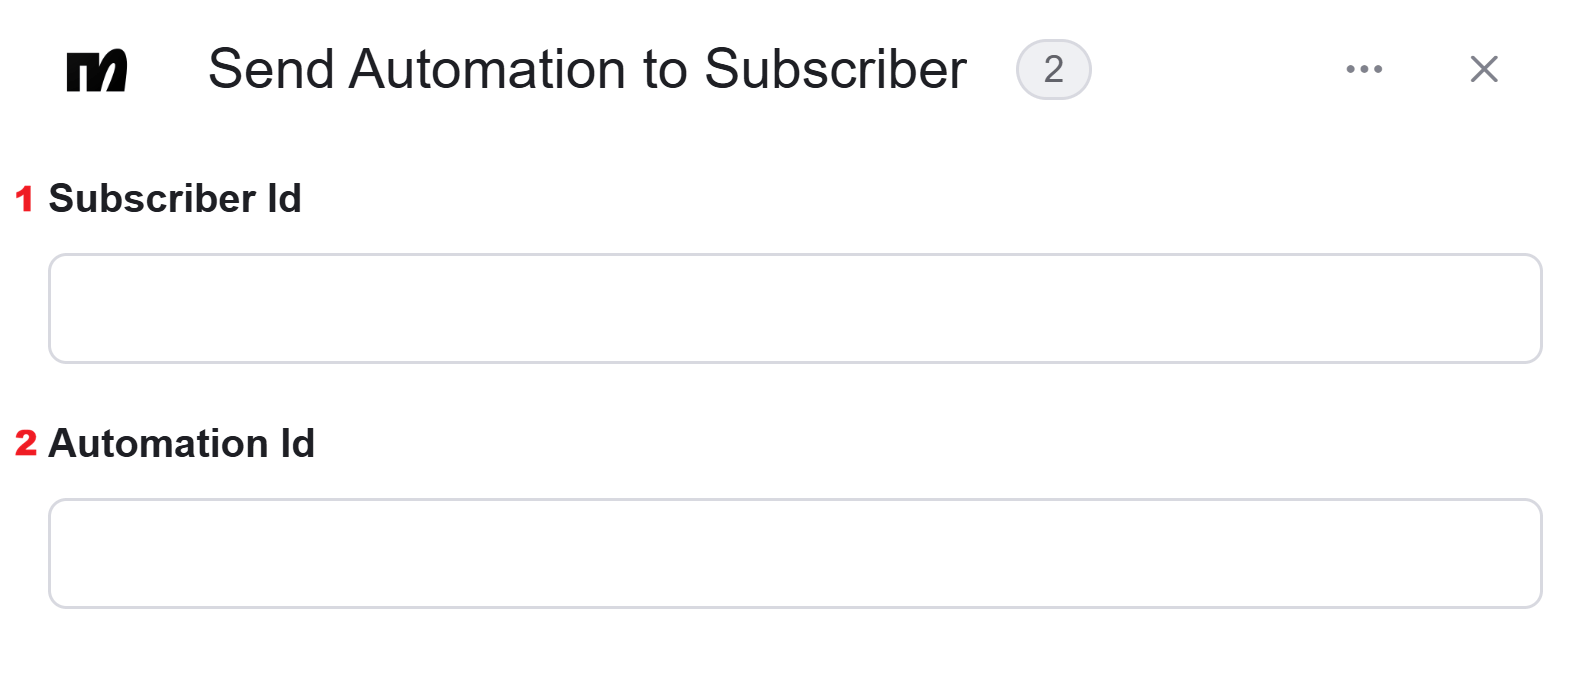 1. *Subscriber Id -* Enter the ID of the subscriber who should receive the automation.
This field can be retrieved from a previous step such as Create Subscriber or Get Subscriber by Id.
2. *Automation Id -* Enter the ID of the automation that you want to send.
### Set Subscriber Custom Field by Id
Updates a specific custom field for a subscriber in ManyChat, allowing you to store or modify personalized data (such as name, email, preferences, scores, or any other dynamic value) directly within the subscriber’s profile.
1. *Subscriber Id -* Enter the ID of the subscriber who should receive the automation.
This field can be retrieved from a previous step such as Create Subscriber or Get Subscriber by Id.
2. *Automation Id -* Enter the ID of the automation that you want to send.
### Set Subscriber Custom Field by Id
Updates a specific custom field for a subscriber in ManyChat, allowing you to store or modify personalized data (such as name, email, preferences, scores, or any other dynamic value) directly within the subscriber’s profile.
 1. *Subscriber id -* Enter the ID of the subscriber you want to update.
This ID can be retrieved from earlier steps like Create Subscriber or Get Subscriber by Id.
2. *Field id -* Enter the ID of the custom field you want to update.
This must match the internal name of an existing custom field defined in your ManyChat workspace.
3. *Field value -* Enter the new value to assign to the custom field, It will replace the subscriber’s existing value.
### Update Subscriber
Modifies one or more existing fields in a subscriber’s profile in ManyChat, allowing you to update stored information such as contact details, preferences, or any other relevant data.
This is especially useful when you want to maintain up to date subscriber records as they progress through automations or provide new input.
1. *Subscriber id -* Enter the ID of the subscriber you want to update.
This ID can be retrieved from earlier steps like Create Subscriber or Get Subscriber by Id.
2. *Field id -* Enter the ID of the custom field you want to update.
This must match the internal name of an existing custom field defined in your ManyChat workspace.
3. *Field value -* Enter the new value to assign to the custom field, It will replace the subscriber’s existing value.
### Update Subscriber
Modifies one or more existing fields in a subscriber’s profile in ManyChat, allowing you to update stored information such as contact details, preferences, or any other relevant data.
This is especially useful when you want to maintain up to date subscriber records as they progress through automations or provide new input.
 * *Add Field* - Click Add Field to add and populate additional fields for the selected activity. To learn more about managing activity data, [click here](/help/workflows/workflow-editor#add-fields).
This documentation is built and hosted on [Mintlify](https://mintlify.com), a developer documentation platform.
* *Add Field* - Click Add Field to add and populate additional fields for the selected activity. To learn more about managing activity data, [click here](/help/workflows/workflow-editor#add-fields).
This documentation is built and hosted on [Mintlify](https://mintlify.com), a developer documentation platform.